Articles
How To Weave Rugs
Modified: October 28, 2024
Learn the art of weaving rugs with our informative articles. Discover techniques, tips, and inspiration to create beautiful rugs for your home. Explore now!
(Many of the links in this article redirect to a specific reviewed product. Your purchase of these products through affiliate links helps to generate commission for Storables.com, at no extra cost. Learn more)
Introduction
Welcome to the wonderful world of rug weaving! Whether you are a beginner or have some experience in textile crafts, weaving rugs can be a fulfilling and creatively fulfilling endeavor. Handwoven rugs not only add warmth and texture to a room but also showcase a unique piece of artistry that reflects your personal style and creativity.
In this article, we will explore the step-by-step process of weaving rugs, from choosing the right materials and loom to incorporating different weaving patterns and finishing techniques. Join us as we dive into the exciting realm of rug weaving and discover the joy of creating one-of-a-kind pieces for your home or as thoughtful gifts for your loved ones.
Before we begin, let’s take a moment to understand the basic principles of rug weaving. Weaving is a technique that involves interlacing multiple strands of yarn, known as warp and weft, to create a fabric. Rugs are typically woven using a variation of the plain weave technique, where the weft threads pass over and under the warp threads in a consistent pattern.
As you embark on your rug weaving journey, keep in mind that patience and practice are key. It may take some time to master the technique and achieve the desired results, but with perseverance and a passion for the craft, you will create beautiful rugs that will be cherished for years to come.
In the next sections, we will delve deeper into the process of rug weaving, starting with choosing the right materials.
Key Takeaways:
- Rug weaving is a fulfilling craft that allows for endless creativity, from choosing materials and creating weave patterns to incorporating colors and designs. Embrace the journey and enjoy the joy of creating unique, handwoven rugs.
- Proper finishing and regular cleaning are essential for maintaining the beauty and longevity of woven rugs. Take pride in your craftsmanship and ensure your handmade rugs bring warmth and beauty to your space for years to come.
Read more: How To Weave Baskets
Choosing the Right Materials
When it comes to weaving rugs, selecting the right materials is crucial for the overall quality and durability of the finished product. Here are some key considerations to keep in mind:
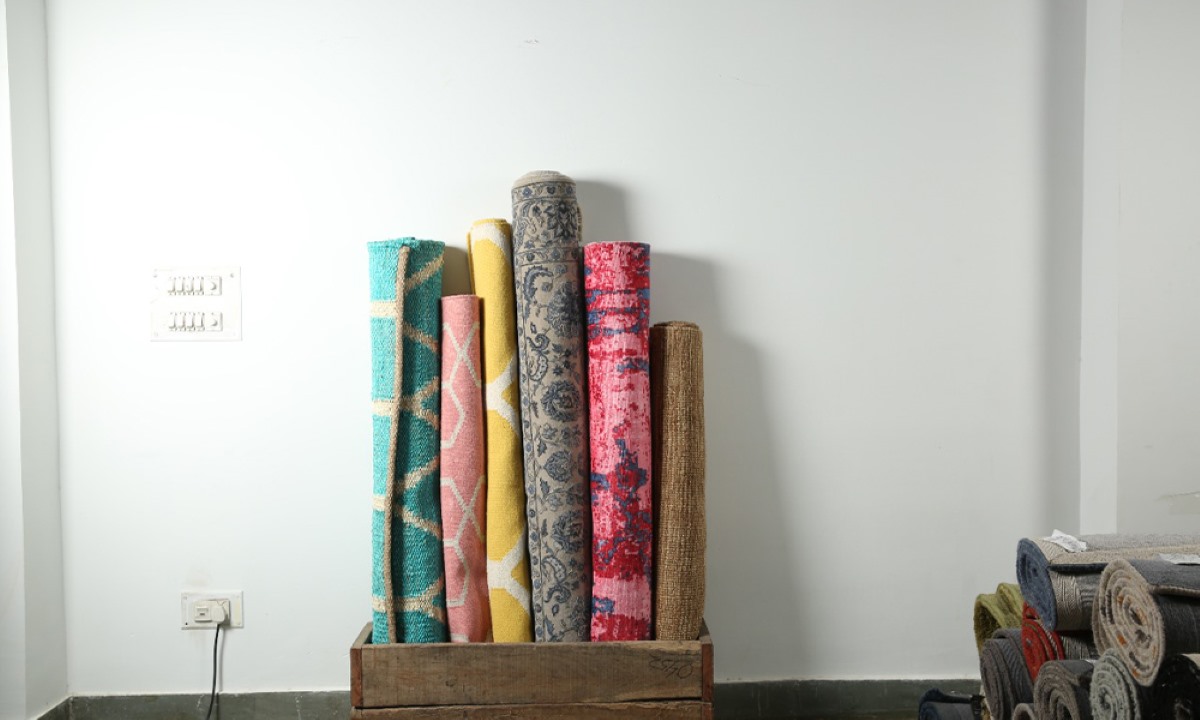
- Yarn: The type of yarn you choose will greatly impact the texture, feel, and appearance of your rug. Wool is a popular choice for its softness and resilience, while cotton offers a smoother, more lightweight option. Additionally, you can experiment with other natural fibers such as silk or jute for added visual interest.
- Gauge: The gauge, or thickness, of the yarn will determine the weight and thickness of your rug. Thicker yarns will create a chunky, cozy rug, while thinner yarns will result in a more delicate and lightweight piece. Consider the desired look and purpose of your rug when selecting the appropriate gauge.
- Color: Choosing a color palette for your rug is a highly personal decision. Consider the existing color scheme of the room where the rug will be placed, as well as your own preferences. You can opt for bold, vibrant colors for a statement piece, or neutral tones for a more subtle and versatile design.
- Texture: The texture of the yarn can add depth and interest to your rug. You can choose from smooth, even textures or experiment with novelty yarns that have unique textures such as loops or bobbles. Keep in mind that the texture will influence the overall feel and visual impact of the rug.
- Dyeing: If you have a specific color in mind that is not available in the market, you can explore the option of dyeing your yarn. This allows you to have complete creative control over the colors used in your rug, resulting in a truly customized piece.
It’s important to consider the purpose and location of your rug when selecting materials. If the rug will be placed in a high-traffic area, durability and stain resistance should be prioritized. For rugs intended for decorative use, you have more flexibility in terms of materials and can focus on creating an aesthetically pleasing design.
Remember, the quality of the materials you choose will greatly impact the outcome of your rug. Take the time to explore different options and experiment with various combinations to find the perfect materials that align with your vision.
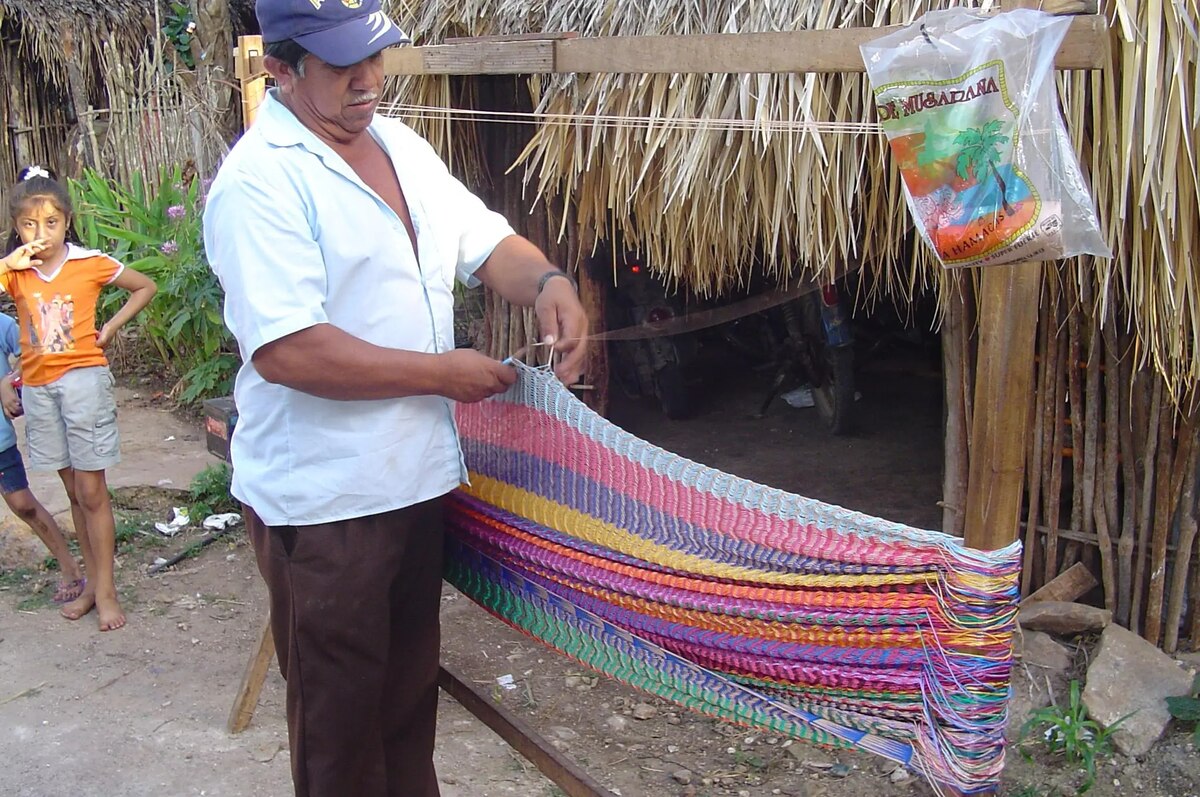
Selecting a Loom
Choosing the right loom is essential for a successful rug weaving project. The loom provides the framework upon which the rug is woven, ensuring stability and tension in the warp threads. Here are a few factors to consider when selecting a loom:
- Size: Consider the size of the rugs you plan to weave. Looms come in various sizes, from small tabletop looms to larger floor-standing models. Smaller looms are suitable for weaving smaller rugs or for those with limited space, while larger looms offer more versatility and the option to weave larger, statement rugs.
- Frame Loom vs. Floor Loom: Frame looms are a popular choice for beginners or those with limited space. They are portable and easy to set up, typically consisting of a rectangular frame with warp threads stretched across. Floor looms, on the other hand, offer more advanced weaving capabilities and are best suited for experienced weavers or those looking to undertake larger, complex rug projects.
- Adjustability: Consider the adjustability of the loom. Some looms allow for height and width adjustments, providing flexibility in terms of the size and tension of the warp threads. This adjustability is particularly important when weaving rugs with different pile heights or when experimenting with different weave patterns.
- Material: Looms are typically made from wood, metal, or plastic. Wooden looms are popular due to their durability, versatility, and aesthetic appeal. Metal looms are often lightweight and portable, while plastic looms offer affordability and ease of use for beginners.
- Extras: Consider any additional features or accessories that come with the loom. Some looms may have built-in tension adjustments, beater bars, or shuttle holders, which can enhance the weaving experience and make the process more efficient.
It’s important to choose a loom that suits your skill level, budget, and the size and complexity of the rugs you plan to weave. If you’re a beginner, starting with a simple frame loom can be a great way to get acquainted with the weaving process. As you gain more experience and confidence, you can explore more advanced loom options to expand your weaving capabilities.
Ultimately, the loom you choose should provide the stability, adjustability, and functionality required to bring your rug weaving visions to life. Take the time to research different loom options, read reviews, and consider your personal preferences and budget before making a decision.
Preparing the Warp Yarn
The warp yarn is an essential component of rug weaving, providing the foundation on which the weft threads are woven. Preparing the warp yarn involves a few important steps to ensure the even tension and stability of the rug. Here’s how to prepare the warp yarn:
- Measure the Warp Length: Determine the desired length of the warp yarn based on the size of the rug you intend to weave. Add some extra length to account for the loom waste and any fringe or finishing you may want to add to the rug.
- Calculate the Warp Thickness: Determine the number of warp threads needed to achieve the desired thickness. This will depend on the gauge of the yarn and the desired density of the warp threads. Divide the width of the rug by the thickness of each warp thread to calculate the number of warp threads needed.
- Prepare the Warp Bundle: Collect the required number of warp threads and wind them into a neat bundle. You can use a warping board or a warping peg to facilitate this process and ensure that the warp threads are evenly spaced and organized.
- Add Tension: Attach the warp bundle to the back of the loom, ensuring that the tension is even across all the warp threads. You can use lease sticks or sectional warp beams to maintain the necessary tension and prevent the threads from tangling.
- Thread the Heddles: Each warp thread needs to pass through a heddle, which is a series of cords or wires that help separate the warp threads and allow for easier weaving. Thread each warp thread individually through its respective heddle, taking care to avoid any tangling or twisting of the threads.
- Secure the Warp: Once all the warp threads are threaded through the heddles, secure the other end of the warp bundle to the front of the loom. This can be done using apron rods or tying the warp threads to the front beam. Make sure the tension remains consistent throughout the process.
Preparing the warp yarn requires attention to detail and precision. Take your time to ensure that the warp threads are evenly spaced, properly tensioned, and securely attached to the loom. This will lay the foundation for a successful and well-structured rug weaving project.
Once the warp yarn is prepared and secured, you’re ready to move on to the next step: setting up the loom. This involves preparing the weft yarn and setting up the shedding mechanism for smooth and efficient weaving. Stay tuned for the next section!
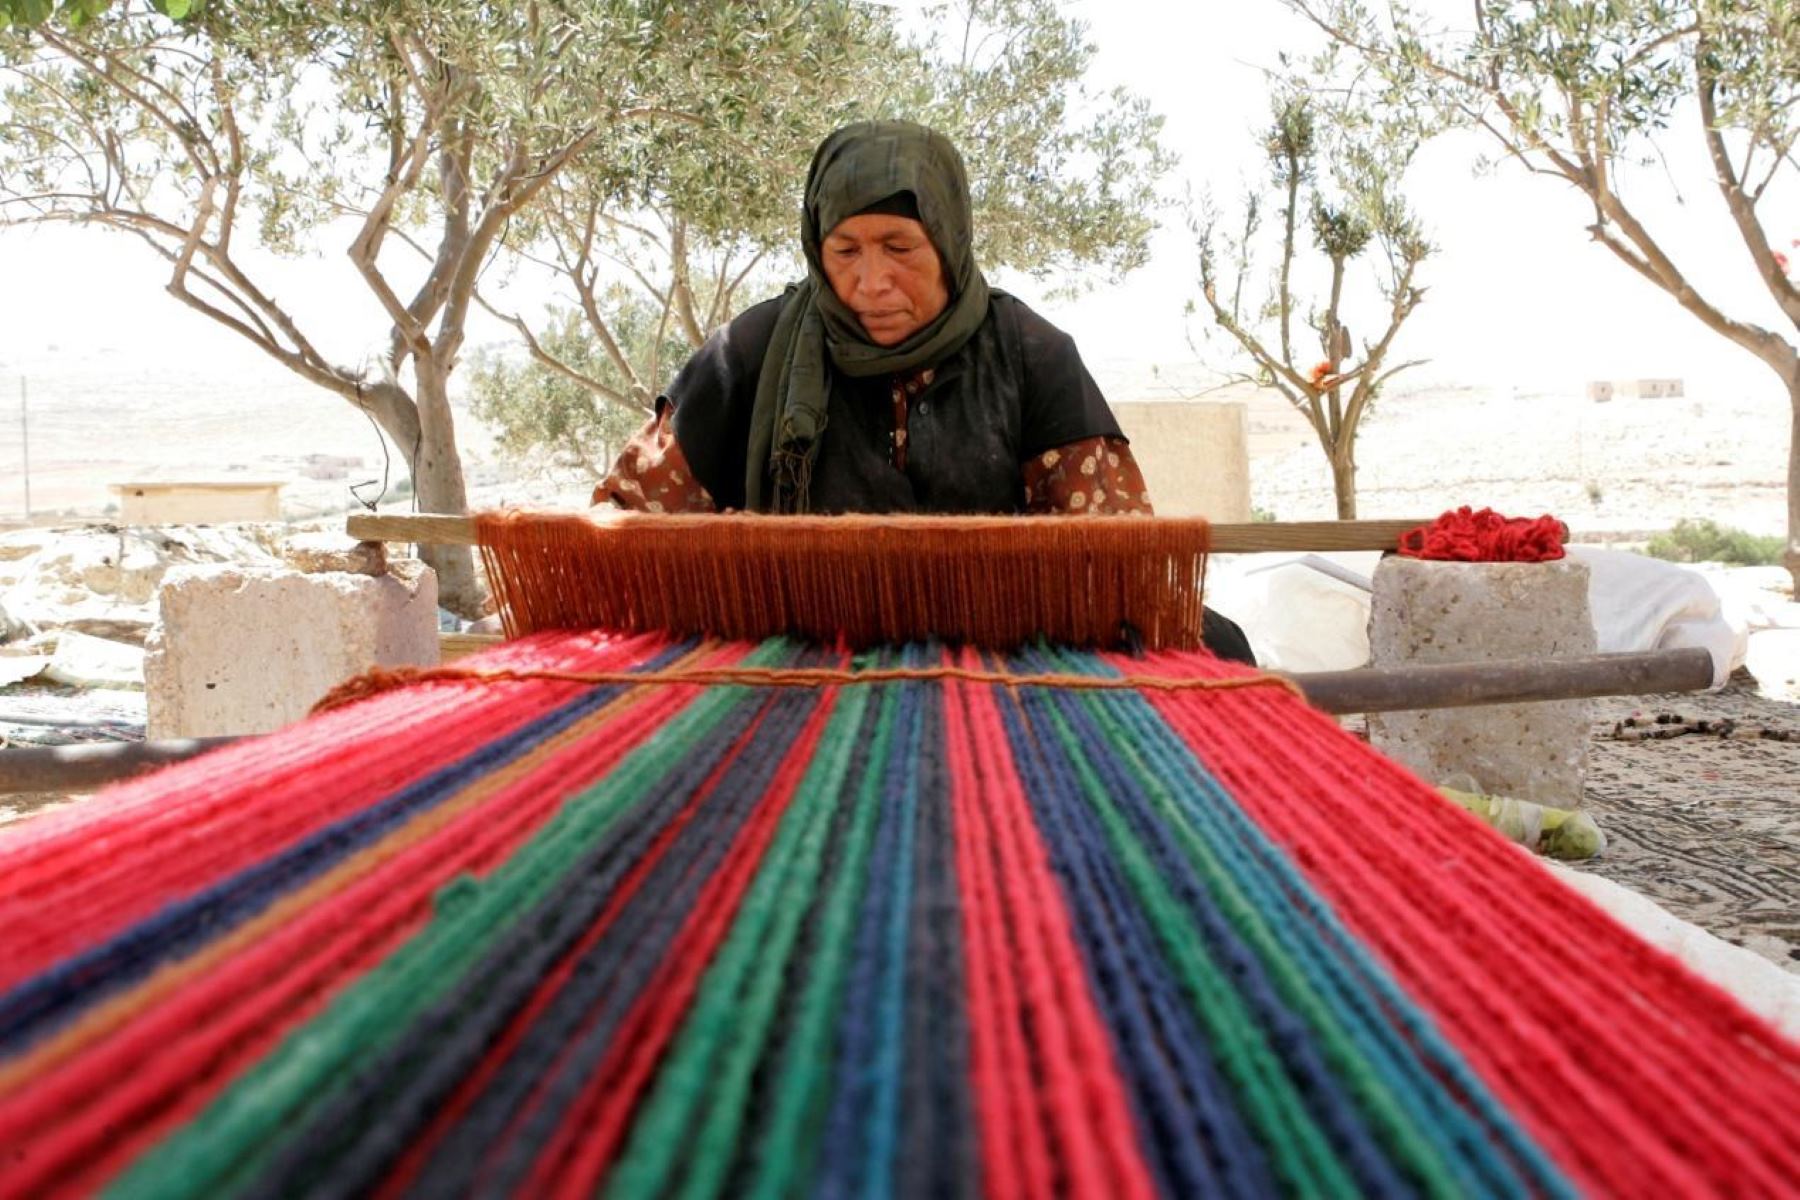
Setting up the Loom
Setting up the loom is an essential step in rug weaving that involves ensuring the proper tension and alignment of the warp threads. Here’s how to set up your loom:
- Check the Warp Tension: Before proceeding, ensure that the tension of the warp threads is even and properly adjusted. You want the tension to be firm but not overly tight, as this may cause the warp threads to break or distort the final rug.
- Attach the Lease Sticks: Lease sticks are wooden bars that are used to maintain the cross and order of the warp threads. Slide the lease sticks through the cross made by the warp threads, ensuring that they are positioned at the back of the loom. This will prevent the threads from tangling and help maintain their correct order as you weave.
- Prepare the Weft Yarn: Wind the weft yarn onto a shuttle or bobbin for easier weaving. Make sure the weft yarn is evenly wound and can move smoothly across the width of the loom. You can also use different colors of weft yarn to create varied designs and patterns in your rug.
- Set up the Shedding Mechanism: The shedding mechanism refers to the method used to raise and lower the warp threads to allow the weft yarn to pass through. Depending on the type of loom you are using, this can be done using a foot pedal, a hand-operated lever, or by manual manipulation of the warp threads. Familiarize yourself with the specific mechanisms of your loom and set it up according to the manufacturer’s instructions.
- Create the First Shed: The first shed is the opening through which the weft yarn is passed. Depending on your loom, this can be created by raising or lowering specific warp threads, or by using a shedding device. Follow the instructions for your specific loom to create the first shed. Once the shed is created, insert the shuttle with the weft yarn through the shed from one side to the other.
- Pack the Weft Yarn: After each weft pass, use a beater or a comb to firmly pack down the weft yarn. This creates an even surface and helps secure the weft in place. Repeat the process of creating a shed, passing the shuttle through, and packing the weft until you reach the desired length of your rug.
Setting up the loom requires attention to detail and a good understanding of the specific mechanisms of your loom. Take the time to familiarize yourself with the setup process and follow the instructions provided by the manufacturer. Properly setting up the loom ensures smooth and efficient weaving, resulting in a high-quality rug.
Now that you have set up the loom, it’s time to begin the weaving process. In the next section, we will explore the steps to start and continue weaving, as well as different weave patterns you can experiment with to create unique designs. Stay tuned!
Read more: How To Weave A Placemat
Beginning the Weave
Now that you have set up your loom and prepared the warp threads, it’s time to begin the weaving process. Here are the steps to start and continue weaving your rug:
- Create the Base Line: Before you start weaving, create a base line by weaving a few rows of weft yarn. This will serve as a solid foundation for the rest of your rug and help secure the warp threads in place.
- Pass the Weft Yarn: Using the shuttle or bobbin, pass the weft yarn through the shed created by raising or lowering the appropriate warp threads. Be sure to leave a small tail of weft yarn at the start to secure it in place later. Pull the weft yarn gently, but firmly, across the width of the loom.
- Pack the Weft: After each pass of the weft yarn, use a beater or a comb to tightly pack the weft down. This ensures that the weft is tightly secured and creates a tight and evenly woven rug. Repeat this process for each weft pass.
- Secure the Weft Tail: Once you have woven a few rows of weft, go back to the starting point and secure the tail of the weft yarn. Weave the tail into the rug by passing it through the shed and packing it down with the beater. This will ensure that the weft yarn is firmly anchored and prevents any unraveling.
- Continue Weaving: Once the base line is established and the weft tail is secured, continue weaving by creating new sheds and passing the weft yarn through. Be sure to maintain an even tension throughout the weaving process for a consistent appearance.
- Change Colors and Patterns: If you want to incorporate different colors or patterns into your rug, you can do so by switching the weft yarn at desired intervals. Simply cut the previous weft yarn and tie the new yarn to the tail. Weave the new yarn, ensuring that the knots are neatly tucked in and hidden within the weaving.
- Check the Alignment: Regularly check the alignment and tension of the warp threads to ensure that the rug is evenly woven. If any threads are out of place or loosened, gently adjust them or tighten the tension to maintain a uniform appearance.
As you progress with your weaving, you will notice the rug taking shape, and the design and patterns emerging. Remember to periodically pack down the weft to maintain a dense and sturdy rug. Take breaks as needed, but try to maintain a consistent weaving rhythm to ensure a cohesive and well-woven rug.
The process of weaving a rug can be relaxing and therapeutic, allowing you to unleash your creativity and transform a simple set of threads into a beautiful piece of functional art. In the next section, we will explore different weave patterns and techniques you can experiment with to add visual interest and texture to your rug. Stay tuned!
When weaving rugs, be sure to maintain consistent tension on the warp threads to ensure an even and professional-looking finished product.
Creating Different Weave Patterns
One of the joys of rug weaving is the ability to create unique and fascinating patterns through different weaving techniques. By exploring various weave patterns, you can add visual interest, texture, and depth to your rug. Here are a few popular weave patterns to experiment with:
- Plain Weave: The plain weave is the most basic and common weave pattern. It involves passing the weft yarn over and under each warp thread, alternating the pattern with each row. This pattern creates a strong, balanced, and tightly woven fabric, ideal for sturdy and durable rugs.
- Twill Weave: The twill weave pattern produces distinctive diagonal lines on the fabric. It is created by passing the weft yarn over two or more warp threads, then under one or more warp threads in a staggered pattern. Twill weaves can range from subtle to pronounced, adding a sense of movement and texture to your rug.
- Herringbone Weave: The herringbone weave pattern creates a visually striking zigzag or chevron design. It is achieved by weaving the weft yarn in a V-shape or a slanted manner. Herringbone patterns can add a touch of sophistication and elegance to your rug, making it a standout piece in your home.
- Stripes and Color Blocks: Experiment with creating stripes or color blocks within your rug. This can be done by alternating different colors of weft yarn or weaving sections of solid color. Stripes and color blocks add visual interest, create a modern and eye-catching design, and allow for endless creativity in your rug weaving.
- Textured Weaves: Incorporate textured weaves to add depth and tactile appeal to your rug. This can be achieved by using different types of yarn, such as bouclé or looped yarn, to create raised or textured areas. These textured elements will give your rug a unique and inviting feel.
- Inlay or Brocade: Inlay or brocade techniques involve weaving decorative designs or motifs within the main body of the rug. This can be accomplished by using a different colored weft yarn to create patterns and shapes. Inlay designs allow you to personalize your rug and create intricate and visually stunning pieces.
Don’t be afraid to mix and match these weave patterns, combine different techniques, or create your own signature style. Remember to experiment and embrace the creative process. Each rug you weave can be a reflection of your personality and artistic vision.
By incorporating various weave patterns into your rug, you can transform it from a simple floor covering into a true work of art. In the next section, we will discuss how to incorporate colors and designs into your rug to further enhance its visual appeal. Stay tuned!
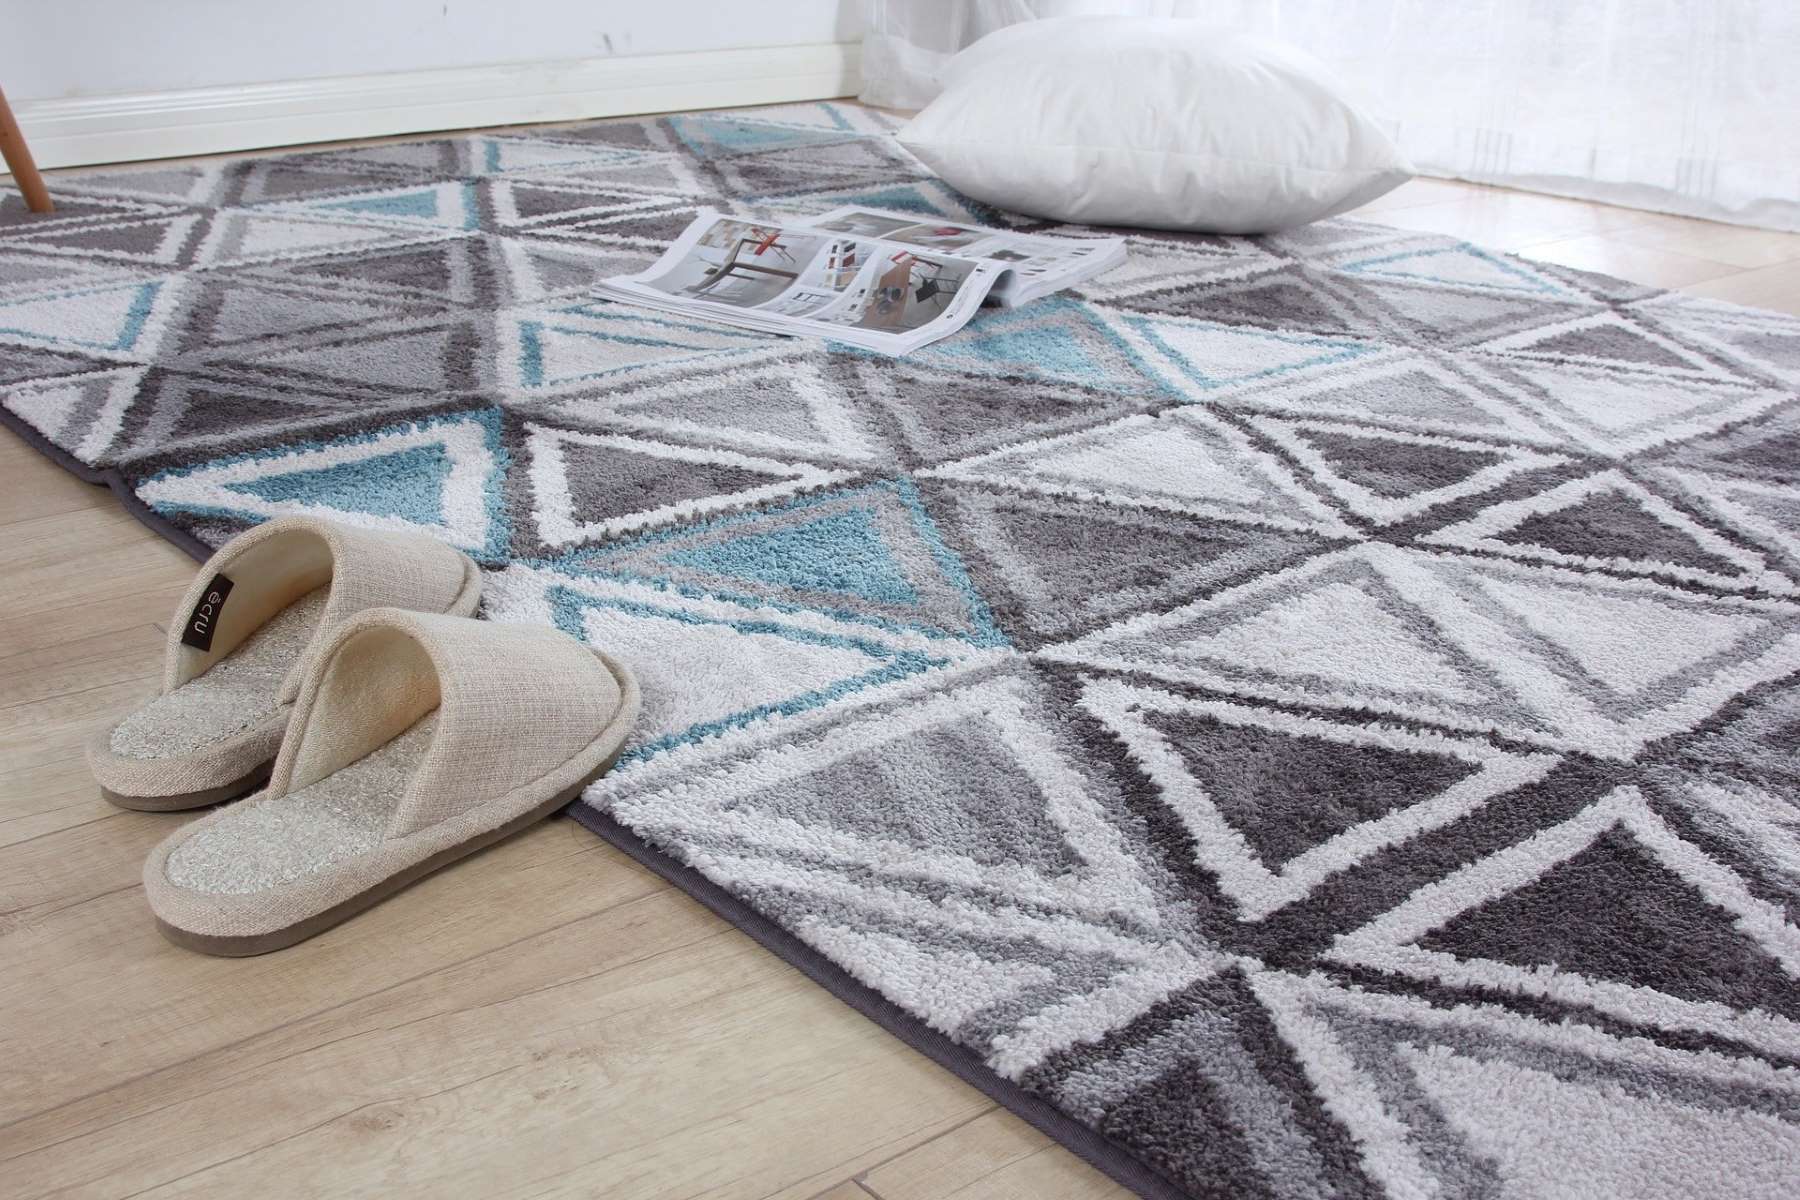
Incorporating Colors and Designs
One of the most exciting aspects of rug weaving is the opportunity to incorporate colors and designs that showcase your creativity and personal style. Here are some tips to help you make the most of color and design in your rugs:
- Color Selection: Start by selecting a color palette that suits your taste and complements the intended space for the rug. Consider the existing color scheme of the room and choose colors that harmonize or create contrast for visual impact. You can opt for bold, vibrant colors to make a statement or go for more subtle, neutral tones for a versatile and timeless design.
- Color Gradation: Experiment with creating a color gradient or ombre effect in your rug. This can be done by gradually transitioning from one color to another, either horizontally or vertically. The gradual shift in colors adds depth and visual interest to the rug, creating a stunning and dynamic piece.
- Stripes and Patterns: Incorporate stripes or geometric patterns to add structure and design to your rug. You can alternate different colors of weft yarn to create bold, contrasting stripes. Experiment with varying stripe widths or create intricate patterns such as chevrons or zigzags to add a touch of uniqueness to your rug.
- Color Blocking: Consider creating color blocks in your rug by weaving sections of solid color. This can be an opportunity to introduce a pop of color or highlight certain areas of the design. Color blocking allows you to play with contrast and create a modern and visually appealing rug.
- Texture and Material: Explore different textures and materials to add dimension and tactile interest to your rug. Mix and match yarns with different textures, such as smooth wool and fluffy or looped yarns. You can also experiment with techniques like pile weaving or adding fringe to create unique design elements.
- Experiment and Customize: Don’t be afraid to let your creativity soar and create your own designs or motifs within the rug. Incorporate symbols, letters, or personal elements that hold special meaning to you or the recipient of the rug. Customizing your design ensures a truly unique and meaningful creation.
Remember, colors and designs are powerful tools to express your artistic vision and evoke specific moods or emotions through your rug. Take your time to plan your color scheme and design elements, and allow yourself the freedom to adapt and explore as you weave.
By incorporating colors and designs that resonate with you, you can create a rug that not only adds beauty and warmth to your space but also reflects your personal style and creativity. In the final sections, we will discuss the important steps of finishing your rug, as well as cleaning and maintaining it for long-lasting enjoyment. Stay tuned!
Finishing the Rug
After completing the weaving process, it’s time to give your rug the finishing touches. Proper finishing ensures that your rug is secure, presentable, and ready to be enjoyed. Here are the important steps to finish your rug:
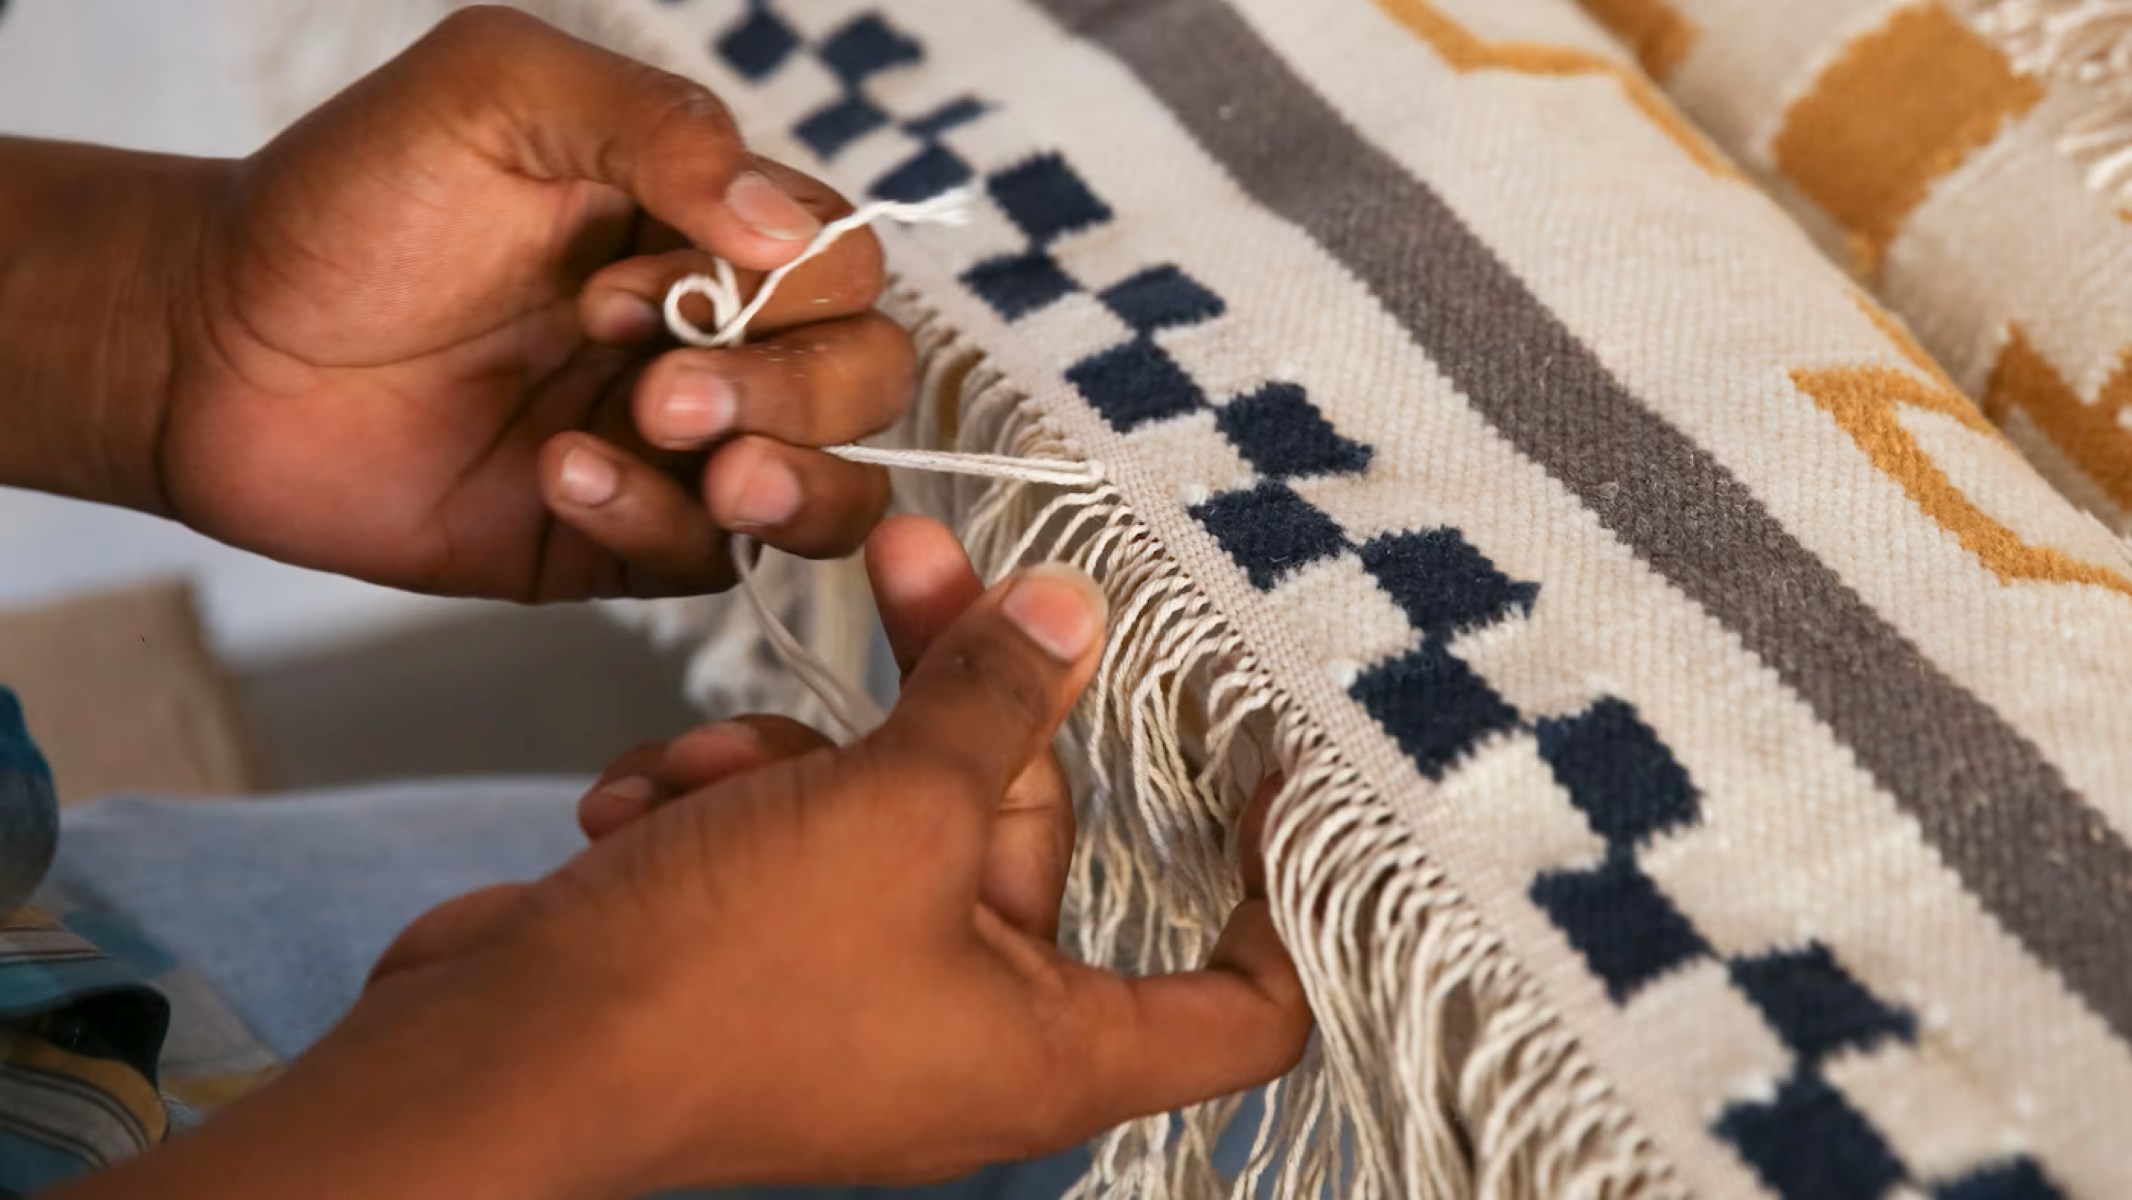
- Trim the Warp Threads: Carefully remove the rug from the loom and trim the excess warp threads. Leave a few inches of warp threads for fringe, or if you prefer a clean edge, trim them close to the weaving. Take care not to accidentally cut any weft threads while trimming.
- Create Fringe: If you desire a fringed edge, separate the trimmed warp threads into small groups and twist them together. You can add beads or decorative elements to the fringe for an extra touch of flair.
- Secure the Fringe or Edges: To prevent the fringe from unraveling, knot the ends or use a fringe twister to secure them. Alternatively, if you prefer a clean edge, you can sew a hem along the sides and bottom of the rug for a neater finish.
- Steam and Block: Once the finishing touches are complete, steam the rug to relax the fibers and remove any wrinkles. Blocking the rug involves gently stretching and pinning it into shape to ensure even dimensions and a polished appearance. Allow the rug to dry completely while still in the blocked position.
- Inspect for Imperfections: Take a final moment to inspect the rug for any loose threads, uneven edges, or other imperfections. Make any necessary adjustments or repairs to ensure a high-quality finished product.
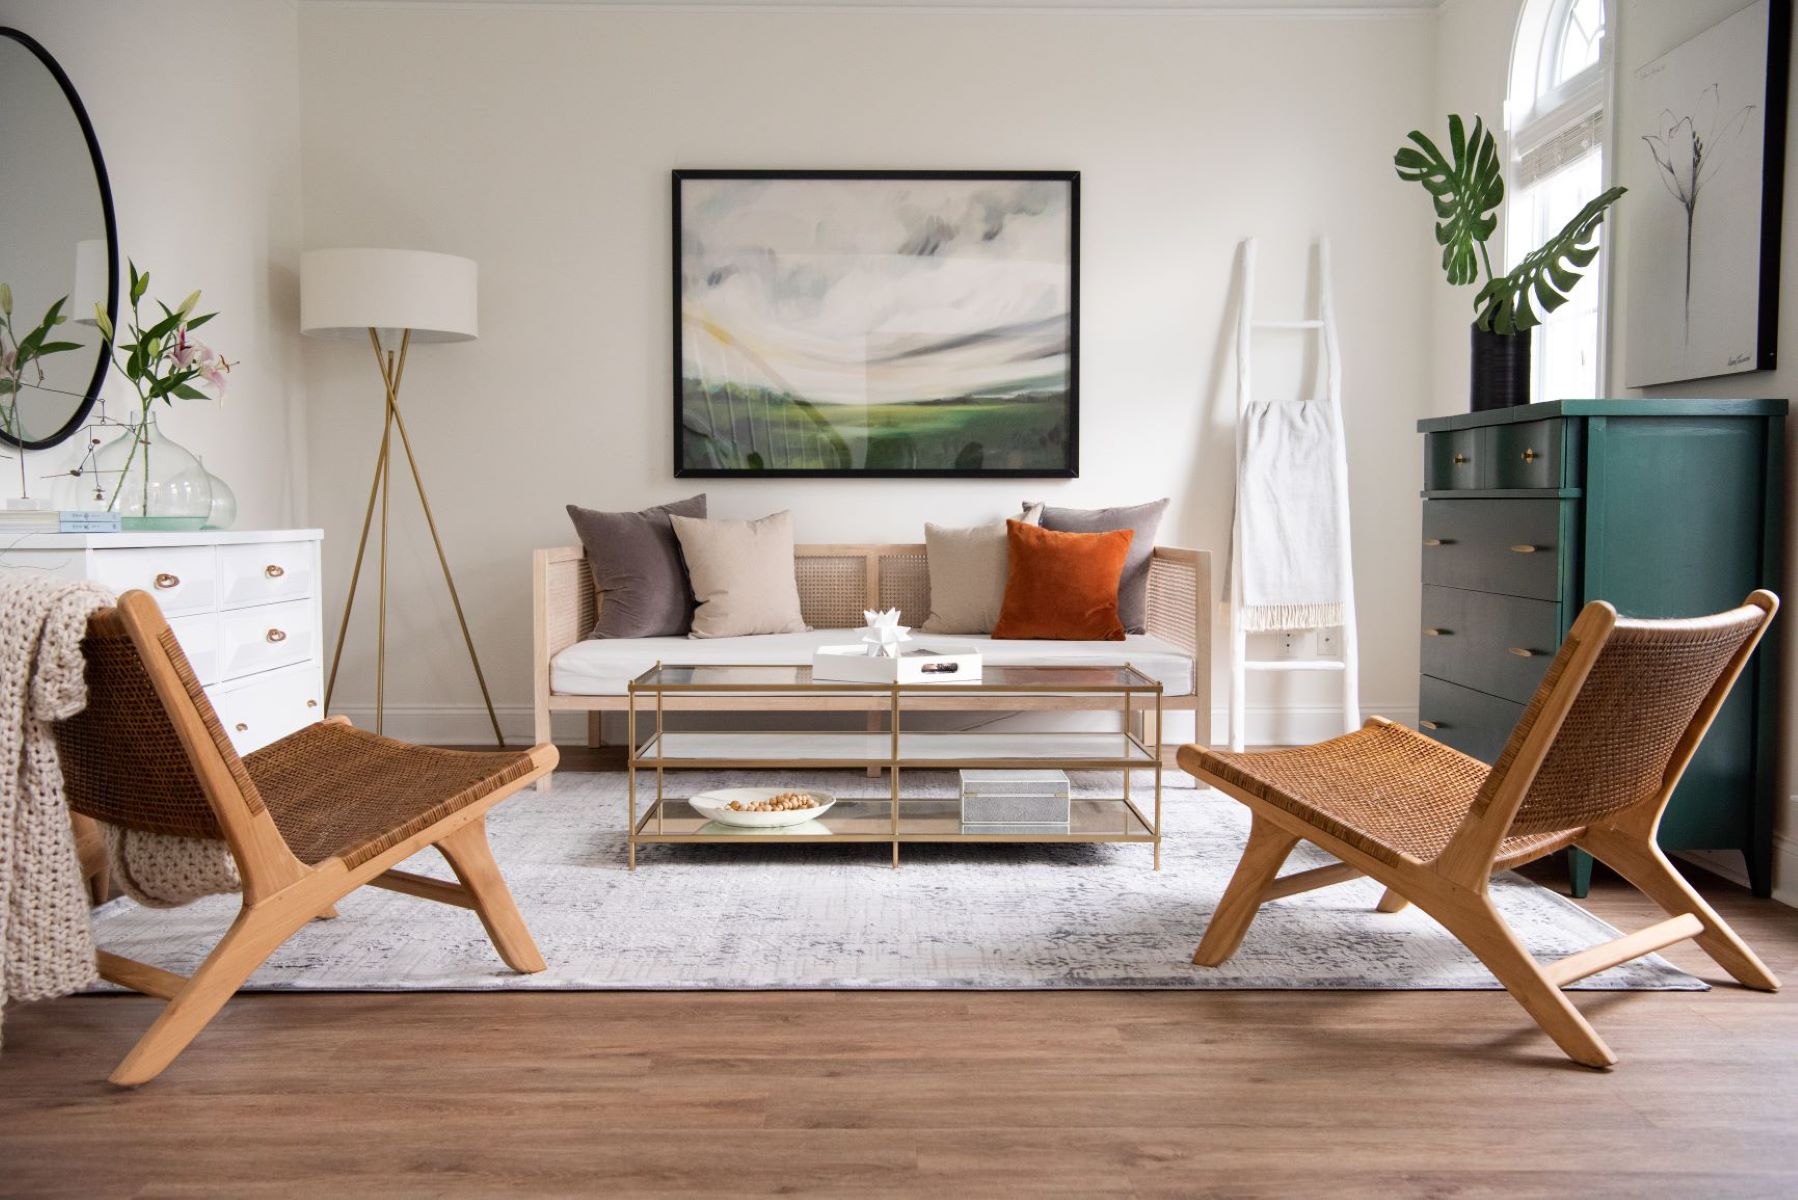
Finishing your rug not only adds aesthetic appeal but also contributes to its longevity and durability. Whether you choose to have fringe or a clean edge, the finishing process completes the rug and prepares it for use and display.
Once your rug is finished, it’s important to consider how to best care for and maintain it to keep its beauty and functionality intact. In the next section, we will explore tips for cleaning and maintaining your woven rug to ensure its long-lasting enjoyment.
Read more: How To Fix Weave Patio Furniture
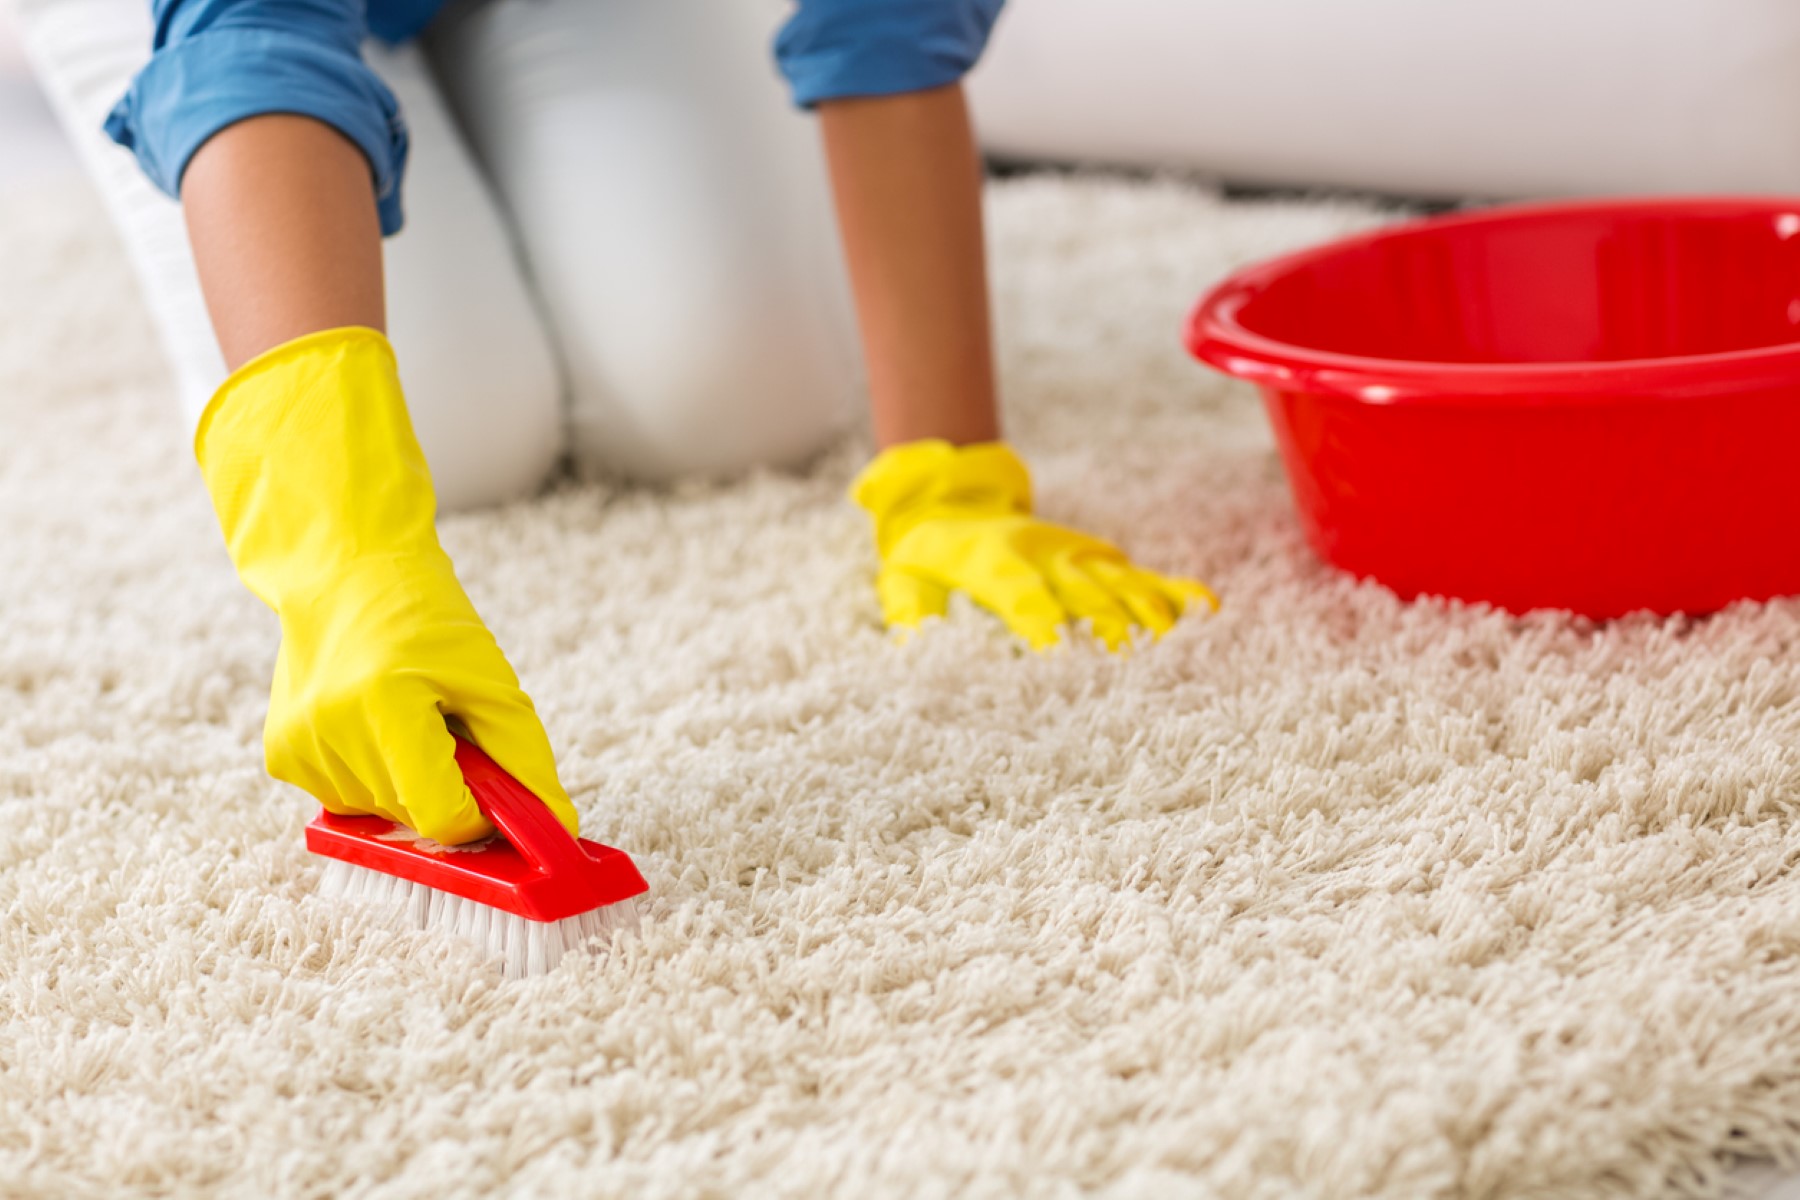
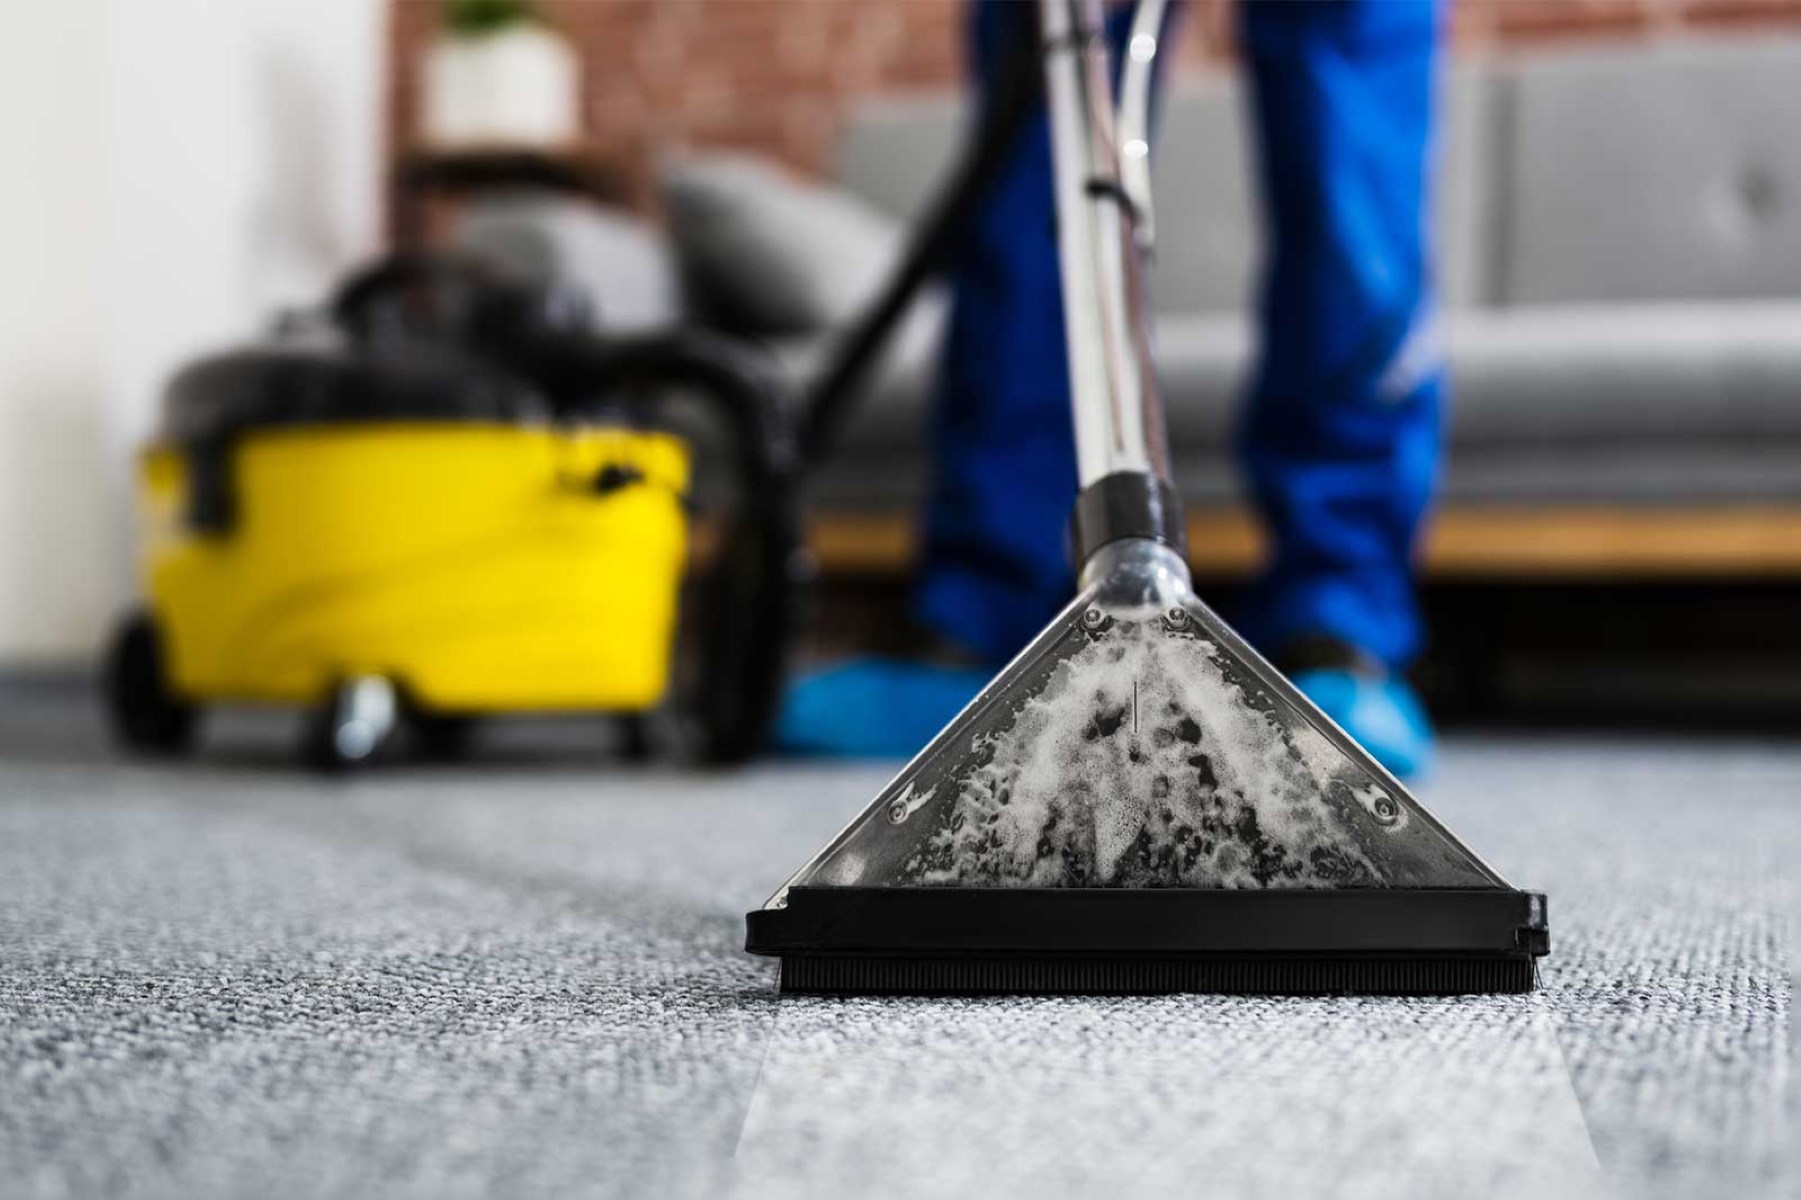
Cleaning and Maintenance
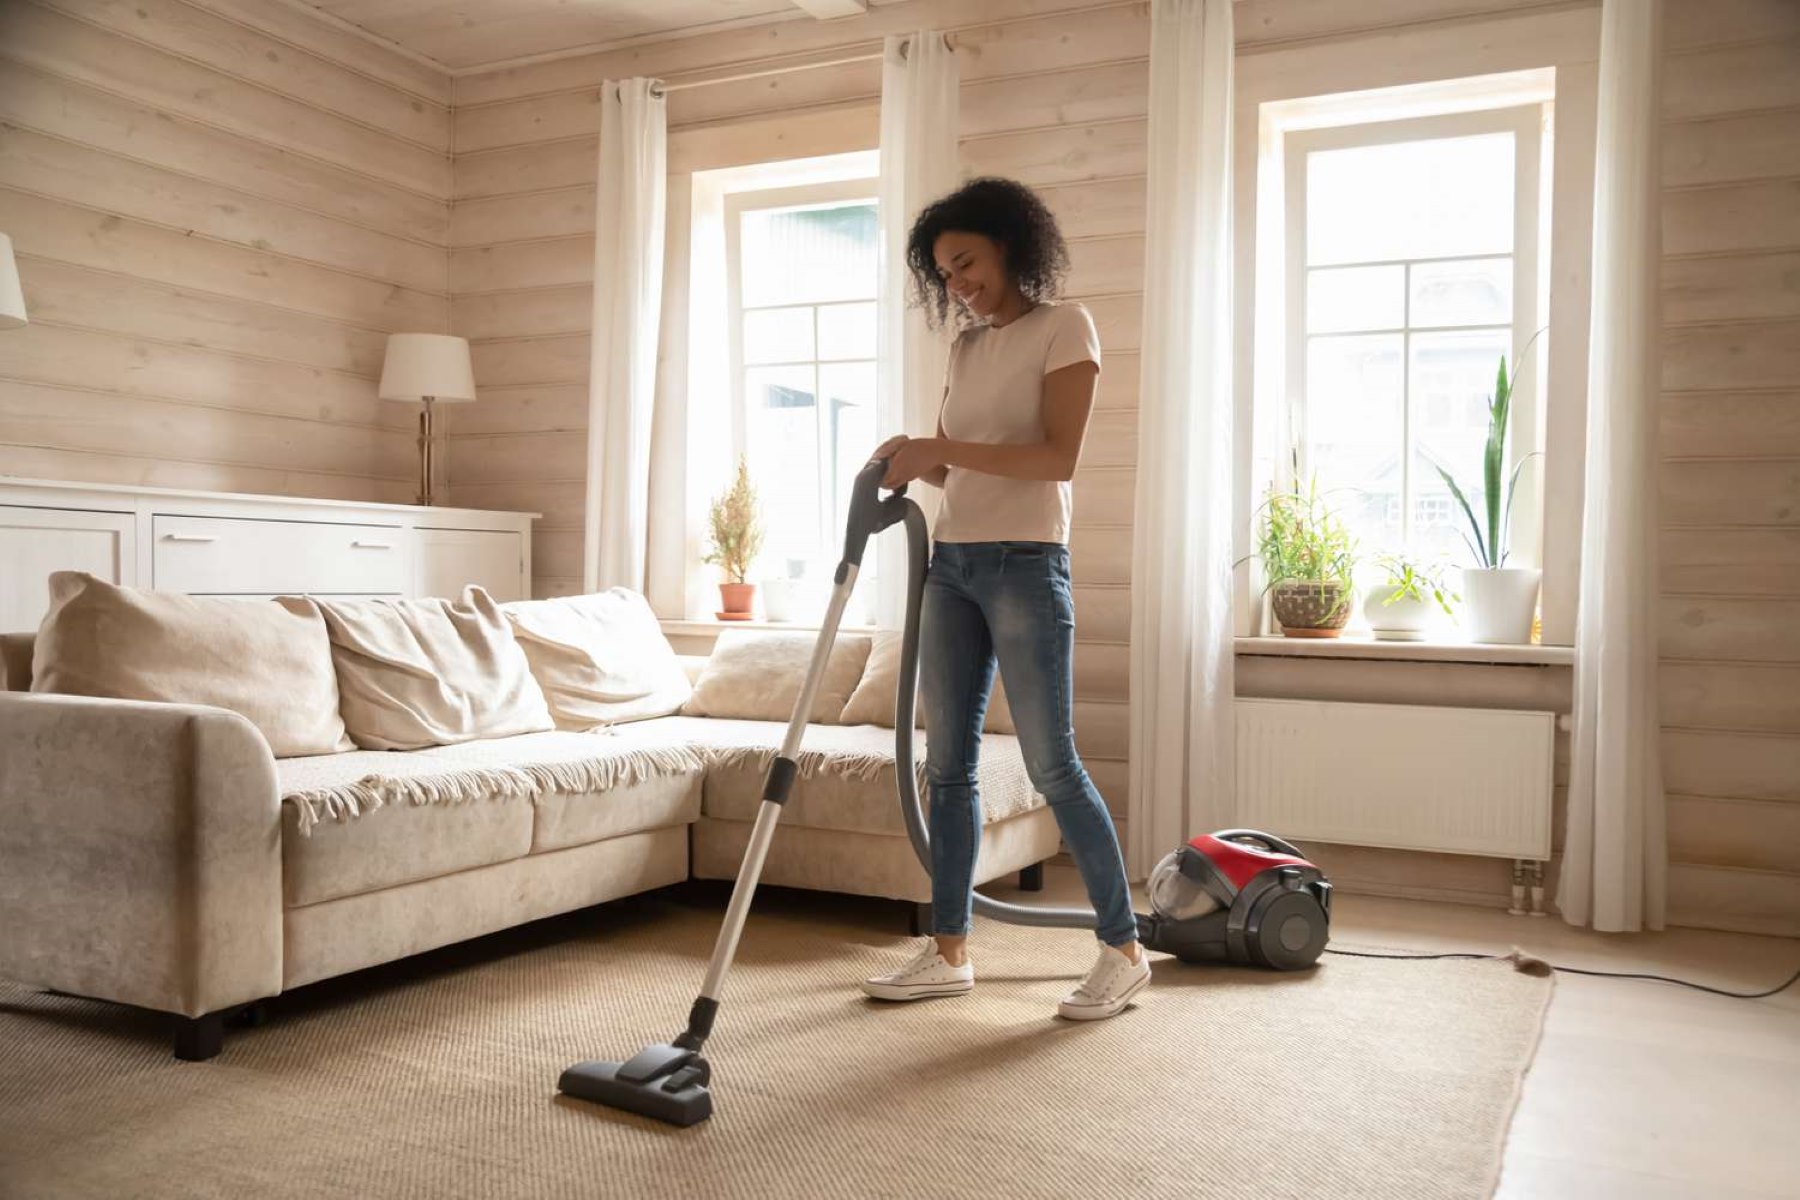
To keep your woven rug looking its best and maintain its longevity, regular cleaning and maintenance are essential. Here are some tips to help you effectively clean and care for your rug:
- Vacuum Regularly: Use a vacuum cleaner with a brush attachment to gently remove dust, dirt, and debris from the surface of the rug. Vacuum both sides of the rug to ensure thorough cleaning. Avoid using the beater bar attachment, as it may cause damage to the fibers.
- Spot Clean Stains: Promptly attend to any spills or stains by blotting them with a clean cloth or paper towel. Avoid rubbing the stain, as this can push it deeper into the fibers. Instead, gently dab the area with a mixture of mild detergent and warm water. Test the cleaning solution on a small, inconspicuous area of the rug first to ensure it does not cause discoloration.
- Avoid Excessive Moisture: When spot cleaning or cleaning the entire rug, be careful not to oversaturate it with water. Excessive moisture can lead to mold, mildew, and damage to the rug’s structure. Allow the rug to air dry completely before placing it back in its designated area.
- Rotate and Air Out: To prevent uneven wear, periodically rotate the rug and alternate its placement within the room. This helps distribute foot traffic and sunlight exposure more evenly. Additionally, airing out the rug outdoors on a sunny day can help eliminate any odors and refresh the fibers.
- Protect from Direct Sunlight: Prolonged exposure to direct sunlight can cause fading and discoloration in rugs. If your rug is placed in a sunny area, consider using window coverings or UV-protective film to minimize the impact of harmful UV rays.
- Professional Cleaning: For deep cleaning or stubborn stains, it may be necessary to seek professional rug cleaning services. Professional cleaners have the expertise and specialized equipment to safely clean and restore your rug without causing damage.
- Preventive Measures: Place doormats at entryways to trap dirt and prevent it from being tracked onto the rug. Avoid placing heavy furniture directly on the rug to prevent crushing the fibers. It’s also advisable to use rug pads underneath your rug to provide extra cushioning, prevent slipping, and reduce friction.
By implementing these cleaning and maintenance practices, you can ensure that your woven rug remains beautiful, clean, and in excellent condition for years to come. Remember, regular care and attention will help preserve the natural beauty and extend the lifespan of your cherished rug.
Congratulations on completing your rug weaving journey! Whether you’re keeping the rug for yourself or gifting it to someone special, be proud of your accomplishment. Your handmade rug is a testament to your skill, creativity, and dedication. Enjoy the warmth, beauty, and comfort it brings to your space.
Thank you for joining us on this rug weaving adventure. Happy weaving and may your rug crafting endeavors be filled with joy and creativity!
Conclusion
Congratulations on completing this comprehensive guide to rug weaving! By learning the steps involved in choosing materials, selecting a loom, preparing the warp yarn, setting up the loom, beginning the weave, creating different weave patterns, incorporating colors and designs, finishing the rug, and cleaning and maintaining it, you have gained valuable knowledge and skills that will enable you to create beautiful and unique rugs.
Rug weaving is a craft that offers endless creative possibilities. With each rug you weave, you have the opportunity to experiment with different materials, colors, patterns, and techniques to express your artistic vision. Whether you are creating a rug for your own home or as a thoughtful gift for someone else, the handmade nature and personal touch of a woven rug bring warmth, character, and a sense of accomplishment into any space.
Remember, rug weaving is a journey of learning and growth. As you continue to hone your skills and explore new techniques, your rugs will become more refined and your designs more intricate. Embrace the process, experiment, and push the boundaries of your creativity. Rug weaving is not only about the final product but also about the enjoyment and fulfillment you experience along the way.
Take the time to appreciate the beauty and craftsmanship of each rug you create. Share your work with others, inspire fellow weavers, and continue to learn from the rich history and diverse traditions of rug weaving around the world. Rug weaving is truly an art form that connects us with our past and allows us to leave a lasting legacy for future generations to admire and appreciate.
We hope this guide has provided you with the necessary tools and inspiration to embark on your rug weaving journey. Remember, the possibilities are endless, and each rug you weave is a testament to your creativity and skill. So, gather your materials, set up your loom, and let your imagination run wild as you create beautiful, handwoven rugs that bring joy and beauty into your life and the lives of those around you.
Happy weaving!
Frequently Asked Questions about How To Weave Rugs
Was this page helpful?
At Storables.com, we guarantee accurate and reliable information. Our content, validated by Expert Board Contributors, is crafted following stringent Editorial Policies. We're committed to providing you with well-researched, expert-backed insights for all your informational needs.


0 thoughts on “How To Weave Rugs”