Articles
How To Charge Kitchenaid Immersion Blender
Modified: August 16, 2024
Discover the best articles on how to charge your Kitchenaid immersion blender. Get expert tips and tricks to ensure your blender has a full and efficient charge every time.
(Many of the links in this article redirect to a specific reviewed product. Your purchase of these products through affiliate links helps to generate commission for Storables.com, at no extra cost. Learn more)
Introduction
The Kitchenaid immersion blender is a handy and versatile tool that can help you effortlessly blend, puree, and mix various ingredients. Whether you’re making smoothies, soups, sauces, or even whipped cream, this compact and powerful blender can make your tasks much easier in the kitchen. One key aspect of owning and using a Kitchenaid immersion blender is knowing how to properly charge it to ensure optimal performance.
In this article, we will guide you through the step-by-step process of charging your Kitchenaid immersion blender. We will cover everything from gathering the necessary equipment to monitoring the charging progress and making sure your blender is fully charged. By following these instructions, you’ll be able to keep your blender charged and ready for all your culinary adventures.
Key Takeaways:
- Properly preparing, charging, and monitoring your Kitchenaid immersion blender ensures optimal performance and longevity. From gathering the necessary equipment to disconnecting and storing the charger, each step plays a crucial role in maintaining the blender’s functionality.
- By following the step-by-step process outlined in the article, you can confidently charge your Kitchenaid immersion blender and enjoy its incredible blending capabilities for years to come. Proper preparation, monitoring, and storage are key to maximizing the lifespan of your blender.
Step 1: Gather the necessary equipment
Before you begin charging your Kitchenaid immersion blender, it’s important to gather all the necessary equipment. This will ensure a smooth and efficient charging process. Here’s what you’ll need:
- A Kitchenaid immersion blender (model-specific)
- A compatible charging cable
- A power outlet
Make sure you have all these items readily available before proceeding to the next step. It’s essential to use the correct charging cable that is designed specifically for your Kitchenaid immersion blender model. Using a different cable may result in incompatible charging or even potential damage to your blender.
Step 2: Prepare the immersion blender
Before you connect the charger to your Kitchenaid immersion blender, it’s essential to prepare the blender for charging. Here’s what you need to do:
- Ensure the immersion blender is turned off: Before proceeding, make sure that your immersion blender is switched off and not in use. This will prevent any accidental start-up or mishaps during the charging process.
- Inspect the blender for any damages: Take a quick look at your immersion blender to ensure there are no visible damages or defects. If you notice any issues, such as cracks or broken parts, refrain from using the blender and get it repaired or replaced before attempting to charge it.
- Clean the blender thoroughly: Keeping your immersion blender clean is vital for its proper functioning. Before charging, clean the blender by dismantling any removable parts and washing them thoroughly with warm, soapy water. Rinse and dry them completely before reassembling the blender.
- Ensure the blender is completely dry: Moisture can damage electrical components, so it’s crucial to check that all parts of the immersion blender are completely dry before connecting the charger. Allow sufficient time for the blender to air dry or use a clean cloth to wipe away any moisture.
With these preparation steps completed, you’re now ready to move on to the next step of charging your Kitchenaid immersion blender.
Step 3: Locate the charging port
Next, you’ll need to locate the charging port on your Kitchenaid immersion blender. The charging port is where you will connect the charging cable to initiate the charging process. Follow these steps to find the charging port:
- Examine the body of the immersion blender: Take a close look at the body of your Kitchenaid immersion blender. The charging port is usually located on the handle or the base of the blender.
- Check for a small cover or flap: In some models, the charging port may be protected by a small cover or flap. If you see any such cover, gently open it to reveal the charging port underneath.
- Inspect for any labeling or markings: Manufacturers often label the charging port to make it easily identifiable. Look for any symbols or markings that indicate the location of the charging port.
If you are still unable to locate the charging port, refer to the user manual that came with your Kitchenaid immersion blender. The manual will provide specific instructions and illustrations regarding the charging port’s placement for your particular model.
Once you have located the charging port, you can proceed to the next step of connecting the charging cable.
Step 4: Connect the charging cable
Now that you have located the charging port on your Kitchenaid immersion blender, it’s time to connect the charging cable. Follow these steps to ensure a secure and proper connection:
- Take the charging cable: Pick up the charging cable that is compatible with your Kitchenaid immersion blender model. Ensure that the cable is in good condition, without any visible frays or damages.
- Align the charging cable: Orient the charging cable in the correct direction to match the charging port on your immersion blender. Make sure the connectors on both ends of the cable are aligned properly.
- Insert the charging cable: Gently insert the charging cable’s connector into the charging port on your Kitchenaid immersion blender. Apply steady pressure until the connector fits snugly into the port.
- Confirm the secure connection: Once the charging cable is inserted, give it a slight tug to ensure it is securely connected. A proper connection should not easily detach or come loose during the charging process.
To avoid any potential damage to the immersion blender or the charging cable, handle them with care while connecting them. Be gentle and avoid excessive force or rough handling.
With the charging cable successfully connected to your Kitchenaid immersion blender, you can move on to the next step of plugging in the charger.
Read more: How To Froth Milk With Immersion Blender
Step 5: Plug in the charger
Now that you have connected the charging cable to your Kitchenaid immersion blender, it’s time to plug in the charger. Follow these steps to safely plug in the charger:
- Locate a power outlet: Find a suitable power outlet near your kitchen counter or workspace. Ensure that the outlet is easily accessible and in good working condition.
- Inspect the charger: Take a quick look at the charger to make sure it is in proper working condition. Check for any damages or loose connections that could potentially affect the charging process.
- Align the charger prongs: Align the prongs of the charger with the power outlet. Ensure that the prongs are straight and not bent or damaged.
- Insert the prongs into the outlet: Gently push the charger prongs into the power outlet. Apply even pressure to insert them fully, ensuring a secure connection.
- Confirm the charger is receiving power: Look for any indicator lights on the charger to confirm that it is receiving power. This can vary depending on the charger model, so refer to the charger’s user manual for specific instructions.
It is important to note that while charging your Kitchenaid immersion blender, ensure that the power outlet and charger are not in contact with any water or moisture. This can pose a safety hazard and also damage the charger or blender.
Once you have successfully plugged in the charger, you are now ready to move on to the next step of actually charging your Kitchenaid immersion blender.
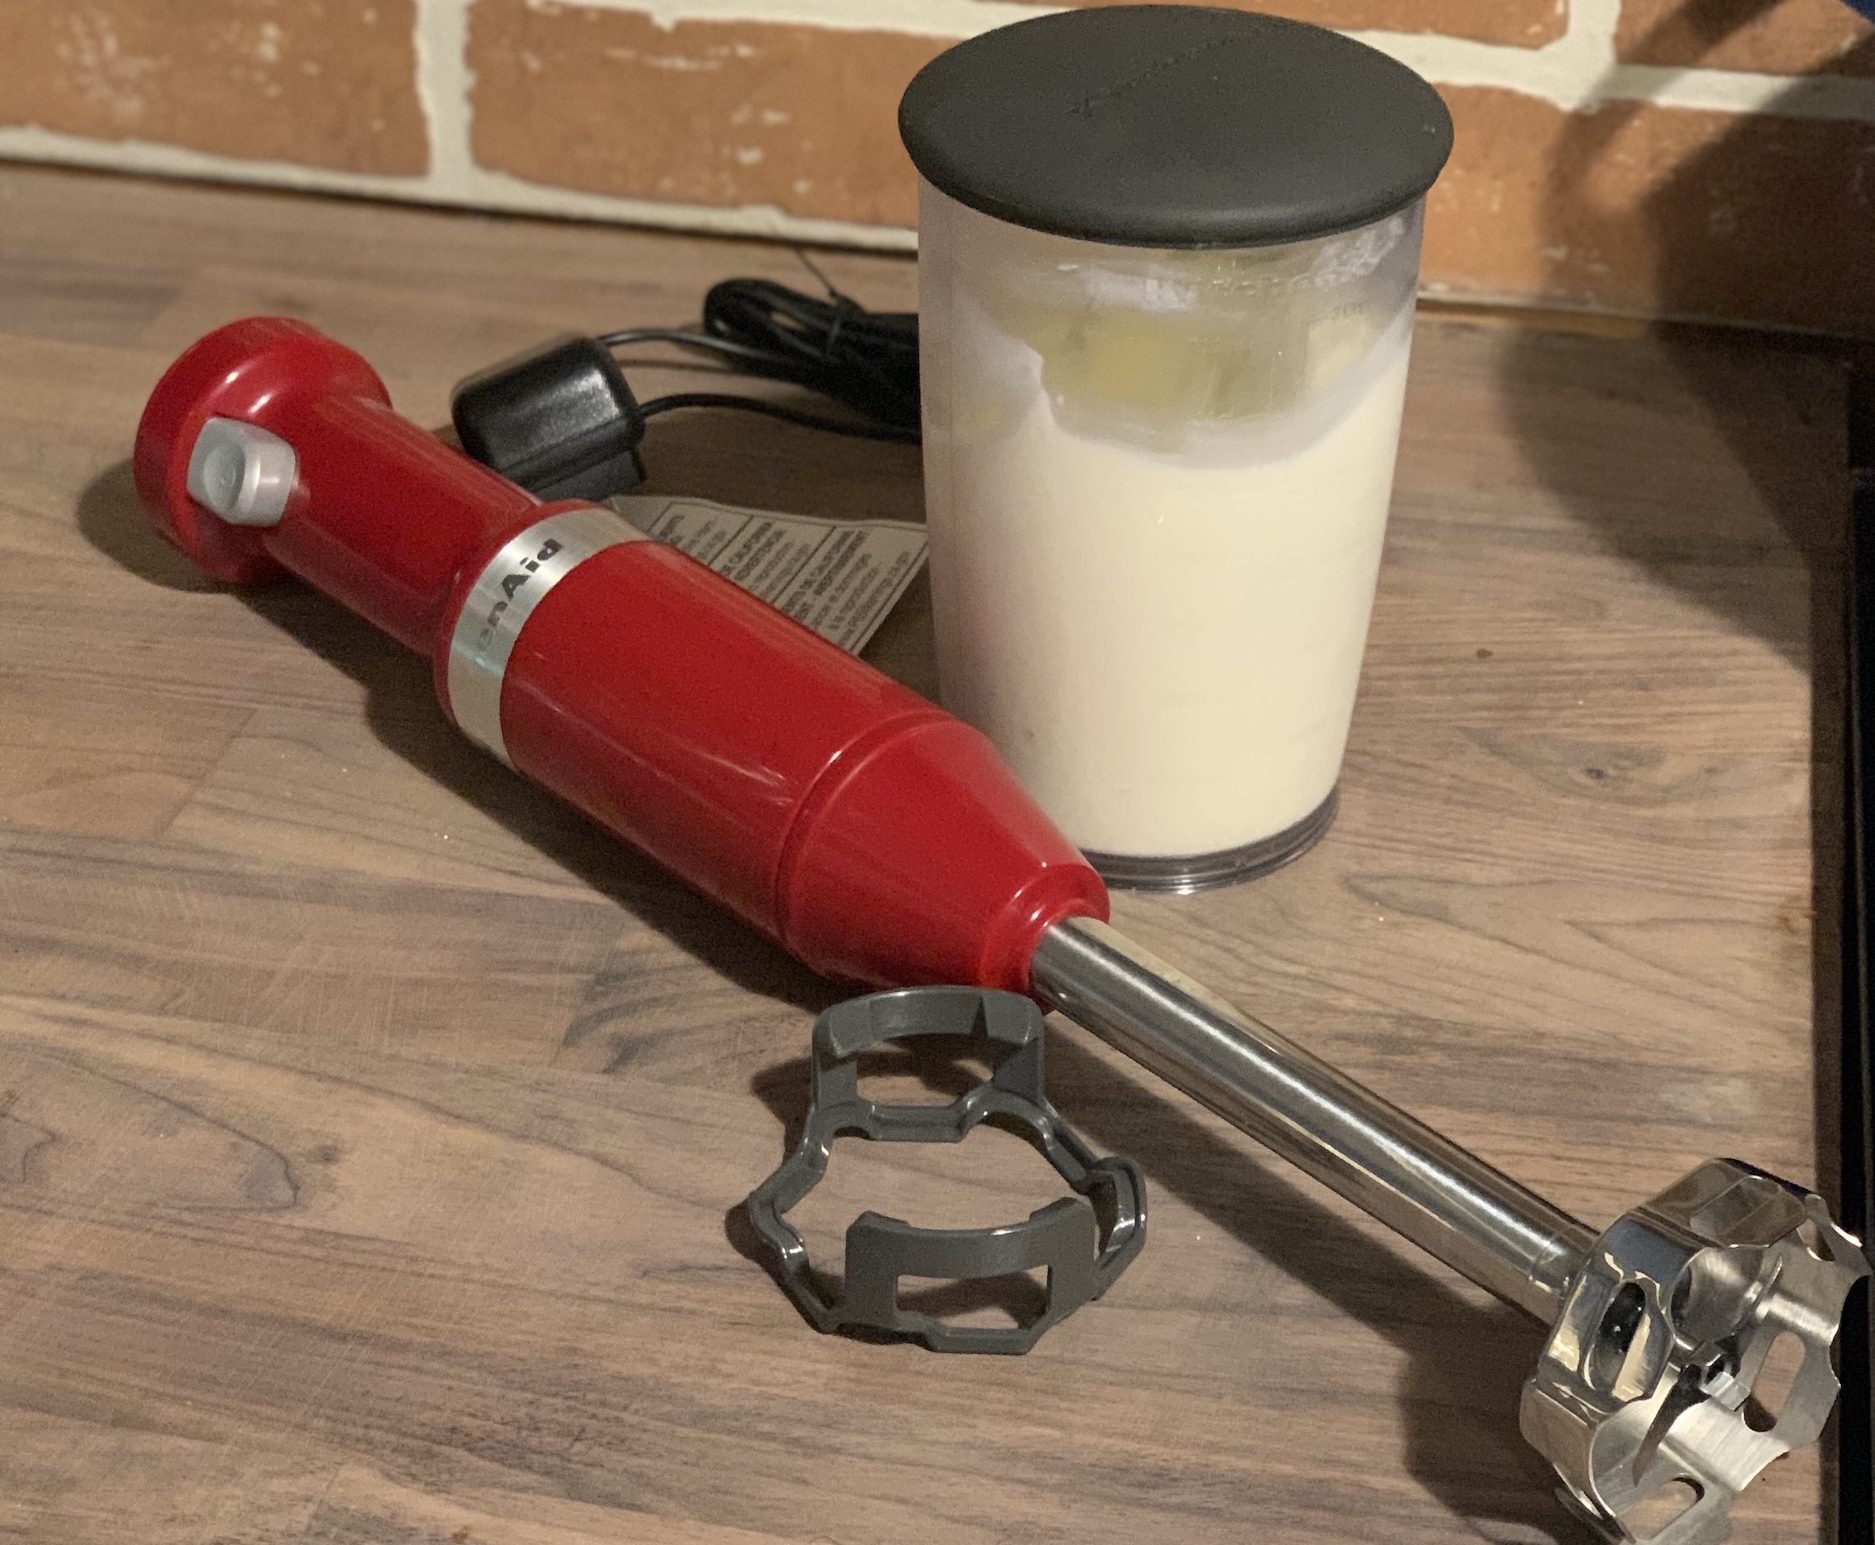
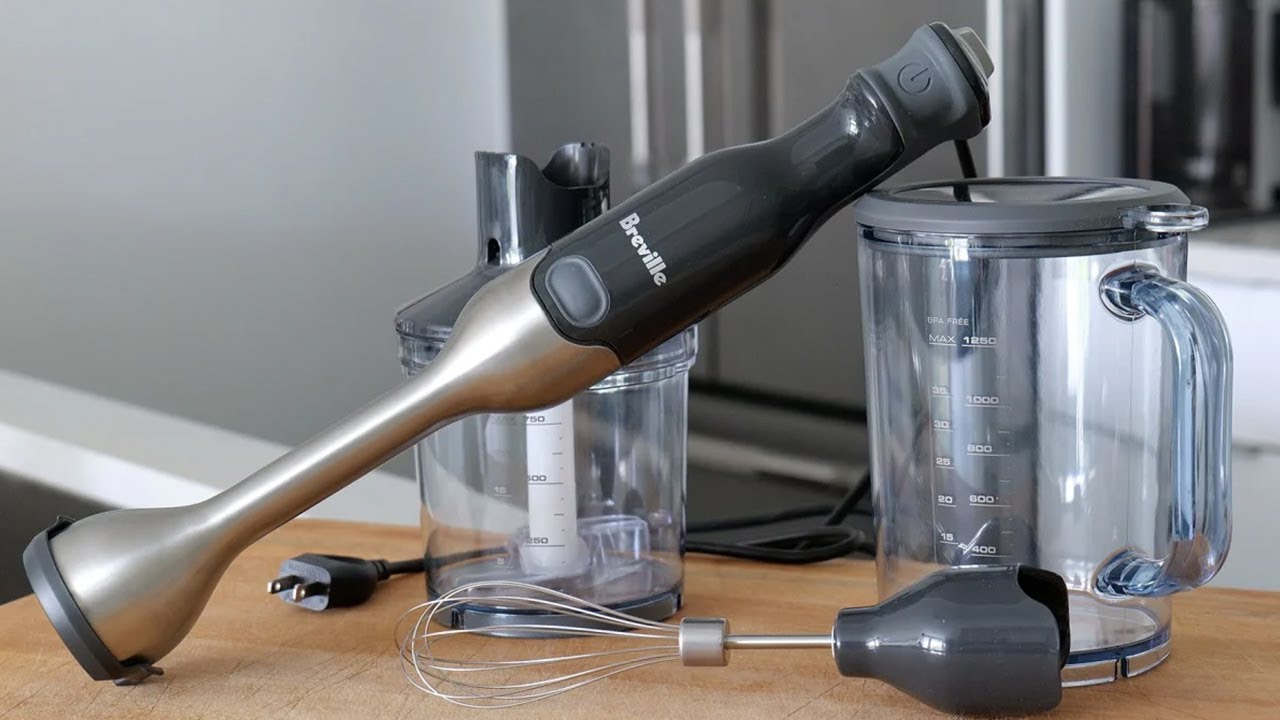
When charging your KitchenAid immersion blender, make sure to fully insert the charging adapter into the bottom of the blender. Allow it to charge for the recommended amount of time before use.
Step 6: Charge the Kitchenaid immersion blender
With the charger plugged in and ready, it’s time to charge your Kitchenaid immersion blender. Follow these steps to initiate the charging process:
- Ensure the immersion blender is placed on a stable surface: Find a stable and flat surface, such as a kitchen counter or table, to place your Kitchenaid immersion blender. This will ensure that it remains steady and secure throughout the charging process.
- Switch on the power: If your Kitchenaid immersion blender has a power switch or button, turn it on to activate the charging process. Some models may have an automatic charging system that starts charging as soon as the charger is connected.
- Check for charging indicators: Look for any charging indicators on your Kitchenaid immersion blender. These indicators can vary depending on the model but often take the form of LED lights or a display panel.
- Monitor the charging progress: Keep an eye on the charging indicators or display to observe the progress of the charging process. Different models may have different indicators to show the level of charge. Typically, the indicators will show a gradual increase in charge or a specific percentage.
- Allow sufficient charging time: The time it takes to fully charge your Kitchenaid immersion blender will depend on various factors such as the model, battery capacity, and current charge level. Refer to the user manual for an estimated charging time specific to your blender.
During the charging process, it’s important not to disconnect the charger or remove the blender from the charging position until it is fully charged. Interrupting the charging process prematurely can result in incomplete charging or reduced battery life.
Once the Kitchenaid immersion blender is fully charged, the charging indicators or display will indicate that the process is complete. Now, it’s time to move on to the next step of disconnecting the charger.
Step 7: Monitor the charging progress
While your Kitchenaid immersion blender is charging, it’s important to monitor the charging progress to ensure a successful and efficient charging process. Here are some tips for monitoring the charging progress:
- Observe the charging indicators or display: Keep an eye on any charging indicators or display on your Kitchenaid immersion blender. These indicators are designed to provide information about the current charge level.
- Take note of the charging time: Depending on the model and battery capacity, the charging time may vary. Refer to the user manual to determine the estimated charging time for your specific blender.
- Ensure a steady increase in charge: As the blender charges, you should see a steady increase in the charge level. This can be indicated by LED lights, a progress bar, or a percentage displayed on the blender or charging base.
- Look out for any abnormal signs: While monitoring the charging progress, watch out for any unusual signs. If you notice a sudden drop in charge, flickering lights, or any other unexpected behavior, it may indicate an issue with the charger or blender. In such cases, it is recommended to contact Kitchenaid customer support for assistance.
- Avoid overcharging: It is important to avoid overcharging your Kitchenaid immersion blender. Once it reaches a full charge, disconnect the charger to prevent any potential damage to the battery or the blender itself.
By monitoring the charging progress, you can ensure that your Kitchenaid immersion blender is charging properly and will be ready to use when needed. Remember to be patient and allow the blender sufficient time to reach a full charge.
Once you are satisfied with the charging progress and the blender is fully charged, it’s time to move on to the next step of disconnecting the charger.
Step 8: Disconnect the charger
Once your Kitchenaid immersion blender has finished charging, it is important to properly disconnect the charger to ensure the safety and longevity of your blender. Follow these steps to disconnect the charger:
- Switch off the power: If your blender has a power switch or button, turn it off before disconnecting the charger. This helps prevent any accidental starts or mishaps.
- Unplug the charger from the power outlet: Gently pull the charger prongs out of the power outlet. Make sure to grasp the plug itself, not the cord, to avoid any damage.
- Remove the charging cable from the blender: Carefully detach the charging cable from the charging port on your Kitchenaid immersion blender. Hold the cable by the connector and pull straight out to remove it without exerting excessive force.
When disconnecting the charger, be cautious not to pull on the cord forcefully or yank it out at an angle. Doing so can cause damage to the charger, cable, or even the charging port on the blender.
Once the charger is safely disconnected, you can proceed to the next step of ensuring that your Kitchenaid immersion blender is fully charged.
Read more: How To Store Immersion Blender
Step 9: Make sure the blender is fully charged
After disconnecting the charger, it’s essential to verify that your Kitchenaid immersion blender is fully charged before using it. Here’s how to confirm the charge level:
- Refer to the charging indicators: Check the charging indicators or display on your blender to see if it indicates a full charge. This can be shown through a solid LED light, a fully filled progress bar, or a specific message displayed on the blender.
- Consult the user manual: If you’re unsure about the charging indicators or want more precise information, refer to the user manual. The manual will provide specific details on how to determine if your particular model is fully charged.
- Wait for the recommended charging time: If you’ve followed the recommended charging time for your Kitchenaid immersion blender, chances are it should be fully charged. However, it’s always a good idea to allow a little extra time to ensure complete charging.
- Perform a test run: If you want to be absolutely certain, you can perform a quick test run with your blender to see if it operates at full power. Use it for a short blend or mixing task to ensure that the battery is fully charged and providing the expected performance.
It’s important to note that different models of Kitchenaid immersion blenders may have varied charging times and methods of indicating a full charge. Always refer to the specific instructions and guidelines provided by Kitchenaid to ensure you have an accurate assessment of the charge level.
Once you are confident that your Kitchenaid immersion blender is fully charged, you can move on to the final step of unplugging the charger and storing it properly.
Step 10: Unplug the charger and store it properly
After confirming that your Kitchenaid immersion blender is fully charged, it’s time to unplug the charger and store it properly to maintain its longevity and ensure it’s ready for future use. Follow these steps to safely unplug and store the charger:
- Switch off the blender: Before you unplug the charger, make sure your Kitchenaid immersion blender is switched off and not in use. This will prevent any accidental starts or mishaps during the process.
- Carefully unplug the charger cord: Gently pull the charger cord out of the charging port on your blender. Avoid tugging on the cord forcefully or at an angle to prevent any damage to the cord or charging port.
- Wind the charger cord properly: To prevent any tangling or damage, neatly wind the charger cord. You can use the cord’s built-in clips or ties to secure it in place. Avoid tightly winding the cord, as this can lead to strain and potential damage over time.
- Store the charger in a safe place: Find a clean and dry area to store the charger. It’s best to store it in a location where it won’t be subjected to excessive heat, humidity, or potential damage. If your blender came with a storage compartment, use it to keep the charger organized and protected.
Properly storing the charger ensures that it remains in good condition and ready for your next charging session. This step also helps prevent any accidents or damage caused by a loose or tangled charger cord.
Remember to store the charger in a place where it is easily accessible for future use. This way, you can conveniently charge your Kitchenaid immersion blender whenever it’s needed.
By following these steps and properly storing the charger, you can maintain the longevity of both the charger and your Kitchenaid immersion blender.
Conclusion
Charging your Kitchenaid immersion blender is a simple yet crucial aspect of maintaining its performance and usability. By following the step-by-step process outlined in this article, you can ensure that your blender is always ready for use whenever you need it in the kitchen.
From gathering the necessary equipment to disconnecting the charger and storing it properly, each step plays a vital role in the charging process. Taking the time to prepare the blender, locate the charging port, and connect the charger correctly will ensure a safe and efficient charging experience.
Monitoring the charging progress and ensuring the blender is fully charged is equally important for optimal performance. By adhering to the recommended charging time and verifying the charge level through the indicators or user manual, you can be confident that your Kitchenaid immersion blender is ready to go.
Lastly, properly unplugging the charger and storing it in a safe place helps maintain the longevity of both the charger and blender. Avoiding tangles and protecting the charger from potential damage ensures it remains in good working condition for future use.
By following these guidelines, you can maximize the lifespan of your Kitchenaid immersion blender and enjoy its incredible blending capabilities for years to come. So, whether you’re whipping up a batch of salsa, blending a smoothie, or pureeing a soup, you can rely on a fully charged Kitchenaid immersion blender to assist you in creating culinary masterpieces with ease.
Frequently Asked Questions about How To Charge Kitchenaid Immersion Blender
Was this page helpful?
At Storables.com, we guarantee accurate and reliable information. Our content, validated by Expert Board Contributors, is crafted following stringent Editorial Policies. We're committed to providing you with well-researched, expert-backed insights for all your informational needs.


0 thoughts on “How To Charge Kitchenaid Immersion Blender”