Articles
How To Use A Kitchenaid Blender
Modified: August 28, 2024
Learn how to use a Kitchenaid blender with our informative articles. Discover tips, tricks, and recipes to make your blending experience even better.
(Many of the links in this article redirect to a specific reviewed product. Your purchase of these products through affiliate links helps to generate commission for Storables.com, at no extra cost. Learn more)
Introduction
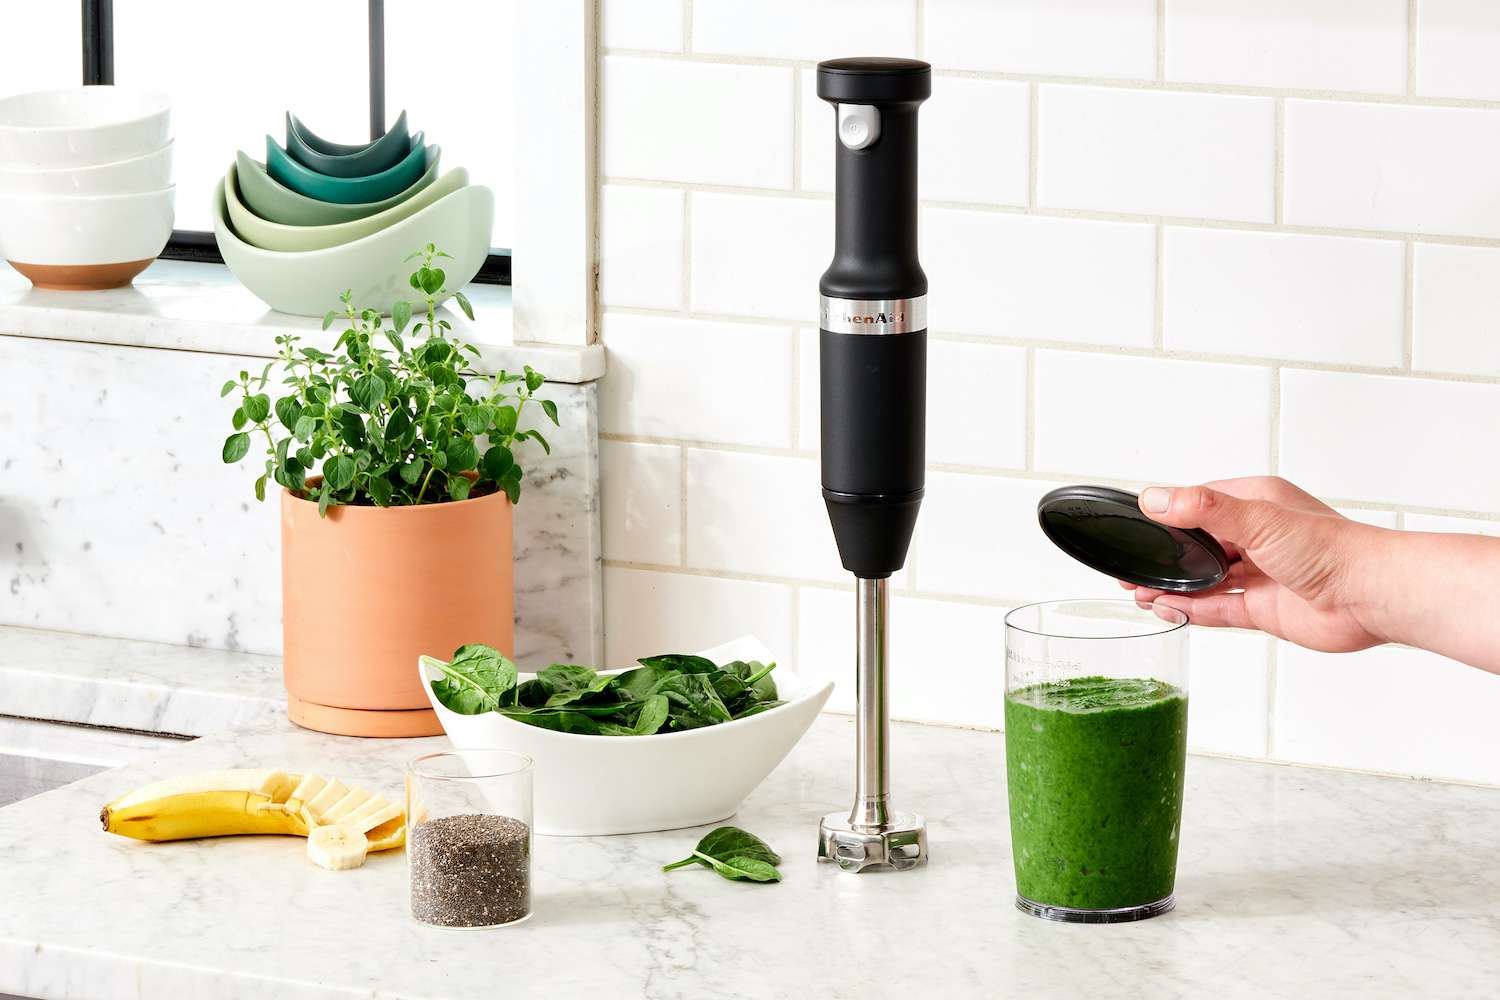
Welcome to the world of KitchenAid blenders! Whether you are a seasoned chef or an amateur cook, having a high-quality blender like KitchenAid can be a game-changer in the kitchen. From whipping up smoothies and shakes to pureeing soups and even crushing ice, a KitchenAid blender is a versatile tool that can help you create a wide range of delicious recipes.
In this article, we will guide you through the process of using your KitchenAid blender efficiently and effectively. We’ll cover everything from assembling the blender to using its various controls, as well as providing tips on blending solid ingredients, making smoothies and milkshakes, and even crushing ice. We’ll also offer advice on cleaning and maintaining your blender and troubleshooting any common issues you may encounter.
Before we dive into the specifics, it’s essential to familiarize yourself with the different parts and features of your KitchenAid blender. This will help you understand how to operate it correctly and make the most out of its capabilities.
Key Takeaways:
- Master the art of using your KitchenAid blender by assembling it correctly, understanding the controls, and blending solid ingredients effectively. Create delicious smoothies, crush ice, and maintain your blender for long-lasting performance.
- Troubleshoot common blender issues with ease and confidence, ensuring smooth blending experiences. Unleash your creativity in the kitchen and enjoy the versatility of your KitchenAid blender for endless culinary adventures.
Read more: How To Charge Kitchenaid Immersion Blender
Getting Familiar with Your KitchenAid Blender
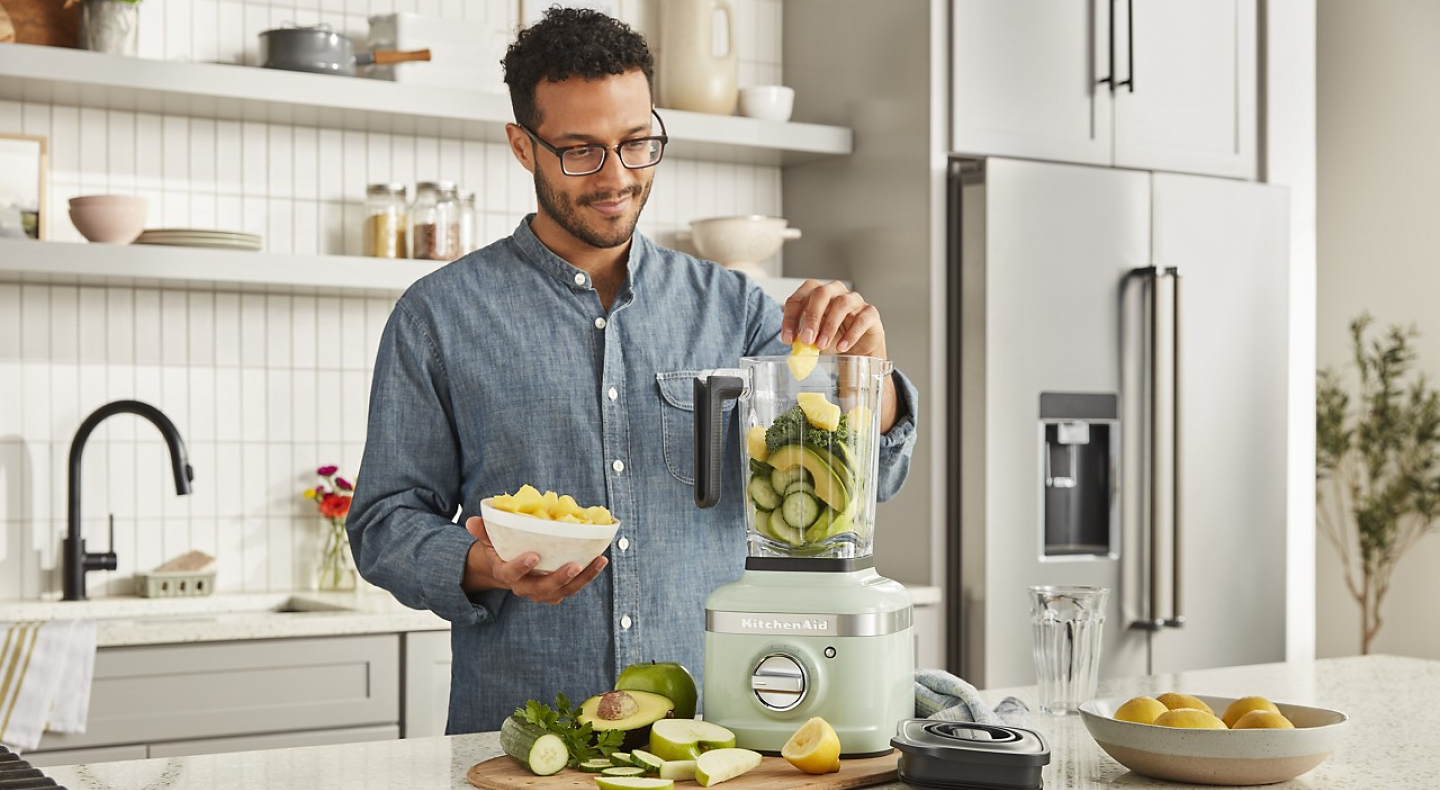
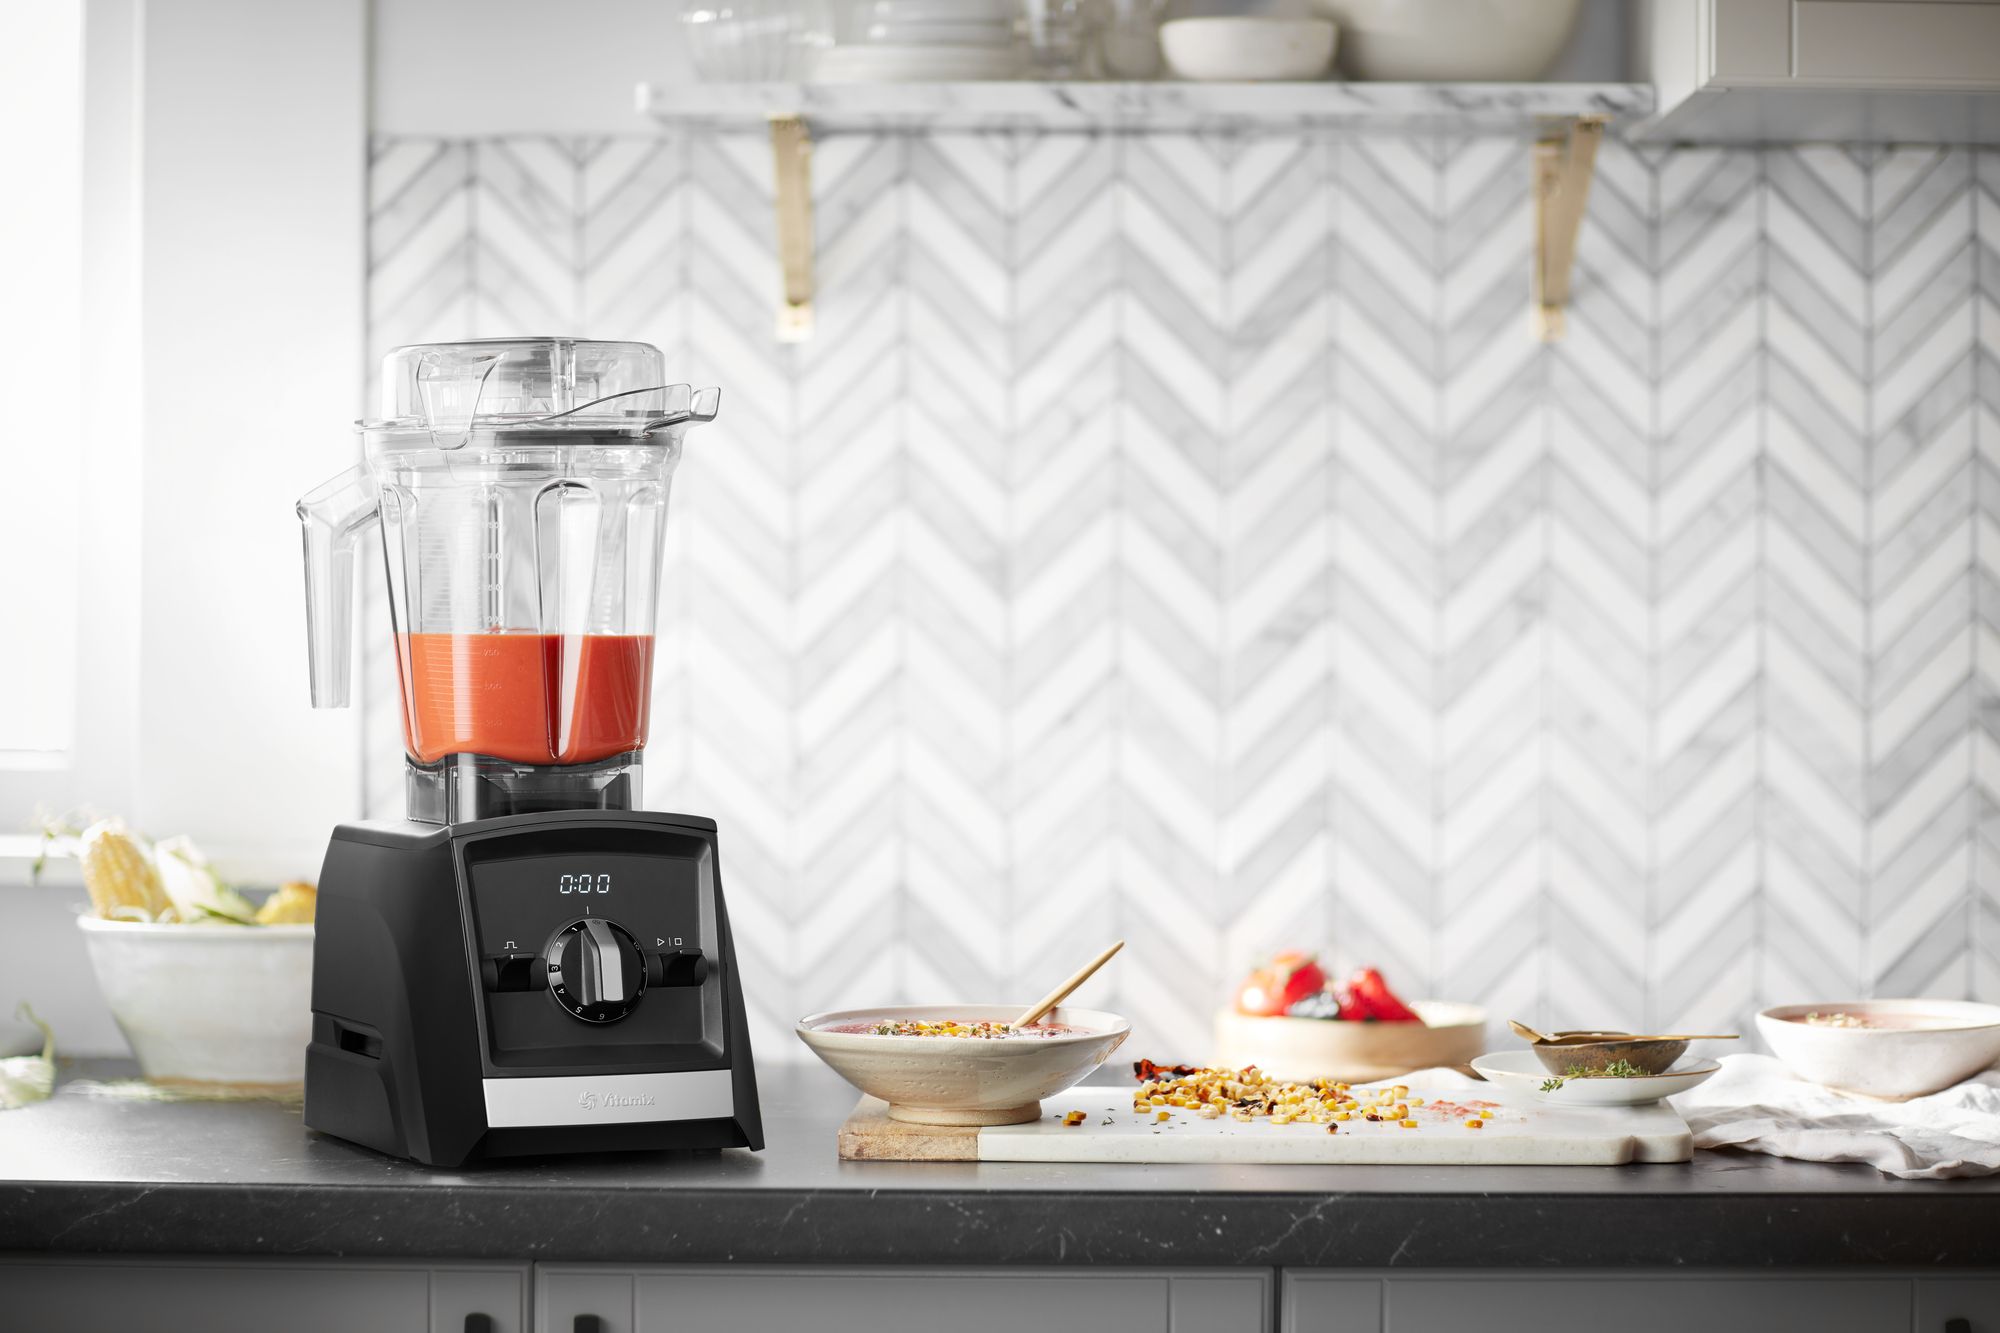
Before using your KitchenAid blender, take a moment to examine its components. The blender typically consists of a motor base, a pitcher or jar, and a lid. The motor base contains the power and control buttons, while the pitcher or jar is where the ingredients are placed for blending. The lid serves to secure the ingredients inside the jar during operation.
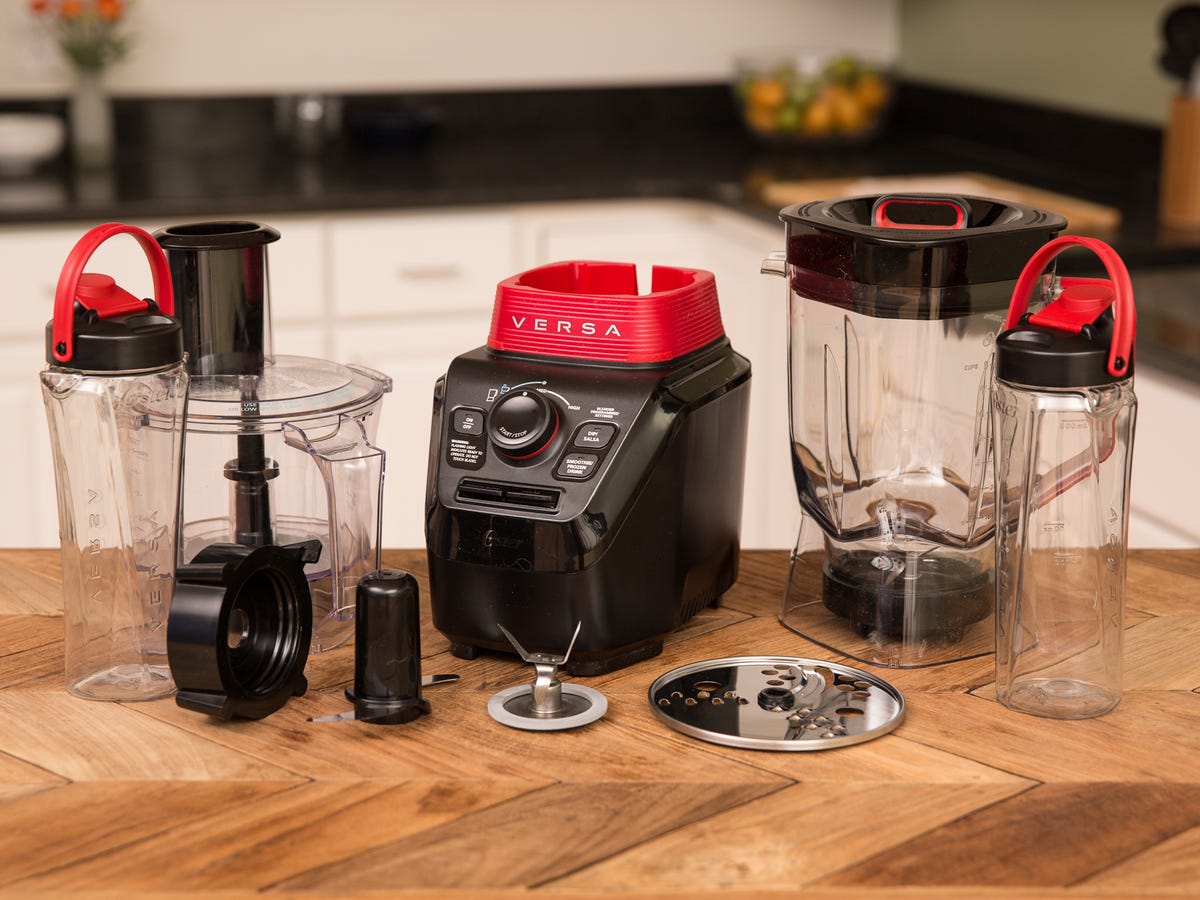
Some KitchenAid blenders may also come with additional attachments or blades for more specialized tasks, such as chopping or grinding. Familiarize yourself with these extra features to make the most of your blender’s capabilities.
Now that you have a basic understanding of the different parts of your KitchenAid blender, let’s proceed to the next step: assembling the blender for use.
Key Takeaways:
- Master the art of using your KitchenAid blender by assembling it correctly, understanding the controls, and blending solid ingredients effectively. Create delicious smoothies, crush ice, and maintain your blender for long-lasting performance.
- Troubleshoot common blender issues with ease and confidence, ensuring smooth blending experiences. Unleash your creativity in the kitchen and enjoy the versatility of your KitchenAid blender for endless culinary adventures.
Read more: How To Charge Kitchenaid Immersion Blender
Getting Familiar with Your KitchenAid Blender
Before using your KitchenAid blender, it’s important to become acquainted with its various components. By understanding the different parts and features of your blender, you’ll be able to operate it confidently and make the most out of its capabilities.
Most KitchenAid blenders consist of three main components: the motor base, the pitcher or jar, and the lid. The motor base houses the power and control buttons, while the pitcher or jar is where you place the ingredients for blending. The lid is used to securely cover the jar during operation.
Take a moment to examine and familiarize yourself with each of these components. Check for any potential defects or damages, ensuring that everything is in good working condition. If you come across any issues, it’s best to contact the manufacturer or a certified repair center for assistance.
Furthermore, some KitchenAid blenders may come with additional attachments or blades for more specialized tasks. These attachments can include a chopper or grinder, allowing you to expand the blender’s functionality beyond standard blending.
Once you have examined the different parts of your KitchenAid blender, it’s time to assemble it for use. Let’s move on to the next section to learn how to properly assemble your blender.
Assembling the KitchenAid Blender
Assembling your KitchenAid blender is a straightforward process that involves securely placing each component in its designated position. Follow these steps to assemble your blender:
- Start by placing the motor base on a flat and sturdy surface. Ensure that the power cord is within reach of an electrical outlet.
- Next, take the pitcher or jar and remove any packaging materials or stickers. Place it on the motor base, aligning the pitcher’s base with the base of the motor.
- Rotate the pitcher clockwise until it locks into place. You should feel a slight click or resistance indicating that the pitcher is securely attached to the motor base.
- Check if your blender has a removable blade assembly, which is a separate part that attaches to the pitcher’s base. If it does, insert the blade assembly into the pitcher by aligning it with the designated slots and twisting it clockwise to lock it in place.
- If your blender has a lid, place it on top of the pitcher. Ensure that the lid is aligned with the handle of the pitcher to ensure a proper fit.
- Some KitchenAid blenders may have additional attachments or blades. If you have any of these attachments, refer to the user manual for the specific instructions on how to assemble them.
Once you have assembled your KitchenAid blender, gently give it a slight twist to ensure that all components are securely locked in place.
Now that your blender is properly assembled, it’s time to familiarize yourself with the different controls and settings. In the next section, we will explore how to use the controls of your KitchenAid blender effectively.
Using the Blender Controls
The controls on your KitchenAid blender allow you to customize the blending process according to your needs. Understanding how to use these controls will ensure that you achieve the desired consistency and texture for your recipes. Here’s a breakdown of the common blender controls:
- Power Button: Located on the motor base, the power button turns the blender on and off. Press this button to start the blending process, and press it again to stop the blender.
- Speed Settings: Most KitchenAid blenders offer multiple speed options, allowing you to adjust the blending speed according to the ingredients and recipe requirements. These speed settings can range from low to high, with some blenders even offering pulse functions for quick bursts of blending power. Experiment with different speeds to find the one that works best for your recipes.
- Ice Crush Button (if applicable): If your KitchenAid blender has an ice crush function, it is specifically designed to handle crushing ice effectively. This button sets the blender to the ideal speed and power to crush ice without damaging the blades or motor.
- Timer or Countdown Display (if applicable): Some advanced blenders may come with a timer or countdown display, allowing you to set a specific blending duration. This feature can be helpful for recipes that require precise blending times, such as making soups or sauces.
- Pulse Button: The pulse button provides short bursts of blending power at a high speed. It is useful for tasks that require quick pulsing, such as chopping vegetables or blending chunky ingredients.
When using the blender controls, it’s essential to start at a low speed and gradually increase as needed. This will prevent the ingredients from splattering or overflowing out of the pitcher. Additionally, avoid overfilling the pitcher to prevent any spills or leaks during the blending process.
Familiarize yourself with the specific functions and buttons of your KitchenAid blender by referring to the user manual provided by the manufacturer. Understanding how to use the controls effectively will make your blending experience more efficient and enjoyable.
In the next section, we will explore how to blend solid ingredients effectively with your KitchenAid blender.
Read also: 14 Best Kitchenaid Blender for 2025
Blending Solid Ingredients
Your KitchenAid blender is more than capable of handling various solid ingredients, whether it’s fruits, vegetables, or even nuts. However, to ensure smooth and consistent blending, it’s important to follow a few key steps:
- Cut Ingredients into Small Pieces: Before adding solid ingredients to the blender, it’s recommended to cut them into smaller pieces. This allows for easier blending and reduces the strain on the blender motor. For example, if you are blending fruits, chop them into smaller chunks to ensure even blending.
- Add Liquid: When blending solid ingredients, it’s important to include a liquid component to help facilitate the blending process. The liquid can be water, juice, milk, or any other liquid specified in your recipe. Start with a small amount and adjust as needed to achieve the desired consistency.
- Pulse Function: To start blending solid ingredients, use the pulse function. This function provides short bursts of power, allowing the blender to break down the ingredients gradually. Pulse a few times until the ingredients begin to blend together.
- Gradually Increase Speed: Once the solid ingredients have started to blend, gradually increase the speed setting to a higher speed. This will help achieve a smoother and more homogeneous texture. Be cautious not to over blend, as it can result in a loss of texture and overprocessing.
- Scrape Down the Sides: Occasionally, solid ingredients can stick to the sides of the blender jar during blending. To ensure even blending, stop the blender and use a spatula to scrape down the sides, pushing any stray pieces towards the blades. Then, continue blending until the desired consistency is achieved.
Remember to refer to your recipe instructions for specific blending times and techniques. Different recipes may require different blending durations and speeds.
Having mastered the art of blending solid ingredients, let’s move on to creating delicious smoothies and milkshakes with your KitchenAid blender in the next section.
When using a Kitchenaid blender, always start with the liquid ingredients at the bottom to ensure smooth blending. This will help the blades to catch and blend the solid ingredients more effectively.
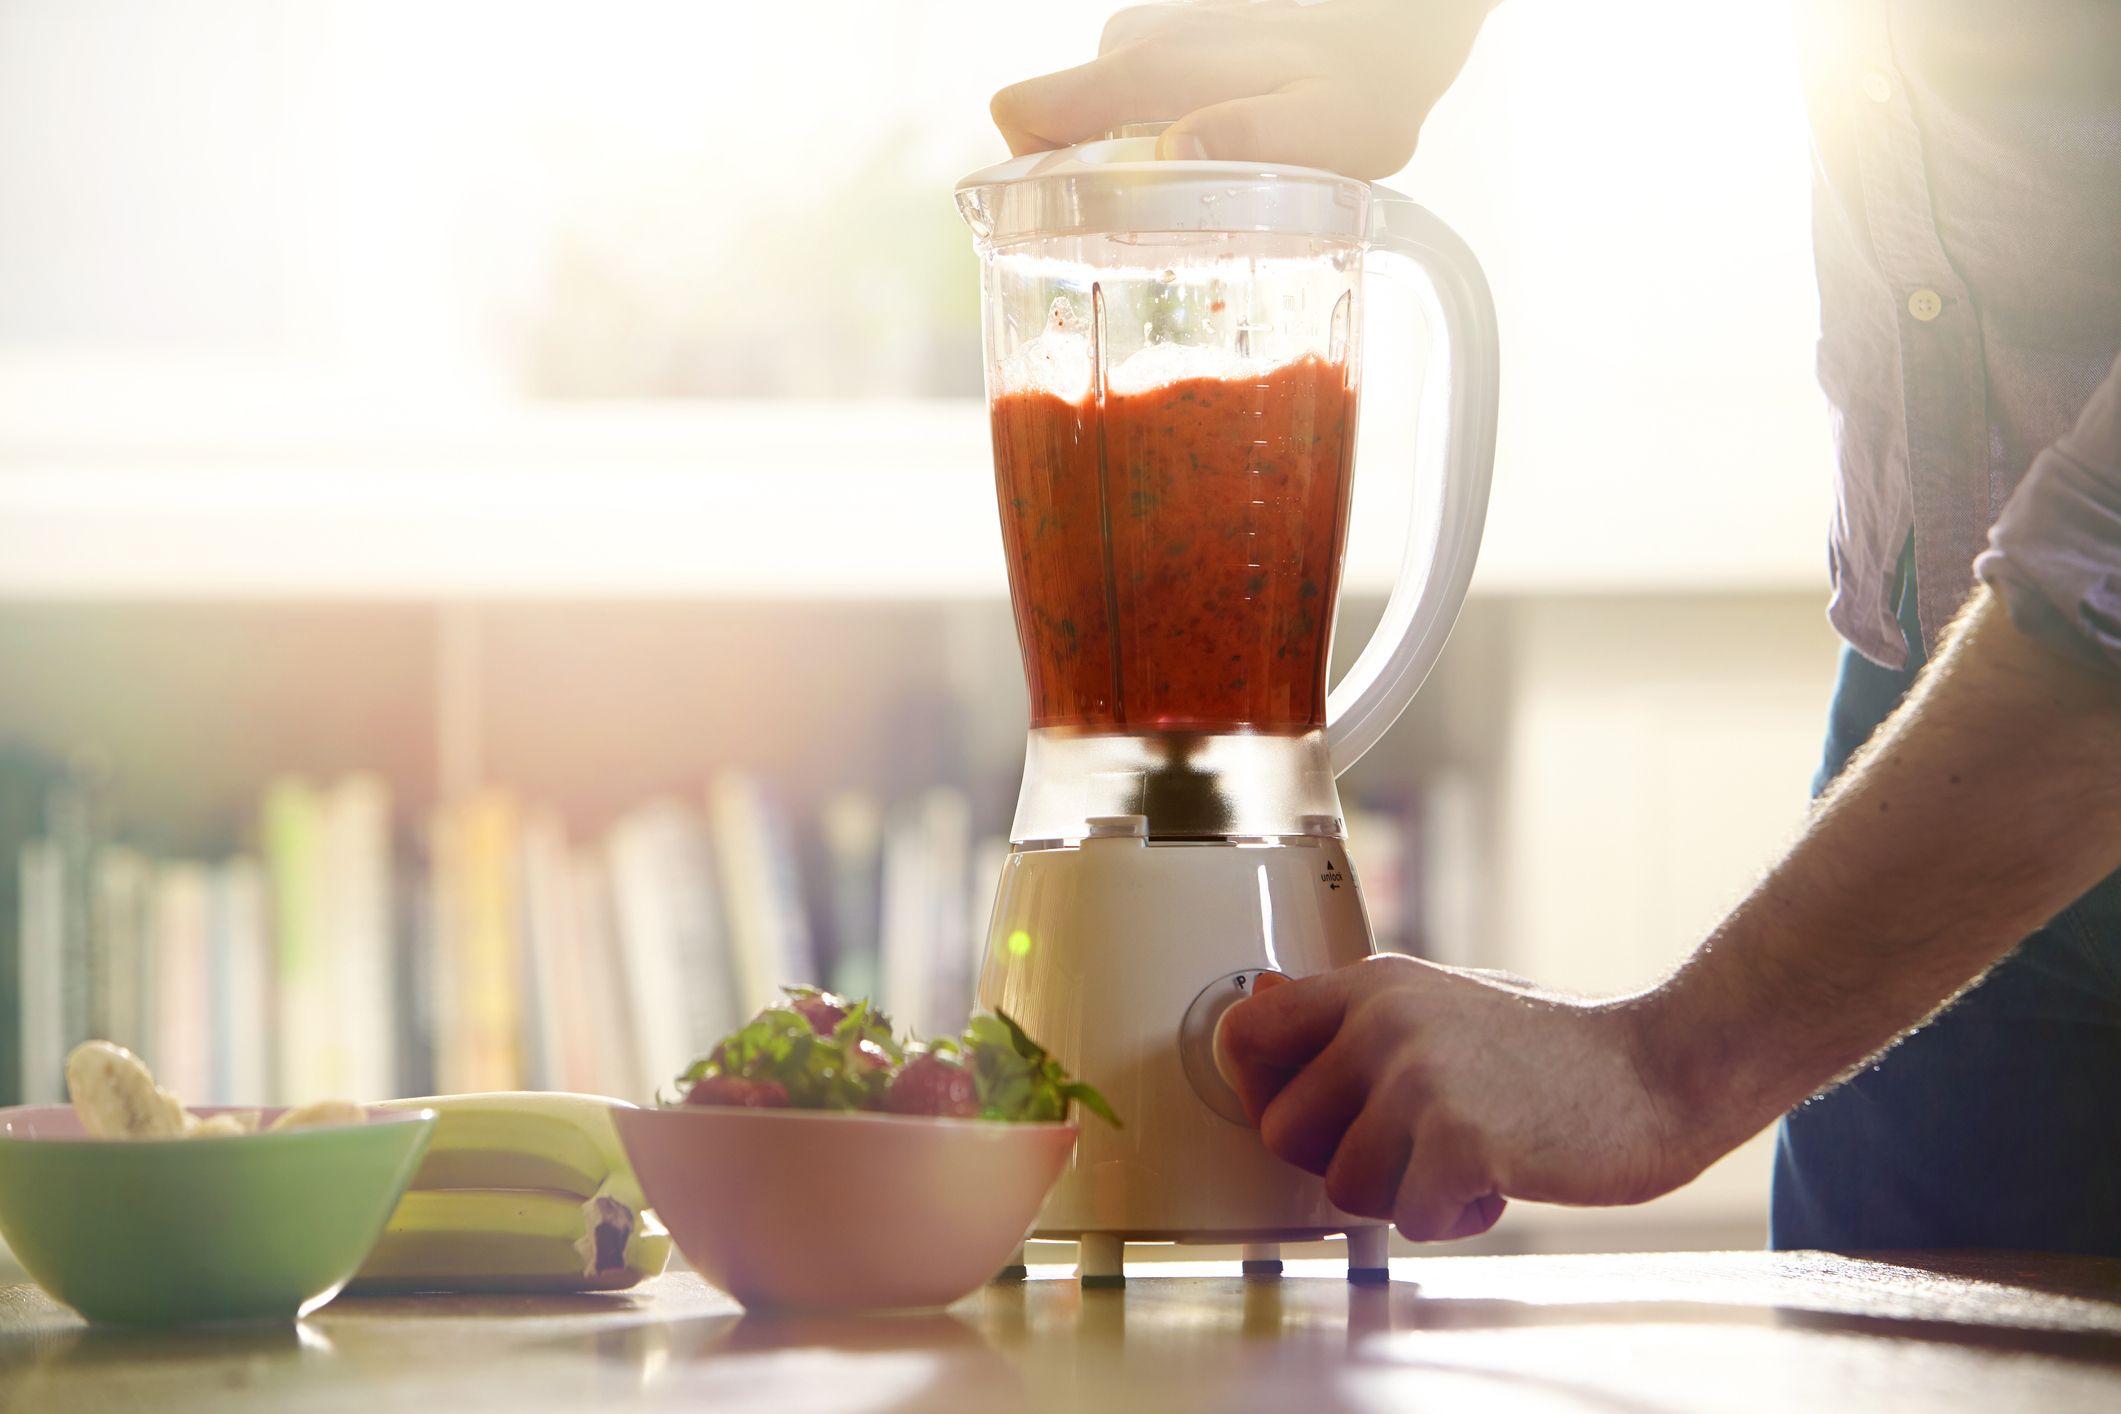
Making Smoothies and Milkshakes
One of the most popular uses for a KitchenAid blender is making delicious smoothies and milkshakes. These refreshing beverages are not only tasty but also pack a nutritional punch. Here are some tips for making the perfect smoothies and milkshakes:
- Select Your Ingredients: Choose a variety of fruits, such as berries, bananas, or mangoes, to create a flavor combination that suits your taste. You can also include leafy greens like spinach or kale for added nutritional benefits. For milkshakes, consider using ice cream or frozen yogurt as your base.
- Add Liquid Base: Start by adding a liquid base to the blender, such as milk, almond milk, or yogurt. This will help achieve a smooth and creamy texture. The amount of liquid required will depend on your preference and the thickness of the final beverage.
- Incorporate Sweeteners (Optional): If you prefer your smoothie or milkshake to be on the sweeter side, you can add sweeteners like honey, agave syrup, or sugar. Adjust the amount based on your desired level of sweetness.
- Add Solid Ingredients: Next, add your chosen fruits or other solid ingredients to the blender. Remember to cut them into small pieces to ensure even blending.
- Select the Blending Speed: Start blending at a low speed and gradually increase as needed. This will help break down the ingredients and create a smooth consistency.
- Pulse for Chunky Texture (Optional): For those who prefer a chunkier texture in their smoothies or milkshakes, you can use the pulse function to achieve this. Blend the ingredients briefly with short bursts of power to keep some small chunks intact.
- Blend Until Smooth: Continue blending until all the ingredients are fully incorporated, and you have achieved the desired smoothness. If necessary, scrape down the sides of the blender jar to ensure thorough blending.
- Serve and Enjoy: Once the smoothie or milkshake is blended to perfection, pour it into a glass and garnish with toppings like fresh fruit, whipped cream, or a sprinkle of cinnamon. Sit back, relax, and enjoy your delicious and nutritious creation!
Feel free to experiment with different flavor combinations and add-ins like protein powder, nut butter, or seeds to customize your smoothies and milkshakes. Let your creativity run wild and enjoy the endless possibilities!
In the next section, we’ll explore how to use your KitchenAid blender to crush ice – perfect for refreshing summer beverages and frozen treats.
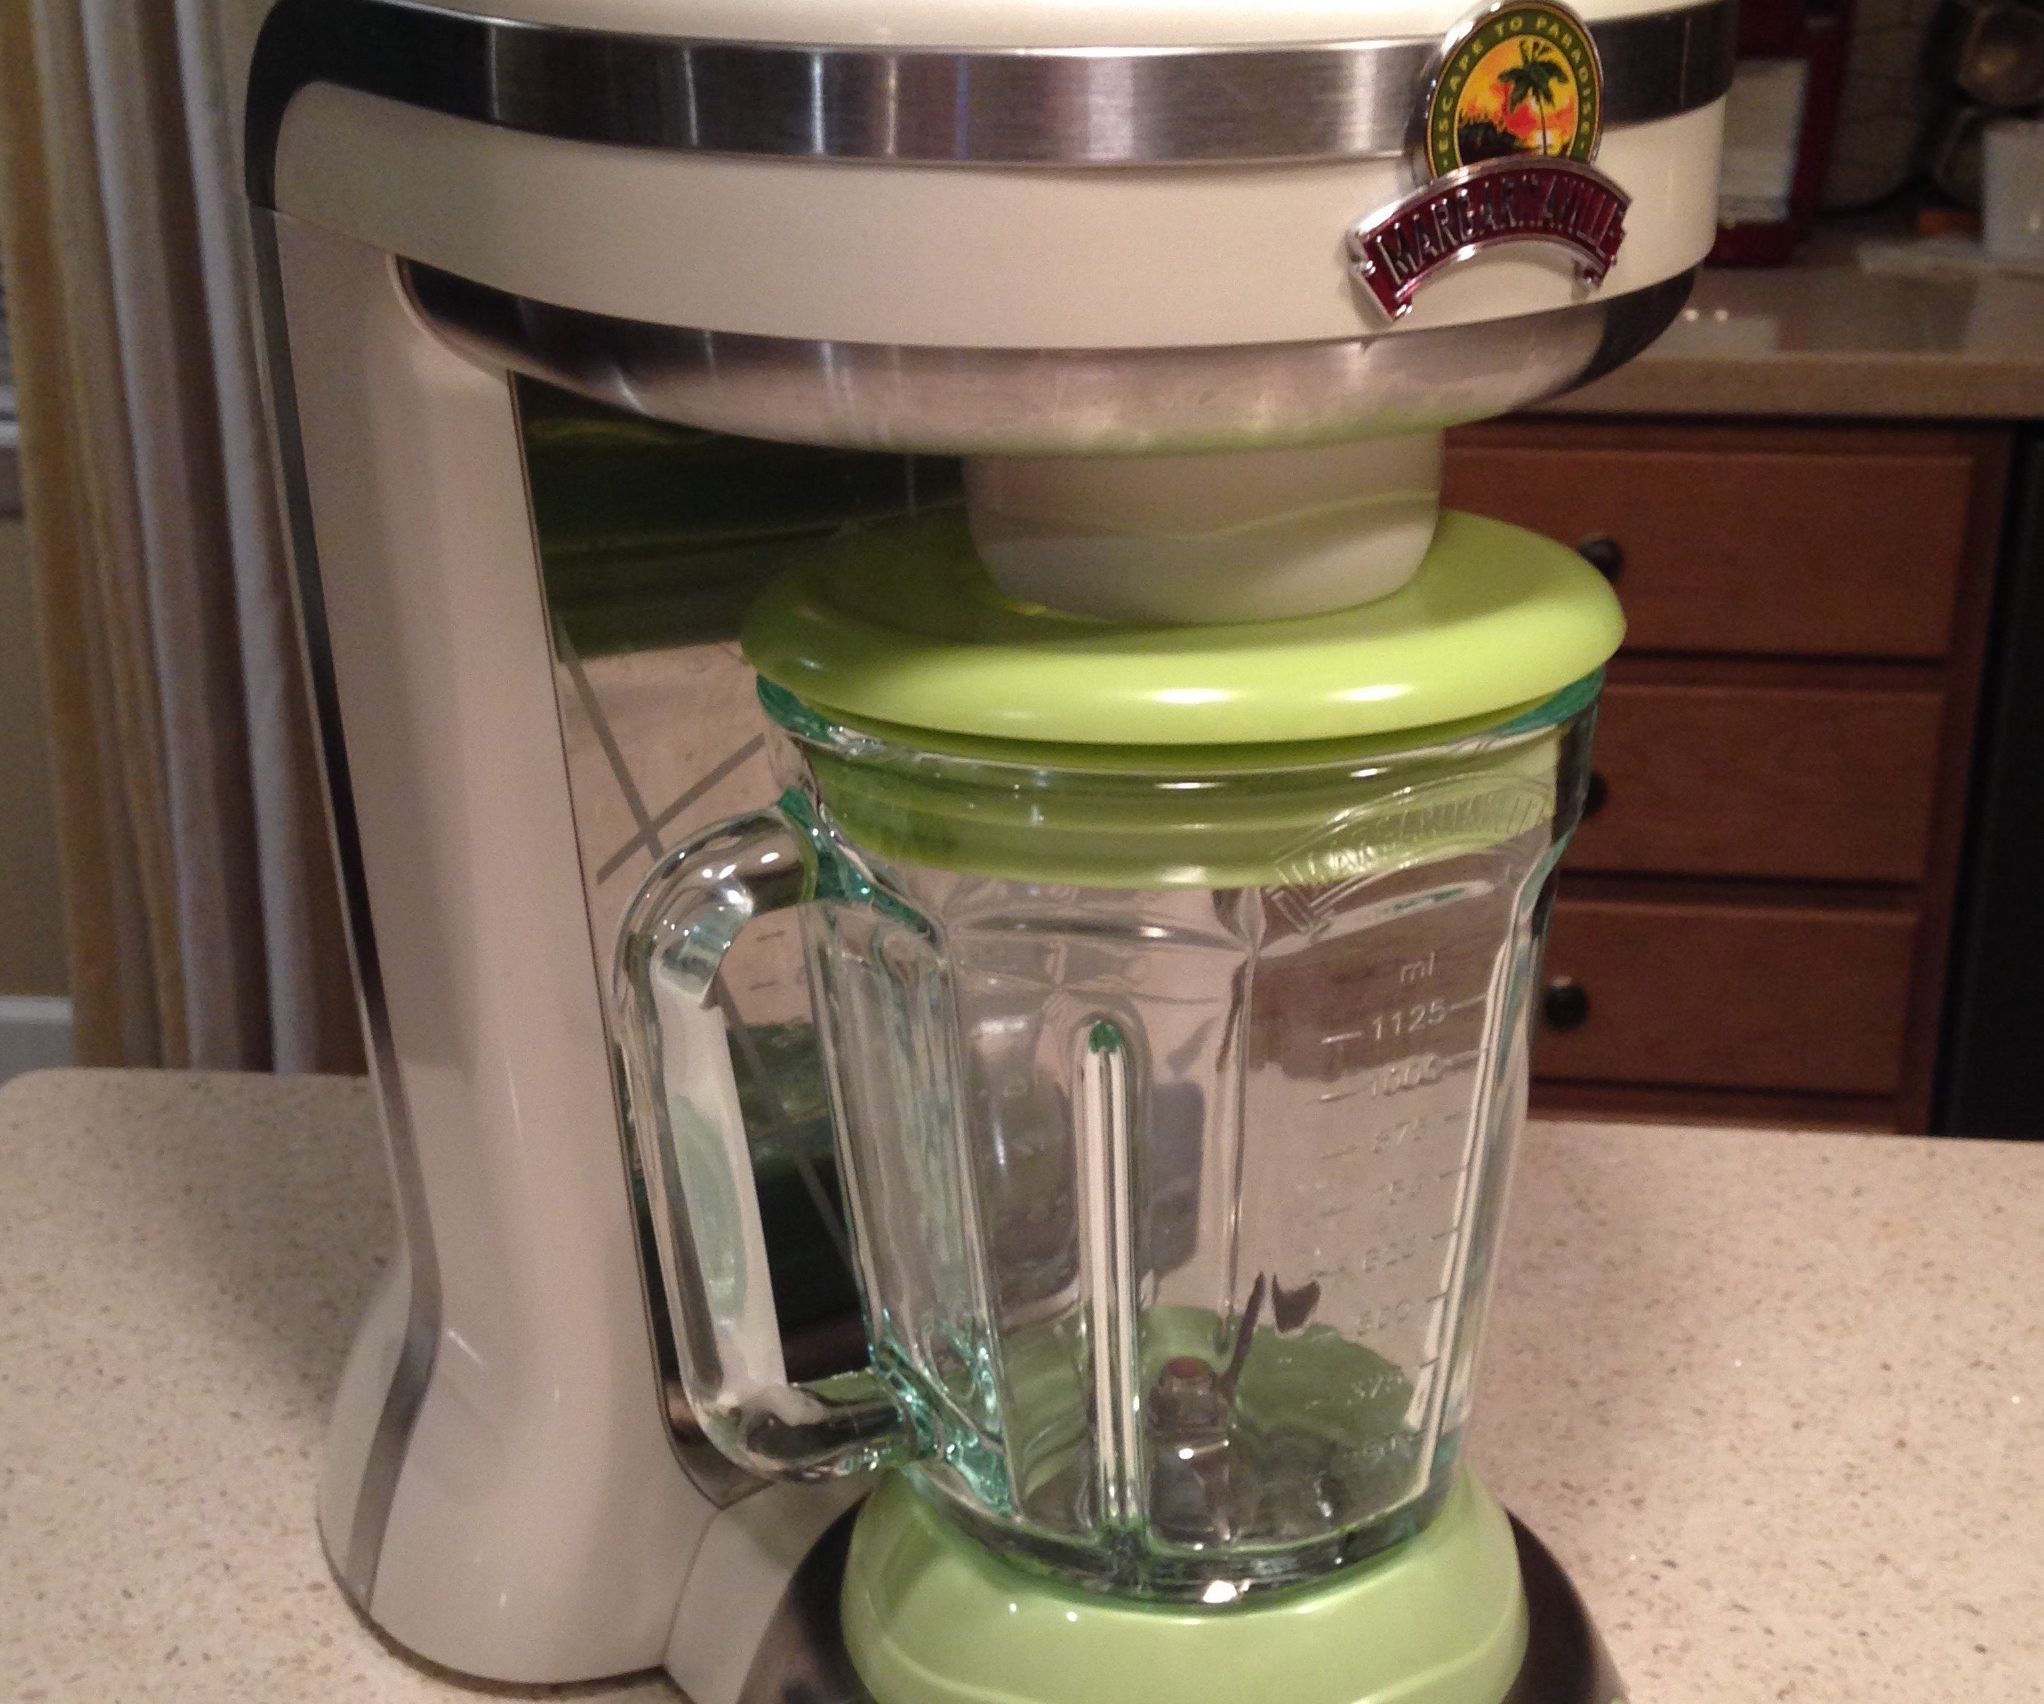
Crushing Ice with Your KitchenAid Blender
Crushed ice is a versatile ingredient that can be used in a variety of drinks and desserts. With your KitchenAid blender, you can easily crush ice to add a refreshing touch to your favorite beverages. Here’s how:
- Prepare the Ice: Start by preparing the ice. Ensure that the ice you’re using is clean and free from any impurities. If using ice cubes, place them in a plastic bag and seal it tightly. Alternatively, you can use a Lewis bag or cloth to contain the ice.
- Pulse Function: For crushing ice, the pulse function of your KitchenAid blender is the ideal setting. It provides quick bursts of power needed to break the ice into smaller, uniform pieces.
- Add the Ice to the Blender: Place the bag of ice cubes or the ice contained in your chosen method into the blender jar. Make sure not to overload the blender with too much ice, as it may strain the motor or prevent proper blending.
- Pulse the Ice: With the lid securely in place, begin pulsing the ice by pressing the pulse button in short intervals. This will help break down the ice cubes into crushed ice. Avoid continuous blending, as it may cause the ice to melt and create a slushy texture.
- Check the Consistency: After a few pulses, check the consistency of the crushed ice. If you desire a finer texture, continue pulsing until the desired consistency is achieved. For a coarser texture, simply blend for a shorter period.
- Store or Use Immediately: Once you have crushed the ice to your liking, you can use it immediately in your favorite drinks or desserts. Alternatively, you can store the crushed ice in a freezer-safe container or bag for later use.
It’s important to note that crushing ice in a blender can be loud and put some strain on the blender’s motor. If your blender struggles with ice crushing, consider using smaller ice cubes or allowing the ice to thaw slightly before crushing.
Now that you know how to crush ice with your KitchenAid blender, you can enjoy refreshing beverages like smoothies, cocktails, and iced coffees at home. In the next section, we will discuss the cleaning and maintenance of your blender for long-lasting performance.
Cleaning and Maintenance of the Blender
Proper cleaning and maintenance of your KitchenAid blender are essential for ensuring its longevity and optimal performance. By following these steps, you can keep your blender in excellent condition:
- Unplug the Blender: Before cleaning your blender, always make sure it is unplugged to avoid any accidents.
- Disassemble the Blender: Separate the pitcher or jar, lid, and any removable attachments or blades from the motor base. Refer to the user manual for specific instructions on how to detach these parts.
- Clean the Removable Parts: Wash the pitcher or jar, lid, and any removable attachments in warm, soapy water. Use a sponge or brush to scrub off any residue or food particles. Rinse thoroughly to remove any soap residue.
- Clean the Motor Base: To clean the motor base, use a damp cloth or sponge and wipe the surface. Be cautious not to get any water into the power buttons or the motor area, as it can damage the blender. If there are stubborn stains, you can use a non-abrasive cleaner or a vinegar-water solution to remove them.
- Dry the Parts: After cleaning, allow all the components to air dry completely before reassembling the blender. This will help prevent any moisture buildup or potential damage.
- Reassemble the Blender: Once everything is dry, reassemble the blender by placing the pitcher or jar, lid, and any attachments back onto the motor base. Ensure that they are securely locked in place before using the blender.
- Regular Maintenance: To keep your blender in optimal condition, there are a few additional maintenance tips to keep in mind. Regularly inspect the blades for any signs of dullness or damage and replace them if necessary. Additionally, check and tighten any loose screws or parts to ensure proper functioning.
It’s important to note that not all parts of your KitchenAid blender may be dishwasher safe. It’s always recommended to consult the user manual to determine which parts can be safely placed in the dishwasher.
By following these cleaning and maintenance practices, you can enjoy a clean and well-functioning blender for years to come.
In the next section, we will address some common issues that you may encounter while using your KitchenAid blender and provide troubleshooting tips to help you resolve them.
Read also: 9 Amazing Hand Blender Kitchenaid for 2025
Troubleshooting Common Issues
Even with a high-quality blender like KitchenAid, you may encounter some common issues during its use. Here are a few troubleshooting tips to help you address these problems:
- Blender Not Turning On: If your blender isn’t turning on, check if it’s properly plugged into a working electrical outlet. Ensure that the power cord is securely connected to the blender’s motor base. If the issue persists, try resetting the blender by unplugging it for a few minutes and then plugging it back in.
- Blender Not Blending Smoothly: If your blender is struggling to blend ingredients smoothly, it could be due to overloading the pitcher or using large chunks of ingredients. To fix this, reduce the amount of ingredients and cut them into smaller, more manageable pieces. Also, make sure the lid is securely in place to prevent any leaks or splatters.
- Blender Leaking: If you notice any leaking during blending, first check if the lid is properly sealed. Ensure that the gasket or sealing ring is in good condition and securely positioned. Additionally, make sure the pitcher is correctly locked onto the motor base. If the issue persists, it’s possible that the pitcher or lid may need to be replaced.
- Blades Not Spinning: If the blender’s blades aren’t spinning, it could be due to a jam or blockage. First, make sure the blender is unplugged. Then, carefully remove any obstructions you can see, such as large pieces of food or ice. Once cleared, securely reassemble the blender and try again.
- Unusual Noises or Smells: If you notice any unusual noises or smells coming from the blender, immediately turn it off and unplug it. These can be signs of a mechanical or electrical issue. Contact the manufacturer or a certified repair center for further assistance.
If you continue to experience issues with your blender that cannot be resolved through troubleshooting, it may be necessary to contact KitchenAid’s customer support for more specialized assistance.
Remember, regular cleaning, maintenance, and proper usage can help prevent many common issues and ensure the longevity of your KitchenAid blender.
Now that we’ve covered troubleshooting, let’s conclude our guide to using and maintaining your KitchenAid blender.
Conclusion
Congratulations! You have now become well-versed in using and maintaining your KitchenAid blender. By following the steps and tips outlined in this guide, you can make the most out of your blender and create a variety of delicious recipes.
Remember to start by getting familiar with your blender’s components and how to assemble it properly. Understand the different controls and settings, which will allow you to customize your blending experience. Whether you’re blending solid ingredients, making smoothies and milkshakes, or crushing ice, these guidelines will help you achieve the desired results.
Keep in mind the importance of cleaning and maintaining your blender for optimal performance. Regularly clean the removable parts and ensure that the motor base is free from any debris. With proper care and maintenance, your KitchenAid blender will serve you well for years to come.
If you encounter any issues along the way, don’t fret. Troubleshooting common problems can help you resolve many issues quickly and efficiently. Follow the troubleshooting tips provided in this guide or contact the manufacturer’s customer support for further assistance.
Now, armed with the knowledge and skills gained from this guide, it’s time to unleash your creativity in the kitchen and enjoy the endless possibilities that your KitchenAid blender offers. Whip up smoothies, create creamy soups, and prepare refreshing beverages with ease. The versatility and convenience of your blender will undoubtedly enhance your culinary adventures.
So go ahead, get blending, and savor the joy of creating delicious and nutritious recipes with your KitchenAid blender!
Happy blending!
Frequently Asked Questions about How To Use A Kitchenaid Blender
Was this page helpful?
At Storables.com, we guarantee accurate and reliable information. Our content, validated by Expert Board Contributors, is crafted following stringent Editorial Policies. We're committed to providing you with well-researched, expert-backed insights for all your informational needs.


0 thoughts on “How To Use A Kitchenaid Blender”