Articles
How To Clean A Dehumidifier
Modified: January 19, 2024
Learn how to clean a dehumidifier with these helpful articles. Keep your dehumidifier running efficiently and keep your indoor air quality fresh.
(Many of the links in this article redirect to a specific reviewed product. Your purchase of these products through affiliate links helps to generate commission for Storables.com, at no extra cost. Learn more)
Introduction
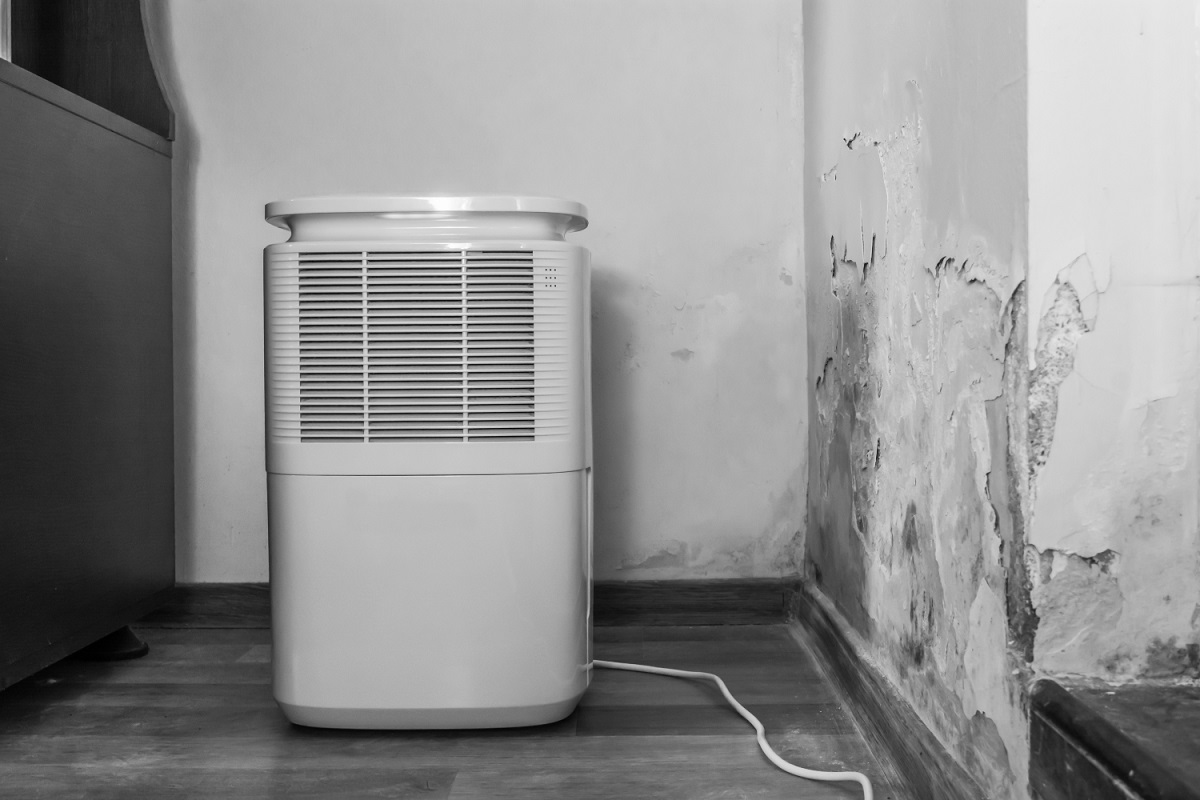
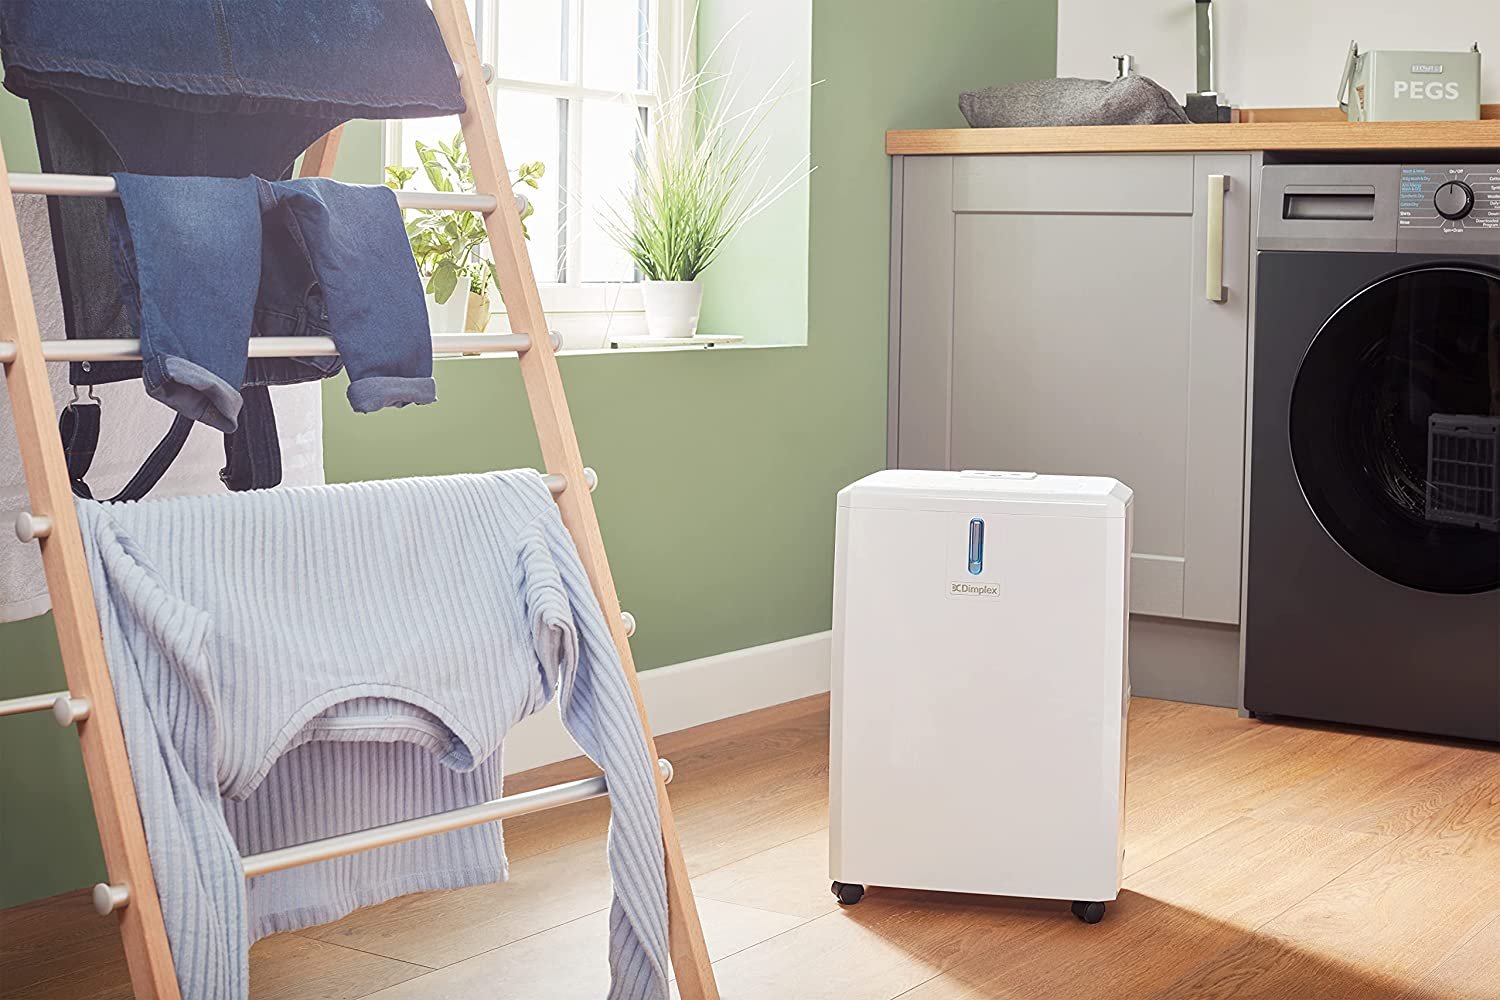
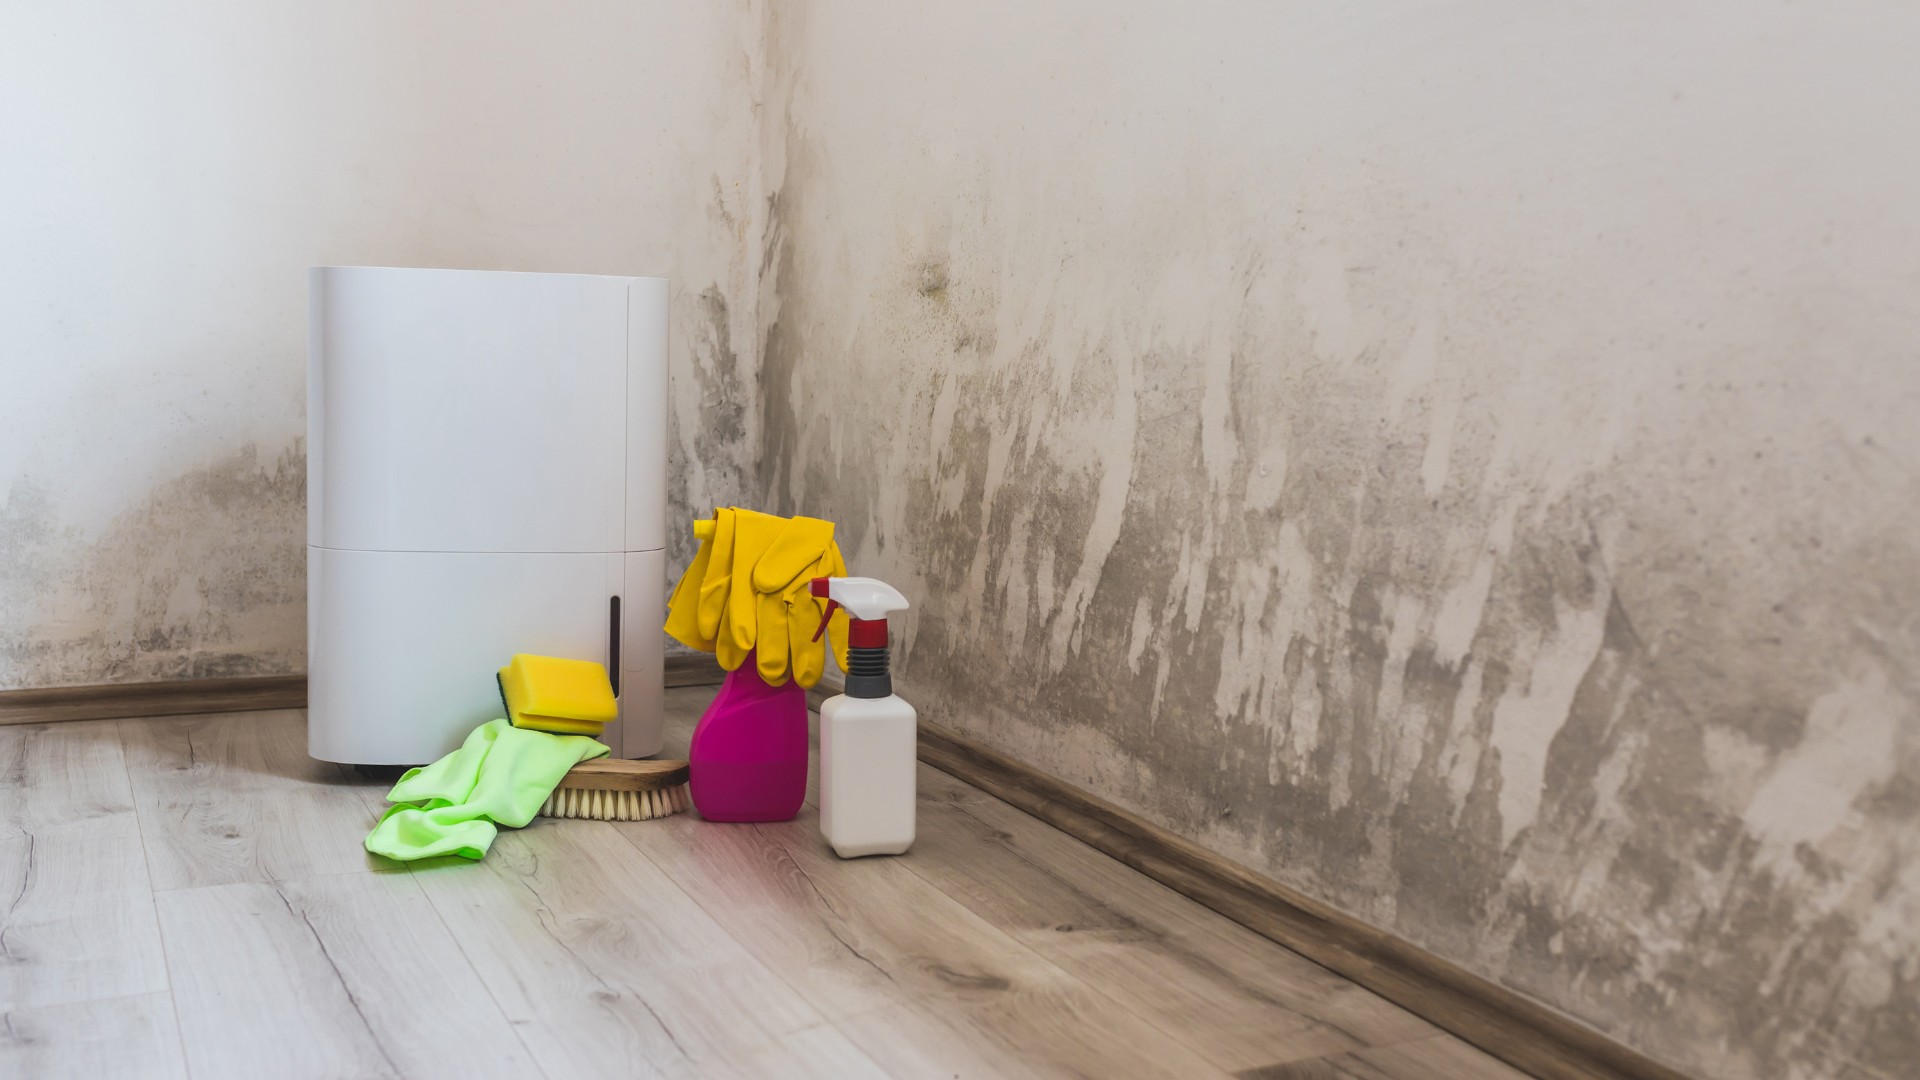
A dehumidifier is an essential appliance for maintaining a healthy and comfortable indoor environment. It helps to reduce the humidity levels in your home, preventing the growth of mold, mildew, and dust mites. Over time, however, your dehumidifier can accumulate dirt, dust, and debris, which can affect its performance and efficiency. Regularly cleaning your dehumidifier is crucial to ensure its optimal functioning and extend its lifespan.
Cleaning a dehumidifier may seem like a daunting task, but with the right guidance and precautions, it can be a relatively simple process. In this article, we will guide you through the step-by-step process of cleaning your dehumidifier effectively and safely.
Key Takeaways:
- Regularly cleaning your dehumidifier, including the water tank, air filter, and cooling coils, ensures optimal performance and cleaner air quality in your home.
- Following safety precautions, such as unplugging the dehumidifier and wearing protective gear, is crucial for a safe and effective cleaning process.
Read more: How To Dispose Of A Dehumidifier
Safety Precautions
Before you start cleaning your dehumidifier, it’s important to take some safety precautions to ensure your own well-being and the proper functioning of the appliance:
- Turn off and unplug the dehumidifier: Make sure the dehumidifier is completely turned off and unplugged from the power source before attempting any cleaning.
- Work in a well-ventilated area: Cleaning a dehumidifier can release dust and allergens. It’s recommended to perform the cleaning in a well-ventilated area to avoid inhaling any harmful particles. If possible, do it outdoors.
- Wear protective gear: To protect yourself from any potential hazards, wear gloves and a dust mask while cleaning. This will minimize contact with dirt and debris.
- Read the manufacturer’s instructions: Every dehumidifier model is slightly different, so it’s important to refer to the manufacturer’s instructions for specific guidelines on cleaning and maintenance.
- Allow the dehumidifier to cool down: If the dehumidifier has been running, allow it to cool down for at least 30 minutes before beginning the cleaning process. This will prevent any risk of burns from hot surfaces.
By following these safety precautions, you can ensure a safe and effective cleaning process for your dehumidifier.
Step 1: Unplug the Dehumidifier
The first step in cleaning your dehumidifier is to unplug it from the power source. This is essential to prevent any electrical accidents or damage. So, locate the power cord and disconnect it from the wall outlet or power strip.
It’s important to note that some dehumidifiers may have a built-in power switch or button. In such cases, make sure to turn off the dehumidifier using the switch or button before unplugging it.
Once the dehumidifier is unplugged, allow it to sit for a few minutes to cool down. Dehumidifiers can generate heat during operation, and it’s best to let it cool to avoid any potential burns or injuries during the cleaning process.
Remember to exercise caution when handling the dehumidifier, especially if it has been running for an extended period. Take the necessary time to ensure the appliance is completely powered down before moving on to the next steps.
By following this first step, you ensure your safety and avoid any electrical hazards while cleaning your dehumidifier.
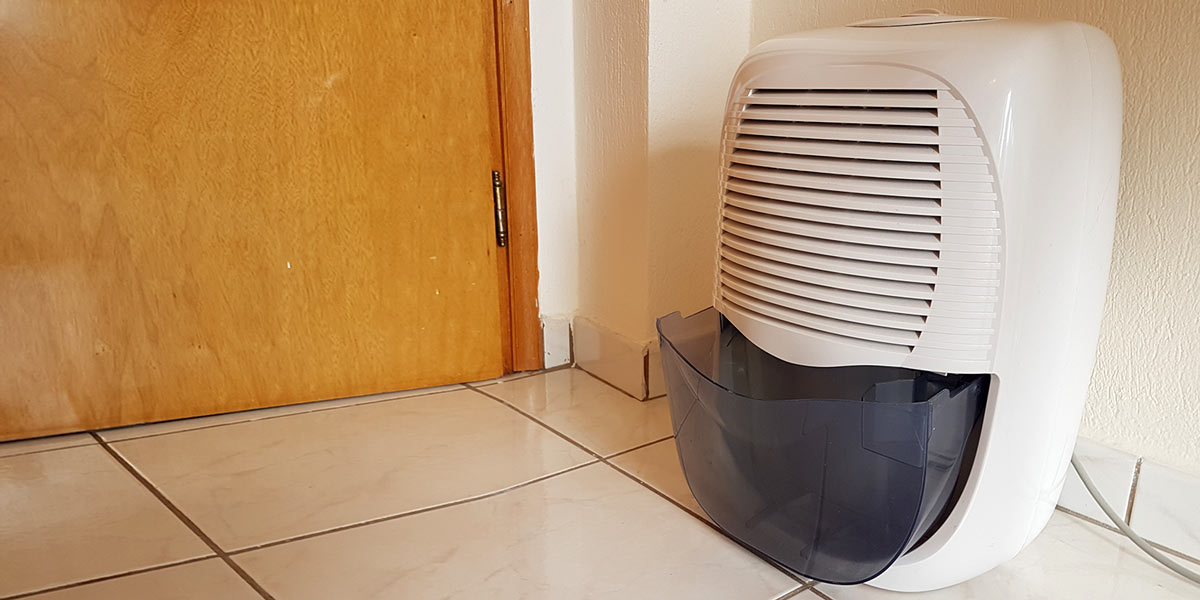
Step 2: Remove the Water Tank
Once the dehumidifier is unplugged and cooled down, the next step is to remove the water tank. The water tank collects the moisture extracted from the air, and it can become a breeding ground for bacteria and mold if not cleaned regularly.
Locate the water tank, which is typically located at the front or back of the dehumidifier. Most dehumidifiers have a handle or grip on the tank for easy removal.
Gently pull out the water tank from the dehumidifier. Be cautious while handling the tank, as it may contain remaining water that could spill if not handled properly.
Once the tank is removed, empty the water into a sink or drain. It’s important to dispose of the water in a suitable location rather than pouring it directly onto the floor or other surfaces.
After emptying the water tank, inspect it for any signs of mold, mildew, or dirt buildup. If necessary, gently scrub the interior of the tank with a mild detergent to remove any residue. Rinse it thoroughly with water to ensure all traces of the detergent are removed.
Allow the water tank to dry completely before moving on to the next steps. Leaving any moisture in the tank can lead to the growth of mold and bacteria.
By removing and cleaning the water tank, you are effectively removing any accumulated moisture and potential contaminants from your dehumidifier.
Step 3: Empty and Clean the Water Tank
After removing the water tank from the dehumidifier, it’s crucial to empty and clean it thoroughly. This step ensures that no residual moisture or contaminants remain, maintaining the efficiency and cleanliness of your dehumidifier.
Start by emptying the water tank completely. Dispose of the water in a sink or drain, ensuring that it does not spill onto any surfaces.
Next, prepare a solution of warm water and mild dish soap or a vinegar-water solution. Fill the water tank with the cleaning solution, ensuring that it covers the interior surfaces of the tank.
Use a soft brush or sponge to scrub the inside of the tank gently. Pay close attention to any areas or crevices where mold or debris may accumulate.
After scrubbing, rinse the water tank thoroughly with clean water. This will remove any soap residue or vinegar smell.
Once the tank is rinsed, inspect it to ensure that it is clean and free of any dirt or debris. If necessary, repeat the cleaning process until the tank is spotless.
After cleaning, allow the water tank to air dry completely before reassembling it back into the dehumidifier. Dampness can encourage the growth of mold or bacteria, so ensure that the tank is completely dry before proceeding.
By emptying and cleaning the water tank regularly, you ensure that your dehumidifier operates efficiently and maintains a hygienic environment.
Read more: How To Make A Dehumidifier
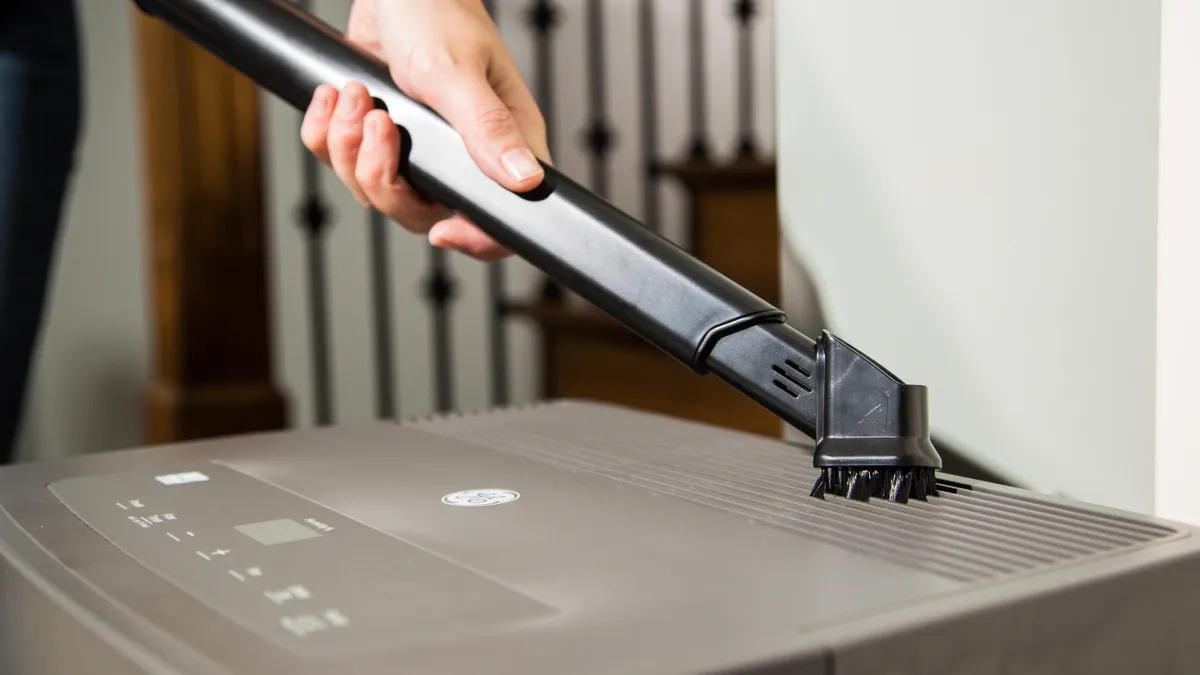
Step 4: Clean the Exterior Surface
In addition to cleaning the interior components of your dehumidifier, it’s important to clean the exterior surface as well. Dust, dirt, and grime can accumulate on the exterior, affecting both the appearance and performance of the appliance.
Start by using a soft, damp cloth to wipe down the entire outer surface of the dehumidifier. This will remove any surface dust or dirt. Avoid using abrasive cleaners or harsh chemicals, as they may damage the finish of the appliance.
If there are stubborn stains or sticky residue on the surface, you can use a mild detergent or a mixture of vinegar and water. Apply the cleaning solution to a cloth, and gently rub the stained areas until the residue is removed. Be sure to rinse the cloth thoroughly before applying it to the surface of the dehumidifier.
Pay special attention to the air intake and exhaust vents, as they can accumulate dust and lint. Use a soft brush or a cloth to carefully clean these areas, ensuring that you remove any blockages or obstructions.
Once you have finished cleaning the exterior surface, use a dry cloth to wipe off any excess moisture. This will help prevent water from seeping into the internal components of the dehumidifier.
By regularly cleaning the exterior surface of your dehumidifier, you not only maintain its appearance but also help ensure its longevity and optimal performance.
Regularly clean the water tank and air filter of your dehumidifier to prevent mold and bacteria growth. Use a mixture of water and vinegar to clean the tank and a soft brush to clean the filter.
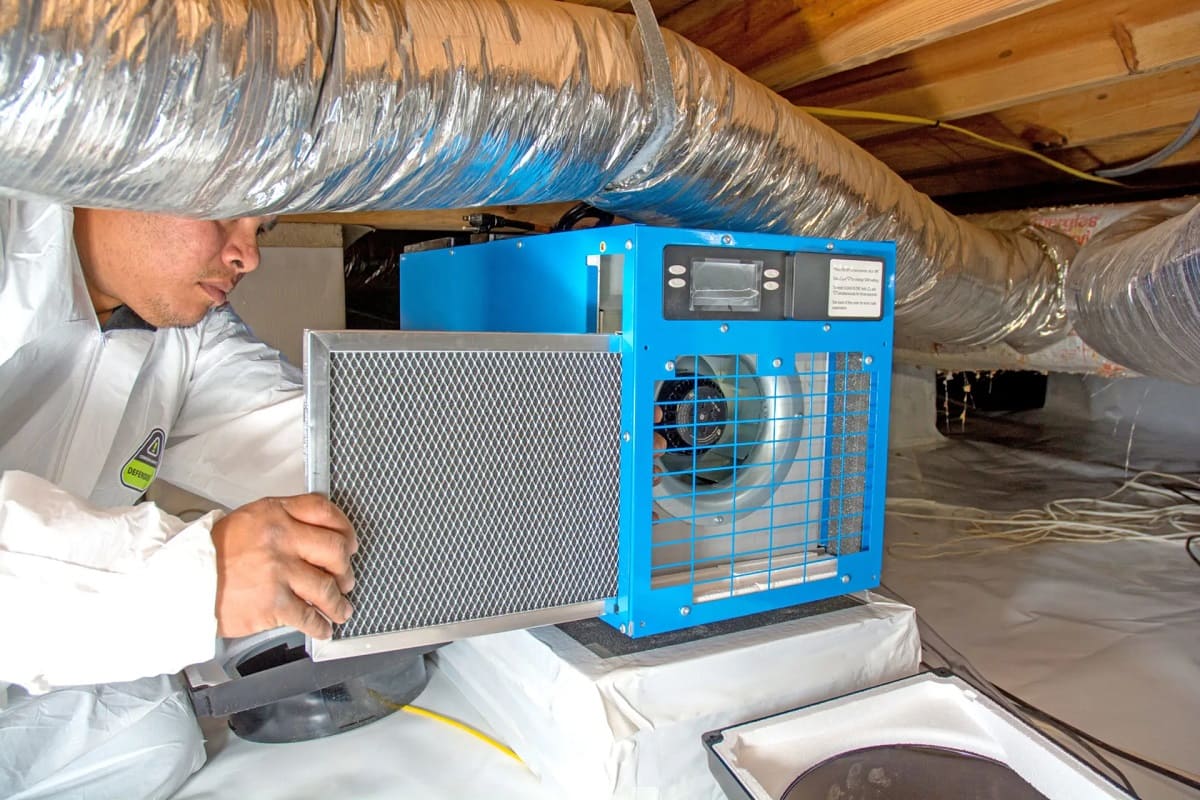
Step 5: Clean the Air Filter
The air filter plays a crucial role in the functioning of your dehumidifier by trapping dust, allergens, and other particles from the air. Over time, the air filter can become clogged and dirty, affecting the performance and efficiency of your appliance. Cleaning the air filter regularly is essential to ensure proper airflow and maintain the air quality in your home.
To clean the air filter, start by locating it within the dehumidifier. In most cases, the air filter is located behind a cover or grille on the front or back of the appliance.
Remove the cover or grille to access the air filter. Depending on the model of your dehumidifier, the filter may be reusable or replaceable.
If the air filter is reusable, gently remove it from its position. You can use a vacuum cleaner with a brush attachment to remove loose dirt and dust from the filter. Alternatively, you can rinse the filter under cold water to remove any accumulated debris.
If rinsing the filter, be sure to follow the manufacturer’s instructions. Some filters may require a gentle soap or detergent to remove stubborn dirt. Rinse the filter thoroughly to ensure all cleaning agents are removed.
Allow the filter to air dry completely before reinserting it into the dehumidifier. Ensure that the filter is completely dry to prevent the growth of mold or mildew.
If the air filter is disposable or if it appears damaged or worn, it’s time to replace it with a new one. Refer to the manufacturer’s instructions or the dehumidifier’s user manual for information on compatible replacement filters.
Regularly cleaning or replacing the air filter in your dehumidifier helps maintain its performance and ensures cleaner air quality in your home.
Step 6: Clean the Cooling Coils
The cooling coils of your dehumidifier are responsible for extracting moisture from the air and cooling it down. Over time, dust and dirt can accumulate on these coils, reducing their efficiency and potentially causing the dehumidifier to work harder. Cleaning the cooling coils regularly is essential to maintain the optimal performance of your appliance.
To clean the cooling coils, you will need a soft brush or a vacuum cleaner with a brush attachment.
Start by removing any visible dust or debris from the coils using the brush or the vacuum cleaner. Be gentle to avoid damaging the delicate fins of the coils.
Next, prepare a solution of equal parts water and white vinegar. Dampen a soft cloth or sponge with the vinegar solution.
Gently wipe the coils with the vinegar-soaked cloth or sponge, focusing on areas with stubborn dirt or residue. The vinegar acts as a natural cleaner and helps to remove any buildup on the coils.
If the coils are heavily soiled, you may need to repeat the process or use a coil cleaning spray specifically designed for dehumidifier coils. Follow the instructions on the cleaning spray and rinse the coils thoroughly with clean water after cleaning.
Allow the coils to dry completely before reassembling the dehumidifier.
It’s important to note that cleaning the cooling coils requires extra care, as they are delicate and can be easily damaged. If you are unsure or uncomfortable cleaning the coils yourself, it is recommended to seek professional assistance.
By regularly cleaning the cooling coils, you ensure the efficiency and longevity of your dehumidifier, allowing it to effectively remove moisture from the air.
Step 7: Reassemble the Dehumidifier
Once you have completed cleaning the various components of your dehumidifier, it’s time to reassemble the appliance to ensure it is ready for use.
Start by carefully reinserting the cleaned or replaced air filter back into its designated slot. Make sure the filter is properly aligned and secured in place.
If there were any removable parts, such as the water tank or grille, reattach them according to the manufacturer’s instructions. Ensure that all connections are secure and that any latches or fasteners are properly engaged.
Take a moment to inspect the dehumidifier and ensure that all components are in their correct positions. Check that there are no loose or dangling wires and that everything looks neat and tidy.
Once you are satisfied with the reassembly, plug the dehumidifier back into the power source. Make sure the power cord is properly inserted into the wall outlet or power strip.
Finally, switch on the dehumidifier and test its operation. Listen for any unusual noises or vibrations, and check if the control panel displays the correct settings. Allow the dehumidifier to run for a few minutes to ensure it is functioning properly.
If everything appears to be in order, you have successfully reassembled your dehumidifier and can now reap the benefits of a clean and efficient appliance.
Remember to consult the manufacturer’s instructions if you have any concerns or questions regarding the reassembly process.
Read more: How A Dehumidifier Works
Step 8: Plug in and Test the Dehumidifier
After reassembling your dehumidifier, the final step is to plug it back into the power source and test its functionality to ensure that it is working properly.
First, double-check that the dehumidifier is in the “off” mode or the appropriate setting for your desired humidity level before plugging it in.
Make sure the power cord is securely connected to both the dehumidifier and the electrical outlet or power strip. Ensure that the outlet is functioning correctly and supplying power.
Once the dehumidifier is plugged in, switch it on and verify that it powers up smoothly. Observe the control panel or display to ensure that the settings are correct and that the dehumidifier is operating as expected.
Listen for any unusual noises, such as grinding or rattling, which could indicate a mechanical issue. Check for any leaks or excessive condensation around the unit, as this could indicate a problem with the cleaning process or the dehumidifier itself.
Allow the dehumidifier to run for a few minutes and monitor how it performs. You should notice a reduction in humidity levels over time as the dehumidifier removes moisture from the air.
If you encounter any issues or notice any abnormal behavior during the testing phase, refer to the manufacturer’s instructions, troubleshooting guide, or contact customer support for assistance.
By plugging in and testing your dehumidifier, you can ensure that the cleaning process has been successful and that your appliance is ready to operate efficiently and maintain a comfortable environment in your home.
Conclusion
Cleaning and maintaining your dehumidifier is an essential task that ensures optimal performance, efficiency, and longevity of the appliance. By following the step-by-step guide outlined in this article, you can effectively clean your dehumidifier and keep it running smoothly.
Starting with the necessary safety precautions, including unplugging the dehumidifier, working in a well-ventilated area, and wearing protective gear, helps to ensure a safe cleaning process.
Removing the water tank and thoroughly cleaning it, along with cleaning the exterior surface, helps to prevent the growth of mold, mildew, and bacteria in your dehumidifier.
Regularly cleaning the air filter helps to maintain proper airflow and ensure cleaner air quality in your home.
Cleaning the cooling coils is essential for maintaining the efficiency and performance of your dehumidifier. Removing built-up dirt and debris ensures that the appliance operates effectively.
Reassembling the dehumidifier properly and ensuring that all components are in their correct positions is crucial before plugging it back in.
Finally, testing the dehumidifier after cleaning ensures that it is functioning properly and can effectively control the humidity levels in your home.
By incorporating these cleaning steps into your regular maintenance routine, you can extend the lifespan of your dehumidifier and enjoy the benefits of a healthy, comfortable indoor environment.
Remember to consult the manufacturer’s instructions and guidelines for any specific cleaning recommendations or troubleshooting instructions for your particular dehumidifier model.
Take the time to clean your dehumidifier regularly and enjoy the improved air quality and comfort it provides in your home.
Frequently Asked Questions about How To Clean A Dehumidifier
Was this page helpful?
At Storables.com, we guarantee accurate and reliable information. Our content, validated by Expert Board Contributors, is crafted following stringent Editorial Policies. We're committed to providing you with well-researched, expert-backed insights for all your informational needs.

0 thoughts on “How To Clean A Dehumidifier”