Home>Renovation & DIY>Home Renovation Guides>How To Install A Dehumidifier In A Crawl Space

Home Renovation Guides
How To Install A Dehumidifier In A Crawl Space
Modified: October 28, 2024
Learn how to properly install a dehumidifier in your crawl space with our comprehensive home renovation guide. Keep your home dry and healthy.
(Many of the links in this article redirect to a specific reviewed product. Your purchase of these products through affiliate links helps to generate commission for Storables.com, at no extra cost. Learn more)
Introduction
Installing a dehumidifier in a crawl space can significantly improve the overall condition of your home. Excess moisture in crawl spaces can lead to a host of problems, including mold growth, musty odors, and structural damage. By effectively controlling the humidity levels in this often overlooked area, you can create a healthier and more comfortable living environment while safeguarding your property from potential issues.
In this comprehensive guide, we will walk you through the step-by-step process of installing a dehumidifier in your crawl space. From assessing the crawl space to choosing the right dehumidifier and completing the installation, we will cover everything you need to know to successfully undertake this home improvement project. Additionally, we will provide insights into testing and maintaining the dehumidifier to ensure its optimal performance over time.
By following the instructions outlined in this guide, you can take proactive measures to mitigate moisture-related problems and enhance the overall livability and longevity of your home. Let's dive into the details and equip you with the knowledge and confidence to tackle this project effectively.
Key Takeaways:
- Installing a dehumidifier in your crawl space can prevent mold, musty odors, and structural damage by controlling humidity levels. Assess, choose, prepare, install, and maintain for a healthier home.
- Select a dehumidifier based on crawl space size, drainage, energy efficiency, and brand reputation. Clear, waterproof, ventilate, and test to ensure effective moisture control and long-term reliability.
Read more: How Long To Dehumidify Crawl Space
Step 1: Assessing the Crawl Space
Before embarking on the installation of a dehumidifier in your crawl space, it is crucial to conduct a thorough assessment of the area. This initial step is essential for gaining a comprehensive understanding of the specific conditions within the crawl space, which will ultimately inform the selection and installation of the appropriate dehumidification system.
1.1 Inspect for Moisture and Mold
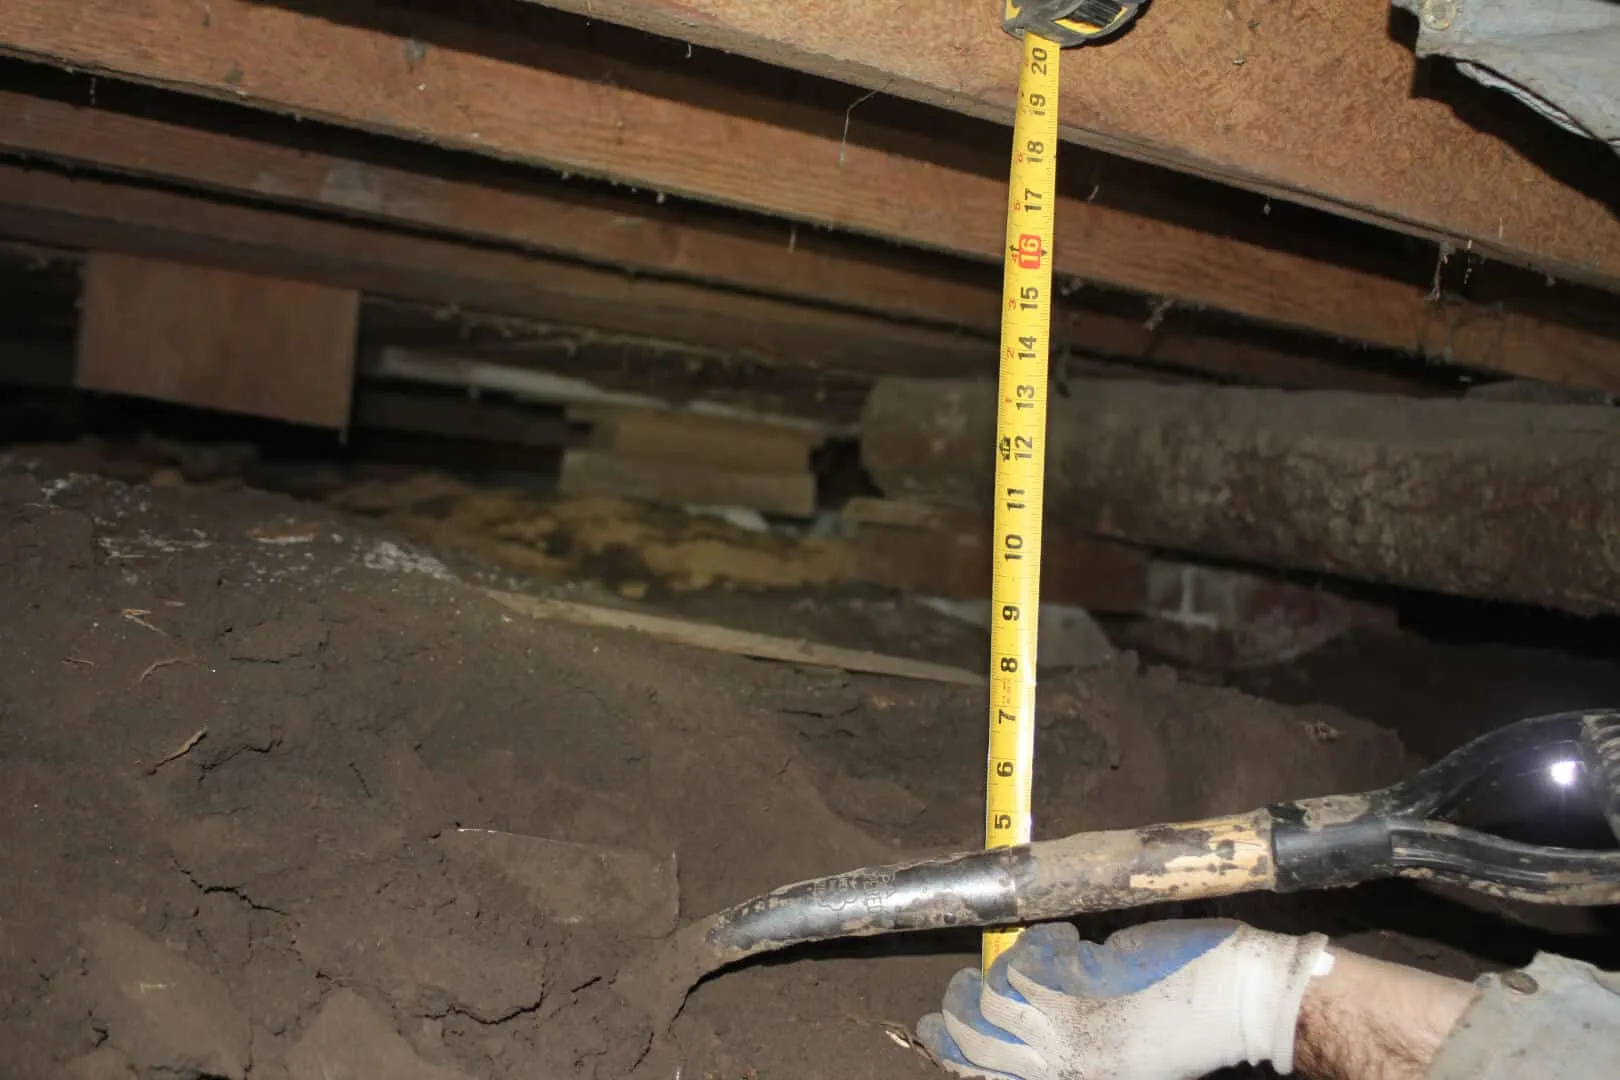
Begin by visually inspecting the crawl space for any signs of moisture accumulation or mold growth. Look for water stains on the walls or floor, condensation on surfaces, and the presence of mold or mildew. These indicators can highlight existing moisture issues that need to be addressed.
1.2 Measure Humidity Levels
Utilize a reliable hygrometer to measure the humidity levels within the crawl space. Ideally, the humidity should be maintained between 30% and 50% to prevent mold growth and maintain a healthy environment. Recording the initial humidity levels will help in determining the effectiveness of the dehumidifier once it is installed.
1.3 Assess Ventilation and Air Circulation
Evaluate the ventilation and air circulation in the crawl space. Inadequate ventilation can contribute to moisture buildup, while poor air circulation can exacerbate humidity-related problems. Take note of any obstructions or issues that may hinder the airflow within the space.
Read more: How To Install Subfloor Over A Crawl Space
1.4 Identify Potential Sources of Moisture
Identify and address any potential sources of moisture, such as leaking pipes, inadequate drainage, or groundwater seepage. Addressing these underlying issues is crucial for preventing ongoing moisture infiltration and ensuring the long-term effectiveness of the dehumidifier.
1.5 Consider Crawl Space Size and Layout
Take into account the size and layout of the crawl space. Larger spaces may require multiple dehumidifiers or a unit with higher capacity, while the layout can influence the placement of the dehumidifier for optimal coverage.
By meticulously assessing these key aspects of the crawl space, you will be equipped with valuable insights that will guide the subsequent steps in the dehumidifier installation process. This proactive approach sets the foundation for effectively addressing moisture-related concerns and creating a healthier environment within your home.
Step 2: Choosing the Right Dehumidifier
Selecting the appropriate dehumidifier for your crawl space is a critical decision that directly impacts its effectiveness in controlling moisture levels. Several factors should be taken into consideration to ensure that the chosen dehumidifier is well-suited for the specific conditions within the crawl space.
2.1 Capacity and Coverage Area
The capacity of the dehumidifier, typically measured in pints of moisture removal per day, should align with the size and moisture levels of the crawl space. Larger crawl spaces or those with higher humidity levels will require a dehumidifier with a greater capacity to effectively manage moisture. Additionally, consider the coverage area of the dehumidifier to ensure that it can adequately address the entire crawl space.
Read more: How To Install Floor Jacks In A Crawl Space
2.2 Drainage Options
Evaluate the drainage options available for the dehumidifier. Crawl spaces may not have readily accessible drainage systems, necessitating the use of a dehumidifier with a built-in pump for efficient water removal. Alternatively, gravity drainage or the use of a condensate pump can be viable solutions for effectively managing the collected water.
2.3 Energy Efficiency
Opt for an energy-efficient dehumidifier to minimize operational costs while maintaining optimal performance. Look for ENERGY STAR certified models, which are designed to consume less energy without compromising effectiveness. Energy-efficient dehumidifiers contribute to long-term cost savings and environmental sustainability.
2.4 Built-in Humidistat and Settings
Prioritize dehumidifiers equipped with a built-in humidistat and adjustable settings. A humidistat allows for precise control over the desired humidity levels, enabling the dehumidifier to operate efficiently without over-dehumidifying the space. Adjustable settings provide flexibility in tailoring the dehumidifier's operation to suit varying conditions.
2.5 Durability and Maintenance
Consider the durability and ease of maintenance of the dehumidifier. Opt for models constructed from robust materials capable of withstanding the conditions within a crawl space. Additionally, assess the accessibility of filters and components for routine maintenance, as this contributes to the long-term reliability and performance of the dehumidifier.
Read more: How To Install A Sump Pump In A Crawl Space
2.6 Brand Reputation and Warranty
Research the reputation of the dehumidifier brands and prioritize those known for producing reliable and high-quality products. Furthermore, review the warranty offered for the dehumidifier to ensure adequate coverage and support in the event of any operational issues.
By carefully evaluating these factors and selecting a dehumidifier that aligns with the specific requirements of your crawl space, you can effectively mitigate moisture-related concerns and create a healthier environment within your home. The chosen dehumidifier should be capable of efficiently managing moisture levels while offering durability, energy efficiency, and ease of maintenance for long-term peace of mind.
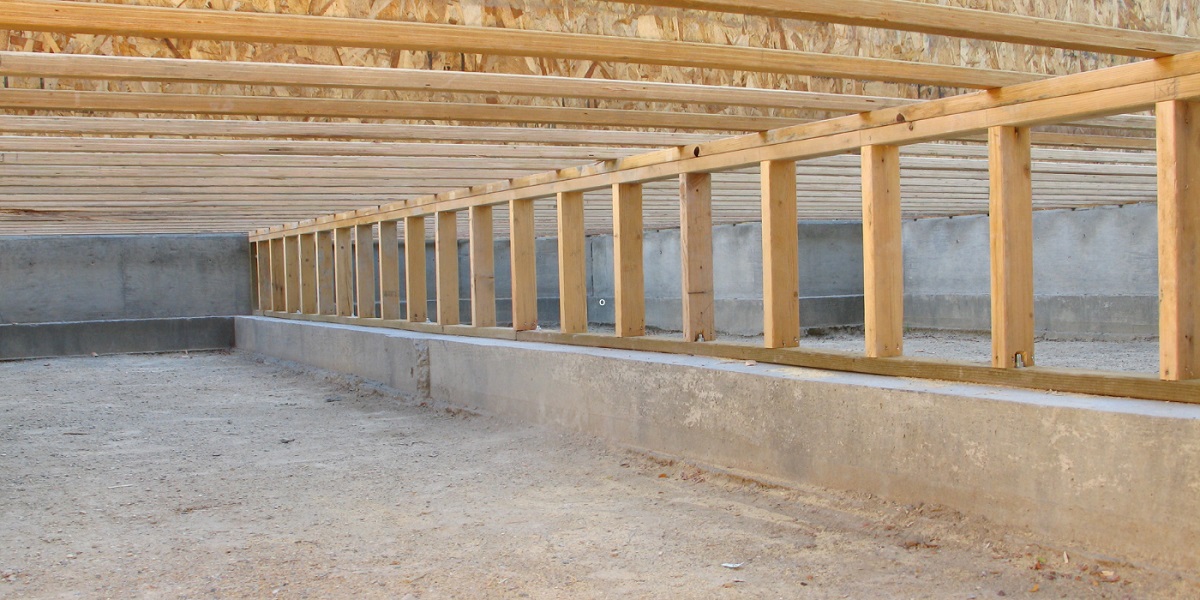
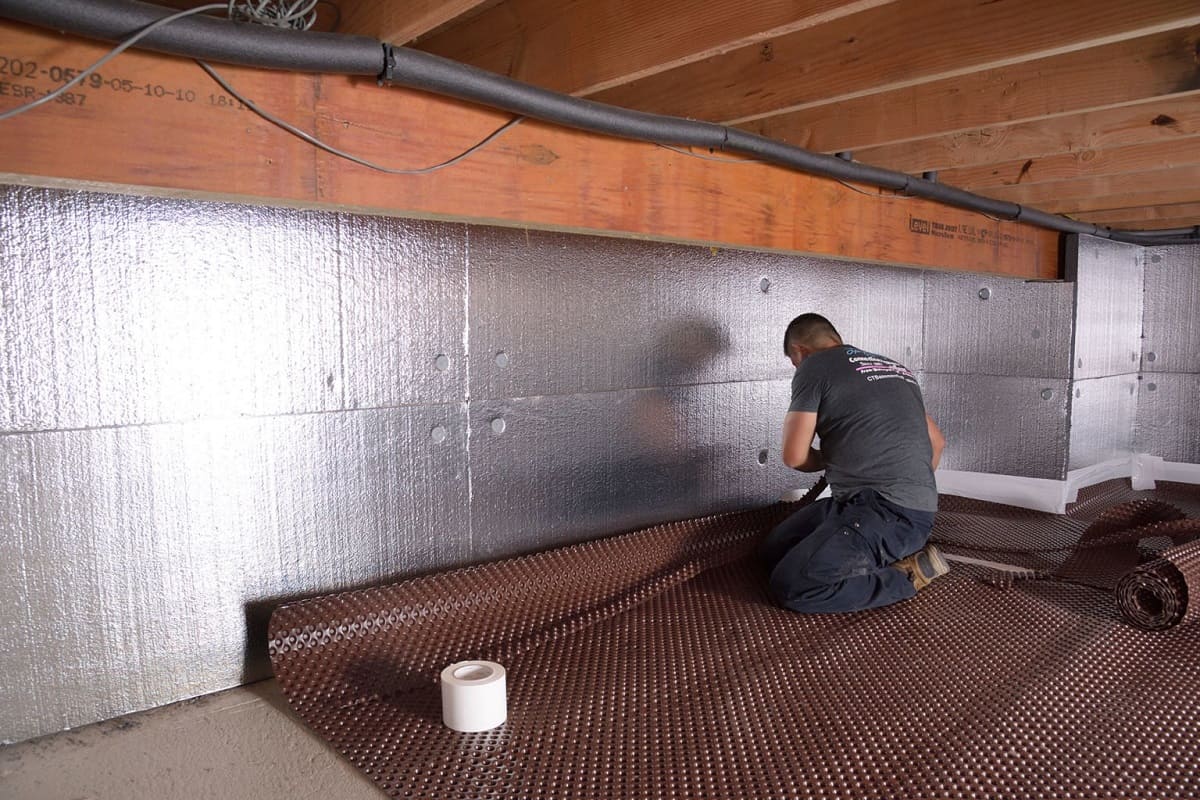
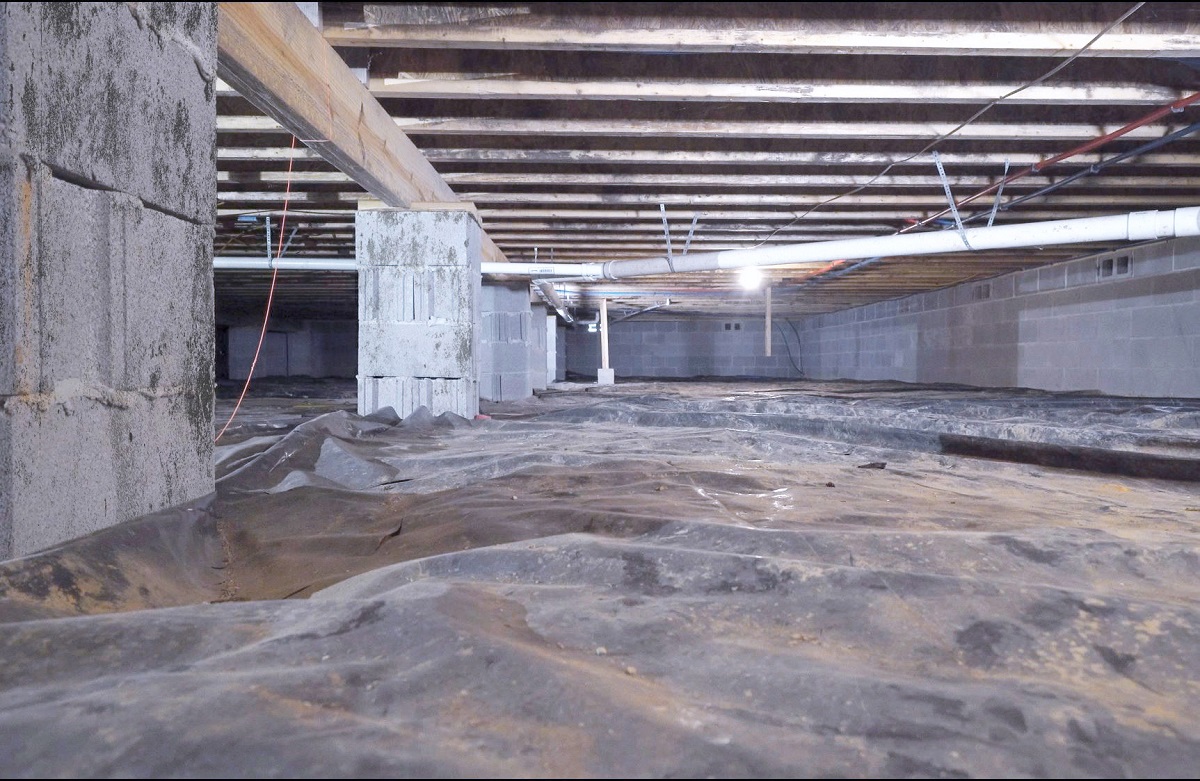
Step 3: Preparing the Crawl Space
Preparing the crawl space is a crucial precursor to the successful installation of a dehumidifier. This step involves creating an environment that is conducive to the optimal functioning of the dehumidifier while addressing any existing moisture-related issues within the space.
3.1 Clearing and Cleaning
Begin by clearing out any debris, clutter, or unnecessary items from the crawl space. This includes removing any stored belongings, construction materials, or organic matter that may contribute to moisture retention or obstruct the installation process. Thoroughly cleaning the crawl space by sweeping and removing accumulated dirt and debris sets the stage for a more effective installation and ensures a cleaner environment for the dehumidifier to operate in.
3.2 Addressing Drainage and Waterproofing
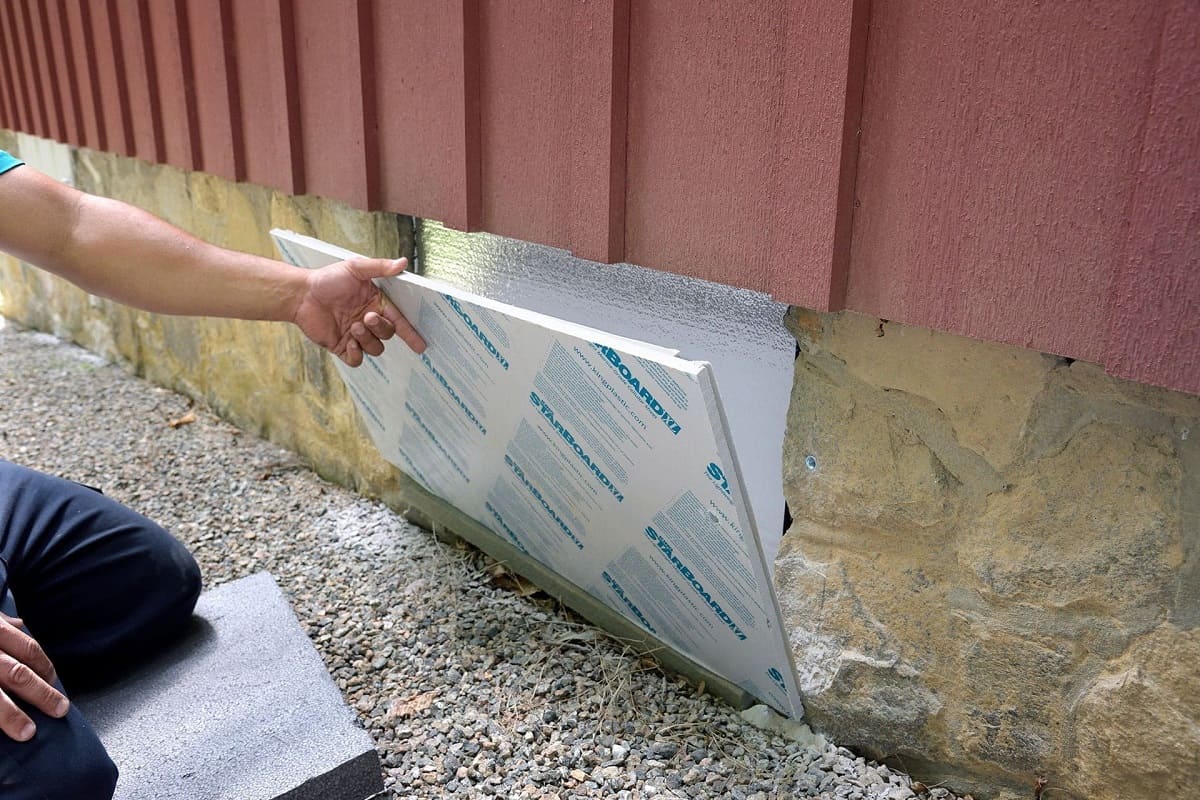
Assess the existing drainage and waterproofing measures within the crawl space. It is essential to address any drainage issues, such as standing water or inadequate runoff, to prevent ongoing moisture infiltration. Additionally, consider implementing waterproofing solutions, such as sealing cracks or applying a moisture barrier, to minimize the ingress of external moisture into the crawl space. Effective drainage and waterproofing measures create a drier and more stable environment, enhancing the overall effectiveness of the dehumidifier.
3.3 Sealing Air Leaks and Insulating
Identify and seal any air leaks or gaps in the crawl space. Air infiltration can introduce humid outdoor air into the space, undermining the efforts of the dehumidifier. Utilize appropriate sealants or insulation materials to seal gaps around pipes, vents, and entry points. By minimizing air leaks, you can create a more controlled environment within the crawl space, allowing the dehumidifier to operate more efficiently.
3.4 Providing Adequate Ventilation
Evaluate the ventilation within the crawl space and ensure that it facilitates proper airflow. Adequate ventilation is essential for promoting air circulation and preventing stagnation, which can contribute to moisture buildup. Consider installing vents or fans to enhance airflow and reduce humidity levels. Proper ventilation complements the dehumidifier's efforts in maintaining optimal humidity levels within the crawl space.
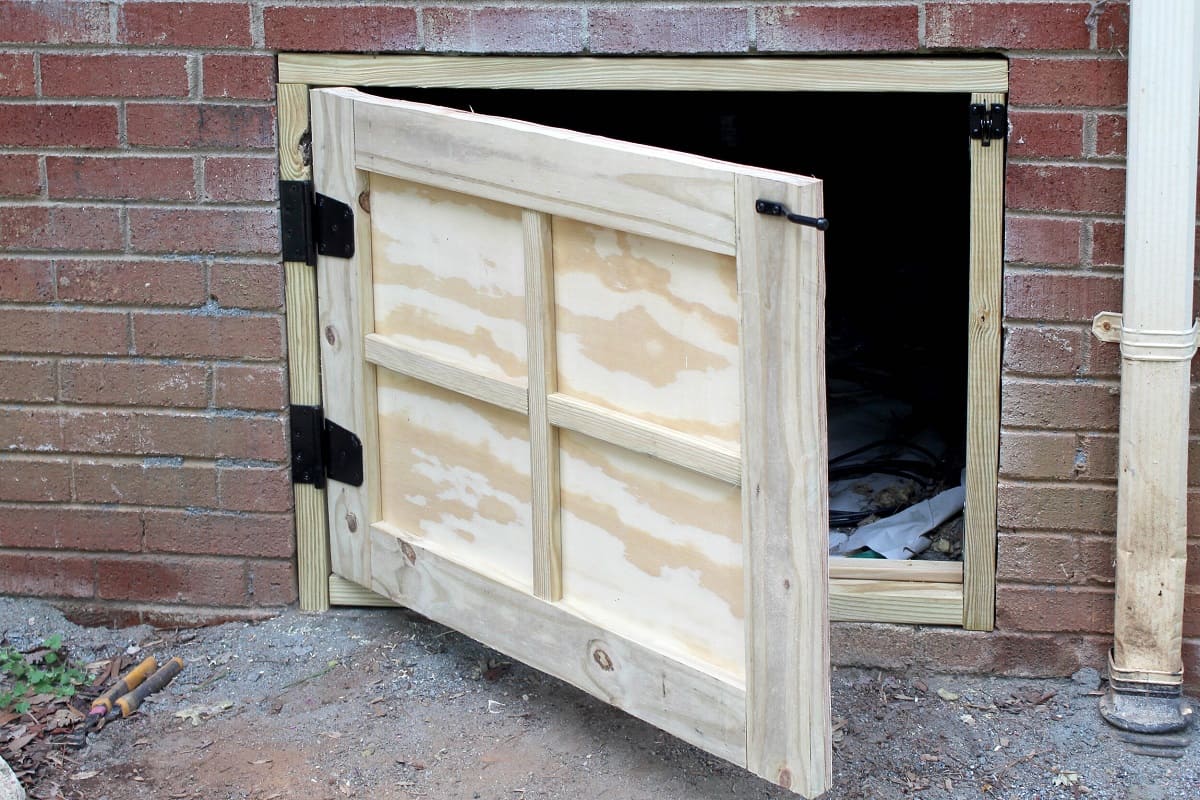
3.5 Ensuring Accessibility for Installation
Ensure that the crawl space is easily accessible for the installation of the dehumidifier. Clear pathways and provide adequate lighting to facilitate the installation process. Accessibility is key to ensuring that the dehumidifier can be installed securely and maintained effectively over time.
By meticulously preparing the crawl space through clearing, addressing drainage and waterproofing, sealing air leaks, providing adequate ventilation, and ensuring accessibility, you create an environment that is conducive to the optimal performance of the dehumidifier. These preparatory measures lay the groundwork for a successful installation and contribute to the long-term effectiveness of the dehumidification system in managing moisture levels within the crawl space.
Step 4: Installing the Dehumidifier
Installing the dehumidifier in the crawl space is a pivotal step that demands precision and attention to detail. This process involves positioning the dehumidifier, configuring its drainage system, and ensuring secure and stable installation to optimize its performance in managing moisture levels within the crawl space.
Read more: How To Maintain A Crawl Space
4.1 Positioning the Dehumidifier
Carefully select the optimal location for the dehumidifier within the crawl space. Positioning the unit in a central area ensures more uniform coverage and efficient moisture removal. Additionally, consider elevating the dehumidifier slightly to prevent potential water damage in the event of minor flooding or water seepage.
4.2 Configuring Drainage
If the dehumidifier features a built-in pump, connect it to a suitable drainage outlet to facilitate the efficient removal of collected water. Alternatively, if gravity drainage is utilized, ensure that the drainage hose is positioned to direct water away from the crawl space. Proper drainage configuration is essential for the continuous and effective operation of the dehumidifier.
4.3 Securing the Dehumidifier
Secure the dehumidifier in place to prevent movement or displacement during operation. Utilize mounting brackets or secure the unit to a stable surface to minimize vibration and ensure stability. This step is crucial for maintaining the integrity of the dehumidifier and preventing potential damage or operational disruptions.
4.4 Electrical Connection
Connect the dehumidifier to a reliable power source, ensuring that the electrical requirements of the unit are met. Adhere to safety guidelines and local electrical codes when establishing the electrical connection. Verify that the power supply is stable and adequately grounded to support the consistent operation of the dehumidifier.
Read more: How To Inspect A Crawl Space
4.5 Testing and Calibration
Once the dehumidifier is installed, conduct thorough testing to verify its functionality. Activate the unit and monitor its operation to ensure proper moisture removal. Additionally, calibrate the settings, including the desired humidity levels and operational schedule, to align with the specific conditions within the crawl space.
4.6 Insulation and Sealing
Consider insulating the dehumidifier's drainage pipes to prevent condensation and thermal loss. Additionally, seal any gaps or openings around the unit to minimize air leaks and maintain a more controlled environment. These measures contribute to the overall efficiency and effectiveness of the dehumidifier in managing moisture within the crawl space.
By meticulously following these installation steps, you can ensure the successful integration of the dehumidifier into the crawl space, setting the stage for effective moisture control and a healthier living environment. The proper installation of the dehumidifier is instrumental in mitigating moisture-related concerns and safeguarding the structural integrity of your home.
Step 5: Testing and Maintenance
After the installation of the dehumidifier in your crawl space, thorough testing and proactive maintenance are essential to ensure its continued effectiveness in managing moisture levels and preserving the overall condition of your home.
5.1 Initial Testing
Initiate the testing phase by activating the dehumidifier and monitoring its performance. Observe the unit as it operates, paying attention to the extraction of moisture from the air and the maintenance of the desired humidity levels. This initial testing phase allows you to verify that the dehumidifier is functioning as intended and effectively addressing the moisture concerns within the crawl space.
Read more: How To Install A Dehumidifier In Basement
5.2 Calibration and Adjustment
Calibrate the settings of the dehumidifier to align with the specific conditions within the crawl space. Adjust the desired humidity levels and operational schedule as needed to optimize the unit's performance. Fine-tuning these settings ensures that the dehumidifier operates efficiently without over-dehumidifying the space, contributing to energy savings and prolonged equipment lifespan.
5.3 Regular Monitoring
Establish a routine for monitoring the dehumidifier's operation and the overall humidity levels within the crawl space. Regular checks allow you to promptly identify any deviations from the desired humidity range and address potential issues before they escalate. Consistent monitoring is key to maintaining a healthy and balanced environment within the crawl space.
5.4 Filter Maintenance
Regularly inspect and clean the filters of the dehumidifier to ensure unhindered airflow and optimal performance. Clogged or dirty filters can impede the unit's efficiency and lead to increased energy consumption. Follow the manufacturer's guidelines for filter maintenance, which may include vacuuming or washing the filters at specified intervals.
5.5 Drainage System Checks
Periodically inspect the drainage system of the dehumidifier to ensure proper function and prevent potential water accumulation within the crawl space. Clear any obstructions in the drainage hose and verify that the water removal process is seamless. Addressing drainage system issues proactively mitigates the risk of water damage and maintains the dehumidifier's effectiveness.
Read more: What Is A Crawl Space?
5.6 Professional Maintenance
Consider scheduling professional maintenance for the dehumidifier at regular intervals. Professional technicians can conduct comprehensive inspections, clean internal components, and address any underlying issues that may impact the unit's performance. Professional maintenance prolongs the lifespan of the dehumidifier and ensures consistent moisture control within the crawl space.
By diligently testing the dehumidifier's functionality and implementing a proactive maintenance regimen, you can uphold its efficiency and reliability in managing moisture levels within the crawl space. This commitment to testing and maintenance safeguards your home from potential moisture-related issues and contributes to a healthier and more comfortable living environment.
Conclusion
In conclusion, the installation of a dehumidifier in a crawl space is a proactive and impactful measure to combat moisture-related issues and create a healthier living environment within your home. By following the comprehensive steps outlined in this guide, you have gained valuable insights into assessing the crawl space, selecting the right dehumidifier, preparing the space, installing the unit, and implementing testing and maintenance protocols. These steps collectively empower you to effectively manage moisture levels and mitigate the potential risks associated with excess humidity in the crawl space.
The initial assessment of the crawl space, including the inspection for moisture and mold, measurement of humidity levels, evaluation of ventilation, and identification of potential moisture sources, serves as the foundation for informed decision-making throughout the installation process. This proactive approach enables you to address existing issues and tailor the installation to the specific conditions within the crawl space.
The careful selection of the right dehumidifier, considering factors such as capacity, drainage options, energy efficiency, settings, durability, and brand reputation, ensures that the chosen unit is well-equipped to manage moisture effectively. This strategic selection process aligns the dehumidifier with the unique requirements of the crawl space, setting the stage for optimal performance and long-term reliability.
The meticulous preparation of the crawl space, encompassing clearing and cleaning, addressing drainage and waterproofing, sealing air leaks, providing adequate ventilation, and ensuring accessibility, creates an environment conducive to the successful integration of the dehumidifier. These preparatory measures lay the groundwork for a seamless installation and contribute to the overall effectiveness of the dehumidification system.
The installation process itself, involving the precise positioning of the dehumidifier, configuration of drainage, secure mounting, electrical connection, testing, and insulation, ensures that the unit is seamlessly integrated into the crawl space. This step-by-step approach guarantees that the dehumidifier is poised to effectively manage moisture levels and contribute to a healthier living environment.
Finally, the emphasis on thorough testing, calibration, regular monitoring, filter maintenance, drainage system checks, and professional maintenance underscores the commitment to sustaining the dehumidifier's effectiveness over time. This proactive approach to testing and maintenance safeguards the investment in the dehumidifier and ensures ongoing protection against moisture-related concerns.
By embracing these comprehensive steps and integrating a dehumidifier into your crawl space, you have taken a proactive stance in preserving the integrity of your home and creating a healthier living environment for you and your family. The effective management of moisture levels in the crawl space not only mitigates potential risks such as mold growth and structural damage but also contributes to a more comfortable and sustainable living environment. With the knowledge and insights gained from this guide, you are well-equipped to embark on this home improvement journey with confidence and clarity.
Frequently Asked Questions about How To Install A Dehumidifier In A Crawl Space
Was this page helpful?
At Storables.com, we guarantee accurate and reliable information. Our content, validated by Expert Board Contributors, is crafted following stringent Editorial Policies. We're committed to providing you with well-researched, expert-backed insights for all your informational needs.
0 thoughts on “How To Install A Dehumidifier In A Crawl Space”