Articles
How To Make A Dehumidifier
Modified: October 19, 2024
Discover the best articles on how to make a dehumidifier and create a healthier home environment. Explore DIY techniques and expert tips to effectively control humidity levels
(Many of the links in this article redirect to a specific reviewed product. Your purchase of these products through affiliate links helps to generate commission for Storables.com, at no extra cost. Learn more)
Introduction
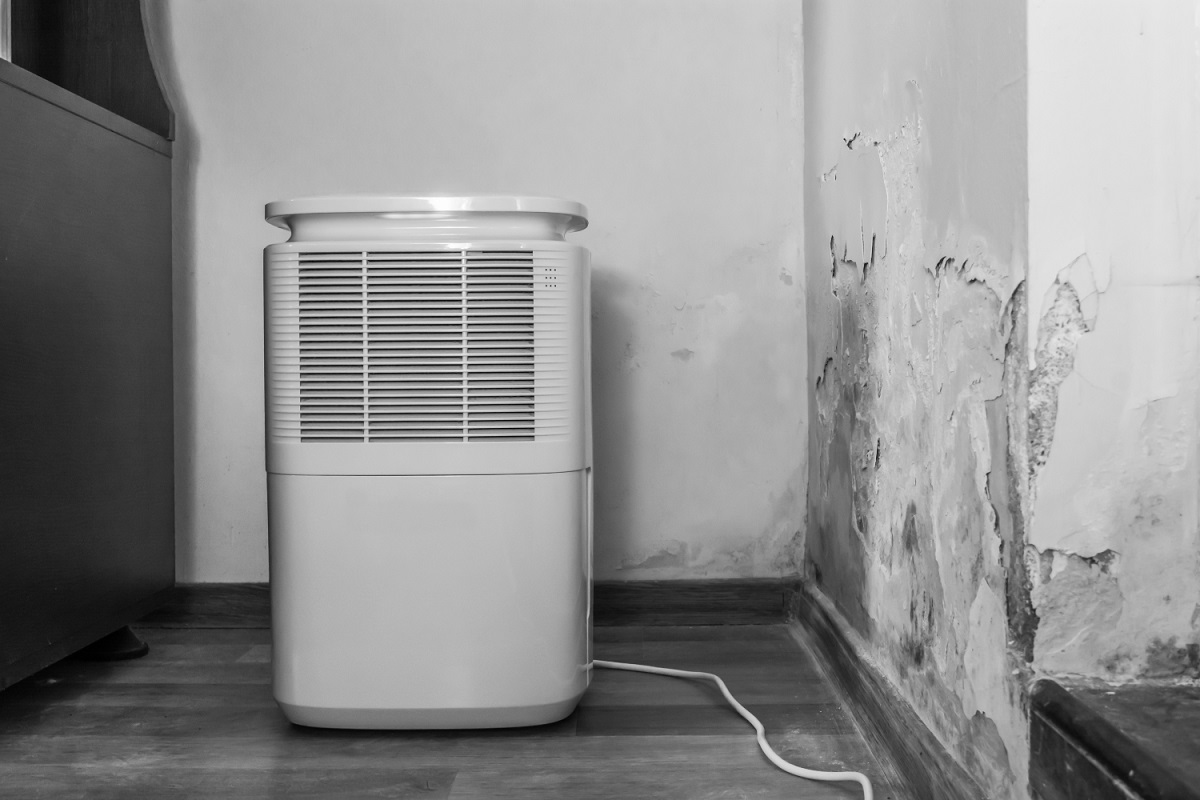
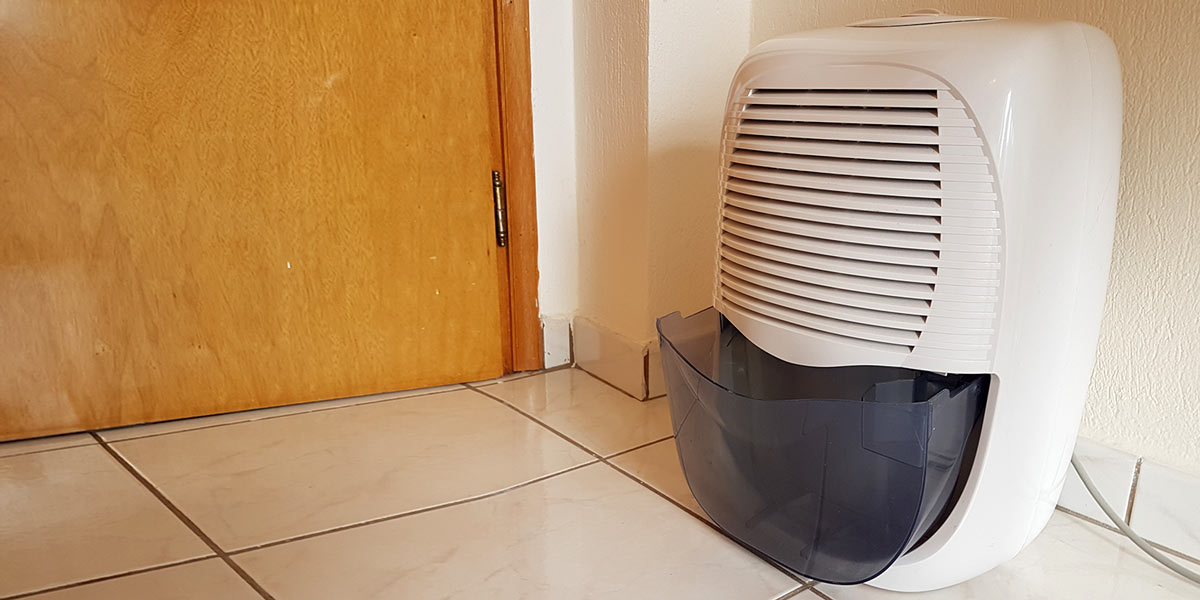
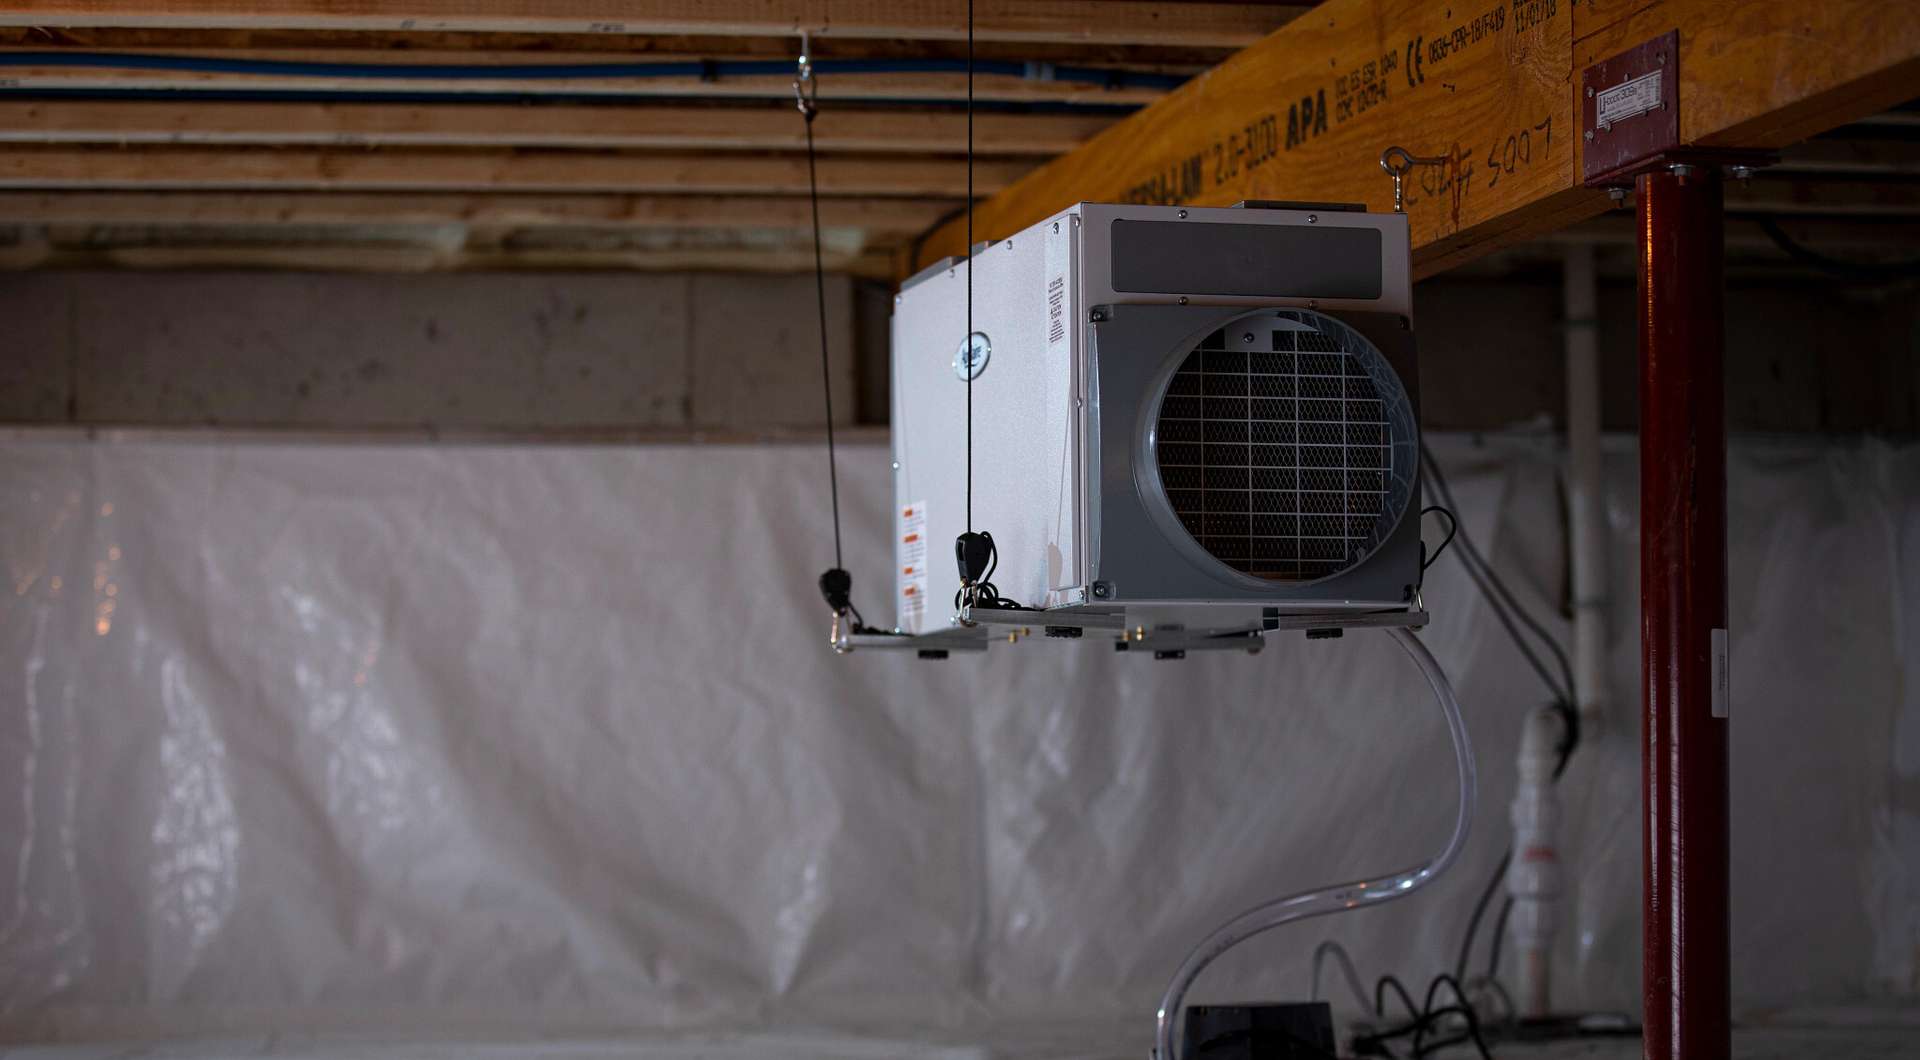
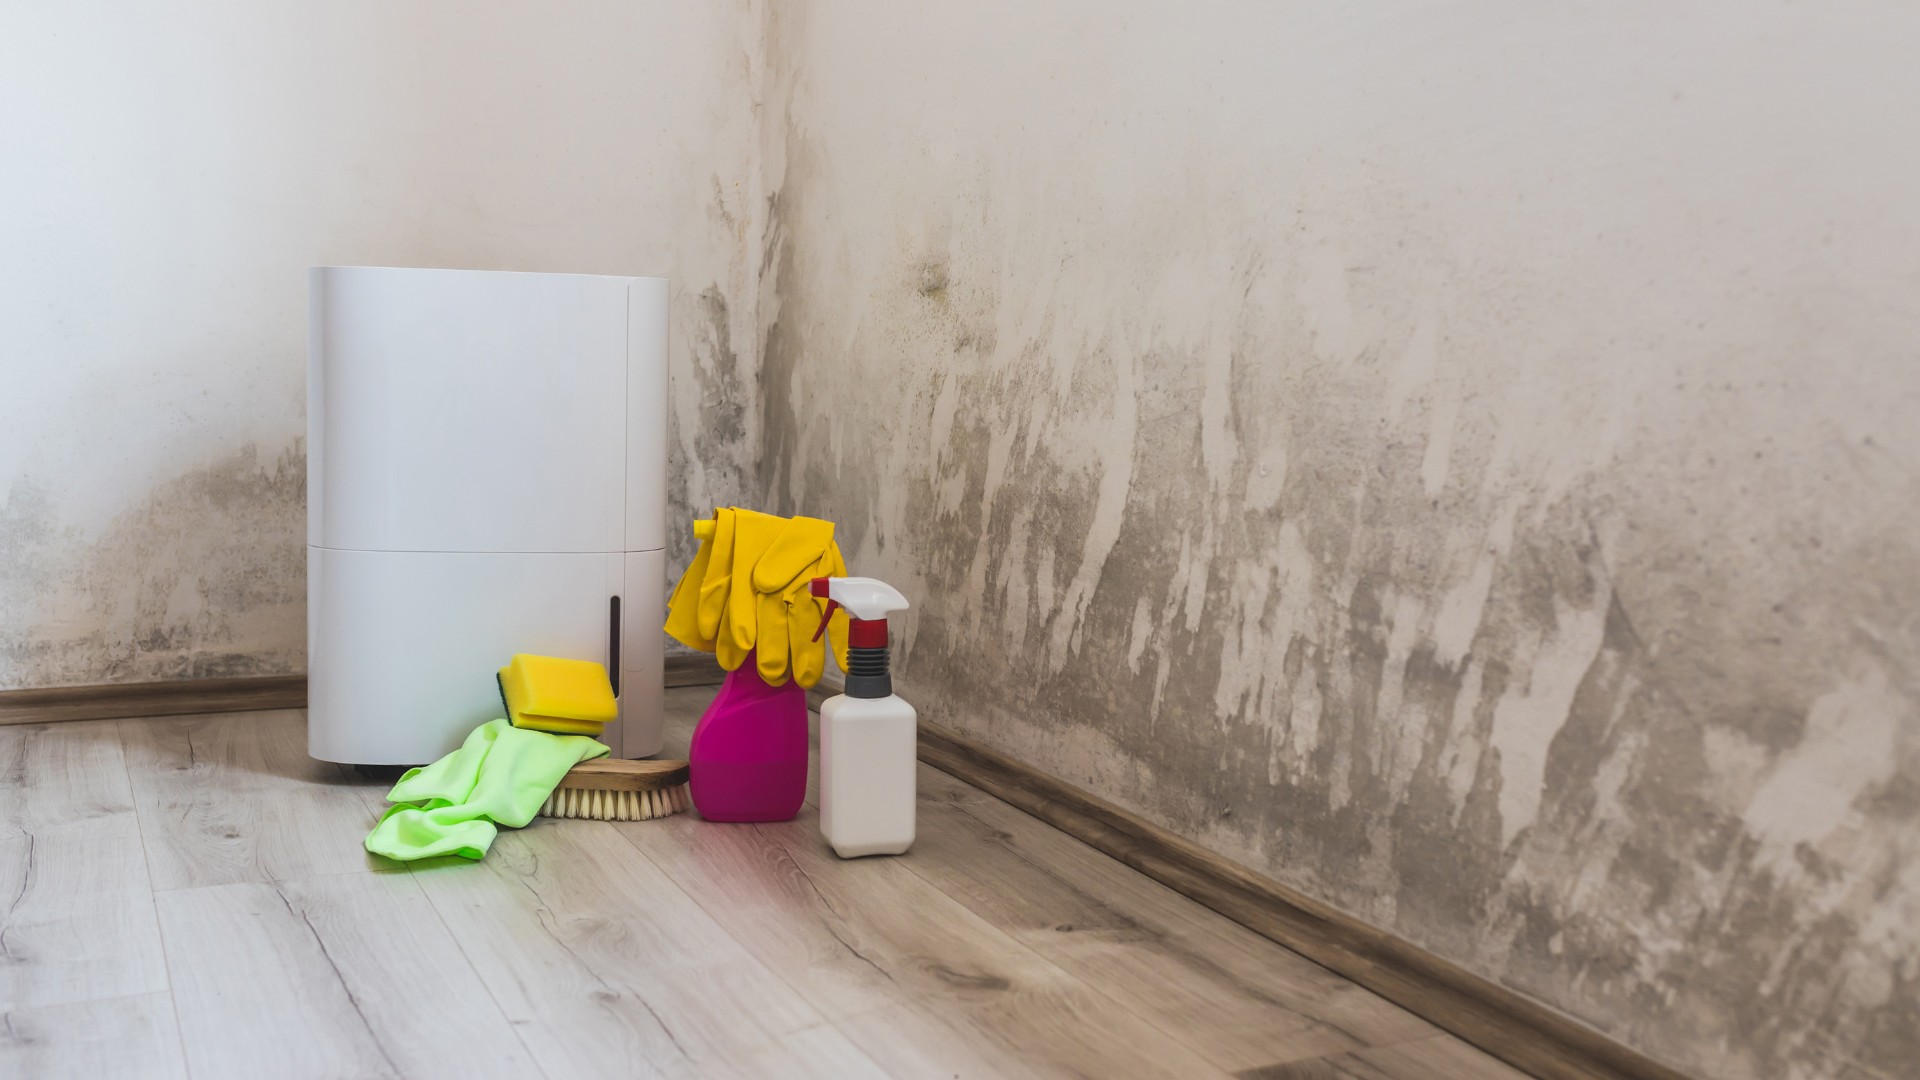
Dealing with high humidity can be a constant challenge, especially in areas with damp climates or during humid summer months. Excessive moisture in the air can lead to a host of problems, including mold growth, musty odors, and damage to furniture and electronics.
While there are various commercial dehumidifiers available on the market, they can be expensive and may not always be feasible for everyone. Luckily, you can create your own DIY dehumidifier using simple materials that are readily available.
In this article, we will guide you through the process of making a homemade dehumidifier. By following these steps, you can effectively reduce the humidity levels in your home and improve overall comfort.
Key Takeaways:
- Combat high humidity levels by creating a DIY dehumidifier using simple materials like a container, desiccant material, and a small fan. Enjoy a cost-effective solution to reduce moisture and improve indoor comfort.
- Test and adjust your homemade dehumidifier to optimize its performance. Monitor humidity levels, make necessary tweaks, and enjoy a comfortable, moisture-free living space with your personalized DIY solution.
Read more: How To Dispose Of A Dehumidifier
Materials Needed
Before you begin the process of making your own dehumidifier, gather the following materials:
- A container or bucket: Choose a container that is large enough to hold the desiccant material and has a tight-fitting lid.
- A desiccant material: This is the key component of your dehumidifier. You can use calcium chloride, a commonly available desiccant that is effective at absorbing moisture from the air. Other options include silica gel or activated charcoal.
- A small fan: You will need a small fan to circulate the air and aid in the dehumidification process. You can repurpose a computer fan or purchase a small fan from a hardware store.
- A power source: Depending on the type of fan you choose, you will need a power source such as batteries or an electrical outlet.
- Adhesive or zip ties: You will need adhesive or zip ties to attach the fan to the container securely.
- A drill or a knife: You may need a drill or a knife to create holes in the container for airflow.
- A hygrometer (optional): A hygrometer is a device that measures the humidity levels in the air. While not necessary, it can be helpful in monitoring the effectiveness of your homemade dehumidifier.
Once you have gathered these materials, you are ready to move on to the next step of creating your DIY dehumidifier.
Step 1: Gather the Components
Before you begin assembling your homemade dehumidifier, make sure you have all the necessary components ready. This includes the container, desiccant material, fan, power source, adhesive or zip ties, drill or knife, and optionally, a hygrometer.
Start by selecting a container or bucket that is large enough to hold the desiccant material and has a secure lid. Make sure the container is clean and free of any contaminants that could affect the effectiveness of your dehumidifier.
Next, choose the desiccant material that you will be using. Calcium chloride is a popular choice as it is readily available and highly effective at absorbing moisture. If you choose to use silica gel or activated charcoal, ensure that they are suitable for absorbing moisture.
If you are using a computer fan, carefully remove it from the computer casing, making sure to keep the wires attached. If you are using a small fan purchased from a hardware store, ensure that it is compatible with the power source you have selected.
You will also need a power source for your fan. This can be either batteries or an electrical outlet, depending on the type of fan you are using. Make sure you have the necessary batteries or access to an electrical outlet nearby.
Lastly, gather adhesive or zip ties to securely attach the fan to the container. You may also need a drill or a knife to create holes in the container for airflow. If you have a hygrometer, have it on hand to monitor the humidity levels in your environment.
Once you have all the components ready, you can proceed to the next step of preparing the fan for use in your homemade dehumidifier.
Step 2: Prepare the Fan
Now that you have gathered all the necessary components, it’s time to prepare the fan for use in your DIY dehumidifier.
If you are using a computer fan, start by disconnecting it from the computer casing. Carefully remove any screws or clips holding the fan in place and gently detach it from the casing. Be sure to keep the wires attached to the fan, as you will need them to power the fan later.
If you are using a small fan purchased from a hardware store, ensure that it is compatible with the power source you have selected. Check the fan’s specifications to determine if it requires batteries or if it can be directly connected to an electrical outlet. If it requires batteries, make sure you have the correct type and size on hand.
Inspect the fan to ensure that it is clean and free of any dust or debris. Use a soft brush or compressed air to remove any particles that may have accumulated on the fan blades or in the fan housing.
If necessary, lubricate the bearings of the fan to ensure smooth and quiet operation. Apply a small amount of lubricant to the fan’s bearings according to the manufacturer’s instructions.
Check the fan’s wiring to ensure that it is intact and not damaged. If you notice any frayed wires or loose connections, repair or replace them before proceeding.
Once you have prepared the fan, you are ready to move on to the next step of attaching the fan to the container for your homemade dehumidifier.
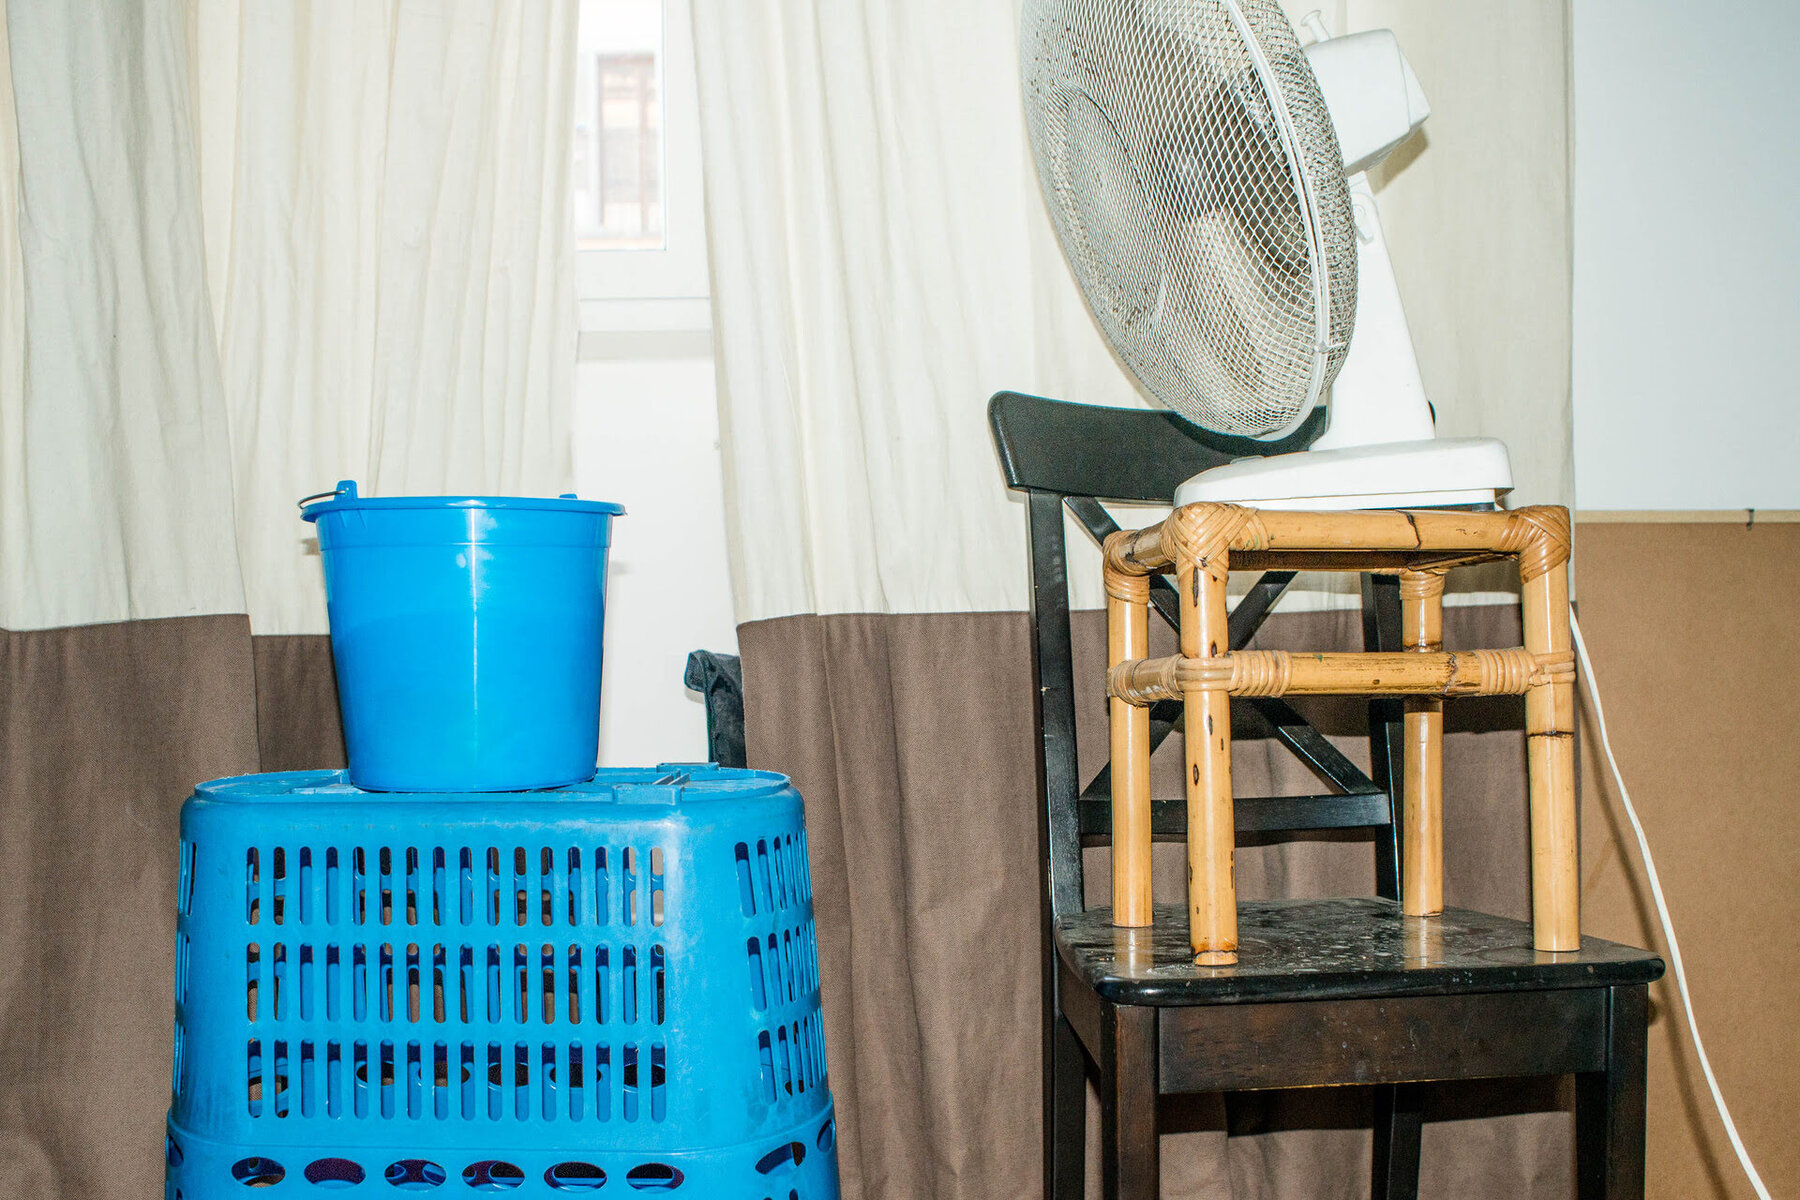
Step 3: Attach the Fan to the Container
With the fan prepared, it’s time to attach it securely to the container for your DIY dehumidifier.
Place the container on a stable surface with the lid facing upwards. Position the fan on top of the lid, making sure it is centered and aligned with the container.
If you are using adhesive, apply a generous amount to the bottom of the fan and press it firmly onto the lid. Allow the adhesive to dry according to the manufacturer’s instructions to ensure a secure bond.
If you prefer to use zip ties, feed the zip ties through the holes in the fan and tighten them around the container lid. Make sure the zip ties are pulled tight to keep the fan securely attached.
Once the fan is firmly attached to the container, check that it is centered and stable. Gently give it a light tug to ensure that it is securely fastened and won’t come loose during operation.
If necessary, trim any excess zip tie length to prevent them from getting in the way or becoming a safety hazard.
The fan is now securely attached to the container, ready to circulate air and aid in the dehumidification process. In the next step, we will guide you through creating the desiccant container for your homemade dehumidifier.
When making a dehumidifier, ensure that the desiccant material used is effective at absorbing moisture from the air, such as silica gel or calcium chloride. Proper ventilation and airflow are also important for the dehumidifier to work efficiently.
Read more: How A Dehumidifier Works
Step 4: Create the Desiccant Container
In this step, you will create the desiccant container that will hold the moisture-absorbing material for your homemade dehumidifier.
Start by selecting a suitable desiccant material such as calcium chloride, silica gel, or activated charcoal. These materials are known for their ability to absorb moisture effectively.
If you are using a container with a lid that has a built-in seal, ensure that it is airtight. This is important to prevent moisture from escaping and to maximize the efficiency of your dehumidifier.
In the lid of the container, use a drill or a knife to create small holes for airflow. These holes will allow the air to circulate inside the container, allowing the desiccant material to absorb moisture effectively. Alternatively, you can create larger holes and cover them with a piece of breathable fabric or mesh to prevent the desiccant material from spilling out.
Next, carefully pour the desiccant material into the container, filling it about three-quarters full. Make sure to handle the desiccant material with care and follow any safety guidelines provided by the manufacturer.
For calcium chloride, you can find it in crystal form or as moisture-absorbing pellets. If using crystals, avoid letting them come into direct contact with the fan or any electrical parts, as they can cause corrosion.
Close the lid tightly to secure the desiccant material in the container. Ensure that the lid is sealed properly to prevent any excess moisture from entering the container from the outside environment.
The desiccant container is now ready to be assembled with the fan to create your homemade dehumidifier. In the next step, we will guide you through the process of assembling the dehumidifier and making final adjustments.
Step 5: Assemble the Dehumidifier
With the desiccant container prepared, it’s time to assemble your homemade dehumidifier by combining the fan and the container.
Start by placing the desiccant container next to the fan, ensuring that they are aligned and easily accessible for any adjustments or maintenance.
If you have a hygrometer, position it near the dehumidifier so you can monitor the humidity levels in the surrounding area.
If your fan is powered by batteries, insert the batteries into the appropriate compartment following the manufacturer’s instructions. Double-check that the batteries are inserted correctly to ensure proper functioning of the fan.
If your fan requires an electrical outlet, connect it to the power source using the appropriate power cable or adapter.
Once the fan is powered and ready, turn it on and observe the airflow. Make sure that the fan is blowing air towards the desiccant container and that there is proper circulation inside the container.
Check the desiccant container to ensure that the holes for airflow are not blocked or obstructed. If necessary, adjust the positioning of the container or fan to maximize the airflow and ensure efficient dehumidification.
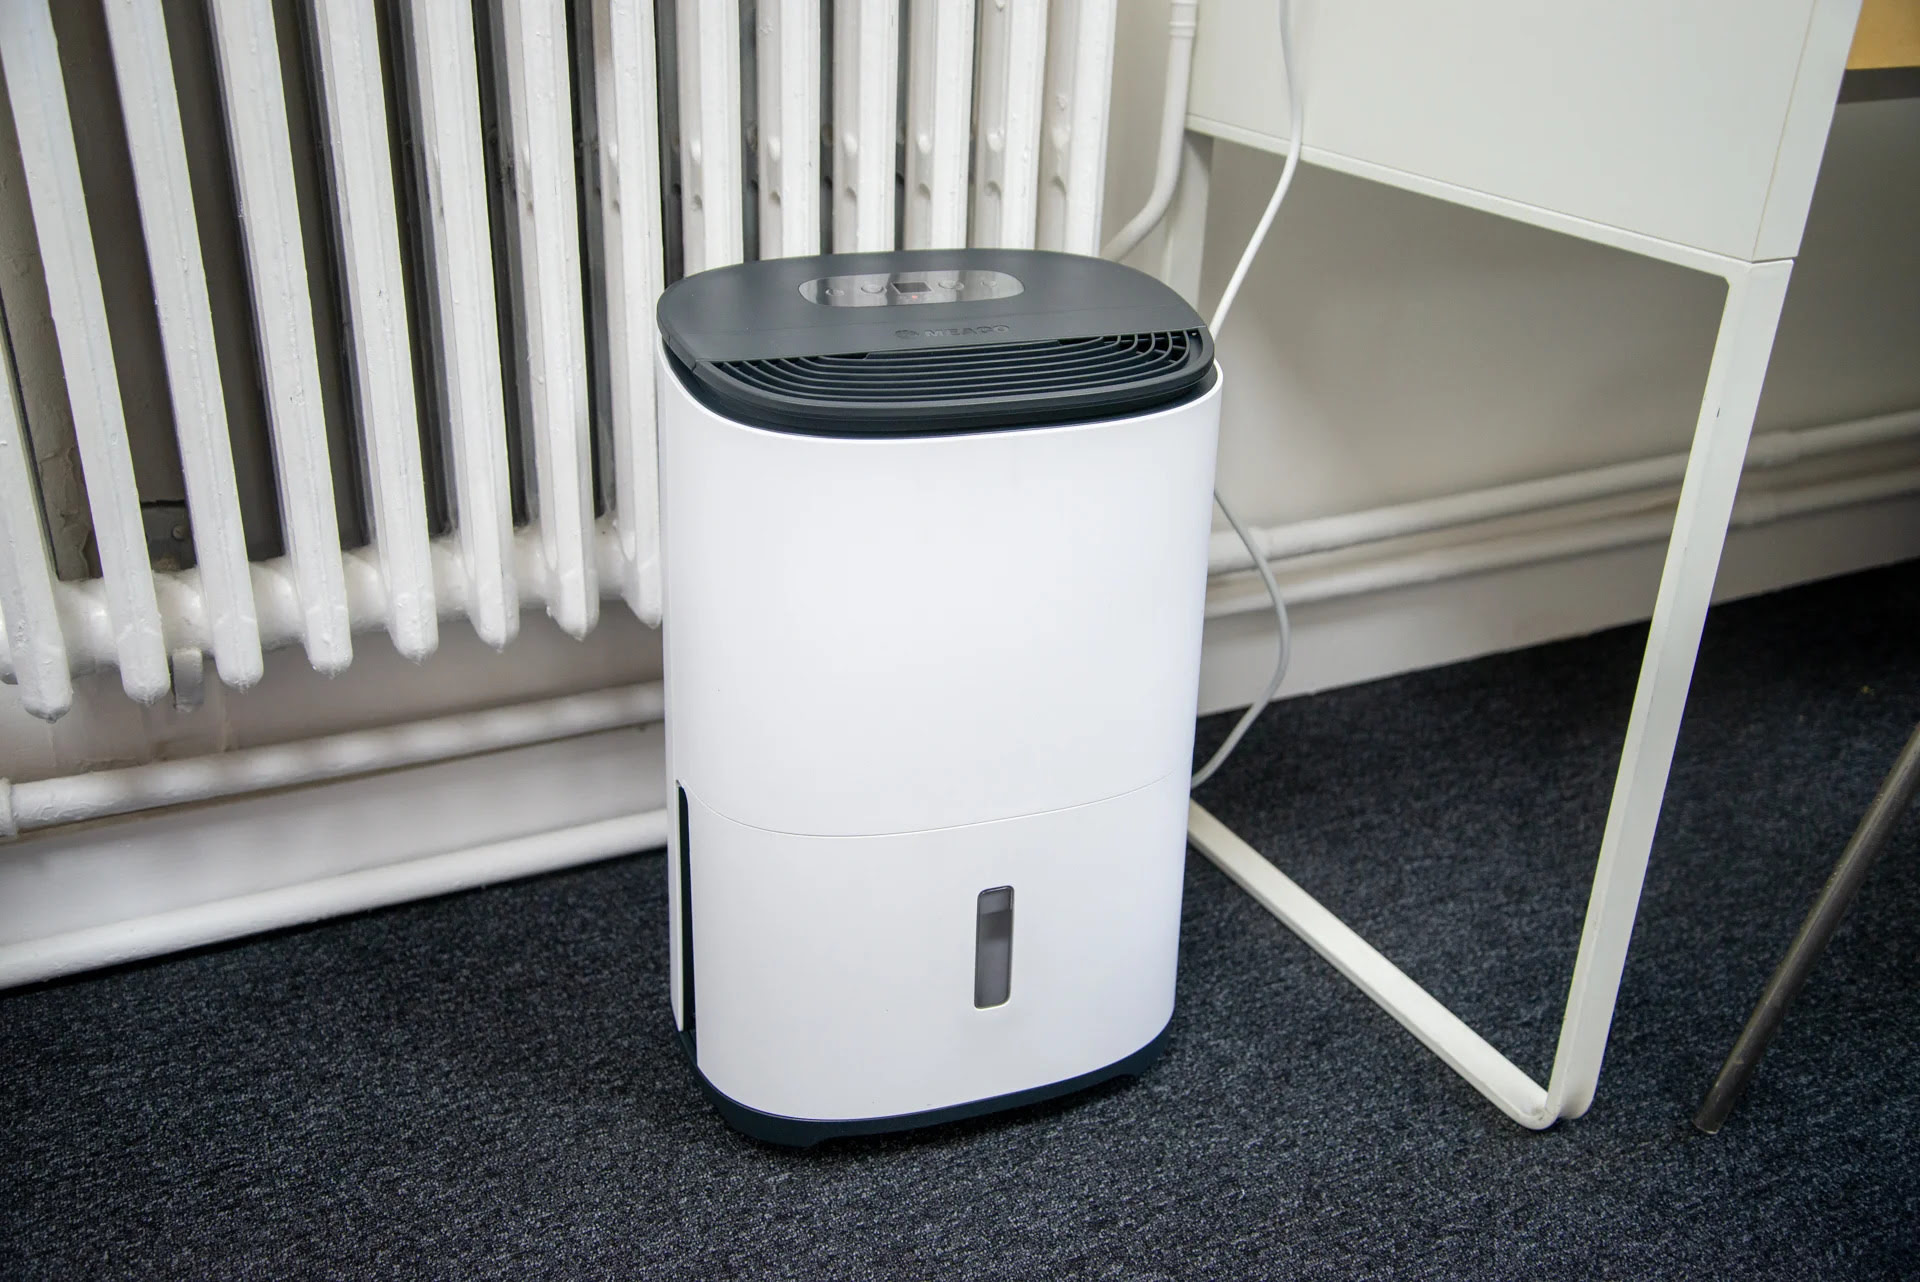
Place the assembled homemade dehumidifier in an area with high humidity or where moisture problems are prevalent. Ideally, it should be placed in a well-ventilated area where air can freely circulate.
Keep an eye on the container and periodically check the desiccant material. If it becomes saturated with moisture, replace it with fresh desiccant material to maintain the effectiveness of your homemade dehumidifier.
Remember to periodically clean the fan to remove dust and debris that may accumulate over time. This will help maintain proper airflow and ensure optimal performance.
By following these steps, you can assemble your own dehumidifier and enjoy a more comfortable and controlled indoor environment.
Step 6: Test and Adjust
After assembling your homemade dehumidifier, it’s important to test its effectiveness and make any necessary adjustments to optimize its performance.
Monitor the humidity levels in the area where you have placed the dehumidifier using a hygrometer. Measure the humidity before and after running the dehumidifier to assess its effectiveness.
Keep in mind that it may take some time for the dehumidifier to make a noticeable difference in the humidity levels, especially in larger spaces. Be patient and continue to observe the changes over a period of time.
If you find that the dehumidifier is not achieving the desired results, consider making the following adjustments:
- Positioning: Ensure that the dehumidifier is placed in an area where it can effectively capture the humid air. Ideally, it should be placed in a central location with good air circulation.
- Fan Speed: If your fan has adjustable speed settings, experiment with different speeds to find the optimal setting for maximum dehumidification.
- Desiccant Material: If you are using calcium chloride, make sure to replace it when it becomes saturated with moisture. Consider different desiccant materials if you find that the chosen one is not effective enough.
- Airflow: Check if the airflow from the fan is directed towards the desiccant container. Adjust the positioning of the fan if needed to ensure proper airflow within the dehumidifier.
Continue to monitor the humidity levels and make any necessary adjustments until you achieve the desired results. Each environment is unique, so it may take some trial and error to find the most effective configuration for your homemade dehumidifier.
Remember to maintain and clean your dehumidifier regularly to prevent any blockages or buildup that may reduce its efficiency. This includes cleaning the fan, replacing the desiccant material, and ensuring the holes for airflow remain clear.
By testing and adjusting your homemade dehumidifier, you can optimize its performance and enjoy a comfortable and moisture-free living space.
Conclusion
Creating your own dehumidifier can be a cost-effective and practical solution for dealing with high humidity levels in your home. With simple materials and a few steps, you can assemble a homemade dehumidifier that effectively reduces excess moisture and improves the overall comfort of your living space.
By gathering the necessary components, preparing the fan, attaching it to the container, and creating the desiccant container, you can assemble your DIY dehumidifier with ease. Remember to test and adjust its performance, monitoring the humidity levels and making necessary tweaks to optimize its effectiveness.
Having a dehumidifier can provide numerous benefits such as prevention of mold growth, minimizing musty odors, and protecting your furniture and electronics from damage caused by excessive moisture. By taking the time to make your own dehumidifier, you have the freedom to tailor it to your specific needs and requirements.
While a homemade dehumidifier may not have the same level of sophistication as commercial units, it can still be a reliable and budget-friendly alternative. Plus, the satisfaction of creating something useful with your own hands adds an extra touch of fulfillment.
So, take control of the humidity levels in your home and enjoy a comfortable and healthy living space with your DIY dehumidifier. With a little effort and creativity, you can effectively combat excess moisture and create an environment that is conducive to your well-being.
Frequently Asked Questions about How To Make A Dehumidifier
Was this page helpful?
At Storables.com, we guarantee accurate and reliable information. Our content, validated by Expert Board Contributors, is crafted following stringent Editorial Policies. We're committed to providing you with well-researched, expert-backed insights for all your informational needs.

0 thoughts on “How To Make A Dehumidifier”