Articles
How To Install A Dehumidifier In Basement
Modified: October 19, 2024
Learn how to install a dehumidifier in your basement with our step-by-step guide. Our informative articles will help you control moisture and improve air quality.
(Many of the links in this article redirect to a specific reviewed product. Your purchase of these products through affiliate links helps to generate commission for Storables.com, at no extra cost. Learn more)
Introduction
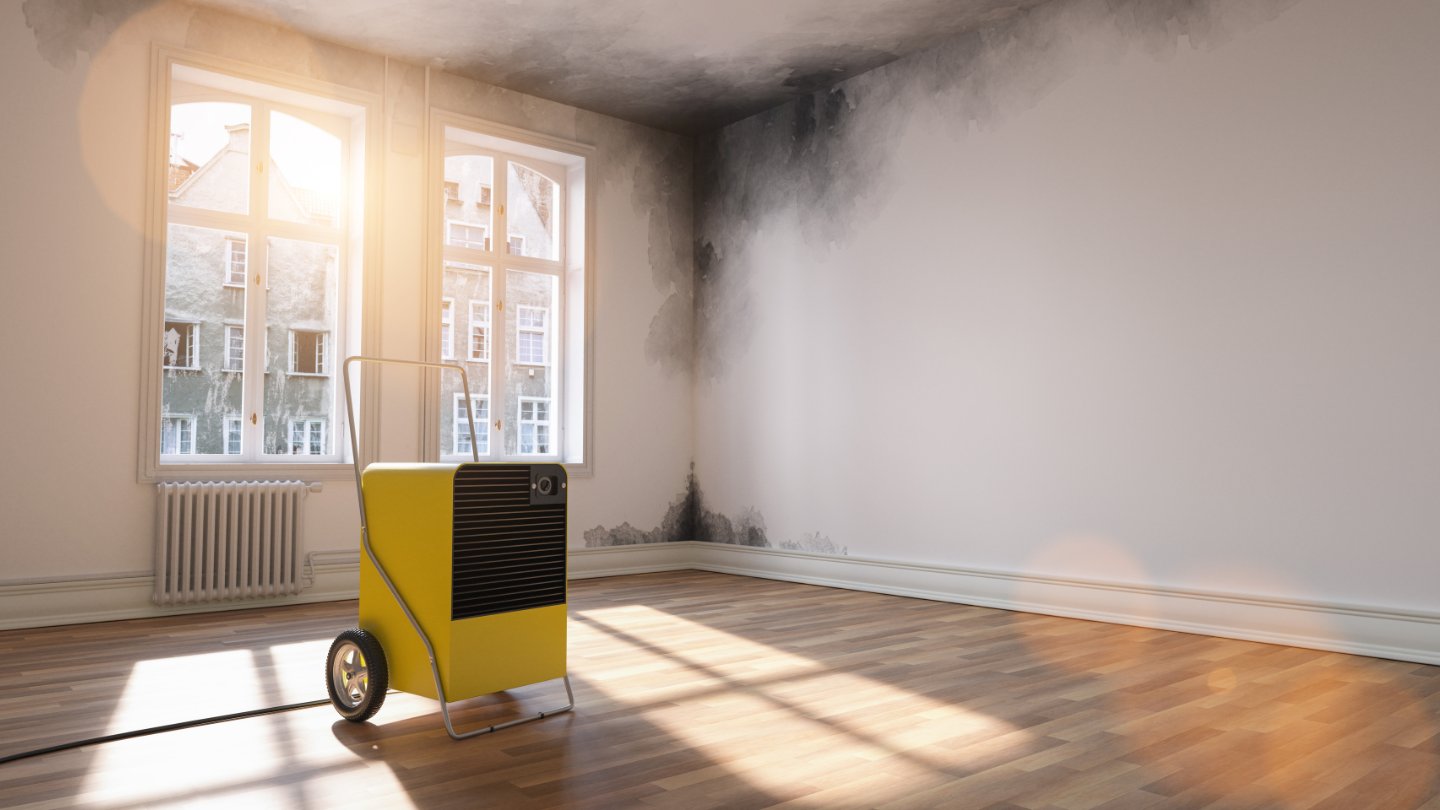
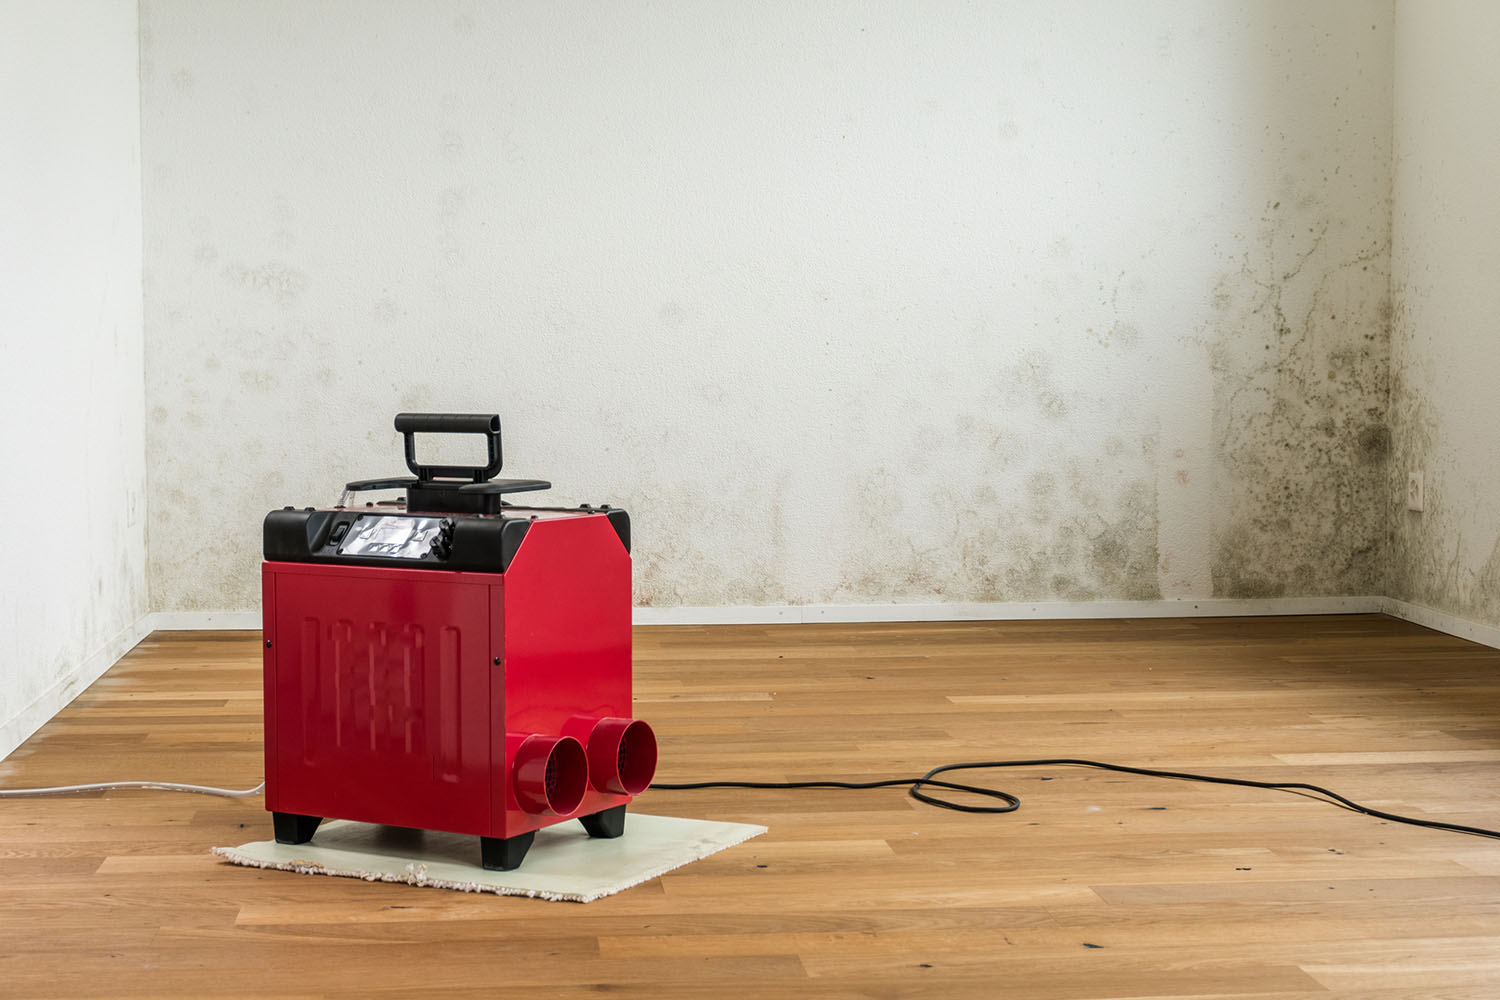
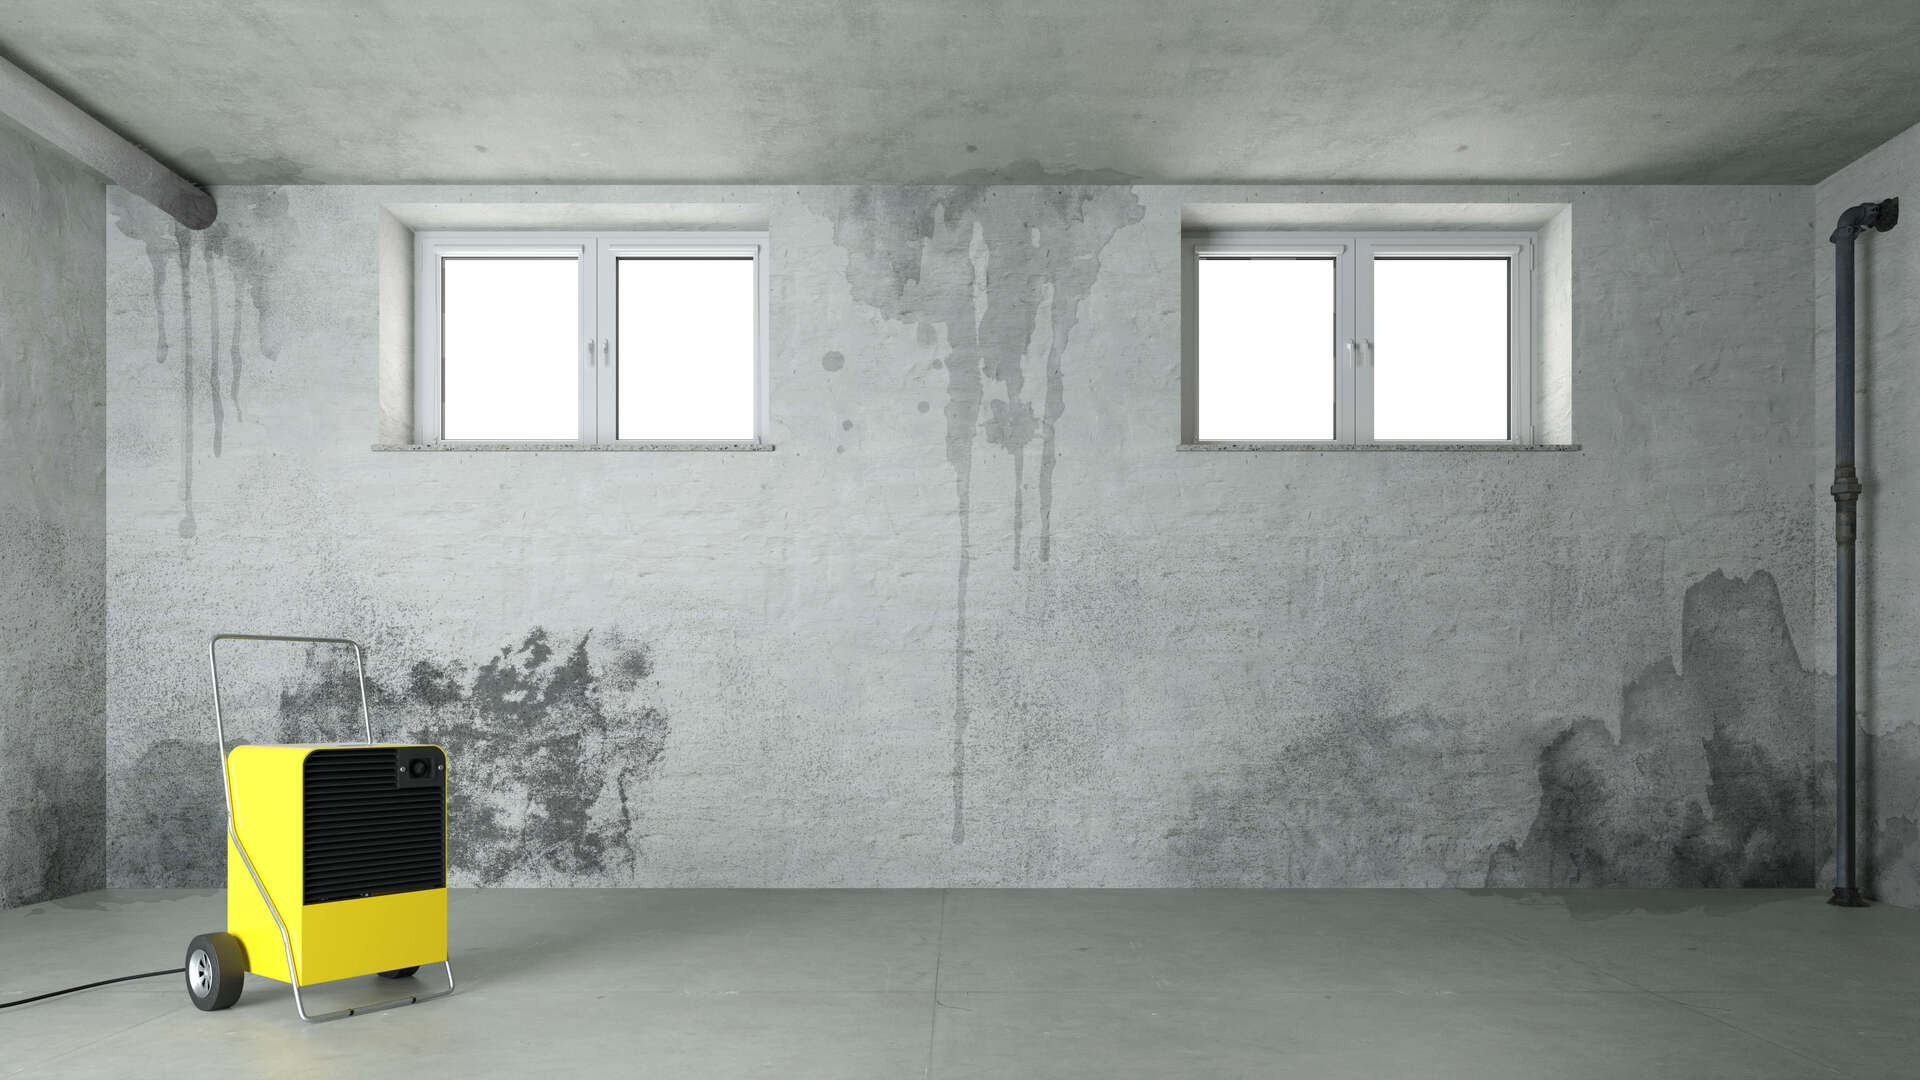
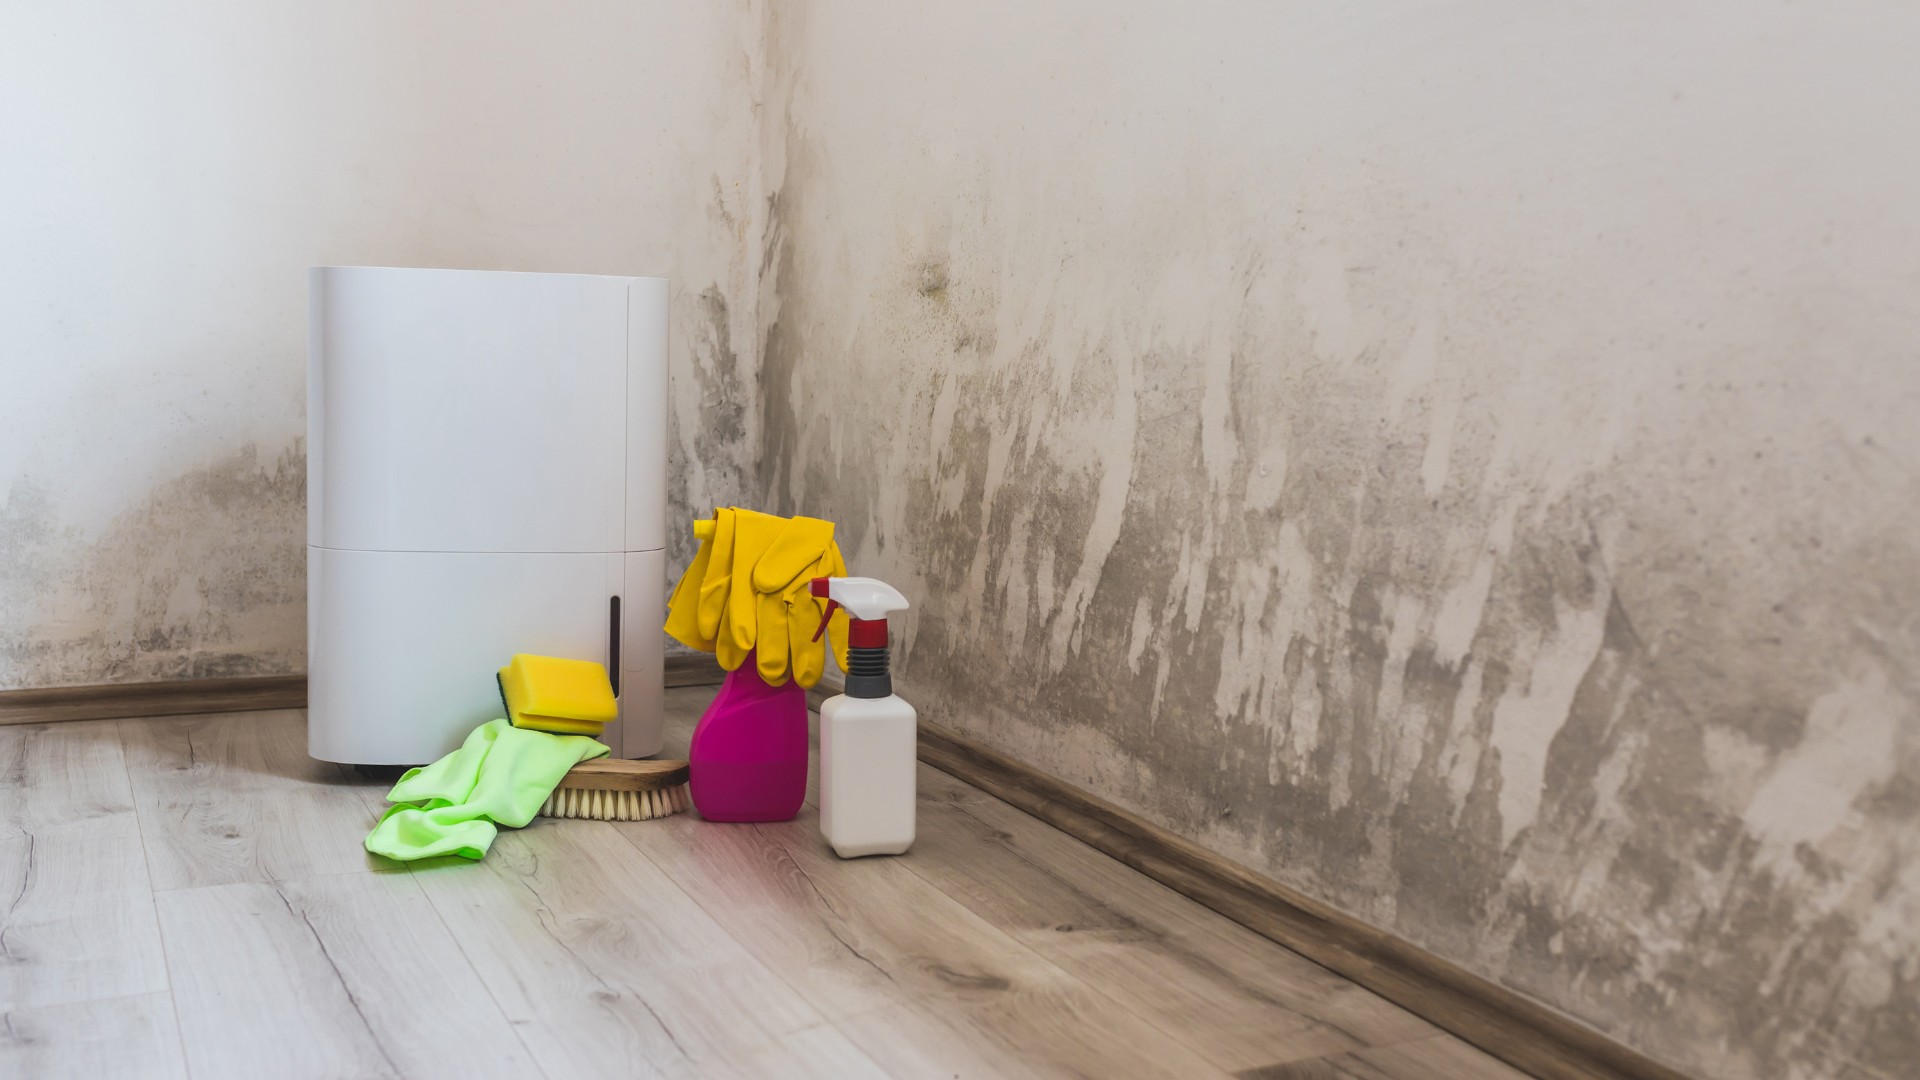
Welcome to our complete guide on how to install a dehumidifier in your basement! If you’ve noticed excess moisture, musty odors, or even mold growth in your basement, installing a dehumidifier can help regulate the humidity levels and create a healthier living environment. This step-by-step guide will walk you through the process of choosing the right dehumidifier, finding the optimal location, preparing the space, and properly connecting it to ensure maximum efficiency.
A dehumidifier works by drawing in moist air and extracting the excess moisture, then releasing the dry air back into the room. This helps prevent the growth of mold, mildew, and bacteria while improving indoor air quality. By keeping the humidity levels in check, you can protect your belongings stored in the basement and create a more comfortable space for your family to enjoy.
Before getting started, it’s important to measure the size of your basement and assess the level of humidity. This will help you determine the appropriate capacity and features required for your dehumidifier. Now, let’s dive into the step-by-step process of installing a dehumidifier in your basement.
Key Takeaways:
- Properly installing a dehumidifier in your basement involves selecting the right model, finding the optimal location, preparing the space, and connecting it to a power source. This proactive step helps maintain a healthier living environment by controlling moisture levels and preventing mold growth.
- Regular maintenance and monitoring of the dehumidifier are essential for its continued effectiveness in controlling moisture levels in the basement. By setting the desired humidity level, testing and adjusting the settings, and addressing any underlying issues, you can ensure a dry, comfortable, and healthy living space for your family.
Read more: How To Use Dehumidifier For Basement
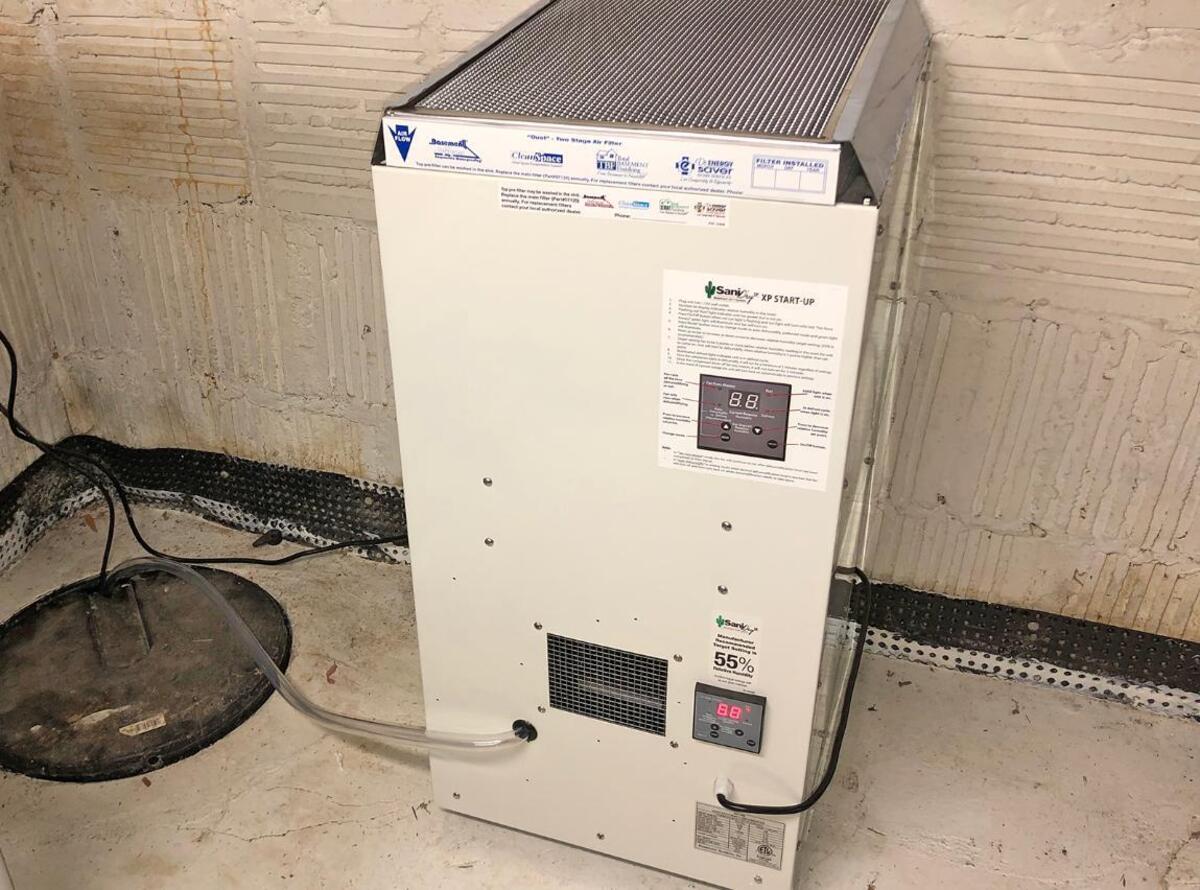
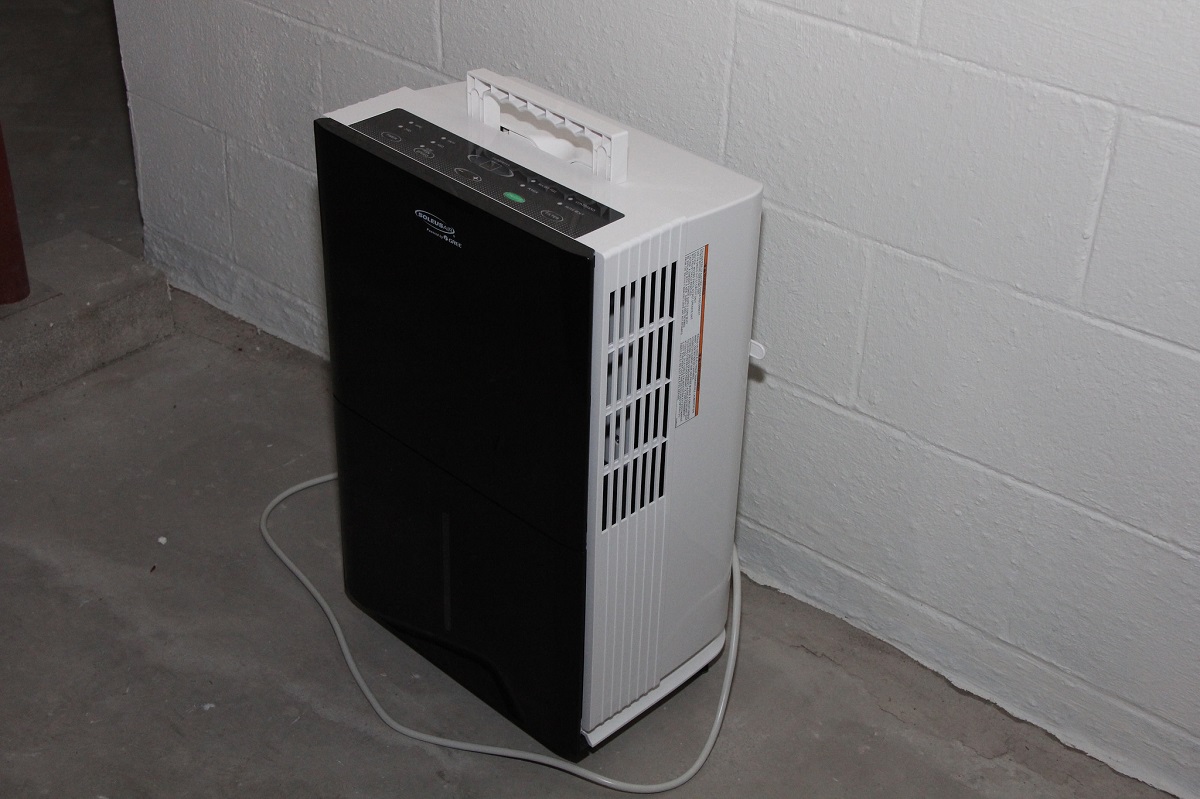
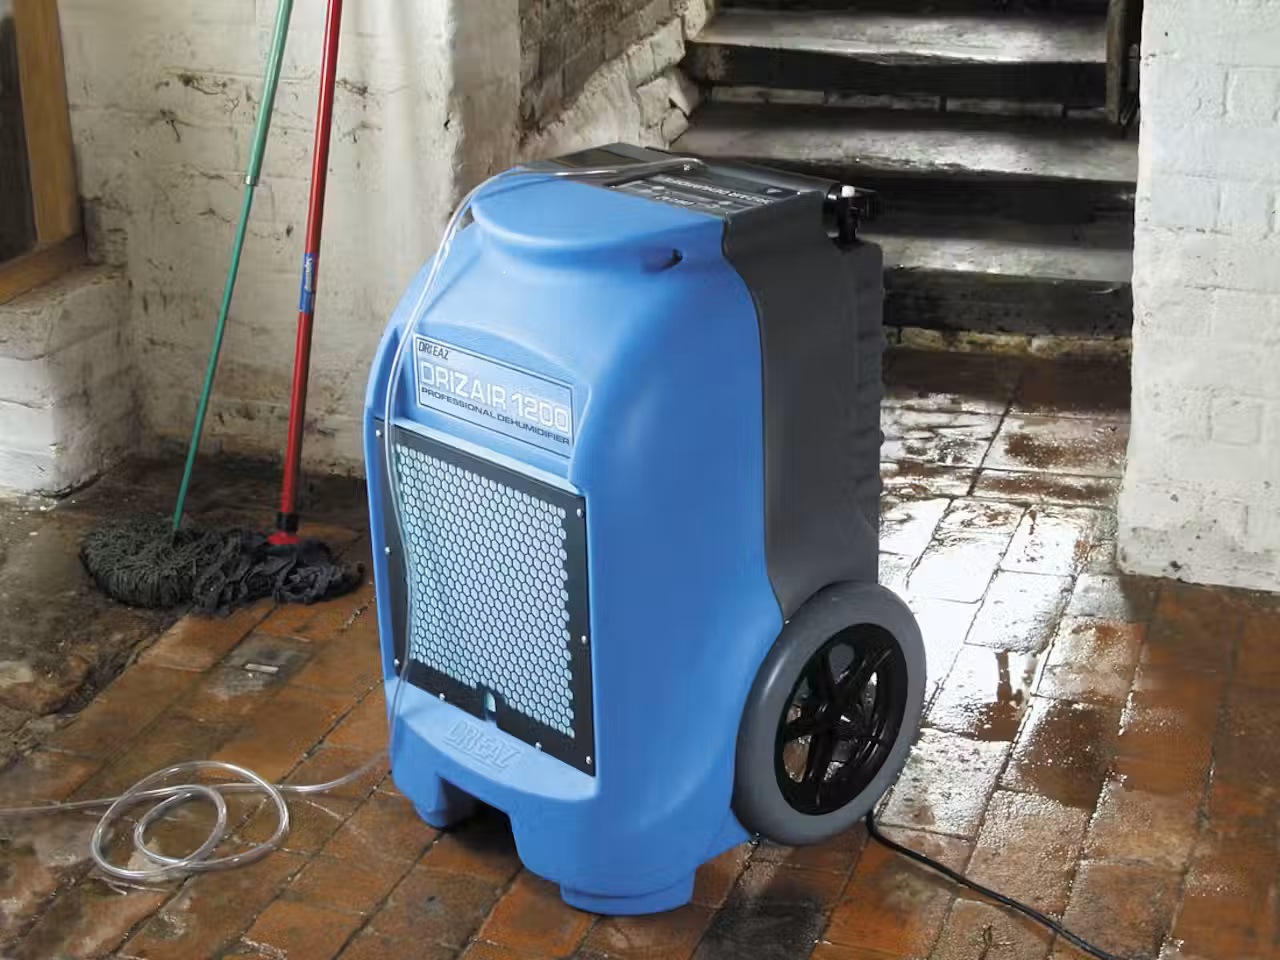
Step 1: Choose the Right Dehumidifier for Your Basement
Choosing the right dehumidifier for your basement is essential as it will determine its effectiveness in removing excess moisture. Here are some factors to consider when selecting a dehumidifier:
- Capacity: The capacity of a dehumidifier is measured in pints per day and determines how much moisture it can remove. Consider the size of your basement and the level of humidity to determine the appropriate capacity. A larger basement or higher humidity levels may require a higher capacity dehumidifier.
- Features: Look for dehumidifiers with features that suit your needs. Some common features include adjustable humidity settings, automatic shut-off when the desired humidity is reached, programmable timers, and built-in air filters.
- Noise level: Consider the noise level of the dehumidifier, especially if you plan to place it in a living area or bedroom adjacent to the basement. Look for models with low noise ratings if noise is a concern for you.
- Energy efficiency: Check the energy efficiency rating of the dehumidifier to minimize energy consumption and save on operating costs. Look for models with Energy Star certification, as they meet strict energy efficiency guidelines.
- Drainage options: Decide whether you prefer a dehumidifier with a built-in condensate pump for continuous drainage, a gravity drainage system, or a manual drainage option. This will depend on the availability of a nearby drain or the convenience of emptying the water collection bucket regularly.
- Budget: Determine your budget for the dehumidifier purchase. Keep in mind that higher-quality models often come with a higher price tag, but they are more reliable and efficient in the long run.
Research different brands and read customer reviews to find a dehumidifier that fits your requirements and has a good reputation for performance and durability. It is also a good idea to consult with a professional if you have specific basement conditions or concerns that need to be addressed.
Once you’ve selected the right dehumidifier for your basement, you can move on to the next step: finding the optimal location for installation.
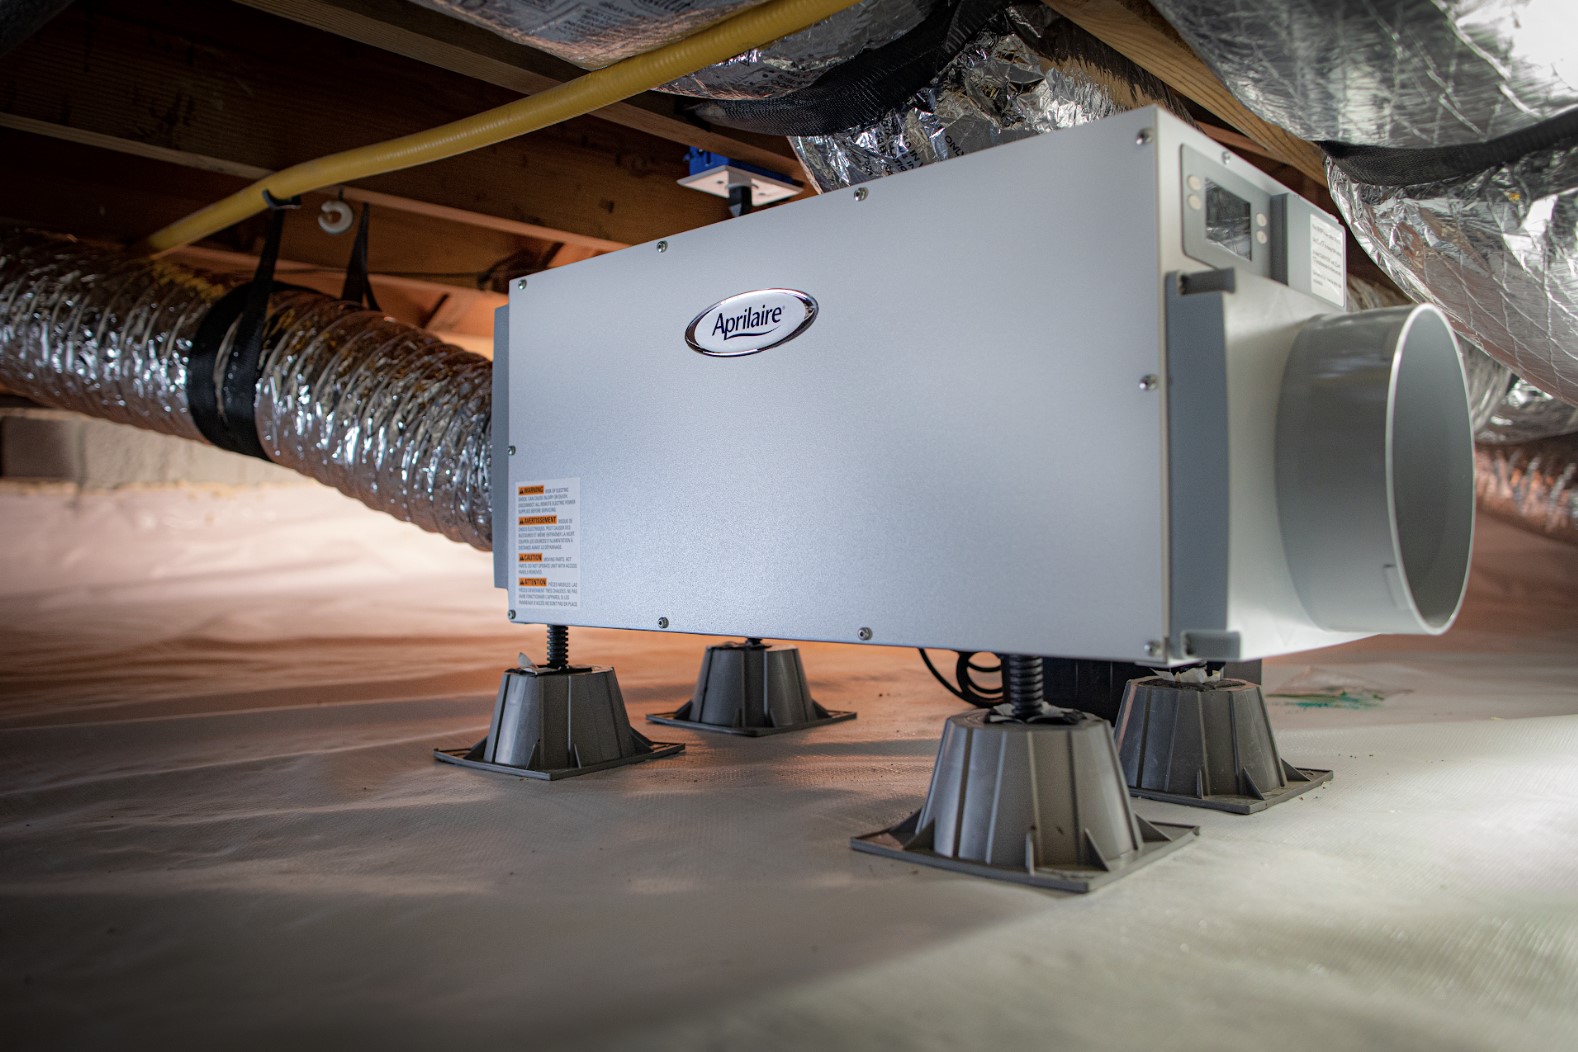
Step 2: Find the Optimal Location for Installation
When it comes to installing a dehumidifier in your basement, finding the optimal location is crucial for maximizing its effectiveness. Here are some factors to consider when choosing the installation spot:
- Central location: Place the dehumidifier in a central location in your basement to ensure even distribution of dry air throughout the space. This will help maintain a consistent humidity level and prevent moisture buildup in specific areas.
- Avoid obstacles: Keep the dehumidifier away from any obstacles such as furniture, storage items, or walls that could obstruct airflow. Adequate airflow is essential for the dehumidifier to effectively extract moisture from the air.
- Near a power source: Ensure that the installation spot is near a power outlet to easily connect the dehumidifier. If needed, consider using extension cords to reach the nearest outlet, but make sure they are properly rated for the dehumidifier’s power requirements and installed safely.
- Accessible drain: If you are opting for a dehumidifier with a built-in condensate pump or gravity drainage system, make sure there is a nearby drain for the discharge. The drain should be easily accessible for regular maintenance and to prevent any potential water damage.
- Noise considerations: Take into account the noise level produced by the dehumidifier. If you plan on using the basement as a living space or bedroom, consider placing the dehumidifier in a location where the noise will not be disruptive.
Once you have identified the ideal location for your dehumidifier, mark the spot and move on to the next step: preparing the basement for installation.
Step 3: Prepare the Basement for Installation
Before installing the dehumidifier in your basement, it’s important to prepare the space to ensure optimal performance and longevity. Follow these steps to properly prepare your basement:
- Clean the area: Remove any debris, dust, or cobwebs from the installation spot. A clean area will prevent any interference with the dehumidifier’s operation and help maintain good air quality in the basement.
- Inspect for leaks: Check for any signs of water leaks or seepage in the basement. If you find any leaks, it’s crucial to address them before installing the dehumidifier. Fixing any water issues will help prevent excessive moisture buildup and ensure the effectiveness of the dehumidifier.
- Seal cracks and gaps: Inspect the walls, floors, and windows for cracks or gaps that could allow moisture to enter the basement. Use appropriate sealants or caulking to seal these openings and prevent water infiltration.
- Improve ventilation: If your basement lacks proper ventilation, consider adding vents or exhaust fans to improve air circulation. Good ventilation will aid in the dehumidifier’s performance and prevent stagnant air in the basement.
- Eliminate sources of excess moisture: Identify and address any sources of excess moisture in the basement. This can include repairing leaking pipes, improving drainage around the foundation, or redirecting downspouts away from the house. The dehumidifier will be more effective if excessive moisture sources are minimized.
By preparing your basement properly, you’ll create a suitable environment for the dehumidifier to operate efficiently. Once you’ve completed these steps, you’re ready to move on to the next step: installing the drainage system.
Step 4: Install the Drainage System
Installing a proper drainage system is crucial for the efficient operation of your dehumidifier and the removal of collected moisture. Follow these steps to install the drainage system:
- Choose a drainage method: Depending on your dehumidifier model, you may have various drainage options. You can either choose a direct gravity drainage system, connect it to a nearby floor drain, or utilize a condensate pump to pump out the collected water. Consider the layout of your basement and the proximity of drainage options to determine the most suitable method for your setup.
- Prepare the drainage pathway: If you opt for a gravity drainage system, ensure there is a clear path from the dehumidifier to the floor drain. Remove any obstructions or obstacles that may impede proper water flow. If necessary, use PVC pipes or flexible tubing to create a clear channel for the water to flow through.
- Connect the drainage system: Depending on your dehumidifier model, locate the drainage port on the unit and attach the appropriate tubing or hose. Ensure a secure connection to prevent any leaks or disconnections during operation. Follow the manufacturer’s instructions for proper installation.
- Test the drainage system: After connecting the drainage system, perform a test to ensure it is functioning properly. Turn on the dehumidifier and check that the water is flowing freely through the drainage system without any obstructions or leaks. Make any necessary adjustments or repairs to ensure smooth operation.
- Regular maintenance: It’s important to regularly inspect and maintain the drainage system to ensure it is properly functioning. Check for any clogs, blockages, or signs of leaks, and address them promptly. Additionally, clean the drainage pathway and remove any debris that may hinder water flow.
Installing a proper drainage system will allow for continuous and efficient removal of moisture from your basement. With the drainage system in place, you can proceed to the next step: connecting the dehumidifier to the power source.
When installing a dehumidifier in the basement, make sure to place it in a central location for maximum coverage. Also, consider a unit with a built-in pump for easy drainage.
Read more: Where To Place Dehumidifier In Basement
Step 5: Connect the Dehumidifier to the Power Source
Connecting your dehumidifier to a reliable power source is essential for its proper operation. Follow these steps to connect the dehumidifier to the power source:
- Ensure safety: Before connecting the dehumidifier, ensure that the power source is properly grounded and meets electrical safety standards. If you are unsure, consult a qualified electrician to assess and make any necessary adjustments to the electrical setup.
- Inspect the power cord: Before plugging in the dehumidifier, carefully inspect the power cord for any signs of damage or fraying. Avoid using a dehumidifier with a damaged power cord, as it may pose a safety hazard. If the power cord is damaged, contact the manufacturer for a replacement.
- Plug into a dedicated outlet: Ideally, the dehumidifier should be plugged into a dedicated grounded outlet. Avoid using extension cords or power strips, as they may not have the capacity to handle the dehumidifier’s power requirements. If necessary, consult an electrician to install a new outlet near the installation spot.
- Follow the manufacturer’s instructions: Locate the power cord connection port on the dehumidifier and plug in the power cord securely. Ensure a snug fit to prevent any accidental disconnection during operation. Follow any specific instructions provided by the manufacturer for connecting the power cord.
- Test the power connection: After connecting the dehumidifier to the power source, turn it on and ensure that it powers up properly. Check the display panel or settings to verify that the dehumidifier is functioning as intended. If you encounter any issues, refer to the manufacturer’s troubleshooting guide or contact their customer support for assistance.
- Install surge protection: To protect your dehumidifier from power surges or electrical fluctuations, consider installing a surge protector. This will help prevent damage to the unit and prolong its lifespan.
Once the dehumidifier is successfully connected to the power source, you can proceed to the next step: setting the desired humidity level.
Step 6: Set the Desired Humidity Level
Setting the desired humidity level on your dehumidifier is crucial for maintaining optimal moisture control in your basement. Follow these steps to set the desired humidity level:
- Refer to the user manual: Familiarize yourself with the controls and settings of your specific dehumidifier model by referring to the user manual. Each dehumidifier may have slightly different controls and options.
- Access the control panel: Locate the control panel on the dehumidifier. This is usually located on the top or front of the unit. Some models may have a digital display screen, while others may have manual dials or buttons.
- Select the humidity level: Depending on the dehumidifier, you may have options such as specific percentage settings or general settings like “dry”, “normal”, or “humid.” Determine the desired humidity level for your basement based on your comfort preferences and the recommendations provided in the user manual.
- Adjust the settings: Use the controls or buttons on the dehumidifier to adjust the settings and set the desired humidity level. Some models may have additional options like fan speed control or timer settings. Follow the instructions in the user manual to ensure proper adjustment.
- Monitor and make adjustments: Keep an eye on the humidity level in your basement by using a hygrometer or the built-in humidity sensor on the dehumidifier. If the humidity level is consistently too high or too low, make appropriate adjustments to the settings to achieve your desired humidity level.
- Allow the dehumidifier to run: Once you have set the desired humidity level, allow the dehumidifier to run continuously. The unit will automatically switch on and off to maintain the desired humidity level in your basement.
Remember that it may take some time for the dehumidifier to bring the humidity level within the desired range, especially if the basement has high humidity levels initially. Be patient and monitor the progress to ensure effective moisture control in your basement.
With the desired humidity level set, you can now move on to the final step: testing and adjusting the settings.
Step 7: Test and Adjust the Settings
After installing and setting up your dehumidifier, it’s important to test and adjust the settings to ensure it is effectively removing moisture from your basement. Follow these steps to test and adjust the settings:
- Allow sufficient time: Give the dehumidifier enough time to run and regulate the humidity in your basement. Depending on the initial moisture levels, it may take several days or weeks to reach your desired humidity level.
- Monitor the humidity: Use a hygrometer or the built-in humidity sensor on the dehumidifier to monitor the humidity levels in your basement. Check the readings regularly to determine if the dehumidifier is effectively reducing the moisture in the air.
- Check for excessive condensation: While the dehumidifier is running, inspect walls, windows, and other surfaces for excessive condensation. It’s normal to see some condensation when the dehumidifier is working, but excessive moisture accumulation may indicate that the unit is not adequately sized or the settings need adjustment.
- Adjust the settings if necessary: If you find that the dehumidifier is not achieving the desired humidity level or is removing moisture too quickly, make appropriate adjustments to the settings. This may include increasing or decreasing the humidity level setting, adjusting the fan speed, or changing the operating mode.
- Consider environmental factors: Take into account any environmental factors that may affect the efficiency of the dehumidifier. For example, if your basement receives a lot of moisture from outdoor humidity or nearby water sources, you may need to adjust the settings accordingly or consider additional moisture control measures.
- Regular maintenance: Follow the recommended maintenance guidelines provided by the manufacturer to ensure the dehumidifier continues to operate optimally. This may include regularly cleaning or replacing air filters, emptying the water collection bucket (if applicable), and checking for any signs of damage or wear.
By testing and adjusting the settings of your dehumidifier, you can fine-tune its performance and ensure it effectively controls the moisture levels in your basement. Regular monitoring and maintenance will help maintain a healthy and comfortable environment in your home.
Congratulations! You have successfully completed the installation and setup of your dehumidifier in your basement. Enjoy the benefits of a drier and healthier space!
Conclusion
Installing a dehumidifier in your basement is a proactive step towards creating a healthier and more comfortable living environment. Excess moisture can lead to mold growth, musty odors, and even potential health issues. With the help of our step-by-step guide, you now have the knowledge to successfully install and set up a dehumidifier in your basement.
Throughout the installation process, we covered important steps such as selecting the right dehumidifier for your basement, finding the optimal location for installation, preparing the space, installing the drainage system, connecting the dehumidifier to the power source, setting the desired humidity level, and testing and adjusting the settings.
Remember to carefully consider the specific requirements of your basement and consult the user manual provided by the manufacturer for your specific dehumidifier model. Regular maintenance and monitoring of your dehumidifier will ensure its continued effectiveness in controlling moisture levels in your basement.
By managing the humidity in your basement, you can prevent mold growth, protect your belongings from moisture damage, and improve the overall air quality in your home. Additionally, a dehumidifier can greatly enhance the comfort of your basement by reducing musty smells and creating a more pleasant atmosphere.
Be sure to regularly clean or replace the air filters and empty the water collection bucket, if applicable, as part of your dehumidifier’s maintenance routine. This will help maintain proper functionality and extend the lifespan of your unit.
Remember that a dehumidifier is just one piece of the puzzle in maintaining a dry and healthy basement. It is important to also address any underlying issues such as water leaks, poor insulation, or inadequate ventilation, to ensure long-term moisture control.
With a properly installed and maintained dehumidifier, you can enjoy a clean, dry, and comfortable basement for years to come. So, take the necessary steps to conquer excess moisture and create a space where you and your family can breathe easy.
Frequently Asked Questions about How To Install A Dehumidifier In Basement
Was this page helpful?
At Storables.com, we guarantee accurate and reliable information. Our content, validated by Expert Board Contributors, is crafted following stringent Editorial Policies. We're committed to providing you with well-researched, expert-backed insights for all your informational needs.


0 thoughts on “How To Install A Dehumidifier In Basement”