Articles
How To Clean Indoor Grill
Modified: October 29, 2024
Learn effective techniques and tips in our latest articles on how to clean your indoor grill. Keep your grill in top condition for the best cooking results!
(Many of the links in this article redirect to a specific reviewed product. Your purchase of these products through affiliate links helps to generate commission for Storables.com, at no extra cost. Learn more)
Introduction
Grilling delicious food indoors can be a wonderful experience, but it’s equally important to maintain the cleanliness of your indoor grill. Regular cleaning not only ensures optimal performance but also extends the lifespan of your appliance. In this article, we will guide you through the step-by-step process of cleaning your indoor grill to keep it in perfect condition.
Before we embark on the cleaning journey, it’s essential to take some safety precautions. Make sure to unplug the grill and let it cool down completely before starting the cleaning process. This will prevent any risk of burns or electrical hazards. Additionally, read the manufacturer’s instructions for specific cleaning recommendations for your grill model.
To clean your indoor grill effectively, you will need a few supplies. Gather a soft sponge or cloth, mild dish soap, warm water, a scrub brush with non-abrasive bristles, a plastic spatula or scraper, and paper towels. These basic supplies will help you remove grease, food residue, and grime from your grill without causing any damage.
Now that we have our safety precautions in place and supplies ready, let’s dive into the step-by-step process of cleaning your indoor grill.
Key Takeaways:
- Regularly cleaning your indoor grill is essential for maintaining its performance and ensuring a safe cooking environment. Follow the step-by-step process outlined in this article to keep your indoor grill in perfect condition for many grilling sessions to come.
- By incorporating regular cleaning into your routine, you’ll prolong the lifespan of your indoor grill and continue to savor the joy of indoor grilling for years to come. Remember to consult the manufacturer’s instructions for specific cleaning recommendations for your grill model.
Read more: How To Clean An Indoor Grill
Safety Precautions
Before you begin cleaning your indoor grill, it’s crucial to take the necessary safety precautions to protect yourself and prevent any accidents. Here are some important tips to keep in mind:
- Turn off and unplug the grill: Always ensure that the grill is completely turned off and unplugged from the power source before cleaning. This will prevent any electrical shocks or accidents.
- Allow the grill to cool down: Give your grill ample time to cool down before you start cleaning it. This will help avoid any burns or injuries that may occur from touching hot surfaces.
- Remove the grill plates: If your indoor grill has removable plates, take them out before cleaning. This will make the cleaning process easier and more efficient.
- Read the manufacturer’s instructions: Every indoor grill model is different, so it’s important to read the manufacturer’s instructions for specific cleaning recommendations. Follow their guidelines to ensure you don’t damage the grill.
- Use protective gloves: If you have sensitive skin or if you’re using strong cleaning agents, it’s advisable to wear protective gloves to protect your hands from any potential irritation or allergic reactions.
- Avoid using abrasive cleaners: To prevent scratching or damaging the surfaces of your indoor grill, stay away from harsh abrasive cleaners. Instead, opt for mild dish soap and non-abrasive cleaning tools.
- Clean in a well-ventilated area: Cleaning your indoor grill can sometimes produce fumes or strong smells. It’s recommended to perform the cleaning in a well-ventilated area to avoid breathing in any harmful substances.
- Keep children and pets away: When cleaning your indoor grill, make sure to keep children and pets at a safe distance. This will prevent any accidents or injuries that might occur while handling cleaning solutions or hot grill surfaces.
By following these safety precautions, you can ensure a safe and hassle-free cleaning process for your indoor grill. Now that we’ve covered the essential safety measures, let’s move on to the supplies you’ll need for the cleaning process.
Supplies Needed
Before you embark on cleaning your indoor grill, it’s important to gather all the necessary supplies. Having the right tools and cleaning agents will make the process more efficient and effective. Here are the supplies you’ll need:
- Soft sponge or cloth: Choose a non-abrasive sponge or cloth that won’t scratch the surfaces of your indoor grill.
- Mild dish soap: Use a gentle dish soap that is effective at cutting through grease and grime without causing any damage to your grill.
- Warm water: Fill a basin or sink with warm water to use for soaking and rinsing your grill components.
- Scrub brush with non-abrasive bristles: This will help you scrub away stubborn grime and food residue from the grill grates and other surfaces.
- Plastic spatula or scraper: Use a plastic spatula or scraper to remove any stuck-on food particles without scratching the grill plates.
- Paper towels: These are handy for wiping away excess moisture and cleaning solution from the grill.
- Vinegar or baking soda (optional): If you prefer using natural cleaning agents, vinegar or baking soda can be effective in removing tough stains and odors from your indoor grill.
- Protective gloves (optional): If you have sensitive skin or prefer additional protection, consider wearing gloves to avoid irritations from cleaning agents.
By having these supplies ready, you’ll be fully prepared to tackle the cleaning process for your indoor grill. Now that we have everything we need, let’s move on to the step-by-step process of cleaning the grill.
Step 1: Preparing the Grill
Before you start cleaning your indoor grill, it’s important to properly prepare it for the cleaning process. Follow these steps to ensure your grill is ready:
- Unplug the grill: First and foremost, unplug your indoor grill from the power source. This will prevent any accidents and ensure your safety while cleaning.
- Let the grill cool down: Give the grill enough time to cool down completely. This will prevent any burns or injuries that may occur when touching hot surfaces.
- Remove the grill plates: If your indoor grill has removable plates, take them out and set them aside. This will make it easier to clean them thoroughly.
- Empty the drip tray: If your grill has a drip tray, remove it and dispose of any grease or food particles collected in it. Discard the contents properly.
By following these steps, you’ll ensure that your indoor grill is ready for the cleaning process. Now, let’s move on to the next step – removing excess grease and food residue.
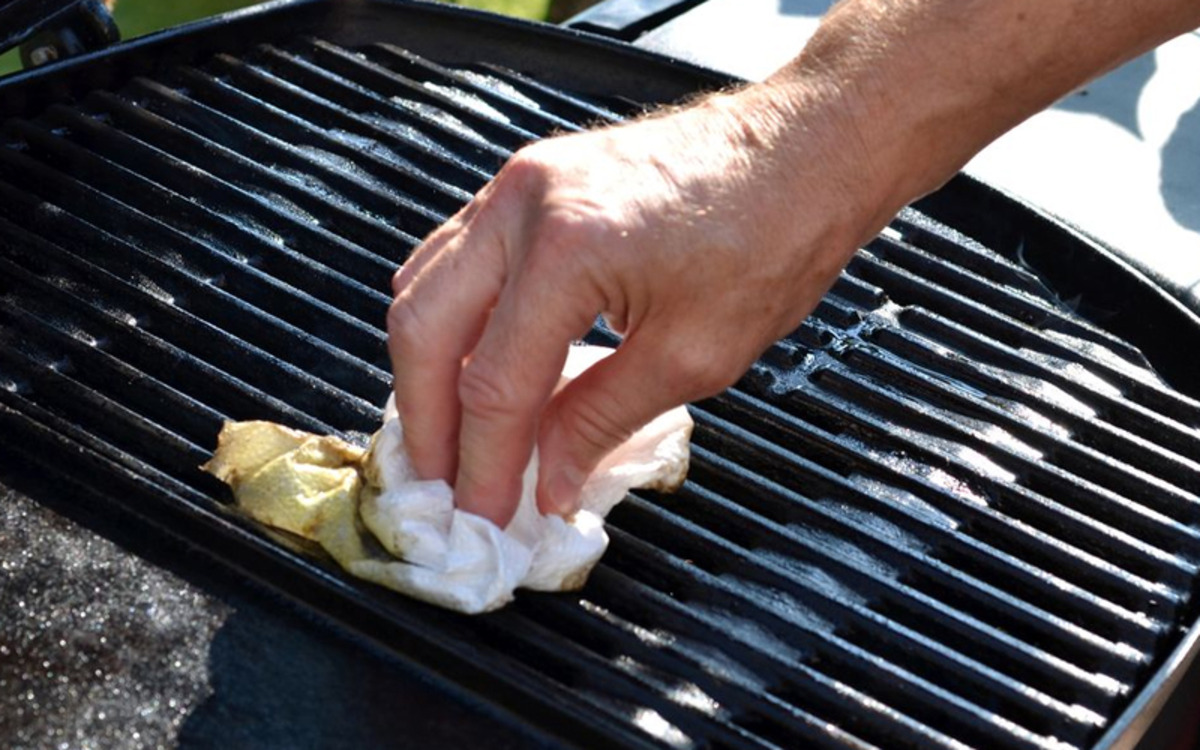
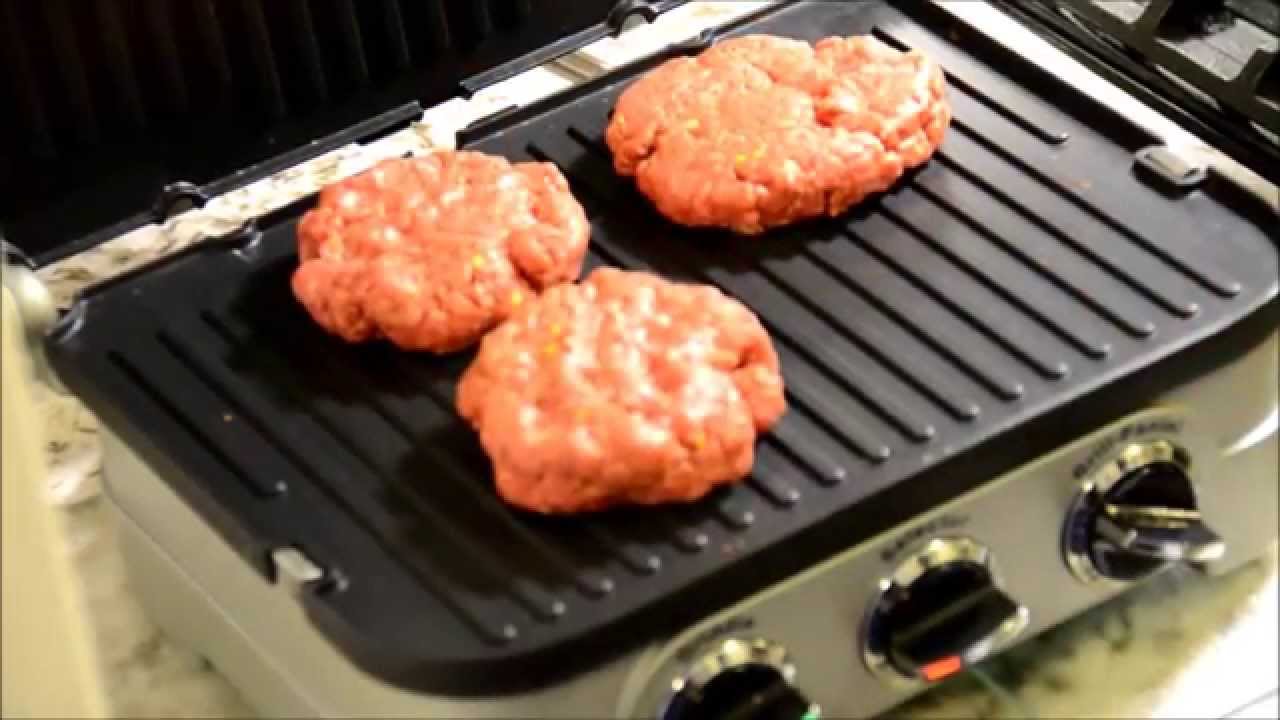
Step 2: Removing Excess Grease and Food Residue
Now that your indoor grill is prepared, it’s time to tackle the excess grease and food residue that may have accumulated. Follow these steps to effectively remove any buildup:
- Scrape off loose debris: Use a plastic spatula or scraper to gently remove any loose debris, such as charred food particles or excess grease. Be careful not to scratch the grill plates in the process.
- Wipe down the grill plates: Take a damp sponge or cloth and wipe down the grill plates to remove any remaining food residue or grease. You can also use a mild dish soap solution to help break down stubborn stains.
- Soak the grill plates: If the grill plates are particularly dirty, you can soak them in warm, soapy water for a few minutes to loosen any stubborn residue. This will make it easier to clean them later.
- Clean the exterior of the grill: Use a damp cloth or sponge to wipe down the exterior surfaces of the grill, removing any grease or food splatters. Pay attention to any knobs or buttons on the control panel as well.
By following these steps, you’ll be able to effectively remove excess grease and food residue from your indoor grill. Now, let’s move on to deep cleaning the grill grates in the next step.
After using the indoor grill, unplug it and let it cool down. Once cool, remove the grates and soak them in warm, soapy water. Use a grill brush to scrub off any residue, then rinse and dry thoroughly before reassembling.
Read more: How To Clean Jenn-Air Indoor Grill
Step 3: Deep Cleaning the Grill Grates
Now that you have removed the excess grease and food residue, it’s time to give the grill grates a deep cleaning. Follow these steps to ensure your grill grates are thoroughly cleaned:
- Prepare a cleaning solution: Fill a basin or sink with warm water and add a small amount of mild dish soap. This will create a gentle cleaning solution for your grill grates.
- Place the grill grates in the solution: Submerge the grill grates in the cleaning solution and let them soak for about 15-20 minutes. This will help to loosen any remaining grime or stuck-on residue.
- Scrub the grill grates: Once the grill grates have soaked, use a scrub brush with non-abrasive bristles to scrub away any stubborn stains or debris. Pay special attention to the grill lines and corners.
- Rinse the grill grates: Once you have thoroughly scrubbed the grill grates, rinse them under running water to remove any soap residue and remaining dirt.
- Dry the grill grates: Pat the grill grates dry with a clean towel or allow them to air dry completely. Make sure they are completely dry before reassembling them to avoid rusting.
By following these steps, you’ll be able to deep clean your grill grates and remove any stubborn residue. This will help maintain the quality and performance of your indoor grill. Now, let’s move on to cleaning the drip tray in step 4.
Step 4: Cleaning the Drip Tray
The drip tray plays a vital role in catching excess grease and food juices during grilling. Regular cleaning of the drip tray is crucial to prevent buildup and maintain the hygiene of your indoor grill. Follow these steps to effectively clean the drip tray:
- Remove the drip tray: Locate the drip tray beneath the grill and carefully remove it. Be cautious as it may contain hot liquid or grease.
- Dispose of the contents: Empty the contents of the drip tray into a container or trash bag. This includes any grease or food particles that have collected.
- Wash the drip tray: Wash the drip tray using warm soapy water. Use a sponge or cloth to scrub away any grease or residue. You may also use a mild dish soap or vinegar as an effective cleaning agent.
- Rinse and dry: Rinse the drip tray thoroughly under running water to remove any soap residue. Pat it dry with a clean towel or allow it to air dry completely.
- Reinstall the drip tray: Once the drip tray is completely dry, place it back into its position below the grill. Ensure it is securely in place.
Regular cleaning of the drip tray will not only ensure a clean and hygienic cooking environment but will also prevent any potential fire hazards caused by excess grease buildup. With the drip tray now clean, let’s move on to step 5 and clean the exterior of the grill.
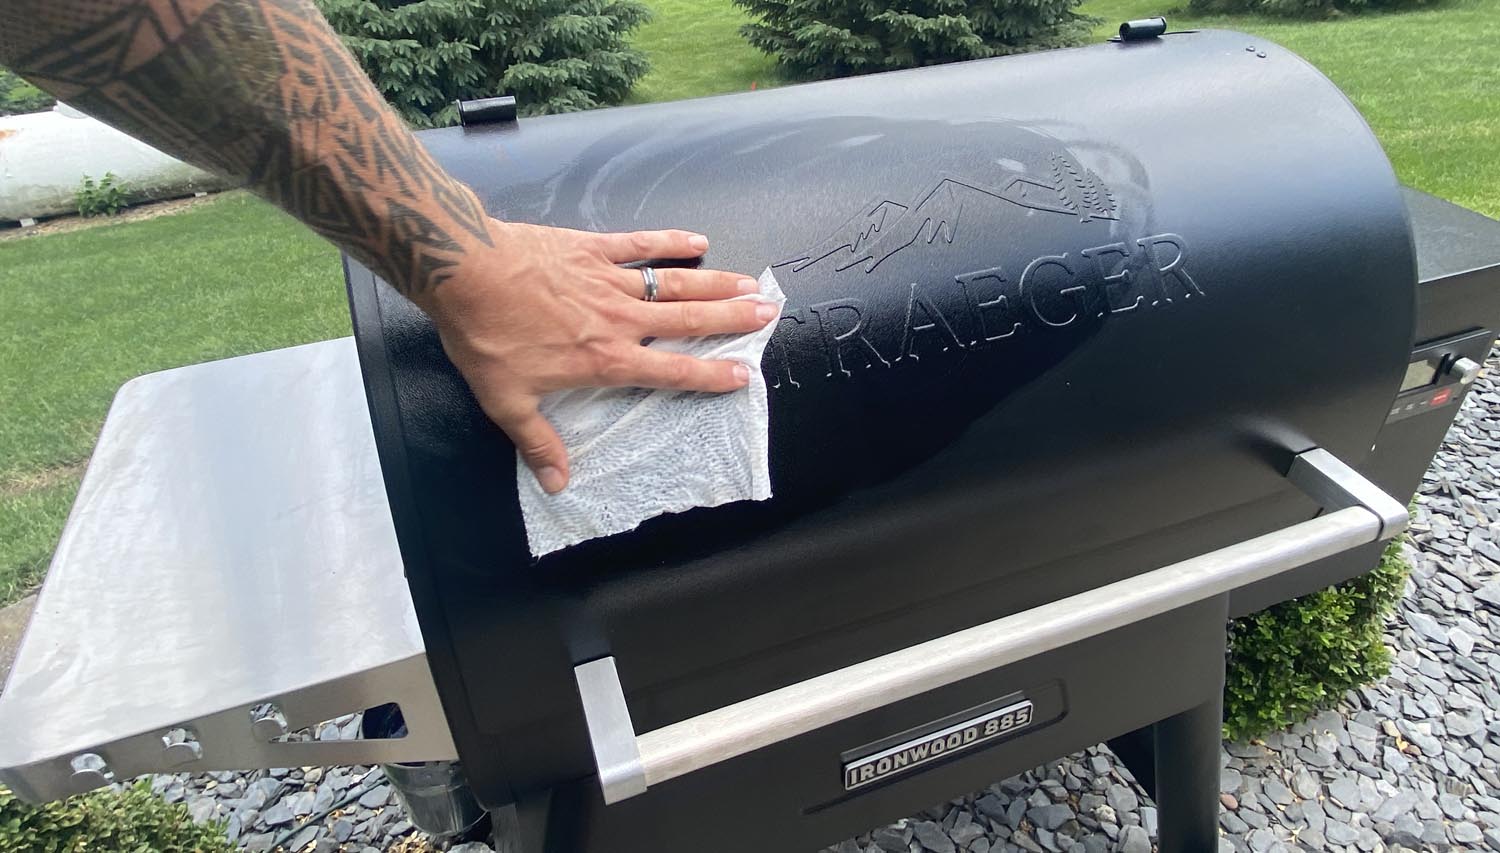
Step 5: Cleaning the Exterior of the Grill
While it’s important to focus on cleaning the interior components of your indoor grill, don’t forget to give the exterior some attention as well. Follow these steps to effectively clean the exterior surfaces of your grill:
- Prepare a cleaning solution: Fill a basin or sink with warm water and add a small amount of mild dish soap. This will create a gentle cleaning solution for the exterior surfaces.
- Dampen a cloth or sponge: Dip a cloth or sponge into the cleaning solution and wring out any excess water. It should be damp but not dripping wet.
- Wipe down the exterior: Gently wipe down the entire exterior of the grill, including the control panel, handles, and any other surfaces. Pay extra attention to any grease splatters or stains.
- Remove stubborn stains: For stubborn stains, you may need to use a bit more pressure or a mild abrasive cleaner suitable for your grill’s surface. Be cautious not to scratch or damage the grill.
- Rinse and dry: After wiping down the exterior, rinse the cloth or sponge under clean water and wipe away any soapy residue. Then, use a dry cloth or towel to thoroughly dry the exterior surfaces.
By following these steps, you’ll be able to effectively clean the exterior of your indoor grill, keeping it looking clean and fresh. Now, let’s move on to the final steps of reassembling the grill and wrapping up the cleaning process.
Step 6: Reassembling and Final Steps
Now that you’ve cleaned the different components of your indoor grill, it’s time to reassemble them and complete the final steps to ensure your grill is ready for future use. Follow these steps to finish the cleaning process:
- Reassemble the grill: If you removed any removable parts, such as grill plates or the drip tray, carefully reassemble them back into their respective positions. Ensure they are properly aligned and securely in place.
- Check for any residue: Take a final look at the grill surfaces to make sure there’s no residue or cleaning solution remaining. Wipe away any leftover moisture or cleaning agents.
- Wipe down the exterior again: Give the exterior surfaces of the grill one final wipe down to ensure they are clean and free of any streaks or smudges.
- Dispose of cleaning materials: Dispose of any dirty water, used sponges, or cleaning cloths properly. Rinse and clean your cleaning tools to ensure they’re ready for future use.
- Plug in and test: Once you’re satisfied with the cleanliness and reassembly of your indoor grill, plug it back into the power source and perform a quick test to ensure it’s functioning properly.
With these final steps completed, you have successfully cleaned your indoor grill and it is now ready for your next grilling adventure. Regular cleaning and maintenance will help prolong the lifespan of your grill and ensure optimal performance with each use.
Remember to refer to the manufacturer’s instructions for specific cleaning recommendations and to follow any additional steps they may provide for your specific model. By keeping your indoor grill clean, you’ll not only enjoy delicious grilled meals, but also maintain a safe and hygienic cooking environment.
So go ahead, fire up your clean indoor grill, and enjoy the mouthwatering flavors that it offers!
Read more: How To Clean Indoor Grill Plates
Conclusion
Cleaning your indoor grill is an essential part of maintaining its performance and ensuring a safe cooking environment. By following the step-by-step process outlined in this article, you can effectively clean your indoor grill and keep it in perfect condition for many grilling sessions to come.
We began by highlighting the importance of safety precautions, emphasizing the need to unplug the grill, let it cool down, and read the manufacturer’s instructions. We then discussed the supplies you’ll need, including a soft sponge or cloth, mild dish soap, warm water, a scrub brush with non-abrasive bristles, a plastic spatula or scraper, and paper towels.
We then delved into the step-by-step process of cleaning your indoor grill, starting with preparing the grill by unplugging it, allowing it to cool down, removing the grill plates, and emptying the drip tray. We then moved on to removing excess grease and food residue, deep cleaning the grill grates, cleaning the drip tray, and wiping down the exterior of the grill. The final steps involved reassembling the grill and performing a final check before plugging it in and testing its functionality.
Regularly cleaning your indoor grill not only helps maintain its performance but also ensures that your grilled meals are cooked in a hygienic environment. Remember to consult the manufacturer’s instructions for specific cleaning recommendations for your grill model.
With a clean indoor grill, you can confidently grill your favorite foods and enjoy the delicious flavors without any worries. By incorporating regular cleaning into your routine, you’ll prolong the lifespan of your indoor grill and continue to savor the joy of indoor grilling for years to come.
Frequently Asked Questions about How To Clean Indoor Grill
Was this page helpful?
At Storables.com, we guarantee accurate and reliable information. Our content, validated by Expert Board Contributors, is crafted following stringent Editorial Policies. We're committed to providing you with well-researched, expert-backed insights for all your informational needs.


0 thoughts on “How To Clean Indoor Grill”