Home>Furniture>Kitchen Furniture>How To Clean Jenn-Air Indoor Grill
Kitchen Furniture
How To Clean Jenn-Air Indoor Grill
Modified: August 17, 2024
Learn effective techniques for cleaning your Jenn Air indoor grill in this comprehensive article. Discover step-by-step instructions and expert tips to ensure your grill stays in top condition.
(Many of the links in this article redirect to a specific reviewed product. Your purchase of these products through affiliate links helps to generate commission for Storables.com, at no extra cost. Learn more)
Introduction
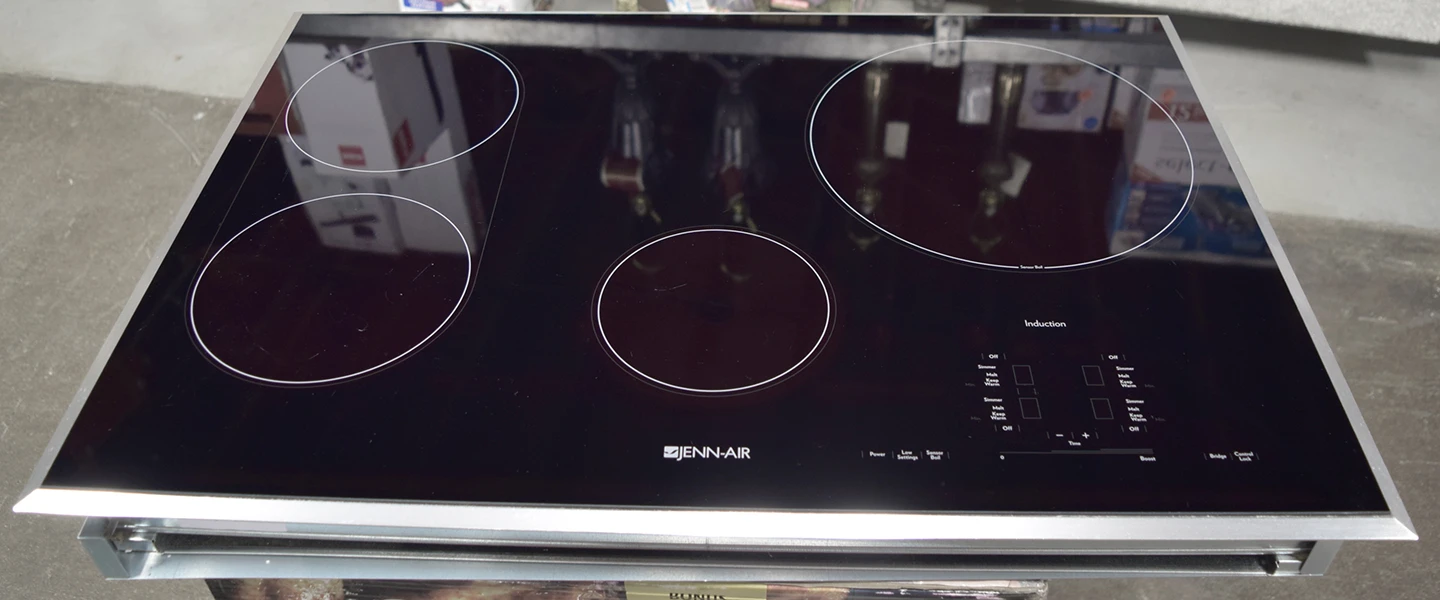
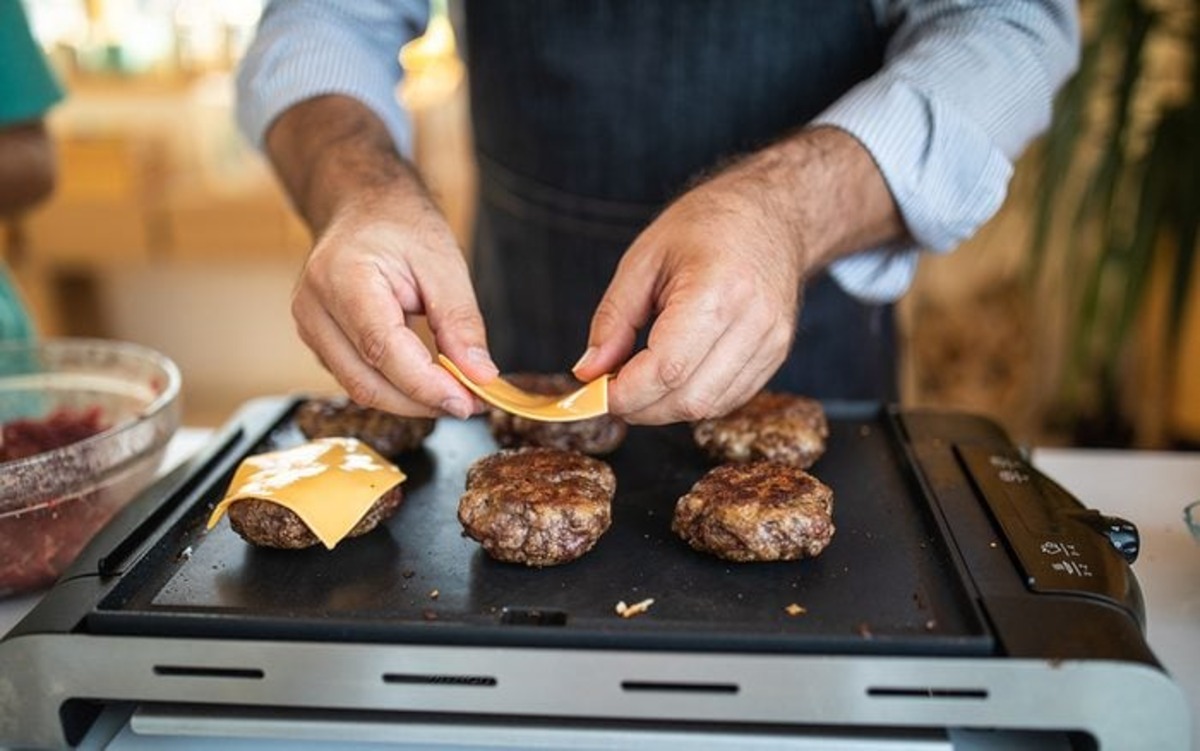
Welcome to our comprehensive guide on how to clean a Jenn Air indoor grill. The Jenn Air indoor grill is a fantastic addition to any kitchen, providing a convenient way to grill your favorite foods all year round. However, with frequent use comes the need for regular maintenance and cleaning to ensure the grill stays in optimal condition.
In this article, we will walk you through step-by-step instructions on how to clean your Jenn Air indoor grill effectively. By following these easy cleaning techniques, you can keep your grill looking and functioning like new for years to come.
Before we dive into the cleaning process, it’s crucial to gather the necessary materials. This will help make the cleaning process more efficient and ensure you have everything you need at hand. Let’s take a look at the materials required.
Key Takeaways:
- Regular cleaning with mild dish soap, vinegar, and baking soda helps maintain the Jenn Air indoor grill’s optimal condition, ensuring delicious grilled meals for years to come.
- Thoroughly reassembling the grill after cleaning, including the grill plates and drip tray, is crucial for a successful and safe grilling experience.
Read more: How To Clean An Indoor Grill
Materials Needed
Before starting the cleaning process, gather the following materials:
- Mild dish soap
- Warm water
- Sponge or soft brush
- Microfiber cloth
- Paper towels
- Vinegar
- Baking soda
- Plastic scraper or spatula
- Dish gloves
- Bucket or sink
Having these materials ready will ensure a smoother and more effective cleaning process. Now that you have everything you need, let’s jump into the step-by-step guide on how to clean your Jenn Air indoor grill.
Step 1: Preparing the Grill
Before you begin cleaning your Jenn Air indoor grill, it’s essential to ensure it is safely disconnected from any power source. This step is crucial to avoid any accidents or injuries during the cleaning process.
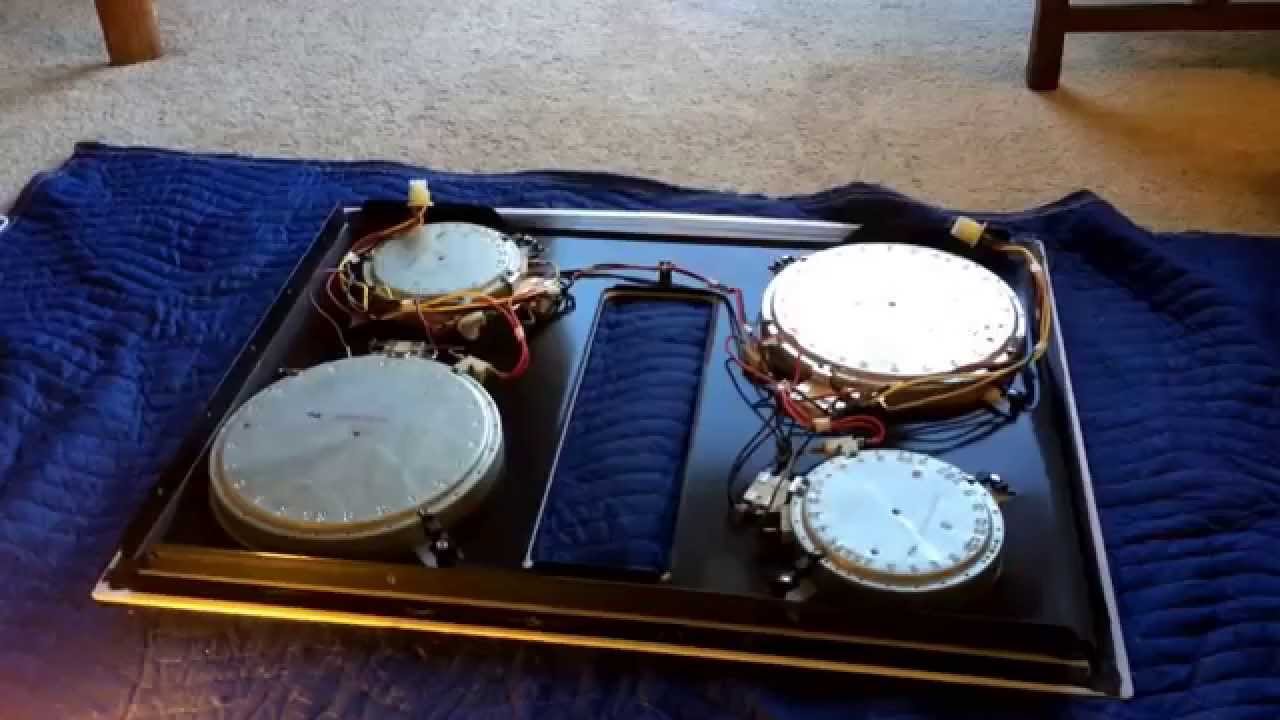
Once you have disconnected the grill from the power source, remove any removable parts such as grill plates and drip trays. Check the manufacturer’s instructions to identify which parts are removable. This will make the cleaning process more manageable and allow you to clean each component thoroughly.
Next, prepare a cleaning solution by mixing warm water and mild dish soap in a bucket or sink. The mild dish soap will help break down grease and food residue without causing any damage to the grill’s surface.
Dampen a sponge or soft brush in the cleaning solution, ensuring it is not overly wet. Excess moisture can penetrate the grill’s electrical components and cause damage. So make sure to squeeze out any excess water from the sponge or brush.
Now that the grill and cleaning solution are ready, let’s move on to the next step: removing grease and food residue.
Step 2: Removing Grease and Food Residue
After preparing the grill and cleaning solution, it’s time to tackle the grease and food residue that may have built up on the surfaces of your Jenn Air indoor grill.
Begin by gently scrubbing the grill plates and other removable parts with the damp sponge or soft brush. Pay close attention to any areas with visible grease or food residue, ensuring thorough coverage.
If you encounter stubborn grease or residue, you can create a paste using baking soda and water. Apply the paste to the affected areas and let it sit for a few minutes to loosen the debris. Then, scrub the surface with the sponge or brush again until the dirt is removed.
For areas that are harder to reach or have excessive grease, you can use a plastic scraper or spatula to gently scrape away the buildup. Be careful not to use any sharp objects or abrasive materials that may scratch the grill’s surface.
Once you have removed the grease and food residue from the grill plates and other removable parts, rinse them thoroughly with warm water to remove any remaining soap or cleaning agents.
If there are areas on the grill that cannot be removed or are not easily accessible, you can use a microfiber cloth soaked in a vinegar solution to wipe them down. Vinegar is a natural cleaning agent that helps break down grease and grime. Mix equal parts vinegar and water and use the solution to wipe the surfaces of the grill.
With the grease and food residue taken care of, let’s move on to cleaning the grill plates in more detail.
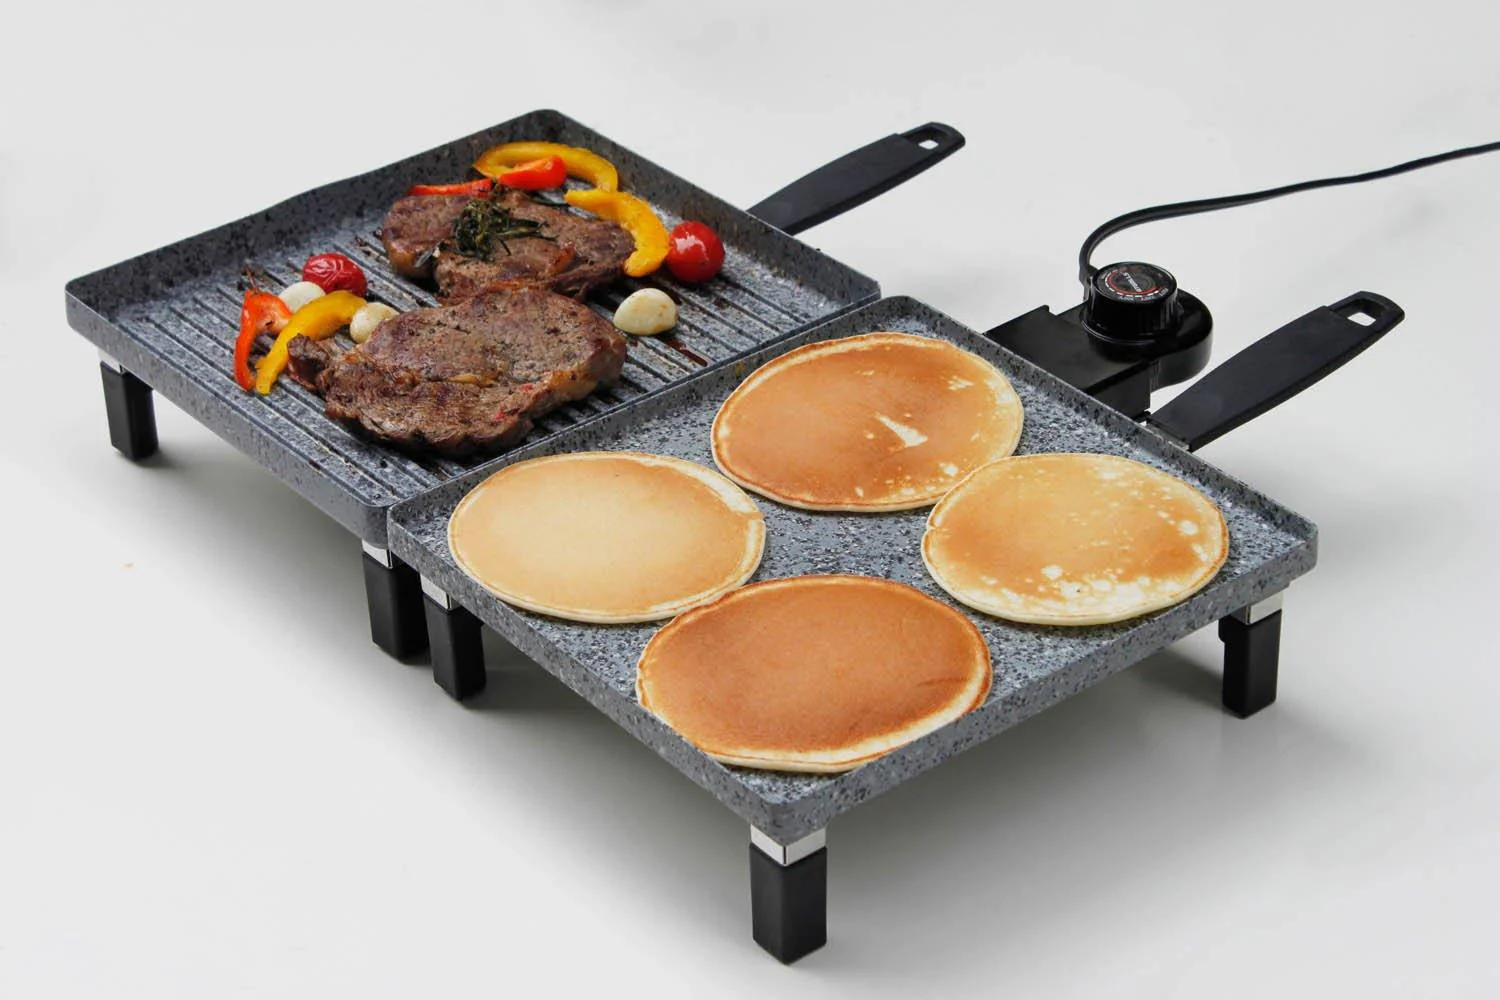
Step 3: Cleaning the Grill Plates
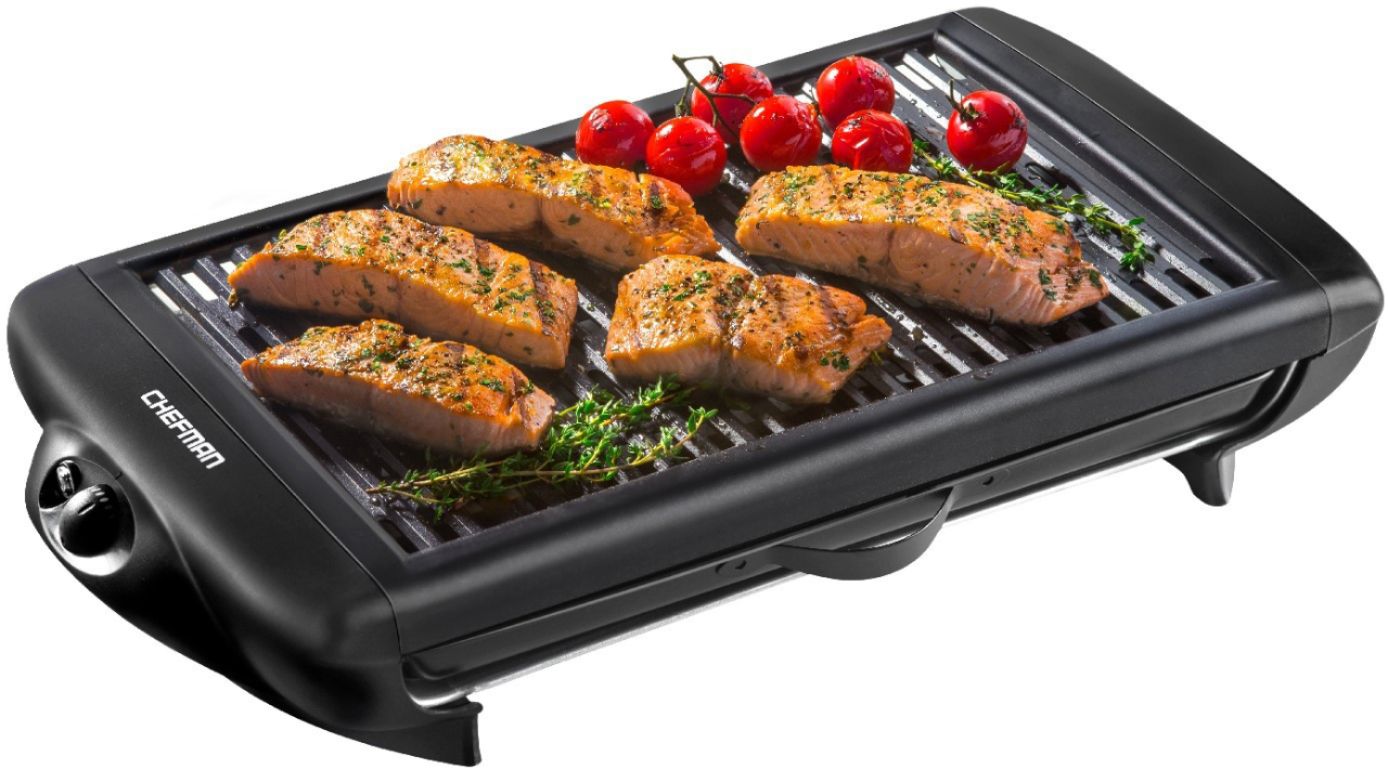
Now that you have removed the grease and food residue from the grill surfaces, it’s time to focus on cleaning the grill plates. These are the essential components that come into direct contact with your food, so it’s essential to clean them thoroughly.
Start by filling your sink or a large basin with warm water and a few drops of mild dish soap. Submerge the grill plates in the soapy water, ensuring they are completely covered.
Allow the grill plates to soak for about 15-30 minutes. This will help to loosen any stubborn grease or residue that may be stuck to the surface.
After soaking, scrub the grill plates with a sponge or soft brush to remove any remaining debris. Pay extra attention to the ridges and crevices of the grill plates, as they tend to collect the most buildup.
If there are any stubborn stains or burnt-on food particles, you can sprinkle baking soda onto the grill plates and scrub gently. Baking soda is mildly abrasive and will help to remove stains without scratching the surface of the grill plates.
Once you have thoroughly cleaned the grill plates, rinse them with warm water to remove any soap or cleaning residues. Inspect the plates to ensure they are free from any lingering debris.
After rinsing, pat dry the grill plates with a clean cloth or paper towel. Ensure they are completely dry before reassembling the grill.
Now that the grill plates are clean, let’s move on to the next step: cleaning the drip tray.
To clean a Jenn Air indoor grill, start by removing the grates and soaking them in warm, soapy water. Use a grill brush to scrub the interior surfaces, then wipe down with a damp cloth. Finish by drying thoroughly before reassembling.
Read more: How To Clean Indoor Grill
Step 4: Cleaning the Drip Tray
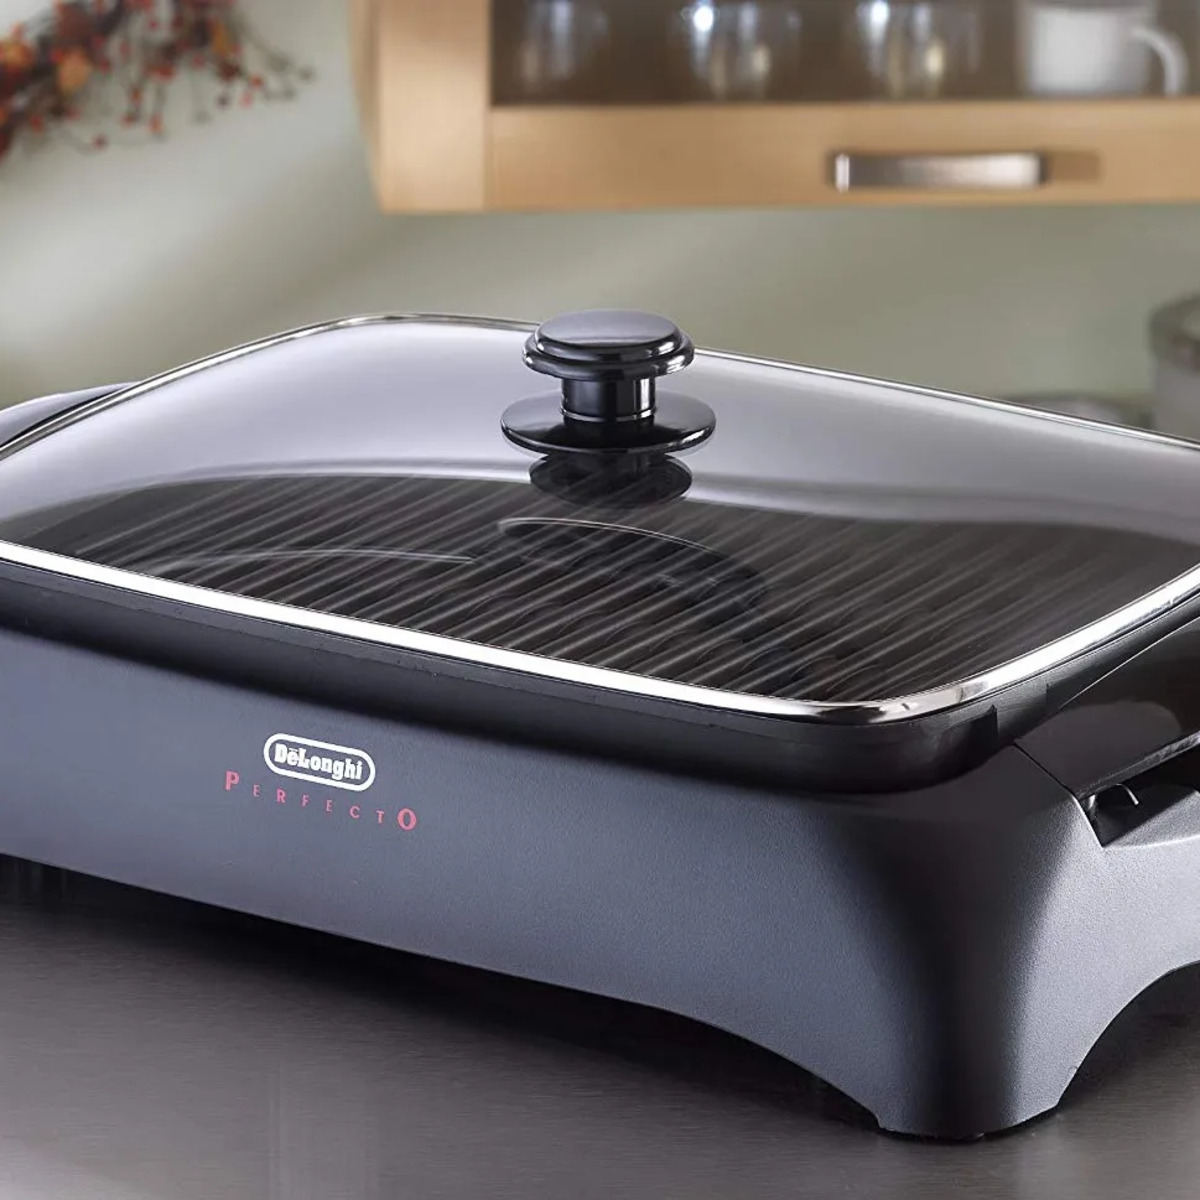
The drip tray of your Jenn Air indoor grill is responsible for collecting excess grease and drippings during the grilling process. Regular cleaning of the drip tray is essential to prevent the buildup of grease and ensure optimal performance.
To clean the drip tray, start by removing it from the grill. Refer to the manufacturer’s instructions for specific guidelines on how to detach the drip tray from your particular model.
If the drip tray has a removable grease cup or liner, remove it to dispose of any collected grease. Empty the grease cup into a container and discard it properly. Wipe the cup or liner with a paper towel to remove any remaining residue.
Next, prepare a solution of warm water and mild dish soap in a sink or bucket. Submerge the drip tray in the soapy water and let it soak for a few minutes. This will help to soften and loosen any hardened grease or debris.
After soaking, scrub the drip tray with a sponge or brush to remove any remaining residue. Pay attention to the corners and edges of the tray, as they may accumulate more buildup.
If there are stubborn stains or hardened grease, you can use a mixture of vinegar and water to help break them down. Apply the vinegar solution to the affected areas and let it sit for a few minutes before scrubbing.
Once you have thoroughly cleaned the drip tray, rinse it with warm water to remove any soap or cleaning agents. Ensure all traces of grease and residue are removed.
After rinsing, dry the drip tray with a clean cloth or paper towel. Make sure it is completely dry before reattaching it to the grill.
With the drip tray cleaned, it’s time to move on to the next step: cleaning the exterior of the grill.
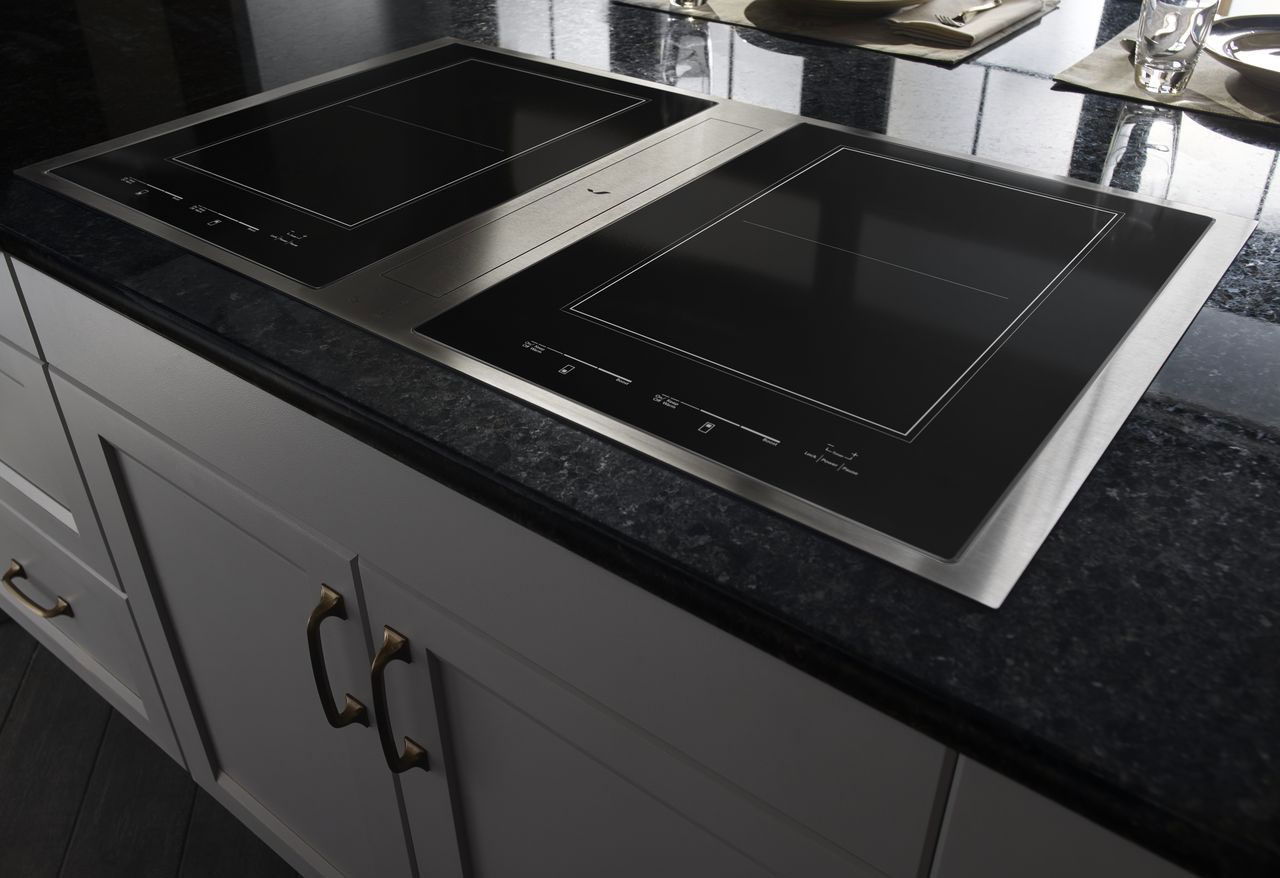
Step 5: Cleaning the Exterior of the Grill
While cleaning the interior components of your Jenn Air indoor grill is essential, it’s just as important to pay attention to the exterior. Regularly cleaning the exterior surface of the grill helps maintain its appearance and keep it in top condition.
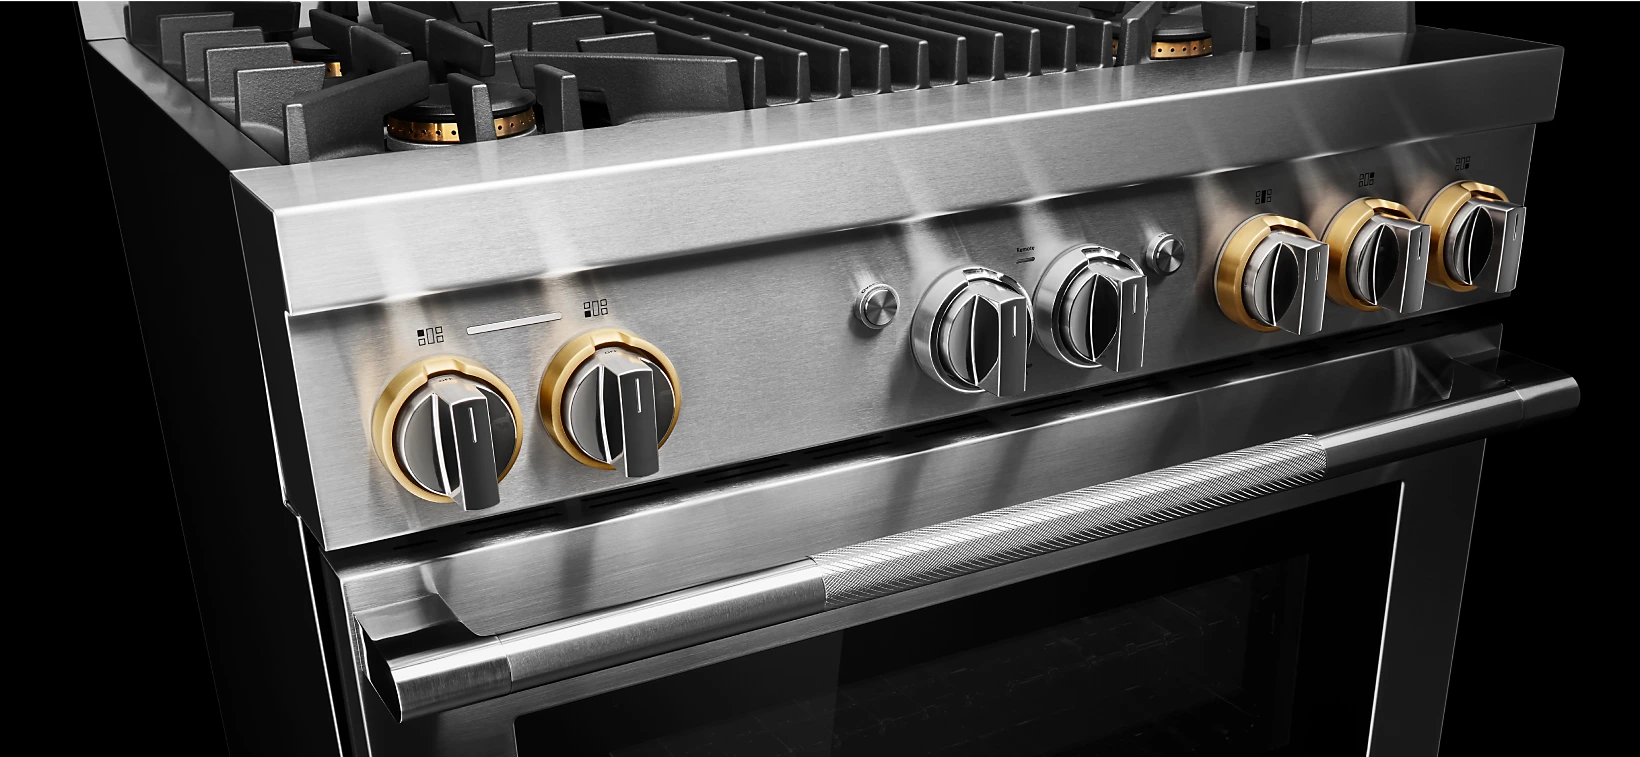
To clean the exterior of the grill, start by dampening a microfiber cloth with warm water. Gently wipe down the exterior surfaces of the grill, including the control knobs, handles, and any other exposed areas.
If there are stubborn stains or grease spots, you can create a solution of warm water and mild dish soap. Dip the microfiber cloth in the soapy water and use it to scrub the affected areas. Ensure that the cloth is wrung out well to avoid excess moisture on the exterior surfaces.
Avoid using harsh chemicals or abrasive cleaners on the exterior of the grill, as they may damage the finish. Stick to mild cleaning solutions and gentle scrubbing to protect the grill’s appearance.
For stainless-steel exteriors, you can use a specialized stainless-steel cleaner to restore the shine and remove any fingerprints or smudges. Follow the manufacturer’s instructions on the stainless-steel cleaner for best results.
After cleaning, use a separate dry microfiber cloth to wipe down and polish the exterior surfaces, ensuring a streak-free finish.
With the exterior of the grill looking clean and fresh, let’s move on to the next step: reassembling the grill for future use.
Step 6: Reassembling the Grill
Now that you have thoroughly cleaned all the components of your Jenn Air indoor grill, it’s time to reassemble it, ensuring it is ready for your next grilling session.
Start by drying all the cleaned components, including the grill plates and drip tray. Make sure they are completely dry to prevent any moisture-related issues when reconnecting the grill.
Once dry, carefully reattach the grill plates to their designated spots within the grill. Ensure they are properly aligned and securely in place.
Next, reinsert the drip tray back into its position, snapping it securely into place if necessary. Double-check that it sits correctly and is aligned with the grill’s design.
If there were any removable knobs or accessories that you had taken off during the cleaning process, reattach them to the grill as per the manufacturer’s instructions.
Once all the components are reassembled, inspect the grill to ensure everything is in place and properly aligned. This will help to prevent any issues during future grilling sessions.
Before using the grill again, take a moment to wipe down the exterior surfaces with a clean, dry cloth to ensure there are no smudges or fingerprints left behind.
Finally, plug the grill back into the power source and ensure it is functioning correctly. Check that the control knobs, heating elements, and other features are working as expected.
Congratulations! You have successfully cleaned and reassembled your Jenn Air indoor grill. It’s now ready to be used for your next delicious grilling adventure.
Remember to follow the manufacturer’s instructions for regular maintenance and cleaning to keep your Jenn Air indoor grill in optimal condition for years to come.
Enjoy your grilling experience!
Conclusion
Cleaning your Jenn Air indoor grill is an important part of its maintenance and ensuring it continues to perform at its best. By following the steps outlined in this comprehensive guide, you can effectively clean your grill and keep it in excellent condition.
Remember to gather all the necessary materials before starting the cleaning process. Mild dish soap, warm water, sponges, brushes, vinegar, and baking soda are just a few of the items you will need to properly clean your grill.
From preparing the grill and removing grease and food residue to cleaning the grill plates, drip tray, and exterior, each step plays a crucial role in maintaining a clean and well-functioning grill.
Reassembling the grill correctly ensures that all components are properly aligned and secure, ready for your next grilling adventure.
By incorporating regular cleaning into your grill maintenance routine, you can prolong the lifespan of your Jenn Air indoor grill and ensure it continues to provide delicious meals for years to come.
We hope this guide has been informative and helpful in guiding you through the process of cleaning your Jenn Air indoor grill. Enjoy your grilled creations and happy grilling!
Frequently Asked Questions about How To Clean Jenn-Air Indoor Grill
Was this page helpful?
At Storables.com, we guarantee accurate and reliable information. Our content, validated by Expert Board Contributors, is crafted following stringent Editorial Policies. We're committed to providing you with well-researched, expert-backed insights for all your informational needs.

0 thoughts on “How To Clean Jenn-Air Indoor Grill”