Home>Furniture>Kitchen Furniture>How Long To Cook Chicken On An Indoor Grill
Kitchen Furniture
How Long To Cook Chicken On An Indoor Grill
Modified: October 20, 2024
Discover how long it takes to cook chicken on an indoor grill with these informative articles. Perfect your grilling skills and enjoy deliciously juicy chicken every time.
(Many of the links in this article redirect to a specific reviewed product. Your purchase of these products through affiliate links helps to generate commission for Storables.com, at no extra cost. Learn more)
Introduction
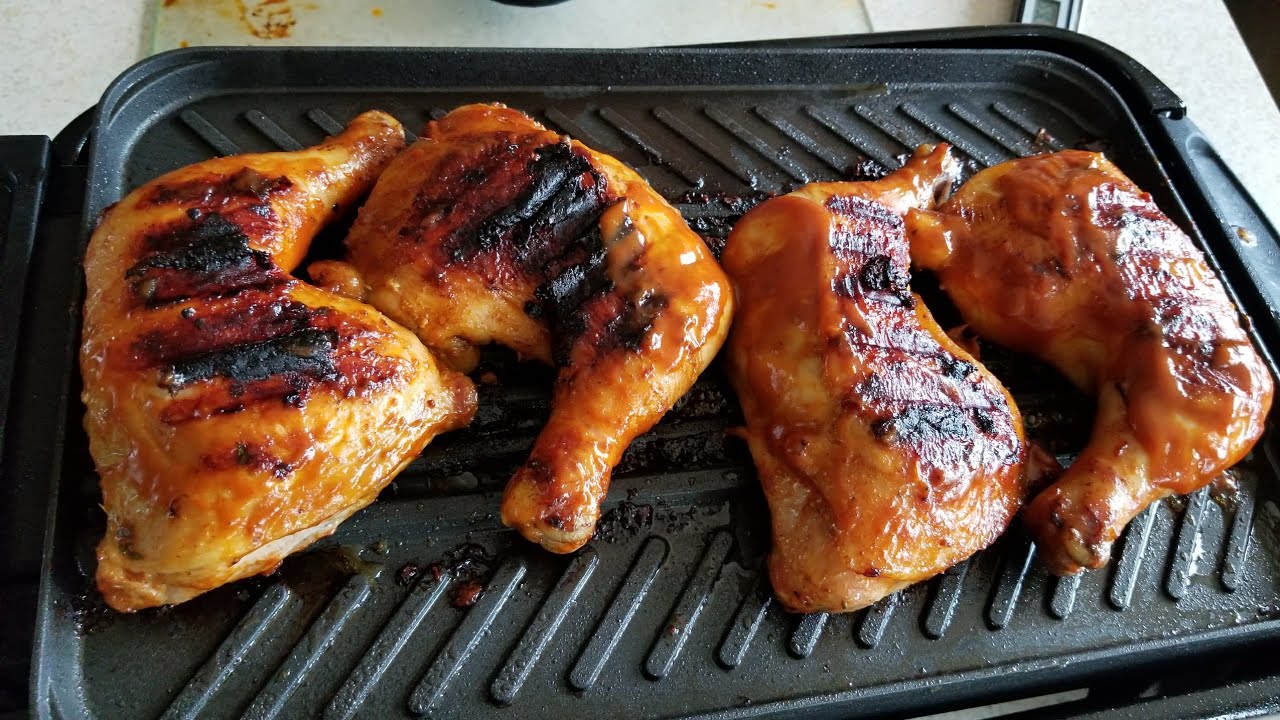
Grilling chicken is a popular cooking method that results in tender, juicy, and flavorful meat. While many people prefer to grill outdoors, using an indoor grill is a convenient option, especially during colder months or when outdoor space is limited. Whether you’re a novice or an experienced cook, knowing how long to cook chicken on an indoor grill is crucial to ensure that it is cooked through without becoming dry or overcooked.
In this article, we will guide you through the process of grilling chicken on an indoor grill, providing you with tips and cooking times for different cuts of chicken. So, let’s fire up the grill and get cooking!
Key Takeaways:
- Grilling chicken on an indoor grill requires proper preparation, preheating, and monitoring of cooking times. Implementing marinating, basting, and using dry rubs enhances flavor and creates a memorable dining experience.
- Achieving juicy and flavorful grilled chicken involves checking for doneness, allowing the chicken to rest, and serving it with complementary accompaniments and sauces. Experimenting with different flavors and garnishes adds excitement to the dining experience.
Preparing the Chicken
Before you start grilling the chicken, it’s important to properly prepare it. Here are a few steps you should follow:
- Choose the right cut of chicken: You can grill various cuts of chicken, such as chicken breasts, thighs, drumsticks, or even a whole chicken. Each cut has its own unique cooking time, so choose the one that suits your preference.
- Trim excess fat: Trim any excess fat from the chicken as it can cause flare-ups on the grill and lead to uneven cooking.
- Marinate or season the chicken: To enhance the flavor of the chicken, marinate it in your favorite marinade or season it with a dry rub. Allow the chicken to marinate in the fridge for at least 30 minutes to overnight, depending on the flavor intensity you desire.
- Let the chicken come to room temperature: Take the chicken out of the fridge and let it sit at room temperature for about 15-20 minutes before grilling. This will help the chicken cook more evenly.
By following these steps, you’ll ensure that the chicken is well-prepared and ready to be grilled to perfection.
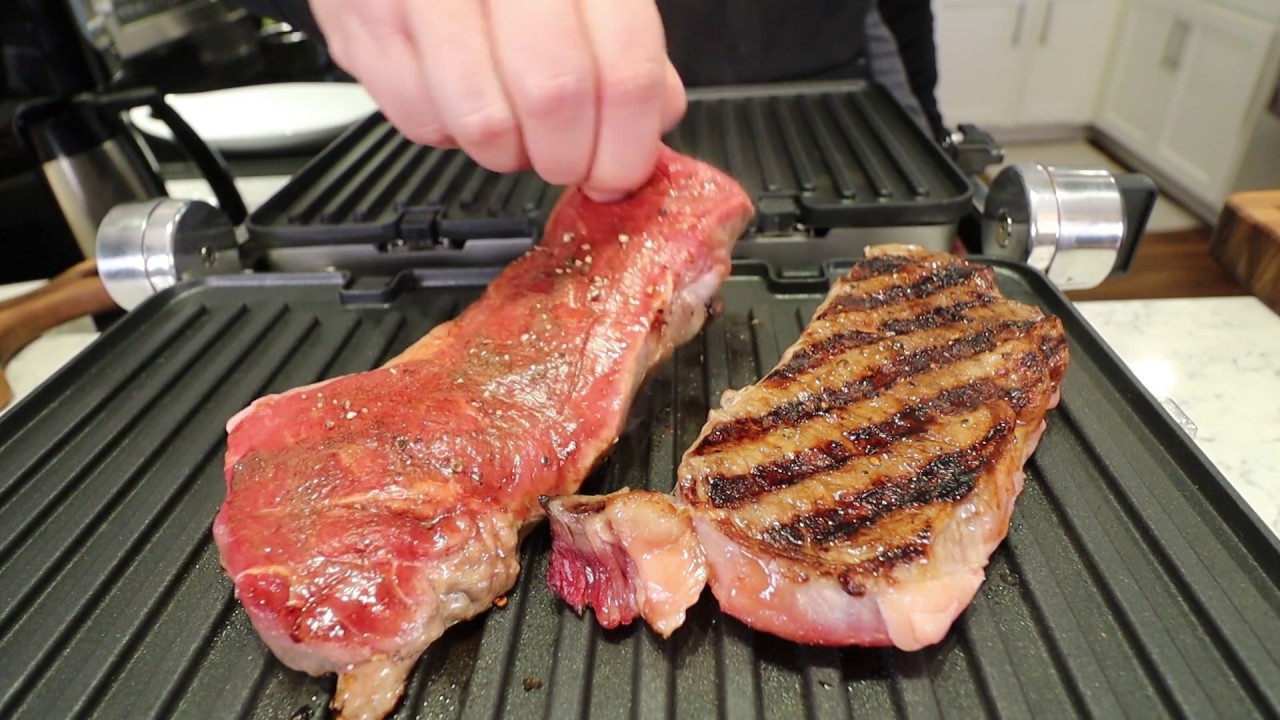
Preheating the Indoor Grill
To achieve the best results when grilling chicken on an indoor grill, it’s essential to preheat the grill properly. Here’s how you can do it:
- Clean the grill: Before preheating, make sure the grill plates or grates are clean. Remove any residue or debris from previous use to prevent any unwanted flavors or flare-ups.
- Turn on the grill: Plug in the indoor grill and turn it on to the desired temperature. Most indoor grills have adjustable temperature settings, so choose a temperature that suits the cut of chicken you’re grilling.
- Let it preheat: Give the grill enough time to preheat fully. This usually takes around 5-10 minutes, depending on the model and wattage of the grill. Preheating ensures that the grill reaches the desired cooking temperature, allowing the chicken to cook evenly.
During the preheating process, it’s a good time to oil the grill to prevent sticking. Using a brush or paper towel, lightly coat the grill plates or grates with a high smoke point oil, such as canola or vegetable oil.
Once the indoor grill has preheated and is ready to use, you can begin grilling the chicken. Proper preheating is crucial for achieving those beautiful grill marks and ensuring that the chicken cooks to perfection.
Cooking Times for Different Cuts of Chicken
When it comes to grilling chicken on an indoor grill, the cooking time will vary depending on the cut of chicken you’re using. Here are the estimated cooking times for some common cuts:
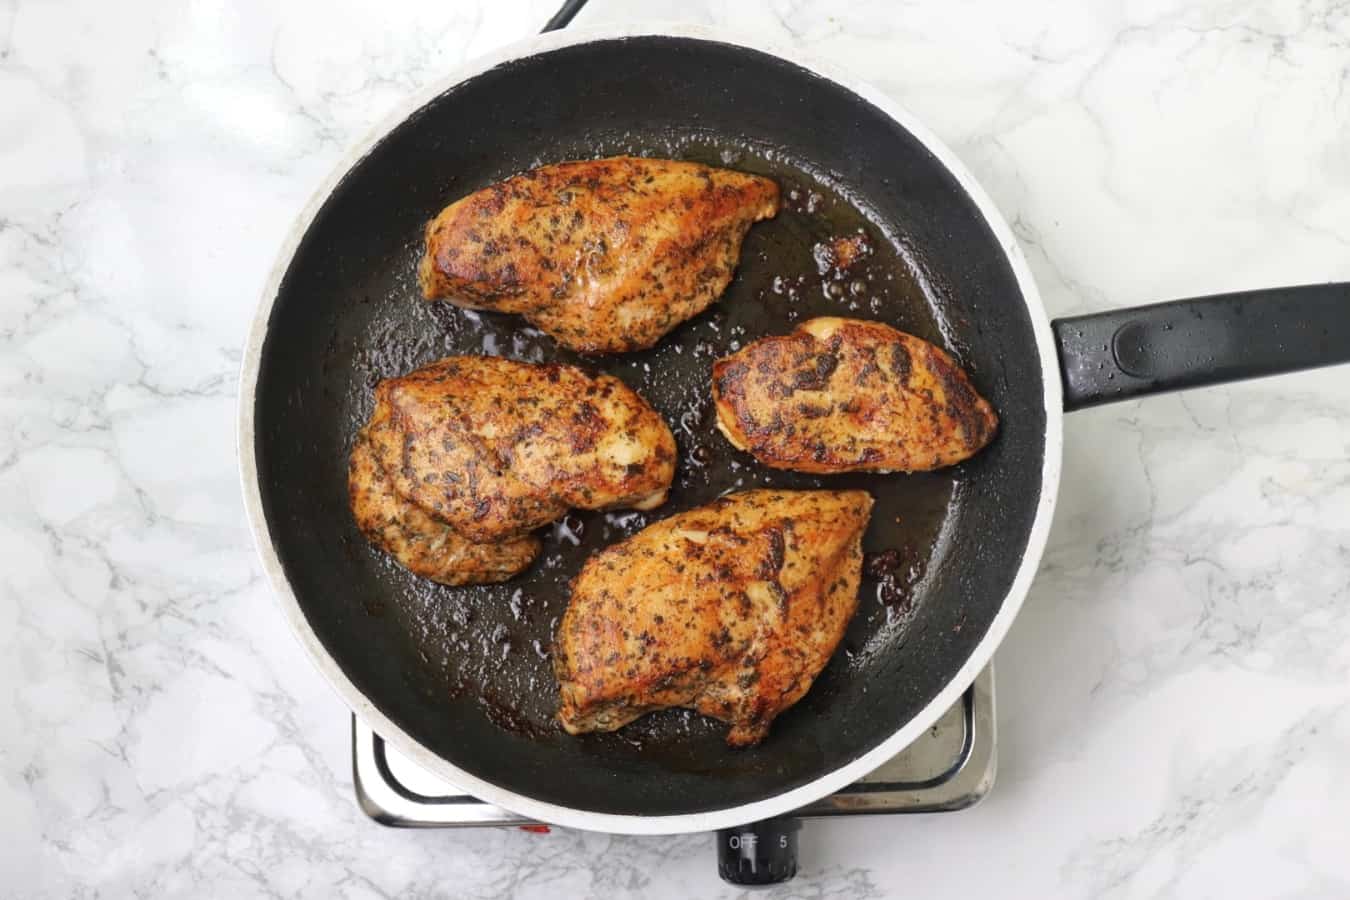
Chicken Breasts:
Chicken breasts are one of the most popular cuts for grilling. It’s important to cook them thoroughly to ensure they’re safe to eat. The approximate cooking time for chicken breasts on an indoor grill is 6-8 minutes per side. However, always use a meat thermometer to check the internal temperature. It should reach 165°F (74°C) for fully cooked chicken.
Chicken Thighs:
Chicken thighs are known for their juiciness and flavor. They require a slightly longer cooking time compared to chicken breasts. On an indoor grill, chicken thighs typically take around 8-10 minutes per side to cook. Again, use a meat thermometer to check that the internal temperature reaches 165°F (74°C).
Chicken Drumsticks:
Chicken drumsticks are great for grilling, especially for outdoor gatherings or casual meals. The cooking time for chicken drumsticks on an indoor grill is approximately 10-12 minutes per side. Ensure that the internal temperature reaches 165°F (74°C) using a meat thermometer before serving.
Whole Chicken:
Grilling a whole chicken on an indoor grill requires a bit more time and attention. The cooking time will depend on the size of the chicken, but a general guideline is about 20-30 minutes per pound. It’s essential to monitor the internal temperature of the thickest part of the chicken and ensure it reaches 165°F (74°C).
Keep in mind that these times are just estimates, and variations can occur depending on the thickness of the chicken and the specific model of your indoor grill. Always use a meat thermometer to ensure the chicken is cooked to the appropriate internal temperature for safe consumption.
Checking for Doneness
When grilling chicken on an indoor grill, it’s crucial to ensure that it’s cooked to the proper doneness for both safety and taste. Here are a few methods to check for doneness:
Internal Temperature:
Using a meat thermometer is the most accurate way to check if the chicken is cooked. Insert the thermometer into the thickest part of the chicken, avoiding any bones. The chicken is done when it reaches an internal temperature of 165°F (74°C) for all cuts. This temperature ensures that the chicken is safe to eat.
Visual Inspection:
If you don’t have a meat thermometer, you can visually inspect the chicken. The chicken should have a golden brown color and appear well-cooked throughout. Additionally, the juices should run clear when the chicken is pierced with a fork or knife.
Texture and Firmness:
Another way to check for doneness is by testing the texture and firmness of the chicken. Use tongs or a fork to gently press down on the chicken. If it feels firm and not squishy, it’s a good indication that it’s cooked through.
Remember that undercooked chicken can pose health risks, so it’s essential to ensure it’s cooked properly. Using a meat thermometer is the most reliable method to achieve the desired level of doneness.
Tips for Juicy and Flavorful Chicken
Grilling chicken on an indoor grill not only ensures a delicious meal but also allows you to impart maximum flavor. Here are some tips to help you achieve juicy and flavorful chicken:
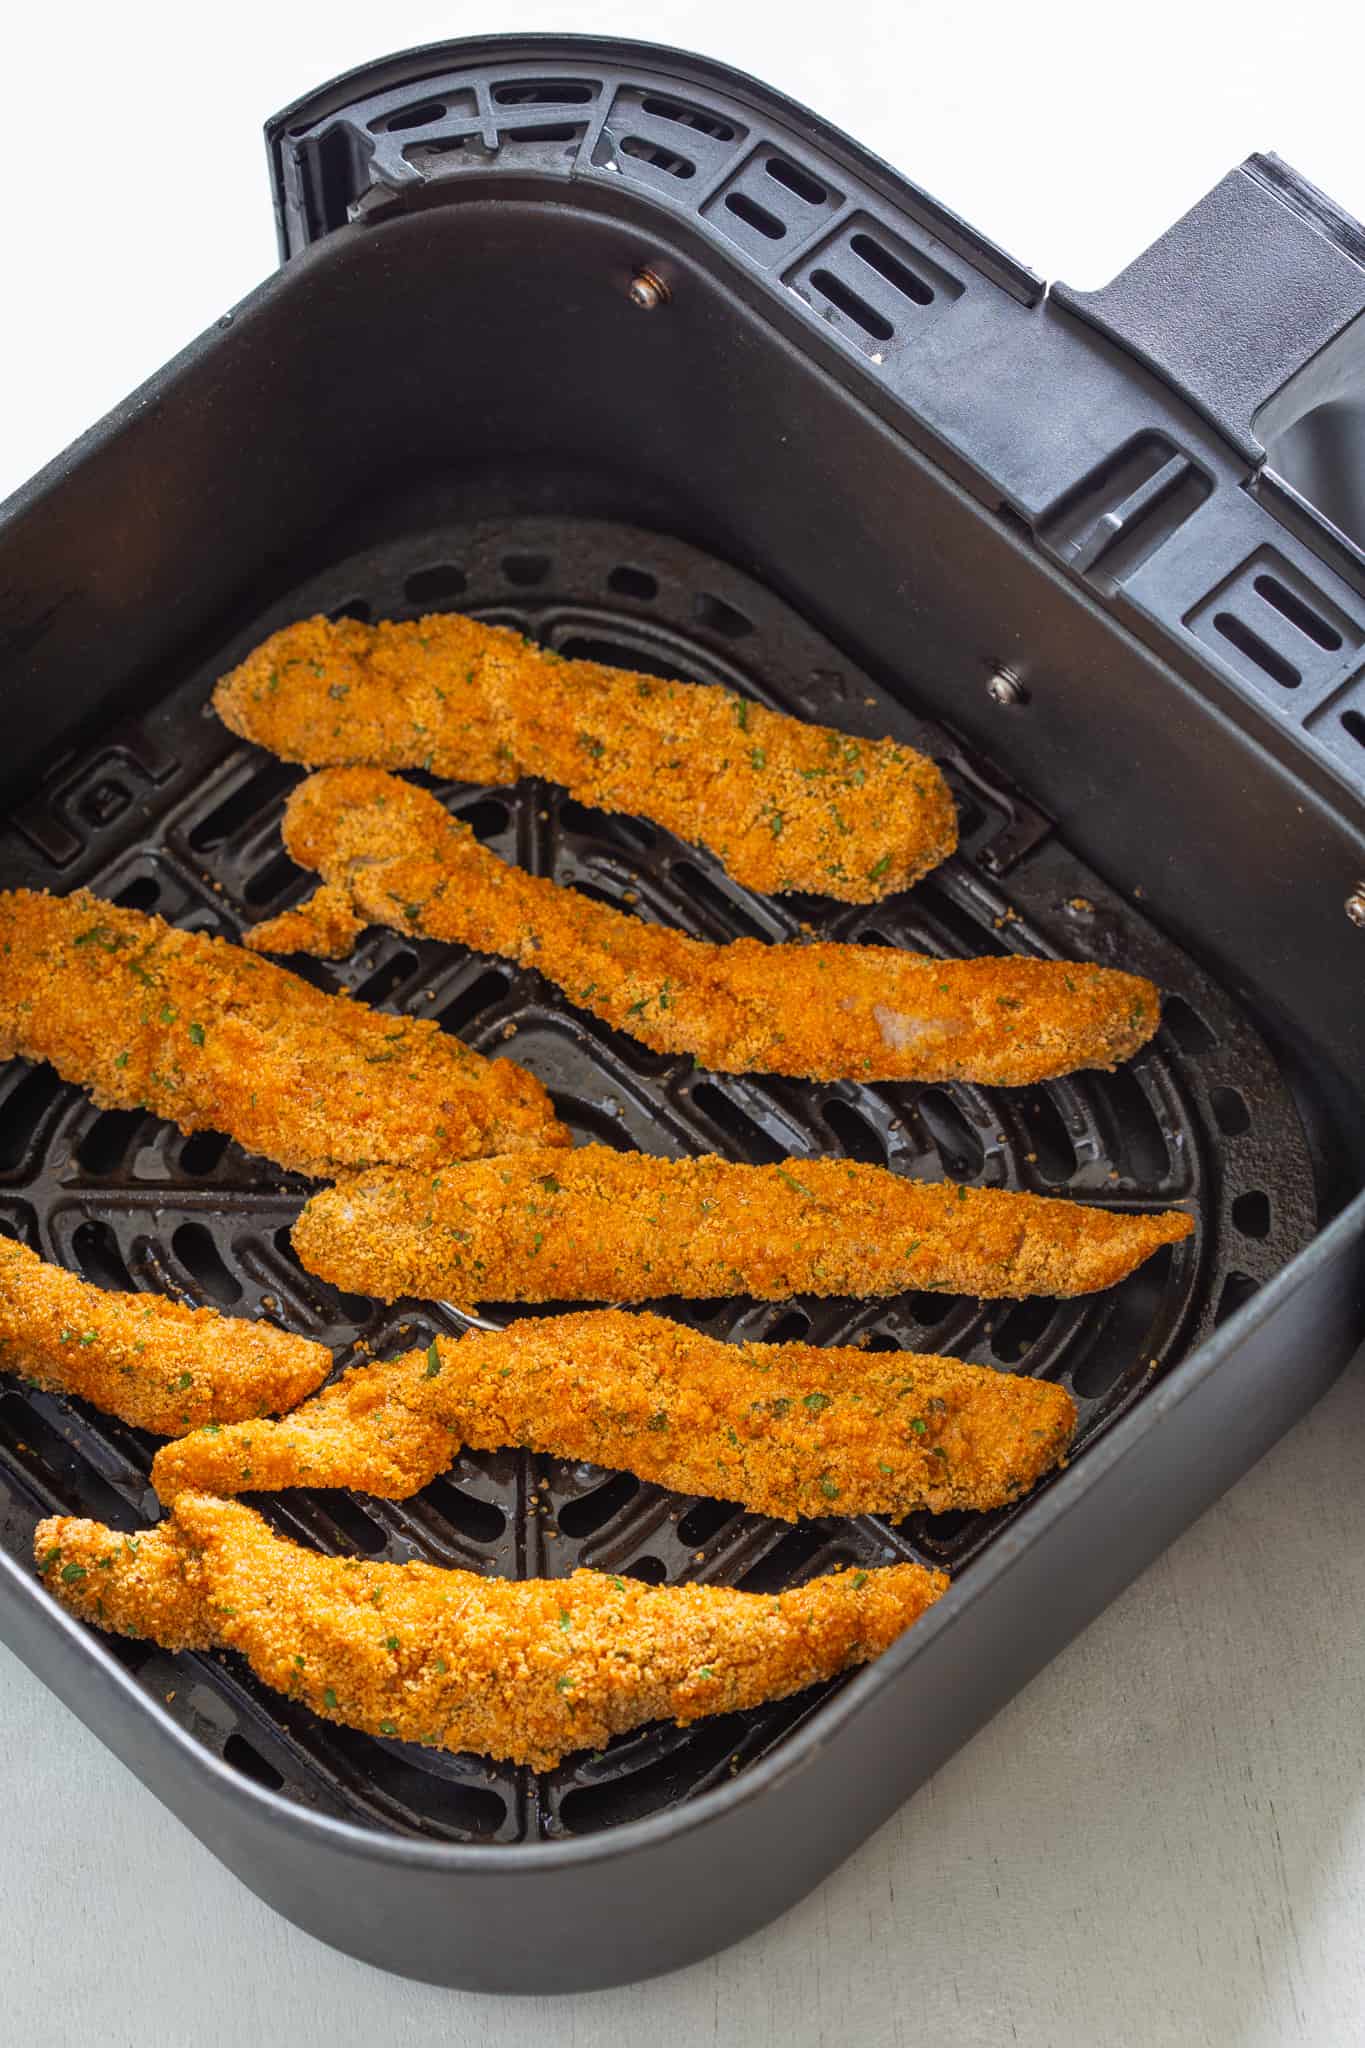
Read more: How To Grill Chicken In Air Fryer
Marinate the Chicken:
Marinating the chicken before grilling adds moisture and infuses it with flavor. Use a marinade of your choice, which can include ingredients like herbs, spices, citrus juices, and oil. Let the chicken marinate for at least 30 minutes, or overnight for more intense flavor.
Brine the Chicken:
If you have the time, consider brining the chicken before grilling. Brining involves soaking the chicken in a saltwater solution, which helps to lock in moisture and enhance its natural flavors. Brine the chicken for 1-2 hours before grilling.
Basting or Glazing:
During the grilling process, brush the chicken with a basting sauce or glaze to add an extra layer of flavor and moisture. You can use a barbecue sauce, teriyaki glaze, or any other sauce that complements the chicken’s flavor.
Use Dry Rubs:
Dry rubs are a combination of spices and herbs that are applied to the chicken before grilling. They add flavor and create a delicious crust on the chicken. Experiment with different dry rub combinations to find your favorite flavors.
Don’t Overcook:
To maintain the juiciness of the chicken, avoid overcooking it. Use a meat thermometer to check the internal temperature and remove the chicken from the grill once it reaches 165°F (74°C). Overcooked chicken can become dry and tough.
Resting Period:
After grilling, allow the chicken to rest for a few minutes before cutting into it. This resting period allows the juices to redistribute, ensuring that the chicken remains juicy and tender when served.
By following these tips, you’ll create juicy and flavorful grilled chicken that will delight your taste buds and impress your guests.
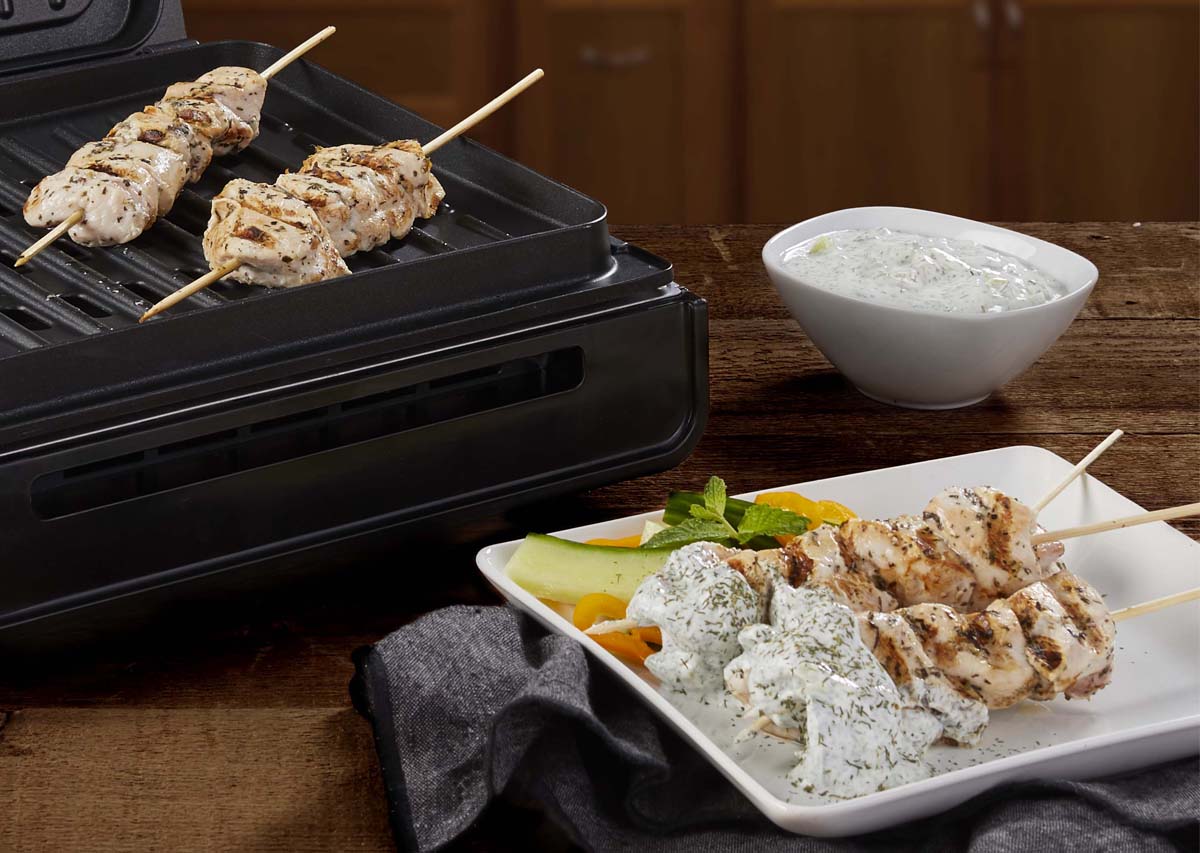
Serving and Enjoying the Grilled Chicken
Now that you’ve grilled a delicious batch of chicken on your indoor grill, it’s time to savor and enjoy your culinary creation. Here are some tips on serving and enhancing the flavors of the grilled chicken:
Slicing and Presentation:
Start by allowing the chicken to rest for a few minutes after grilling. This helps to retain its juiciness. Then, slice the chicken into smaller, manageable pieces. Arrange the slices on a serving platter or individual plates for an appetizing presentation.
Sauce or Dipping Options:
Serve the grilled chicken with an array of dipping sauces or condiments to complement its flavors. Common options include barbecue sauce, honey mustard, tzatziki, salsa, or chimichurri. Offer a variety of sauces to cater to different taste preferences.
Serve with Accompaniments:
Grilled chicken pairs well with various side dishes and accompaniments. Consider serving it with a fresh salad, roasted vegetables, corn on the cob, or a flavorful rice dish. These sides will complement the flavors of the chicken and create a complete and balanced meal.
Add Fresh Herbs or Citrus Zest:
For an added burst of freshness and aroma, garnish the grilled chicken with chopped fresh herbs such as parsley, cilantro, or basil. You can also sprinkle some citrus zest over the chicken to enhance the flavors.
Experiment with Different Flavors:
Don’t be afraid to try out different marinades, rubs, or seasonings to create unique flavor profiles. Explore various spice blends, sweet and savory combinations, or international-inspired marinades to keep your grilled chicken exciting and flavorful.
Enjoy the Chicken Hot Off the Grill:
Grilled chicken is at its best when it’s enjoyed immediately after cooking. Serve the chicken hot to fully experience the juicy, tender, and flavorful results of your grilling efforts.
Remember to share the joy of grilled chicken with family and friends, and enjoy the meal together. The delicious aromas and flavors of this versatile dish are sure to create memorable moments and leave everyone satisfied.
Conclusion
Grilling chicken on an indoor grill is a convenient and delicious way to enjoy tender, juicy, and flavorful meat all year round. By following the proper preparation techniques, preheating the grill, and using the right cooking times for different cuts of chicken, you can achieve mouthwatering results.
Remember to check the doneness of the chicken using a meat thermometer, ensuring it reaches an internal temperature of 165°F (74°C) for safe consumption. Implementing tips such as marinating, basting, and using dry rubs will enhance the flavors and create a memorable dining experience.
Serving and enjoying the grilled chicken involves slicing it into appealing portions, pairing it with delectable sauces or condiments, and serving it alongside complementary side dishes. Experiment with different flavors and accompaniments to customize your grilled chicken experience.
Grilling chicken on an indoor grill allows you to enjoy the authentic taste and experience of outdoor grilling regardless of the weather or space limitations. So, fire up your indoor grill, put these tips into practice, and savor the mouthwatering flavors of perfectly grilled chicken.
Frequently Asked Questions about How Long To Cook Chicken On An Indoor Grill
Was this page helpful?
At Storables.com, we guarantee accurate and reliable information. Our content, validated by Expert Board Contributors, is crafted following stringent Editorial Policies. We're committed to providing you with well-researched, expert-backed insights for all your informational needs.

0 thoughts on “How Long To Cook Chicken On An Indoor Grill”