
Articles
How To Clean Coffee Machine With Vinegar
Modified: December 6, 2023
Looking for articles on how to clean your coffee machine with vinegar? Find helpful tips and step-by-step guides in this comprehensive article.
(Many of the links in this article redirect to a specific reviewed product. Your purchase of these products through affiliate links helps to generate commission for Storables.com, at no extra cost. Learn more)
Introduction
Having a clean coffee machine is essential for maintaining the quality and taste of your daily brew. Over time, mineral deposits and coffee oils can build up inside the machine, affecting the flavor of your coffee and potentially even causing damage. One effective method for cleaning a coffee machine is by using vinegar.
Vinegar is a versatile household ingredient that is not only great for cooking but also works wonders as a natural cleaner. Its acidic nature helps to dissolve mineral deposits and remove stubborn stains, leaving your coffee machine sparkling clean. In this article, we will guide you through the steps of cleaning your coffee machine using vinegar, ensuring that you can enjoy a fresh and flavorful cup of coffee every time.
Before we dive into the cleaning process, let’s take a look at some of the benefits of cleaning your coffee machine with vinegar.
Key Takeaways:
- Regularly cleaning your coffee machine with vinegar removes mineral deposits, eliminates bitterness, and extends its lifespan, ensuring a fresh and flavorful cup of coffee every time.
- By following safety precautions, preparing the machine, running the vinegar solution, and cleaning external parts, you can maintain a sparkling clean and high-performing coffee machine.
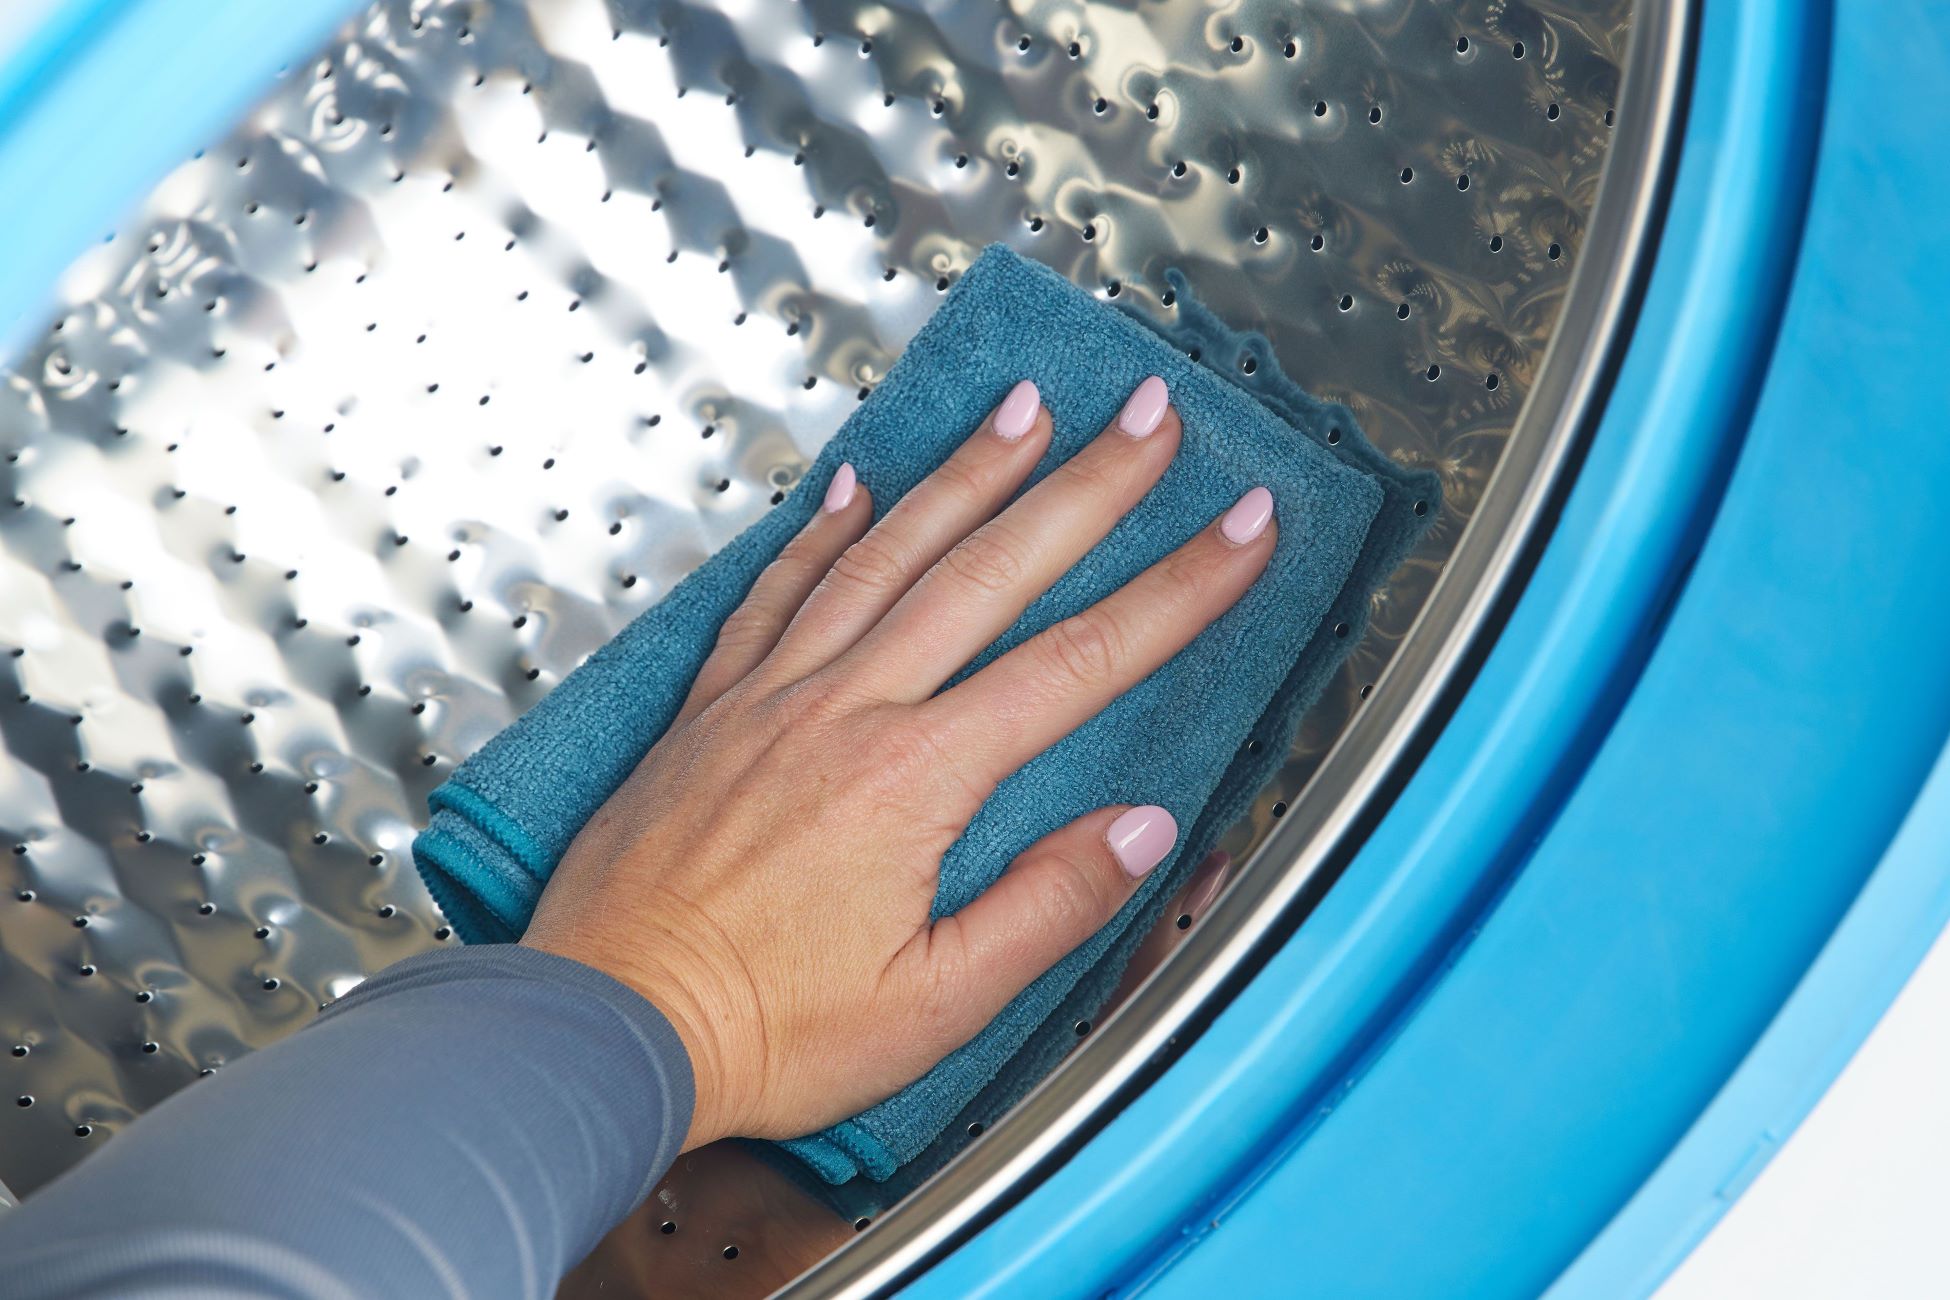
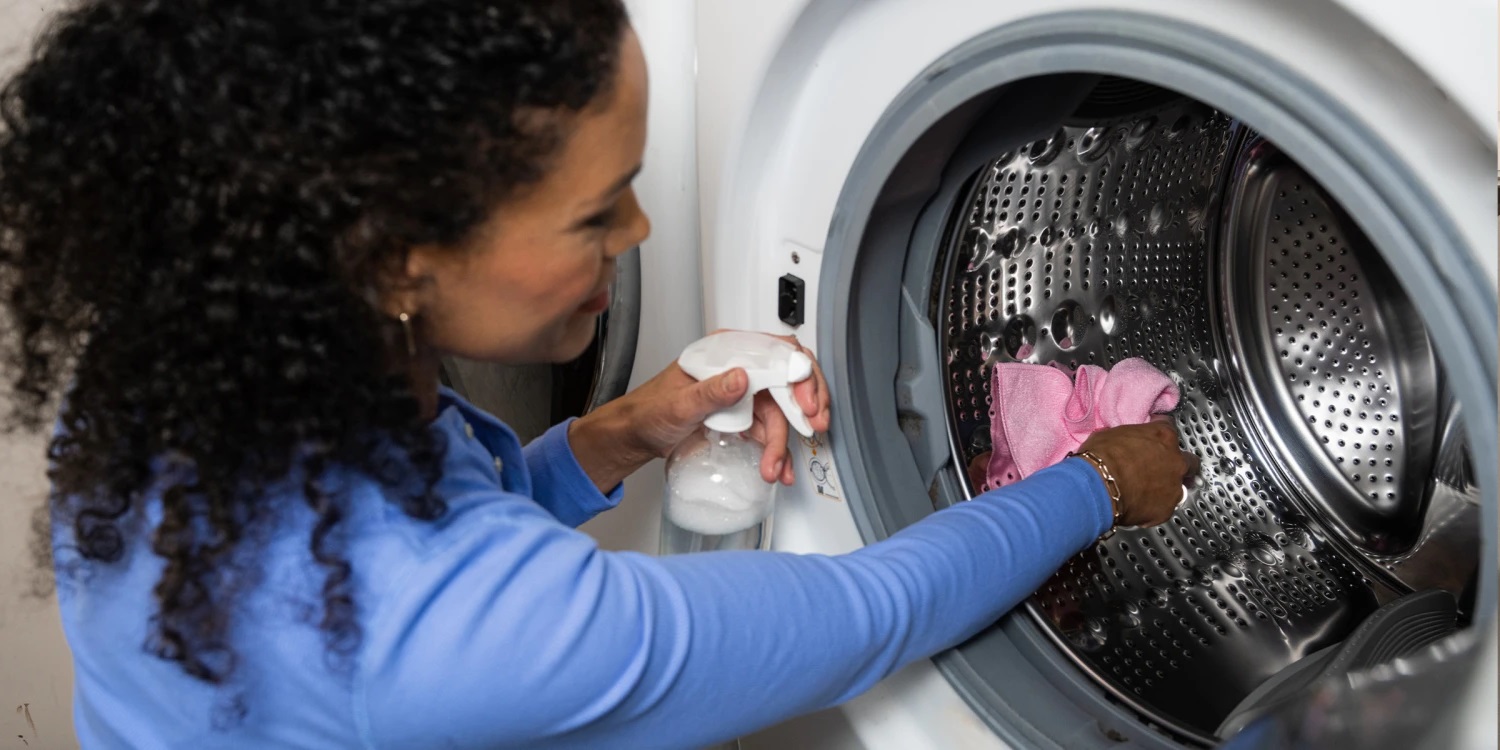
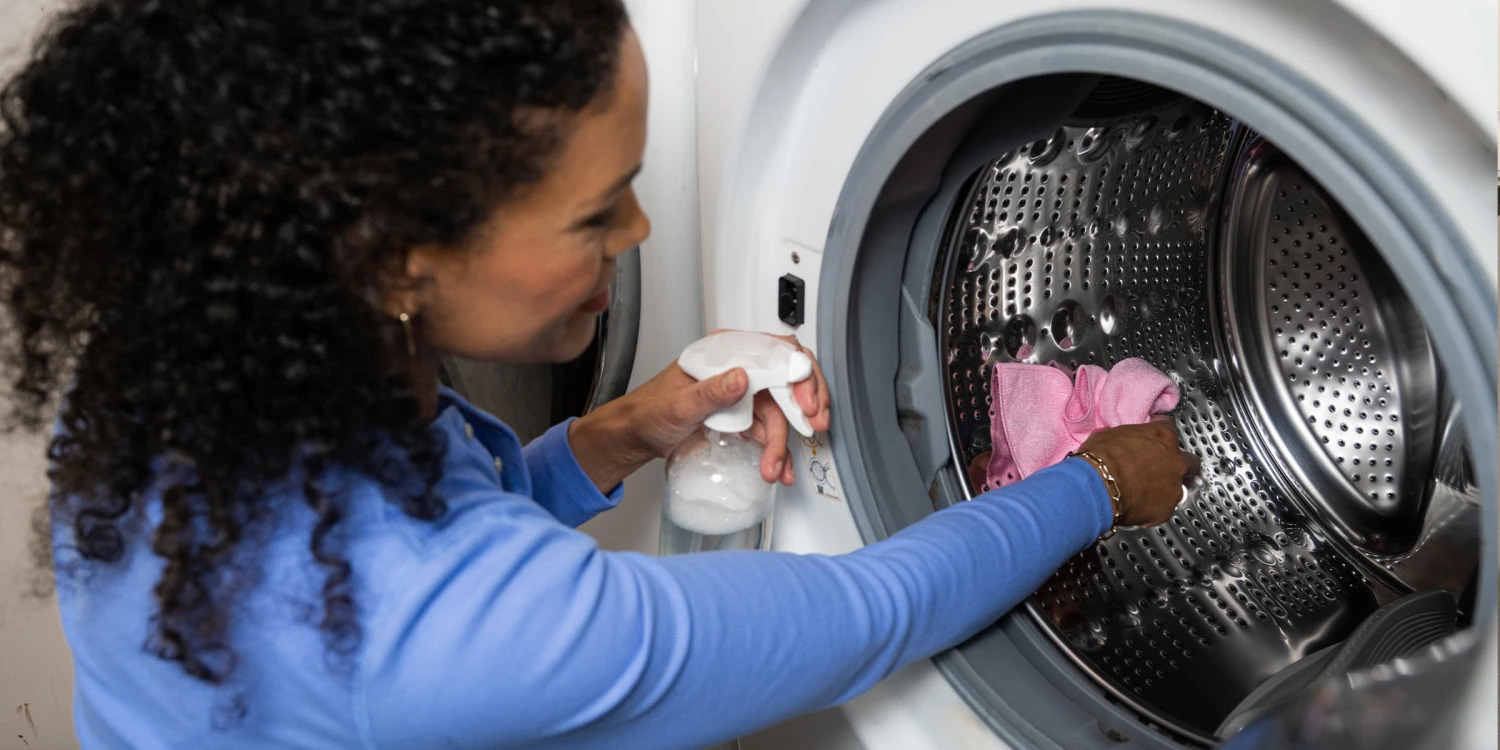
Read more: How To Clean Washer With Vinegar
Benefits of Cleaning a Coffee Machine with Vinegar
Cleaning your coffee machine with vinegar offers numerous benefits that go beyond just improving the taste of your coffee. Here are some of the key advantages:
1. Removes Mineral Deposits: Over time, mineral deposits from hard water can accumulate in your coffee machine, affecting its performance and the taste of your coffee. Vinegar’s acidic properties effectively dissolve these mineral deposits, ensuring that your machine operates at its best.
2. Eliminates Bitterness: Coffee oils can build up inside your machine and contribute to a bitter taste in your brew. Vinegar acts as a natural degreaser, breaking down these oils and eliminating any residual bitterness, resulting in a cleaner and smoother cup of coffee.
3. Extends Machine Lifespan: Regular cleaning with vinegar helps to prevent the accumulation of mineral deposits and coffee oils, which can clog the internal components of your machine. By keeping your machine clean, you reduce the risk of damage and extend its lifespan.
4. Improves Flavor and Aroma: By removing mineral deposits, coffee oils, and other impurities, the flavor and aroma of your coffee will be significantly enhanced. You’ll notice a fresher, more vibrant taste in every cup.
5. Environmentally Friendly: Using vinegar to clean your coffee machine is a natural and eco-friendly alternative to harsh chemical cleaners. Vinegar is non-toxic and safe to use, making it a great choice for those who are conscious of their environmental impact.
6. Cost-effective Solution: Vinegar is an affordable and readily available household item. By using vinegar to clean your coffee machine, you save money on expensive commercial cleaning solutions.
Now that you’re aware of the benefits, it’s important to take a few safety precautions before you begin the cleaning process.
Safety Precautions
While cleaning your coffee machine with vinegar is generally safe, it’s important to follow these safety precautions:
1. Read the Manufacturer’s Instructions: Before you start cleaning, refer to your coffee machine’s instruction manual for any specific guidelines or recommendations provided by the manufacturer.
2. Unplug the Machine: Ensure that your coffee machine is unplugged before you begin the cleaning process. This eliminates the risk of electric shock or damage to the machine.
3. Allow the Machine to Cool Down: Wait for your coffee machine to cool down before you start cleaning. The heating elements can be extremely hot and can cause burns if touched.
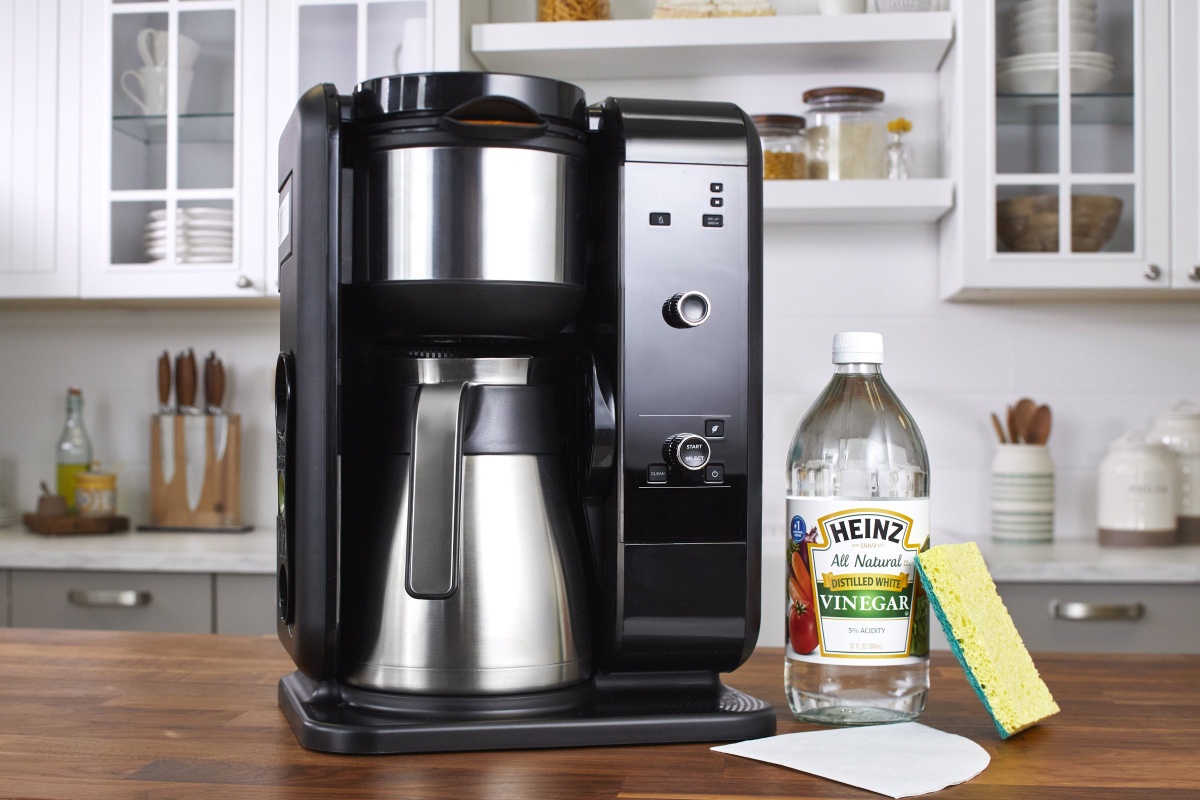
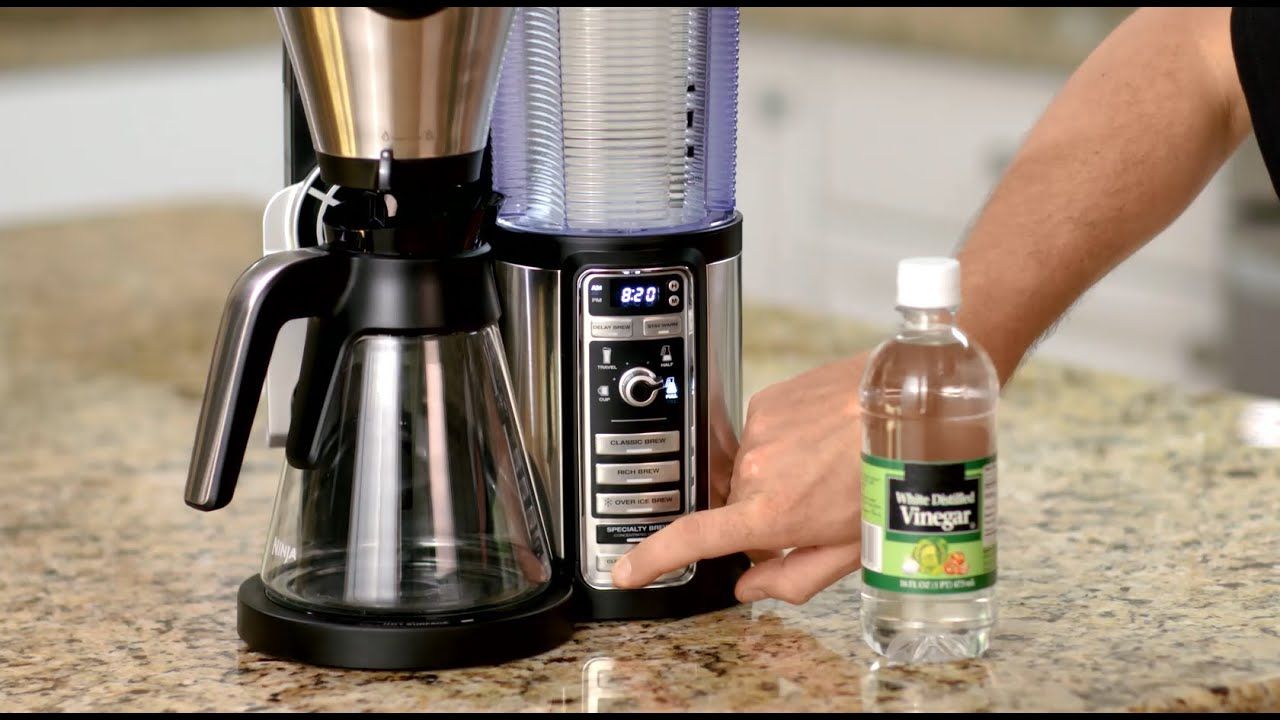
4. Use Distilled White Vinegar: Opt for distilled white vinegar for cleaning purposes. This type of vinegar is clear and does not contain any additional impurities, making it ideal for descaling and removing stains.
5. Proper Ventilation: Ensure that the area where you are cleaning your coffee machine is well-ventilated. The strong odor of vinegar can be overpowering, so it’s best to open a window or turn on a fan to avoid any discomfort.
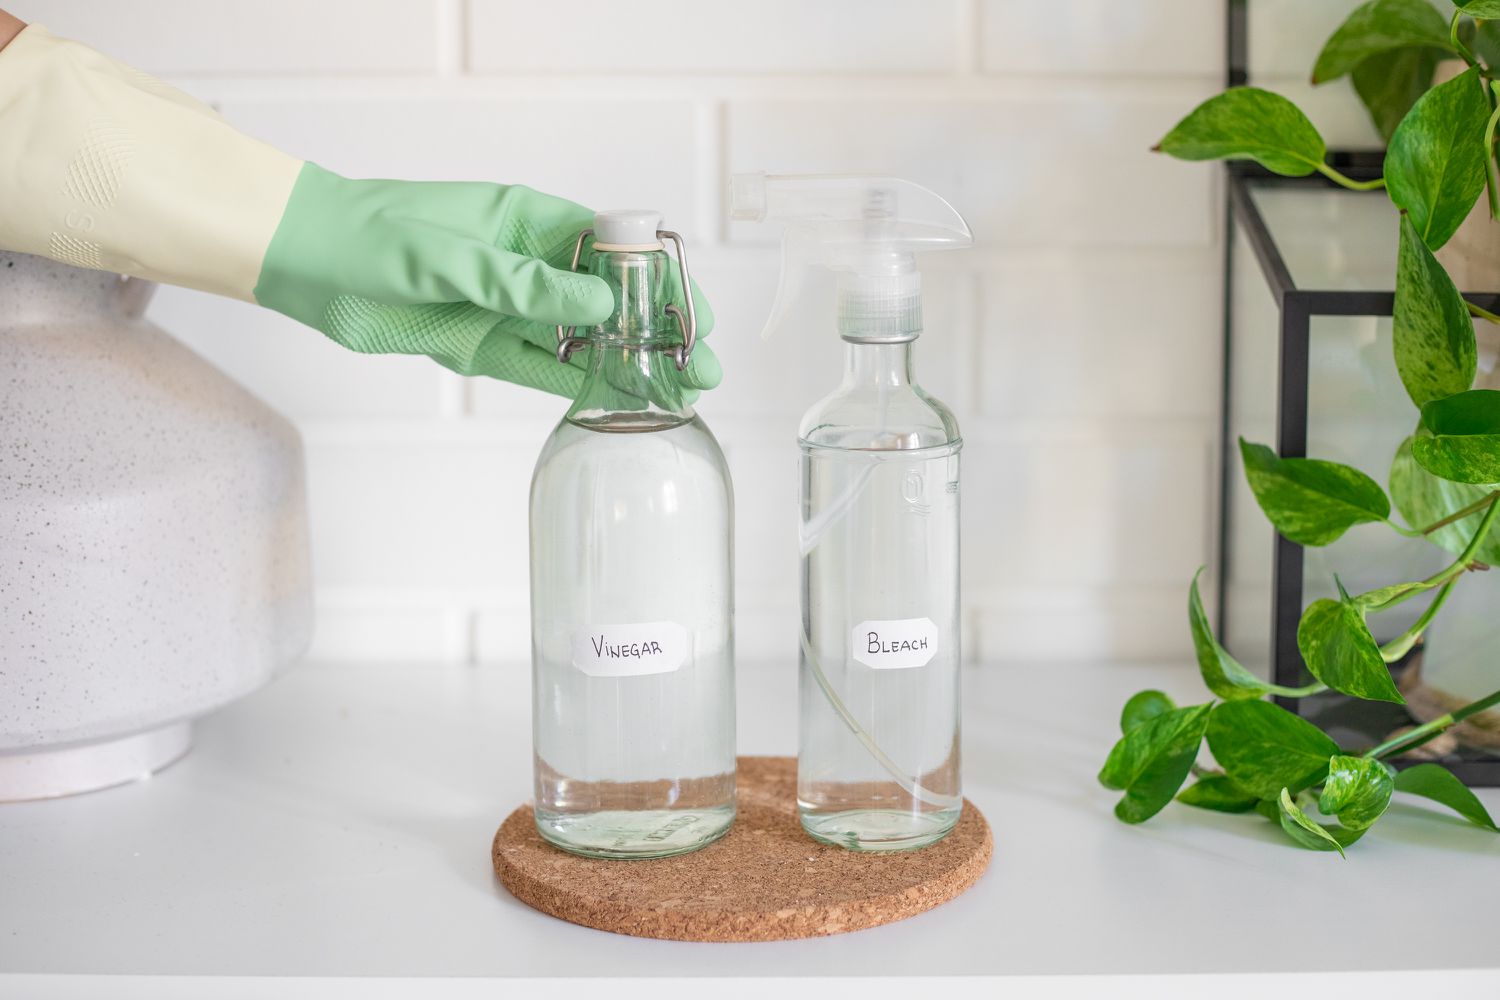
6. Avoid Mixing Vinegar with other Cleaning Agents: Never mix vinegar with other cleaning agents, such as bleach or ammonia. This can create toxic fumes and pose health hazards. Stick to using vinegar as a standalone cleaning solution.
7. Rinse Thoroughly: After cleaning your coffee machine with vinegar, make sure to rinse it thoroughly to remove any vinegar residue. This will prevent any lingering taste or odor in your future brews.
8. Check Compatibility: Double-check whether vinegar is safe to use with your specific coffee machine. Some machines, particularly those with delicate internal components, may require alternative cleaning methods to avoid damage.
Now that you’re familiar with the safety precautions, let’s proceed to the step-by-step process of cleaning your coffee machine with vinegar.
Step 1: Preparing the Coffee Machine
Before you start the cleaning process with vinegar, it’s important to properly prepare your coffee machine. Here’s what you need to do:
1. Gather the Necessary Supplies: Make sure you have all the supplies you need. This includes vinegar, water, a clean cloth or sponge, and a toothbrush or small brush for scrubbing.
2. Empty the Water Reservoir: Begin by emptying the water reservoir of your coffee machine. Discard any remaining water or coffee grounds and rinse the reservoir with clean water.
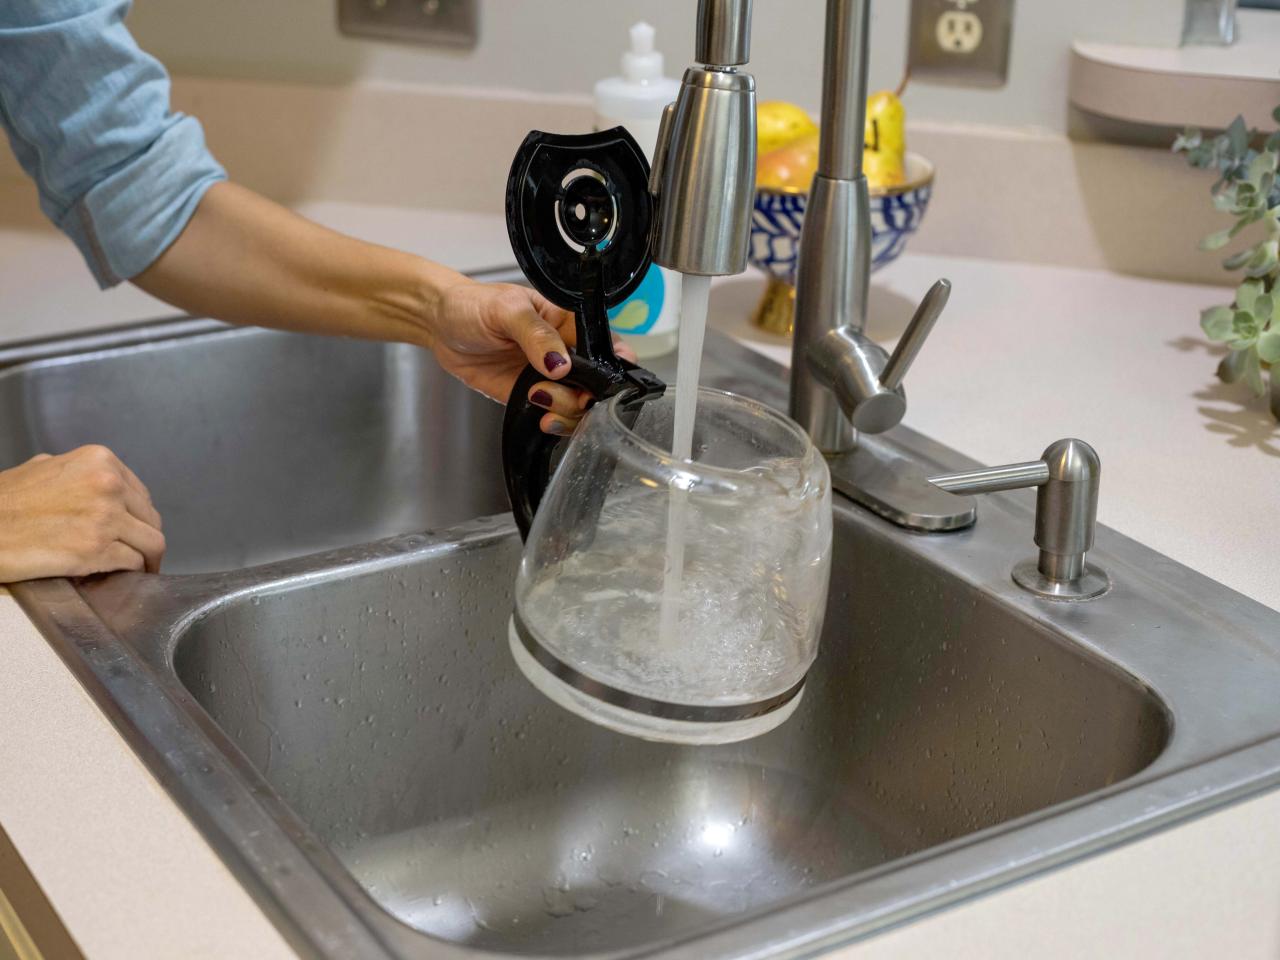
3. Remove Removable Parts: If your coffee machine has any removable parts like the brew basket, filter, or carafe, remove them and give them a rinse with warm water.
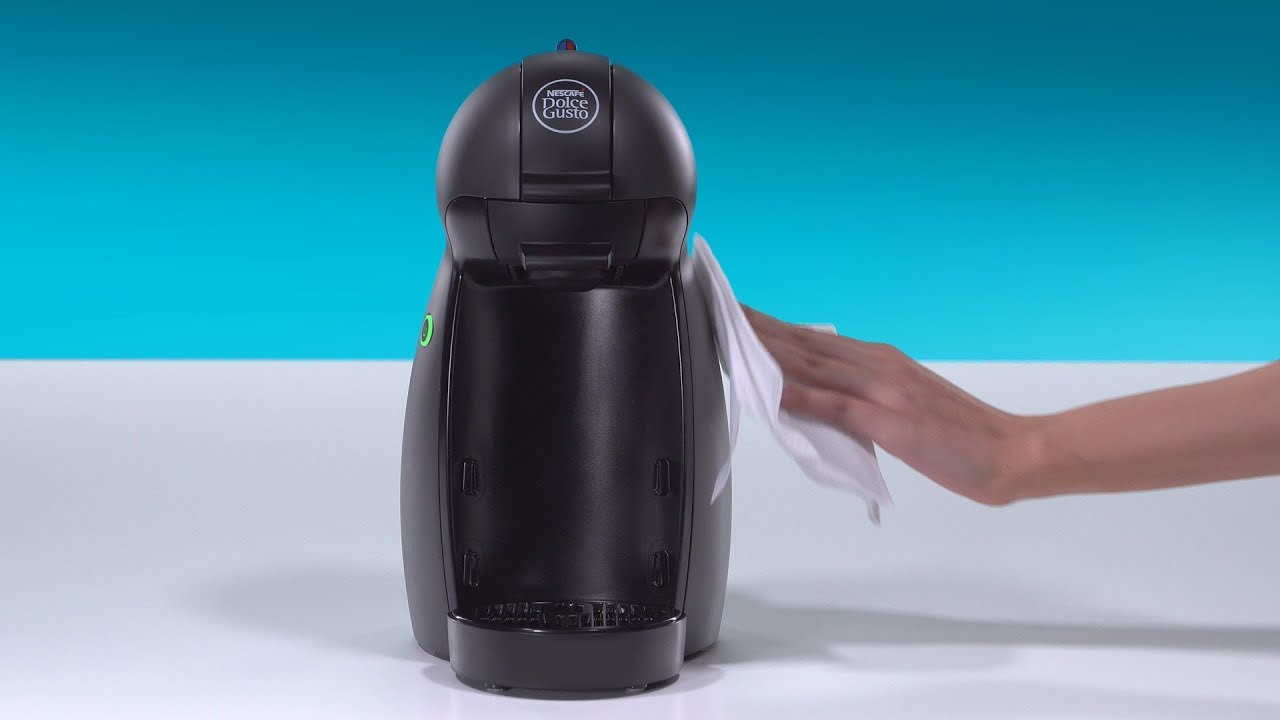
4. Wipe Down the Exterior: Use a damp cloth or sponge to wipe down the exterior of the coffee machine. Remove any visible dirt, dust, or coffee stains.
5. Check the Filter: If your coffee machine has a built-in filter, check if it needs to be replaced or cleaned. Refer to the manufacturer’s instructions for specific guidelines on maintaining the filter.
By following these preparation steps, you’ll ensure that your coffee machine is ready for the cleaning process with vinegar. Now, let’s move on to mixing the vinegar solution.
Step 2: Mixing Vinegar Solution
Now that you have prepared your coffee machine, it’s time to mix the vinegar solution that will be used for cleaning. Follow these steps:
1. Determine the Vinegar-Water Ratio: The ideal vinegar-water ratio for cleaning a coffee machine is 1:2. This means that for every part of vinegar, you’ll need two parts of water. For example, if you’re using 1 cup of vinegar, you’ll need 2 cups of water.
2. Measure the Ingredients: Depending on the size and capacity of your coffee machine, measure the appropriate amount of vinegar and water. Use a measuring cup or any other suitable container for accurate measurements.
3. Combine the Vinegar and Water: Pour the measured vinegar and water into a mixing bowl or container. Stir them together to ensure they are well-mixed.
4. Optional: Add Lemon Juice: If you want to further enhance the cleaning power of the solution and add a pleasant fragrance, you can squeeze some lemon juice into the mixture. This step is optional but can be a nice addition.
5. Mix Well: Stir the solution thoroughly to ensure that the vinegar and water are evenly blended. This will create a powerful cleaning agent that will help remove any built-up residue in your coffee machine.
Once you have prepared the vinegar solution, you’re ready to move on to the next step: running the solution through the coffee machine.
Read more: How To Clean A Washing Machine With Vinegar
Step 3: Running the Vinegar Solution Through the Machine
With the vinegar solution mixed and ready, it’s time to clean your coffee machine by running the solution through it. Follow these steps:
1. Fill the Water Reservoir: Pour the vinegar solution into the water reservoir of your coffee machine. Ensure that you do not exceed the maximum fill line indicated by the manufacturer.
2. Start the Brewing Process: Place an empty carafe or cup on the coffee machine’s warming plate. Start the brewing process as if you were making a regular pot of coffee. Allow the machine to run through one complete brewing cycle.
3. Let the Solution Sit: Once the brewing cycle is complete, turn off the coffee machine and let the vinegar solution sit in the pot for about 15-20 minutes. This will allow the acidic properties of the vinegar to break down any mineral deposits and residue inside the machine.
4. Run Additional Brewing Cycles: After the sitting time, pour the used vinegar solution back into the water reservoir. Start the brewing process again and let the machine run through a few additional brewing cycles. This will ensure that any remaining deposits or stains are thoroughly cleaned away.
5. Discard the Solution: Once you have completed the additional brewing cycles, discard the used vinegar solution. It’s normal for the solution to appear darker as it picks up coffee residue during the cleaning process.
By running the vinegar solution through your coffee machine, you are effectively descaling and removing any built-up deposits. However, to ensure that your coffee tastes fresh and vinegar-free, it’s important to rinse the machine thoroughly.
To clean a coffee machine with vinegar, mix equal parts vinegar and water, then run the solution through the machine. Follow with two cycles of plain water to rinse.
Step 4: Rinsing the Coffee Machine
After running the vinegar solution through your coffee machine, it’s crucial to thoroughly rinse the machine to remove any remaining traces of vinegar. Follow these steps to ensure a clean and vinegar-free coffee machine:
1. Fill the Water Reservoir: Empty the vinegar solution from the water reservoir and rinse it with clean water. Then, refill the reservoir with fresh, clean water.
2. Run Brewing Cycles: Start the brewing process with the water-filled reservoir, just like you would when making a regular pot of coffee. Run multiple brewing cycles with clean water to flush out any lingering vinegar and residue from the machine.
3. Empty the Carafe: Empty the water from the carafe after each brewing cycle to prevent any mixture of vinegar and water. This ensures that you are using only fresh, clean water for the rinsing process.
4. Repeat the Rinsing Process: Repeat the rinsing process for a few cycles, depending on the previous vinegar solution’s strength and the desired level of thoroughness. This extra rinsing will ensure that your coffee machine is completely free of vinegar taste or odor.
5. Wipe Down External Parts: While the machine is rinsing, take a clean cloth or sponge and wipe down the external parts of the coffee machine. This will remove any water stains or residue that may have accumulated during the cleaning process.
Once you’ve completed the rinsing process and wiped down the external parts of the coffee machine, you can proceed to clean the coffee pot.
Step 5: Cleaning the Coffee Pot
Now that your coffee machine is thoroughly rinsed, it’s time to focus on cleaning the coffee pot itself. Follow these steps to ensure that your coffee pot is sparkling clean:
1. Empty the Coffee Grounds: Start by emptying any remaining coffee grounds from the coffee pot. Discard them into the trash or compost, and rinse the pot with warm water.
2. Create a Cleaning Solution: Mix a small amount of dish soap with warm water in the sink or a basin. The exact amount of soap will depend on the size of your coffee pot.
3. Scrub the Coffee Pot: Dip a non-abrasive sponge or cloth into the soapy water, and use it to scrub the inside of the coffee pot. Pay special attention to any coffee stains or residue that may have accumulated. For tough stains, you can gently use a soft-bristle brush or a sponge with a rougher side.
4. Rinse the Coffee Pot: Once you have scrubbed the inside of the coffee pot, rinse it thoroughly with warm water to remove any soap residue. Make sure there are no lingering suds left behind.
5. Dry the Coffee Pot: After rinsing, dry the coffee pot with a clean towel or let it air dry upside down. This will help prevent any water spots or streaks from forming on the surface of the pot.
By cleaning the coffee pot separately, you ensure that it remains clean and free of any coffee stains or residue. Now, let’s move on to cleaning the filter basket.
Step 6: Cleaning the Filter Basket
Ensuring that the filter basket of your coffee machine is clean is essential for maintaining the quality of your brew. Follow these steps to effectively clean the filter basket:
1. Remove the Filter Basket: Depending on your coffee machine model, the filter basket may be removable. Take out the filter basket and give it a quick rinse with warm water to remove any loose coffee grounds.
2. Prepare a Cleaning Solution: Create a mixture of warm water and dish soap in a sink or basin. Use a mild dish soap that is safe for cleaning kitchenware.
3. Scrub the Filter Basket: Dip a soft-bristle brush or sponge into the soapy water and scrub the filter basket thoroughly. Pay attention to any accumulated coffee oils or residue that may have built up over time. Ensure that you clean all sides and corners of the filter basket.
4. Rinse the Filter Basket: Once you have finished scrubbing, rinse the filter basket with clean, warm water to remove any soap residue. Ensure that all traces of soap are removed.
5. Dry the Filter Basket: After rinsing, dry the filter basket with a clean towel or let it air dry completely before putting it back into the coffee machine.
6. Clean the Filter Holder: While you have the filter basket removed, take a moment to wipe down the filter holder inside the coffee machine. Use a damp cloth or sponge to remove any coffee residue or oils.
By regularly cleaning the filter basket and filter holder, you ensure that your coffee is brewed with clean and fresh flavors. Now, let’s move on to the final step: cleaning the external parts of the coffee machine.
Step 7: Cleaning the External Parts
While cleaning the internal components of your coffee machine is crucial, don’t forget to give some attention to the external parts as well. Follow these steps to effectively clean the external parts:
1. Unplug the Coffee Machine: Before you begin cleaning the external parts, make sure the coffee machine is unplugged from the power source. This ensures your safety during the cleaning process.
2. Wipe Down the Exterior: Take a damp cloth or sponge and gently wipe down the exterior of the coffee machine. Pay attention to any visible dirt, stains, or coffee spills. Use a mild cleaning solution if necessary, but avoid getting the electrical components wet.
3. Clean the Warming Plate: If your coffee machine has a built-in warming plate, scrub it gently with a soft brush or sponge to remove any coffee stains or residue. Wipe it dry with a clean cloth afterwards.
4. Clean the Water Reservoir Lid: Remove the water reservoir lid, if applicable, and wash it with warm soapy water. Rinse it thoroughly and dry it before placing it back onto the coffee machine.
5. Polish the Exterior: If your coffee machine has a stainless steel or chrome finish, you can use a specialized stainless steel cleaner or polisher to restore its shine. Follow the product instructions for best results.
6. Check the Power Cord: Inspect the power cord for any signs of damage or fraying. If you notice any issues, it’s important to replace or repair the cord to ensure the safety of your coffee machine.
7. Reassemble the Parts: Once you have cleaned and dried all the external components, reassemble them carefully. Make sure everything is properly fitted before plugging the coffee machine back in.
By regularly cleaning the external parts, you keep your coffee machine looking clean and well-maintained while ensuring optimal performance. With the cleaning process complete, you can now enjoy a fresh and delicious cup of coffee from your sparkling clean machine!
Conclusion
Cleaning your coffee machine with vinegar is a simple yet effective way to maintain the quality and performance of your beloved appliance. By following the step-by-step process outlined in this article, you can ensure that your coffee machine is free from mineral deposits, coffee oils, and other built-up residue, resulting in a fresh and flavorful cup of coffee every time.
We explored the numerous benefits of using vinegar as a cleaning agent, including removing mineral deposits, eliminating bitterness, extending the machine’s lifespan, improving flavor and aroma, and being environmentally friendly and cost-effective. However, it is important to take safety precautions, such as reading the manufacturer’s instructions, unplugging the machine, and properly ventilating the area during the cleaning process.
We discussed the preparation steps, including emptying the water reservoir, removing removable parts, wiping down the exterior, and checking the filter. Then, we moved on to the step-by-step process, which involved mixing the vinegar solution, running it through the machine, rinsing the machine and coffee pot thoroughly, and cleaning the filter basket.
Finally, we emphasized the importance of cleaning the external parts and ensuring the coffee machine is completely dry before reassembling and using it. Regularly cleaning the external parts helps maintain the appearance and functionality of your coffee machine.
Remember to consult your coffee machine’s instruction manual for any specific guidelines or recommendations from the manufacturer. By following these guidelines and incorporating vinegar as a natural cleaning agent, you can enjoy a delicious cup of coffee that is free from any unwanted residue, ensuring that each sip is a delightful experience.
Frequently Asked Questions about How To Clean Coffee Machine With Vinegar
Was this page helpful?
At Storables.com, we guarantee accurate and reliable information. Our content, validated by Expert Board Contributors, is crafted following stringent Editorial Policies. We're committed to providing you with well-researched, expert-backed insights for all your informational needs.


0 thoughts on “How To Clean Coffee Machine With Vinegar”