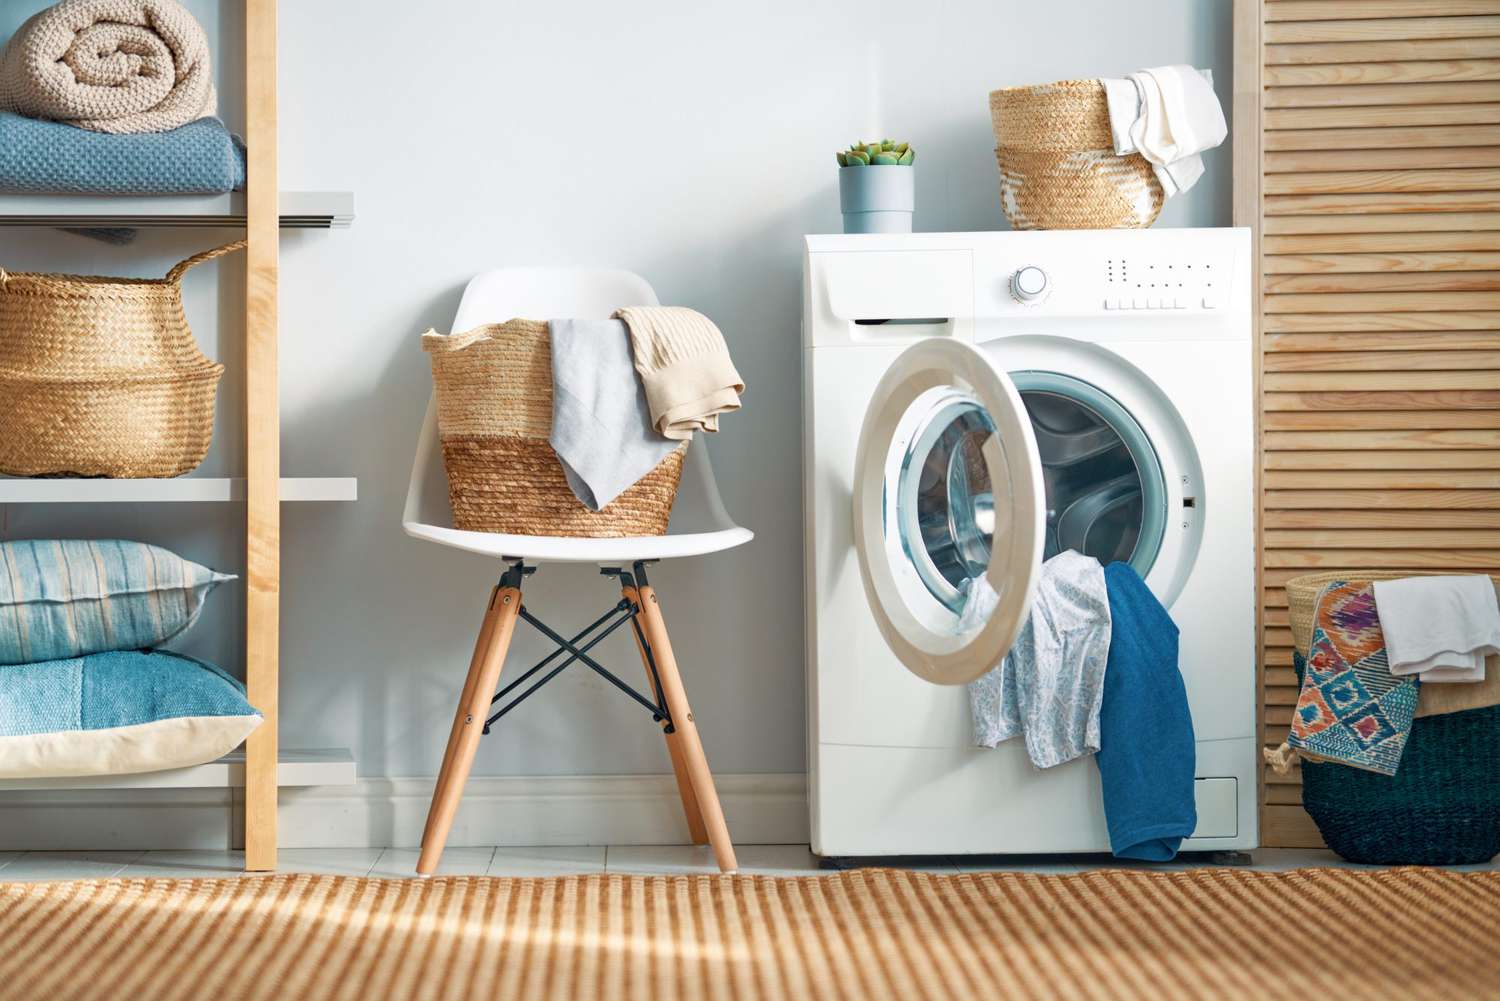
Home>Storage Ideas>Bedroom Storage>How To Clean A Washing Machine For Fresh Clothes And Linens
Bedroom Storage
How To Clean A Washing Machine For Fresh Clothes And Linens
Modified: August 28, 2024
Learn how to clean your washing machine properly to ensure fresh and clean clothes and linens in your bedroom storage. Follow our easy step-by-step guide now!
(Many of the links in this article redirect to a specific reviewed product. Your purchase of these products through affiliate links helps to generate commission for Storables.com, at no extra cost. Learn more)
Introduction
Welcome to the ultimate guide on how to clean a washing machine for fresh and hygienic clothes and linens! While we rely on our trusty washing machines to keep our laundry clean, it is essential to remember that they also need some TLC from time to time. Not only does cleaning your washing machine help maintain its performance, but it also helps eliminate odors, remove dirt and grime buildup, and prevent the growth of mold and mildew.
Regular cleaning of your washing machine not only ensures that your clothes come out smelling and looking fresh, but it also prolongs the life of your appliance. Neglecting to clean your washing machine can result in poor cleaning results, foul smells, and even damage to the machine itself.
In this comprehensive guide, we will take you through the step-by-step process of cleaning your washing machine, from the drum to the exterior. We will also provide tips on maintaining a clean machine to ensure optimal performance and longevity.
So, gather your cleaning supplies, put on your cleaning gloves, and let’s dive into the world of washing machine maintenance!
Key Takeaways:
- Regularly cleaning your washing machine with simple ingredients like vinegar and baking soda eliminates odors, removes dirt, prevents mold, and extends the machine’s lifespan, ensuring fresh and hygienic laundry.
- In addition to deep cleaning, maintaining a clean washing machine through simple habits like leaving the door open, using the right detergent, and regular maintenance checks ensures efficient performance and long-term cleanliness.
Why Cleaning Your Washing Machine is Important
When was the last time you gave your washing machine a deep clean? If you can’t remember, it’s time to prioritize this essential task. Cleaning your washing machine is crucial for several reasons:
- Eliminates Odors: Over time, residue from detergent, fabric softeners, and dirt can accumulate in the drum, leading to unpleasant odors that can transfer onto your clothes. Cleaning the machine helps remove these odors, leaving your laundry smelling fresh.
- Removes Dirt and Grime: As you wash your clothes, dirt, lint, and other debris can build up in the drum, agitator, and other parts of the machine. This buildup can affect the machine’s performance and the cleanliness of your laundry. Regular cleaning helps eliminate this dirt and grime.
- Prevents Mold and Mildew: The moist environment inside the washing machine can become a breeding ground for mold and mildew. These fungi can not only cause unpleasant smells but also contaminate your clothes, potentially leading to skin irritations or respiratory issues. Proper cleaning helps prevent the growth of mold and mildew.
- Improves Cleaning Results: A clean washing machine is more efficient at removing stains and dirt from your clothes. When the machine is free from buildup, it can effectively agitate fabrics and distribute detergent, resulting in cleaner and fresher laundry.
- Prolongs Machine Lifespan: Regular maintenance, including cleaning, can extend the lifespan of your washing machine. By keeping the various components clean and functioning optimally, you reduce the risk of breakdowns and costly repairs.
By understanding the importance of cleaning your washing machine, you can ensure that your laundry is consistently fresh and hygienic. Now that we’ve established why this task is crucial, let’s move on to the materials you’ll need to get started!
Materials Needed for Cleaning
Before you begin cleaning your washing machine, make sure you have the following materials on hand:
- White vinegar: White vinegar is a natural cleaning agent that helps break down buildup, eliminates odors, and disinfects the machine.
- Baking soda: Baking soda is another versatile cleaning ingredient that helps remove stains, deodorize, and sanitize the washing machine.
- Microfiber cloth: A soft microfiber cloth is ideal for wiping down the exterior of the machine, as it is gentle and does not leave lint behind.
- Toothbrush or small brush: A toothbrush or small brush can be used to reach and clean tight spots, such as around the detergent dispenser or in the crevices of the machine.
- Hot water: Hot water is essential for effectively cleaning the machine, as it helps dissolve grime and residue.
- Optional: Dish soap or mild detergent: If your machine has stubborn stains or buildup, you may consider using a small amount of dish soap or mild detergent to assist with the cleaning process.
- Gloves: While not a material per se, wearing gloves is highly recommended to protect your hands from any strong cleaning agents and potentially harmful bacteria.
Having these materials ready ensures that you have everything you need to thoroughly clean your washing machine. With the right supplies at your disposal, you can proceed confidently to the next step: cleaning the drum!
Step 1: Cleaning the Drum
The drum of your washing machine is where all the magic happens. It’s where your clothes are agitated, cleaned, and rinsed. Over time, however, this drum can accumulate dirt, grime, and residue from detergent and fabric softeners. Follow these steps to clean the drum and ensure optimal cleaning performance:
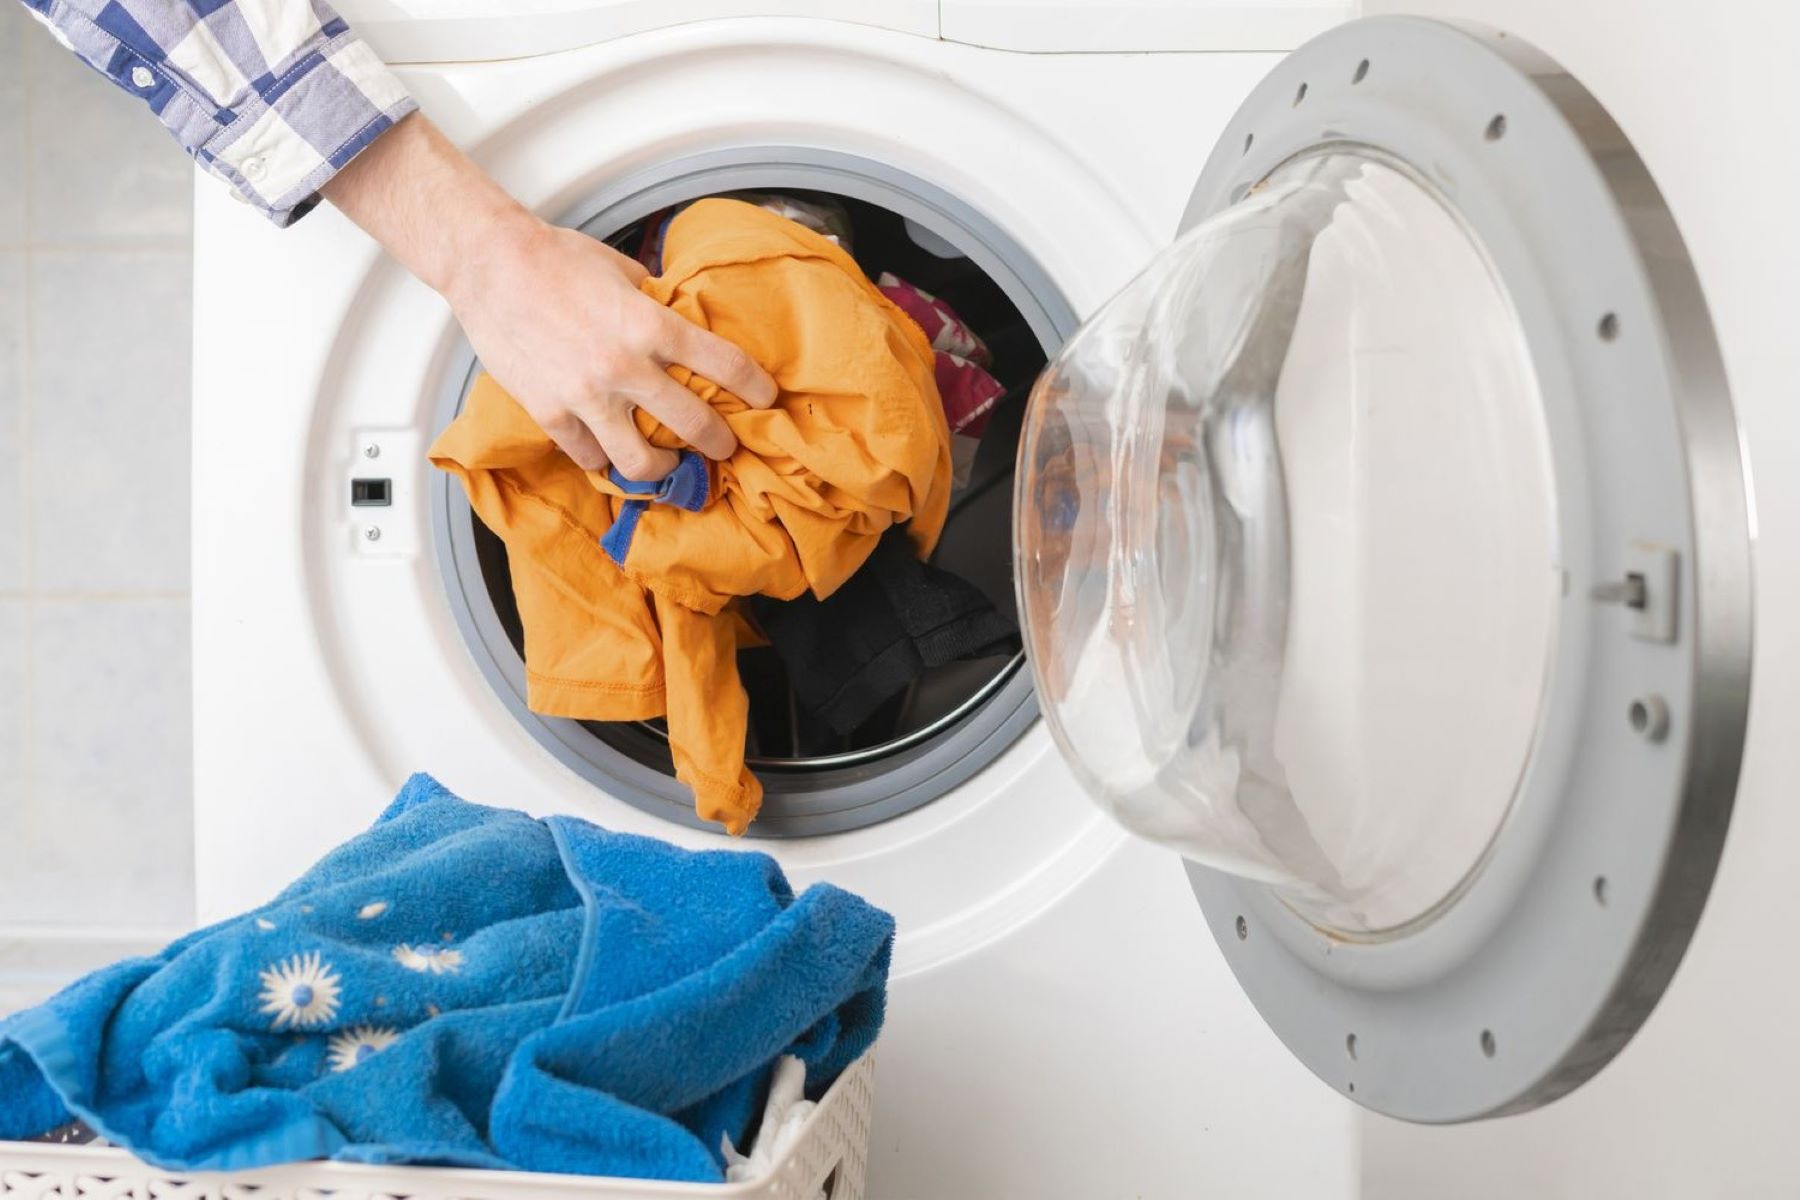
- Empty the drum: Start by ensuring that the drum is empty of any clothes or laundry items.
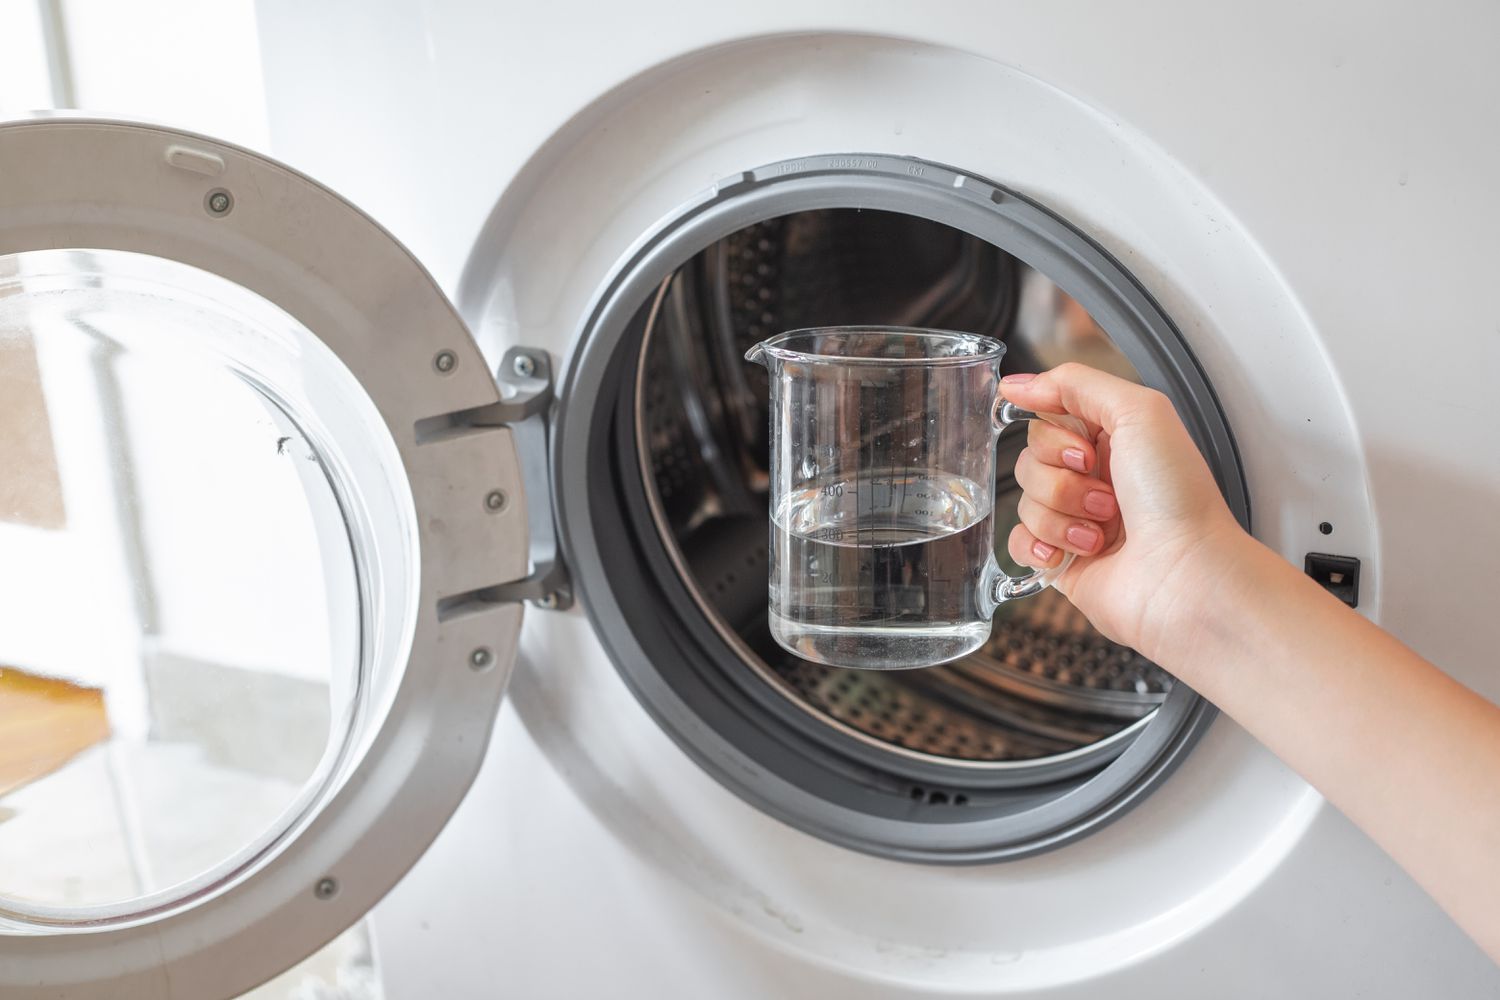
- Mix a cleaning solution: Create a cleaning solution by combining 1 cup of white vinegar and 1/2 cup of baking soda. Stir the mixture until it forms a paste-like consistency.
- Apply the cleaning solution: Scoop the cleaning solution into the drum of the washing machine. Spread it around the interior, ensuring to cover all areas with buildup and stains.
- Run a clean cycle: Start a clean cycle using hot water. If your machine doesn’t have a specific clean cycle, select the longest and hottest wash cycle available. This will help dissolve the cleaning solution and loosen any dirt or residue.
- Pause the cycle: Once the machine has filled with water, pause the cycle and let the cleaning solution sit in the drum for about 30 minutes. This allows the vinegar and baking soda to work their magic on the grime.
- Resume and complete the cycle: After the 30-minute pause, resume the cycle and let it continue until completion. This will thoroughly clean the drum and rinse away any residue.
- Wipe the drum: Once the cycle is complete, take a damp microfiber cloth and wipe down the interior of the drum. This will remove any remaining residue and ensure a sparkling clean surface.
Cleaning the drum of your washing machine is an essential step in maintaining a clean and efficient appliance. By removing dirt, grime, and residue, you’re setting the stage for fresh and hygienic laundry. With the drum cleaned, it’s time to move on to the next step: removing and cleaning the detergent dispenser!
Step 2: Removing and Cleaning the Detergent Dispenser
While cleaning the drum takes care of the interior of your washing machine, it’s important not to forget about the detergent dispenser. Over time, this compartment can become clogged with dried detergent and fabric softener residue, leading to poor dispenser performance and potential mold growth. Follow these steps to remove and clean the detergent dispenser:
- Locate the detergent dispenser: Depending on your washing machine model, the detergent dispenser can be located on the top panel or inside the door. Consult your machine’s user manual if you’re unsure about its location.
- Remove the detergent dispenser: Once you’ve located the dispenser, gently pull it out or press the release button to detach it from the machine. Follow the manufacturer’s instructions if necessary.
- Disassemble the dispenser: Most detergent dispensers consist of multiple compartments, including ones for main wash, pre-wash, and fabric softener. Disassemble the dispenser by removing any removable parts or sliding mechanisms.
- Soak in warm, soapy water: Fill a sink or container with warm water and add a few drops of dish soap or mild detergent. Place the disassembled compartments of the detergent dispenser into the soapy water and let them soak for around 15-20 minutes.
- Scrub and rinse: After soaking, use a toothbrush or small brush to scrub away any residue and buildup in the compartments. Pay extra attention to any clogged or hard-to-reach areas. Rinse each compartment thoroughly with clean water to remove any remaining soap.
- Dry and reassemble: Once clean, dry each compartment with a towel or let them air dry completely. Make sure all parts are thoroughly dry before reassembling the detergent dispenser.
- Reinstall the detergent dispenser: Carefully insert the clean and dry dispenser back into its original position in the machine. Ensure it is securely attached and aligned properly with the water inlet.
By regularly removing and cleaning the detergent dispenser, you’re preventing clogs, ensuring proper detergent distribution, and maintaining a hygienic washing machine. With the dispenser cleaned, it’s time to move on to the next step: cleaning the filter!
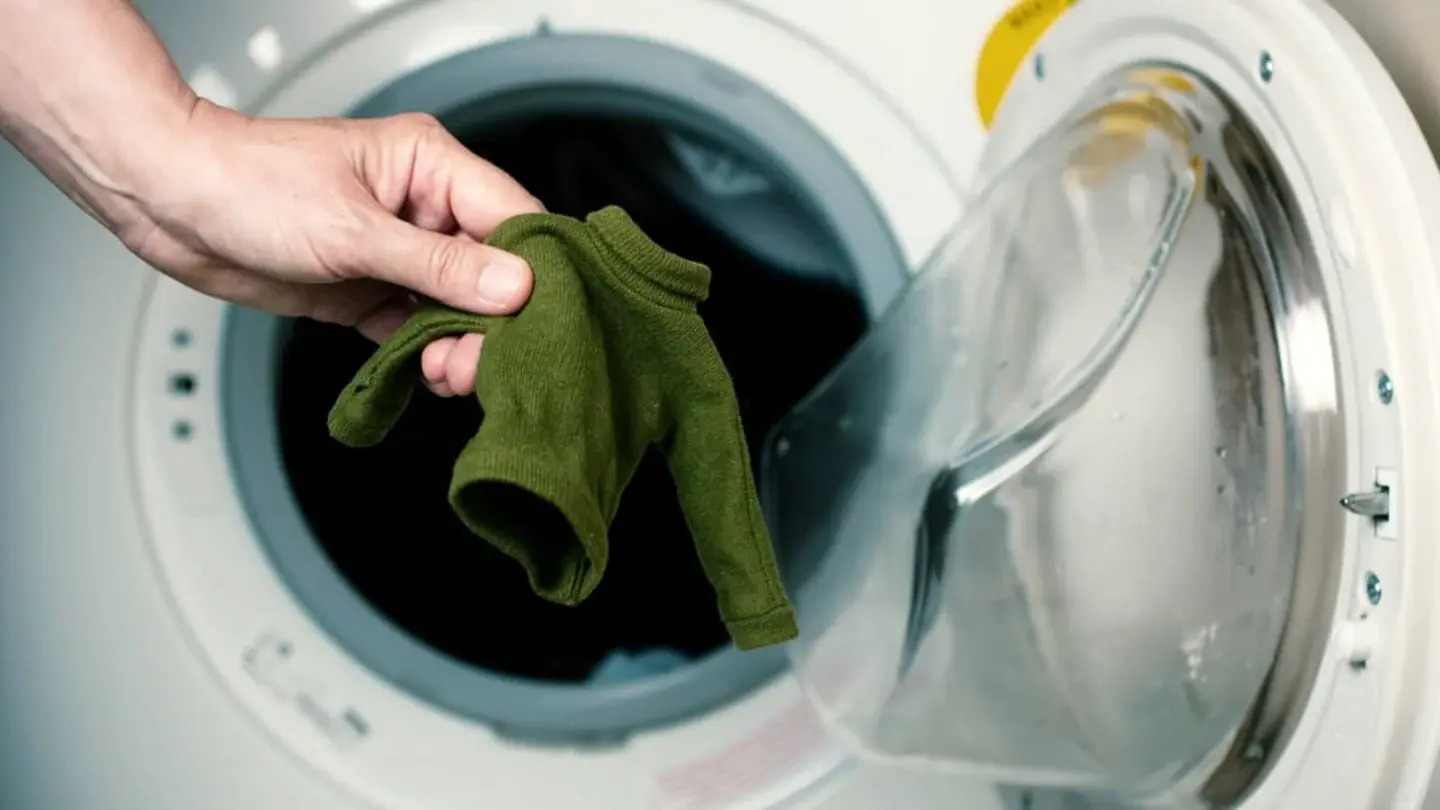
Run a hot water cycle with vinegar to clean and deodorize your washing machine. Then wipe down the inside and door seal with a mixture of water and vinegar.
Step 3: Cleaning the Filter
One often overlooked component of a washing machine is the filter. The filter helps trap lint, small objects, and debris that may be present in your laundry. Cleaning the filter regularly is important to maintain the efficiency and performance of your machine. Follow these steps to clean the filter:
- Locate the filter: The location of the filter varies depending on the washing machine model. Consult your machine’s user manual to find the exact location of the filter. In some machines, the filter may be located at the front bottom panel, while in others, it could be behind a small access panel or inside the drum.
- Prepare the area: Place a towel or shallow basin beneath the filter area to catch any water that may spill out during the cleaning process.
- Gradually release any water: If your machine has a specific release valve for the filter, open it slowly to drain any excess water from the filter area. If there is no release valve, you may need to use a small container to catch and drain the water.
- Remove the filter: Once the water is drained, unscrew or release the filter carefully. Be cautious as there may still be some water trapped in the filter housing.
- Clean the filter: Rinse the filter under running water to remove any debris, lint, or residue. You can gently scrub the filter with a brush or toothbrush if necessary. Make sure to remove any stubborn buildup or clogs.
- Inspect the filter housing: While the filter is removed, take a moment to inspect the inside of the filter housing for any visible dirt or debris. Use a cloth or brush to wipe away any excess buildup.
- Reinstall the filter: Once the filter and housing are clean and dry, carefully reinsert the filter into its original position. Screw or secure it back into place as per the manufacturer’s instructions.
Cleaning the filter helps improve water flow, prevent blockages, and maintain the machine’s performance. Regularly checking and cleaning the filter ensures that your washing machine continues to run efficiently for years to come. With the filter cleaned, it’s time to move on to the next step: wiping down the exterior!
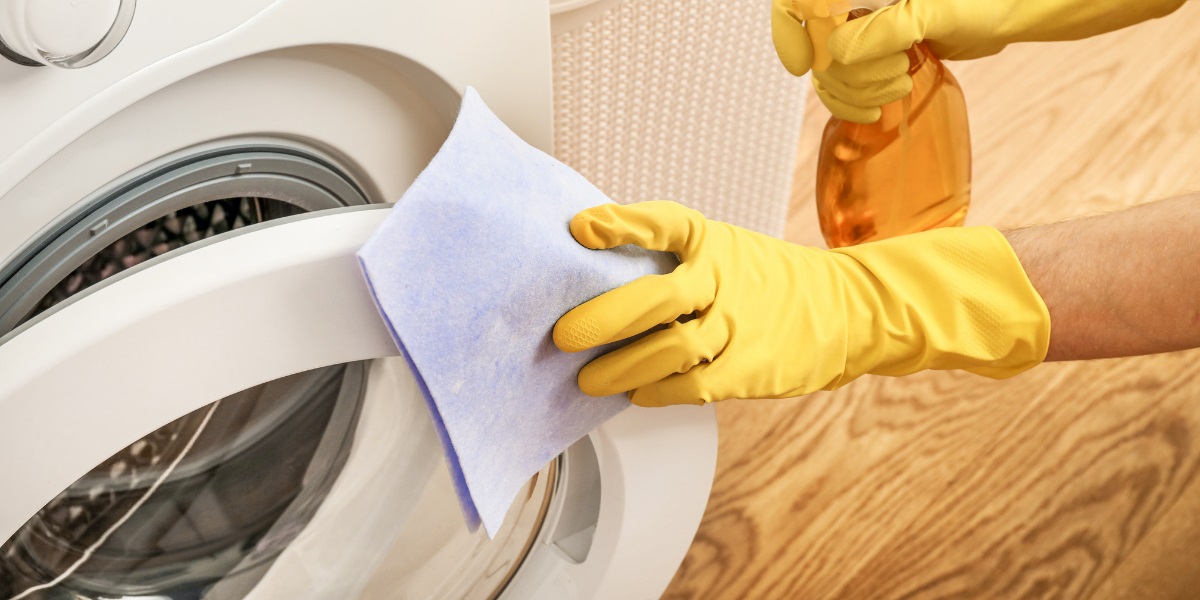
Step 4: Wiping Down the Exterior
While cleaning the interior components of your washing machine is crucial, don’t forget about the exterior! The exterior of your machine can accumulate dust, dirt, fingerprints, and spills over time. Follow these steps to give the exterior of your washing machine a thorough cleaning:
- Gather your supplies: Grab a microfiber cloth and a mild cleaning solution. Avoid using harsh chemicals or abrasive cleaners, as they can damage the surface of your machine.
- Dampen the cloth: Moisten the microfiber cloth with water. Make sure it is only slightly damp, as using excessive water can cause damage to the electrical components of the machine.
- Clean the control panel: Gently wipe down the control panel, buttons, and display using the damp cloth. Pay attention to any grime or residue that may have accumulated around the buttons.
- Wipe the exterior surfaces: Wipe the top, sides, and front of the machine with the damp cloth, removing any dust or dirt. Ensure that you reach all the nooks and crannies, including the area around the door and the rubber seal.
- Address stubborn stains: For stubborn stains or spills, use a mild cleaning solution. Dip a corner of the cloth in the solution and gently rub the stained area until it is clean. Avoid using excessive force or scrubbing vigorously to prevent any damage.
- Dry the exterior: Once you have wiped down the entire exterior surface, use a dry microfiber cloth to wipe away any moisture. Ensure that the machine is completely dry before using it again.
- Extra attention to stainless steel: If your washing machine has a stainless steel exterior, consider using a stainless steel cleaner or polish to restore its shine and remove any fingerprints or smudges. Follow the manufacturer’s instructions for the specific cleaning product.
Regularly wiping down the exterior of your washing machine not only keeps it looking clean and presentable but also helps prevent dust and dirt from entering the machine’s interior. With the exterior cleaned, it’s time to move on to the next step: deodorizing the machine!
Step 5: Deodorizing the Machine
Keeping your washing machine smelling fresh is just as important as keeping it clean. Over time, odors can develop due to residue, trapped moisture, and the growth of bacteria. Follow these steps to deodorize your machine and eliminate any lingering odors:
- Create a deodorizing solution: Mix 1/2 cup of white vinegar with 1/2 cup of baking soda in a small bowl or container. The combination of vinegar and baking soda helps neutralize odors and remove any remaining residue.
- Add the solution to the machine: Pour the deodorizing solution directly into the drum of the washing machine. Make sure to distribute it evenly to reach all areas where odors may be present.
- Run a hot water cycle: Start a hot water cycle using the longest and hottest setting available. This will help activate the vinegar and baking soda solution and break down any odor-causing substances.
- Pause the cycle and soak: Once the machine is filled with water, pause the cycle and let the vinegar and baking soda solution soak in the drum for about 30 minutes to an hour. This allows time for the solution to penetrate and deodorize the interior.
- Resume and complete the cycle: After the soaking time, resume the cycle and let it complete. This will allow the machine to rinse away any remaining residue, leaving the drum fresh and odor-free.
- Air dry the drum: After the cycle finishes, leave the washing machine door open to allow the drum to air dry completely. This helps prevent any moisture buildup that can lead to future odors.
Deodorizing your washing machine on a regular basis helps keep it smelling fresh and clean. By using a simple mixture of vinegar and baking soda, you can eliminate odors and maintain a pleasant laundry experience. With the machine deodorized, it’s time to move on to the final step: maintaining a clean washing machine!
Step 6: Maintaining a Clean Washing Machine
Maintaining a clean washing machine is essential to ensure its longevity and optimal performance. By following these maintenance tips, you can prevent the buildup of dirt, grime, and odors, and keep your machine running smoothly:
- Leave the door open: After each use, leave the washing machine door open to allow moisture to evaporate. This helps prevent the growth of mold and mildew.
- Wipe down the drum and door seal: Regularly wipe down the drum and rubber door seal with a damp cloth to remove any residue or lint. This prevents the accumulation of dirt and helps maintain a clean machine.
- Use the right amount of detergent: Follow the manufacturer’s instructions and use the recommended amount of detergent for your specific machine and load size. Using too much detergent can lead to excess residue buildup.
- Use high-quality detergent: Opt for high-quality, low-sudsing detergents that are specifically designed for use in high-efficiency washing machines. These detergents help prevent residue and buildup in the drum and dispenser.
- Remove wet clothes promptly: As soon as the washing cycle is complete, remove the wet clothes promptly. Leaving them in the machine for an extended period can create a damp environment that promotes mold growth and unpleasant odors.
- Clean the detergent dispenser regularly: Follow the steps outlined earlier to remove and clean the detergent dispenser on a regular basis. This prevents clogs and ensures proper detergent distribution.
- Check and clean the filter regularly: Refer to the manufacturer’s instructions and check the filter at least once a month. Remove any debris or lint that may have accumulated to maintain efficient water flow.
- Run a monthly cleaning cycle: Once a month, run a cleaning cycle with hot water and a washing machine cleaner. This helps remove any buildup, disinfects the drum, and keeps the machine smelling fresh.
By incorporating these maintenance habits into your laundry routine, you can keep your washing machine clean, fresh, and working efficiently for years to come. Regular maintenance not only ensures the longevity of your machine but also guarantees clean and hygienic laundry every time.
With these six steps completed, you have successfully cleaned your washing machine from the inside out, ensuring fresh and hygienic clothes and linens. By maintaining regular cleaning and following the maintenance tips, you can enjoy a clean and efficient washing machine for many years ahead.
Happy washing!
Conclusion
Cleaning your washing machine is not just about maintaining its appearance; it is crucial for ensuring fresh, hygienic clothes, and prolonging the life of your appliance. By following the step-by-step guide outlined in this article, you can effectively clean your washing machine from the inside out.
We started by emphasizing the importance of cleaning your washing machine, highlighting how it eliminates odors, removes dirt and grime, prevents mold and mildew, improves cleaning results, and prolongs the machine’s lifespan. We then provided a list of materials needed for the cleaning process, including white vinegar, baking soda, a microfiber cloth, and a toothbrush or small brush.
The step-by-step process involved cleaning the drum, removing and cleaning the detergent dispenser, cleaning the filter, wiping down the exterior, deodorizing the machine, and lastly, maintaining a clean washing machine. Each step was explained in detail to ensure a thorough cleaning process.
By dedicating some time and effort to clean your washing machine regularly, you can enjoy fresh and clean laundry while extending the life of your appliance. Don’t forget to follow the maintenance tips to prevent future buildup and maintain optimal performance.
So, grab your cleaning supplies, put on your gloves, and give your washing machine the care it deserves. Your clothes will thank you for it!
Frequently Asked Questions about How To Clean A Washing Machine For Fresh Clothes And Linens
Was this page helpful?
At Storables.com, we guarantee accurate and reliable information. Our content, validated by Expert Board Contributors, is crafted following stringent Editorial Policies. We're committed to providing you with well-researched, expert-backed insights for all your informational needs.


0 thoughts on “How To Clean A Washing Machine For Fresh Clothes And Linens”