
Articles
How To Clean Grease Off Toaster Oven
Modified: September 1, 2024
Discover effective techniques for removing grease from your toaster oven with these expertly written articles. Keep your appliance clean and functioning optimally.
(Many of the links in this article redirect to a specific reviewed product. Your purchase of these products through affiliate links helps to generate commission for Storables.com, at no extra cost. Learn more)
Introduction
Having a toaster oven in your kitchen can be a game-changer when it comes to quick and convenient cooking. From toasting bread to heating up leftovers, toaster ovens provide a versatile way to prepare delicious meals. However, frequent use can lead to a build-up of grease and food residue, making it important to regularly clean your toaster oven to ensure optimal performance and longevity.
In this article, we will guide you through the process of cleaning grease off your toaster oven. By following these simple steps, you can restore your toaster oven to its pristine condition and keep it functioning at its best for years to come.
Before we jump into the cleaning process, let’s gather the supplies you’ll need:
Key Takeaways:
- Regularly cleaning your toaster oven with simple supplies like mild dish soap, vinegar, and baking soda can keep it in top condition for years to come, ensuring safe and efficient cooking.
- Prevent future grease build-up by wiping down after each use, cleaning spills promptly, and avoiding excessive use of greasy or oily foods. Deep clean periodically to maintain a clean and grease-free toaster oven.
Read more: How To Clean Grease Off Patio Pavers
Supplies Needed
- Mild dish soap
- Warm water
- Sponge or soft cloth
- Baking soda
- Vinegar
- Toothbrush or small cleaning brush
- Microfiber cloth
With these supplies handy, you’re ready to tackle the grease and grime on your toaster oven. Let’s get started!
Key Takeaways:
- Regularly cleaning your toaster oven with simple supplies like mild dish soap, vinegar, and baking soda can keep it in top condition for years to come, ensuring safe and efficient cooking.
- Prevent future grease build-up by wiping down after each use, cleaning spills promptly, and avoiding excessive use of greasy or oily foods. Deep clean periodically to maintain a clean and grease-free toaster oven.
Read more: How To Clean Grease Off Patio Pavers
Supplies Needed
Before diving into the process of cleaning grease off your toaster oven, it’s important to gather all the necessary supplies. Here’s what you’ll need:
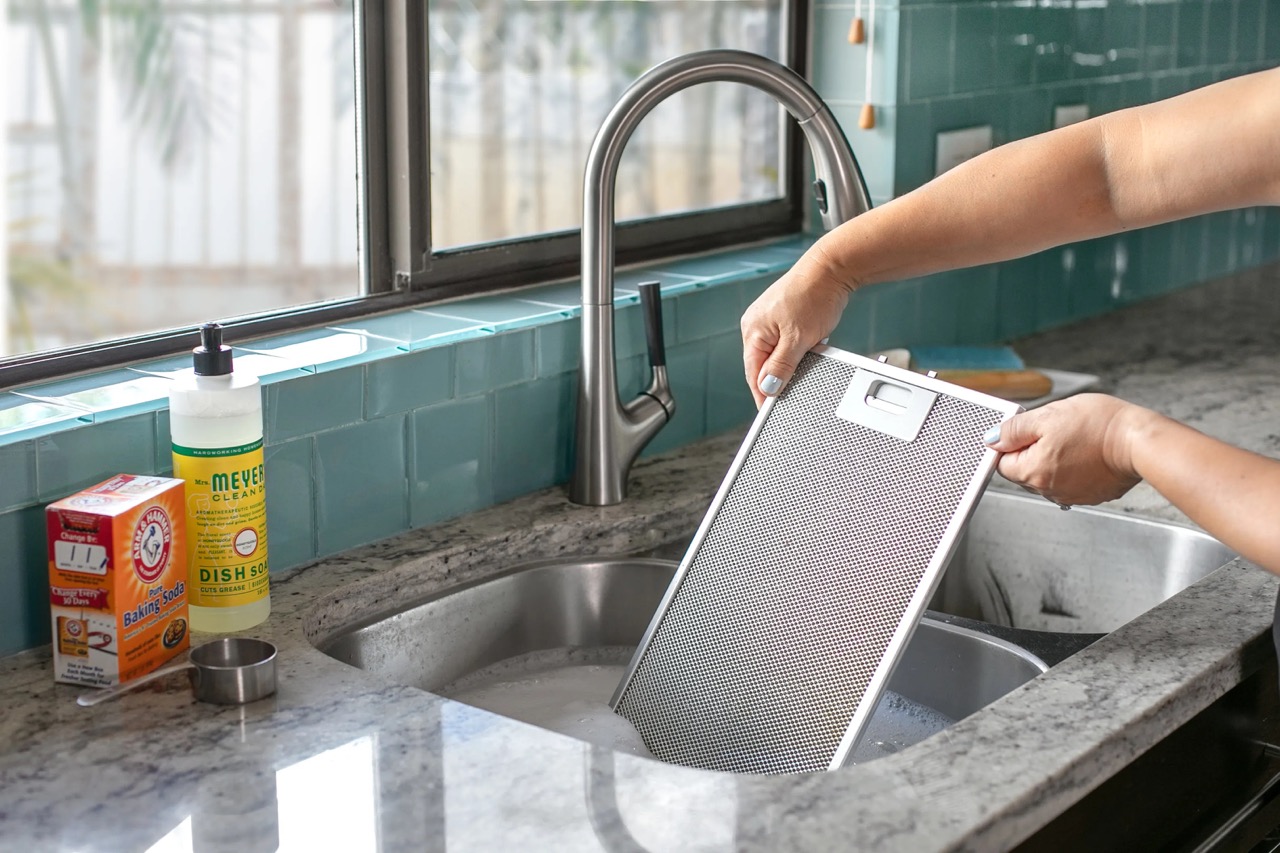
- Mild dish soap: Opt for a gentle dish soap that won’t leave behind any residue or overpowering scent.
- Warm water: You’ll need warm water to create a cleaning solution and to rinse off the surfaces of the toaster oven.
- Sponge or soft cloth: Choose a non-abrasive sponge or soft cloth to avoid scratching the surfaces. This will allow you to effectively clean without causing any damage.
- Baking soda: Baking soda is a versatile household cleaner that can help to remove stubborn grease stains. Its gentle abrasive properties make it ideal for tackling greasy buildup.
- Vinegar: Vinegar is another effective natural cleaner that can cut through grease and disinfect the surfaces. Its acidic properties help to break down the grease and leave your toaster oven sparkling clean.
- Toothbrush or small cleaning brush: A toothbrush or small cleaning brush will come in handy for reaching tight corners and crevices, ensuring thorough cleaning.
- Microfiber cloth: Finish off the cleaning process by using a microfiber cloth to dry and polish the surfaces of your toaster oven. Microfiber cloths are lint-free and perfect for achieving a streak-free shine.
Having these supplies readily available will make the cleaning process more efficient and effective. Now that you have everything you need, let’s move on to the step-by-step instructions for cleaning grease off your toaster oven.
Step 1: Unplug the Toaster Oven
Before you begin cleaning your toaster oven, always make sure it is unplugged from the power source. This is a crucial safety precaution to prevent any accidental burns or electrical shocks while handling the appliance.
Once you have confirmed that the toaster oven is unplugged, find a clear and well-lit area to work in. A spacious countertop or table will provide you with enough space to clean the toaster oven comfortably.
Take a moment to inspect the toaster oven and identify any areas where grease and grime have accumulated. Common problem areas include the exterior surfaces, the interior walls, and the accessories.
Remember, safety is paramount when cleaning any appliance. So, always start by ensuring that the toaster oven is disconnected from the power source to avoid any accidents.
With the toaster oven safely unplugged and the cleaning area prepared, you’re ready to move on to the next step: removing the crumb tray.
Step 2: Remove the Crumb Tray
The crumb tray is a removable tray located at the bottom of the toaster oven that collects crumbs and food debris. Over time, grease and other residues can accumulate in this tray, making it an essential part to clean.
Start by locating the crumb tray in your toaster oven. It is usually positioned at the bottom, but the exact placement may vary depending on the model.
Gently slide out the crumb tray from the toaster oven. Be careful not to spill any crumbs or debris while removing it.
Once the crumb tray is removed, empty out the contents into a trash bag or garbage bin. Tap the tray against the inside of the trash bag to remove any stubborn crumbs or residue.
Now, give the crumb tray a thorough cleaning. Fill your sink with warm water and add a few drops of mild dish soap. Place the crumb tray in the soapy water and let it soak for a few minutes. Use a sponge or cloth to scrub away any grease or stuck-on particles.
Rinse the crumb tray under warm running water to remove any soap residue. If necessary, use an old toothbrush or a small cleaning brush to reach into the corners and crevices of the tray.
Wipe the crumb tray dry with a clean cloth or allow it to air dry completely before reinserting it back into the toaster oven.
With the crumb tray clean and ready, you can now proceed to the next step: wiping down the exterior of the toaster oven.
Read more: How To Clean The Glass On A Toaster Oven
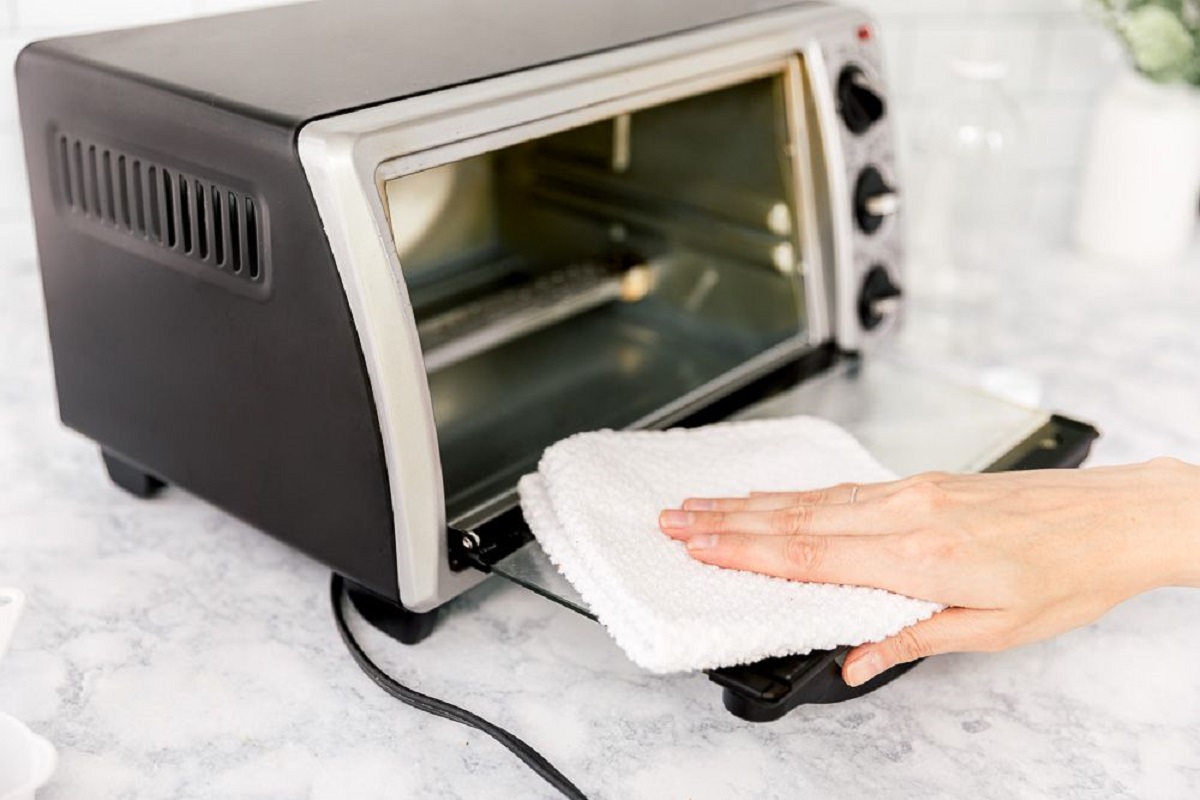
Step 3: Wipe Down the Exterior
Now that you have removed the crumb tray, it’s time to focus on cleaning the exterior surfaces of your toaster oven.
Start by dampening a soft cloth or sponge with warm water. Add a small amount of mild dish soap to create a gentle cleaning solution.
Gently wipe down the exterior surfaces of the toaster oven, including the top, sides, and control panel. Pay special attention to areas with visible grease or stains.
If you encounter stubborn grease or grime, sprinkle a small amount of baking soda onto the damp cloth or sponge. Baking soda acts as a natural abrasive and can help break down tough grease stains.
Continue wiping the exterior surfaces in a circular motion until the grease and grime are removed. Rinse the cloth or sponge as needed and repeat the process until the surfaces are clean.
For any stubborn spots or residue, dip an old toothbrush or a small cleaning brush into the soapy water and scrub gently. Be cautious not to scrub too aggressively, as this may damage the finish of the toaster oven.
Once you have removed all the grease and grime, rinse the cloth or sponge thoroughly and wipe down the exterior surfaces again to remove any soap residue.
Dry the exterior of the toaster oven with a clean, dry cloth. Ensure that all surfaces are dry to prevent any water spots or streaks from forming.
With the exterior of your toaster oven looking clean and shiny, it’s time to move on to the next step: cleaning the interior.
To clean grease off a toaster oven, mix baking soda with water to form a paste. Apply the paste to the greasy areas and let it sit for 15-20 minutes. Then, scrub with a sponge or brush and wipe clean with a damp cloth.
Step 4: Clean the Interior
Now that you have cleaned the exterior of your toaster oven, it’s time to shift your focus to the interior surfaces. This step is crucial since it is where most of the grease and food residue tend to accumulate.
Start by preparing a cleaning solution using warm water and a few drops of mild dish soap. This will be used to clean the interior walls, racks, and other removable parts.
Dampen a sponge or cloth with the cleaning solution and gently wipe the interior walls of the toaster oven. Pay close attention to areas with visible grease or stains.
If you come across stubborn grease or residue, you can create a paste using baking soda and a small amount of water. Apply the paste to the affected areas and let it sit for a few minutes to help break down the grease.
Once the paste has had a chance to work, scrub the interior walls with a sponge or cloth. Use gentle circular motions to avoid scratching the surfaces of the toaster oven.
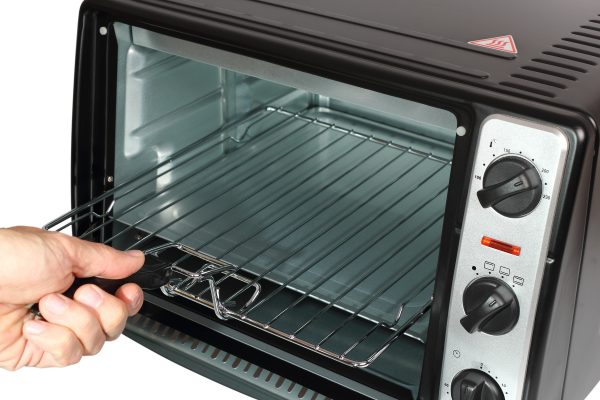
For removable parts such as the oven racks or baking trays, take them to the sink and clean them separately. Use the same cleaning solution and a sponge to scrub away any grease or food residue. Rinse them thoroughly with warm water and dry them completely before placing them back into the toaster oven.
After cleaning the interior surfaces, rinse out the sponge or cloth and go over the interior once more to remove any leftover soap residue.
Finally, take a clean, dry cloth and wipe down the interior walls and any other surfaces to ensure they are completely dry. This step is essential to prevent any moisture from accumulating, which could lead to unpleasant odors or potential damage to the toaster oven.
Now that the interior of your toaster oven is clean and fresh, it’s time to move on to the next step: cleaning the toaster oven accessories.
Step 5: Clean the Toaster Oven Accessories
To ensure a thorough cleaning of your toaster oven, it’s important to pay attention to the accessories that come with it. These can include baking racks, baking pans, or any other removable parts that may have come in contact with grease or food residue.
Start by removing all the accessories from your toaster oven. Place them in the sink and fill it with warm water and a few drops of mild dish soap to create a cleaning solution.
Use a sponge or cloth to clean the accessories, making sure to scrub away any grease or residue. Pay attention to any corners or crevices where debris may have accumulated.
If you come across stubborn stains or stuck-on food, you can sprinkle baking soda onto the sponge or directly onto the accessories. The abrasive nature of baking soda will help to break down the stains and make them easier to remove.
Rinse the accessories under warm running water to remove any soap or baking soda residue. Inspect each piece carefully to ensure they are completely clean before proceeding.
If necessary, use an old toothbrush or a small cleaning brush to reach into any tight spots or difficult-to-reach areas of the accessories.
Once you have finished cleaning the accessories, dry them thoroughly with a clean towel or allow them to air dry completely. Make sure there is no moisture left on the accessories before returning them to the toaster oven.
With the toaster oven accessories now clean and dry, you’re ready to move on to the next step: reassembling the toaster oven.
Step 6: Reassemble the Toaster Oven
Now that you have thoroughly cleaned all the individual components of your toaster oven, it’s time to reassemble it and get it ready for future use.
Start by carefully placing the clean crumb tray back into its designated slot at the bottom of the toaster oven. Make sure it fits securely and is positioned correctly.
Next, insert the oven racks or baking trays back into their respective slots. Ensure they are properly aligned and positioned. Double-check that everything is secure and in place.
If there are any other removable parts, such as a pizza stone or rotisserie rod, make sure to clean and reattach them as well, following the manufacturer’s instructions.
Once all the components are back in place, take a moment to inspect the toaster oven to ensure everything is properly reassembled.
Plug the toaster oven back into the power source, and turn it on briefly to make sure it is functioning correctly. Check that all the controls and settings are working as expected.
With the toaster oven reassembled and in working order, you’re almost done! However, there’s one more important step to take to help prevent future grease build-up.
Move on to the final step: preventing future grease build-up in your toaster oven.
Read more: How To Clean Burn Marks Off Toaster
Step 7: Prevent Future Grease Build-up
Now that you have put in the effort to clean your toaster oven, it’s important to take steps to prevent future grease build-up and keep your appliance looking and performing at its best. Here are some tips to help you maintain a clean and grease-free toaster oven:
- Wipe down after each use: After each use, take a damp cloth or sponge and wipe down the interior and exterior surfaces of the toaster oven. This will help remove any grease or food residue before it has a chance to build up.
- Clean spills promptly: If any spills or drips occur while cooking, clean them up as soon as possible. This will prevent them from hardening and becoming difficult to remove later.
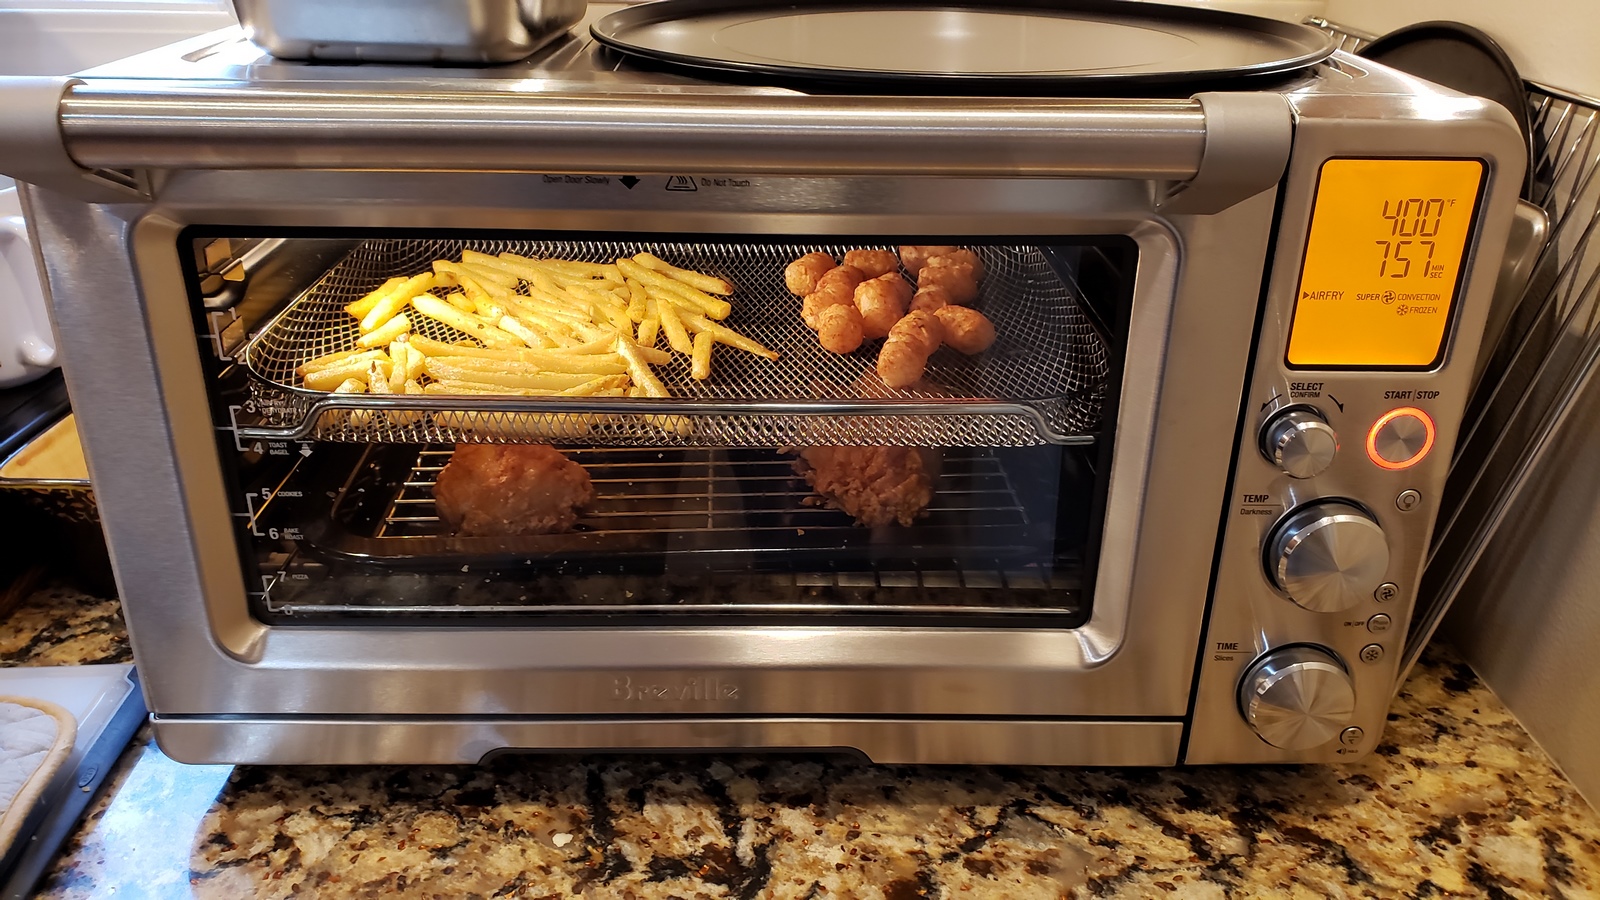
- Avoid greasy or oily foods: While it may be tempting to cook greasy or oily foods in the toaster oven, try to minimize their use. These types of foods tend to generate more grease, which can lead to build-up over time.
- Use protective liners or foil: Consider using various types of protective liners or aluminum foil on the baking trays or racks to catch any drips or spills. This will make clean-up easier and help prevent direct contact between grease and the oven surfaces.
- Regularly clean the crumb tray: Make it a habit to remove and clean the crumb tray regularly. This will prevent the accumulation of crumbs and food debris, which can turn into grease over time.
- Deep clean periodically: While regular wipe-downs are essential, it’s also a good idea to deep clean your toaster oven periodically. Aim to do a thorough cleaning every few months or as needed, especially if you notice any significant grease build-up or lingering odors.
By following these preventative measures, you can help maintain a clean and grease-free toaster oven, ensuring it continues to perform optimally and provides delicious meals for years to come.
Congratulations! You have successfully learned how to clean grease off your toaster oven and prevent future build-up. With your toaster oven clean and well-maintained, you can now enjoy using it without any worries of grease or residue affecting your meals.
Remember, a clean toaster oven not only improves its appearance but also ensures safe and efficient cooking. Happy cooking!
Conclusion
Cleaning grease off a toaster oven is an essential task to maintain its performance and prolong its lifespan. By following the step-by-step guide outlined in this article, you can effectively remove grease and keep your toaster oven clean and in top condition.
Start by gathering the necessary supplies, including mild dish soap, warm water, sponge or cloth, baking soda, vinegar, toothbrush or small cleaning brush, and a microfiber cloth. These tools will help you tackle the grease and grime on both the exterior and interior surfaces of your toaster oven.
Remember to always unplug the toaster oven before starting the cleaning process, and take precautions to ensure your safety. Remove the crumb tray and clean it thoroughly with warm soapy water. Wipe down the exterior surfaces using a gentle cleaning solution, paying extra attention to areas with visible grease or stains.
Move on to cleaning the interior walls and any removable parts such as oven racks or baking trays. Use a mild soap solution or baking soda paste to remove stubborn grease, and rinse everything thoroughly to remove any residue.
After cleaning, reassemble the toaster oven, making sure all the parts are properly positioned and secured. Plug it back in and double-check that it is functioning correctly before moving on to the final step. To prevent future grease build-up, make it a habit to wipe down the toaster oven after each use, clean spills promptly, and avoid cooking greasy or oily foods excessively.
Regularly cleaning the crumb tray and deep cleaning the toaster oven periodically will also help maintain its cleanliness and performance. By following these preventative measures, your toaster oven will remain in great shape, providing delicious meals without any grease-related issues.
Taking the time to clean and maintain your toaster oven is a small investment that pays off with improved cooking results and a longer lifespan for your appliance. So, roll up your sleeves, gather your supplies, and give your toaster oven the attention it deserves. Enjoy the benefits of a clean and grease-free toaster oven for years to come!
Frequently Asked Questions about How To Clean Grease Off Toaster Oven
Was this page helpful?
At Storables.com, we guarantee accurate and reliable information. Our content, validated by Expert Board Contributors, is crafted following stringent Editorial Policies. We're committed to providing you with well-researched, expert-backed insights for all your informational needs.

0 thoughts on “How To Clean Grease Off Toaster Oven”