Home>Storage Ideas>Kitchen Storage>How To Clean A Toaster: Keep Yours Pristine And Safe To Use
Kitchen Storage
How To Clean A Toaster: Keep Yours Pristine And Safe To Use
Modified: August 25, 2024
Discover effective kitchen storage ideas to keep your toaster clean and safe for daily use. Learn how to maintain its pristine condition effortlessly.
(Many of the links in this article redirect to a specific reviewed product. Your purchase of these products through affiliate links helps to generate commission for Storables.com, at no extra cost. Learn more)
Introduction
Keeping your toaster clean is not only important for maintaining its pristine appearance, but it also ensures that it operates safely and efficiently. Over time, crumbs, grease, and other debris can accumulate both on the interior and exterior of the toaster, affecting its performance and even posing a fire hazard. Regular cleaning not only extends the lifespan of your toaster, but it also helps in producing evenly toasted bread slices.
In this article, we will guide you through a step-by-step process on how to clean a toaster and keep it in top shape. With just a few simple tools and some regular maintenance, you can enjoy a clean and safe toaster that will consistently deliver perfectly toasted bread.
Before we begin, it’s important to note that safety is paramount, and therefore, always make sure that your toaster is unplugged and completely cool before starting the cleaning process. Now, let’s dive in!
Key Takeaways:
- Regularly cleaning your toaster not only maintains its appearance but also ensures safe and efficient operation, extending its lifespan and producing perfectly toasted bread slices.
- Unplugging, cooling down, removing crumbs, cleaning the exterior and interior, and testing the toaster are essential steps to keep it in top shape and ready for use.
Read more: How To Clean a Toaster Oven Safely at Home
Step 1: Unplug and Cool Down
The first step in cleaning your toaster is to ensure that it is not connected to any power source. Unplug the toaster from the electrical outlet to avoid any risk of electric shock while cleaning. It is important to give your toaster enough time to cool down completely before proceeding with the cleaning process. This will prevent any burns or injuries.
Allow the toaster to cool down for at least 30 minutes. This will give enough time for the internal components to cool down and be safe to handle. Do not attempt to clean a hot toaster, as this can cause damage to the appliance and put you at risk of burns.
While waiting for the toaster to cool down, gather your cleaning supplies. You will need a soft brush or toothbrush, mild dish soap, warm water, a lint-free cloth, and a small vacuum cleaner or handheld brush for removing crumbs.
Once the toaster is completely cool, move on to the next step to remove any crumbs and debris that may be inside the appliance.
Step 2: Remove Crumbs and Debris
Now that your toaster is unplugged and cooled down, it’s time to remove any crumbs and debris that may have accumulated inside. Crumbs not only affect the performance of your toaster but can also be a fire hazard if left unattended.
Start by holding your toaster over a trash bin or sink, with the open side facing downwards. Gently shake the toaster to dislodge any loose crumbs. You can also tap the sides of the toaster to encourage the crumbs to fall out.
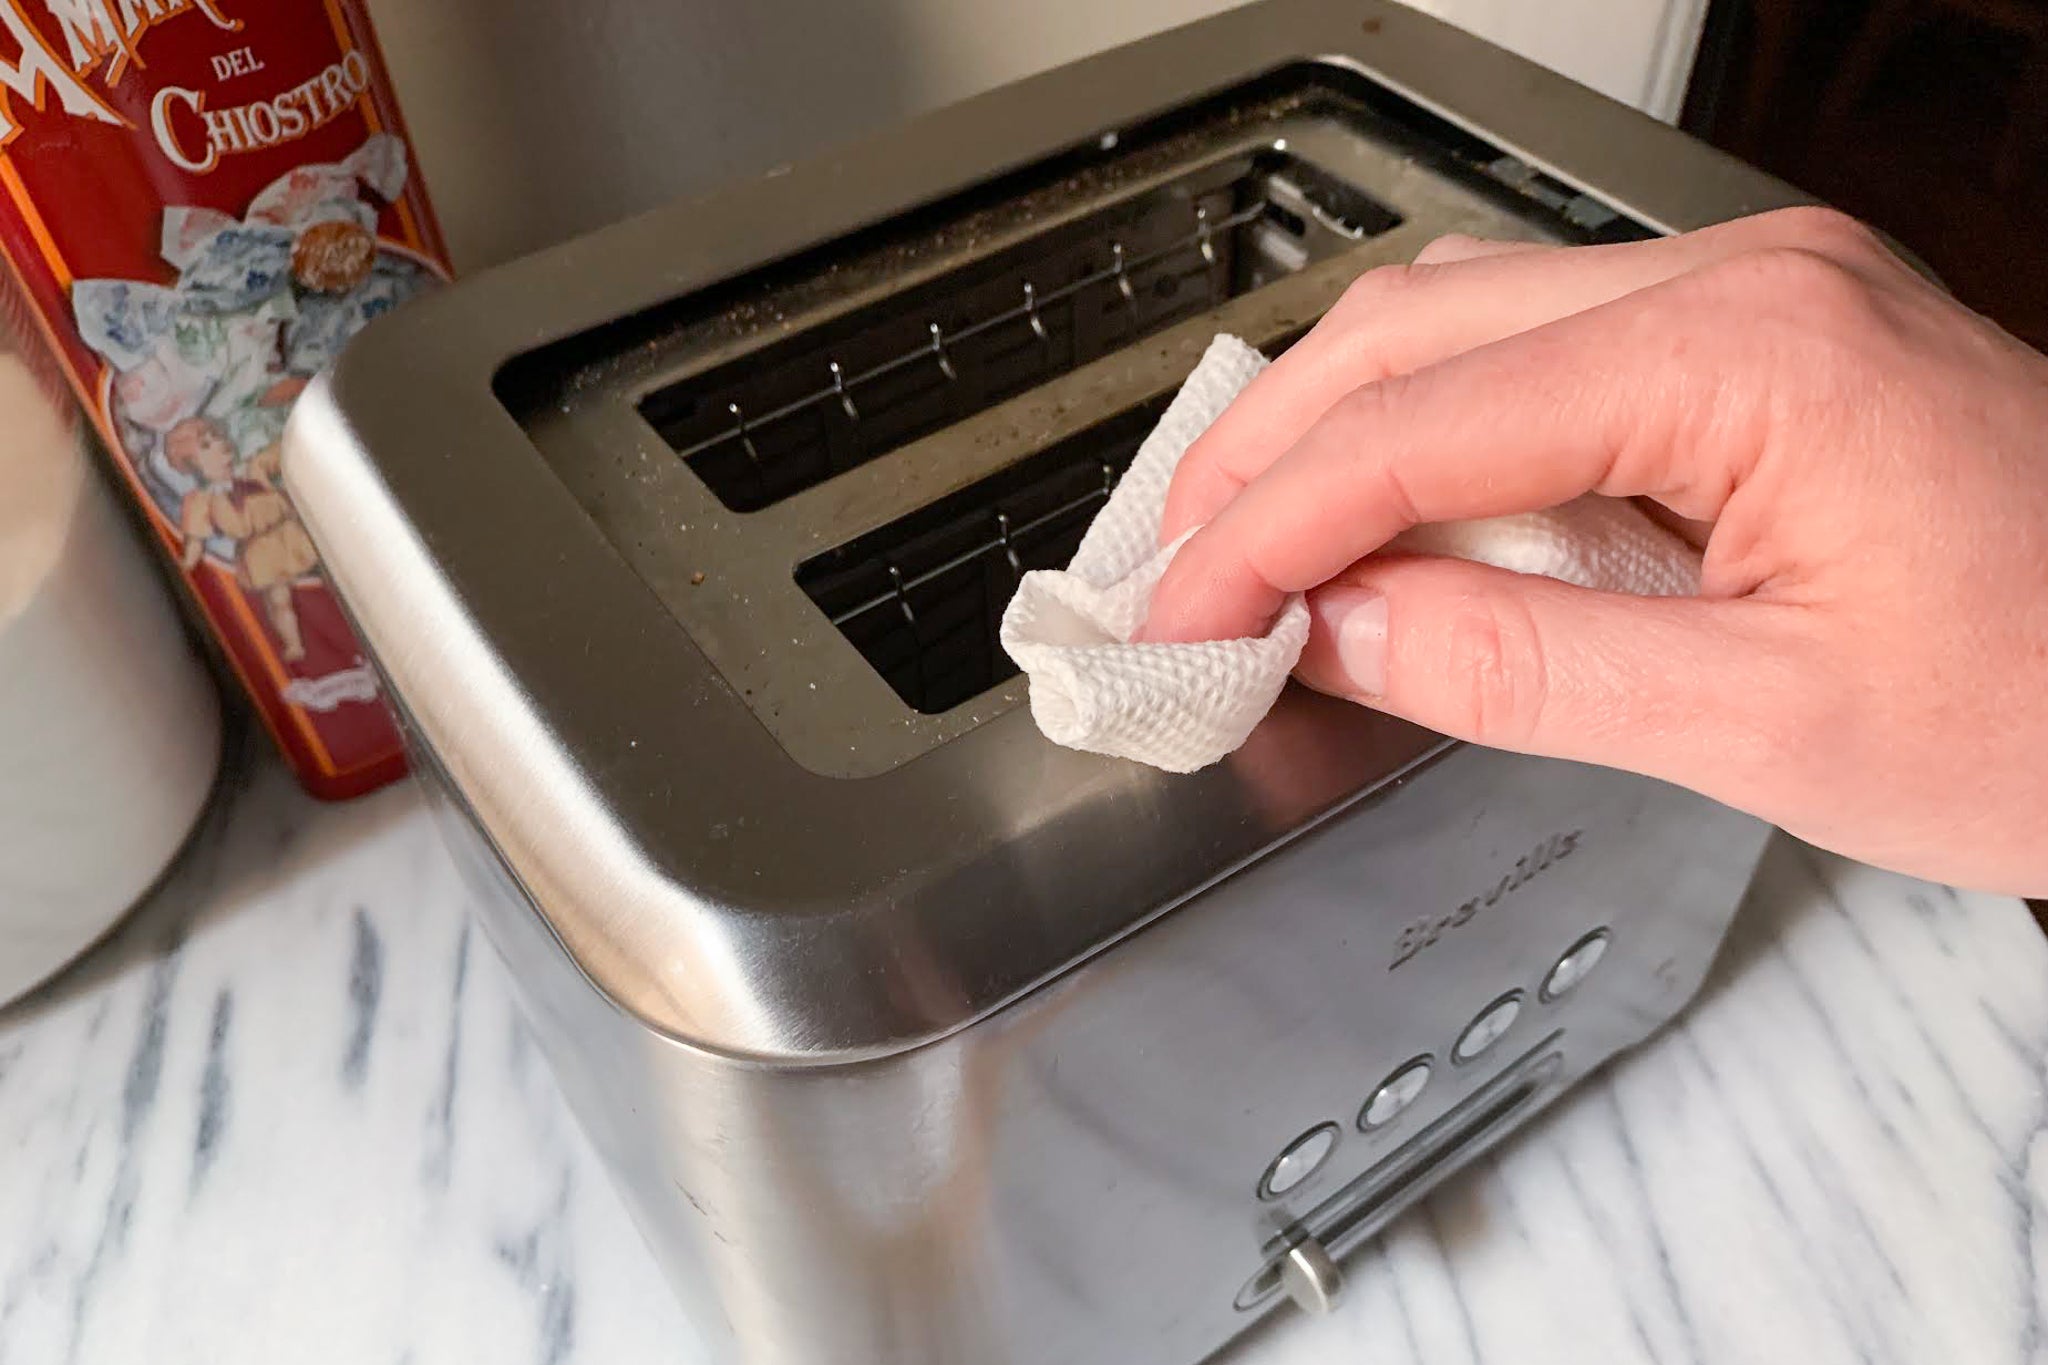
Next, use a small vacuum cleaner or a handheld brush to remove any remaining crumbs. Make sure to reach into all the corners and crevices of the toaster to thoroughly remove any debris. Pay special attention to the slots where the bread goes, as these areas tend to accumulate the most crumbs.
If you don’t have a vacuum cleaner or handheld brush, you can use a soft brush or toothbrush to carefully brush out the crumbs. Be gentle to avoid damaging the heating elements or other internal parts.
Once you have removed all the visible crumbs, move on to the next step to clean the exterior of your toaster.
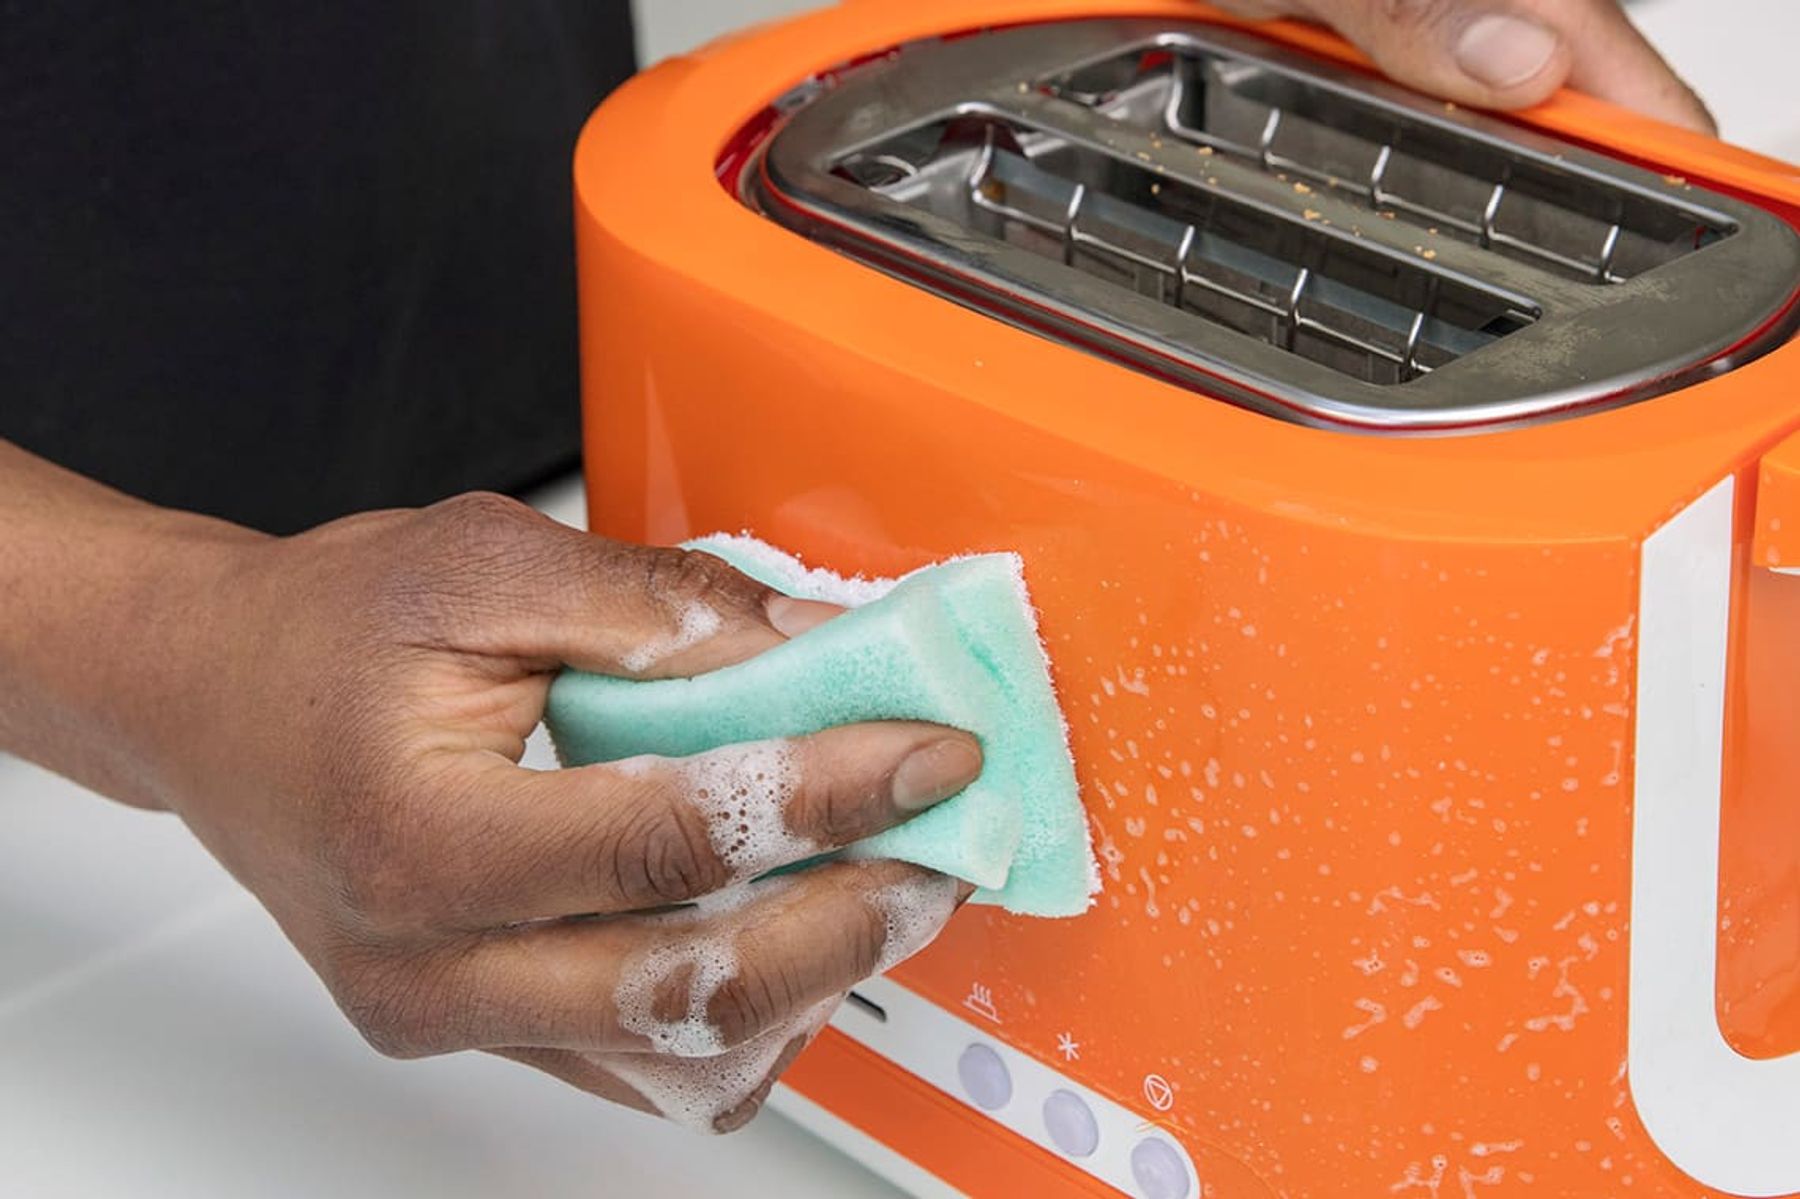
Step 3: Clean the Exterior
With the crumbs and debris removed from the inside of your toaster, it’s time to focus on cleaning the exterior surfaces. Over time, the exterior of your toaster can accumulate grease, fingerprints, and other stains. Cleaning the exterior not only improves the appearance of your toaster but also helps maintain its overall cleanliness.
To start, create a mild cleaning solution by mixing a few drops of mild dish soap with warm water in a bowl or sink. Make sure the water is not too hot to avoid damaging any plastic or painted surfaces on your toaster.
Dip a lint-free cloth or sponge into the soapy water and wring out the excess moisture. Gently wipe down the entire exterior of the toaster, paying attention to any areas that may have accumulated more dirt or grease, such as the control knobs or the handle.
If you encounter stubborn stains or grease buildup, you can try using a non-abrasive kitchen cleaner specifically formulated for appliances. Apply the cleaner to a soft cloth or sponge and gently scrub the affected areas. Be sure to follow the instructions on the cleaner and test it on a small, inconspicuous area first to ensure compatibility with the toaster’s material.
After cleaning the exterior, rinse the cloth or sponge and wipe down the entire surface of the toaster with clean water to remove any remaining soap residue. Finally, use a dry lint-free cloth to thoroughly dry the exterior surfaces of the toaster.
With the exterior of the toaster sparkling clean, let’s move on to the next step and tackle the interior.
Unplug the toaster and remove the crumb tray. Use a soft brush to clean out any crumbs. Wipe down the exterior with a damp cloth and a mild cleaner. Never submerge the toaster in water.
Step 4: Clean the Interior
Now that the exterior of your toaster is clean and shiny, it’s time to focus on the interior. Over time, crumbs, food particles, and grease can build up inside the toaster, affecting its performance and even posing a fire hazard. Cleaning the interior of your toaster ensures that it operates efficiently and safely.
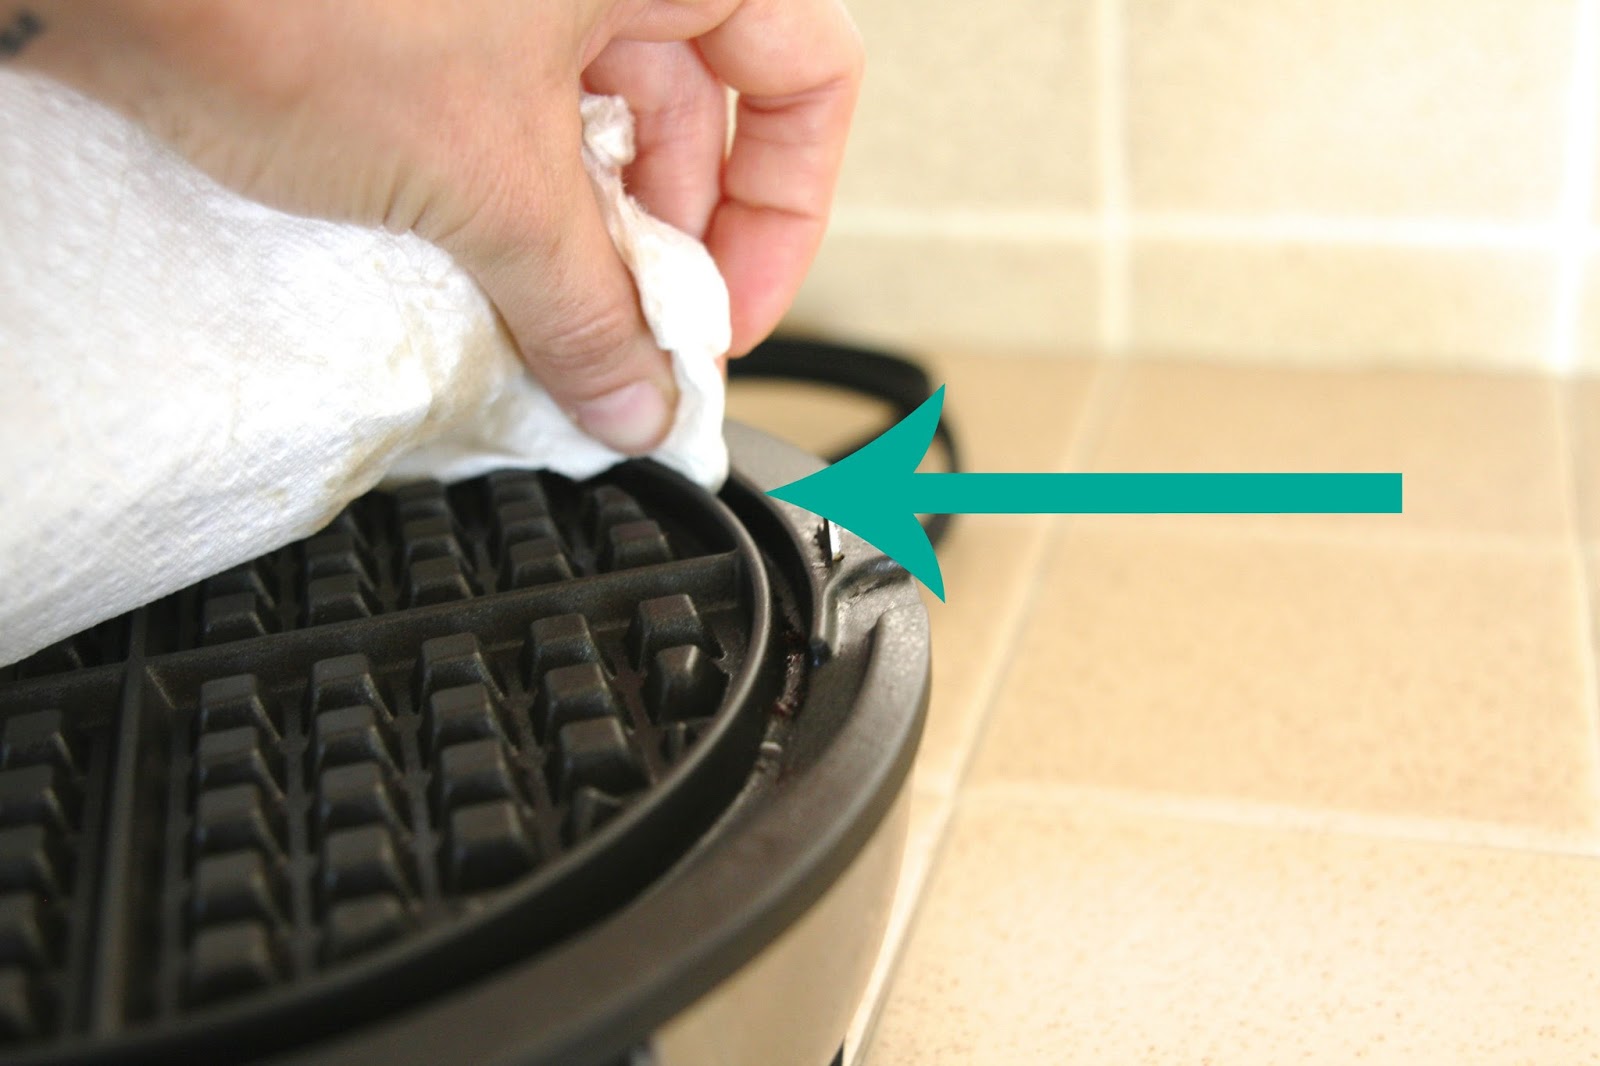
Start by dampening a clean cloth or sponge with warm water, ensuring it is not dripping wet. Gently wipe the inside of the toaster, being careful not to apply excessive pressure or get any moisture near the heating elements. If necessary, you can use a soft brush or toothbrush to reach into the corners and crevices of the interior.
For stubborn grime or grease, you can make a paste by mixing baking soda with a little water to form a thick consistency. Apply the paste to a soft cloth or toothbrush and gently scrub the interior of the toaster. Avoid scrubbing too vigorously to prevent any damage to the heating elements or other internal components.
After cleaning, dampen a clean cloth with clean water and wipe down the interior once again to remove any residue from the baking soda or cleaning solution. Make sure the cloth is not too wet to avoid getting moisture near the electrical components.
Once the interior is clean, use a dry cloth or towel to thoroughly dry the inside of the toaster. It is essential to ensure that no moisture remains inside the toaster before plugging it back in and resuming normal use.
With the interior now clean, it’s time to move on to the next step and clean the crumb tray.
Step 5: Clean the Crumb Tray
The crumb tray of your toaster collects all the crumbs and debris that fall during the toasting process. Regularly cleaning the crumb tray helps prevent buildup and keeps your toaster functioning optimally. Follow these steps to clean the crumb tray:
- Locate the crumb tray: Most toasters have a removable crumb tray located at the bottom. It is usually accessible either by sliding it out or by opening a small door.
- Remove the crumb tray: Carefully slide out the crumb tray or open the door to access it. Be cautious as the tray may contain loose crumbs.
- Dispose of the crumbs: Hold the crumb tray over a trash bin and empty the accumulated crumbs into it. Shake the tray gently or use a soft brush to remove any stubborn crumbs stuck to the tray’s surface.
- Clean the crumb tray: Wash the crumb tray with warm soapy water, using a gentle sponge or cloth to remove any remaining crumbs or residue. Make sure to thoroughly clean both the inside and outside of the tray.
- Rinse and dry: Rinse the crumb tray with clean water to remove any soap residue. Dry it completely using a towel or allow it to air dry before placing it back into the toaster.
- Reinsert the crumb tray: Once the crumb tray is dry, carefully slide it back into the toaster or close the door to secure it in place. Ensure that it is properly aligned and positioned.
Regularly cleaning the crumb tray helps prevent crumbs from accumulating inside the toaster and improves its overall performance. It also reduces the risk of fire hazards and allows for better toasting results.
Now that the crumb tray is clean and back in place, let’s proceed to the final step to ensure everything is working correctly.
Step 6: Reassemble and Test
After cleaning the interior, exterior, and crumb tray of your toaster, it’s time to reassemble the parts and test the appliance to ensure everything is functioning properly. Follow these steps to reassemble and test your toaster:
- Make sure all the parts are dry: Before reassembling the toaster, ensure that all the cleaned parts, including the interior, exterior, and crumb tray, are completely dry. Moisture can damage the toaster or pose an electrical hazard when plugged in.
- Insert the crumb tray: Slide the crumb tray back into its designated place at the bottom of the toaster. Ensure that it is securely in place.
- Reposition the toaster: Place the toaster on a stable and level surface, away from any flammable materials or wall obstructions.
- Plug in the toaster: Connect the toaster to a grounded electrical outlet. Ensure that the cord is securely plugged in.
- Test the toaster: Set the toaster to the desired toasting level and press down the lever to initiate the toasting process. Observe the toaster as it operates to ensure that it’s functioning correctly. Check if the heating elements are evenly heating and that the toast ejects properly when done.
- Re-adjust settings if necessary: If you notice any issues with the toasting process, such as uneven browning or insufficient heat, you may need to adjust the settings or consult the toaster’s user manual for troubleshooting guidance.
- Enjoy your clean and functional toaster: Congratulations! Your toaster is now clean and ready to use. Enjoy delicious and evenly toasted bread slices whenever you desire.
Regularly cleaning your toaster and performing these steps helps to maintain the appliance in optimal condition, ensuring safe and efficient operation.
Before concluding, let’s summarize what we’ve covered in this comprehensive guide.
Conclusion
Cleaning your toaster is essential for maintaining its appearance, performance, and safety. Regular maintenance not only extends the lifespan of your appliance but also ensures that it consistently produces perfectly toasted bread slices. By following these step-by-step instructions, you can easily clean your toaster and keep it in top shape.
Remember to start by unplugging and allowing your toaster to cool down completely. Remove any crumbs and debris from the interior using a vacuum cleaner, brush, or cloth. Clean the exterior surfaces using a mild dish soap solution or a non-abrasive kitchen cleaner. Take care to avoid excessive moisture near the heating elements.
Next, clean the interior of the toaster using a damp cloth or sponge, and for stubborn grime, use a paste made from baking soda and water. Dry the interior thoroughly to ensure no moisture remains. Additionally, clean the crumb tray by removing it, disposing of the crumbs, washing it with soapy water, and drying it completely.
Finally, reassemble the toaster and test it to ensure that it operates correctly. Make any necessary adjustments to the settings, and once satisfied, you can enjoy your clean and functional toaster whenever you want a delicious slice of toast.
Remember to schedule regular cleaning sessions for your toaster to prevent buildup and maintain its performance over time. A clean toaster not only looks great in your kitchen but also ensures safe and efficient operation.
We hope that this guide has been helpful in guiding you through the process of cleaning your toaster. With these tips, you’ll be able to keep your toaster in pristine condition, ensuring many delicious breakfasts and snacks to come.
Frequently Asked Questions about How To Clean A Toaster: Keep Yours Pristine And Safe To Use
Was this page helpful?
At Storables.com, we guarantee accurate and reliable information. Our content, validated by Expert Board Contributors, is crafted following stringent Editorial Policies. We're committed to providing you with well-researched, expert-backed insights for all your informational needs.


0 thoughts on “How To Clean A Toaster: Keep Yours Pristine And Safe To Use”