Articles
How To Clean Kitchenaid Cooktop
Modified: October 29, 2024
Learn the best techniques to clean your Kitchenaid cooktop with these helpful articles. Keep your kitchen looking pristine and maintain the efficiency of your cooktop.
(Many of the links in this article redirect to a specific reviewed product. Your purchase of these products through affiliate links helps to generate commission for Storables.com, at no extra cost. Learn more)
Introduction
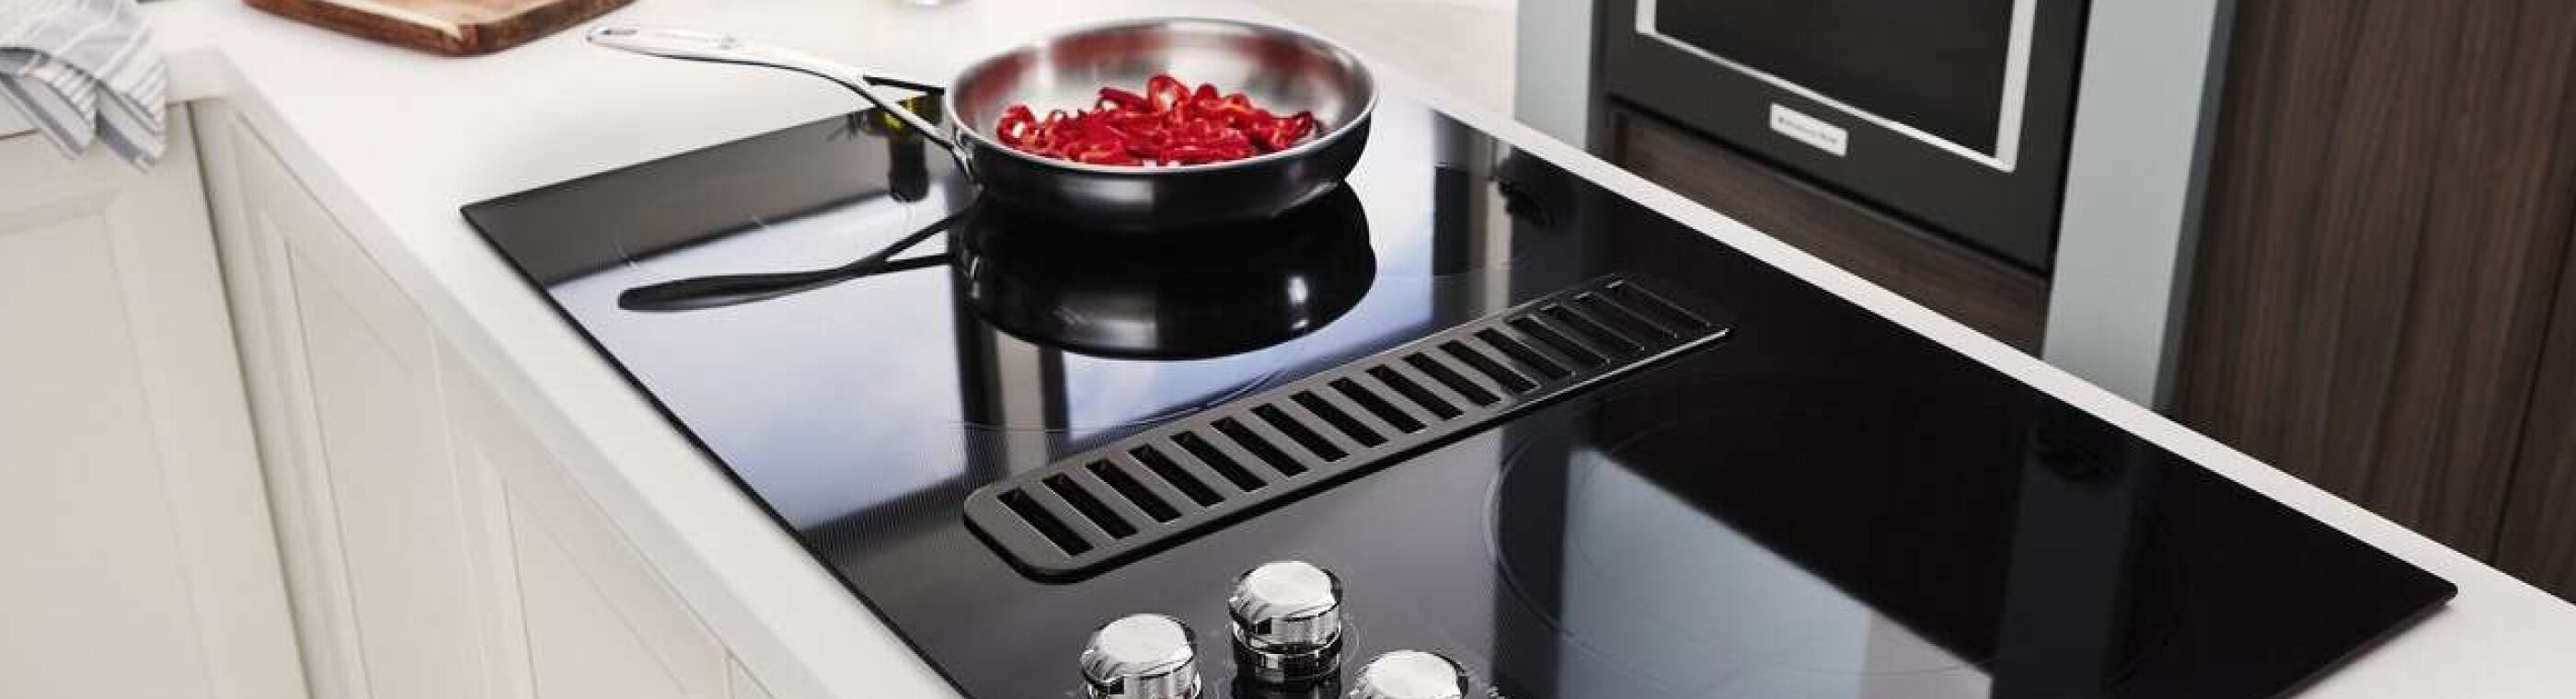
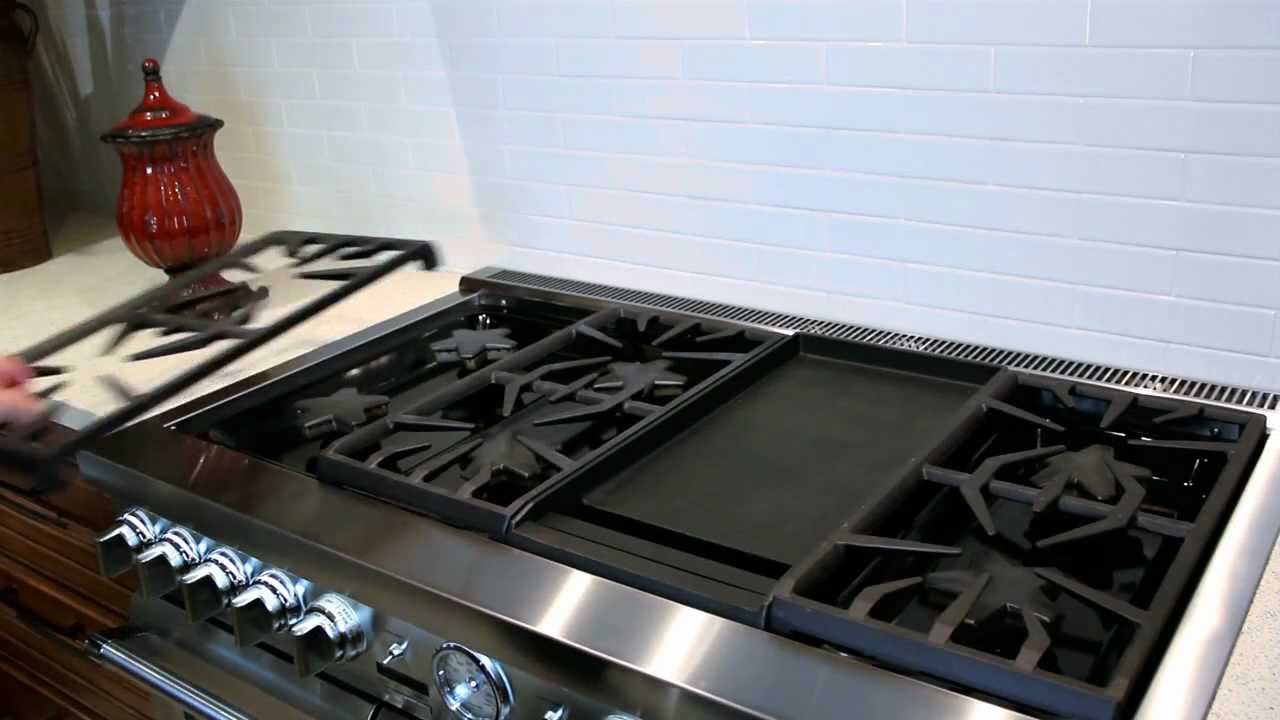
Having a clean and well-maintained kitchen is essential for a healthy and enjoyable cooking experience. The KitchenAid cooktop is a popular choice among homeowners for its sleek design and efficient performance. However, like any other kitchen appliance, it requires regular cleaning to keep it looking its best and functioning properly.
A clean cooktop not only enhances the overall aesthetics of your kitchen but also prevents dirt, grease, and food particles from building up, which can affect the efficiency and lifespan of the appliance. Cleaning your KitchenAid cooktop is a relatively simple process that can be done with a few basic supplies and some easy-to-follow steps.
In this article, we will guide you through a step-by-step process on how to clean your KitchenAid cooktop effectively. By following these instructions, you’ll be able to maintain a sparkling clean cooktop that not only looks great but also performs at its best. So, let’s get started!
Key Takeaways:
- Maintain a sparkling KitchenAid cooktop by gathering supplies, removing grates and burners, and cleaning with care. Regular maintenance ensures a visually appealing and efficient appliance for years to come.
- Turn off, cool down, and clean your KitchenAid cooktop with mild dish soap, warm water, and vinegar. Thoroughly clean grates, burners, and control knobs for a pristine and safe cooking experience.
Read more: How To Use Kitchenaid Induction Cooktop
Step 1: Gather the necessary supplies
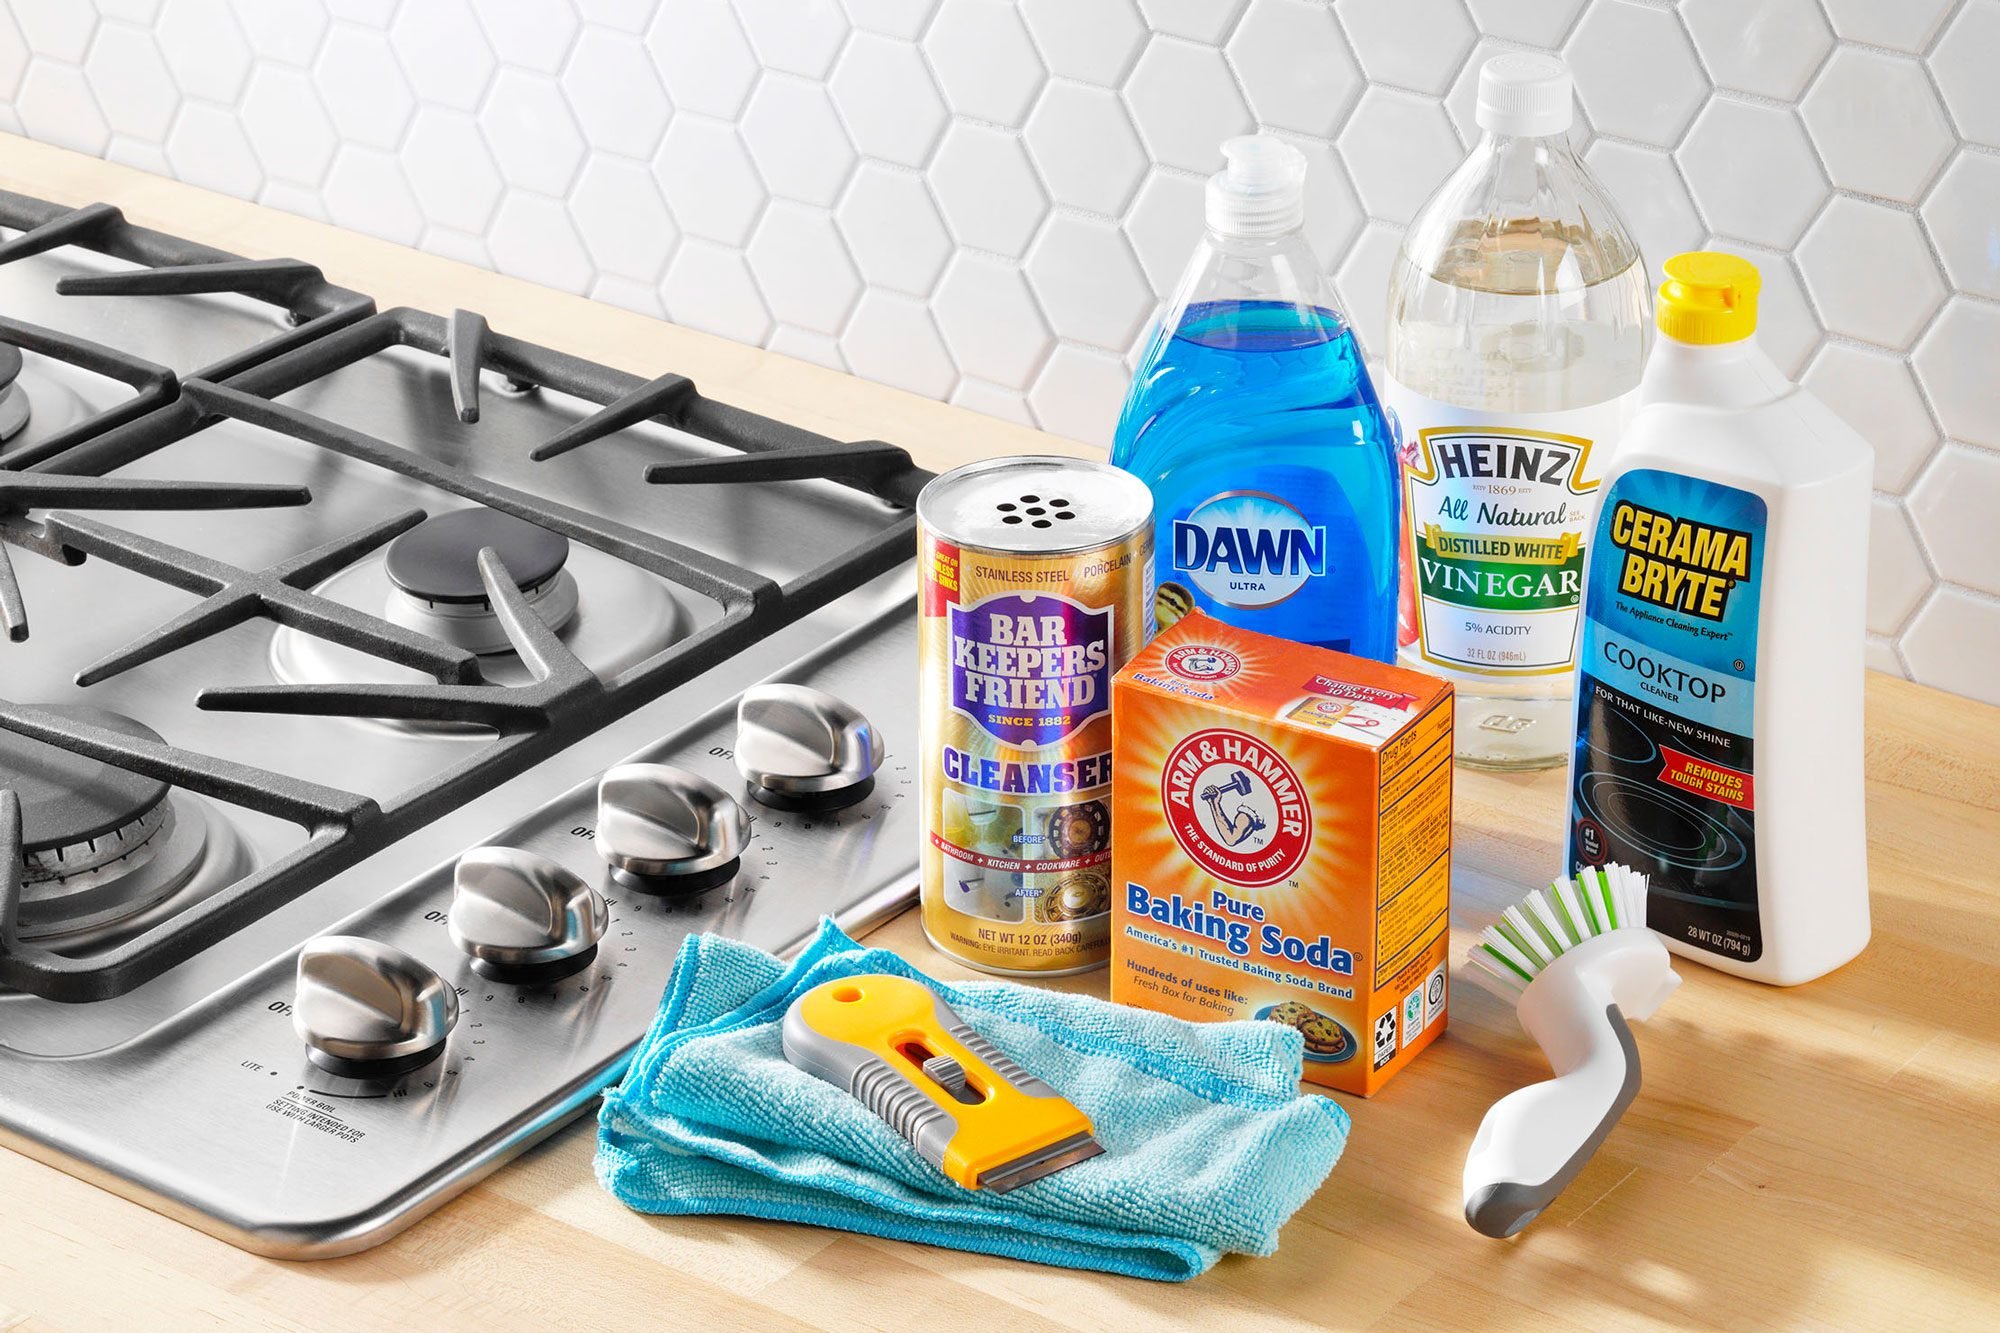
Before you begin cleaning your KitchenAid cooktop, it’s important to gather all the necessary supplies to ensure a thorough and efficient cleaning process. Here’s a list of the items you’ll need:
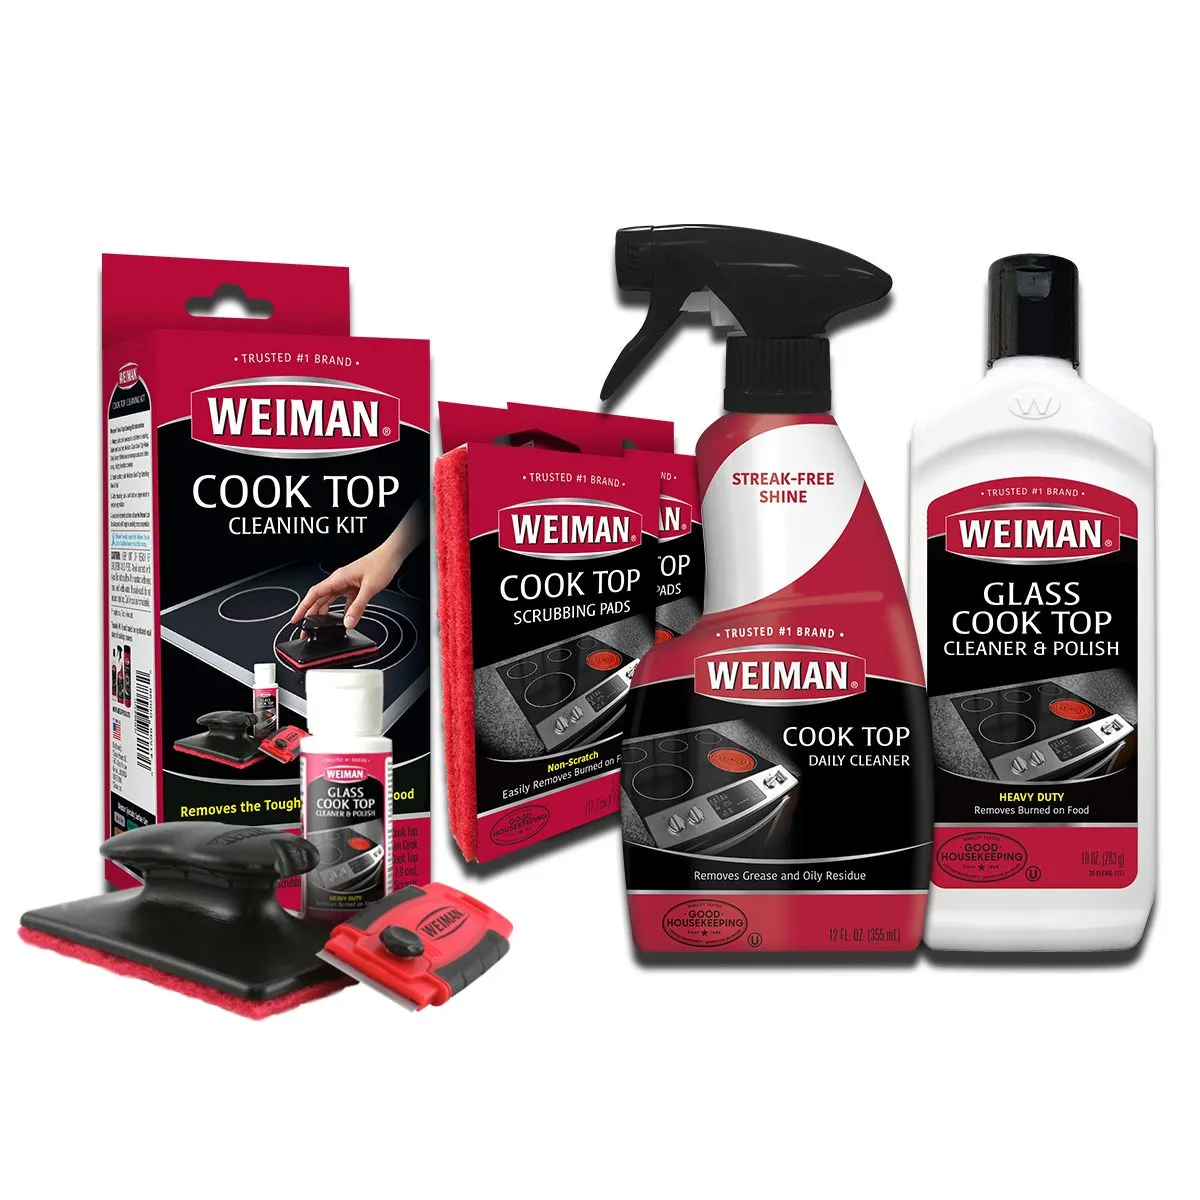
- Mild dish soap or cooktop cleaner
- Soft microfiber cloth or sponge
- Nylon scrub brush
- Paper towels or clean cloth
- Warm water
- Vinegar (optional)
Mild dish soap is a versatile cleaning agent that effectively cuts through grease and grime without damaging the surface of your cooktop. However, if you prefer using a specialized cooktop cleaner, make sure to choose one that is specifically designed for your KitchenAid cooktop model.
A soft microfiber cloth or sponge is ideal for gentle cleaning and won’t scratch the surface of your cooktop. Avoid using abrasive scrubbers or steel wool, as they can cause damage to the glass or ceramic surface.
A nylon scrub brush can come in handy for tackling stubborn stains or cooked-on food residue. Make sure to choose a brush with soft bristles to prevent scratching the surface.
Paper towels or a clean cloth are useful for wiping down surfaces and drying your cooktop after cleaning. Using a fresh cloth or paper towel ensures a streak-free finish.
Warm water is the main ingredient for diluting dish soap or cleaner and aids in loosening dirt and grime. If you’re dealing with tougher stains or mineral deposits, you can add a small amount of vinegar to the warm water solution. Vinegar is known for its natural cleaning properties and is safe to use on KitchenAid cooktops.
Once you’ve gathered all the necessary supplies, you’re ready to move on to the next step – turning off and cooling down the cooktop.
Step 2: Turn off and cool down the cooktop
Before you start cleaning your KitchenAid cooktop, it’s important to ensure that it is turned off and cooled down completely. This step is crucial for your safety and to avoid any accidents while cleaning.
To turn off the cooktop, locate the control panel and switch off all the burners. Make sure there is no heat or flame coming from the cooktop before proceeding further.
After turning off the cooktop, allow it to cool down for at least 30 minutes. This will prevent any burns or injuries that could occur from touching hot surfaces.
During the cooling down period, take the opportunity to remove any loose debris or food particles from the cooktop surface. Use a soft brush or a dry cloth to gently sweep away any crumbs or residue.
Once the cooktop has cooled down and you’ve cleared away any loose debris, you’re ready to move on to the next step – removing the grates and burners.
Note: If you have recently used your cooktop, it is recommended to wait until it has completely cooled down before starting the cleaning process. Cleaning a hot cooktop can cause the cleaning solution to evaporate quickly and make the cleaning process less effective.
With the cooktop turned off and cooled down, you can now proceed to the next step without any risk of burns or accidents. Let’s move on to removing the grates and burners for a thorough cleaning.
Step 3: Remove grates and burners
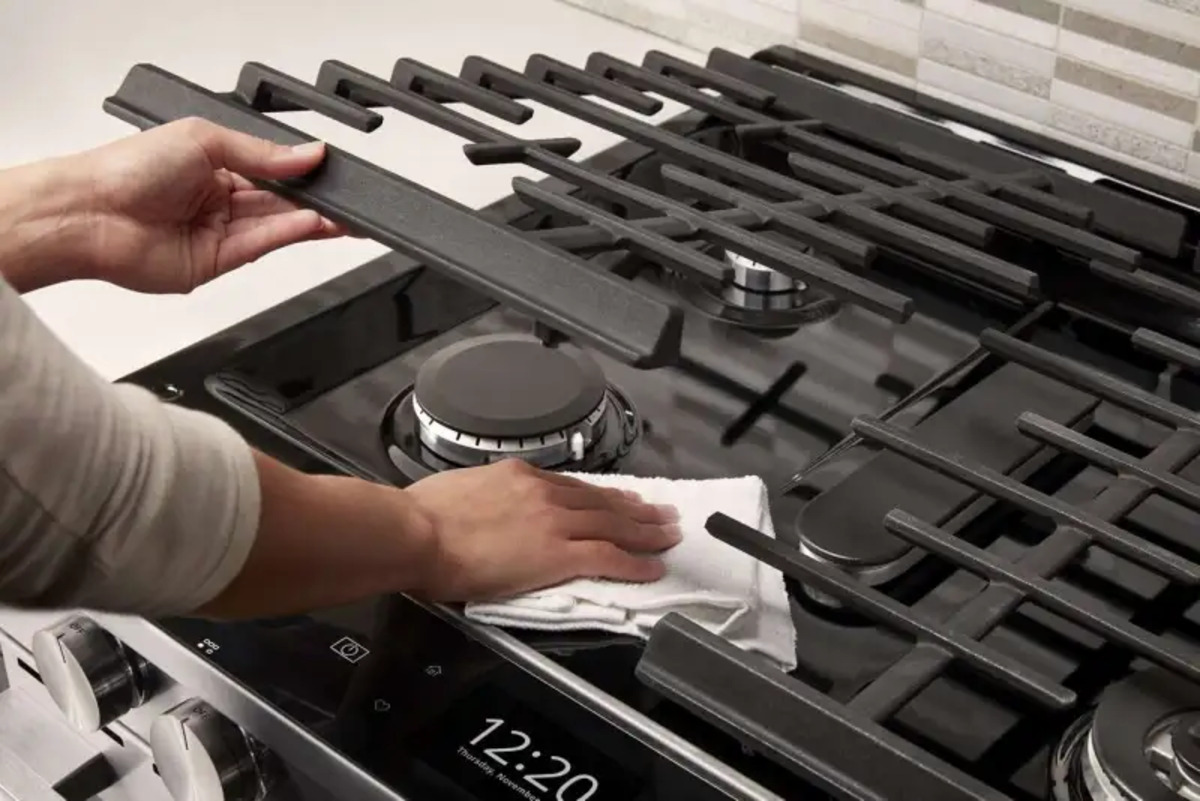
Now that the cooktop is turned off and cooled down, it’s time to remove the grates and burners. Removing these components will allow you to clean them more effectively and access the surface underneath.
To remove the grates, simply lift them off the cooktop. Depending on the model of your KitchenAid cooktop, the grates may be made of cast iron, porcelain-coated cast iron, or stainless steel. Be careful when handling the grates, as they may be heavy or hot.
Once the grates are removed, you can proceed to remove the burners. Each burner is usually connected to the cooktop with metal brackets or screws. Use a screwdriver or wrench to loosen the screws or brackets and gently lift the burners off the cooktop.
Set the grates and burners aside in a safe place where they won’t be accidentally knocked over or damaged.
With the grates and burners removed, you now have better access to the surface of the cooktop. This will make it easier to clean and ensure that no dirt or residue is left behind.
Before moving on to cleaning the cooktop surface, it’s a good idea to inspect the grates and burners for any caked-on food or stains. If necessary, you can scrub them with a nylon brush or soak them in warm water and dish soap for a few minutes to loosen the grime.
Now that the grates and burners are removed and inspected, let’s move on to the next step – cleaning the cooktop surface itself.
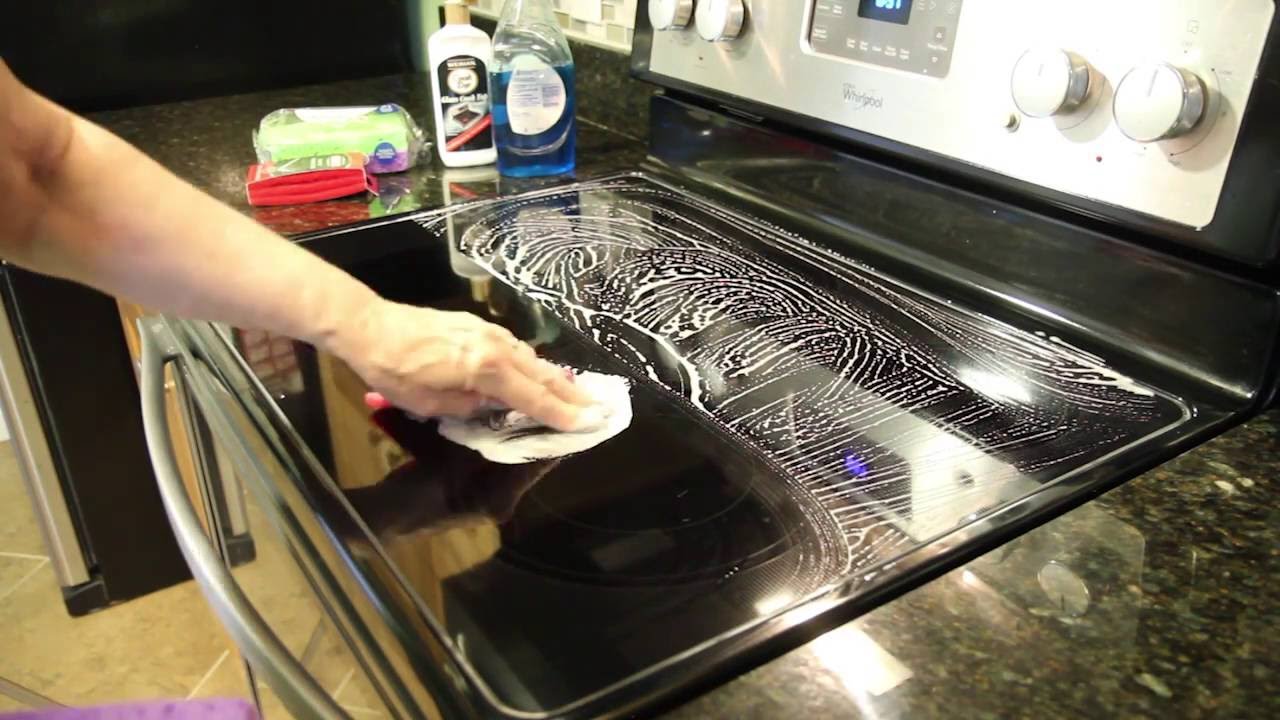
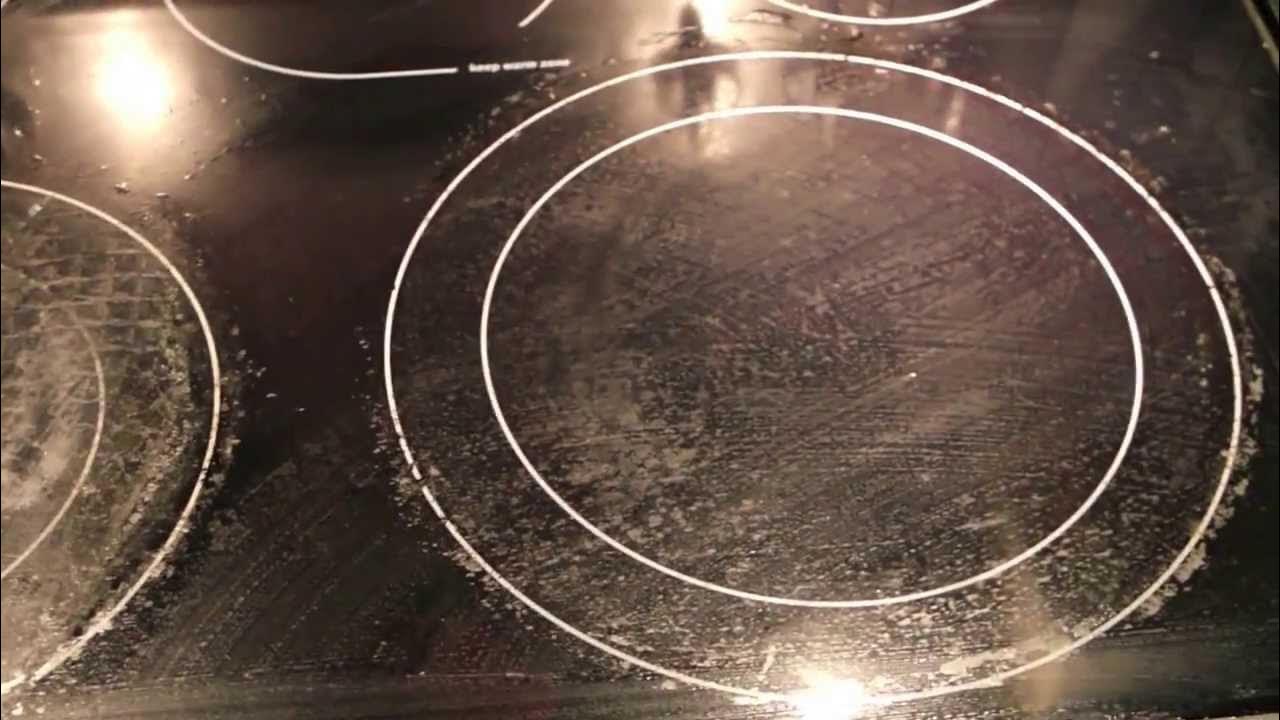
Step 4: Clean the cooktop surface
Now that the grates and burners have been removed, it’s time to focus on cleaning the surface of your KitchenAid cooktop. This step will help remove any spills, stains, or built-up grease that may be present on the cooktop surface.
Start by creating a cleaning solution using warm water and a mild dish soap or a specialized cooktop cleaner. Mix them together in a bowl or bucket until well combined.
Dampen a soft microfiber cloth or sponge with the cleaning solution. Make sure not to use excessive water, as you want to avoid any liquid seeping into the cooktop’s electrical components.
Gently scrub the cooktop surface in circular motions, focusing on areas with visible stains or residue. Take care to use gentle pressure and avoid scratching the surface. For stubborn stains, you can use a nylon scrub brush to gently loosen the grime.
If you’re dealing with dried-on spills or tough stains, you can let the cleaning solution sit on the surface for a few minutes to help loosen them. This will make it easier to wipe away the dirt.
Once you have scrubbed the entire cooktop surface, use a clean damp cloth or sponge to remove any soapy residue. Make sure to thoroughly rinse the cloth or sponge to ensure a streak-free finish.
If you’re dealing with mineral deposits or hard water stains, you can also try using a mixture of warm water and vinegar. Apply the vinegar solution to the affected areas and let it sit for a few minutes before wiping it clean.
Once the surface is clean and free of grime, use a dry cloth or paper towels to wipe away any excess moisture. This will help prevent streaks and ensure a shiny finish.
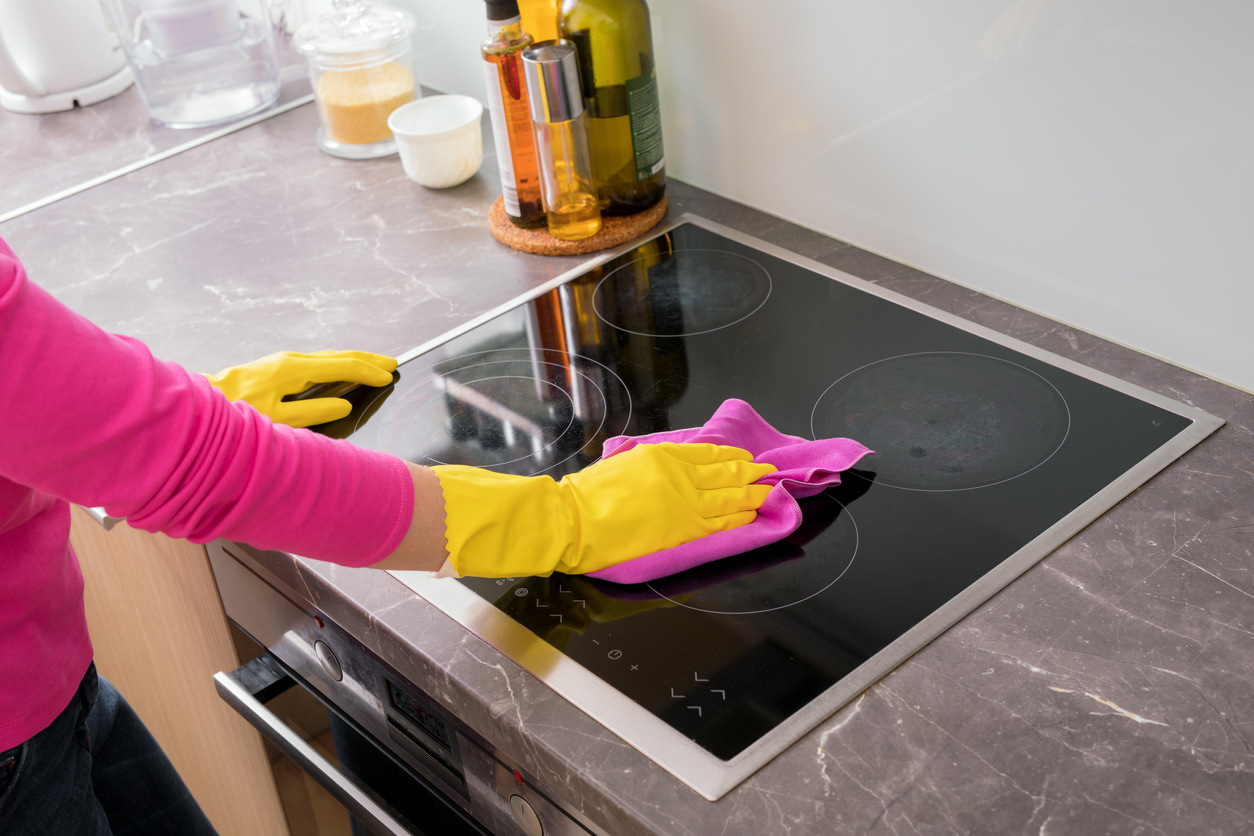
With the cooktop surface cleaned to perfection, it’s now time to move on to the next step – cleaning the grates and burners.
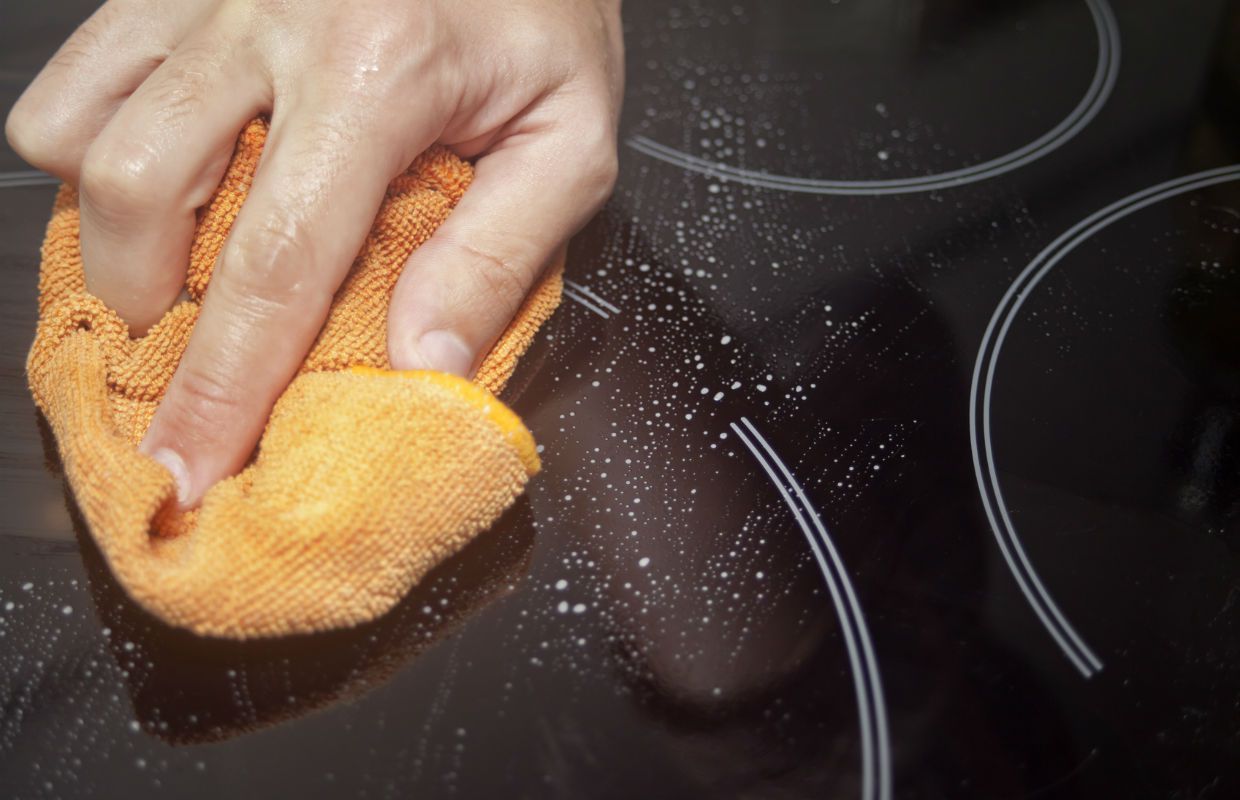
Use a non-abrasive cleaner and a soft cloth to clean your Kitchenaid cooktop. Avoid using harsh chemicals or abrasive sponges to prevent damage to the surface.
Read more: How To Clean Kitchenaid Mixer
Step 5: Clean the grates and burners
Now that the cooktop surface is sparkling clean, it’s time to turn your attention to the grates and burners that you set aside earlier. These components can accumulate grease, food residue, and stains over time, so giving them a thorough cleaning is essential for maintaining the performance and appearance of your KitchenAid cooktop.
Start by filling a sink or basin with warm water and adding a few drops of dish soap. Gently place the grates and burners into the soapy water, making sure they are fully submerged.
Allow the grates and burners to soak for about 15-30 minutes. This soaking time will help to loosen any stubborn grime and make the cleaning process easier.
After soaking, use a soft brush or sponge to scrub the grates and burners. Pay extra attention to areas with stuck-on food or grease. For tough stains, you can use a nylon scrub brush to help remove the grime.
Once you’ve thoroughly scrubbed the grates and burners, rinse them off with warm water to remove any soap residue. Inspect them to ensure that they are completely clean and free of any remaining dirt or stains.
If there are still stubborn stains or built-up grease on the grates and burners, you can create a paste by mixing baking soda and water. Apply the paste to the affected areas and let it sit for a few minutes. Then, scrub the grates and burners again before rinsing them off.
After cleaning, dry the grates and burners using a clean cloth or paper towels. Make sure they are completely dry before reassembling them onto the cooktop.
With the grates and burners now cleaned and dried, it’s time to move on to the next step – cleaning the control knobs and dials.
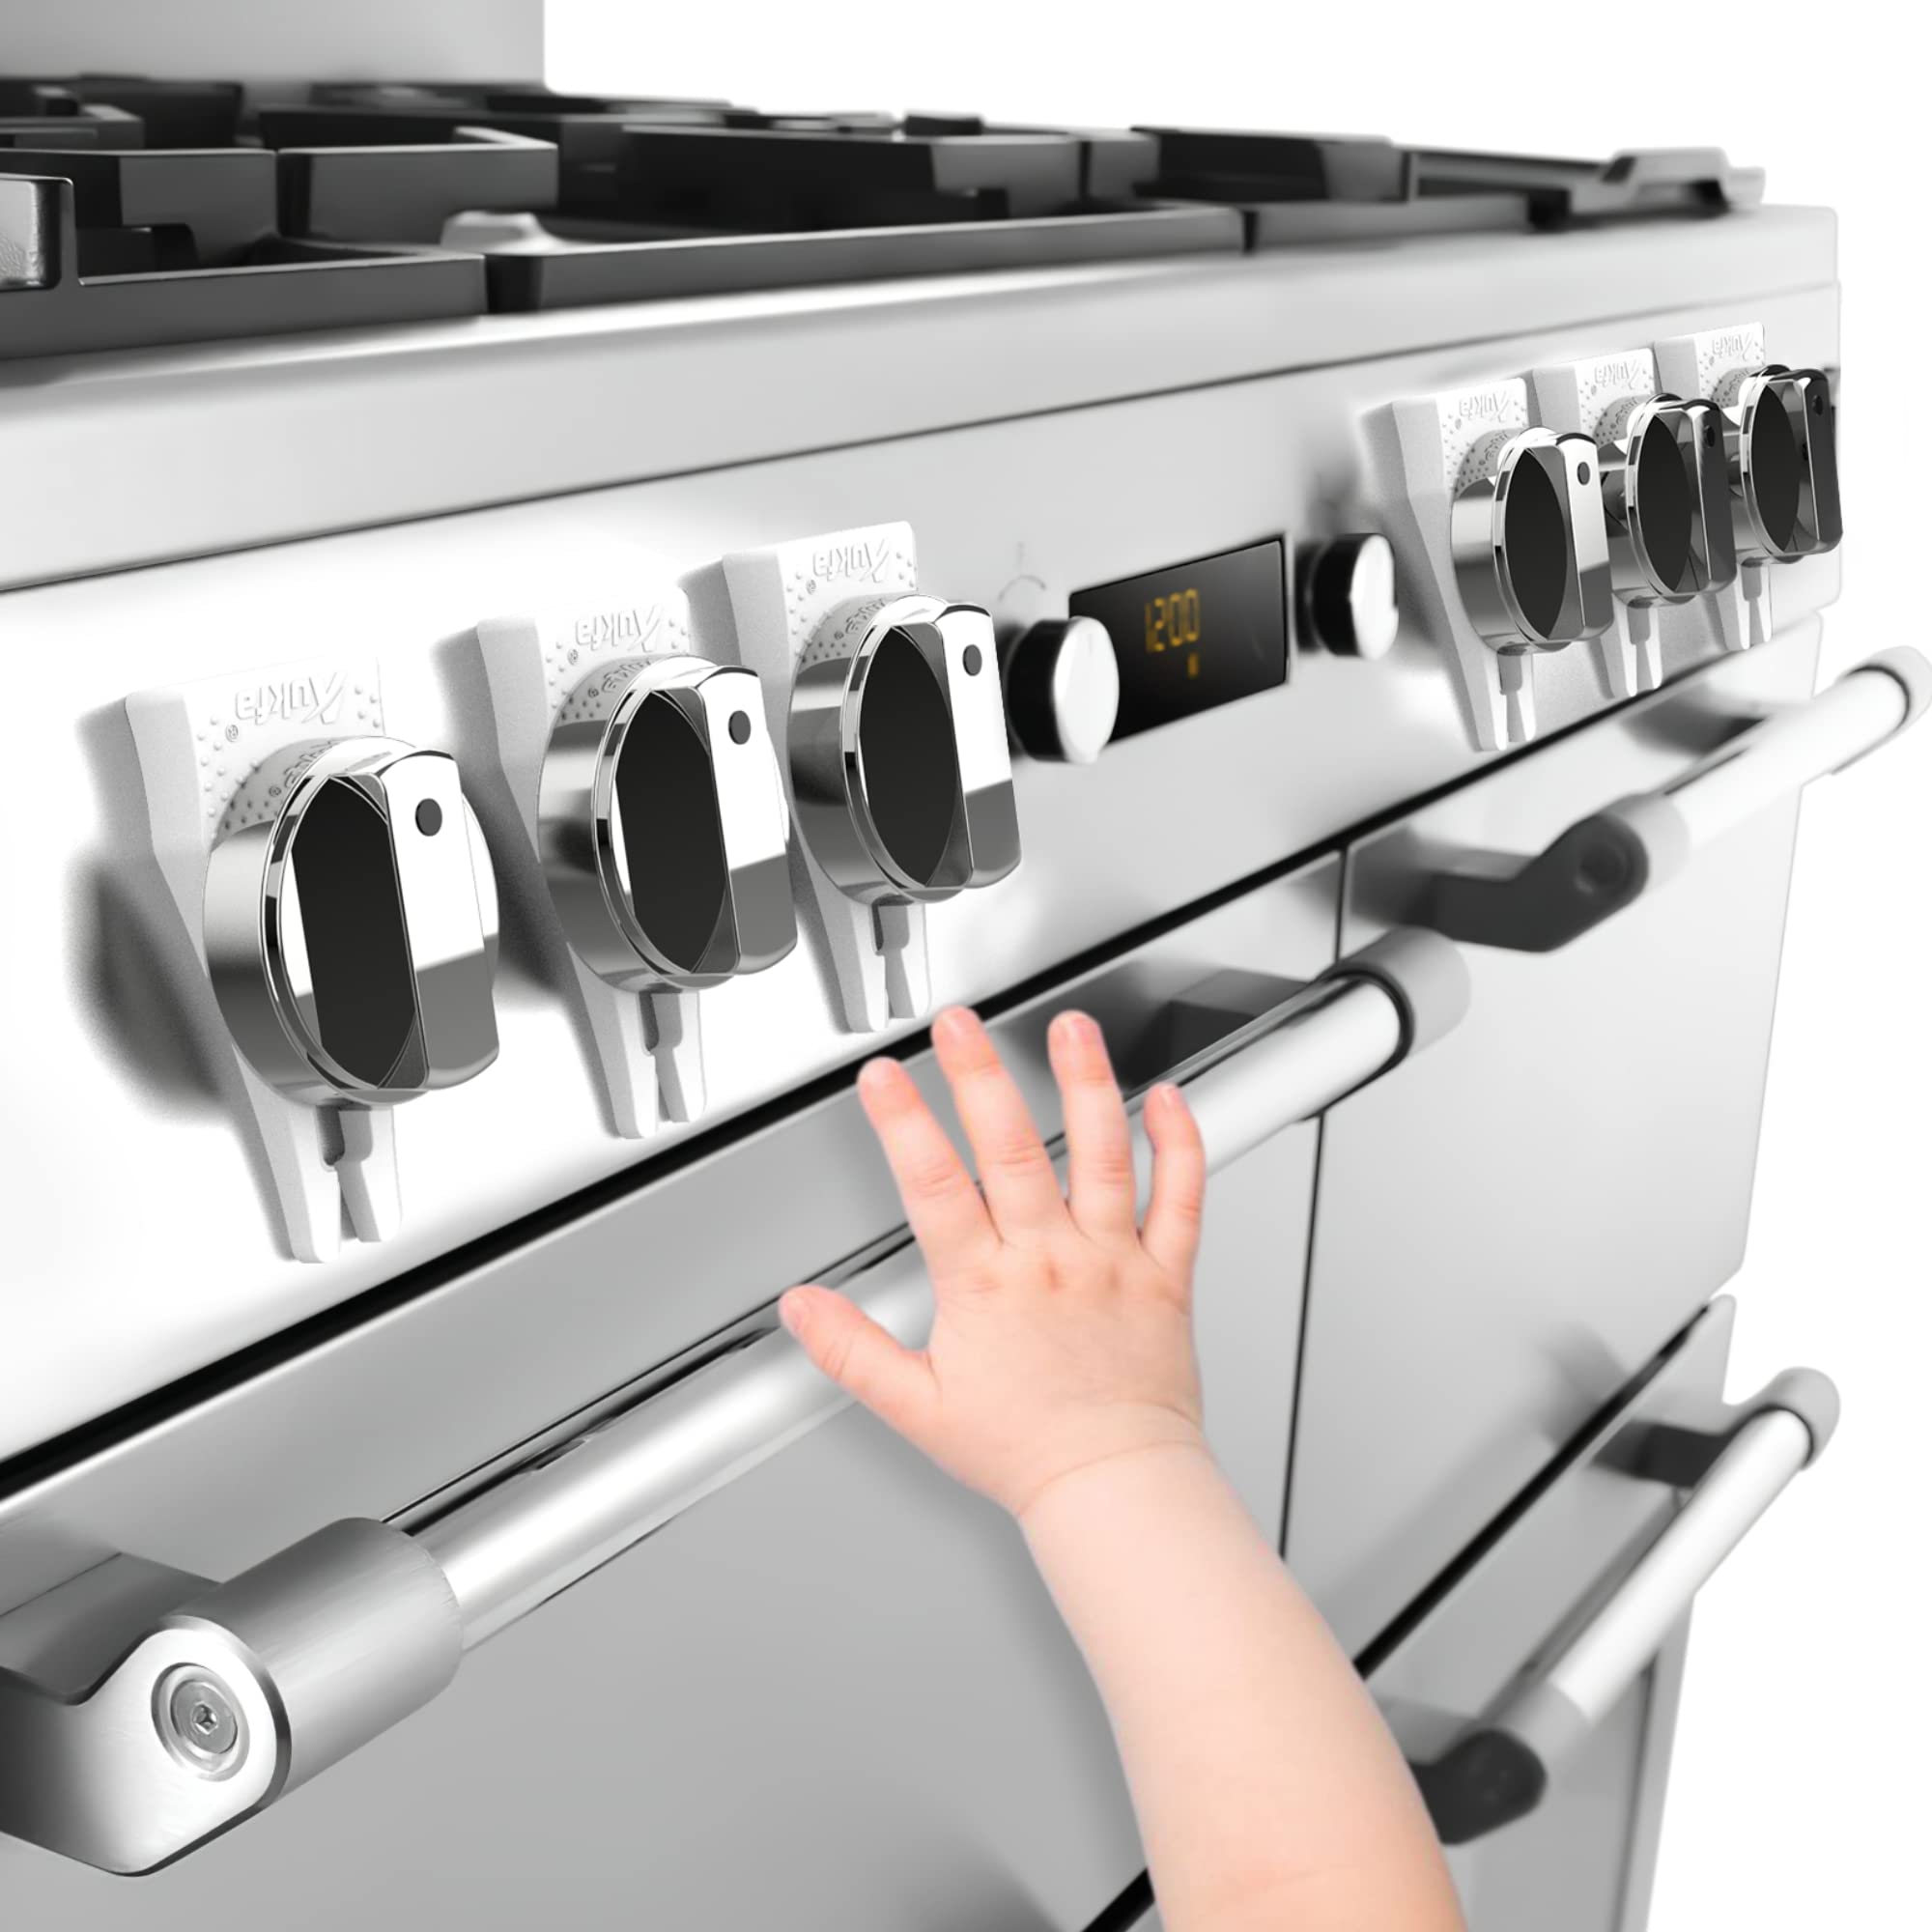
Step 6: Clean the control knobs and dials
As you’re nearing the end of the cleaning process for your KitchenAid cooktop, it’s important not to overlook the control knobs and dials. These components are often overlooked but can accumulate dirt, grease, and food particles over time.
To clean the control knobs and dials, start by dampening a soft cloth or sponge with warm water. Wipe down the surface of each knob to remove any loose dirt or residue.
If the knobs are particularly dirty or have built-up grease, you can create a mixture of warm water and a mild dish soap. Dip the cloth or sponge into the soapy solution, wring out any excess liquid, and gently scrub the knobs.
Take care not to saturate the knobs with water, as this may seep into the internal components and cause damage. Use a damp cloth or sponge to wipe away any soapy residue, and then dry the knobs thoroughly with a clean cloth.
If you notice any stubborn stains or grime, you can also use a small amount of vinegar on a cloth to gently wipe down the knobs. Vinegar is a natural cleaning agent that can help remove grease and provide a thorough clean.
Once the control knobs and dials are clean and dry, they’re ready to be reattached to the cooktop.
With the control knobs and dials shining like new, it’s time to move on to the final step – reassembling the cooktop.
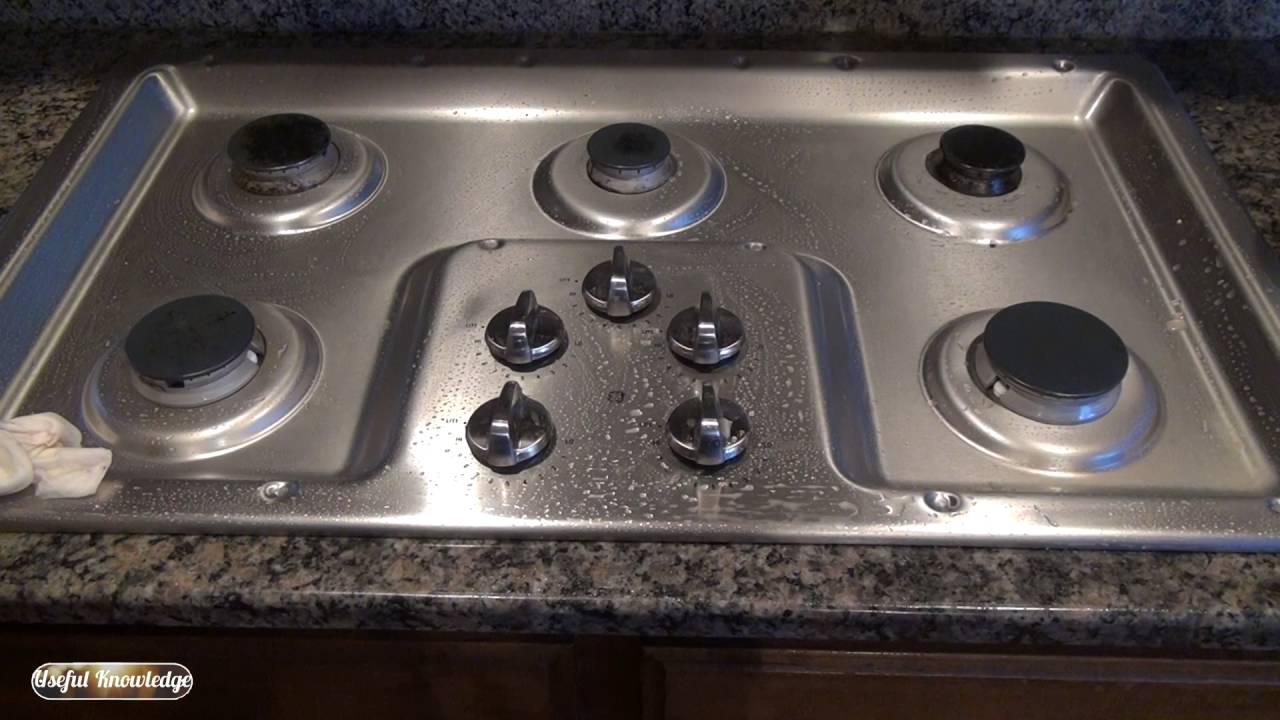
Step 7: Reassemble the cooktop
Now that you’ve successfully cleaned all the individual components of your KitchenAid cooktop, it’s time to reassemble everything and get your cooktop back in working order.
Start by carefully placing the burners back onto the cooktop. Make sure they are aligned correctly with the metal brackets or screws and securely fasten them in place. Remember to tighten any screws if necessary.
Next, place the grates back onto the cooktop. Ensure that they are positioned correctly and sit evenly on the surface.
After reassembling the grates and burners, double-check that all the control knobs and dials are in place. Push them firmly onto the cooktop to ensure they are securely attached.
Give the entire cooktop a final wipe down with a clean, dry cloth to remove any fingerprints or smudges that may have occurred during the reassembly process.
Once you’ve reassembled the cooktop, you can now turn your attention to cleaning up your work area. Dispose of any cleaning supplies and rinse out any cleaning tools that were used.
Congratulations! You have successfully cleaned and reassembled your KitchenAid cooktop, leaving it looking clean, efficient, and ready to use.
Keep in mind that regular maintenance and cleaning is key to prolonging the life and performance of your cooktop. Make it a habit to clean up spills and messes promptly to prevent them from becoming stubborn stains.
By following these steps and adopting a regular cleaning routine, you can ensure that your KitchenAid cooktop remains a visually appealing and functional centerpiece in your kitchen for years to come.
Happy cooking!
Conclusion
Cleaning your KitchenAid cooktop doesn’t have to be a daunting task. With the right supplies and a step-by-step approach, you can keep your cooktop looking pristine and operating at its best.
In this article, we’ve covered the essential steps to effectively clean your KitchenAid cooktop. From gathering the necessary supplies to reassembling the cooktop after cleaning, each step plays a crucial role in ensuring a thorough and successful cleaning process.
Remember to always turn off and cool down the cooktop before starting the cleaning process. This will help prevent any accidents and ensure your safety.
Removing the grates and burners gives you better access to clean the surface of the cooktop. Take the time to scrub away any dirt, stains, or grease, using a mild dish soap or a specialized cooktop cleaner.
Don’t forget to give attention to the control knobs and dials, as they can accumulate residue over time. Clean them thoroughly, ensuring they are dry before reattaching them to the cooktop.
Lastly, reassemble the cooktop by placing the burners and grates back into their correct positions. A final wipe down and cleanup of your work area will leave your KitchenAid cooktop ready for its next cooking adventure.
By maintaining a regular cleaning routine and promptly addressing spills and messes, you can ensure that your KitchenAid cooktop remains both visually appealing and efficient in its performance.
So, the next time you step into your kitchen to prepare a delicious meal, let your clean and sparkling KitchenAid cooktop be a source of pride and inspiration in your culinary endeavors.
Frequently Asked Questions about How To Clean Kitchenaid Cooktop
Was this page helpful?
At Storables.com, we guarantee accurate and reliable information. Our content, validated by Expert Board Contributors, is crafted following stringent Editorial Policies. We're committed to providing you with well-researched, expert-backed insights for all your informational needs.


0 thoughts on “How To Clean Kitchenaid Cooktop”