Articles
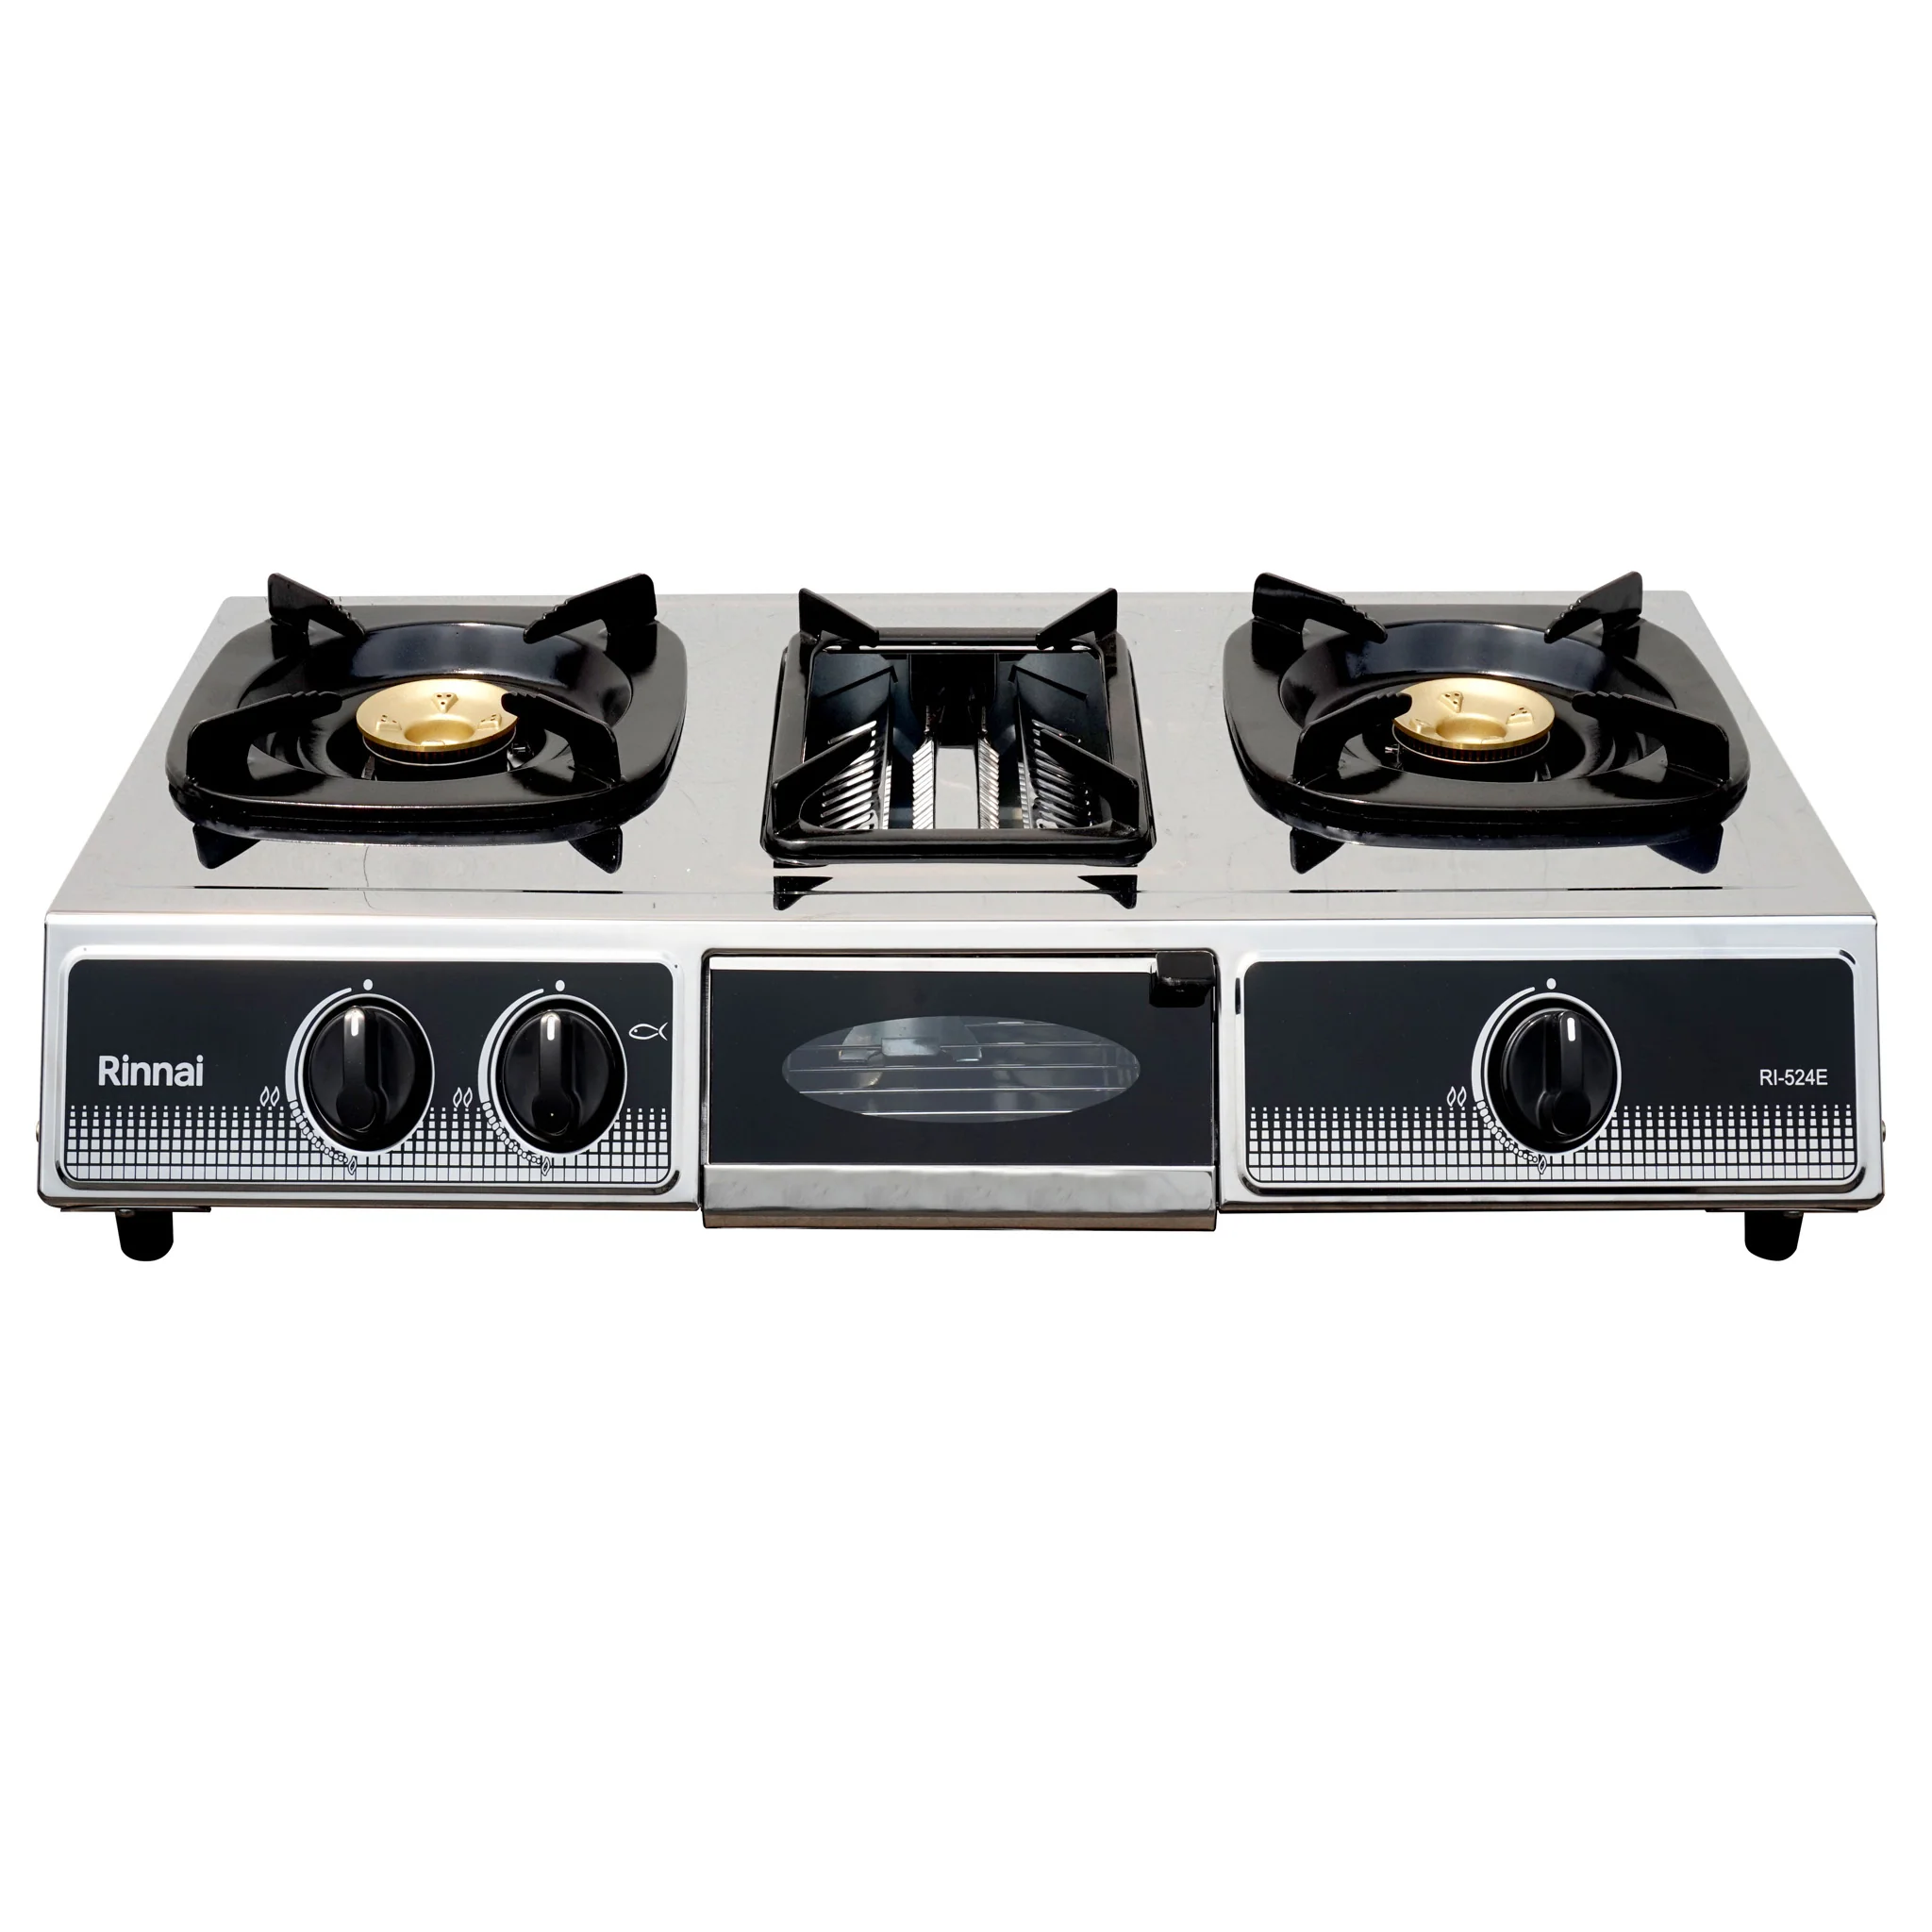
How To Clean Gas Cooktop
Modified: October 27, 2024
Learn effective ways to clean your gas cooktop with these helpful articles. Discover simple tips and tricks to keep your cooktop looking spotless and pristine.
(Many of the links in this article redirect to a specific reviewed product. Your purchase of these products through affiliate links helps to generate commission for Storables.com, at no extra cost. Learn more)
Introduction
A gas cooktop is a popular choice among homeowners due to its efficient cooking capabilities and sleek design. However, like any other kitchen appliance, it requires regular cleaning to maintain its performance and appearance. Cleaning a gas cooktop may seem like a daunting task, but with the right approach and materials, you can easily restore its shine and keep it running smoothly.
In this article, we will guide you through the step-by-step process of cleaning a gas cooktop. From disconnecting the gas supply to reassembling the cooktop, we will cover all the necessary steps to ensure a thorough cleaning. But before we dive into the cleaning process, it is important to prioritize safety precautions to protect yourself and prevent any accidents or damage.
Key Takeaways:
- Regularly cleaning your gas cooktop with mild dish soap, vinegar, and warm water ensures efficient performance, improved appearance, and extended lifespan. Prioritize safety by disconnecting the gas supply and wearing protective gloves.
- Thoroughly cleaning each component of your gas cooktop, from grates to burner heads, ensures optimal cooking performance and a visually appealing kitchen. Reconnect the gas supply safely and enjoy cooking on your freshly cleaned gas cooktop!
Read more: How To Replace A Gas Cooktop
Safety Precautions
Before you begin cleaning your gas cooktop, it is crucial to prioritize your safety. Follow these important safety precautions to avoid any mishaps:
- Turn off the gas supply: Before starting the cleaning process, make sure to turn off the gas supply. Locate the gas shut-off valve near the cooktop and turn it off to prevent any gas leaks.
- Allow the cooktop to cool down: Give the cooktop enough time to cool down before you start cleaning. Touching hot surfaces can cause burns and injuries.
- Wear protective gloves: To protect your hands from any chemicals or sharp objects, it is advisable to wear rubber gloves while cleaning.
- Ensure proper ventilation: Before you begin cleaning, open windows or turn on the exhaust fan to ensure proper ventilation. This will help to eliminate any fumes or odors that may be released during the cleaning process.
- Use appropriate cleaning materials: Make sure to use cleaning materials that are specifically designed for cooktops. Avoid using abrasive cleaners or scrub brushes that could potentially damage the surface.
- Read the manufacturer’s instructions: Take a few moments to read the user manual or any specific instructions provided by the manufacturer. This will help you understand any unique cleaning requirements or precautions for your particular gas cooktop model.
By following these safety precautions, you can ensure a safe and effective cleaning process for your gas cooktop. Now let’s move on to the materials you will need for the cleaning process.
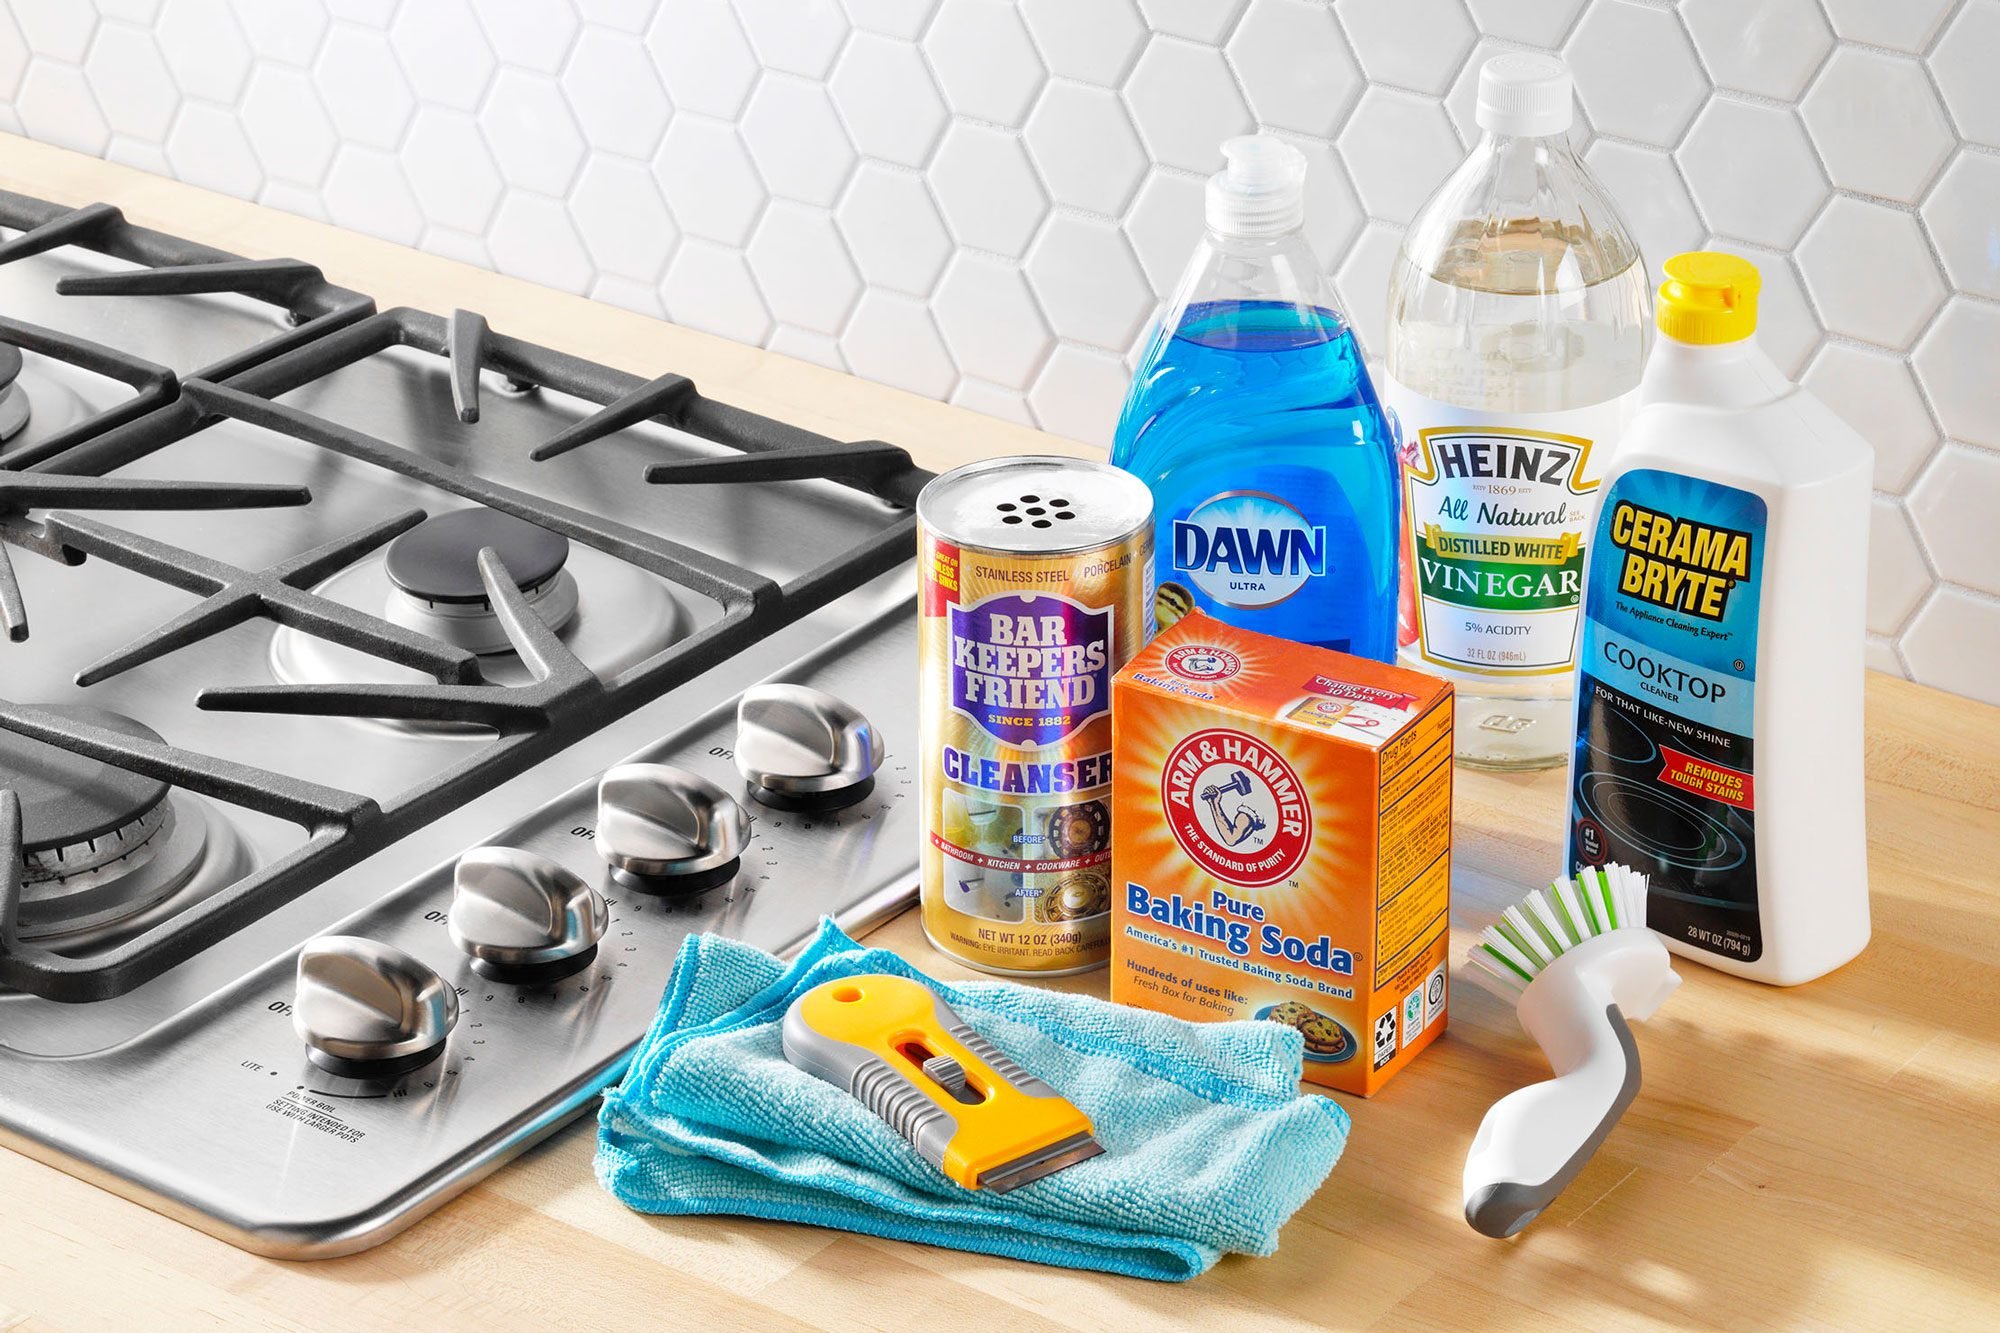
Materials Needed
Before you embark on cleaning your gas cooktop, gather the following materials:
- Mild dish soap or cooktop cleaner: Look for a gentle dish soap or a specialized cooktop cleaner that is safe to use on gas cooktop surfaces.
- Soft microfiber cloth or sponge: An absorbent and non-abrasive cloth or sponge will help to remove dirt and grime without scratching the cooktop surface.
- Scrub brush or toothbrush: A small brush with soft bristles is useful for cleaning hard-to-reach areas, such as burner heads and control knobs.
- Vinegar: White vinegar is a natural and effective cleaner that can help remove stubborn stains and grease buildup.
- Water: You’ll need water for diluting cleaning solutions and rinsing the cooktop.
- Paper towels: These are handy for wiping away excess moisture and cleaning solutions.
- Plastic bag: A sealable plastic bag can be used to soak the grates and burner caps in a mixture of cleaning solution and water.
- Disposable gloves: Protect your hands from chemicals and cleaning agents by wearing disposable gloves.
Having these materials readily available will make the cleaning process more efficient and effective. Now that you have gathered all the necessary materials, let’s begin with the step-by-step process of cleaning your gas cooktop.
Step 1: Disconnecting the Gas Supply
Before you start cleaning your gas cooktop, it is essential to disconnect the gas supply to ensure your safety. Follow these steps:
- Locate the gas shut-off valve: Look for the gas shut-off valve, which is typically located near the cooktop. It is usually a small metal valve connected to a pipe.
- Turn off the gas supply: Rotate the valve clockwise to shut off the gas supply to the cooktop. This will prevent any gas leaks or accidents during the cleaning process.
- Confirm the gas supply is off: To double-check if the gas supply is properly shut off, turn on one of the gas burners and wait for a few seconds. If there is no flame, it means the gas supply has been successfully disconnected.
By disconnecting the gas supply, you ensure a safe cleaning environment without the risk of gas leaks or accidental ignition. Once the gas supply is turned off, you can move on to the next step, which involves removing the grates and burner caps.
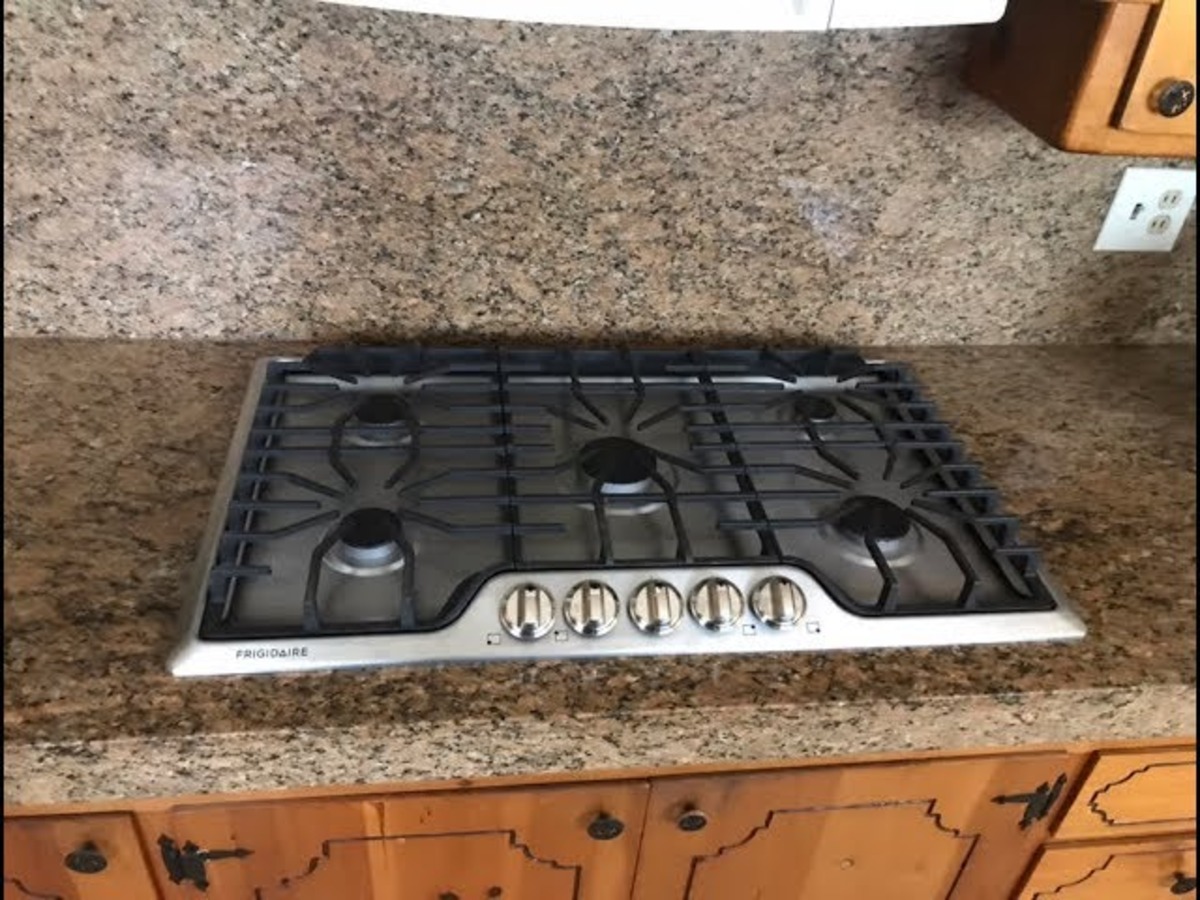
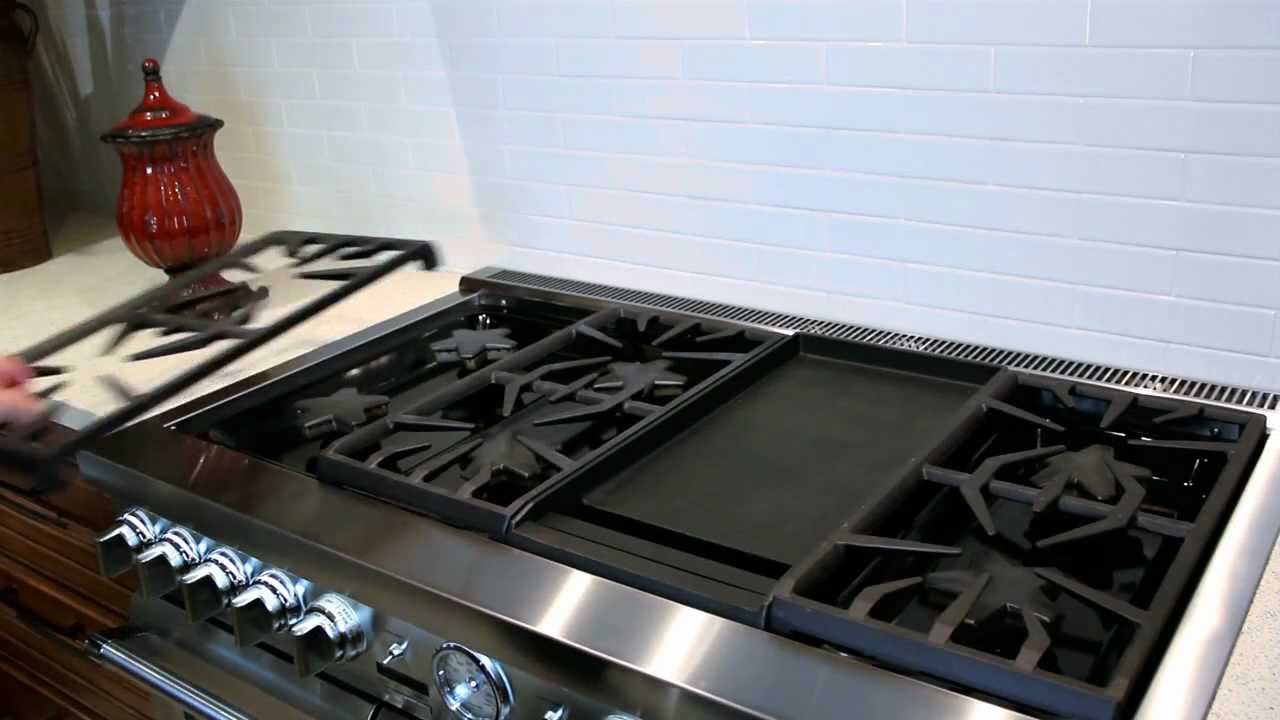
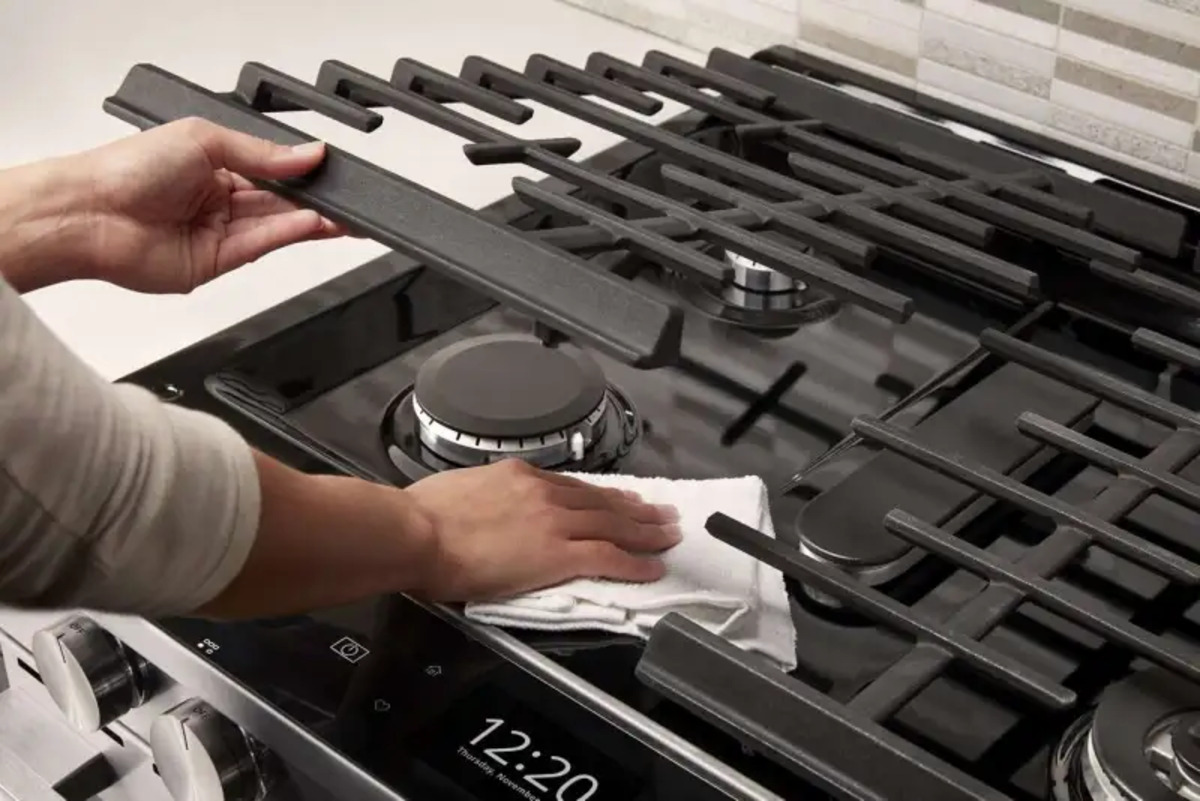
Step 2: Removing the Grates and Burner Caps
Once the gas supply is disconnected, it’s time to remove the grates and burner caps from your gas cooktop. Follow these steps:
- Cool down the cooktop: Ensure that the cooktop has cooled down completely before proceeding with this step. Touching hot surfaces can result in burns or injuries.
- Remove the grates: Lift the grates off the cooktop surface and set them aside. These grates are typically made of cast iron or stainless steel and can be heavy, so handle them with care.
- Take out the burner caps: Remove the burner caps by lifting them straight up from the burner heads. Burner caps are designed to distribute the heat evenly, and they are usually found on top of each burner.
If you find any stubborn residue or food particles, use a soft brush or toothbrush to gently scrub them off the grates and burner caps. Avoid using abrasive materials or harsh chemicals as they may damage the surface.
By removing the grates and burner caps, you will have better access to clean the cooktop surface and the burner heads. In the next step, we will focus on cleaning these components to ensure a thorough cleaning process.
Read more: How To Disconnect A Gas Cooktop
Step 3: Cleaning the Grates and Burner Caps
Now that you have removed the grates and burner caps from your gas cooktop, it’s time to focus on cleaning these components. Follow these steps:
- Prepare a cleaning solution: In a sink or a basin, mix warm water with a few drops of mild dish soap or a cooktop cleaner. You can also add a splash of white vinegar to help remove stubborn stains and grease buildup.
- Soak the grates and burner caps: Place the grates and burner caps in a sealable plastic bag or a container filled with the cleaning solution. Allow them to soak for about 15-20 minutes. This will help loosen any grime or residue.
- Scrub the grates and burner caps: After soaking, take each grate and burner cap and scrub them gently using a soft brush or a sponge. Pay close attention to any stubborn stains or food debris, and continue scrubbing until they are clean and free from residue.
- Rinse thoroughly: Once scrubbed, rinse the grates and burner caps under running water to remove any leftover soap or cleaning solution.
- Dry completely: After rinsing, pat the grates and burner caps dry using a clean towel or paper towels. Ensure they are completely dry before placing them back on the cooktop.
By cleaning the grates and burner caps, you ensure that any grease or build-up is removed, resulting in improved cooking performance and a visually appealing gas cooktop. With this step completed, we can now move on to cleaning the cooktop surface itself.
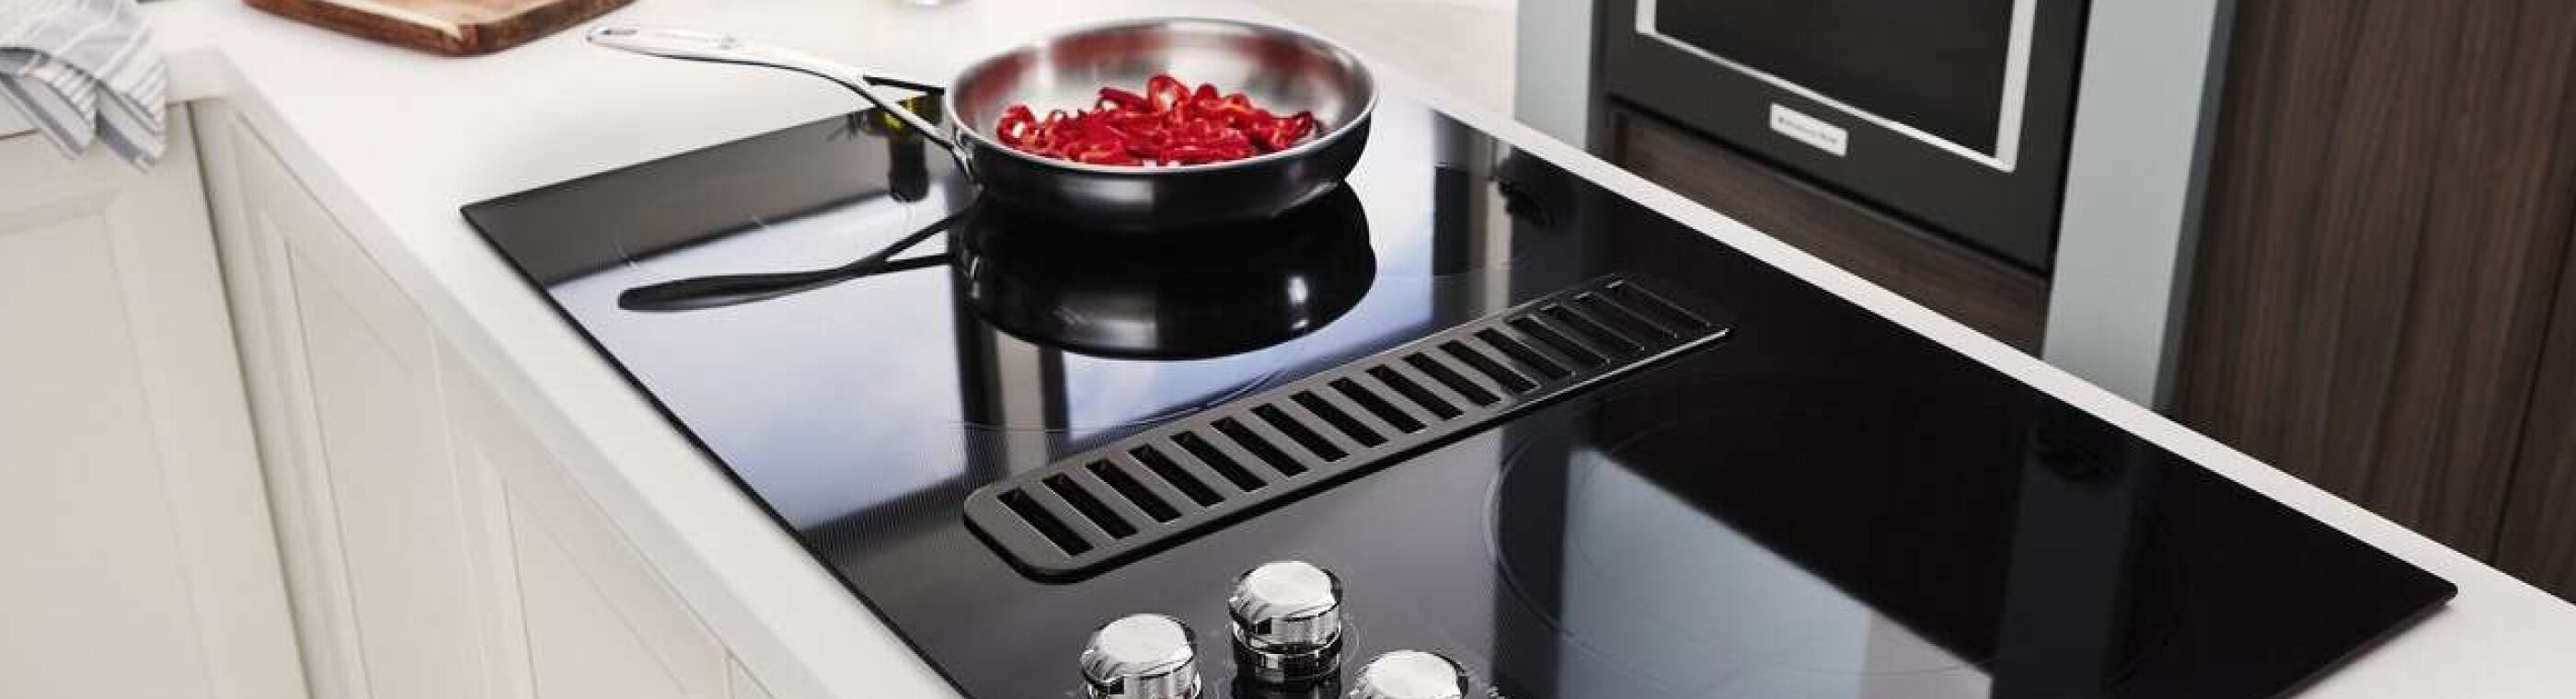
Use a non-abrasive cleaner and a soft cloth to clean the gas cooktop. Remove grates and knobs to clean separately. Wipe down with a damp cloth and dry thoroughly.
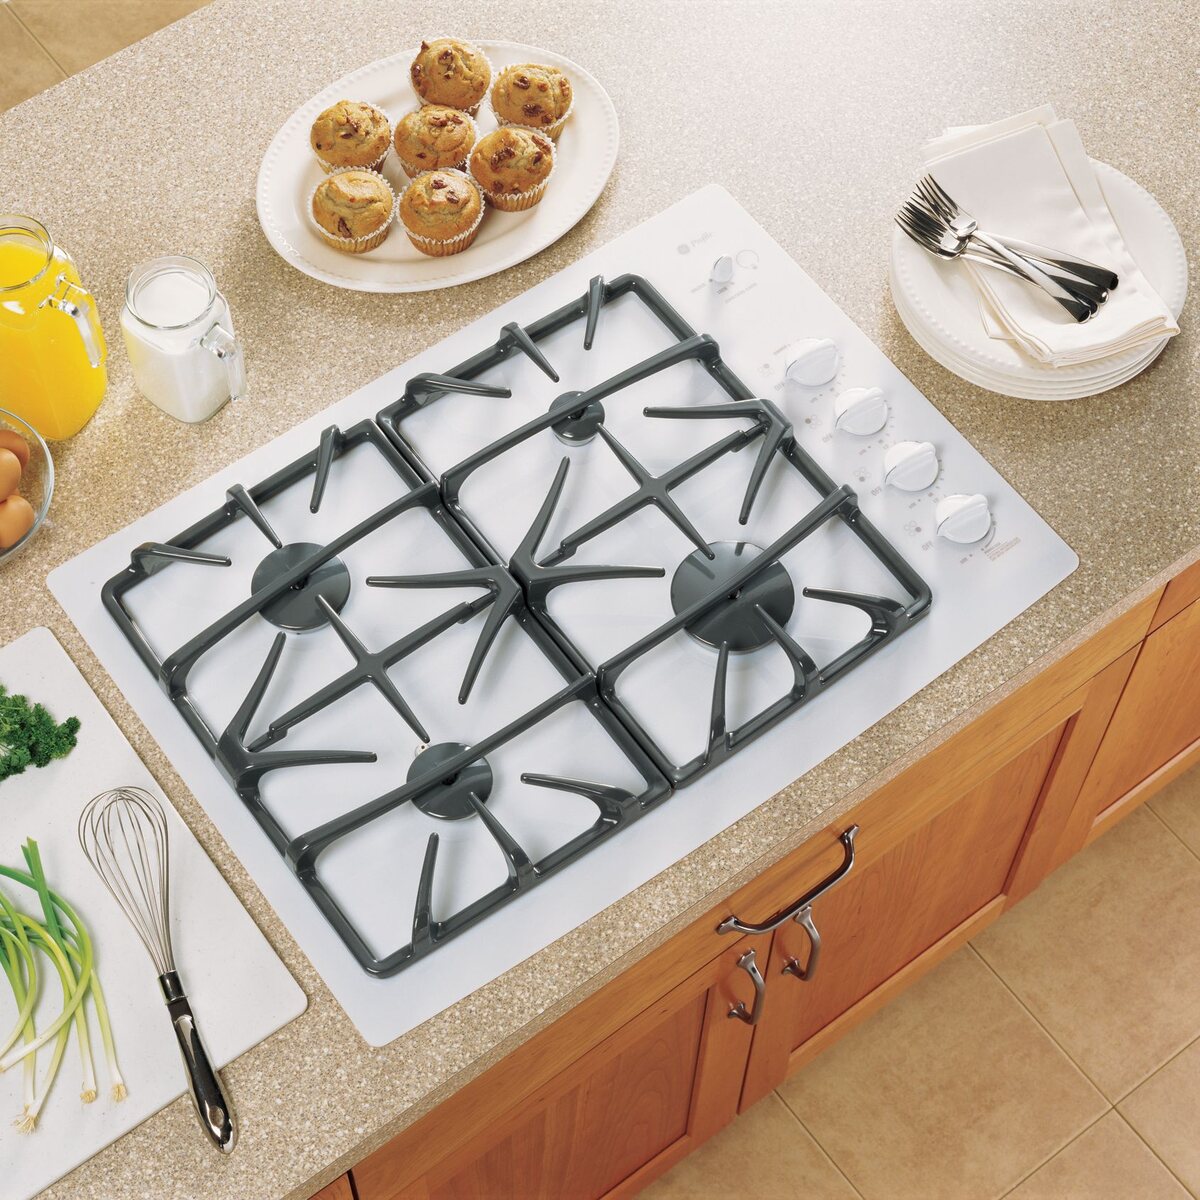
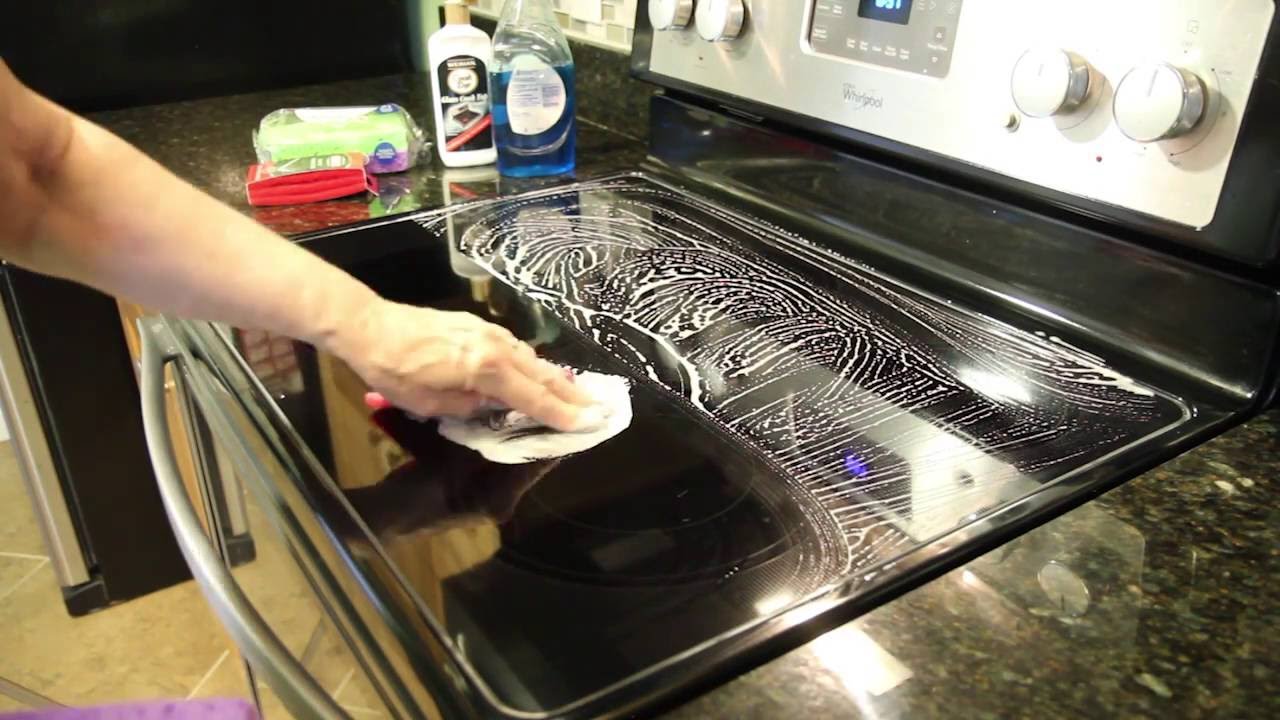
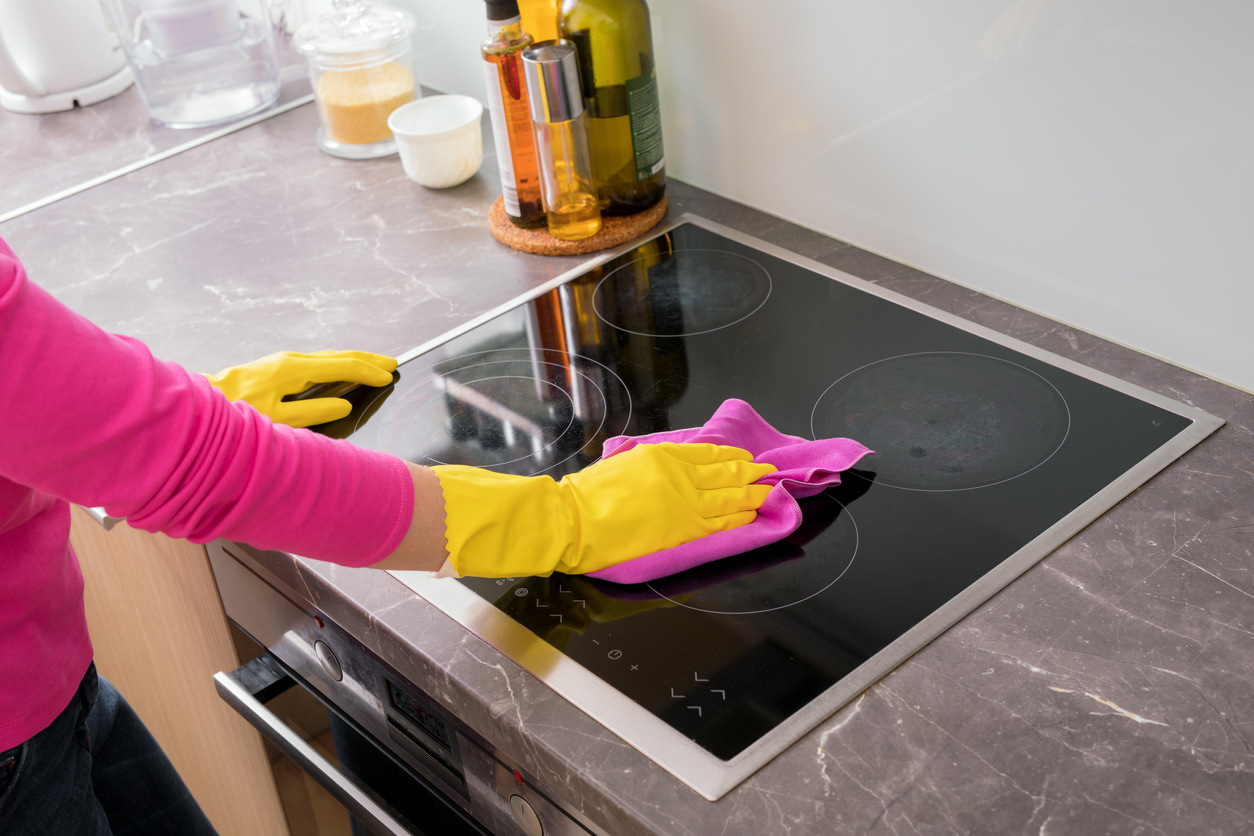
Step 4: Cleaning the Cooktop Surface
Now that we have taken care of the grates and burner caps, it’s time to clean the cooktop surface itself. Follow these steps:
- Prepare a cleaning solution: In a spray bottle, mix equal parts of water and white vinegar. This natural cleaning solution is effective in breaking down grease and removing stains.
- Spray the cleaning solution: Spray the cleaning solution onto the cooktop surface, focusing on the areas with visible stains or spills. Allow the solution to sit for a few minutes to loosen the dirt and grime.
- Scrub the surface: Using a soft cloth, sponge, or non-abrasive scrub brush, gently scrub the cooktop surface in circular motions. Pay special attention to stubborn stains or hardened spills, applying a bit more pressure if necessary.
- Wipe clean: Once you have scrubbed the entire surface, use a clean, damp cloth to wipe away the cleaning solution and any loosened dirt or residue. Rinse the cloth frequently to avoid spreading dirt back onto the surface.
- Dry thoroughly: Finally, use a dry cloth or paper towel to dry the cooktop surface completely. This step helps prevent any water spots or streaks from forming.
By following these steps, you can effectively remove grease, stains, and spills from your gas cooktop surface, leaving it sparkling clean and ready to use. Now, let’s move on to cleaning the burner heads.
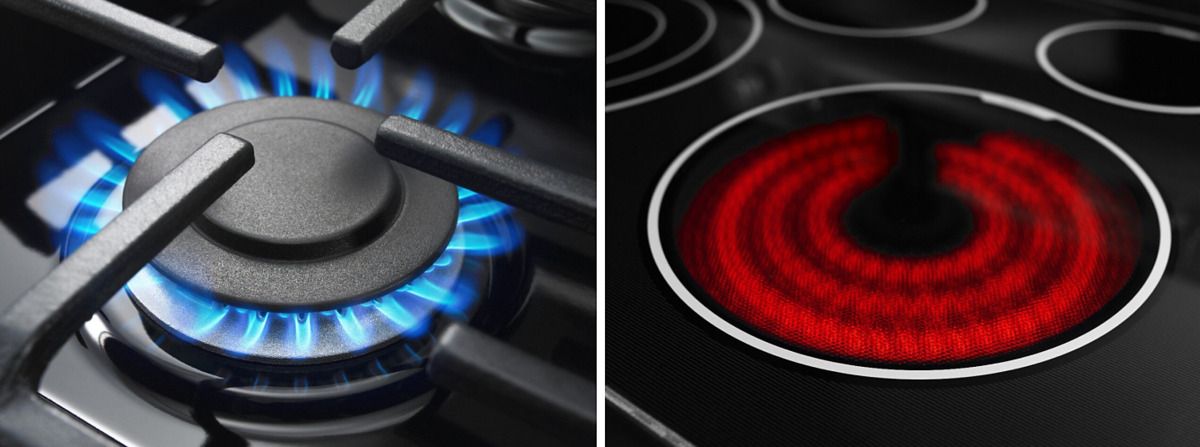
Step 5: Cleaning the Burner Heads
Now that the cooktop surface is clean, it’s time to focus on the burner heads. The burner heads are the circular components where the flames appear when you turn on the gas. Follow these steps to clean them:
- Inspect the burner heads: Take a close look at the burner heads to identify any visible debris or clogs. Use a flashlight if necessary to get a better view.
- Remove the burner heads: Depending on your gas cooktop model, the process of removing the burner heads may vary. Most burner heads can be lifted or twisted counterclockwise to detach them from the cooktop.
- Clean the burner heads: Use a soft brush or a toothbrush to gently scrub the burner heads and remove any accumulated residue or debris. Pay attention to the small holes or openings where the flames come out, as they are prone to clogging.
- Rinse and dry: Once you have cleaned the burner heads, rinse them thoroughly under running water to remove any loosened dirt or cleaning solution. Pat them dry with a clean cloth or allow them to air dry completely before reassembling.
Cleaning the burner heads ensures proper gas flow and helps maintain consistent flame performance. With this step complete, let’s move on to the next step: cleaning the control knobs.
Step 6: Cleaning the Control Knobs
As we near the end of the cleaning process, it’s important not to overlook the control knobs on your gas cooktop. These knobs can accumulate grease and stains over time. Follow these steps to clean them:
- Remove the control knobs: Gently pull or twist each control knob to remove them from the cooktop.
- Prepare a cleaning solution: Mix a small amount of mild dish soap with warm water in a bowl.
- Submerge the control knobs: Dip a soft cloth or sponge into the cleaning solution and use it to wipe down each control knob. Pay attention to any stubborn stains or grease buildup.
- Rinse and dry: Once you have cleaned the control knobs, rinse them with clean water to remove any soapy residue. Dry them thoroughly with a clean cloth or allow them to air dry completely.
- Reattach the control knobs: When the control knobs are completely dry, carefully reattach them to the respective burners on the cooktop.
Cleaning the control knobs not only helps in maintaining their appearance but also ensures smooth operation and accurate temperature control. With this step complete, you are now ready to move on to the final step: reassembling the cooktop.
Read more: What Is The Best Gas Cooktop
Step 7: Reassembling the Cooktop
With all the components of your gas cooktop thoroughly cleaned, it’s time to reassemble everything and get your cooktop back in working order. Follow these steps:
- Ensure everything is dry: Before you start reassembling, ensure that all the cleaned components, including the grates, burner caps, burner heads, and control knobs, are completely dry.
- Place the burner caps back on the burner heads: Align the burner caps with their respective burner heads and gently press them down until they are securely in place.
- Reposition the grates: Carefully place the grates back onto the cooktop surface, ensuring they are properly aligned with the burners. Make sure they are seated securely and level.
- Verify the placement of control knobs: Double-check that the control knobs are correctly positioned on the cooktop.
By carefully reassembling your gas cooktop, you ensure that all components are in their correct positions, allowing for safe and efficient operation. Take a moment to inspect the cooktop and make sure everything looks properly aligned and in place.
Now that you have reassembled your gas cooktop, there’s just one more step left: reconnecting the gas supply.
Step 8: Reconnecting the Gas Supply
Reconnecting the gas supply is the final step in the cleaning process of your gas cooktop. Follow these steps to ensure a safe and proper reconnection:
- Double-check the gas shut-off valve: Before reconnecting the gas supply, make sure the gas shut-off valve is still in the closed position.
- Turn on the gas supply: Locate the gas shut-off valve and rotate it counterclockwise to turn the gas supply back on.
- Inspect for gas leaks: After turning on the gas supply, check for any signs of gas leaks. You can do this by using a soapy water solution and applying it to the connection points. If you see bubbles forming, there may be a leak, and you should turn off the gas supply immediately.
- Test the burners: Once you have confirmed there are no gas leaks, test each burner by turning the control knobs to the ignite position. Verify that the flames are steady and blue in color.
By properly reconnecting the gas supply, you can safely resume using your gas cooktop. It’s important to conduct regular maintenance and cleaning to keep your cooktop functioning optimally and ensure your safety in the kitchen.
With the gas supply reconnected and your gas cooktop cleaned and ready for use, you have successfully completed the cleaning process. Enjoy cooking on your freshly cleaned gas cooktop!
Conclusion
Cleaning your gas cooktop is an essential part of maintenance to ensure it operates efficiently and looks its best. By following the step-by-step process outlined in this article, you can easily clean your gas cooktop and restore its shine. Remember to prioritize safety by disconnecting the gas supply and wearing protective gloves.
Throughout the cleaning process, it is important to use the appropriate cleaning materials and follow the manufacturer’s instructions. Using mild dish soap, vinegar, and warm water can effectively remove grime, stains, and grease from the grates, burner caps, cooktop surface, burner heads, and control knobs.
After cleaning each component, make sure they are dry before reassembling the cooktop. Take care to properly align and position the grates, burner caps, burner heads, and control knobs. Once everything is in place, reattach the gas supply by turning on the gas shut-off valve. Remember to check for gas leaks using a soapy water solution.
Regularly cleaning your gas cooktop not only enhances its appearance but also improves its overall performance. A clean cooktop allows for more efficient heat distribution and precise temperature control. Proper maintenance also helps extend the lifespan of your gas cooktop.
By following the steps provided in this article and incorporating regular cleaning into your kitchen routine, your gas cooktop will shine and function at its best. So roll up your sleeves, gather the necessary materials, and give your gas cooktop the thorough cleaning it deserves.
Happy cooking!
Frequently Asked Questions about How To Clean Gas Cooktop
Was this page helpful?
At Storables.com, we guarantee accurate and reliable information. Our content, validated by Expert Board Contributors, is crafted following stringent Editorial Policies. We're committed to providing you with well-researched, expert-backed insights for all your informational needs.

0 thoughts on “How To Clean Gas Cooktop”