Articles
How To Clean A Kitchenaid Ice Maker
Modified: October 19, 2024
Learn how to effectively clean your Kitchenaid Ice Maker with our informative and easy-to-follow articles. Maintain the optimal performance of your appliance today.
(Many of the links in this article redirect to a specific reviewed product. Your purchase of these products through affiliate links helps to generate commission for Storables.com, at no extra cost. Learn more)
Introduction
Welcome to this comprehensive guide on how to clean a Kitchen Aid ice maker. Having a clean ice maker is essential for ensuring the quality and taste of the ice it produces. Over time, ice makers can accumulate mineral deposits, bacteria, and mold, which can affect the performance and cleanliness of the machine. By regularly cleaning and maintaining your Kitchen Aid ice maker, you can enjoy fresh and clean ice for all your beverages.
Before we dive into the cleaning process, it’s important to note that safety should always be a priority. Make sure to read the user manual provided by Kitchen Aid and follow their guidelines for cleaning and maintenance. Additionally, make sure to disconnect the ice maker from the power source before starting the cleaning process to avoid any accidents.
Now that we have covered the basics, let’s move on to understanding the supplies you will need for cleaning your Kitchen Aid ice maker.
Key Takeaways:
- Regularly cleaning and maintaining your Kitchen Aid ice maker is essential for ensuring clean and refreshing ice for all your beverages. Prioritize safety, gather the necessary supplies, and follow the step-by-step cleaning process for optimal results.
- In addition to cleaning, implementing maintenance tips such as checking the water supply, monitoring ice production, and scheduling professional maintenance can prolong the lifespan and performance of your ice maker. Enjoy the convenience of having fresh, clean ice at your fingertips by following these guidelines.
Read more: How To Fix A Kitchenaid Ice Maker
Safety Precautions
Before you begin cleaning your Kitchen Aid ice maker, it is crucial to take some safety precautions to avoid any accidents or damage to the machine. Here are a few important safety measures to keep in mind:
- Disconnect the Power: Before starting the cleaning process, make sure to disconnect the ice maker from the power source. This will prevent any electrical accidents or damage to the machine.
- Protective Gear: It is recommended to wear protective gloves to protect your hands from any cleaning chemicals or contaminants that may be present during the cleaning process.
- Read the User Manual: Take the time to read and understand the user manual provided by Kitchen Aid. It will provide you with important information specific to your ice maker model, including recommended cleaning products and techniques.
- Use Safe Cleaning Products: Ensure that the cleaning products you use are safe for use on your Kitchen Aid ice maker. Avoid using harsh chemicals or abrasive cleaners that may damage the machine’s components.
- Proper Ventilation: If you are using any cleaning products that emit fumes or have a strong odor, make sure you are working in a well-ventilated area to prevent inhalation of any harmful substances.
- Follow Instructions: Follow the cleaning instructions provided by Kitchen Aid, as well as any additional steps or precautions mentioned in the user manual.
- Keep Children and Pets Away: Ensure that children and pets are kept at a safe distance from the cleaning area to avoid any accidents.
By following these safety precautions, you can proceed with confidence in cleaning your Kitchen Aid ice maker without any risks or mishaps. Now that we have covered the safety measures, let’s move on to gathering the supplies you will need for the cleaning process.
Gathering Supplies
Before you begin cleaning your Kitchen Aid ice maker, it’s important to gather all the necessary supplies. Having the right tools and cleaning products at hand will make the process much easier and more effective. Here are the supplies you will need:
- Warm Water: You will need warm water for rinsing and cleaning the ice maker components.
- Mild Dish Soap: Use a mild dish soap to clean the interior and exterior of the ice maker. Avoid using harsh chemicals that could damage the machine.
- White Vinegar: Vinegar is an excellent natural cleaner that can help remove mineral deposits and disinfect the ice maker. It is safe to use and doesn’t leave any harmful residues.
- Sponge or Soft Cloth: Use a sponge or soft cloth to scrub and wipe down the ice maker components and exterior surfaces.
- Bucket or Basin: You will need a bucket or basin to collect and drain the water while cleaning the ice maker.
- Toothbrush: A toothbrush can be useful for cleaning hard-to-reach areas or removing stubborn dirt or buildup.
- Lint-Free Cloth: Use a lint-free cloth to dry the ice maker components and prevent any water spots or streaks.
- Soft Bristle Brush: A soft bristle brush can be helpful for cleaning the evaporator plate and other delicate parts of the ice maker.
Make sure to gather all these supplies before you start the cleaning process. Having everything ready will ensure a smoother and more efficient cleaning experience. Once you have gathered all the supplies, it’s time to move on to the next step: removing the ice from the ice maker.
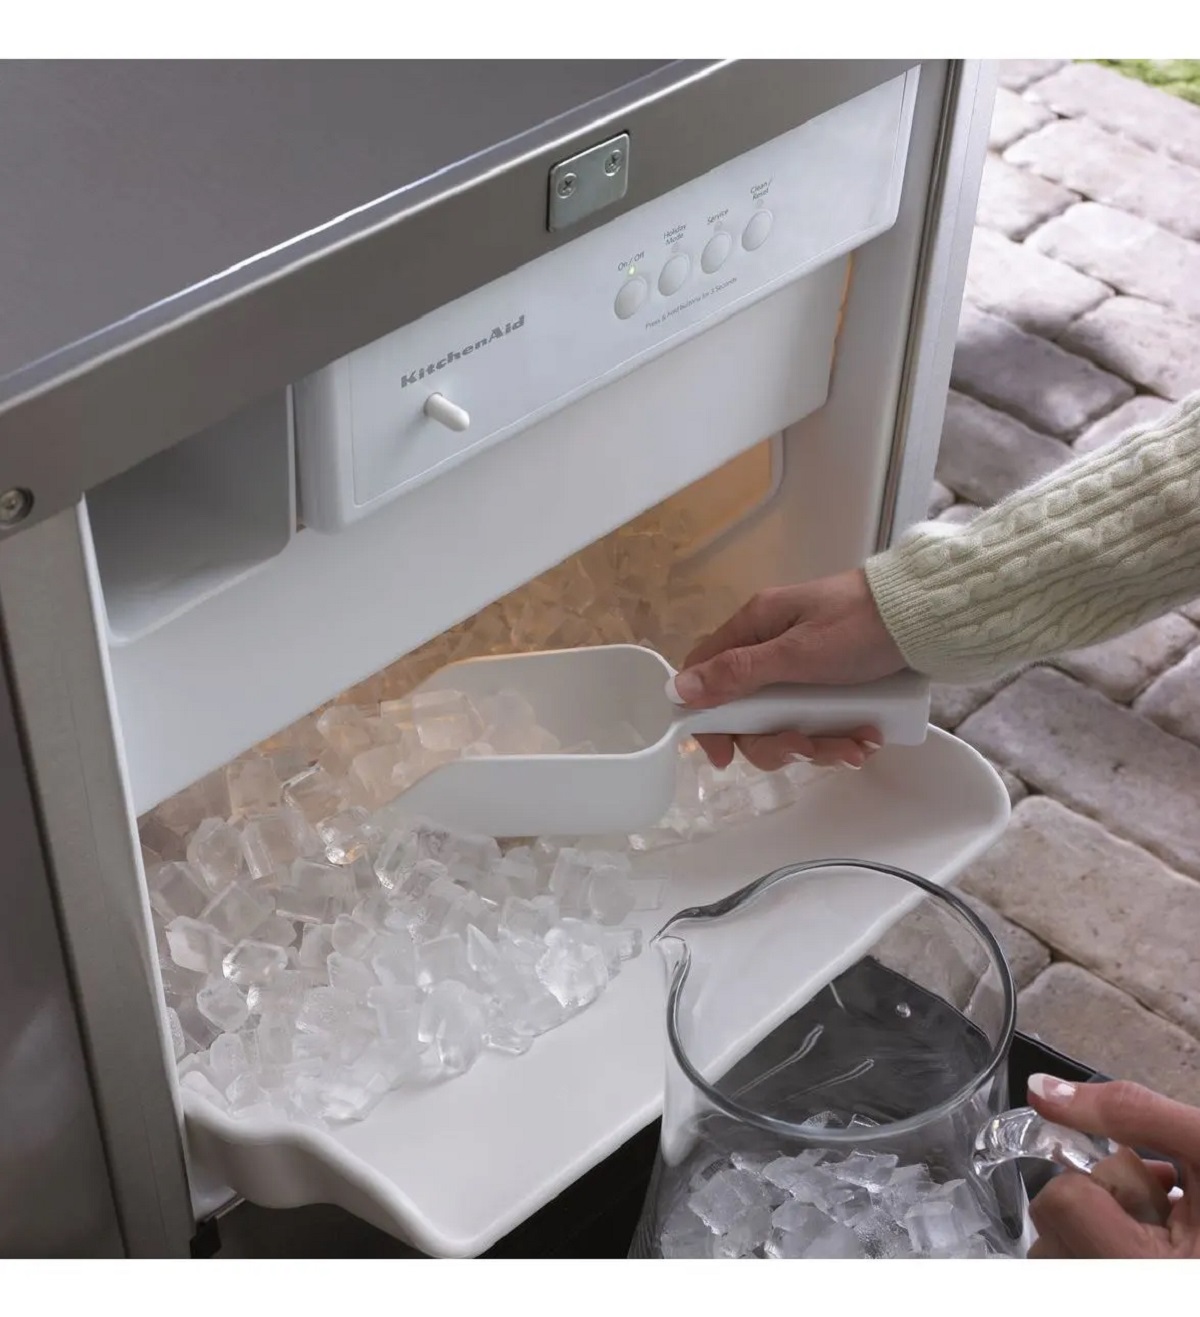
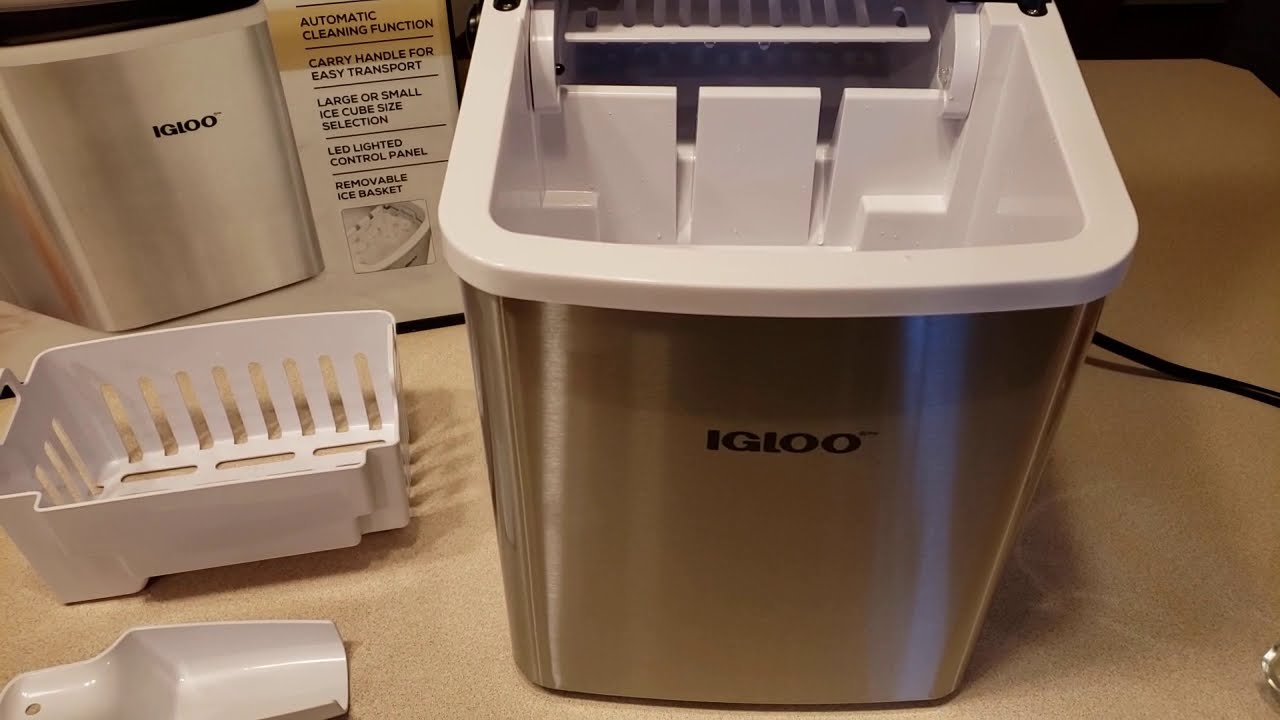
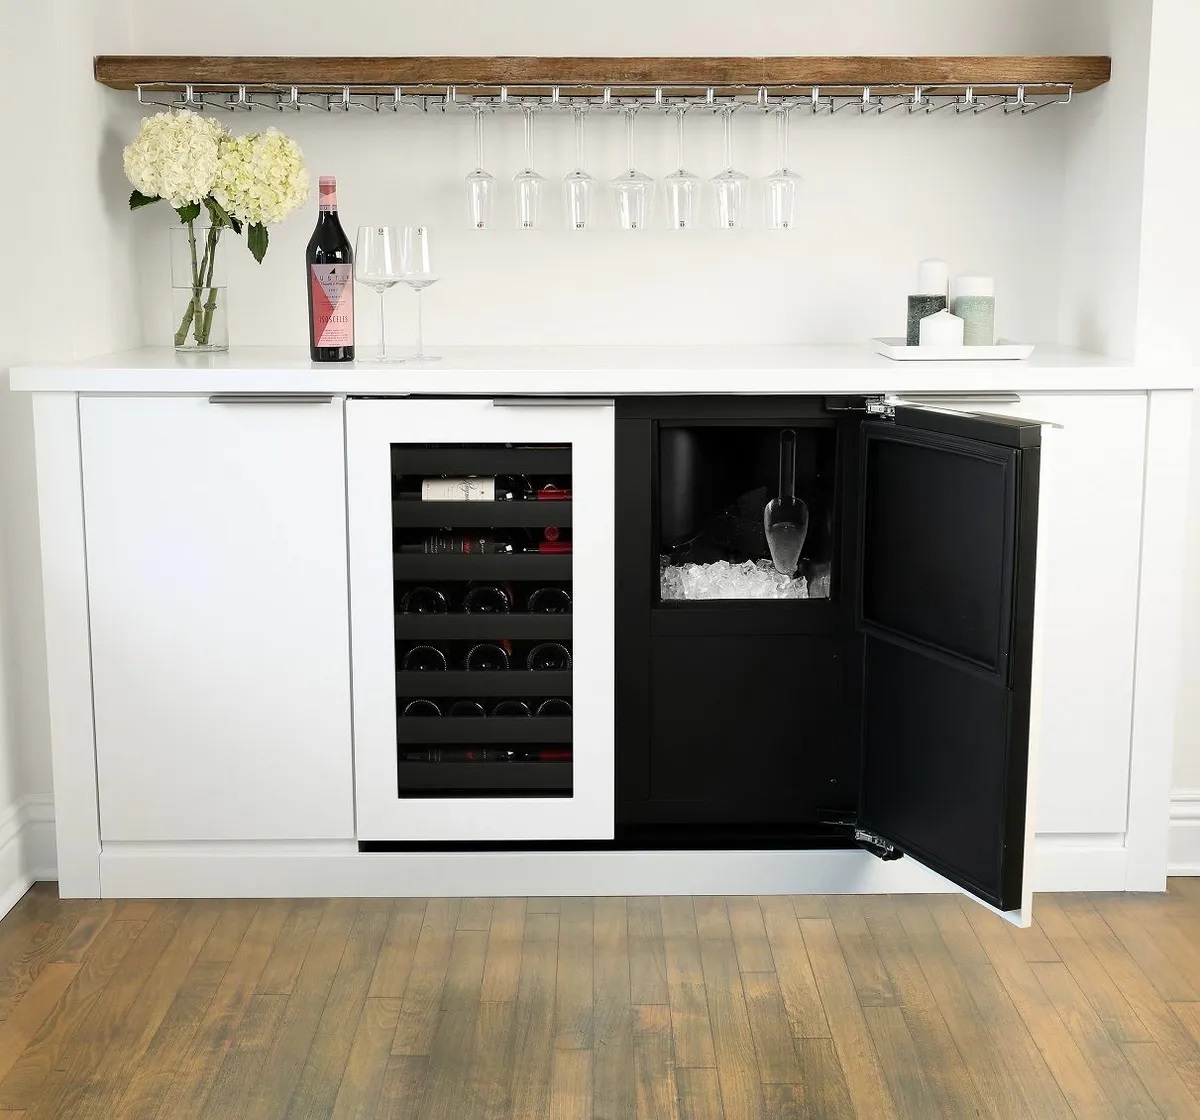
Removing Ice from the Ice Maker
Before you begin cleaning the components of your Kitchen Aid ice maker, it is important to remove any existing ice from the machine. This will make the cleaning process easier and more effective. Here’s how you can remove the ice:
- Turn Off the Ice Maker: Locate the power switch or control panel on your ice maker and turn it off. This will prevent the ice maker from making more ice while you’re cleaning it.
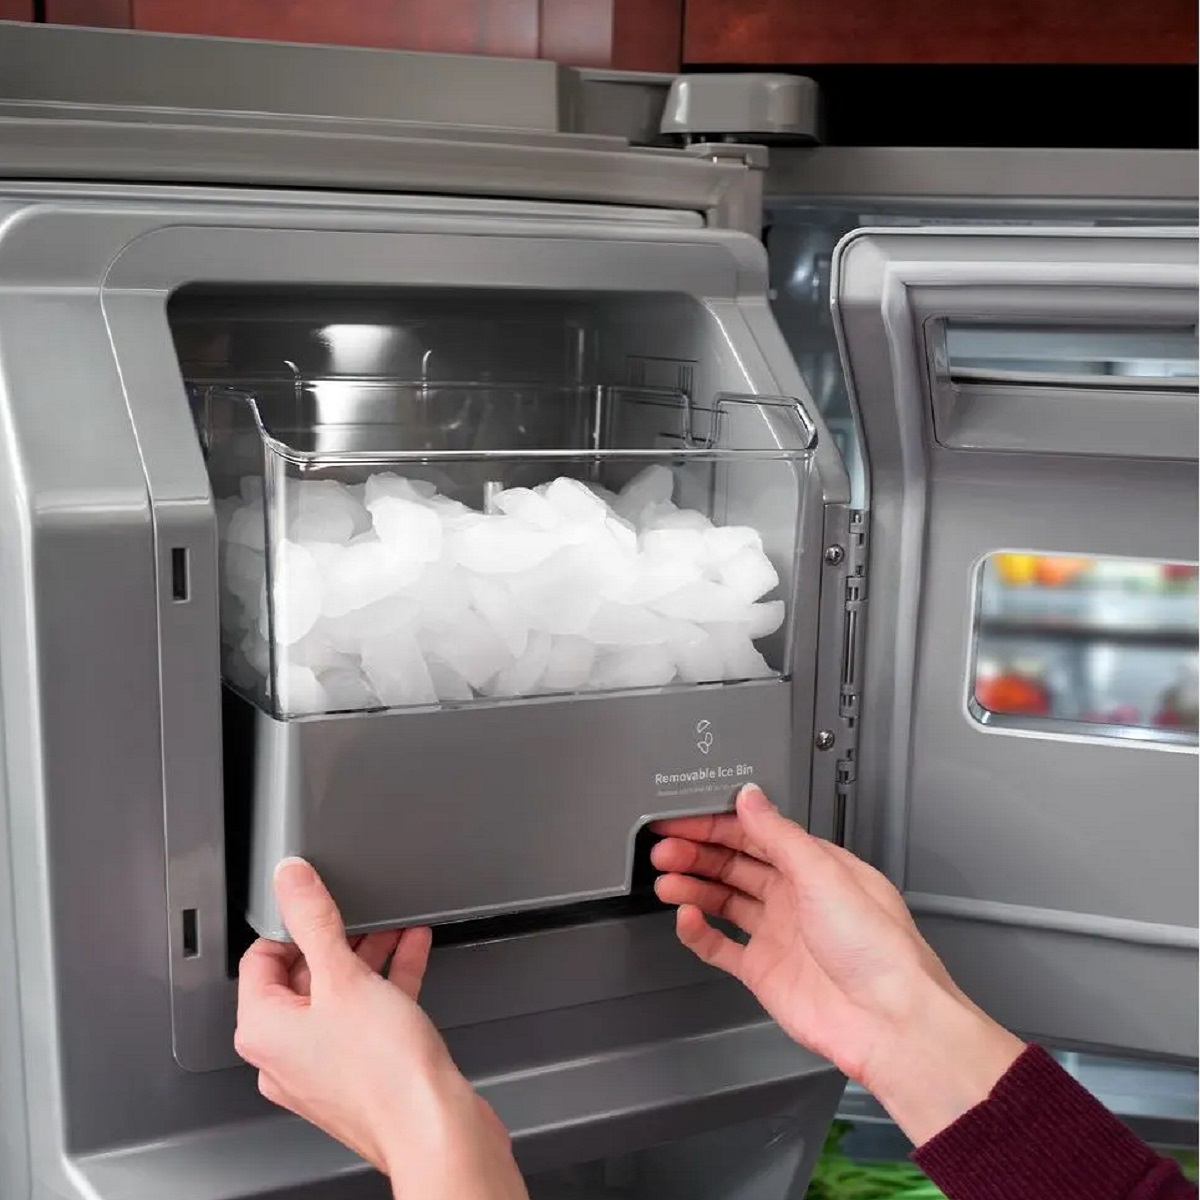
- Empty the Ice Bin: Remove the ice bin from the ice maker. Carefully pour out any ice cubes or crushed ice that may be present. You can either discard the ice or save it in a separate container if you wish.
- Allow the Ice Maker to Defrost: If there is a significant amount of ice buildup in the ice maker, it may be necessary to allow it to defrost for some time. This will make it easier to remove the remaining ice and clean the components.
- Use a Plastic Scraper: Gently scrape off any remaining ice from the ice maker components. Be careful not to use any sharp objects or metal utensils that could damage the machine.
- Wipe Down the Interior: Take a damp cloth or sponge and wipe down the interior of the ice maker to remove any residual ice or water. Make sure to dry the interior thoroughly before proceeding with the cleaning process.
Once you have removed all the ice from your Kitchen Aid ice maker, you are ready to move on to the next step: cleaning the ice maker components.
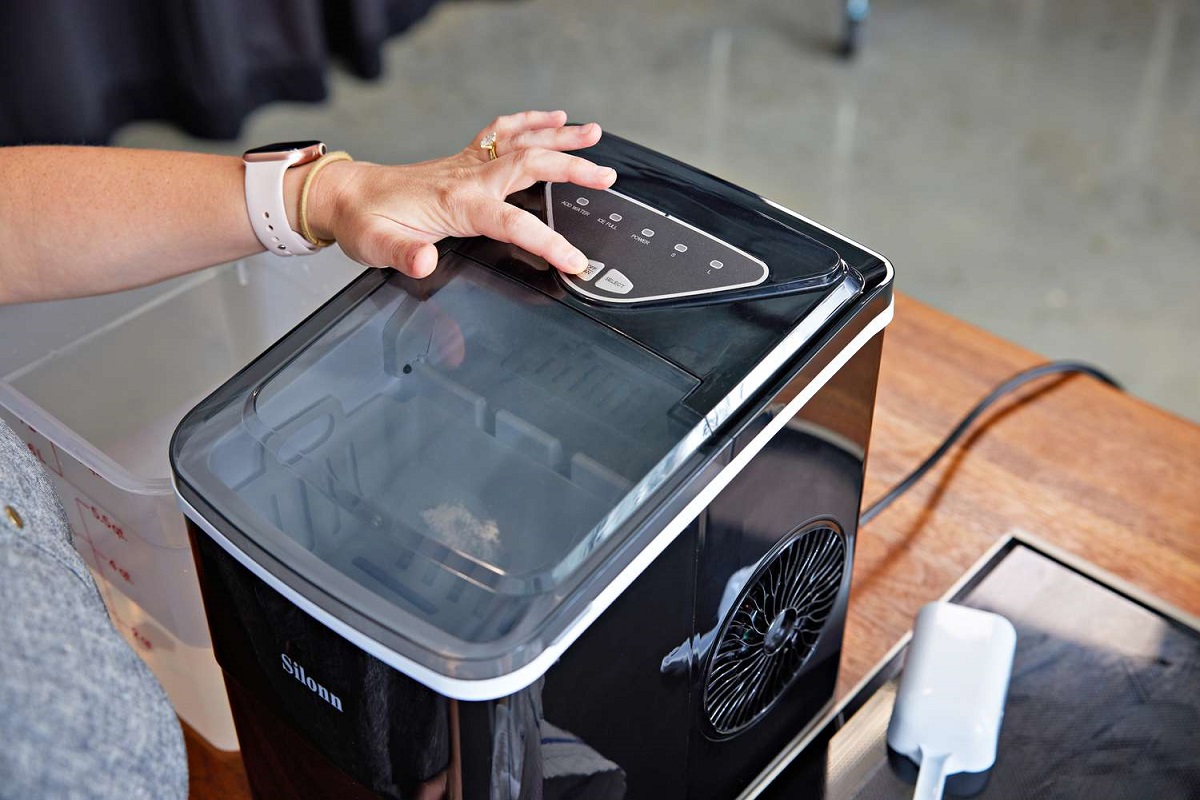
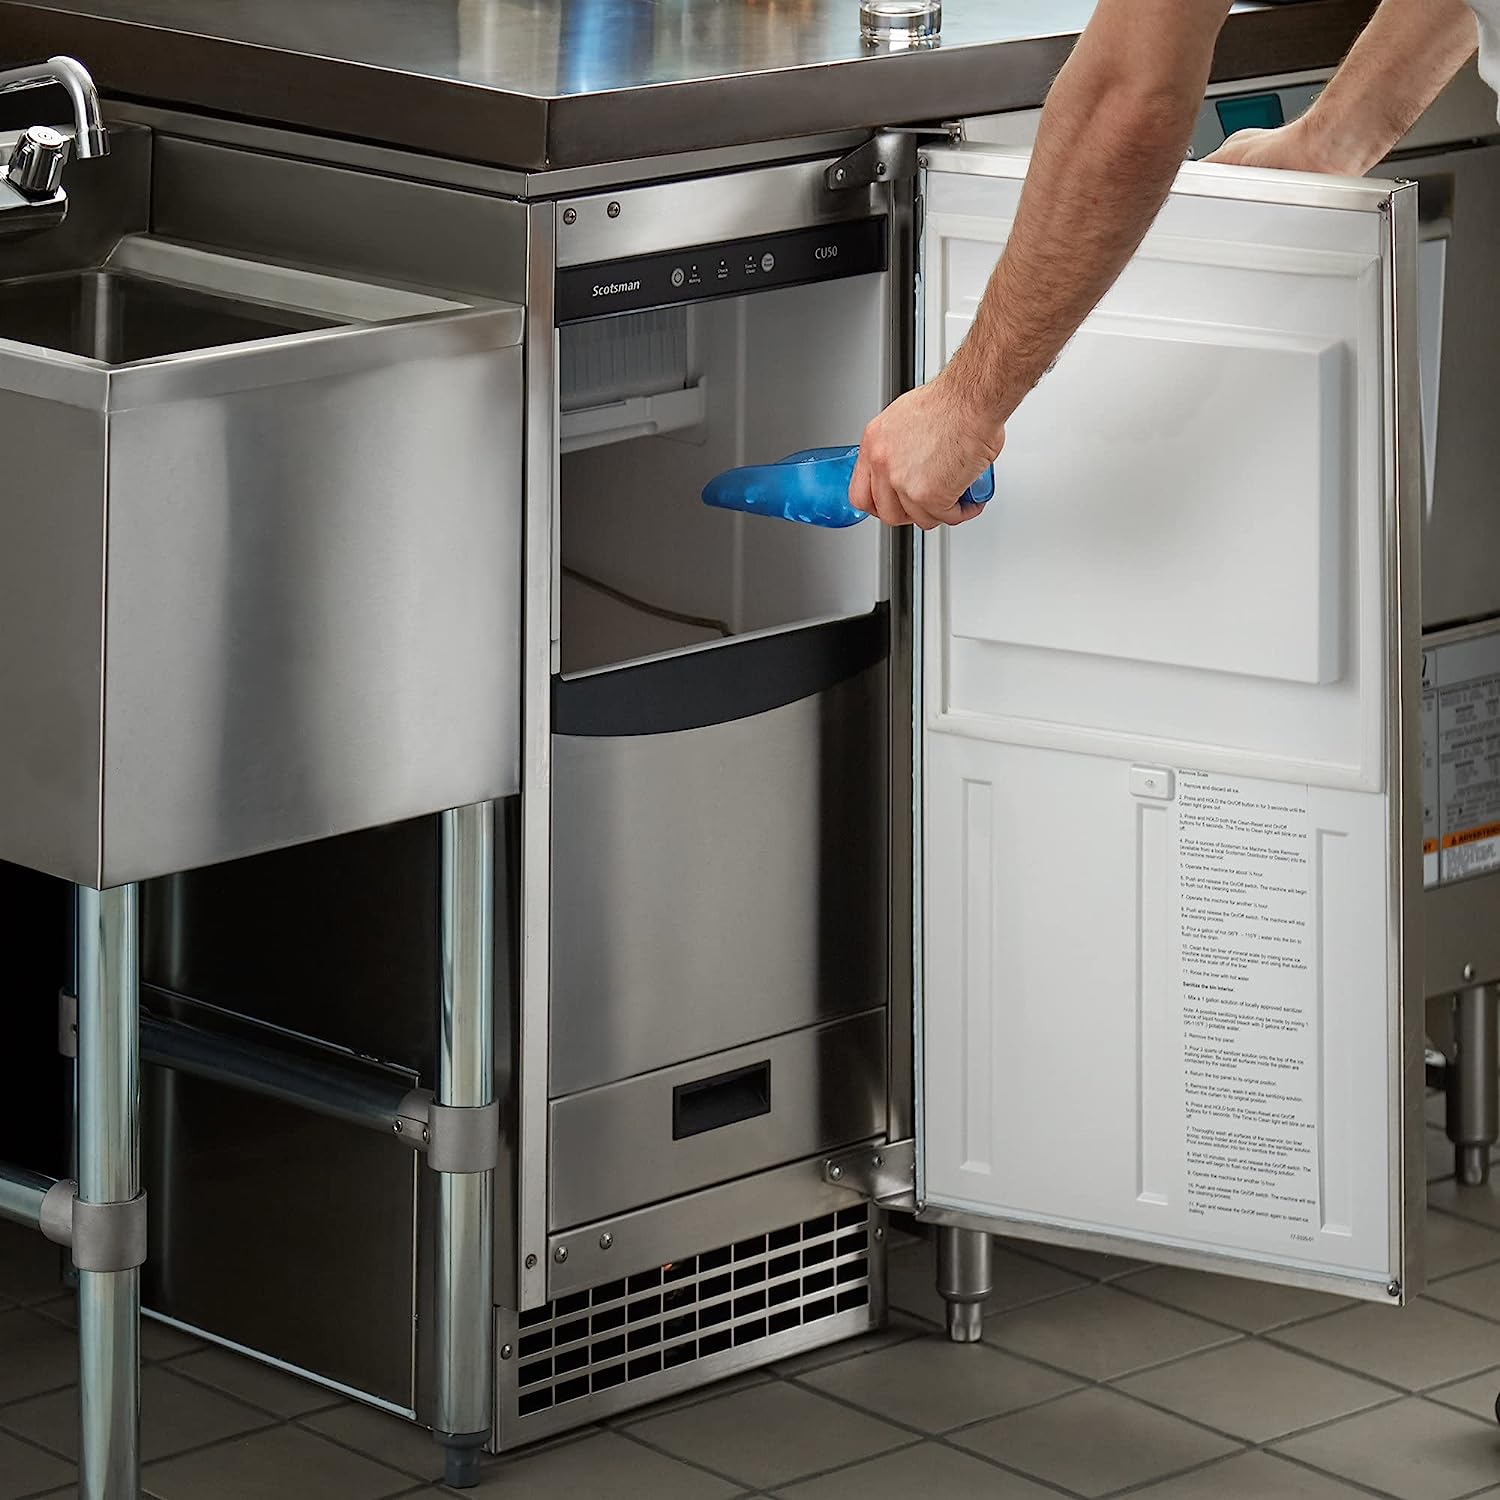
Cleaning the Ice Maker Components
Now that you have removed the ice from your Kitchen Aid ice maker, it’s time to clean the various components of the machine. Cleaning these components is essential to remove any mineral deposits, bacteria, or mold that may have accumulated over time. Here’s a step-by-step guide on how to clean the ice maker components:
- Remove and Soak the Removable Parts: Start by removing any removable parts from the ice maker, such as the ice bin, water reservoir, or ice scoop. These parts can be soaked in a mixture of warm water and mild dish soap for about 15-20 minutes. This will help loosen any dirt or debris.
- Scrub the Removable Parts: After soaking, use a sponge or soft cloth to scrub the removable parts, paying special attention to any areas with stubborn stains or buildup. Rinse them thoroughly with warm water to remove any soap residue.
- Clean the Interior: Using a mixture of warm water and mild dish soap, dampen a sponge or cloth and gently wipe down the interior walls, shelves, and other surfaces of the ice maker. Be careful not to use excessive water that may seep into electrical components.
- Remove Mineral Deposits: If there are mineral deposits or hard water stains on the components, you can use a solution of equal parts water and white vinegar. Dampen a cloth with the vinegar solution and gently rub the affected areas to remove the deposits. Rinse thoroughly with warm water afterward.
- Clean the Water Inlet: The water inlet is responsible for supplying water to the ice maker. Use a soft bristle brush or a toothbrush dipped in warm water and mild dish soap to clean the water inlet. Gently scrub to remove any debris or mineral deposits.
- Pay Attention to the Evaporator Plate: The evaporator plate is responsible for freezing the water to form ice. It can develop mineral deposits or mold over time. Use a soft bristle brush or toothbrush dipped in a mixture of warm water and white vinegar to gently clean the evaporator plate.
- Rinse and Dry: After cleaning all the components, make sure to rinse them thoroughly with warm water to remove any cleaning product residue. Use a lint-free cloth to dry all the parts and ensure they are completely free of moisture.
Once you have finished cleaning all the components, it’s time to move on to cleaning the exterior of the ice maker.
Regularly clean the ice maker by wiping down the exterior with a damp cloth and using a mixture of warm water and mild detergent to clean the interior. Be sure to follow the manufacturer’s instructions for any specific cleaning recommendations.
Read more: Where To Buy Kitchenaid Ice Maker Cleaner
Cleaning the Exterior of the Ice Maker
While cleaning the interior components of your Kitchen Aid ice maker is important, it is equally essential to clean the exterior surfaces. This helps to maintain the overall cleanliness and appearance of the machine. Here’s how you can clean the exterior of your ice maker:
- Prepare a Cleaning Solution: Mix warm water with mild dish soap in a bucket or basin. Create a soapy solution that is gentle enough to clean the surfaces without causing any damage.
- Dampen a Cloth or Sponge: Dip a soft cloth or sponge into the soapy solution. Make sure the cloth is not too wet, as excessive water can damage the electrical components of the ice maker.
- Gently Wipe Down the Surfaces: Use the damp cloth or sponge to gently wipe down the exterior surfaces of the ice maker. Pay attention to areas that may have accumulated dirt, fingerprints, or spills. Be careful around control panels and buttons to avoid any water damage.
- Focus on Stains or Stubborn Spots: If there are any stains or stubborn spots on the exterior, you can use a mixture of equal parts water and white vinegar. Dampen a cloth with the vinegar solution and gently rub the affected area to remove the stain. Rinse with a clean damp cloth afterward.
- Dry the Surfaces: After cleaning, use a dry lint-free cloth to wipe down and dry the exterior surfaces of the ice maker. This helps to prevent any water spots or streaks from forming.
- Polish the Stainless Steel (if applicable): If your ice maker has stainless steel surfaces, you can use a stainless steel cleaner and a soft cloth to polish and restore its shine. Follow the instructions on the cleaner for best results.
- Clean the Ice Bin Exterior: Don’t forget to clean the exterior of the ice bin as well. Wipe it down with the soapy solution, rinse, and dry thoroughly before reattaching it to the ice maker.
By following these steps, you can ensure that the exterior of your Kitchen Aid ice maker is clean and free from dirt or stains. Now that you have cleaned both the interior and exterior, it’s time to reassemble the ice maker and perform a test run.
Reassembling and Testing the Ice Maker
After completing the cleaning process for your Kitchen Aid ice maker, it’s time to reassemble the components and perform a test run to ensure everything is functioning properly. Here are the steps to reassemble and test your ice maker:
- Reattach the Removable Parts: Start by reattaching all the removable parts, including the ice bin, water reservoir, and ice scoop. Make sure they are properly aligned and securely attached.
- Connect the Ice Maker to the Power Source: Once all the components are in place, plug the ice maker back into the power source. Ensure that it is properly connected and the power switch is turned on.
- Allow the Ice Maker to Resume Operation: Give the ice maker some time to resume its normal operation. It may take a few hours for the first batch of ice to be produced. During this time, monitor the ice maker to ensure it is functioning correctly.
- Check for Proper Ice Production: Once the ice maker has had sufficient time to produce ice, check the ice bin to see if it is filling up with ice cubes. Ensure that the ice cubes are clear, odorless, and free from any particles or impurities.
- Monitor for Any Issues: Keep an eye on the ice maker for the next few days to ensure that it continues to produce clean and properly frozen ice. If you notice any issues, such as unusual noises, leaks, or poor ice quality, refer to the troubleshooting section of your user manual or contact Kitchen Aid for assistance.
By reassembling the ice maker correctly and performing a test run, you can ensure that the cleaning process has been successful and that your Kitchen Aid ice maker is ready to provide you with fresh and clean ice for all your needs.
Now that you have learned how to clean and maintain your ice maker, let’s discuss some tips for maintaining its performance and longevity.
Tips for Maintaining the Ice Maker
Keeping your Kitchen Aid ice maker clean is just one part of proper maintenance. To ensure optimal performance and longevity of your ice maker, here are some additional tips to keep in mind:
- Regularly Clean and Sanitize: Make it a habit to clean your ice maker at least once every few months, or more frequently if needed. Regular cleaning helps prevent the buildup of mineral deposits, mold, and bacteria.
- Keep the Surrounding Area Clean: Regularly clean the area surrounding the ice maker, including countertops and cabinets. This prevents dust, dirt, and debris from entering the ice maker and affecting its performance.
- Check the Water Supply: Ensure that the water supply to the ice maker is adequate and free from any impurities. If you notice any issues with the water supply, such as low pressure or foul odor, contact a professional plumber to address the problem.
- Replace Water Filters as Recommended: If your ice maker has a water filtration system, make sure to replace the filters according to the manufacturer’s recommendations. This helps maintain the quality and taste of the ice by removing contaminants from the water.
- Monitor Ice Production and Capacity: Regularly check the ice production and storage capacity of your ice maker. If you notice a significant decrease in ice production or the ice bin is not filling up as it should, it could indicate a problem that needs to be addressed.
- Follow User Manual Guidelines: Always refer to the user manual provided by Kitchen Aid for specific instructions on cleaning, maintenance, and troubleshooting. Following the manufacturer’s guidelines ensures that you are taking the correct steps to care for your ice maker.
- Avoid Overloading the Ice Bin: To prevent strain on the ice maker’s motor and components, avoid overfilling the ice bin. Be mindful of the ice production capacity and remove excess ice to maintain proper functionality.
- Keep the Ice Maker Level: Ensure that your ice maker is correctly leveled to prevent any issues with ice production or water flow. Use a leveling tool or refer to the user manual for instructions on how to adjust the level of your ice maker.
- Schedule Professional Maintenance: Consider scheduling professional maintenance for your ice maker every few years. A qualified technician can perform a thorough inspection and cleaning, as well as address any potential issues or repairs.
By following these tips and maintaining your Kitchen Aid ice maker regularly, you can ensure its optimal performance and enjoy clean and refreshing ice whenever you need it.
Now that you have a good understanding of how to clean and maintain your ice maker, you can confidently enjoy the benefits of a properly functioning and clean Kitchen Aid ice maker for years to come.
Conclusion
Congratulations! You have now learned how to clean and maintain your Kitchen Aid ice maker. By following the step-by-step guide and implementing the tips for maintenance, you can ensure that your ice maker continues to produce clean and refreshing ice for all your beverages.
Regular cleaning of the ice maker components helps remove mineral deposits, bacteria, and mold, ensuring that your ice is free from any impurities. Additionally, maintaining the exterior surfaces of the ice maker keeps it looking clean and presentable in your kitchen.
Remember to always prioritize safety when cleaning your ice maker, including disconnecting the power source and using appropriate protective gear. Following the guidelines provided by Kitchen Aid and consulting the user manual will help you navigate the cleaning process effectively.
In addition to cleaning, implementing the tips for maintenance will help prolong the lifespan and performance of your ice maker. Regularly checking the water supply, monitoring ice production, and following the manufacturer’s recommendations for filter replacement will contribute to optimal ice quality and production.
Finally, scheduling professional maintenance every few years can ensure a thorough inspection and address any potential issues or repairs, further extending the life of your ice maker.
Now that you have the knowledge and tools to keep your Kitchen Aid ice maker in pristine condition, you can enjoy the convenience of having fresh, clean ice at your fingertips. So go ahead, quench your thirst, and enjoy the refreshing ice cubes produced by your well-maintained ice maker!
Frequently Asked Questions about How To Clean A Kitchenaid Ice Maker
Was this page helpful?
At Storables.com, we guarantee accurate and reliable information. Our content, validated by Expert Board Contributors, is crafted following stringent Editorial Policies. We're committed to providing you with well-researched, expert-backed insights for all your informational needs.
0 thoughts on “How To Clean A Kitchenaid Ice Maker”