Articles
How To Clean Kitchenaid Mixer
Modified: February 27, 2024
Learn effective methods and useful tips for cleaning your Kitchenaid mixer in this informative article. Keep your mixer in top condition for delicious baking and cooking!
(Many of the links in this article redirect to a specific reviewed product. Your purchase of these products through affiliate links helps to generate commission for Storables.com, at no extra cost. Learn more)
Introduction
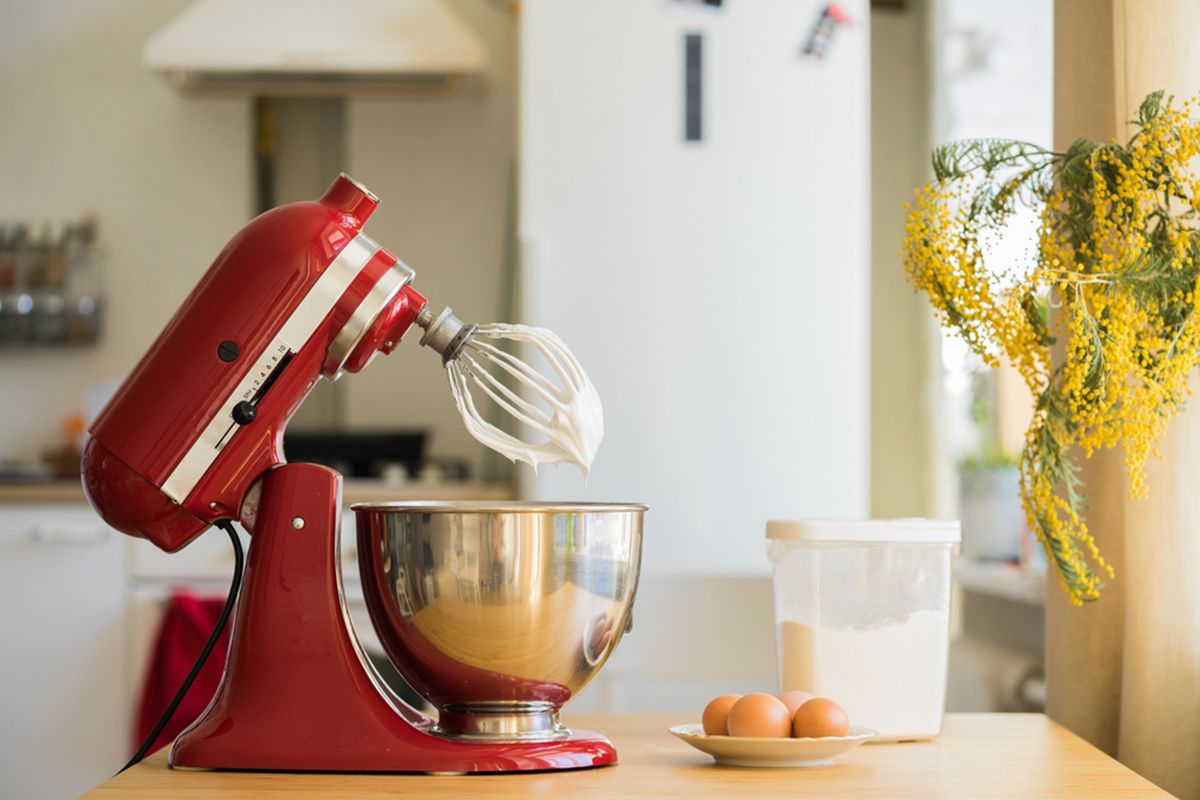
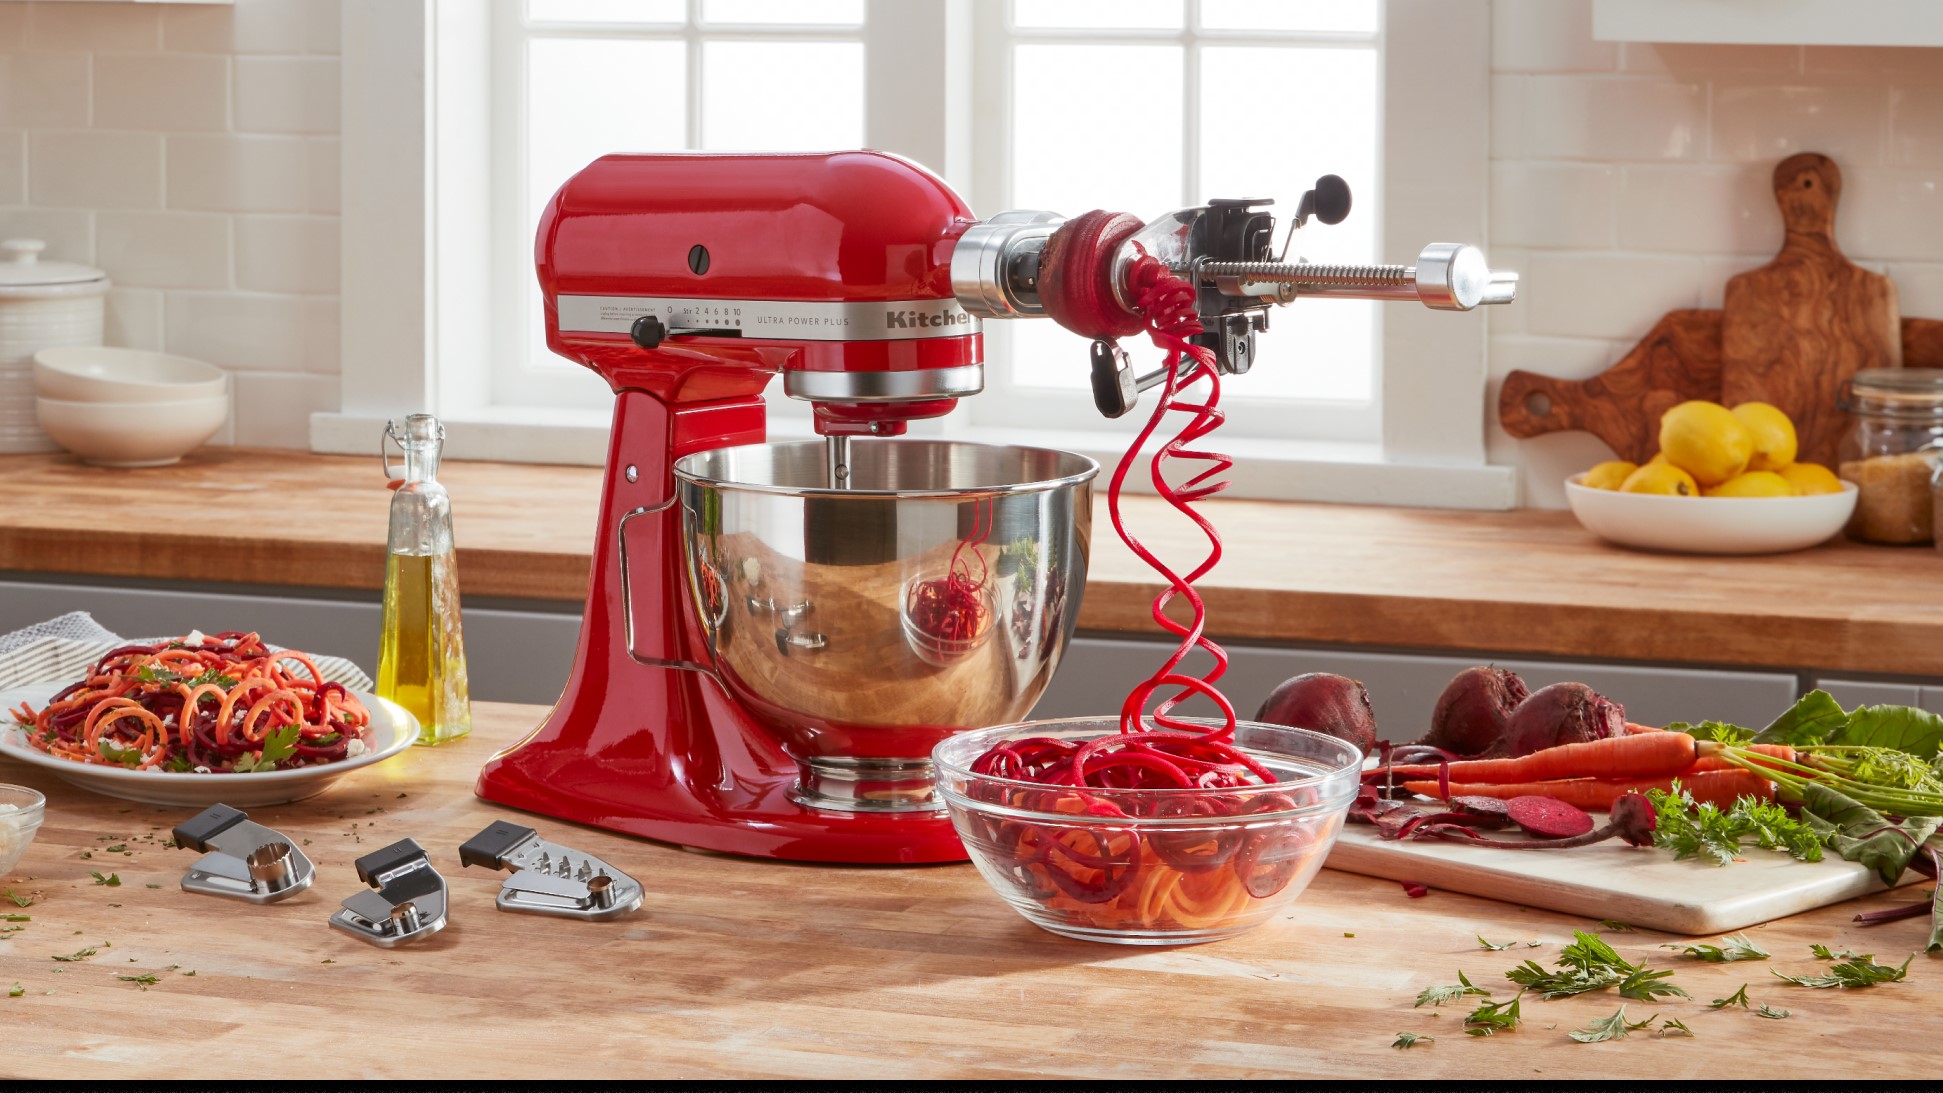
Welcome to our comprehensive guide on how to clean your KitchenAid mixer! For avid bakers and cooking enthusiasts, the KitchenAid mixer is an indispensable tool in the kitchen. It effortlessly mixes, kneads, and blends ingredients, making your culinary endeavors a breeze.
However, over time, your beloved mixer can accumulate grease, food residue, and other debris. Proper maintenance and regular cleaning are essential not only to ensure optimal performance but also to maintain hygiene and extend the lifespan of your KitchenAid mixer.
In this article, we will provide you with step-by-step instructions on how to effectively clean your KitchenAid mixer, from disassembling the parts to cleaning the attachments and exterior. We will also share some additional tips for maintenance to keep your mixer in pristine condition.
Before we dive into the cleaning process, it’s important to note that your safety is paramount. Always follow the manufacturer’s instructions, wear appropriate protective gear such as gloves, and ensure the mixer is unplugged before cleaning. Now, let’s get started!
Key Takeaways:
- Proper maintenance and regular cleaning of your KitchenAid mixer are essential for optimal performance, hygiene, and longevity. Follow safety precautions, use mild cleaning agents, and ensure thorough drying to keep your mixer in pristine condition.
- In addition to cleaning, proper maintenance, such as regular wiping of the exterior, oiling moving parts, and following maintenance schedules, is crucial for the long-term performance of your KitchenAid mixer. Incorporate these practices to enjoy reliable functionality for years to come.
Read more: How To Turn On A Kitchenaid Mixer
Safety Precautions
Before you begin cleaning your KitchenAid mixer, it’s important to take necessary safety precautions to avoid any accidents or damage. Here are some essential safety measures to keep in mind:
- Unplug the mixer: Always make sure to unplug the mixer from the power outlet before starting the cleaning process. This will prevent any accidental activation of the mixer while handling the parts.
- Wear protective gear: To protect your hands from any potential cuts or injuries, it is recommended to wear kitchen gloves when handling the sharp components of the mixer, such as the blades and attachments.
- Use a stable surface: Place your KitchenAid mixer on a stable and secure surface to prevent it from falling or tilting during the cleaning process. This will minimize the risk of any damage or injuries.
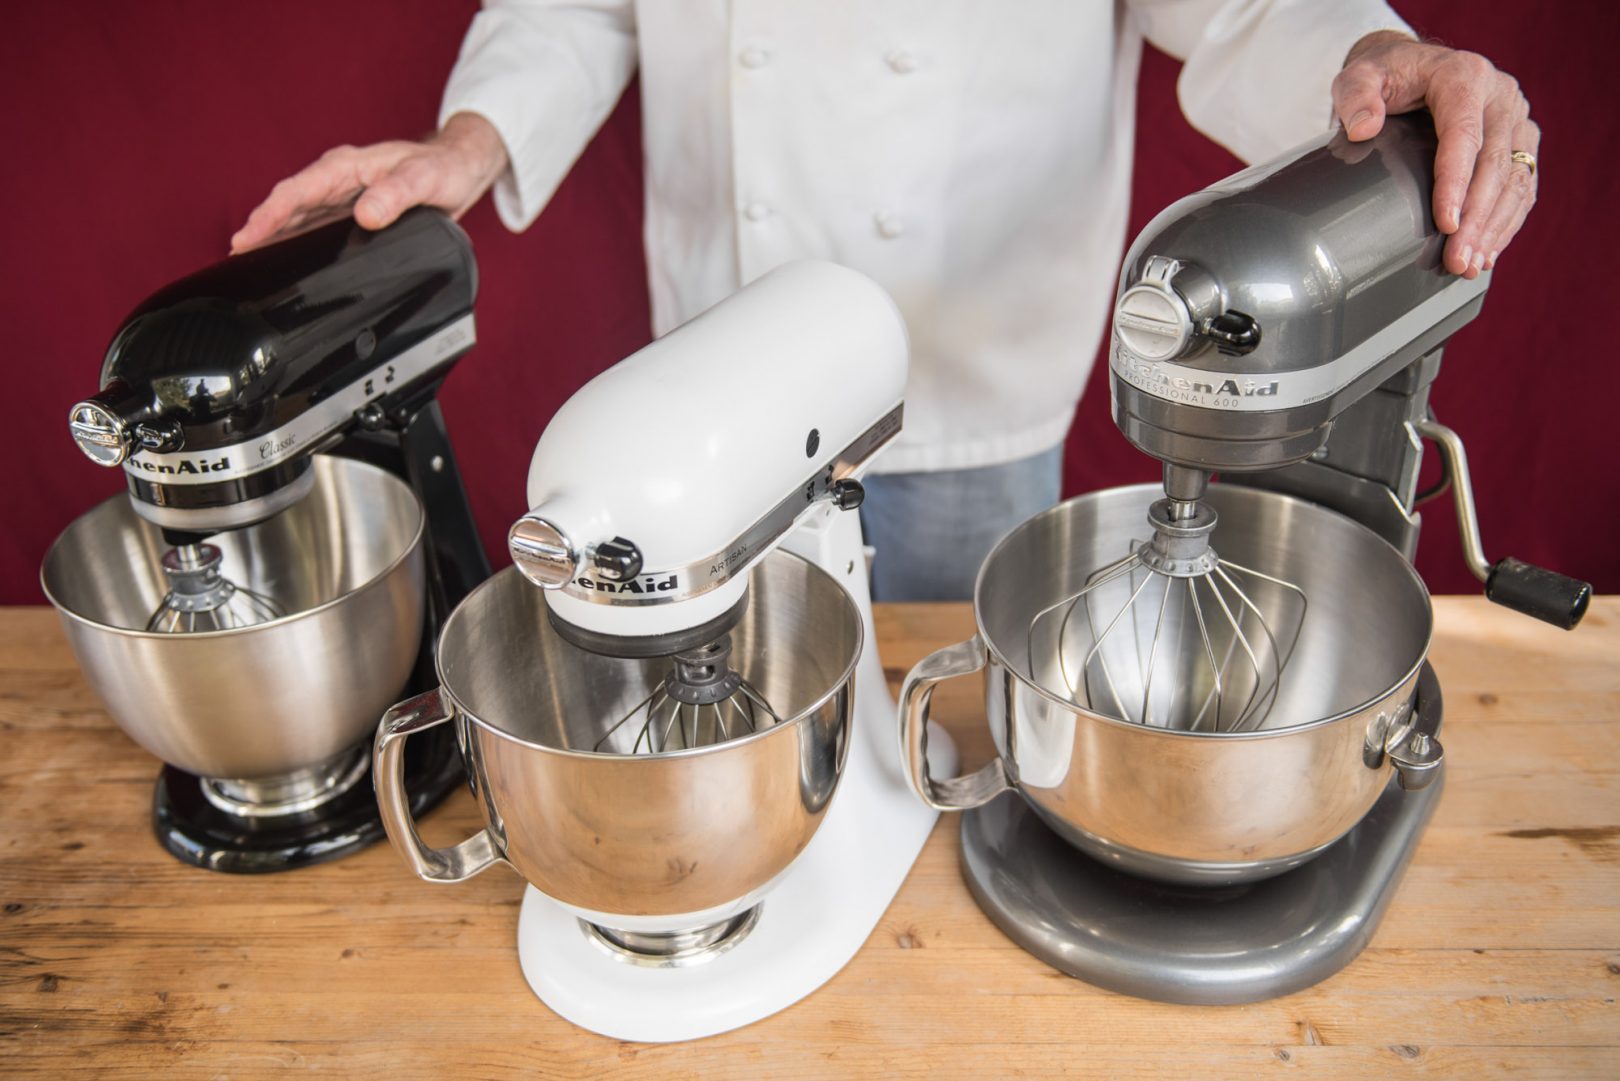
- Read the manual: Familiarize yourself with the manufacturer’s instructions and guidelines for cleaning the mixer. These instructions may vary depending on the specific model of your KitchenAid mixer, so it’s important to follow the recommended cleaning methods.
- Avoid submerging the electrical components: Do not immerse the electrical components, such as the motor or power cord, in water as this can cause electric shock and damage to the mixer. Only clean the removable and non-electrical parts.
- Use mild cleaning agents: When choosing cleaning agents for your mixer, opt for mild and non-abrasive solutions. Harsh chemicals or abrasive cleaners can damage the finishes and surfaces of your mixer. A mixture of warm water and mild dish soap is a safe and effective option.
- Allow parts to dry completely: After cleaning, ensure that all the parts are thoroughly dried before reassembling the mixer. Moisture can cause rusting or damage to the mixer, so it’s essential to allow everything to air dry before putting it back together.
- Store the mixer properly: Once the cleaning process is complete and the mixer is reassembled, store it in a cool and dry place to avoid exposure to moisture or extreme temperatures. This will help to maintain its quality and functionality.
By following these safety precautions, you can ensure a safe and effective cleaning process for your KitchenAid mixer. Now that you’re aware of the necessary precautions, let’s proceed to the disassembly process.
Disassembling the KitchenAid Mixer
Before you can start cleaning your KitchenAid mixer, you’ll need to disassemble it. Follow these steps to safely disassemble your mixer:
- Unplug the mixer: Ensure that the mixer is unplugged from the power outlet to avoid any accidental activation or shock.
- Remove the attachments: Take off any attachments such as the beater, whisk, or dough hook from the mixer head. Hold the attachment firmly and twist counterclockwise to release it from the mixer.
- Detach the mixing bowl: Lift the mixing bowl from the base of the mixer. Depending on your model, the bowl may have a lever or handle to release it from the mixer. Follow the manufacturer’s instructions to safely remove the bowl.
- Remove the splash guard: If your KitchenAid mixer has a splash guard, gently lift it off or release it according to the manufacturer’s instructions. The splash guard helps prevent ingredients from splattering during mixing.
- Take out the beater blade: If your mixer has a tilting head, lift the head and remove the beater blade by pushing up and tilting it back. For mixers with a bowl-lift design, raise the bowl and tilt the head back to remove the beater blade.
- Detach any additional parts: Some models of KitchenAid mixers come with additional attachments or accessories. Remove any removable parts such as pouring shields, chopper attachments, or grinders according to the manufacturer’s instructions.
Once the above steps are completed, you have successfully disassembled your KitchenAid mixer, and you’re ready to move on to the cleaning process. In the next sections, we will guide you through cleaning the various parts of your mixer to ensure its proper hygiene and functionality.
Cleaning the Removable Parts
Now that you have disassembled your KitchenAid mixer, it’s time to clean the removable parts. Properly cleaning these parts is essential for removing any built-up residue or food particles. Follow these steps to clean the removable parts of your mixer:
- Beater, whisk, and dough hook: Start by cleaning the beater, whisk, and dough hook attachments. Fill your sink or a large basin with warm water and mild dish soap. Submerge the attachments in the soapy water and gently scrub them with a sponge or brush to remove any grease or residue. Rinse them thoroughly with clean water and dry them with a clean towel or allow them to air dry.
- Mixing bowl: Clean the mixing bowl using warm water and mild dish soap. You can also add a few drops of white vinegar to help remove any stubborn stains. Use a non-abrasive sponge or brush to clean the inside and outside of the bowl. Rinse it thoroughly and dry it with a clean towel.
- Splash guard: If your mixer has a splash guard, clean it with warm soapy water. Gently scrub it to remove any residue and rinse it thoroughly. Dry it completely before reassembling the mixer.
- Additional attachments: If you have any additional attachments like pouring shields or chopper attachments, clean them following the manufacturer’s instructions. Use warm water and mild dish soap, scrubbing gently to remove any food residue. Rinse them thoroughly and dry them completely.
Remember to never submerge the electrical components, including the motor or power cord, in water. Only clean the removable parts that can be safely washed. It’s important to ensure that all the parts are completely dry before reassembling your KitchenAid mixer.
Cleaning the removable parts of your KitchenAid mixer regularly will keep them in optimal condition and help maintain the hygiene of your mixer. Now, let’s move on to cleaning the mixing bowl.
Cleaning the Mixing Bowl
The mixing bowl is an essential part of your KitchenAid mixer and requires regular cleaning to remove any residue or stains. Follow these steps to effectively clean your mixing bowl:
- Prepare a cleaning solution: Fill your sink or a large basin with warm water and add a few drops of mild dish soap. Alternatively, you can mix equal parts of vinegar and water for a natural cleaning solution.
- Submerge the bowl: Place the mixing bowl in the sink or basin, ensuring that it is fully submerged in the cleaning solution. Allow it to soak for a few minutes to loosen any stubborn residue.
- Scrub the bowl: Using a non-abrasive sponge or brush, gently scrub the inside and outside of the bowl. Pay extra attention to any areas with residue or stains. For stubborn stains, you can sprinkle some baking soda on the sponge and scrub the affected areas. Avoid using harsh scrubbers or abrasive cleaners, as they can damage the surface of the bowl.
- Rinse thoroughly: Once you have scrubbed the bowl, rinse it thoroughly with clean water to remove any soap or residue. Make sure to rinse the inside and outside of the bowl properly.
- Dry the bowl: After rinsing, dry the mixing bowl with a clean towel. Ensure that it is completely dry before reassembling your KitchenAid mixer. If needed, you can leave the bowl to air dry on a clean dish rack or drying mat.
By following these steps, you can effectively clean your mixing bowl and remove any food residues or stains. Regular cleaning of the mixing bowl will not only keep your KitchenAid mixer hygienic but also ensure better results in your baking and cooking endeavors. Now, let’s move on to cleaning the attachments of your mixer.
To clean a KitchenAid mixer, unplug it first. Then, remove the attachments and wash them in warm, soapy water. Wipe the mixer with a damp cloth and dry thoroughly. Avoid submerging the mixer in water.
Read more: What Kitchenaid Mixer To Buy
Cleaning the Attachments
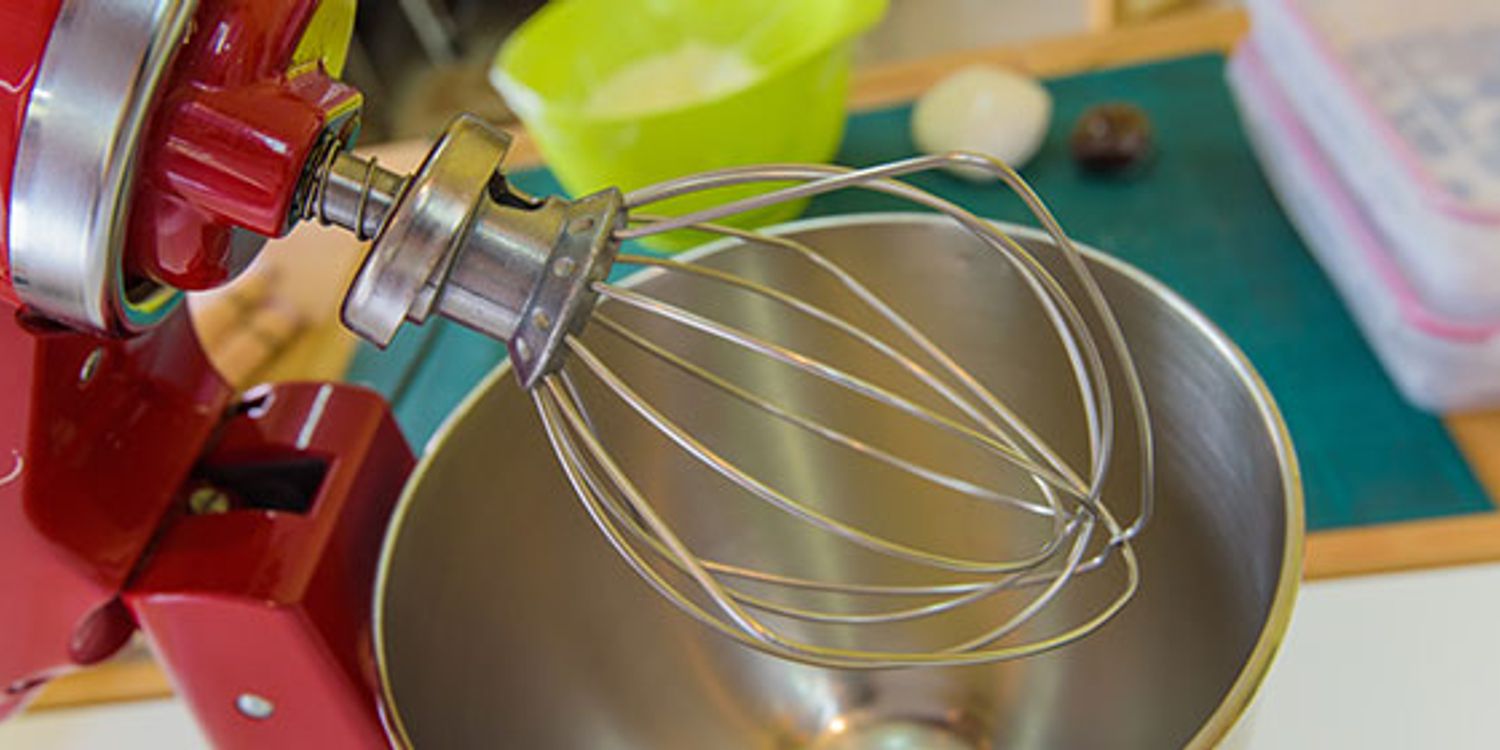
The attachments of your KitchenAid mixer, such as the beater, whisk, and dough hook, also need proper cleaning to maintain their efficiency and hygiene. Here’s how you can clean the attachments:
- Prepare a cleaning solution: Fill your sink or a basin with warm water and add a few drops of mild dish soap. You can also add a small amount of baking soda for extra cleaning power.
- Submerge the attachments: Place the attachments in the cleaning solution, ensuring that they are fully submerged. Allow them to soak for a few minutes to help loosen any hardened food particles.
- Scrub the attachments: Using a sponge or brush, gently scrub the attachments to remove any remaining residues. Pay close attention to the crevices and edges. For stubborn stains or hardened dough, you can use a toothpick or a small brush to carefully remove the debris. Avoid using abrasive cleaners or scouring pads, as they can damage the attachments.
- Rinse thoroughly: After scrubbing, rinse the attachments under clean water to remove any soap or residue. Make sure to rinse them thoroughly to ensure that no residue remains.
- Dry the attachments: After rinsing, use a clean towel to dry the attachments completely. Ensure that all surfaces, including crevices, are dry to prevent any moisture buildup, which can lead to mold or rust. If necessary, you can also leave the attachments to air dry on a clean dish rack or drying mat.
It’s important to clean the attachments after each use to prevent the buildup of residue, which can affect the performance of your mixer and compromise food safety. Regular cleaning will also help extend the lifespan of your attachments and maintain their functionality.
Now that you have cleaned the attachments, let’s move on to cleaning the exterior of your KitchenAid mixer.
Cleaning the Exterior of the Mixer
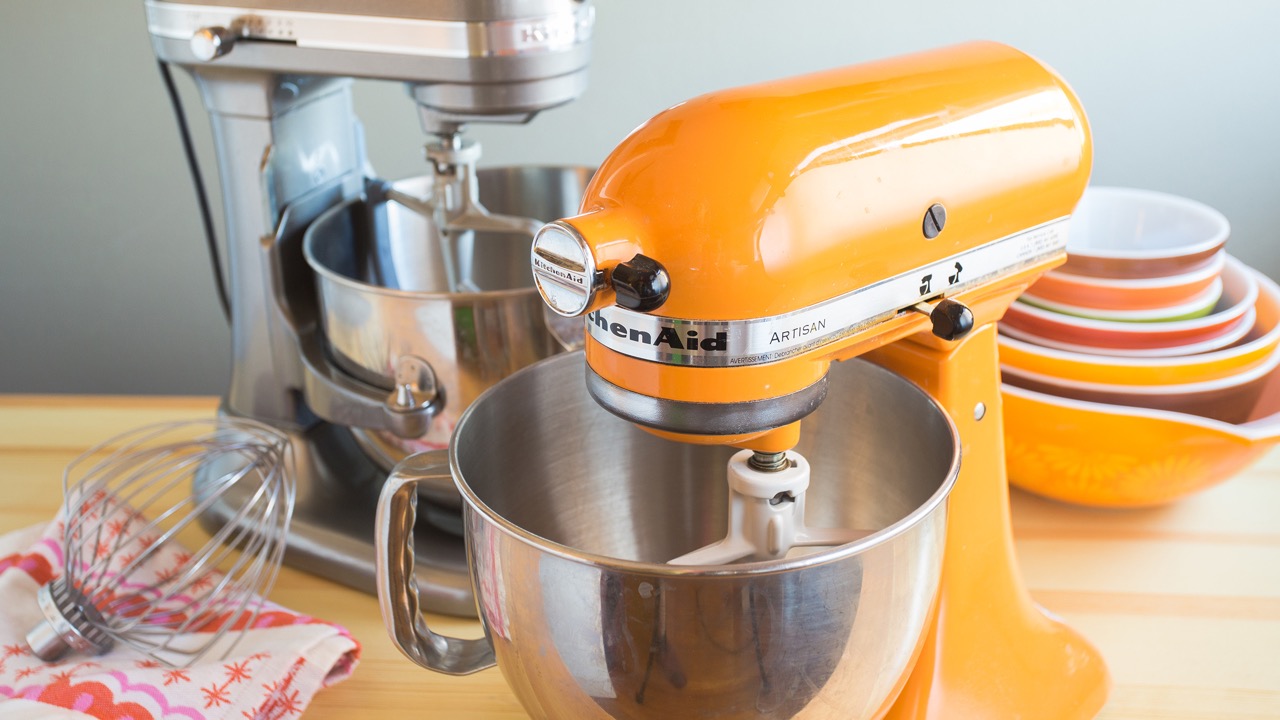
The exterior of your KitchenAid mixer can accumulate grease, spills, and fingerprints, making it important to clean it regularly to keep it looking as good as new. Follow these steps to clean the exterior of your mixer:
- Unplug the mixer: Before cleaning the exterior, ensure that the mixer is unplugged from the power outlet to avoid any accidents.
- Prepare a cleaning solution: Mix warm water with a small amount of mild dish soap or a gentle kitchen cleaner. Avoid using abrasive cleaners or harsh chemicals, as they can damage the finish of your mixer.
- Dampen a cloth: Dip a soft cloth or sponge into the cleaning solution. Make sure the cloth is damp and not soaking wet.
- Gently wipe the exterior: Using the damp cloth, gently wipe the exterior surfaces of the mixer, including the base, controls, and any other accessible areas. Pay extra attention to areas that have grease or stains. Avoid putting excessive pressure on the surfaces to prevent any damage.
- Remove stubborn stains: If there are any stubborn stains or residue, you can use a non-abrasive kitchen brush or toothbrush to carefully scrub the affected areas. Again, be gentle to avoid scratching the surfaces.
- Rinse and dry: After scrubbing, rinse the cloth under clean water and wring out any excess moisture. Wipe down the mixer again to remove any cleaning residue. Finally, use a clean, dry cloth to thoroughly dry the exterior of the mixer.
- Polish (optional): If you want to give your mixer an extra shine, you can use a microfiber cloth to gently polish the exterior. This step is optional but can enhance the appearance of your mixer.
Regularly cleaning the exterior of your KitchenAid mixer not only keeps it looking pristine but also prevents the build-up of grime and ensures the longevity of the finish. Now that you have cleaned the exterior, let’s move on to reassembling your mixer.
Reassembling the KitchenAid Mixer
After thoroughly cleaning the removable parts, mixing bowl, attachments, and the exterior of your KitchenAid mixer, it’s time to reassemble everything. Follow these steps to safely and correctly reassemble your mixer:
- Ensure the mixer is unplugged: Double-check that the mixer is still unplugged from the power outlet to avoid any accidents.
- Attach the mixing bowl: Place the cleaned mixing bowl back onto the base of the mixer. Depending on your model, make sure it is securely locked in place by following the manufacturer’s instructions.
- Insert the splash guard (if applicable): If your KitchenAid mixer has a splash guard, carefully place it back in its designated position according to the manufacturer’s instructions.
- Attach the beater, whisk, or dough hook: Take the cleaned attachment of your choice, align it with the attachment hub on the mixer head, and twist it clockwise until it locks into place. Ensure that the attachment is properly seated and secure.
- Reattach any additional parts: If you removed any additional attachments or accessories, such as pouring shields or chopper attachments, reinstall them according to the manufacturer’s instructions.
- Double-check everything: Take a moment to review your reassembly to ensure that all parts are correctly attached and securely in place. This will help prevent any accidents or issues during use.
Once you have successfully reassembled your KitchenAid mixer, give it a final wipe with a clean, dry cloth to remove any residual moisture or fingerprints. Your mixer is now ready to be used again for your baking or cooking adventures!
Remember to refer to the manufacturer’s instructions for precise reassembly details specific to your model of the KitchenAid mixer. Now that you know how to reassemble your mixer, let’s move on to some additional tips for maintenance.
Additional Tips for Maintenance
To keep your KitchenAid mixer in top-notch condition, here are some additional tips for maintenance:
- Regularly wipe down the exterior: Even when not in use, periodically wipe down the exterior of your mixer with a clean, damp cloth. This will prevent the accumulation of dust and grime, keeping it looking clean and polished.
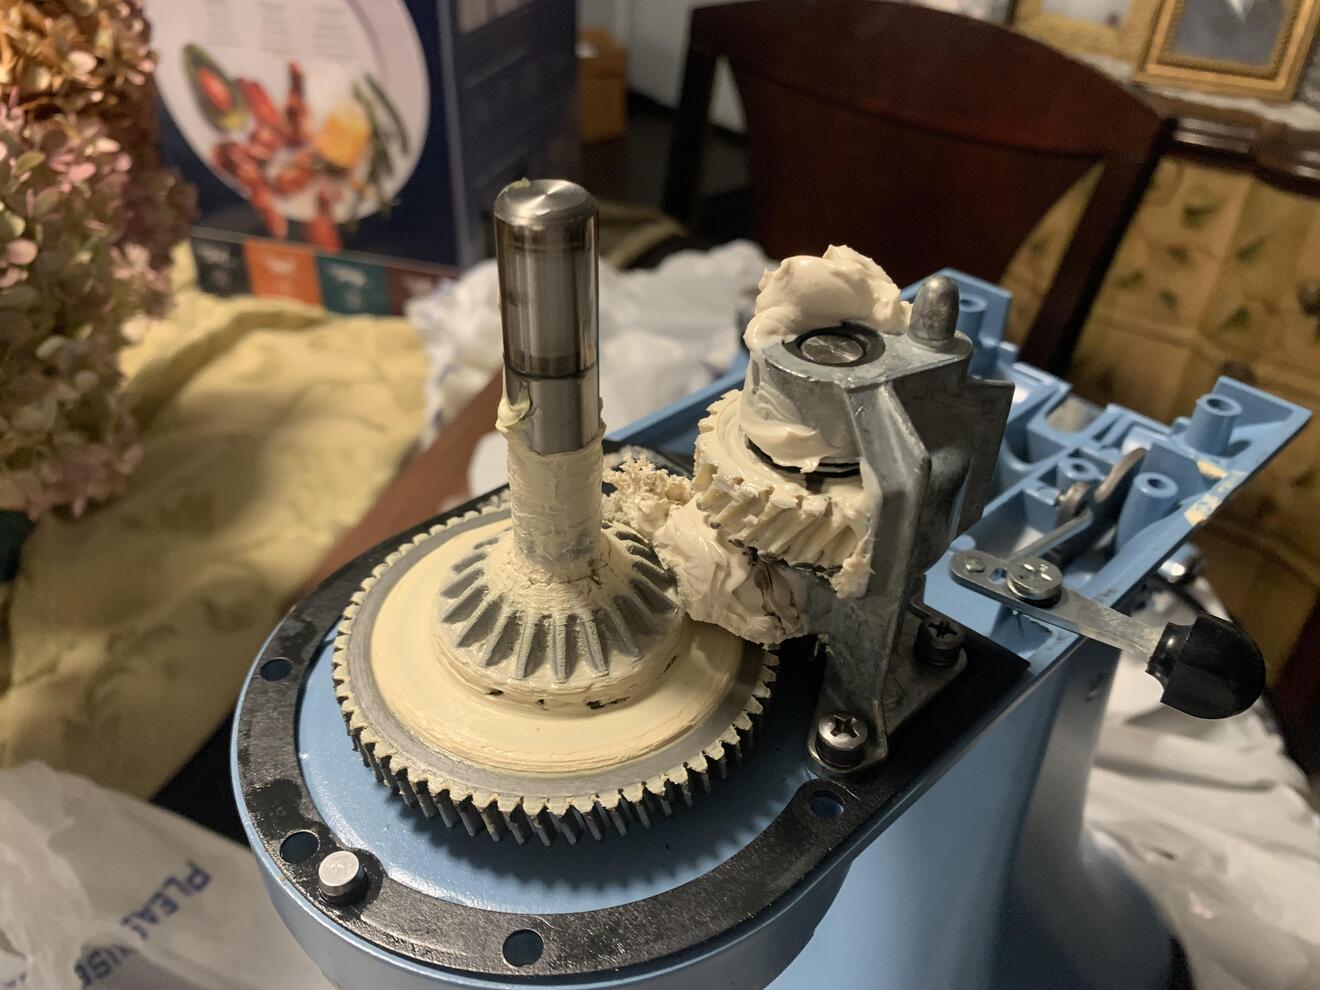
- Oil the moving parts: Some KitchenAid mixers may require occasional lubrication. Consult your owner’s manual to determine if your model’s moving parts need to be oiled and follow the recommended guidelines. Proper lubrication will help maintain smooth operation.
- Store attachments properly: When not in use, store the attachments in a clean and dry place. Consider using the attachment storage options provided by KitchenAid or invest in protective covers to prevent any damage or scratches.
- Avoid overloading the mixer: Be mindful of the maximum capacity of your mixer and avoid overloading it with excessive ingredients or dough. This will prevent strain on the motor and ensure optimal performance.
- Handle with care: While the KitchenAid mixer is a durable appliance, it’s crucial to handle it with care. Avoid bumping or dropping the mixer, as this can damage its internal components. Always use and store it in a safe and secure manner.
- Follow maintenance schedules: Regularly refer to the manufacturer’s instructions for recommended maintenance schedules, such as cleaning intervals and part replacements. Adhering to these schedules will help prolong the lifespan of your mixer.
- Seek professional servicing if needed: If you encounter any unusual noises, issues with the performance, or suspect any mechanical problems with your KitchenAid mixer, it’s best to consult a professional technician. They can diagnose and address any underlying problems to ensure the proper functioning of your mixer.
By following these additional maintenance tips, you will maximize the lifespan and efficiency of your KitchenAid mixer, allowing you to enjoy its reliable performance for years to come.
Now that you have learned how to clean and maintain your KitchenAid mixer, you’re well-equipped to keep it in excellent condition. Regular cleaning and proper maintenance will not only enhance its longevity but also ensure hygienic and delightful baking experiences. Happy mixing!
Read more: How Much Does A Kitchenaid Mixer Weigh
Conclusion
Cleaning and maintaining your KitchenAid mixer is essential to ensure optimal performance, hygienic food preparation, and longevity of this indispensable kitchen tool. By following the step-by-step instructions provided in this guide, you can easily and effectively clean your mixer, from disassembling the parts to cleaning the attachments and exterior.
Remember to always prioritize safety by unplugging the mixer, wearing protective gear, and following the manufacturer’s instructions. Use mild cleaning agents and avoid submerging electrical components in water. Additionally, handle the mixer with care and store it properly when not in use.
Regular cleaning of the removable parts, mixing bowl, attachments, and the exterior will keep your KitchenAid mixer looking and functioning at its best. The cleaning process involves using warm water, mild soap, and non-abrasive cleaning tools. Ensure that all parts are completely dry before reassembling the mixer to prevent any moisture-related issues.
In addition to cleaning, proper maintenance is crucial for the long-term performance of your mixer. This includes regular wiping of the exterior, oiling the moving parts if necessary, storing attachments properly, avoiding overloading the mixer, and following recommended maintenance schedules. Seeking professional servicing when needed will also help address any potential mechanical issues.
By incorporating these cleaning and maintenance practices into your routine, you can enjoy the reliability and functionality of your KitchenAid mixer for many years to come. So, keep your mixer clean, well-maintained, and ready to whip up delicious treats in your kitchen!
Frequently Asked Questions about How To Clean Kitchenaid Mixer
Was this page helpful?
At Storables.com, we guarantee accurate and reliable information. Our content, validated by Expert Board Contributors, is crafted following stringent Editorial Policies. We're committed to providing you with well-researched, expert-backed insights for all your informational needs.


0 thoughts on “How To Clean Kitchenaid Mixer”