Articles
How To Clean Kitchenaid Food Processor Lid
Modified: February 20, 2024
Learn how to clean and maintain your Kitchenaid food processor lid with these helpful articles. Keep your appliance in top shape for longer-lasting performance.
(Many of the links in this article redirect to a specific reviewed product. Your purchase of these products through affiliate links helps to generate commission for Storables.com, at no extra cost. Learn more)
Introduction
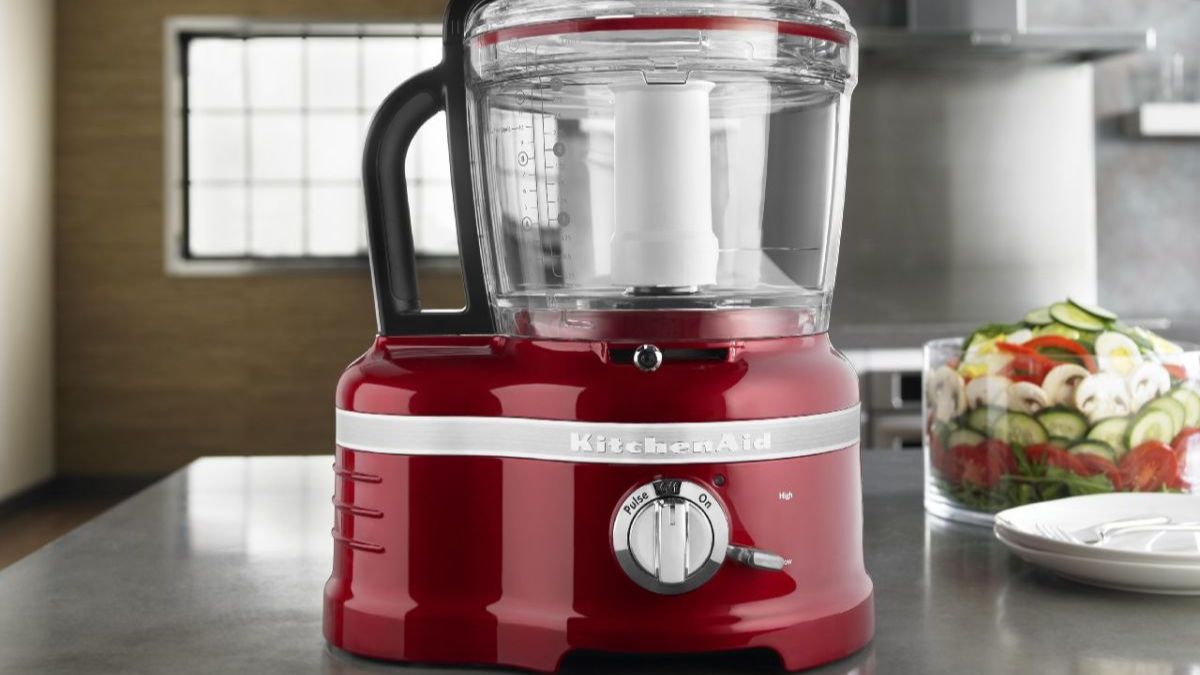
The Kitchenaid Food Processor is a versatile appliance that makes food preparation quick and easy. One of its essential parts is the food processor lid, which helps to seal and protect the contents as they are being processed. However, over time, the lid can accumulate dirt, grime, and food residues, making it unhygienic and less efficient. Regular cleaning of the Kitchenaid Food Processor lid is crucial to ensure optimal performance and maintain food safety.
In this article, we will guide you through the process of cleaning the Kitchenaid Food Processor lid. We will provide step-by-step instructions, safety precautions, and tips for maintenance and care. By following these guidelines, you can keep your food processor lid clean and in excellent condition, ensuring that it continues to provide reliable performance for all your culinary adventures.
Before we delve into the cleaning process, let’s first understand the different components of the Kitchenaid Food Processor lid and their functions.
Key Takeaways:
- Regularly clean and inspect your Kitchenaid Food Processor lid to maintain optimal hygiene and prevent cross-contamination, ensuring safe and efficient food processing.
- Follow safety precautions, use gentle cleaning tools, and adhere to manufacturer’s guidelines for maintenance to preserve the quality and performance of your Kitchenaid Food Processor lid.
Understanding the Kitchenaid Food Processor Lid
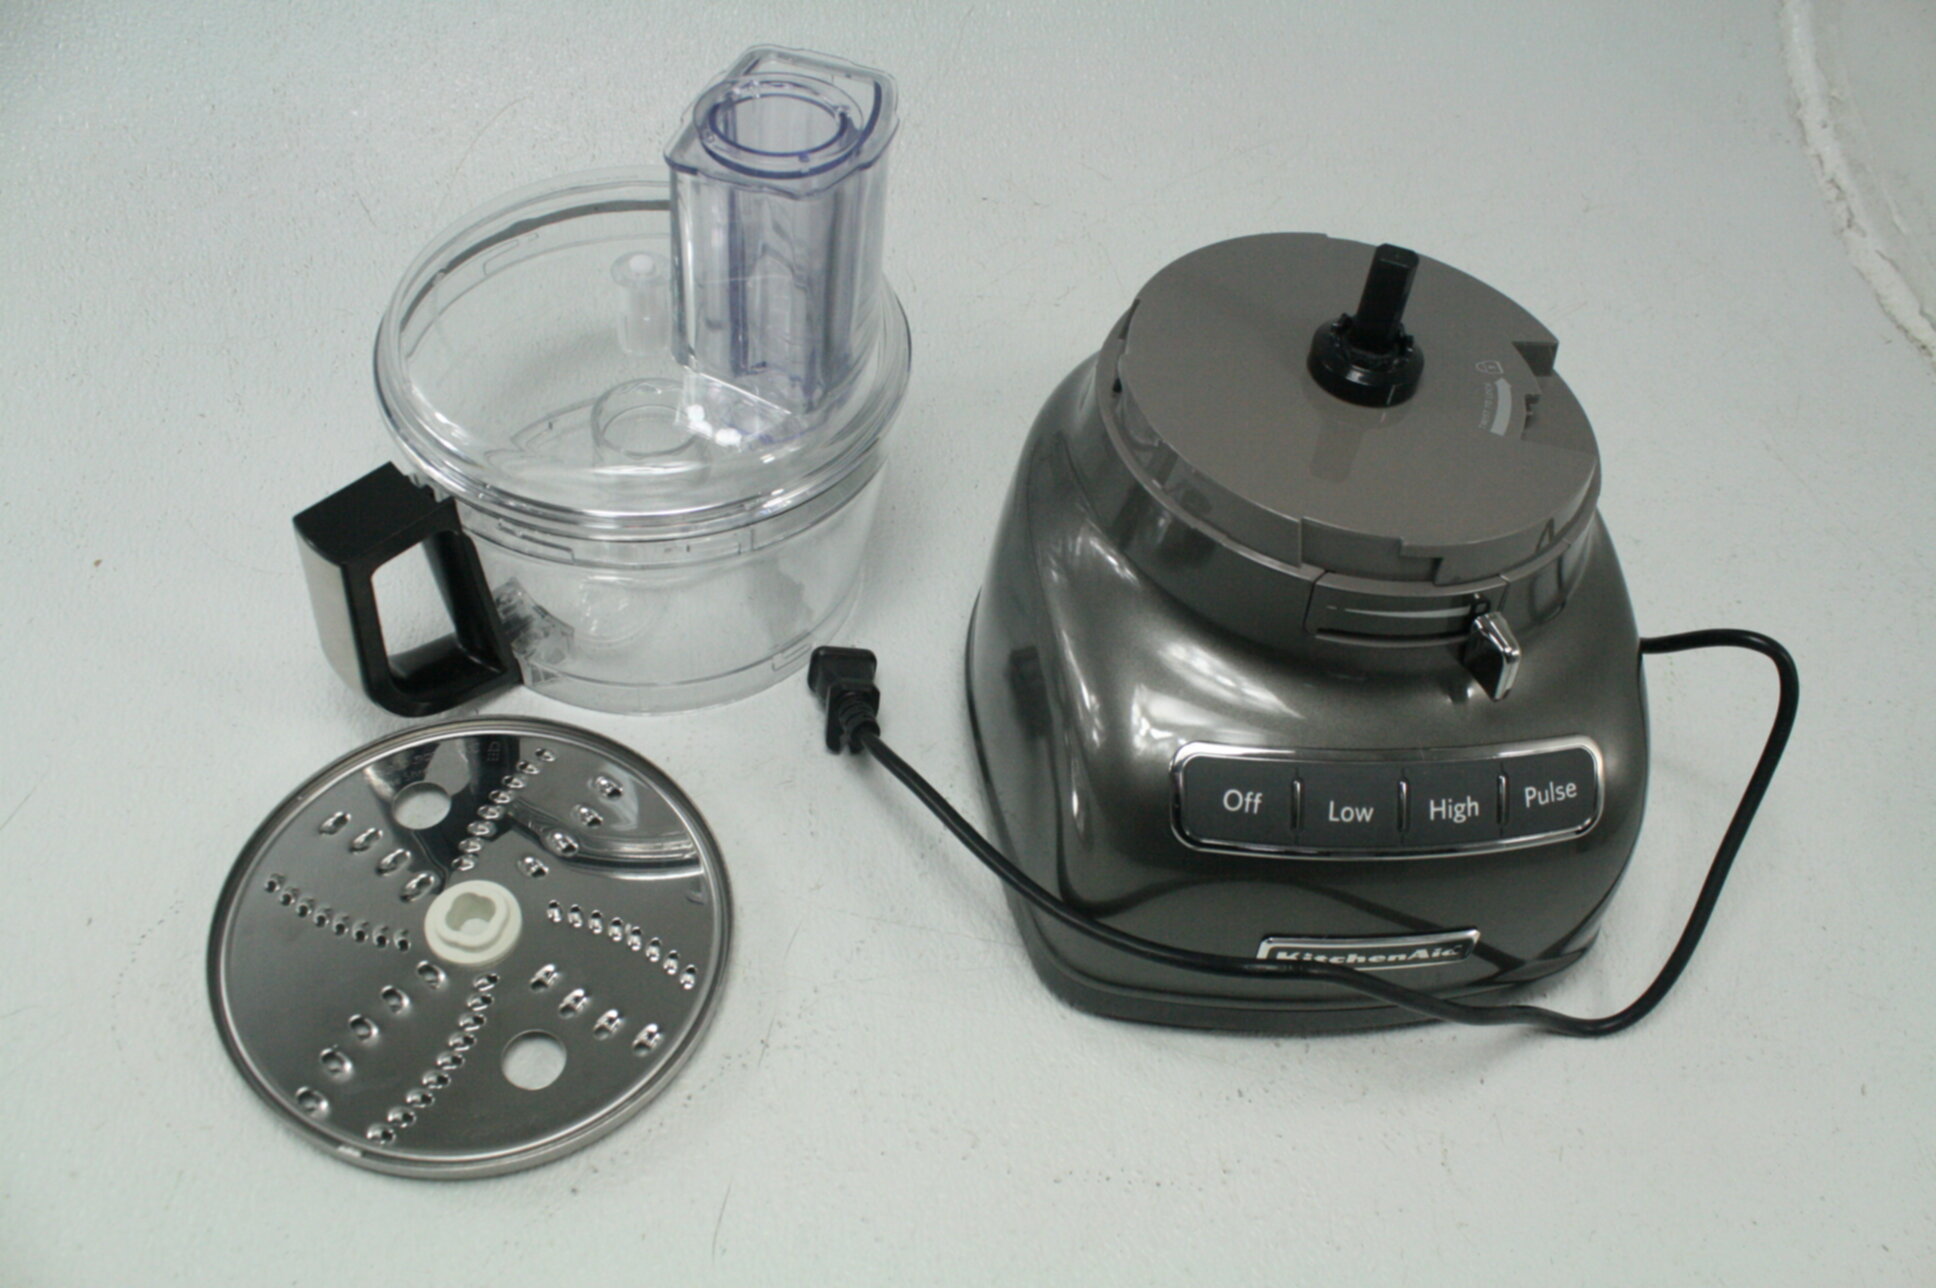
The Kitchenaid Food Processor lid is a crucial part of the appliance that helps to contain and protect the ingredients while they are being processed. It consists of several components that work together to ensure efficient and safe food processing.
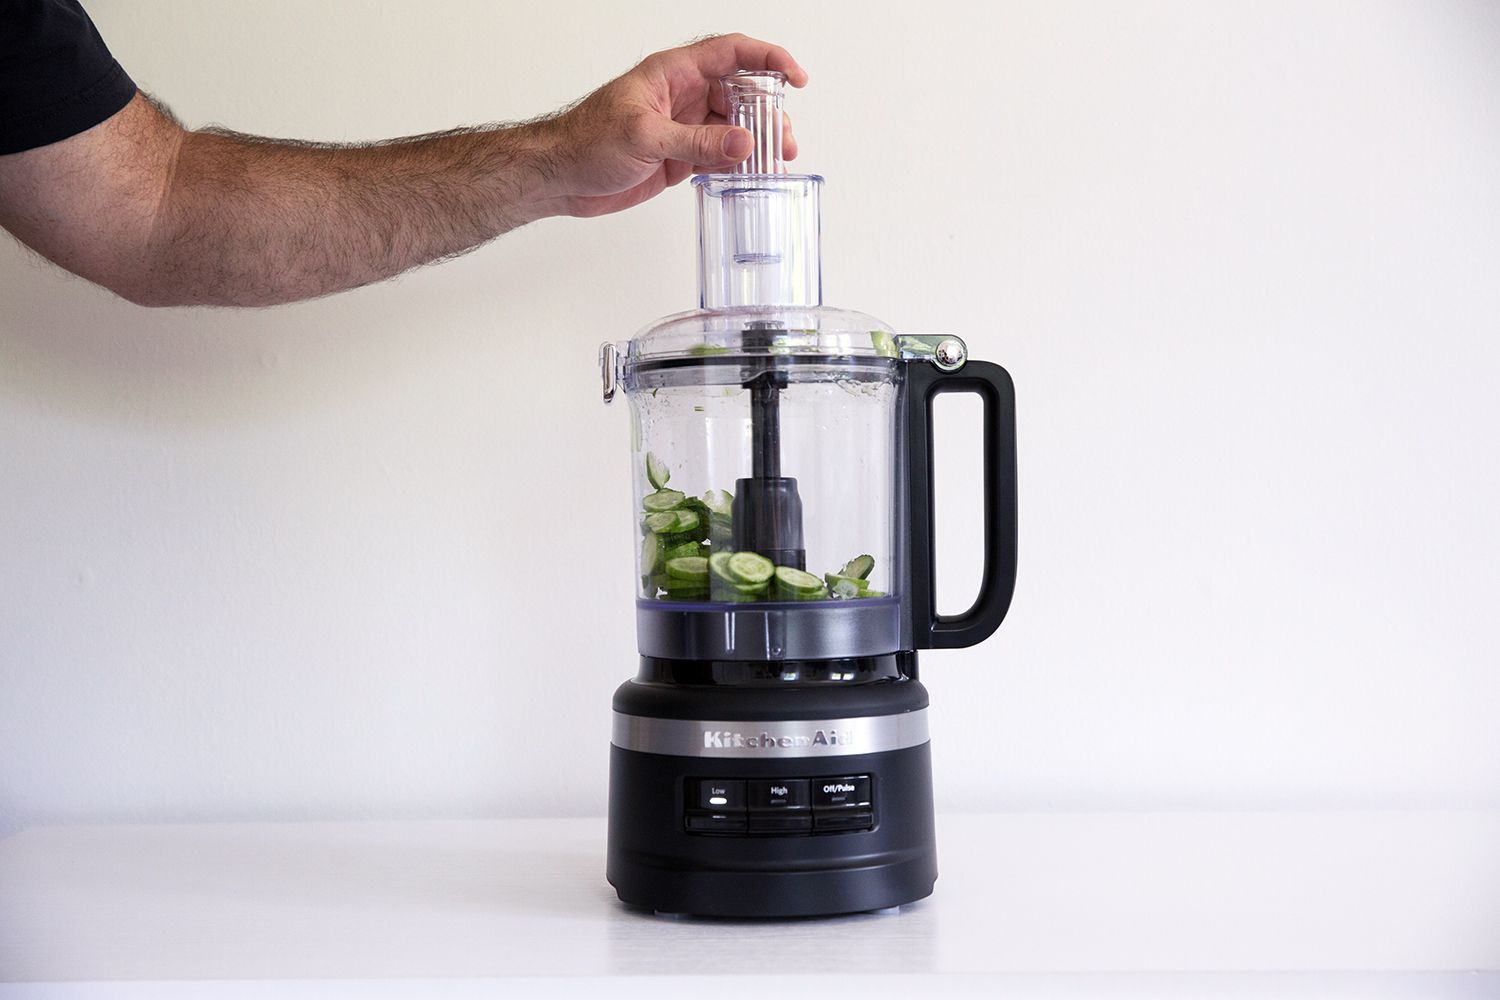
1. Lid Cover: The lid cover is the top part of the lid that provides a seal to prevent any ingredients from spilling out while the food processor is in use. It usually has a feed tube through which ingredients can be added during processing.
2. Feed Tube: The feed tube is a cylindrical opening in the lid cover through which ingredients can be inserted. It allows for continuous processing without the need to stop and remove the lid.
3. Pusher Assembly: The pusher assembly is a plunger-like component that helps to push ingredients down into the food processor’s blades or discs for effective processing.
4. Locking Mechanism: The locking mechanism ensures that the lid is securely attached to the food processor base during operation. It prevents accidental spills and ensures safe usage.
Understanding the different components of the Kitchenaid Food Processor lid is important for properly disassembling and cleaning it. Now that we have familiarized ourselves with the lid’s anatomy, let’s move on to the next section where we will discuss important safety precautions to keep in mind before starting the cleaning process.
Safety Precautions
Before you begin cleaning the Kitchenaid Food Processor lid, it is important to take certain safety precautions to minimize the risk of accidents or damage. Follow these safety guidelines to ensure a safe and effective cleaning process:
1. Unplug the appliance: Always make sure to unplug the food processor from the power source before attempting to clean the lid. This will prevent any accidental starts or electric shocks.
2. Let the unit cool down: If the food processor has been recently used, give it some time to cool down before disassembling the lid. The parts may be hot and can cause burns.
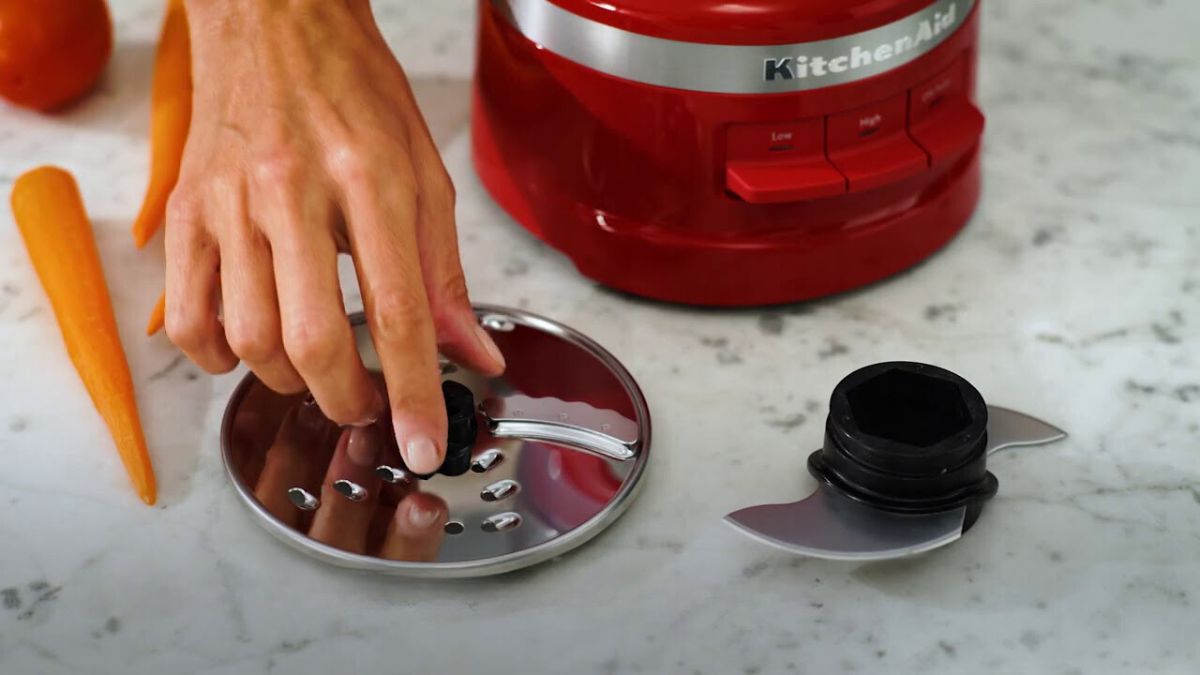
3. Handle blades with care: The food processor blades can be sharp and pose a risk of injury. When removing the lid, handle the blades with caution to avoid cuts or accidents.
4. Use proper cleaning tools: Use non-abrasive cleaning tools such as a soft-bristle brush or sponge to clean the lid. Avoid using harsh chemicals or abrasive materials that can damage the lid’s surfaces.
5. Avoid submerging electrical parts: Never immerse the lid or any electrical components in water or other liquids. This can damage the electrical parts and pose a safety hazard.
6. Wear protective gloves: To protect your hands from any cleaning solutions or residues, consider wearing protective gloves while handling the lid and its components.
By following these safety precautions, you can ensure a safe and accident-free cleaning process for your Kitchenaid Food Processor lid. Now that we have addressed the safety aspect, let’s move on to the tools and materials you will need for cleaning.
Tools and Materials Needed
Before you begin cleaning the Kitchenaid Food Processor lid, gather the following tools and materials for a hassle-free cleaning process:
- Soft-bristle brush or sponge: This will be used to scrub and clean the various components of the lid.
- Mild dish soap: Use a gentle dish soap to effectively remove grease and food residues from the lid.
- Warm water: Fill a sink or basin with warm water to facilitate the cleaning process.
- Microfiber cloth or towel: This will be used to dry the lid and its components after cleaning.
- Toothpick or small brush: These tools can help you remove any stubborn residues from hard-to-reach areas.
- Drying rack or clean surface: Use a drying rack or a clean, dry surface to place the lid components for drying.
Having these tools and materials ready before you start cleaning will streamline the process and ensure that you have everything you need to effectively clean the Kitchenaid Food Processor lid. With the preparations in place, we can now move on to the step-by-step instructions for disassembling and cleaning the lid.
Step 1: Disassembling the Lid
To properly clean the Kitchenaid Food Processor lid, it is important to disassemble it first. Follow these steps to disassemble the lid:
- Ensure that the food processor is unplugged and turned off.
- Remove any food or debris from the lid by wiping it with a damp cloth.
- Locate the release buttons or levers on the sides or back of the lid. These are usually marked with arrows or icons indicating the direction in which they need to be pressed or released.
- Press or release the buttons/levers as indicated to unlock the lid from the food processor base.
- Gently lift and remove the lid cover from the feed tube. Set it aside for cleaning.
- Locate the pusher assembly on the lid. This is the part that helps to push ingredients down into the food processor.
- Remove the pusher assembly by twisting it counterclockwise or pulling it straight up, depending on the specific design of your food processor.
- Separate the components of the lid, including the lid cover, feed tube, and pusher assembly, for individual cleaning.
By following these steps, you can easily disassemble the Kitchenaid Food Processor lid and prepare it for thorough cleaning. With the lid components separated, we can now move on to the next step: removing the gasket.
Read more: How To Use The Kitchenaid Food Processor
Step 2: Removing the Gasket
The gasket is an important part of the Kitchenaid Food Processor lid that helps create a tight seal to prevent any leaks or spills during food processing. To ensure proper cleaning, it is necessary to remove the gasket. Follow these steps to remove the gasket:
- Take a close look at the lid and identify the gasket. It is typically a rubber or silicone ring that is fitted around the rim of the lid cover.
- Gently grip the edge of the gasket with your fingers and pull it away from the lid cover. Be careful not to tug too forcefully to avoid damaging the gasket.
- If the gasket appears to be stuck or difficult to remove, use a toothpick or a small brush to gently loosen it from the lid cover.
- Continue pulling the gasket until it is completely detached from the lid cover.
- Inspect the gasket for any signs of wear or damage. If you notice any cracks or tears, it is advisable to replace the gasket with a new one for optimal performance.
Once the gasket has been removed, set it aside for cleaning. In the next step, we will focus on cleaning the various components of the Kitchenaid Food Processor lid.
To clean a Kitchenaid food processor lid, remove the pusher and feed tube, then wash the lid in warm, soapy water. Rinse and dry thoroughly before reassembling. Avoid using abrasive cleaners or scrubbing pads to prevent damage.
Step 3: Cleaning the Lid Components
Now that the Kitchenaid Food Processor lid has been disassembled, it’s time to clean the individual components. Follow these steps to clean the lid components:
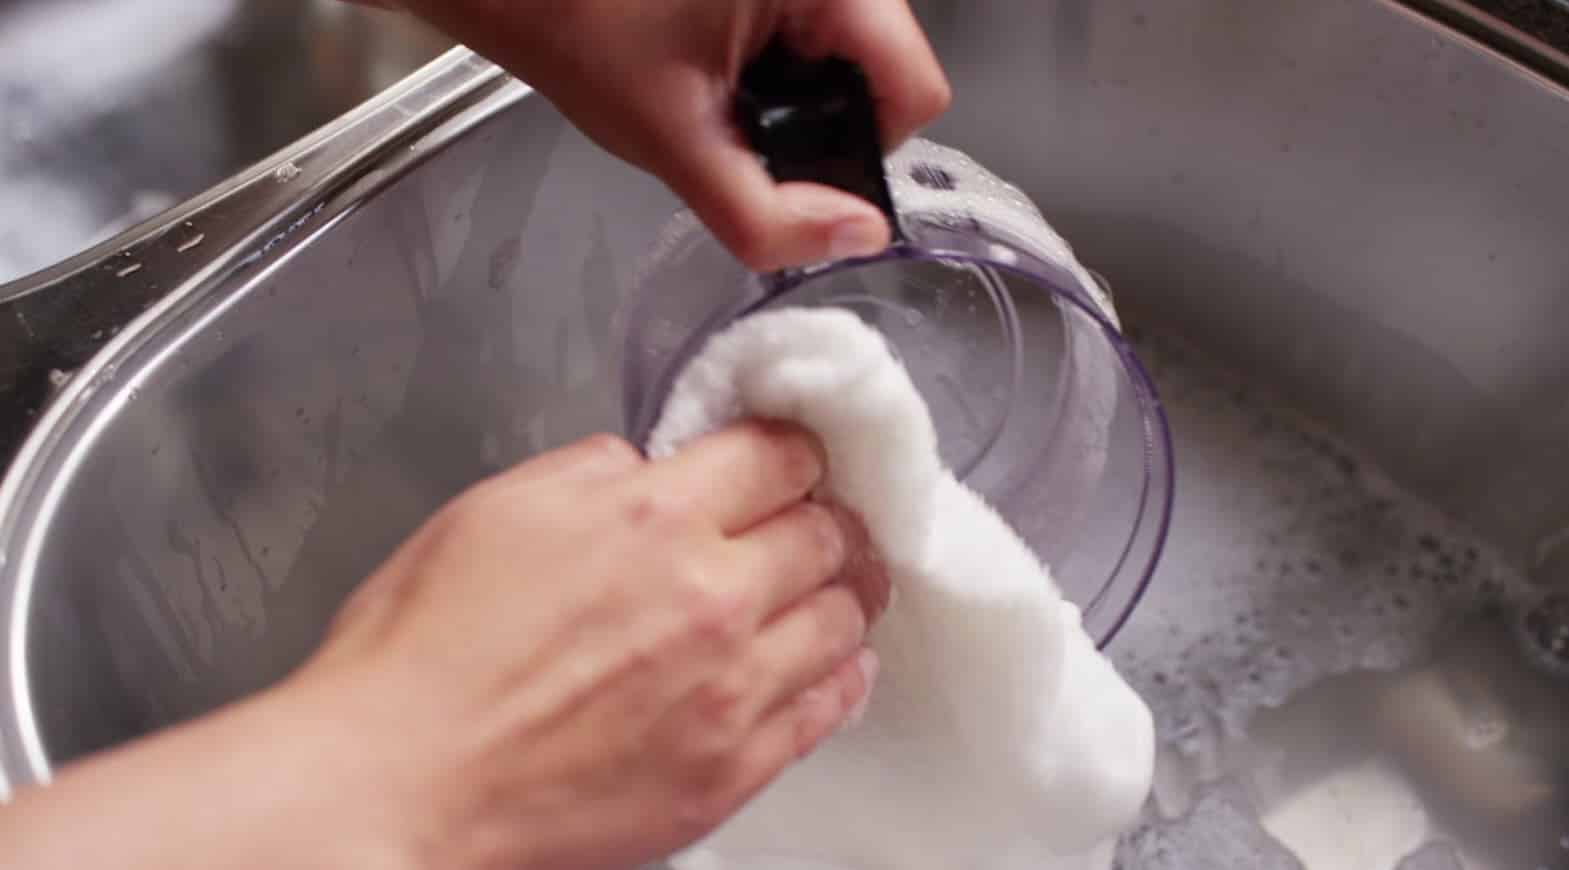
- Lid Cover: Fill a sink or basin with warm water and add a few drops of mild dish soap. Submerge the lid cover in the soapy water and use a soft-bristle brush or sponge to scrub away any residue or stains. Pay special attention to the areas around the edges and the feed tube. Rinse the lid cover thoroughly with clean water and wipe it dry with a microfiber cloth or towel.
- Feed Tube: Clean the feed tube by running warm water through it to remove any leftover food particles. If necessary, use a toothpick or a small brush to gently dislodge any stubborn residues. Rinse the feed tube thoroughly to ensure it is free from any debris.
- Pusher Assembly: Wash the pusher assembly with warm, soapy water. Use a soft brush or sponge to clean all sides of the pusher assembly, including the top, bottom, and sides. Rinse it thoroughly and dry it with a cloth or towel.
Remember to handle the components with care, especially the blades and sharp edges. Be thorough in your cleaning process, making sure to remove any lingering food residues that may affect the performance of your Kitchenaid Food Processor lid.
With the lid components cleaned, we can now move on to the next step: cleaning the gasket.
Step 4: Cleaning the Gasket
Now that the Kitchenaid Food Processor lid components are clean, it’s time to focus on cleaning the gasket. Follow these steps to clean the gasket effectively:
- Fill a clean sink or basin with warm water and add a small amount of mild dish soap.
- Place the gasket into the soapy water and let it soak for a few minutes to loosen any dirt or residue.
- Gently scrub the gasket with a soft-bristle brush or sponge, paying attention to all sides and corners. Ensure that you clean the inner and outer surfaces thoroughly.
- Rinse the gasket under clean running water to remove any soap or debris.
- Inspect the gasket for any remaining dirt or stains. If necessary, repeat the cleaning process or use a toothbrush to target specific areas.
- Once the gasket is clean, gently squeeze out any excess water and place it on a clean surface or drying rack to air dry completely.
It’s important to note that the gasket may take longer to dry compared to other lid components due to its material and shape. Ensure that the gasket is completely dry before reassembling it with the rest of the lid components.
With the gasket now clean and dry, we can move on to the final step: reassembling the Kitchenaid Food Processor lid.
Step 5: Reassembling the Lid
After thoroughly cleaning the individual components of the Kitchenaid Food Processor lid, it’s time to put them back together. Follow these steps to reassemble the lid:
- Take the lid cover and ensure that it is completely dry.
- Align the feed tube with the opening in the lid cover and gently push it into place.
- Insert the pusher assembly into the feed tube by either twisting it clockwise or pushing it down, depending on the design of your food processor.
- Ensure that the pusher assembly is securely attached and in the correct position.
- Inspect the gasket and ensure that it is completely dry and free of any debris. If needed, give it a gentle wipe with a clean, dry cloth.
- Place the gasket back onto the lid cover, aligning it with the rim. Press it down firmly to ensure a tight and secure seal.
- Double-check that all components are properly aligned and securely attached to each other.
Once you have reassembled the Kitchenaid Food Processor lid, give it a final inspection to ensure that all components are clean and properly fitted. Now, the lid is ready to be used again for your food processing needs.
Before concluding, let’s go over some tips for maintenance and care to help keep your Kitchenaid Food Processor lid in excellent condition.
Read more: How To Turn On A Kitchenaid Food Processor
Tips for Maintenance and Care
To ensure that your Kitchenaid Food Processor lid stays clean and functions efficiently, here are some helpful maintenance tips to keep in mind:
- Clean the lid after each use: It’s important to clean the lid thoroughly after each use to prevent the buildup of food residues and maintain optimal hygiene.
- Inspect the lid regularly: Take a moment to inspect the lid for any signs of wear, damage, or malfunction. This includes checking the gasket for cracks or tears. If you notice any issues, replace the necessary parts promptly.
- Avoid using abrasive cleaners: Stick to mild dish soap and warm water when cleaning the lid. Harsh cleaners and abrasive materials can damage the surfaces and compromise the functionality of the lid.
- Store the lid properly: When not in use, store the lid in a clean and dry area. Avoid placing heavy objects on top of the lid or storing it in a way that can cause distortion or damage.
- Follow the manufacturer’s instructions: Refer to the instruction manual provided by the manufacturer for any specific cleaning and maintenance guidelines for your particular model of Kitchenaid Food Processor lid. These guidelines may vary depending on the design and materials used.
- Replace worn-out parts when necessary: Over time, certain parts of the lid, such as the gasket, may wear out and become less effective. Be sure to replace these parts as needed to ensure optimal performance.
- Regularly clean the food processor base: While cleaning the lid, don’t forget to clean the food processor base as well. Wipe it down with a damp cloth to remove any food particles or spills.
By following these maintenance and care tips, you can extend the lifespan of your Kitchenaid Food Processor lid and ensure that it continues to perform efficiently for years to come.
Now that you have a clear understanding of how to clean and maintain your Kitchenaid Food Processor lid, you can confidently keep your lid in excellent condition and enjoy hassle-free food processing experiences. Happy cooking!
Remember that proper maintenance and care go a long way in preserving the quality and performance of your Kitchenaid Food Processor lid. With regular cleaning and inspections, you can ensure that your lid remains clean, functional, and safe for all your food processing needs.
Conclusion
Cleaning the Kitchenaid Food Processor lid is an essential step in maintaining its efficiency, hygiene, and overall performance. Proper cleaning not only ensures that your food processor operates at its best, but it also helps to prevent cross-contamination and maintain food safety. By following the step-by-step instructions provided in this article, you can easily disassemble, clean, and reassemble the lid, giving it a thorough cleaning to remove dirt, grime, and food residues.
Remember to prioritize safety by following the recommended precautions, such as unplugging the appliance, handling blades with care, and using appropriate cleaning tools. Additionally, be mindful of the materials you use and avoid harsh chemicals or abrasive materials that can damage the lid’s surfaces.
Proper maintenance and care are equally important to ensure the longevity of your Kitchenaid Food Processor lid. Regularly inspect the lid for any signs of wear or damage, replace worn-out parts, and store the lid in a clean and dry area to prevent unnecessary damage.
By incorporating these cleaning and maintenance practices into your routine, you can enjoy the benefits of a clean and efficient Kitchenaid Food Processor lid for years to come. So, get ready to whip up delicious meals with confidence, knowing that your food processor lid is in optimal condition and ready to assist you in the kitchen.
Remember, a clean and well-maintained Kitchenaid Food Processor lid is not only a key component of a functional kitchen appliance but also contributes to a healthy and enjoyable cooking experience.
Frequently Asked Questions about How To Clean Kitchenaid Food Processor Lid
Was this page helpful?
At Storables.com, we guarantee accurate and reliable information. Our content, validated by Expert Board Contributors, is crafted following stringent Editorial Policies. We're committed to providing you with well-researched, expert-backed insights for all your informational needs.


0 thoughts on “How To Clean Kitchenaid Food Processor Lid”