Home>Articles>How To Put Together A Cuisinart Food Processor
Articles
How To Put Together A Cuisinart Food Processor
Modified: October 20, 2024
Learn how to easily assemble and use your Cuisinart food processor with our comprehensive articles. Enhance your culinary skills today!
(Many of the links in this article redirect to a specific reviewed product. Your purchase of these products through affiliate links helps to generate commission for Storables.com, at no extra cost. Learn more)
Introduction
A Cuisinart food processor is an essential kitchen appliance that can make meal preparation quick and convenient. Whether you’re a seasoned chef or a home cook, using a food processor can save you valuable time and effort in the kitchen.
In this article, we will guide you through the process of putting together a Cuisinart food processor, from unboxing to cleaning. By following these steps, you’ll be able to assemble and use your food processor with ease and confidence.
Before we dive into the assembly process, it’s important to note that different models of Cuisinart food processors may have slight variations in their assembly procedures. Make sure to consult your user manual for specific instructions that correspond to your particular model.
Now, let’s get started and learn how to put together your very own Cuisinart food processor!
Key Takeaways:
- Assembling a Cuisinart food processor is a straightforward process that involves unboxing, familiarizing with the components, assembling the parts, preparing the work bowl and attachments, and conducting a quick test to ensure proper functionality.
- Proper maintenance, including disassembling and cleaning the food processor after each use, is crucial for optimal performance and longevity. Following these steps will ensure safe and efficient food processing for a variety of recipes.
Read more: How To Operate A Cuisinart Food Processor
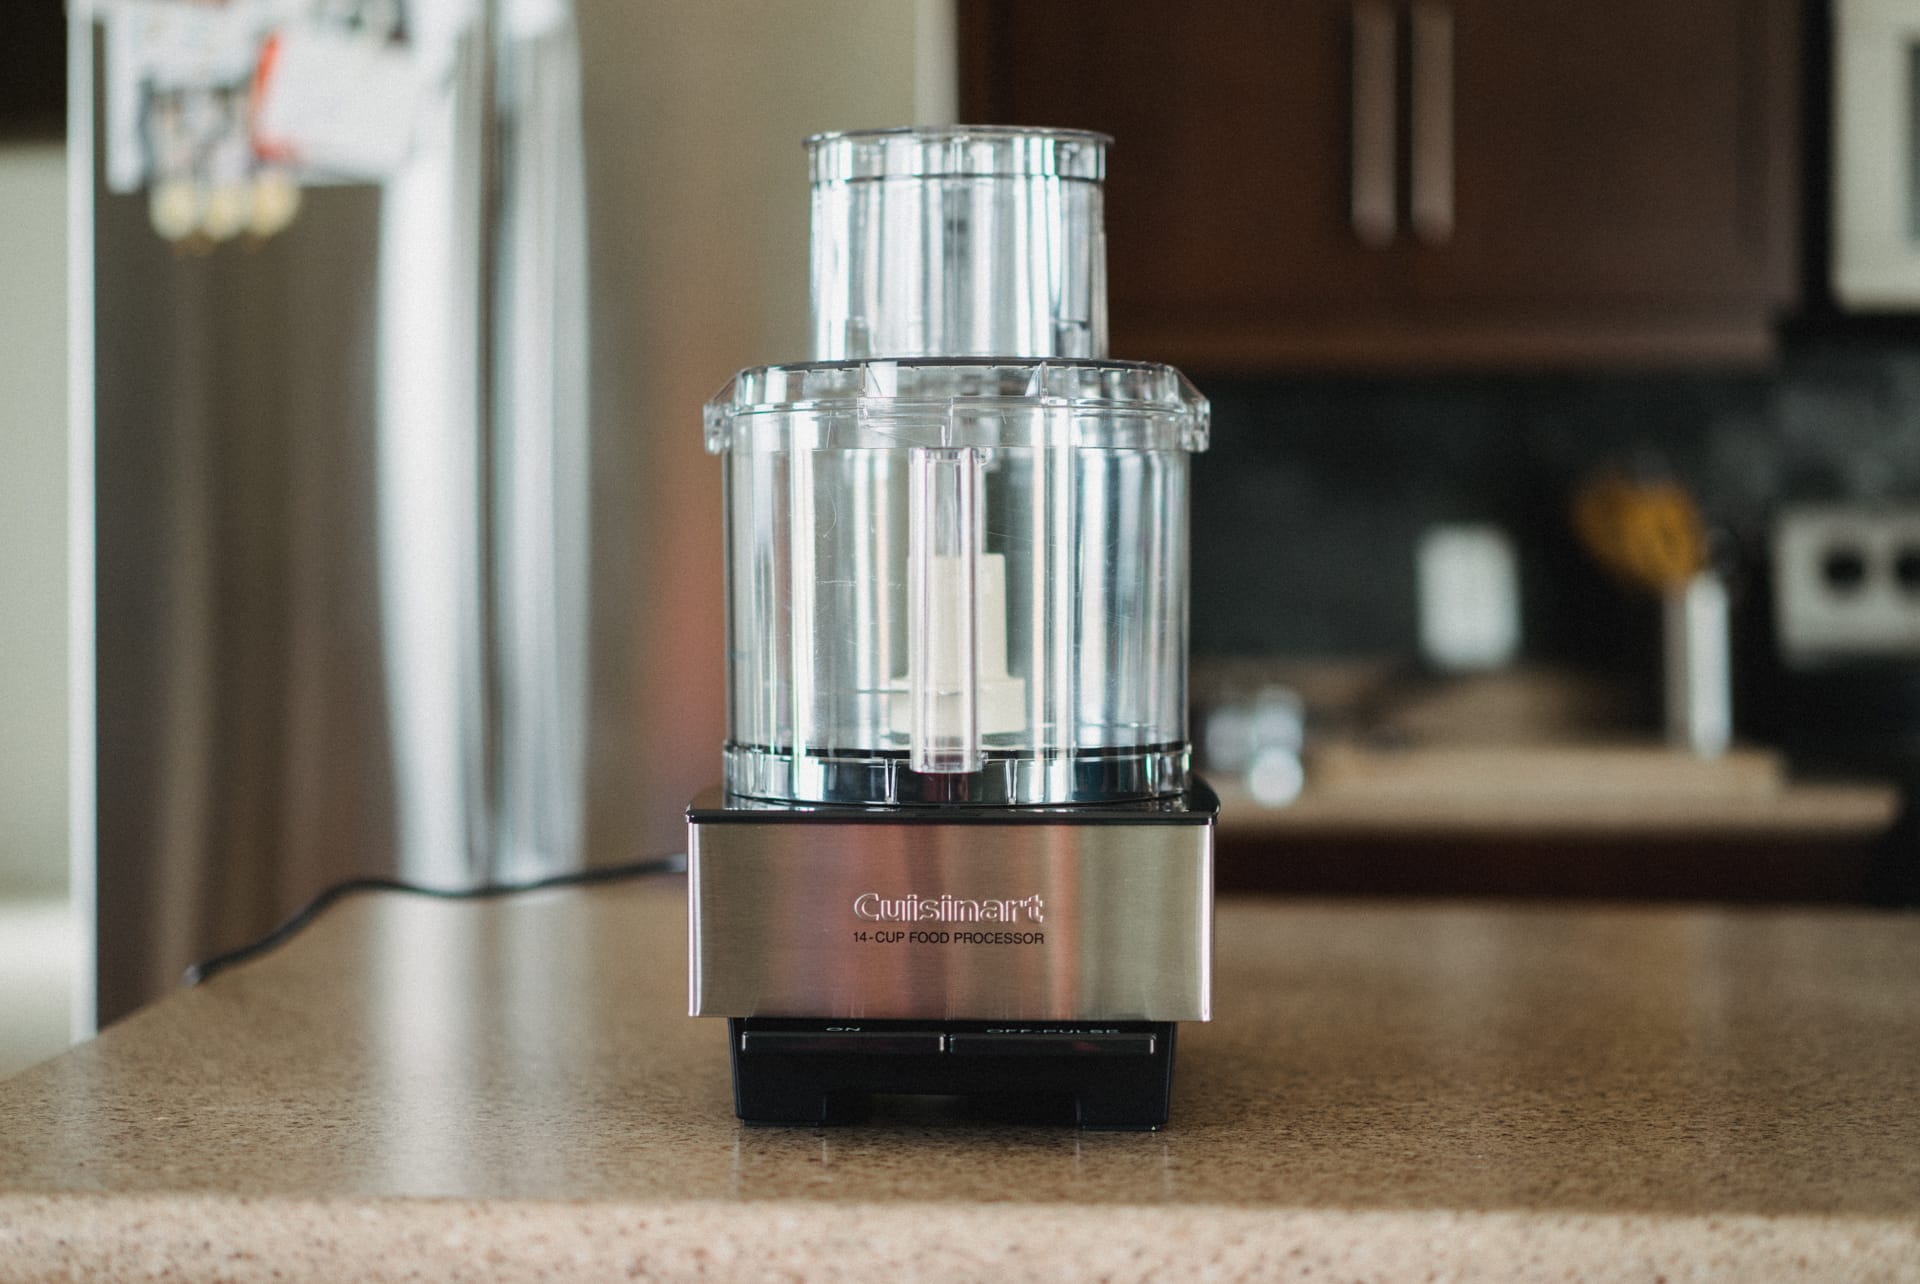
Step 1: Unboxing and Familiarizing with the Cuisinart Food Processor
The first step in putting together your Cuisinart food processor is unboxing the appliance and familiarizing yourself with its components. Make sure to find a clean and spacious area to set up your food processor.
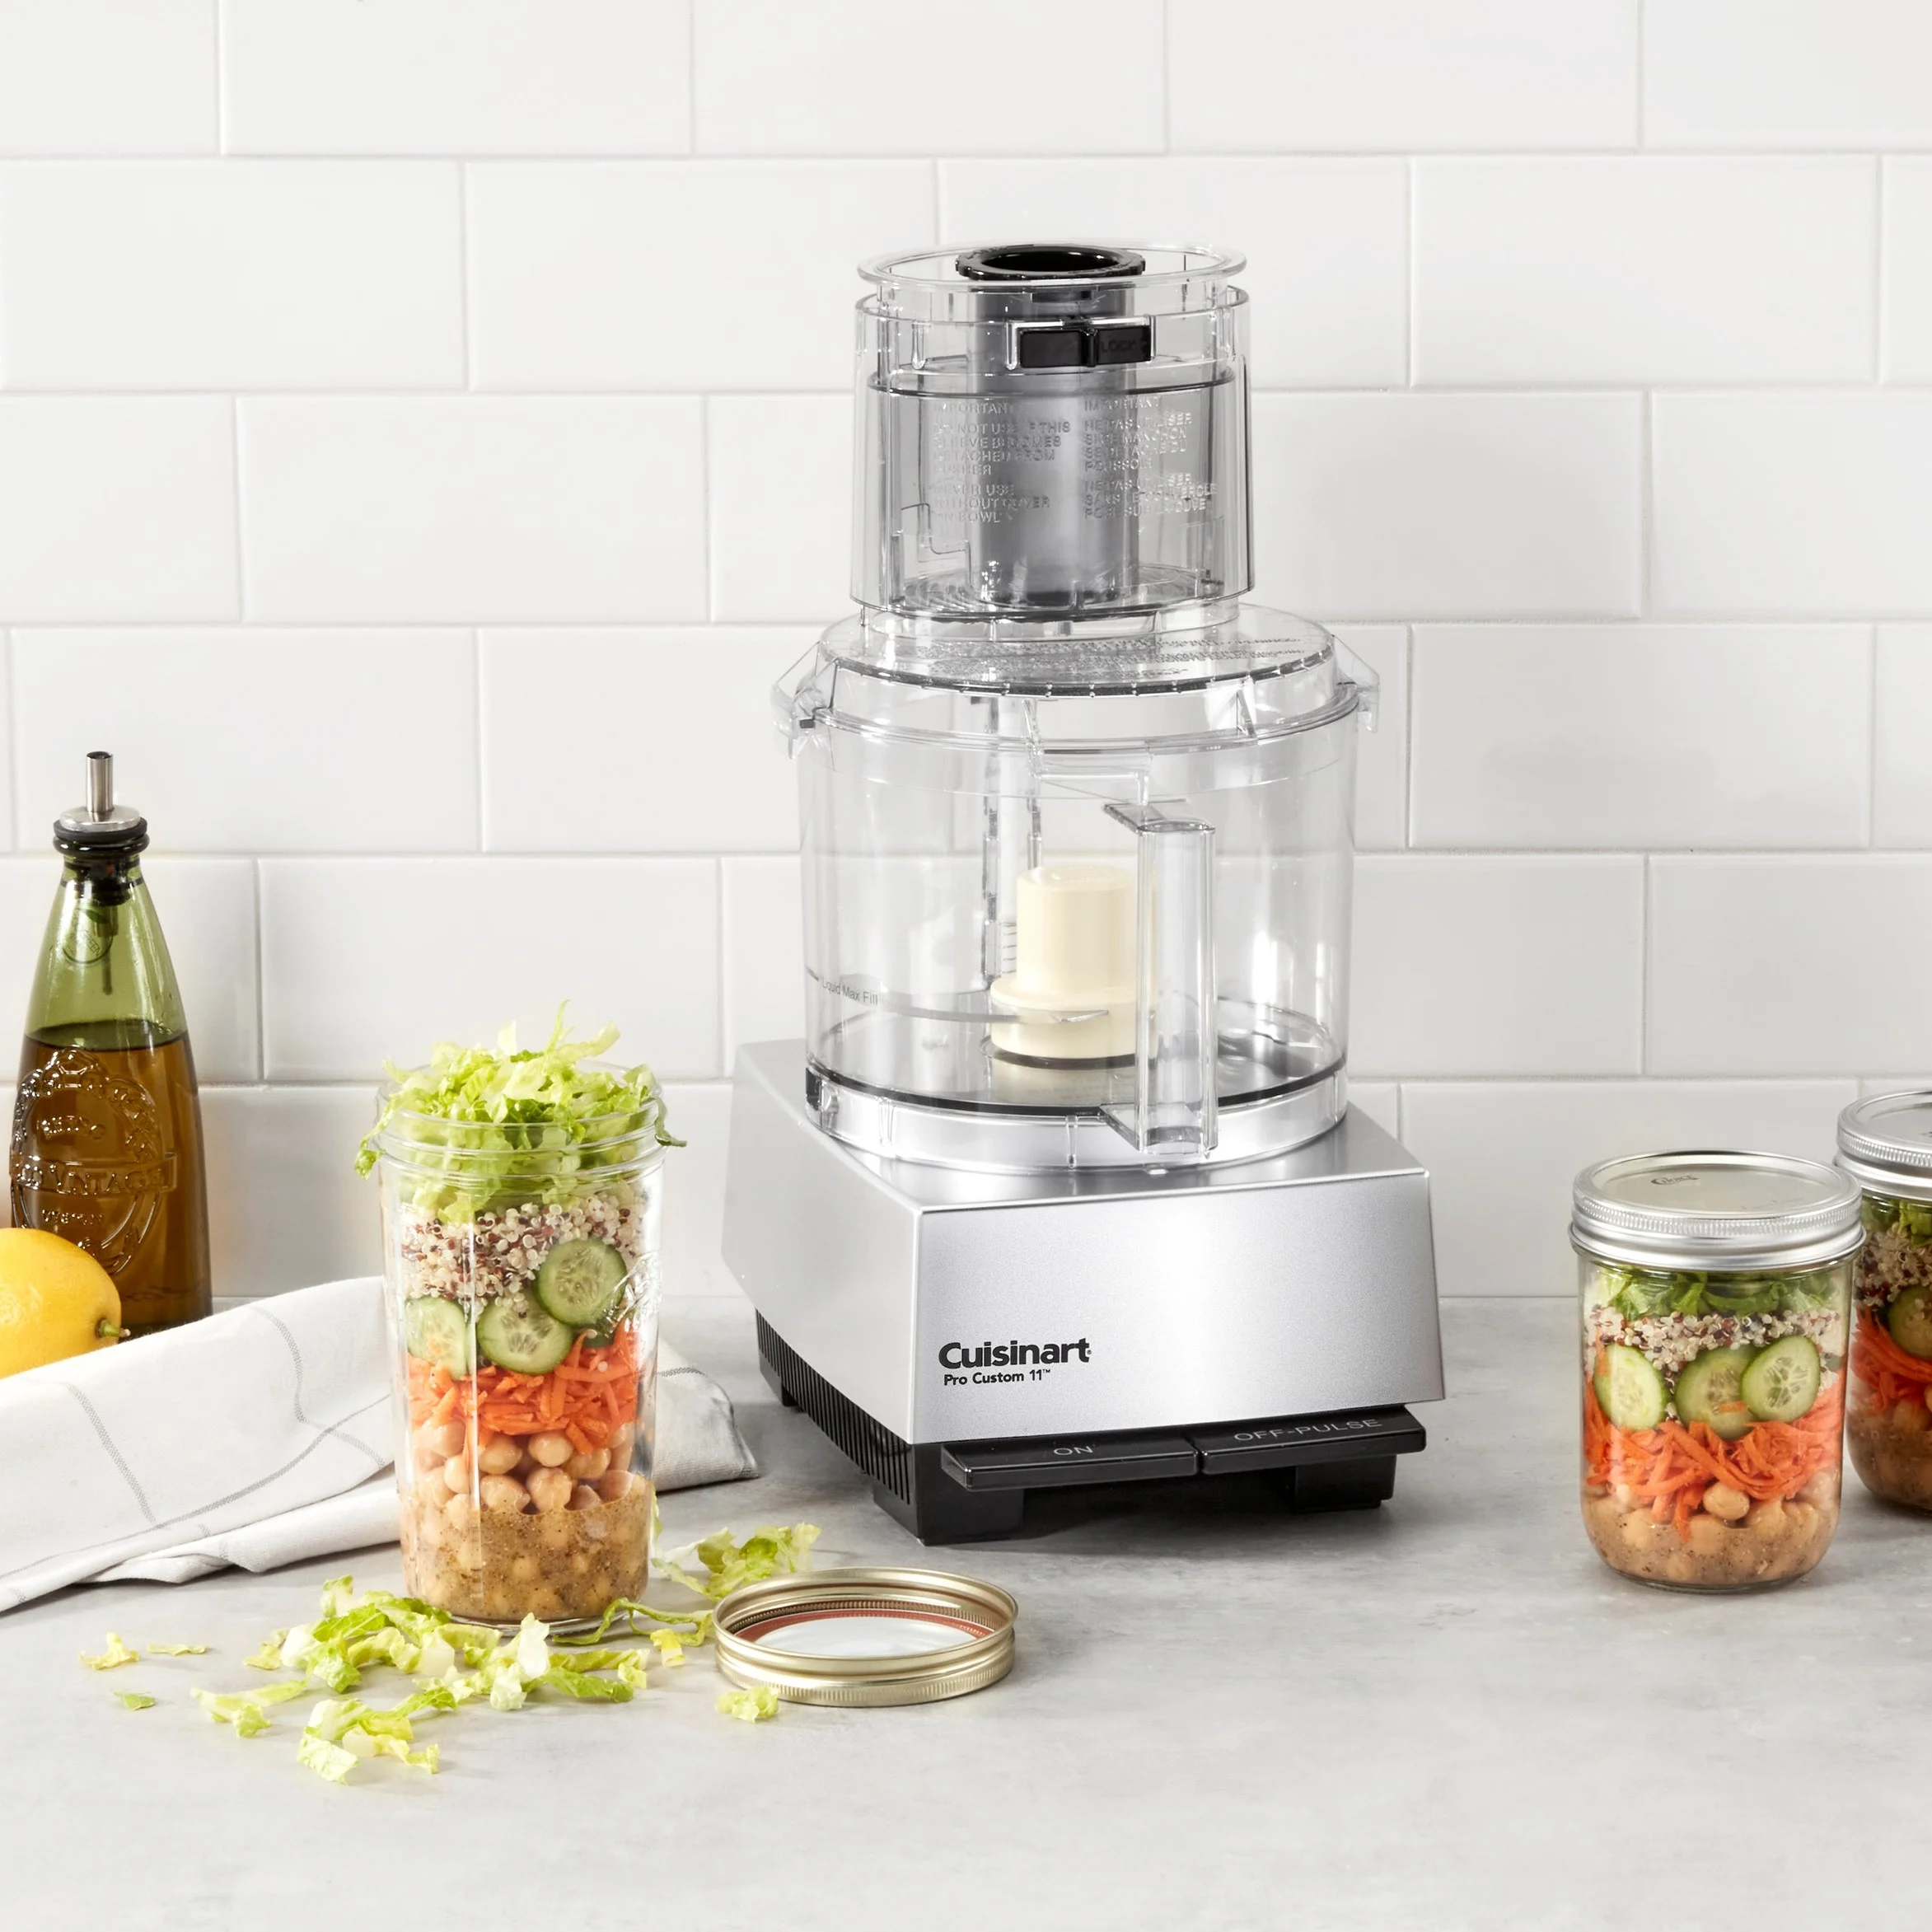
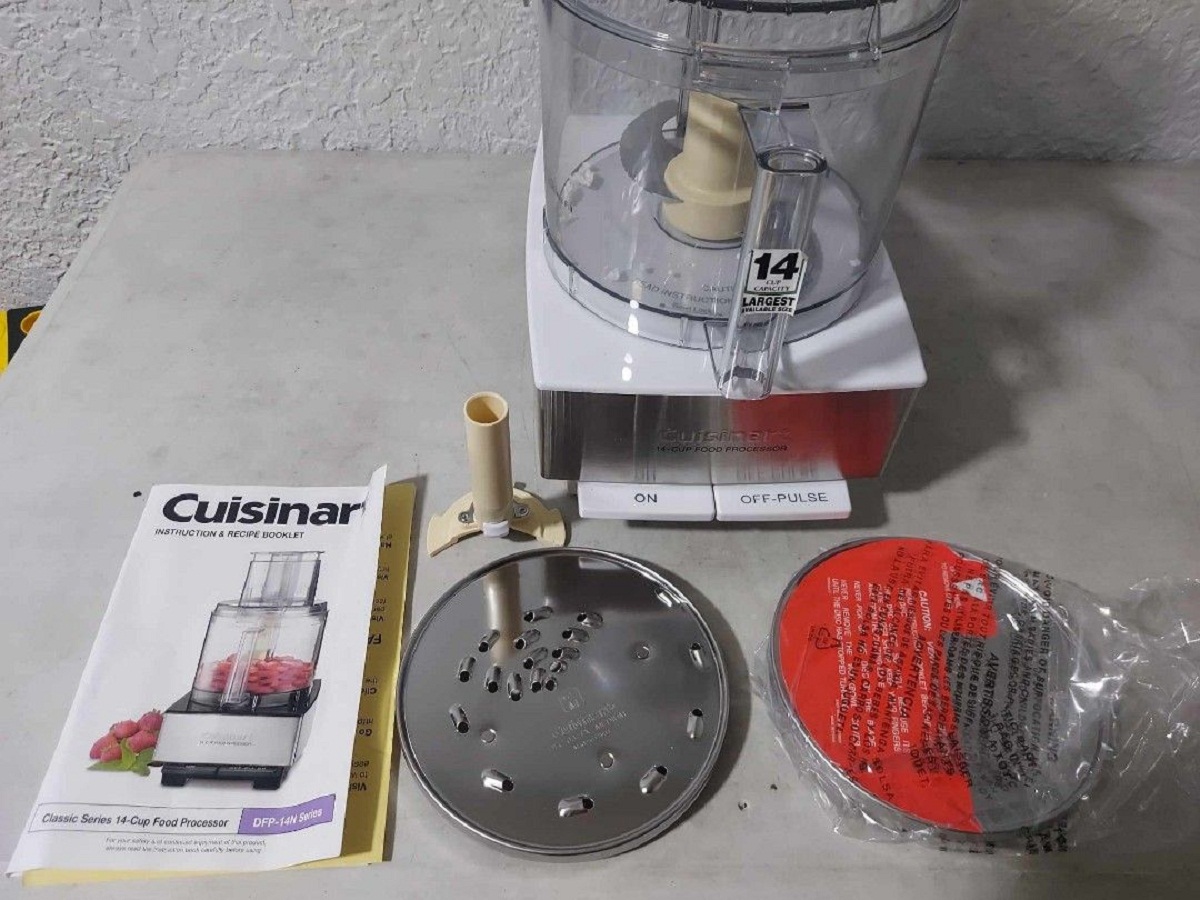
1. Carefully remove the food processor from its packaging, ensuring that all the accessories and parts are included. Typical components of a Cuisinart food processor include the base, the work bowl, the lid, various blades and discs, and the power cord.
2. Take a moment to read through the user manual provided by the manufacturer. This will give you a better understanding of the specific features and functions of your particular Cuisinart food processor.
3. Familiarize yourself with the different parts of the food processor. Locate the power base, which houses the motor, control buttons, and power cord. Identify the work bowl, which is a large, bowl-shaped container that will hold the ingredients you are processing. Note the various blades and discs that are used for different functions, such as slicing, chopping, shredding, and pureeing.
By taking the time to familiarize yourself with the different components of your Cuisinart food processor, you’ll have a better understanding of how they work together to create delicious meals.
Next, we’ll move on to assembling the parts of the food processor.
Step 2: Assembling the Parts of the Food Processor
Now that you are familiar with the components of your Cuisinart food processor, it’s time to start assembling them. Follow these steps to put together your food processor:
1. Place the power base on a clean and stable surface. Make sure the power switch is in the “Off” position and the power cord is unplugged for safety.
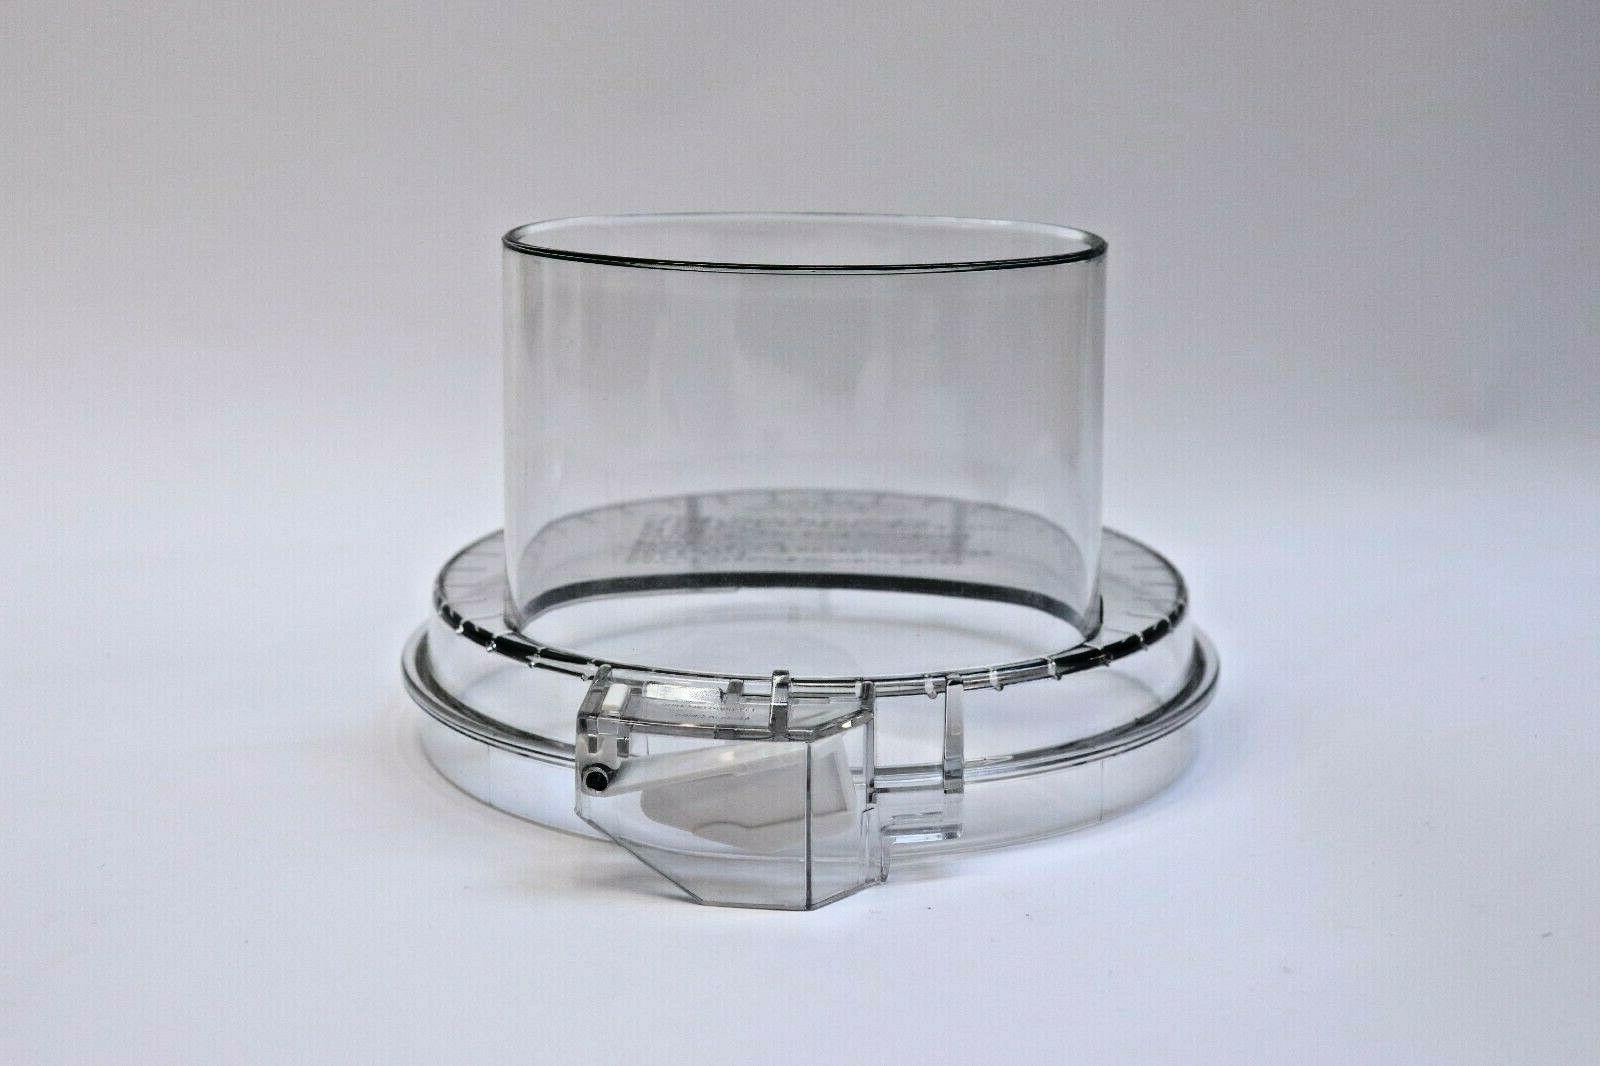
2. Take the work bowl and locate the handle on one side. Align the handle with the corresponding notch on the power base. Gently twist the work bowl clockwise until it locks into place. Ensure that it fits securely onto the power base.
3. Look for the feed tube on the lid of the food processor. Align the feed tube with the designated area on the work bowl. Gently lower the lid onto the work bowl until it fits snugly.
4. Some models of Cuisinart food processors may come with additional attachments, such as a pusher or a dough blade. Attach these accessories according to the instructions provided in your user manual.
5. Once all the parts are assembled, give them a quick check to ensure that they are securely in place. Wiggle the work bowl and lid to make sure they are properly locked onto the power base.
By following these steps, you will have successfully assembled the basic components of your Cuisinart food processor. With the food processor properly assembled, you are now ready to move on to the next step of preparing the work bowl and attachments.
Next, we will guide you through the process of preparing the work bowl and attachments for use in your Cuisinart food processor.
Step 3: Preparing the Work Bowl and Attachments
Now that you have assembled the basic components of your Cuisinart food processor, it is important to properly prepare the work bowl and attachments before starting to use them. Follow these steps to ensure that everything is ready:
1. Start by cleaning the work bowl, lid, blades, and discs with warm soapy water. Rinse them thoroughly and dry them completely before use. This will help remove any dust or manufacturing residues.
2. Once dry, place the work bowl onto the power base. Ensure that it is securely locked into place.
3. Depending on your recipe and desired outcome, choose the appropriate blade or disc for your task. Cuisinart offers a variety of attachments for different functions, such as slicing, shredding, chopping, and more. Select the one that best matches your needs.
4. Attach the selected blade or disc onto the stem in the center of the work bowl. Make sure it fits snugly into place.
5. Some recipes may require you to use the food processor in batches or with different attachments. Ensure that you have all the necessary attachments ready and easily accessible for a smooth cooking process.
By properly preparing the work bowl and attaching the desired blade or disc, you are now ready to start processing your ingredients. However, before you begin, it is important to know how to attach the blades and discs securely. This will be covered in the next step.
Next, we will discuss how to attach the blades and discs to your Cuisinart food processor.
Step 4: Attaching Blades and Discs
Attaching the blades and discs to your Cuisinart food processor is a crucial step in achieving the desired results for your recipes. Follow these steps to securely attach the blades and discs:
1. Before attaching any blades or discs, ensure that the food processor is turned off and unplugged for safety.
2. Locate the stem in the center of the work bowl. This is where the blades and discs will be attached.
3. Depending on the type of attachment you are using, there may be a small arrow or marking on the stem. Align the corresponding mark on the blade or disc with the mark on the stem.
4. Gently lower the blade or disc onto the stem, making sure it fits snugly. Give it a slight twist if necessary to lock it into place.
5. Once attached, give the blade or disc a gentle tug to ensure it is securely fastened. It should not move or come loose when pulled.
6. Repeat the process if you need to attach multiple blades or discs for different functions.
It is important to note that handling blades and discs should be done with caution. They are sharp and can cause injury if mishandled. Always handle them carefully and avoid touching the sharp edges.
Now that you have successfully attached the blades and discs to your Cuisinart food processor, the next step is to lock the processor lid in place. This will be covered in the next step.
Next, we will guide you through the process of locking the processor lid in place for safe and efficient food processing.
When assembling a Cuisinart food processor, make sure to align the arrows on the bowl and base, then twist to lock in place. Also, ensure the lid is securely locked before use.
Step 5: Locking the Processor Lid in Place
Locking the processor lid in place is an essential step to ensure safe and effective food processing with your Cuisinart food processor. Follow these steps to properly lock the lid:
1. Make sure the food processor is turned off and unplugged before attempting to lock the lid.
2. Place the lid onto the work bowl, aligning the feed tube with the designated area on the bowl.
3. Depending on your specific Cuisinart model, there may be a locking mechanism on the lid that needs to be engaged. Look for any latches or locks present and ensure they are in the unlocked position.
4. Gently press down on the lid to secure it in place. You should feel or hear a click when the lid is properly locked.
5. Give the lid a slight tug to confirm that it is securely fastened to the work bowl. It should not move or come loose when pulled.
Ensuring that the lid is properly locked is crucial for the safety and efficient operation of your Cuisinart food processor. It prevents the lid from accidentally coming off while processing, reducing the risk of accidents and ensuring that the ingredients stay contained.
With the processor lid securely locked in place, you’re now ready to move on to the next step: plugging in and testing the food processor.
Next, we will guide you through the process of plugging in the food processor and conducting a quick test to ensure everything is functioning correctly.
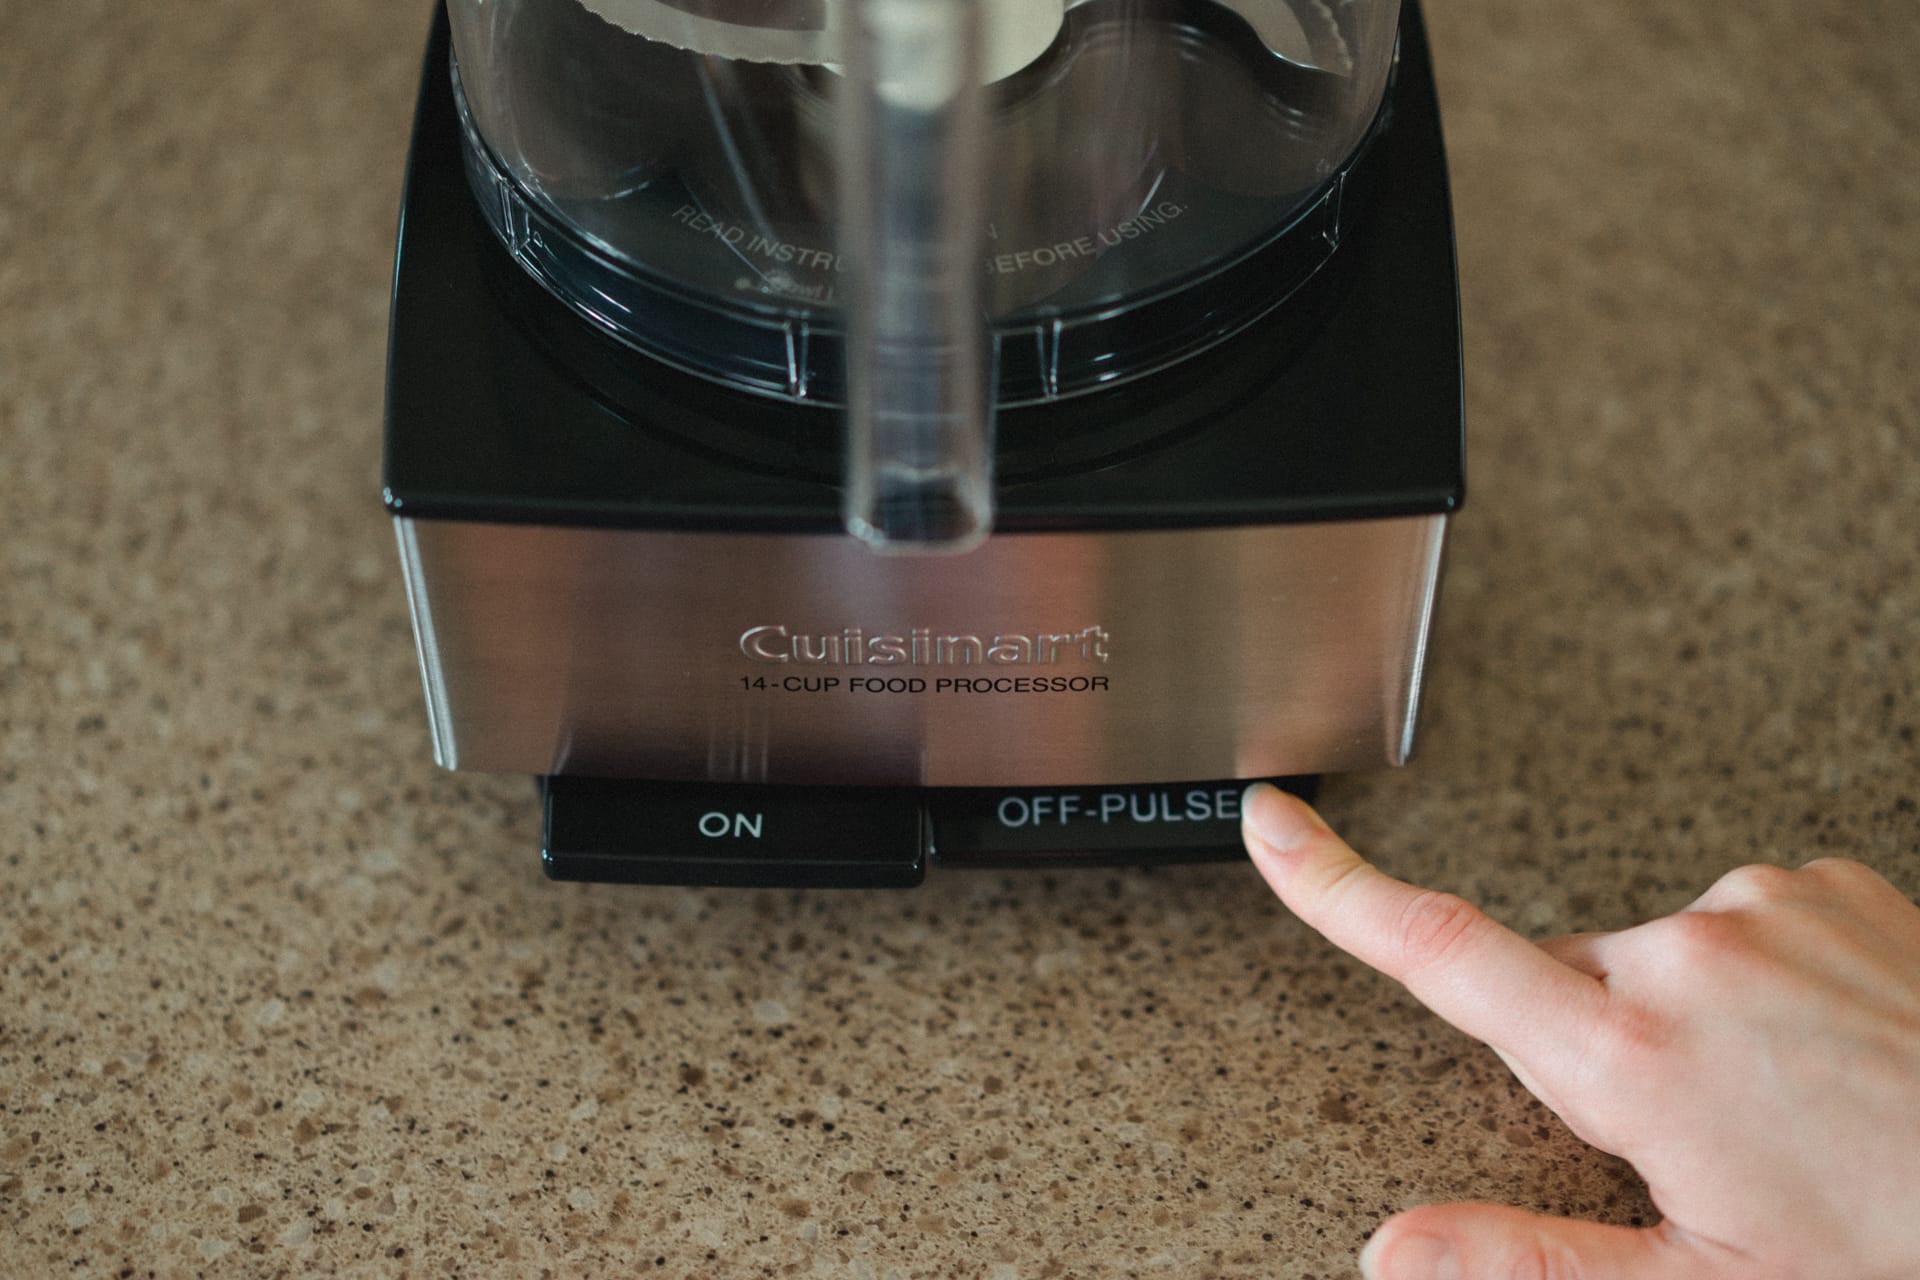
Step 6: Plugging in and Testing the Food Processor
Before you can start using your Cuisinart food processor to prepare delicious meals, you need to plug it in and conduct a quick test to ensure that everything is functioning correctly. Follow these steps to plug in and test your food processor:
1. Locate the power cord on the back of the food processor’s power base. Plug the cord into a nearby electrical outlet.
2. Make sure the power switch on the food processor is in the “Off” position before plugging it in.
3. Once the food processor is plugged in, turn the power switch to the “On” or “Start” position.
4. You should hear the motor of the food processor running smoothly. If there are any unusual sounds or vibrations, turn off the food processor immediately and unplug it from the electrical outlet. Contact the Cuisinart customer service for assistance or consult the user manual for troubleshooting steps.
5. To conduct a quick test, remove the pusher from the feed tube and place a small amount of food (such as a chopped vegetable) into the work bowl. Replace the pusher in the feed tube.
6. Pulse the food processor for a few seconds by pressing the pulse button. This will help you verify that the blades are spinning, and the food is being effectively processed.
7. After the quick test, turn off the food processor by switching the power button to the “Off” position.
By plugging in and testing your food processor, you ensure that it is in proper working condition and ready to be used for your culinary creations. If everything is functioning correctly, you can proceed to use the food processor for your desired recipes.
Lastly, we will cover the important steps of disassembling and cleaning the food processor for proper maintenance.
Next, we will guide you through the process of disassembling and cleaning the food processor to keep it in top condition.
Step 7: Disassembling and Cleaning the Food Processor
Properly disassembling and cleaning your Cuisinart food processor after each use is essential for maintaining its performance and longevity. Follow these steps to disassemble and clean your food processor:
1. Start by turning off the food processor and unplugging it from the electrical outlet for safety.
2. Remove the lid by gently lifting it off the work bowl.
3. Carefully remove the blade or disc attachment from the stem in the center of the work bowl. Be cautious of the sharp edges and handle it with care.
4. Take out the work bowl by twisting it counterclockwise and lifting it off the power base. If there are any additional attachments, such as the pusher or dough blade, remove them as well.
5. Rinse all the detachable parts, including the work bowl, lid, blades, and discs, under warm running water to remove any food debris.
6. Use a mild dish soap and a non-abrasive sponge or brush to clean the parts. Pay special attention to any crevices or grooves where food particles might become trapped.
7. Rinse all the parts thoroughly with warm water to ensure that no soap residue remains.
8. Allow the parts to air dry completely before reassembling the food processor. Alternatively, you can use a clean, lint-free cloth to dry the parts by hand.
9. Once all the components are dry, reassemble the food processor by attaching the blade or disc onto the stem, placing the work bowl onto the power base, and securing the lid in place.
10. Store your clean and dry food processor in a safe and dry place until its next use.
Regularly cleaning and properly maintaining your Cuisinart food processor ensures optimal performance and extends its lifespan. Additionally, it helps to prevent the buildup of food residues, which can lead to unpleasant odors and affect the taste of your meals.
Congratulations! You have successfully learned how to put together a Cuisinart food processor, from unboxing to disassembling and cleaning. With these steps in mind, you are now ready to make delicious recipes with ease and efficiency using your Cuisinart food processor.
Conclusion
Putting together a Cuisinart food processor may seem like a daunting task at first, but with the right guidance, it becomes a simple and enjoyable process. By following the steps outlined in this article, you have learned how to unbox and familiarize yourself with the food processor, assemble the various parts, prepare the work bowl and attachments, attach the blades and discs securely, lock the processor lid in place, plug in and test the food processor, and finally, disassemble and clean it after use.
Having a Cuisinart food processor in your kitchen opens up a world of possibilities for quick and efficient meal preparation. Whether you want to chop vegetables, grind nuts, puree soups, or knead dough, your food processor will be a valuable kitchen companion.
Remember, always refer to your specific model’s user manual for any unique instructions or safety precautions. Additionally, ensure that you handle the sharp blades and discs with care to avoid any injuries.
Now that you have the knowledge and confidence to put together your Cuisinart food processor, it’s time to start experimenting with various recipes and unleash your culinary creativity. From savory dips to smooth sauces and delicious desserts, the possibilities are endless.
Enjoy the convenience, speed, and versatility that a Cuisinart food processor brings to your kitchen. Happy cooking!
Frequently Asked Questions about How To Put Together A Cuisinart Food Processor
Was this page helpful?
At Storables.com, we guarantee accurate and reliable information. Our content, validated by Expert Board Contributors, is crafted following stringent Editorial Policies. We're committed to providing you with well-researched, expert-backed insights for all your informational needs.


0 thoughts on “How To Put Together A Cuisinart Food Processor”