Home>Articles>How To Use The Kitchenaid Food Processor Attachment

Articles
How To Use The Kitchenaid Food Processor Attachment
Modified: January 7, 2024
Discover expert articles on how to effectively use the Kitchenaid food processor attachment and enhance your cooking experience. Explore tips, techniques, and recipes.
(Many of the links in this article redirect to a specific reviewed product. Your purchase of these products through affiliate links helps to generate commission for Storables.com, at no extra cost. Learn more)
Introduction
Welcome to the world of Kitchenaid food processors! In the modern kitchen, having a versatile appliance that can efficiently chop, slice, shred, and puree ingredients is a game-changer. That’s where the Kitchenaid Food Processor Attachment comes into play. Whether you are a seasoned chef or an amateur cook, this attachment can revolutionize your cooking experience and save you valuable time and effort.
The Kitchenaid Food Processor Attachment is designed to fit perfectly onto your Kitchenaid stand mixer, making it a convenient and space-saving addition to your kitchen countertop. With its powerful motor and a range of attachments, this attachment allows you to tackle various tasks, from preparing homemade salsas and purees to shredding cheese and slicing vegetables with precision.
In this comprehensive guide, we will delve into everything you need to know about using the Kitchenaid Food Processor Attachment. From unboxing and assembly to cleaning and maintenance, we’ll cover it all. So, let’s dive in and discover the endless possibilities that await you with this versatile kitchen tool.
Key Takeaways:
- Revolutionize your cooking experience with the Kitchenaid Food Processor Attachment, a versatile and space-saving tool that effortlessly chops, slices, shreds, and purees ingredients, saving you time and effort in the kitchen.
- Maximize the potential of your Kitchenaid Food Processor Attachment with helpful tips and tricks, such as keeping ingredients cold for cleaner cuts, using the pulse function for texture control, and experimenting with new recipes to unleash your culinary creativity.
Read more: How To Use The Kitchenaid Food Processor
What is the Kitchenaid Food Processor Attachment?
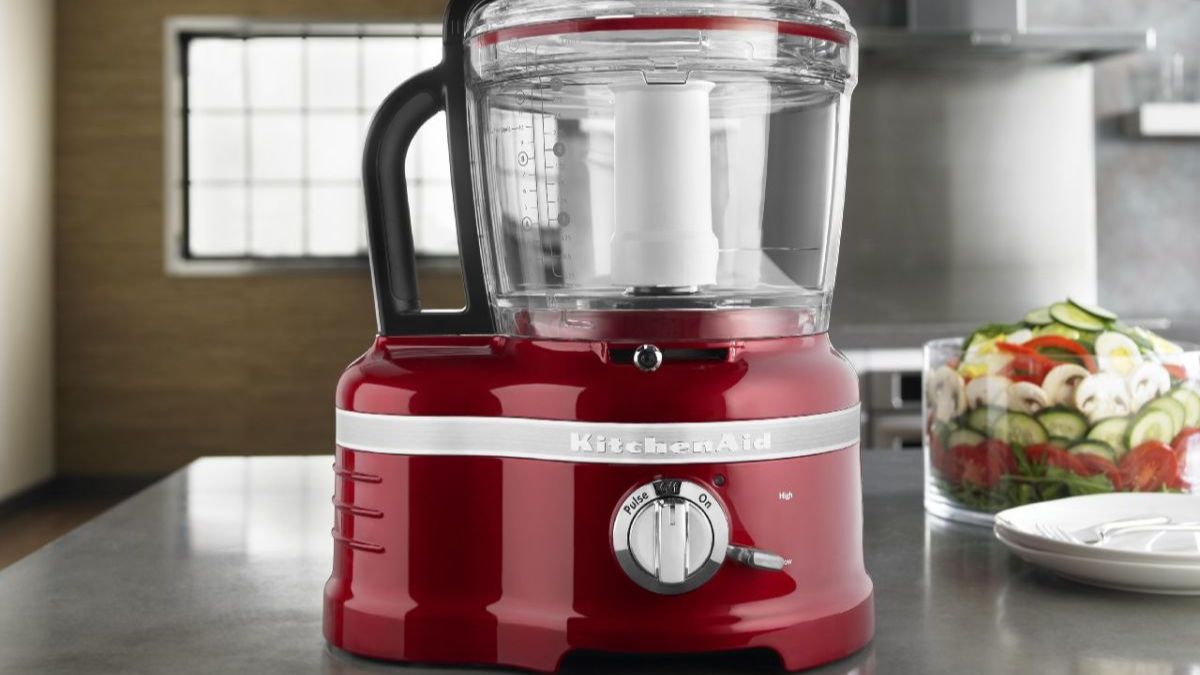
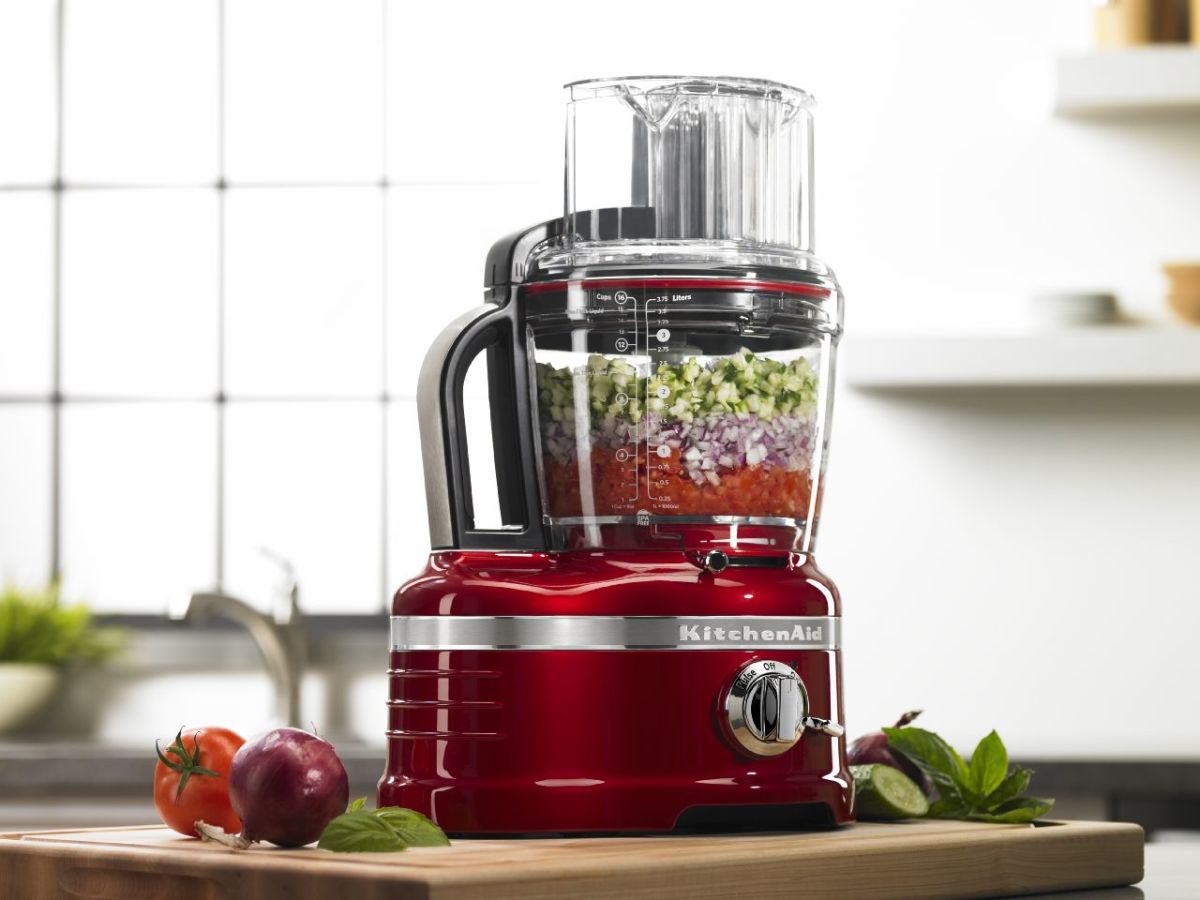
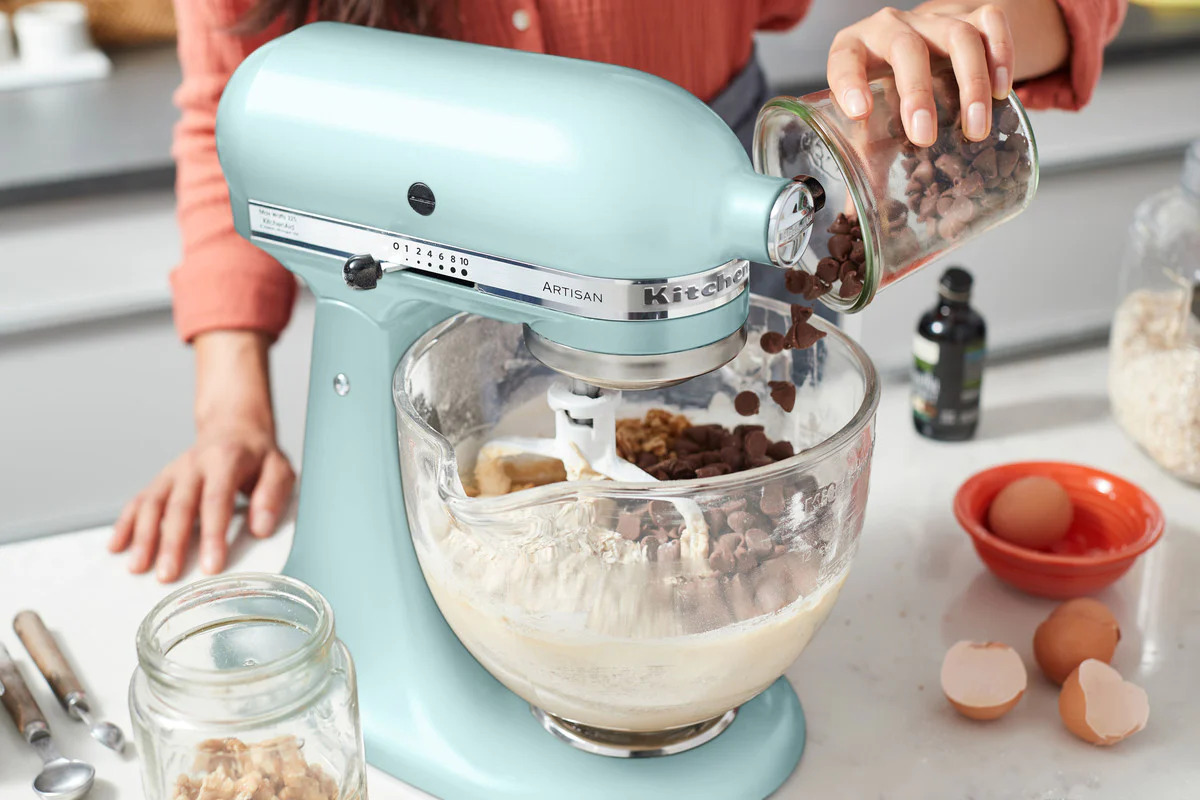
The Kitchenaid Food Processor Attachment is a powerful and versatile accessory that is designed to work with your Kitchenaid stand mixer. It provides all the functionality of a standalone food processor in a compact, convenient package. This attachment allows you to expand the capabilities of your stand mixer, transforming it into a multi-purpose kitchen appliance.
With the Kitchenaid Food Processor Attachment, you can effortlessly chop, slice, shred, and puree a wide range of ingredients. It features different blades and discs that can be easily interchanged to suit your desired outcome. Whether you want to finely chop onions for a stir-fry, slice cucumbers for a salad, or shred cheese for a casserole, this attachment has you covered.
One of the key advantages of the Kitchenaid Food Processor Attachment is its ease of use. You simply attach it to the power hub of your stand mixer, and you’re ready to go. The attachment is secure and stable, ensuring that it stays in place during operation. This eliminates the need for a separate standalone food processor, saving you both money and kitchen counter space.
Additionally, the Kitchenaid Food Processor Attachment is designed with efficiency in mind. It features a powerful motor that can handle even the toughest ingredients, making quick work of food preparation tasks. The attachment also comes with a large capacity bowl, allowing you to process larger quantities of ingredients in a single batch.
Moreover, the Kitchenaid Food Processor Attachment is built with durability in mind. It is constructed from high-quality materials that are designed to withstand regular use and resist wear and tear. The attachment is also dishwasher safe, making cleaning up a breeze after each use.
Overall, the Kitchenaid Food Processor Attachment is a must-have accessory for anyone who wants to take their culinary skills to the next level. It offers convenience, versatility, and efficiency, allowing you to effortlessly prepare a wide array of recipes. So, let’s move on to the next section and explore how to unbox and assemble this fantastic attachment.
Unboxing and Assembly
Once you have your Kitchenaid Food Processor Attachment in hand, it’s time to unbox and assemble it. The process is straightforward and can be completed in just a few simple steps.
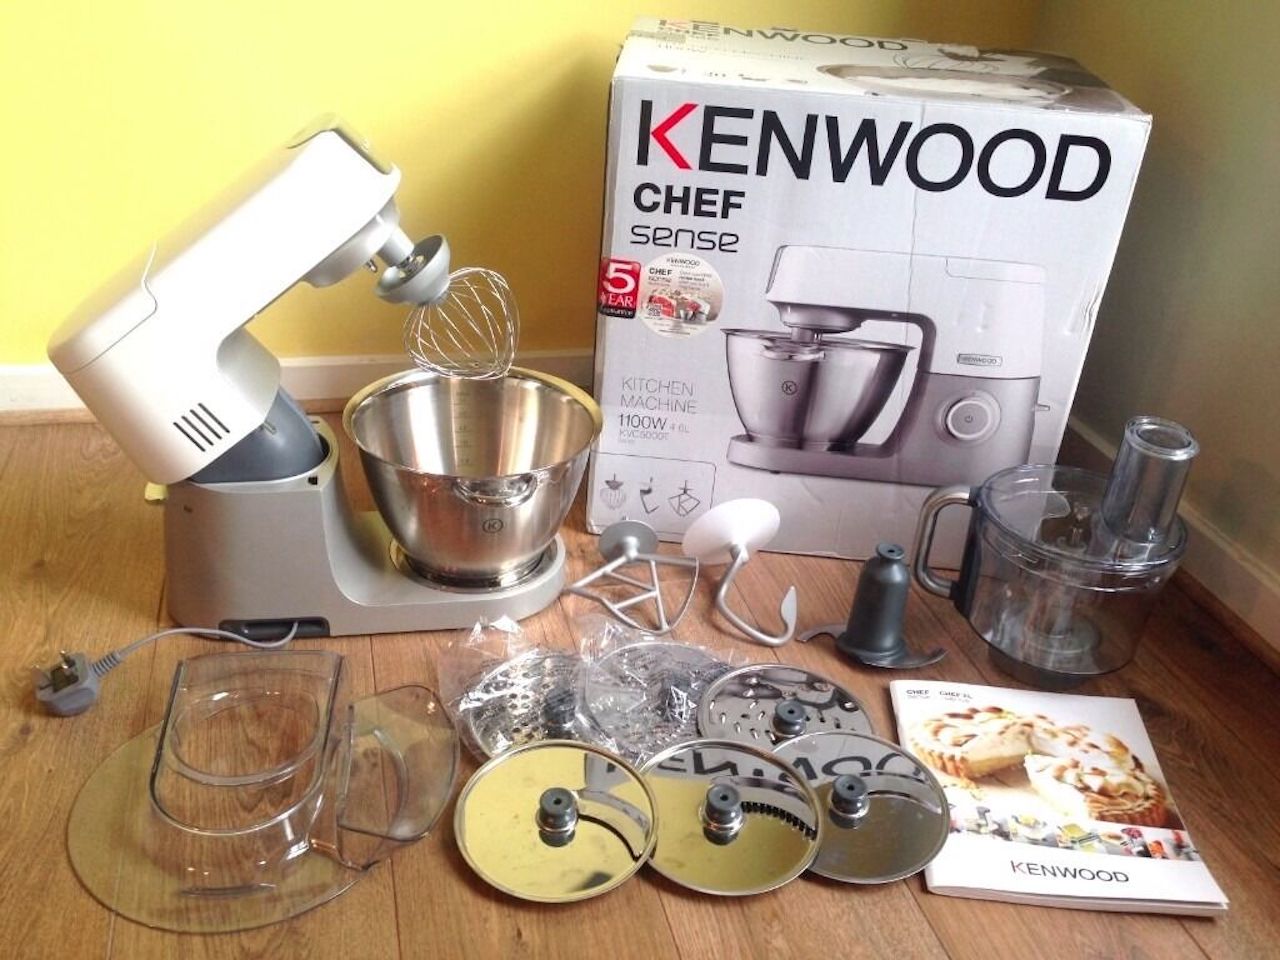
Begin by finding a clean and spacious area to work on. Open the package and carefully remove the contents. You should find the food processor attachment, a work bowl, a lid, a pusher, a disc adapter, various blades and discs, and an instruction manual.
First, ensure that your Kitchenaid stand mixer is unplugged. Next, locate the power hub on the front of the stand mixer. The power hub is where you will attach the food processor attachment.
Take the food processor attachment and align the cutout at its bottom with the power hub on the stand mixer. Push the attachment up until it clicks into place. Give it a gentle tug to confirm that it is securely attached.
Next, take the work bowl and insert it into the food processor attachment. Twist it clockwise until it locks into place. The work bowl should fit snugly onto the attachment, ensuring stability during operation.
Now, it’s time to attach the lid. Take the lid and place it on top of the work bowl, aligning the guideposts on the lid with the notches on the work bowl. Rotate the lid counterclockwise until it locks into position. You should hear a click when it is properly attached.
If you plan on using any of the slicing or shredding discs, you will need to attach the disc adapter. Simply place the adapter onto the stem in the center of the bowl and twist it clockwise until it locks into place.
Lastly, you’ll want to familiarize yourself with the different blades and discs that come with the attachment. These attachments will allow you to achieve various textures and cuts for your ingredients. Refer to the instruction manual for guidance on which attachment to use for specific tasks.
Once everything is assembled, you are ready to start using your Kitchenaid Food Processor Attachment. But before diving into your first recipe, it’s important to familiarize yourself with the various attachments and accessories that come with the attachment. Let’s explore them in the next section.
Attachments and Accessories
The Kitchenaid Food Processor Attachment comes with a variety of attachments and accessories that enhance its versatility and functionality. These attachments allow you to customize your food processing experience and achieve the desired results for your recipes. Let’s take a closer look at the different attachments and accessories that come with the Kitchenaid food processor attachment.
1. Multi-purpose Blade
The multi-purpose blade is the go-to attachment for chopping, mincing, and pureeing ingredients. It is designed to handle a wide range of tasks, from cutting through tough vegetables to blending sauces and dressings. This versatile blade provides consistent and precise results for your culinary endeavors.
2. Reversible Shredding Disc
The reversible shredding disc is perfect for shredding and grating ingredients such as cheese, vegetables, and fruits. One side of the disc features larger shredding holes, while the other side has smaller holes for finer shredding. This allows you to achieve different textures and sizes depending on your preferences.
3. Slicing Disc
The slicing disc is used to create uniform slices of fruits, vegetables, and other ingredients. It can be adjusted to achieve different thicknesses, allowing you to customize your slices for various recipes. Whether you’re making a salad or a gratin, the slicing disc ensures consistent and even slices.
4. Dough Blade
The dough blade is designed specifically for kneading and mixing dough. It is perfect for making bread, pizza dough, and pasta dough. The dough blade ensures thorough and consistent mixing, resulting in perfectly textured dough for your favorite baked goods.
5. Pusher
The pusher is an essential accessory that helps you safely push ingredients down into the feed tube. It allows you to safely process ingredients without the risk of injuring your hands. The pusher also helps in evenly distributing the ingredients for consistent results.
Read more: Kitchenaid Food Processor Blades How To Use
6. Disc Adapter
The disc adapter is used to secure the slicing and shredding discs onto the stem in the center of the work bowl. It ensures a stable connection between the discs and the attachment, allowing for seamless operation.
These are just a few examples of the attachments and accessories that come with the Kitchenaid Food Processor Attachment. It’s essential to read the instruction manual provided with the attachment to understand how to properly use and care for each attachment. Now that you are familiar with the attachments and accessories, let’s move on to the next section and learn how to use the food processor attachment effectively.
Using the Food Processor Attachment
With the Kitchenaid Food Processor Attachment securely assembled, it’s time to explore the various ways you can utilize this versatile kitchen tool. Here’s a step-by-step guide on how to use the food processor attachment effectively:
1. Prepare Ingredients
Before using the food processor attachment, ensure that your ingredients are properly prepped. Wash and peel fruits and vegetables, remove any pits or seeds, and cut your ingredients into manageable pieces that fit through the feed tube.
2. Select the Appropriate Blade or Disc
Determine which blade or disc you need for your recipe. If you’re chopping or pureeing, use the multi-purpose blade. For shredding or grating, select the appropriate shredding disc. If you’re slicing ingredients, choose the slicing disc and adjust the thickness as desired.
Read more: How To Use Kitchenaid Mini Food Processor
3. Attach the Blade or Disc
Place the desired blade or disc onto the stem in the center of the work bowl. Ensure that it fits securely and aligns with the notch or guidepost on the lid.
4. Add Ingredients
Add the prepared ingredients to the work bowl through the feed tube. Make sure not to overfill the bowl, as this may affect the processing and result in uneven chopping or mixing.
5. Secure the Lid
Place the lid on top of the work bowl, aligning the guideposts with the notches on the bowl. Rotate the lid clockwise until it clicks into place. This ensures that the attachment is securely closed during operation to prevent any accidents.
6. Choose the Speed
Select the appropriate speed on your Kitchenaid stand mixer. Start with a low speed for delicate tasks like chopping herbs or pureeing soft ingredients, and increase the speed gradually for tougher tasks such as kneading dough or shredding dense vegetables.
Read more: How To Turn On A Kitchenaid Food Processor
7. Process the Ingredients
Turn on the stand mixer and let the food processor attachment do its magic. Monitor the processing progress, occasionally stopping to scrape down the sides of the bowl with a spatula to ensure evenly processed ingredients.
8. Check for Desired Consistency
Once the ingredients are processed, stop the attachment and check if the desired consistency is achieved. If not, continue processing for a bit longer until you reach the desired texture.
9. Remove the Lid and Transfer Your Prepared Ingredients
When you’re satisfied with the results, turn off the stand mixer and remove the lid. Carefully remove the processed ingredients from the work bowl, and transfer them to a separate bowl or container for further use in your recipe.
Following these steps will ensure that you make the most of your Kitchenaid Food Processor Attachment and achieve professional-quality results in your culinary adventures. Now that you know how to use the attachment effectively, let’s move on to the next section and learn about cleaning and maintenance.
Cleaning and Maintenance
Proper cleaning and maintenance of your Kitchenaid Food Processor Attachment are crucial for its longevity and performance. Follow these simple steps to keep your attachment in pristine condition:
1. Unplug and Disassemble
Before cleaning, make sure the Kitchenaid stand mixer is unplugged. Carefully remove the food processor attachment from the power hub and disassemble the individual parts, such as the work bowl, lid, blades, and discs.
2. Hand Wash or Dishwasher
You can choose to hand wash the attachment components using warm soapy water or place them in the dishwasher for a thorough cleaning. However, make sure to consult the instruction manual to confirm that the specific parts are dishwasher safe.
3. Remove Food Residue
If there are any stubborn food residues stuck on the blades or discs, use a brush or a soft sponge to gently scrub them away. Be careful not to use any abrasive materials or harsh chemicals that could damage the attachment.
4. Dry Thoroughly
After washing, ensure that all the components are dried thoroughly to prevent the growth of bacteria. You can air dry them or use a clean towel to wipe away excess moisture.
Read more: How To Use A Kitchenaid Juicer Attachment
5. Store Properly
Once dry, reassemble the attachment and store it in a clean and dry place. Keep all the parts together to avoid misplacing them. If you have limited storage space, consider using the original packaging or a dedicated container to keep the attachment and its accessories organized.
6. Regular Maintenance
Regular maintenance is important to ensure the longevity of your Kitchenaid Food Processor Attachment. Check the attachment periodically for any signs of wear and tear or loose screws. If you notice any issues, contact the manufacturer for assistance.
By following these simple cleaning and maintenance steps, you can keep your Kitchenaid Food Processor Attachment in excellent condition, ready to assist you in your culinary endeavors for years to come.
Now that you are well-versed in the cleaning and maintenance process, let’s move on to the next section and discover some helpful tips and tricks to make the most out of your Kitchenaid Food Processor Attachment.
Tips and Tricks
Mastering the use of your Kitchenaid Food Processor Attachment can elevate your cooking experience and save you time in the kitchen. Here are some helpful tips and tricks to enhance your food processing adventures:
1. Keep Ingredients Cold
For better results when slicing or shredding, it’s recommended to chill your ingredients beforehand. Cold ingredients tend to hold their shape better and result in cleaner cuts and shreds.
Read more: How To Clean Kitchenaid Food Processor Lid
2. Use the Pulse Function
The pulse function on your stand mixer can be a useful tool when using the food processor attachment. Pulse in short bursts to have more control over the texture of the ingredients and to prevent over-processing. This is especially useful when chopping onions, making coarse breadcrumbs, or achieving a chunky salsa.
3. Batch Processing Large Quantities
If you have a large quantity of ingredients to process, it’s best to divide them into smaller batches. This ensures that the attachment can process the ingredients evenly and efficiently without overcrowding the work bowl.
4. Freezing and Storage
If you have excess ingredients or prepared food that you would like to store, the food processor attachment can assist you in the process. Slice and shred vegetables and fruits, then freeze them in portion sizes for convenience. You can also puree fruits and vegetables for baby food or sauces and freeze them in ice cube trays for easy access later on.
5. Experiment with Different Recipes
Don’t limit yourself to traditional recipes. The food processor attachment opens up a world of possibilities. Try making homemade nut butter, grinding your own meat, or even creating your own flavored breadcrumbs. Explore new ideas and experiment with different ingredients to discover unique flavors and textures.
6. Safety First
Always ensure that the stand mixer is unplugged before attaching or detaching the food processor attachment. Additionally, it’s important to handle the sharp blades with care to avoid any accidents. Use the pusher to guide ingredients into the feed tube, keeping your hands safe from the cutting discs or blades.
By utilizing these tips and tricks, you can maximize the potential of your Kitchenaid Food Processor Attachment and enhance your culinary creations. Now, let’s wrap up this guide with some final thoughts.
Conclusion
The Kitchenaid Food Processor Attachment is a versatile and powerful tool that can revolutionize your cooking experience. With its ability to chop, slice, shred, and puree ingredients, this attachment opens up a world of possibilities in the kitchen. By conveniently attaching to your Kitchenaid stand mixer, it saves space and eliminates the need for a separate standalone food processor.
Throughout this guide, we’ve explored the various aspects of the Kitchenaid Food Processor Attachment, from unboxing and assembly to cleaning and maintenance. We’ve learned about the different attachments and accessories that come with the attachment, and we’ve discovered how to use it effectively for a wide range of culinary tasks.
Remember to always follow safety precautions, such as unplugging the stand mixer before attaching or detaching the food processor attachment, and using the pusher to guide ingredients into the feed tube.
With the Kitchenaid Food Processor Attachment, you have the power to create delicious homemade salsas, perfectly sliced vegetables, and finely grated cheeses. Let your culinary creativity soar as you experiment with new recipes and techniques.
So, go ahead and unleash the full potential of your Kitchenaid Food Processor Attachment. Explore new flavors, save time in the kitchen, and impress your family and friends with your culinary creations. Happy food processing!
Frequently Asked Questions about How To Use The Kitchenaid Food Processor Attachment
Was this page helpful?
At Storables.com, we guarantee accurate and reliable information. Our content, validated by Expert Board Contributors, is crafted following stringent Editorial Policies. We're committed to providing you with well-researched, expert-backed insights for all your informational needs.

0 thoughts on “How To Use The Kitchenaid Food Processor Attachment”