Articles
Which Blade To Use On Food Processor
Modified: August 25, 2024
Looking for articles on which blade to use on a food processor? Find helpful tips and advice on our website to choose the right blade for your needs.
(Many of the links in this article redirect to a specific reviewed product. Your purchase of these products through affiliate links helps to generate commission for Storables.com, at no extra cost. Learn more)
Introduction
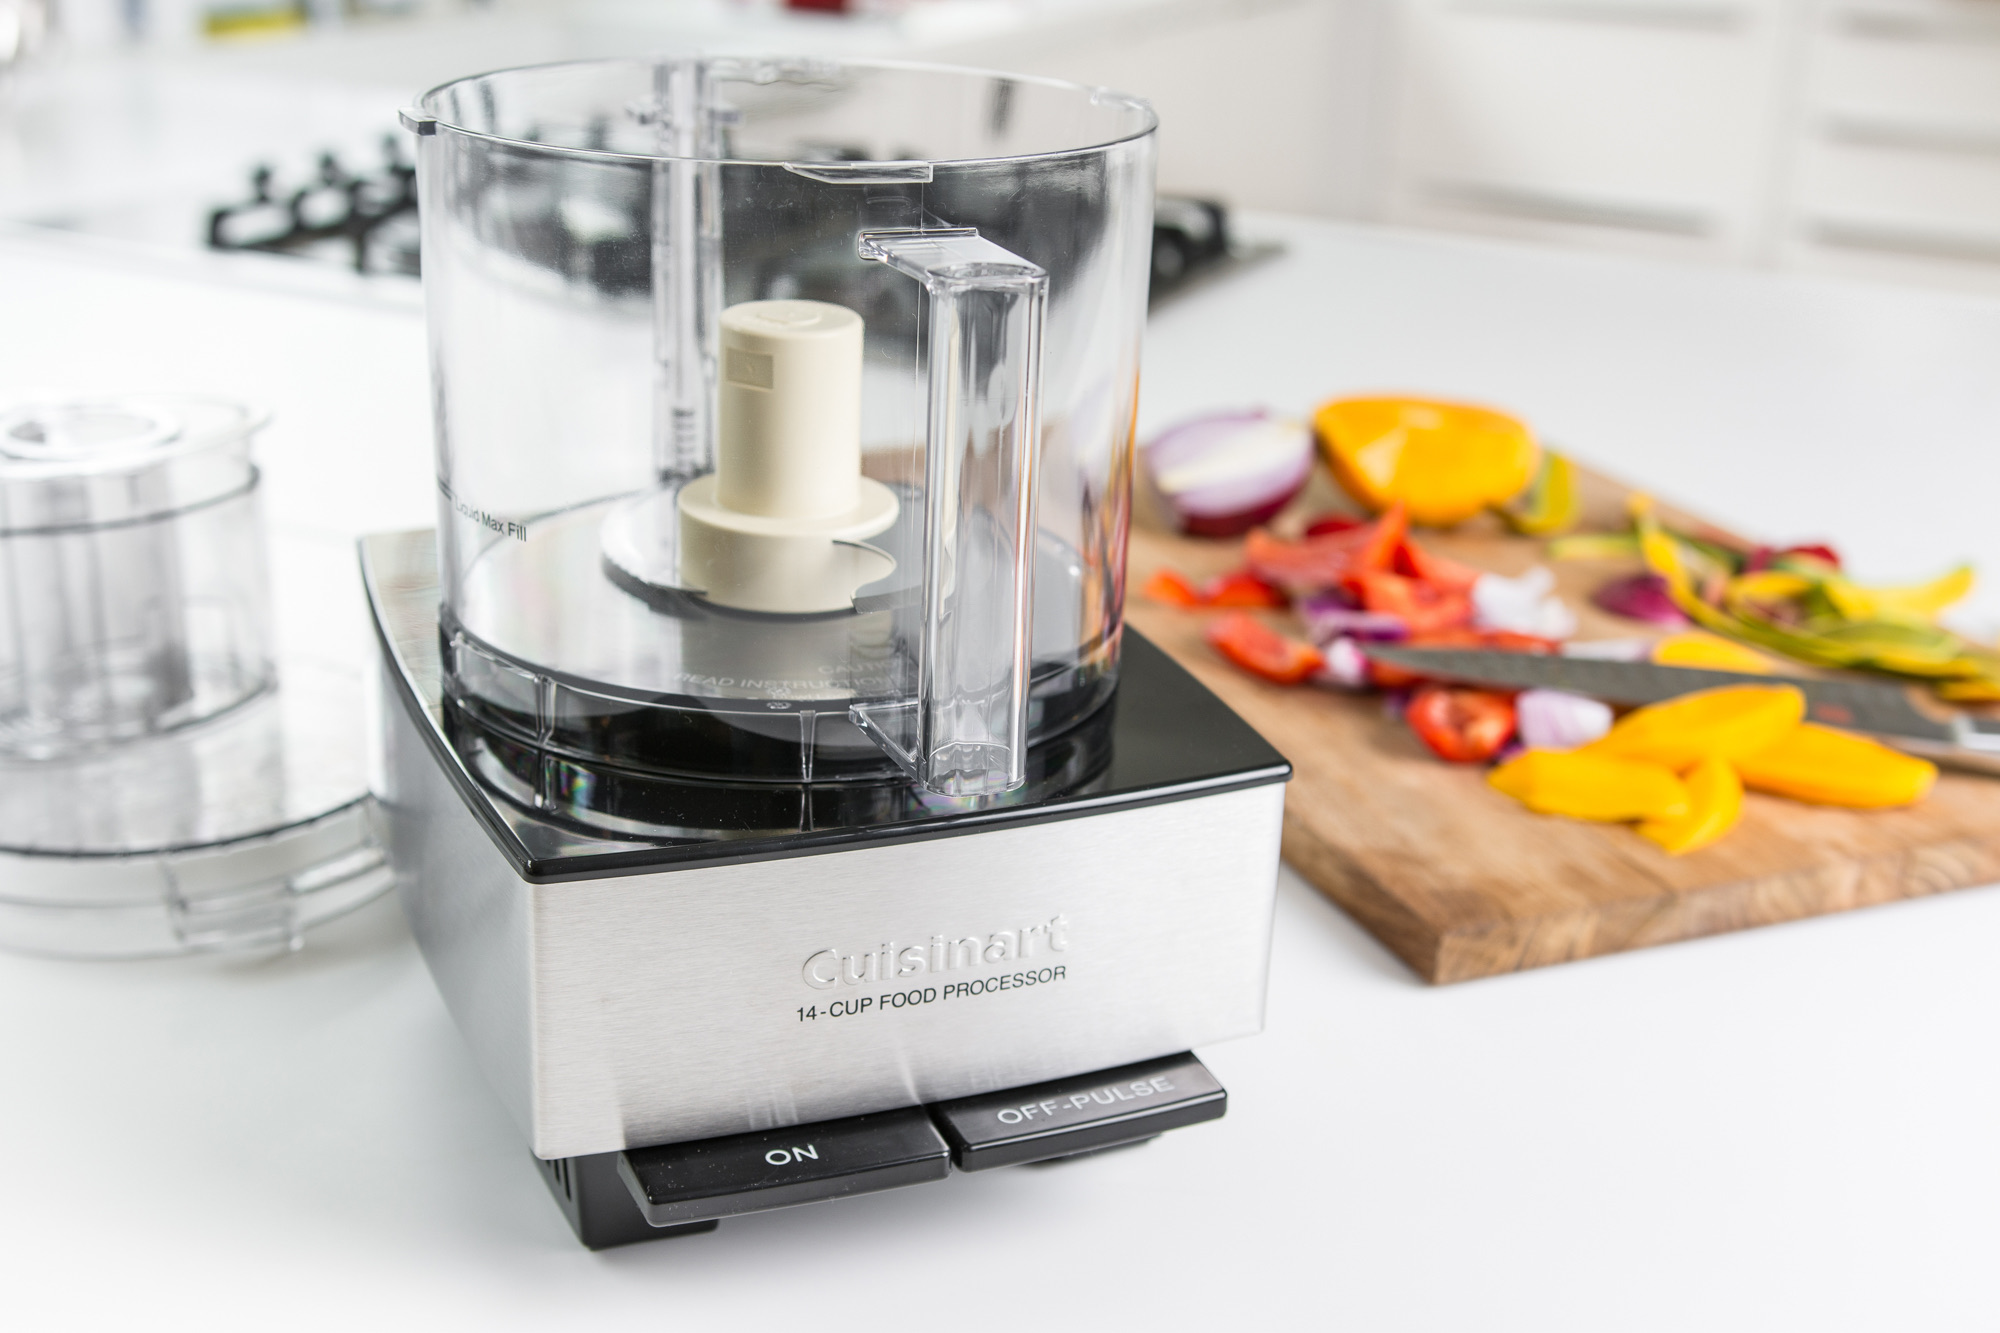
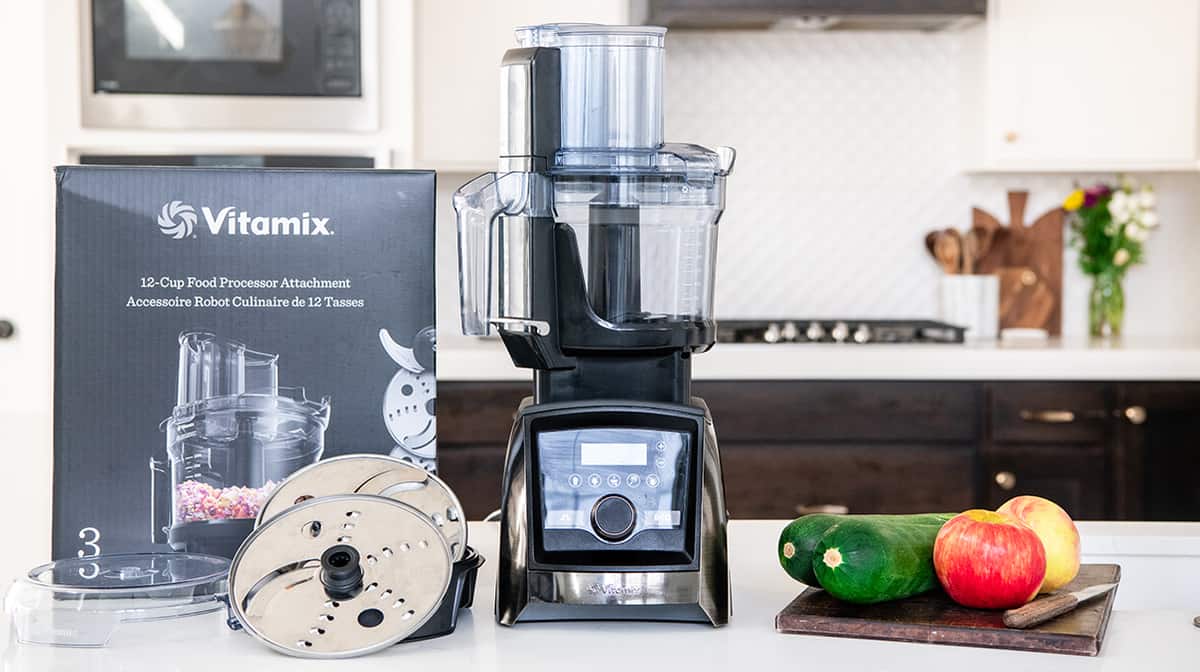
Welcome to the world of food processors, where a flurry of blades awaits to help you slice, shred, chop, mix, and grind your way to culinary success. As a versatile kitchen appliance, a food processor can take your meal preparations to the next level, saving you time and energy. But with an assortment of different blades at your disposal, how do you know which one to use for each task?
Let’s dive into the world of food processor blades and discover their unique functions and abilities. By understanding the various types of blades and their uses, you can make the most out of your food processor and create delicious meals with ease.
Key Takeaways:
- Embrace the versatility of food processor blades to effortlessly slice, shred, chop, mix, julienne, and grind ingredients, saving time and effort while achieving consistent and professional results in your cooking.
- Experiment with different blades to unleash your creativity in the kitchen, from creating elegant julienne strips to transforming ingredients into powders or pastes, and take your culinary creations to new heights.
Read more: How To Sharpen Food Processor Blades
Slicing Blades
When it comes to creating perfectly sliced fruits, vegetables, and even meats, a slicing blade is your go-to option. These blades are designed with a sharp, straight edge that effortlessly slices through ingredients with precision. Whether you’re preparing a salad, a stir-fry, or a platter of beautifully arranged vegetables, a slicing blade will give you consistent slices every time.
One popular slicing blade option is the adjustable slicing disk. This versatile blade allows you to customize the thickness of your slices, giving you complete control over your desired outcome. Simply adjust the dial on the food processor to achieve thin slices for delicate ingredients or thicker slices for heartier vegetables.
It’s important to note that each food processor model may have slightly different blade options, so refer to your machine’s manual to understand the specific slicing blades available to you. Some food processors even offer serrated slicing blades, which are ideal for cutting through crusty bread or tough-skinned fruits like tomatoes.
When using a slicing blade, it’s essential to consider the size and shape of the ingredients you’re working with. For smaller fruits and vegetables, such as cucumbers or carrots, it’s best to trim them to fit the food chute of your food processor. This ensures that the ingredients are properly aligned with the blade, resulting in evenly sliced pieces.
Overall, a slicing blade is a fantastic tool for achieving uniform slices for a variety of dishes. From thin cucumber rounds to thick potato slices for gratins, this blade will elevate your cooking and presentation game to new heights.
Shredding Blades
When it comes to shredding ingredients like cheese, vegetables, or even cabbage for coleslaw, shredding blades come to the rescue. These blades have sharp, jagged edges that quickly and efficiently tear through ingredients, creating thin shreds of varying sizes.
One popular type of shredding blade is the reversible shredding disc, which typically has a coarse side and a finer side. The coarse side is ideal for shredding ingredients like cheese for toppings or salads, while the finer side is great for creating thin, delicate shreds of vegetables for stir-fries or slaws.
Using a shredding blade is simple. First, ensure that your ingredients are of an appropriate size to fit into the food chute. For example, if you’re shredding a block of cheese, cut it into smaller chunks that can easily fit into the chute. Then, simply insert the ingredients into the food chute and turn on the food processor. The blades will quickly shred the ingredients to your desired consistency.
It’s important to be cautious when using shredding blades, as they can be extremely sharp. Always handle the blades with care and use the necessary safety precautions. Additionally, it’s essential to keep an eye on the texture of your shredded ingredients. Depending on the desired outcome, you may want to stop the shredding process earlier for coarser shreds or continue for finer, almost grated, results.
Shredding blades are incredibly versatile and can be used for a wide range of ingredients. From shredding cabbage for a crunchy homemade coleslaw to creating perfectly shredded carrots for stews or salads, these blades will save you time and effort in the kitchen.
Experiment with different ingredients and explore the possibilities that shredding blades have to offer. You’ll be amazed at how they can transform ordinary ingredients into delectable shredded creations.
Chopping Blades
When it comes to quickly and efficiently breaking down ingredients into smaller pieces, chopping blades are an essential tool in your food processor. These blades are designed with multiple sharp edges that swiftly chop and mince ingredients with precision.
Chopping blades are ideal for tasks like chopping onions, garlic, herbs, or even nuts. They allow you to achieve consistent and finely chopped results in a matter of seconds.
Using a chopping blade is straightforward. First, ensure that your ingredients are cleaned and prepared for chopping. For example, peel and quarter an onion or remove the stems from your herbs. Then, simply place the ingredients into the food processor’s bowl or work bowl, ensuring not to overfill it. Secure the lid tightly and process the ingredients by pulsing the machine in short bursts until you reach the desired consistency.
Keep in mind that the duration of processing will determine the size of your chopped ingredients. For a finer chop, pulse the food processor for a longer duration. For a more coarse chop, pulse the machine for shorter bursts. The versatility of chopping blades allows you to control the texture and size of your chopped ingredients according to your recipe’s requirements.
Chopping blades are not limited to just vegetables or herbs. They can also be used to grind meat or make homemade breadcrumbs. Simply cut your meat into smaller chunks or tear bread into pieces and process them until you achieve the desired texture.
When working with chopping blades, it’s essential to pay attention to the capacity of your food processor and avoid overfilling the bowl. Overfilling can lead to uneven chopping or even damage the machine. It’s best to process ingredients in smaller batches to ensure uniform results.
Overall, chopping blades are an indispensable tool for your food processor, making quick work of chopping tasks in the kitchen. From chopping onions and garlic to mincing herbs or grinding meats, these blades will save you time and effort while achieving consistent and professional results.
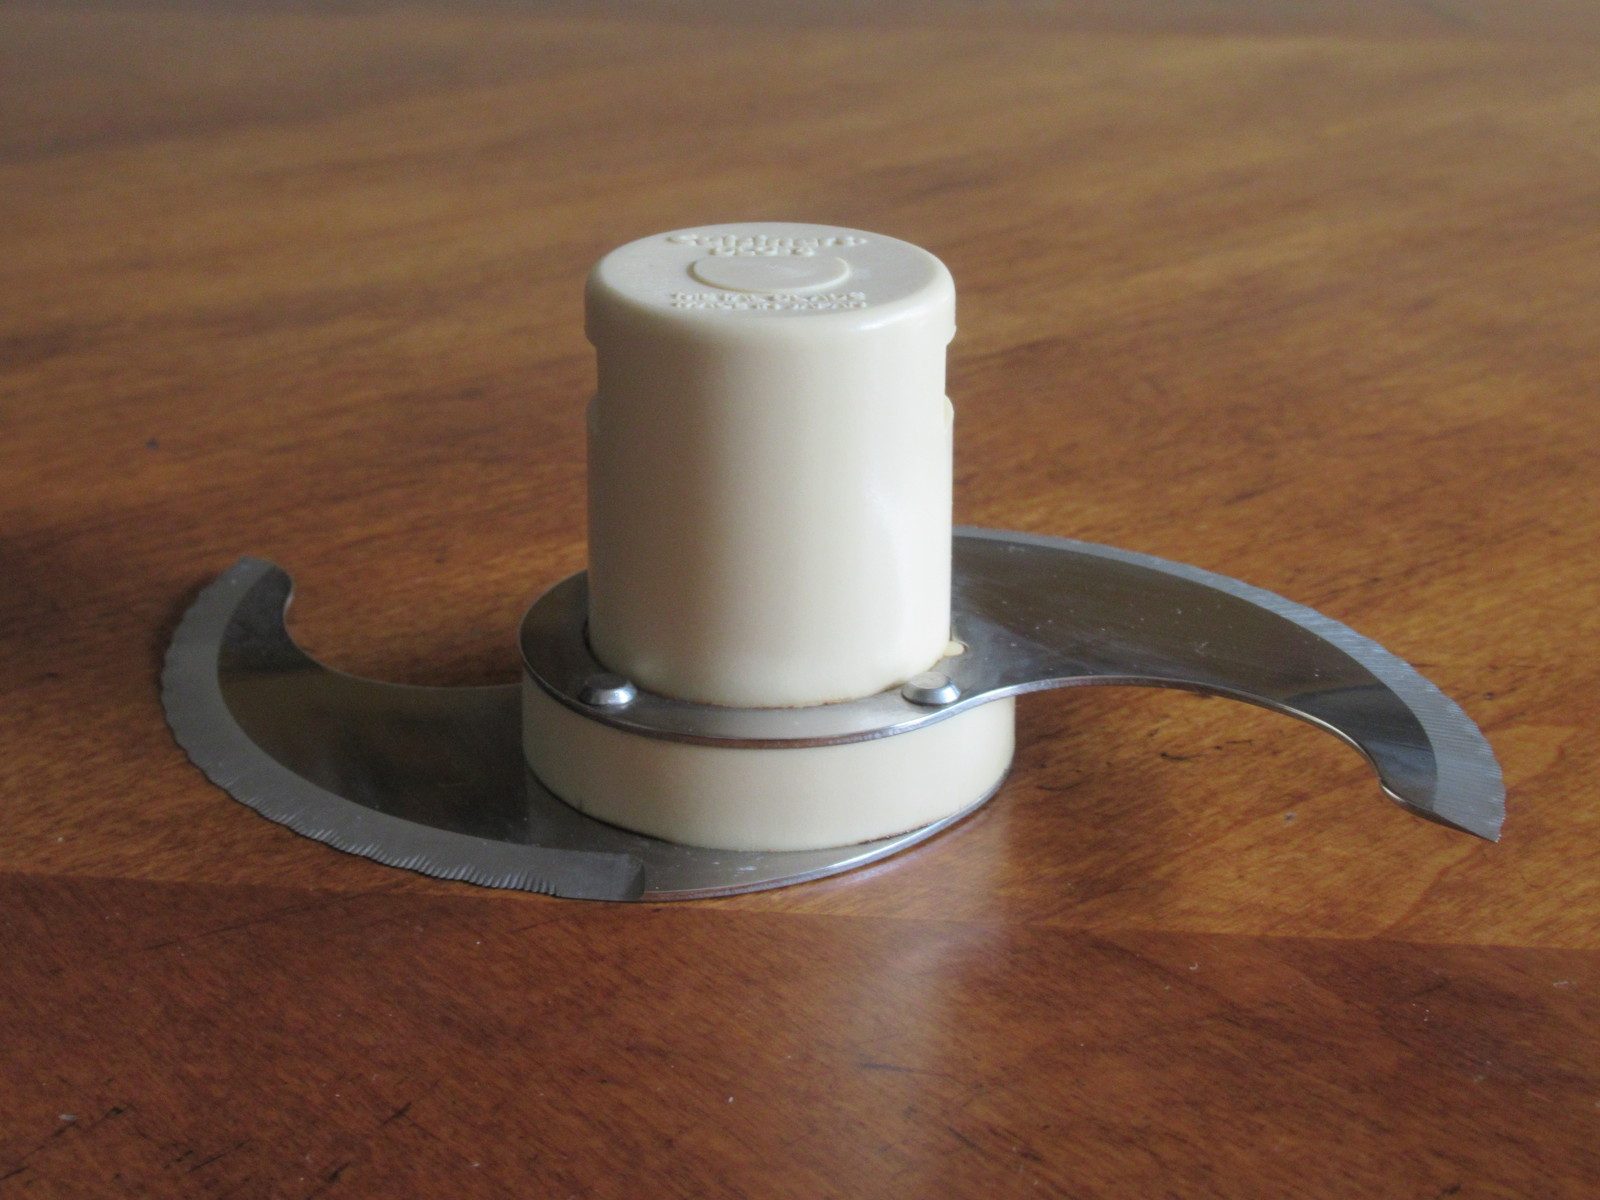
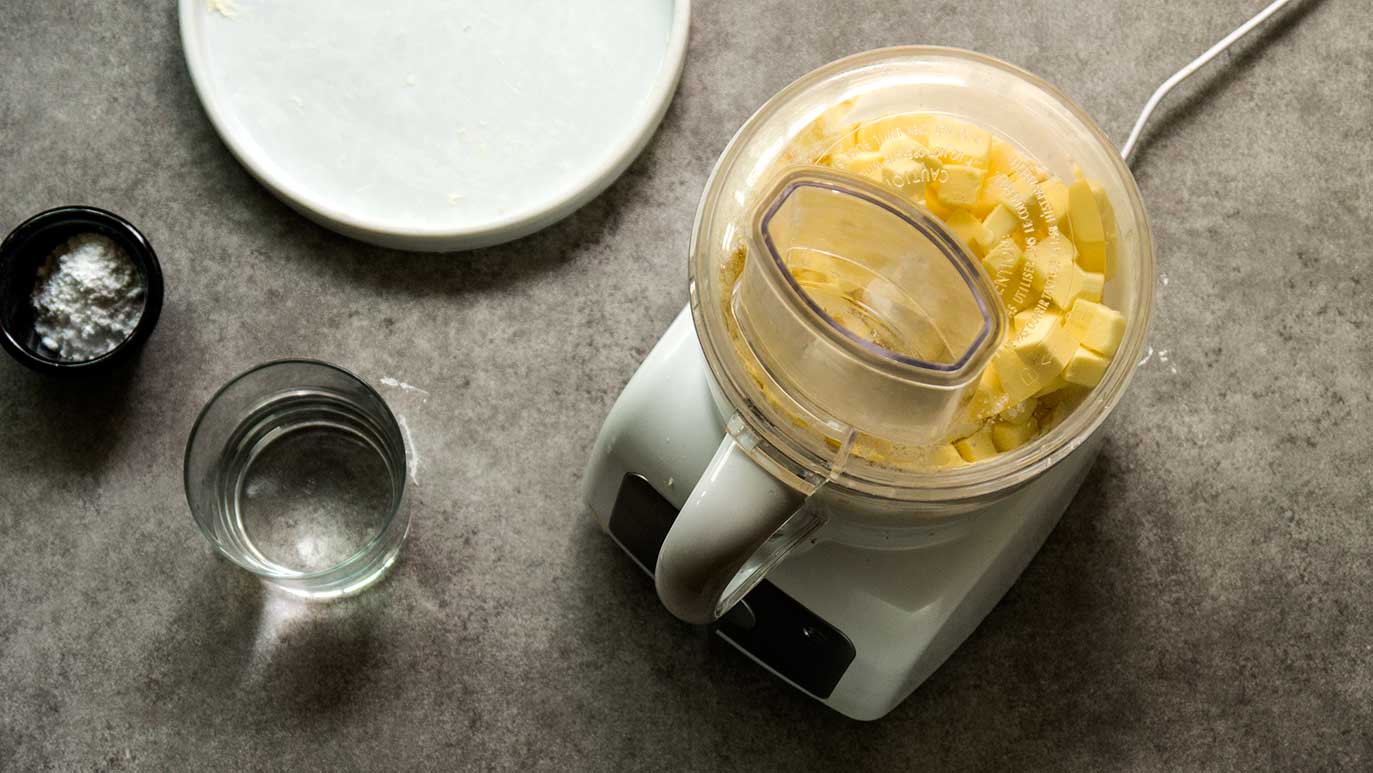
Use the metal S-shaped blade for chopping and pureeing, and the plastic dough blade for mixing and kneading dough in a food processor.
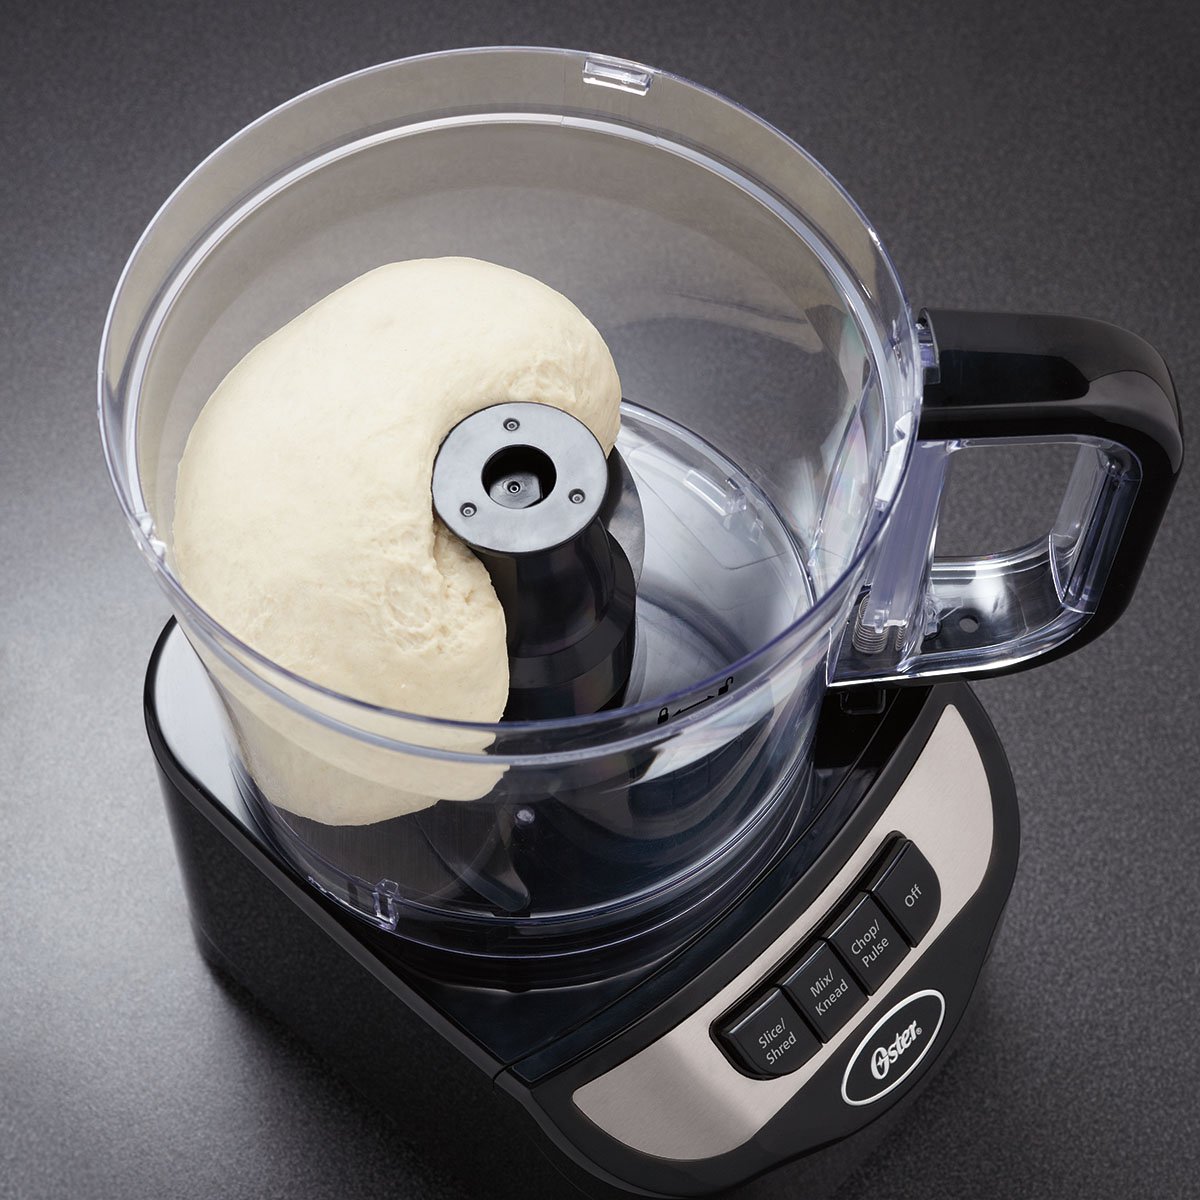
Mixing and Dough Blades
When it comes to combining ingredients or kneading dough, mixing and dough blades are your trusty companions in the kitchen. These blades are designed to efficiently mix and blend various ingredients, ensuring even distribution and thorough incorporation.
Mixing blades typically have a flat paddle-like design with curved edges. They are perfect for tasks such as mixing cake or pancake batters, preparing cookie dough, or combining ingredients for sauces or dressings. The flat surface of the blade helps scrape down the sides of the bowl, ensuring all ingredients are well-mixed.
Dough blades, on the other hand, have a more sturdy and thicker design, specifically intended for kneading dough. Whether you’re making bread, pizza dough, or pastry dough, a dough blade will save you time and effort by effortlessly kneading and developing gluten in the dough.
Using mixing and dough blades is relatively straightforward. Simply attach the desired blade to your food processor’s work bowl and add the necessary ingredients according to your recipe. Then, secure the lid tightly and turn on the machine. Let the blades do their magic as they mix or knead the ingredients to perfection.
It’s essential to observe the speed and duration of mixing or kneading. Different recipes may require specific instruction regarding the intensity and duration of mixing. Be sure to follow the guidelines provided in your recipe to achieve the desired results.
While mixing and dough blades are incredibly helpful, it’s important not to overwork the ingredients. Overmixing can lead to tough dough or dense batters. It’s best to stop mixing once the ingredients are fully incorporated and the desired consistency is achieved.
Whether you’re whipping up a cake batter or making homemade bread, the mixing and dough blades in your food processor will make the process a breeze. From perfectly mixed batters to well-kneaded dough, these blades ensure consistent results and take the effort out of manual mixing and kneading.
Read more: What Is An S Blade On A Food Processor
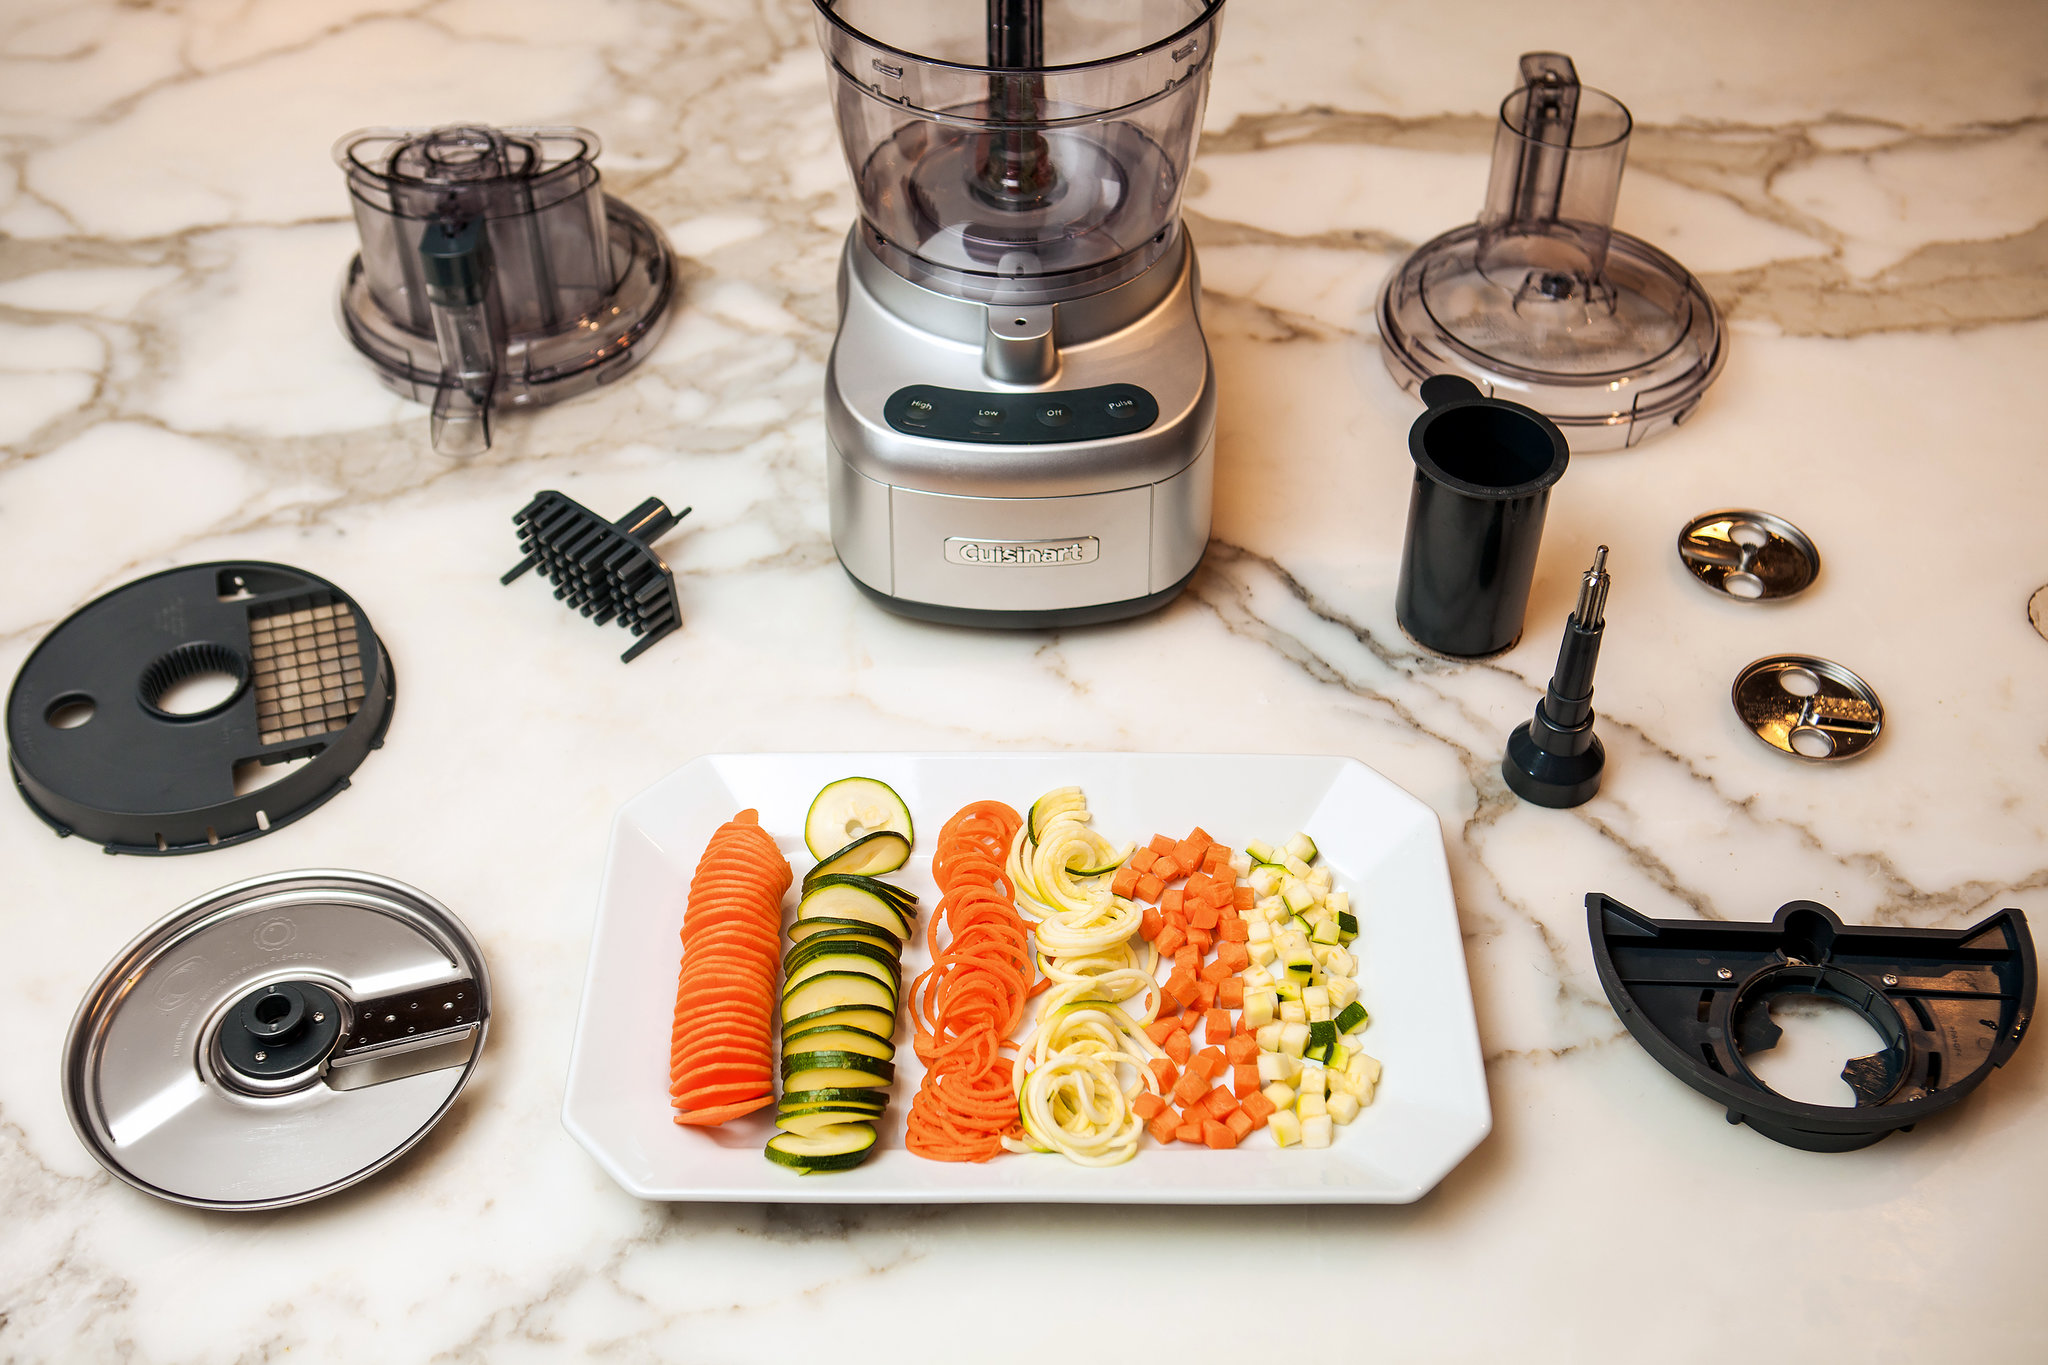
Julienne Blades
If you’re looking to add a touch of elegance and precision to your culinary creations, julienne blades are the answer. These blades are specifically designed to create thin, matchstick-like strips of vegetables, perfect for garnishes, salads, stir-fries, or even for creating decorative elements on a plate.
The julienne blade attachment for your food processor typically features multiple sharp blades closely spaced together. When ingredients like carrots, zucchini, or bell peppers are passed through these blades, they are transformed into uniform strips, adding texture and visual appeal to your dishes.
To use julienne blades, prep your vegetables by ensuring they are cleaned and trimmed to fit your food processor’s chute. Feed the vegetable into the chute and turn on the processor. The blades will quickly and efficiently produce beautiful julienne strips. It’s important to note that harder vegetables may require a little more pressure when processing.
Julienne blades are a fantastic addition to your kitchen arsenal when you want to elevate the presentation of your dishes. You can use these strips to add flair to salads, incorporate them into stir-fries, or even use them as a topping for soups or noodle dishes. The possibilities are endless.
When using julienne blades, it’s crucial to exercise caution as the blades can be extremely sharp. Always handle them with care and follow necessary safety precautions. Additionally, be mindful of the size of your ingredients. Larger vegetables may need to be cut into smaller sections to fit through the chute properly.
Overall, julienne blades are a wonderful tool to have at your disposal, allowing you to create delicate, thin strips for a variety of dishes. With their ability to transform ordinary vegetables into stunning garnishes, they add a touch of elegance and sophistication to your culinary creations.
Grinding Blades
When it comes to grinding ingredients into fine powders or pastes, grinding blades are the go-to option in your food processor. These blades are designed to pulverize a wide range of ingredients, from spices and nuts to coffee beans and grains.
The grinding blades in a food processor typically consist of sharp, serrated edges that effectively break down ingredients into a fine, consistent texture. Whether you’re looking to create aromatic spice blends, make your own nut butter, or grind your coffee beans for a fresh cup of joe, grinding blades have got you covered.
Using grinding blades is quite straightforward. All you need to do is place the designated ingredients into the food processor’s work bowl, ensuring not to overfill it. Secure the lid and turn on the machine. Let the grinding blades work their magic as they transform your ingredients into the desired texture.
It’s important to remember that different ingredients may require varying durations for grinding. For instance, spices may take less time to grind compared to harder nuts. Keep an eye on the texture and consistency and use short pulses if needed to achieve the desired result.
When grinding ingredients like spices or coffee beans, it’s best to start with small amounts. This ensures that the blades have enough space to effectively grind the ingredients. You can always grind in batches if you need larger quantities.
Grinding blades are not limited to dry ingredients. They can also be used to create fine pastes or purees. Simply add a small amount of liquid, such as water or oil, to the ingredients to facilitate the grinding process and create a smooth consistency.
Remember to exercise caution when handling the grinding blades, as they can be extremely sharp. Always handle them with care and follow the necessary safety precautions when attaching, removing, and cleaning the blades.
Whether you’re looking to create your own spice mixes, grind nuts for baking, or make homemade nut butter, the grinding blades in your food processor will make the task a breeze. They allow you to have complete control over the texture and consistency of your ground ingredients, enabling you to achieve the perfect results every time.
Conclusion
Food processors are versatile kitchen appliances that offer a wide range of functions, thanks to their assortment of specialized blades. Each blade serves a specific purpose, allowing you to slice, shred, chop, mix, julienne, and grind ingredients with ease.
By understanding the different types of blades and their uses, you can unleash the full potential of your food processor and enhance your culinary creations. Slicing blades are perfect for achieving uniform slices of fruits, vegetables, and meats. Shredding blades efficiently tear through ingredients, creating thin shreds suitable for salads, toppings, or fillings. Chopping blades make quick work of chopping and mincing, ensuring even distribution of ingredients. Mixing and dough blades assist in combining and kneading ingredients, saving time and effort in preparation. Julienne blades create elegant, matchstick-like strips for garnishing and adding visual appeal to dishes. Lastly, grinding blades transform ingredients into powders or pastes, making customized spice blends, nut butters, and more.
When using your food processor and its blades, it’s crucial to follow safety instructions, properly handle the sharp blades, and assure that the ingredients are suitable for processing. Additionally, always refer to your food processor’s user manual to understand the specific blades available and their compatibility with your machine.
With a food processor and its array of blades, you can save time, effort, and achieve consistent and professional results in your cooking. From everyday meal preparations to elaborate culinary ventures, these blades have the power to elevate your creations and bring your culinary vision to life.
So, embrace the world of food processor blades, experiment with different ingredients, and let the versatility of these blades unleash your creativity in the kitchen. The possibilities are endless, and with the right blade at your fingertips, you can take your cooking to new heights.
Frequently Asked Questions about Which Blade To Use On Food Processor
Was this page helpful?
At Storables.com, we guarantee accurate and reliable information. Our content, validated by Expert Board Contributors, is crafted following stringent Editorial Policies. We're committed to providing you with well-researched, expert-backed insights for all your informational needs.


0 thoughts on “Which Blade To Use On Food Processor”