Articles
How To Use Kitchenaid Mini Food Processor
Modified: February 27, 2024
Discover useful articles on how to make the most of your Kitchenaid Mini Food Processor. Find tips, recipes, and techniques to elevate your culinary creations.
(Many of the links in this article redirect to a specific reviewed product. Your purchase of these products through affiliate links helps to generate commission for Storables.com, at no extra cost. Learn more)
Introduction
Welcome to the wonderful world of the Kitchenaid Mini Food Processor! This compact and versatile kitchen appliance is a game-changer when it comes to food preparation. Whether you’re a seasoned chef or just starting out in the kitchen, the Kitchenaid Mini Food Processor is a must-have tool.
In this article, we will guide you through the process of using the Kitchenaid Mini Food Processor from unboxing to troubleshooting common issues. By the end, you’ll be confident in using this powerful machine to whip up delicious recipes and save time in the kitchen.
Before we dive into the step-by-step instructions, let’s take a moment to appreciate the features and benefits of the Kitchenaid Mini Food Processor. With its small footprint, it won’t take up valuable counter space in your kitchen. Yet, don’t let its size fool you – this mini food processor packs a punch with its powerful motor and sharp blades.
One of the primary benefits of using the Kitchenaid Mini Food Processor is its ability to effortlessly chop, puree, and blend a variety of ingredients. From chopping vegetables for a salad to pureeing baby food, this handy appliance can take care of all your food processing needs.
Additionally, the Mini Food Processor is equipped with an easy-to-use control panel, allowing you to choose between different processing speeds for precise results. Plus, its dishwasher-safe parts make cleanup a breeze, so you can spend less time washing dishes and more time enjoying your culinary creations.
So, whether you’re a busy parent looking to simplify meal prep, a health-conscious individual in need of quick and nutritious recipes, or a cooking enthusiast who wants to experiment with new flavors, the Kitchenaid Mini Food Processor will be your trusty companion in the kitchen.
In the following sections, we will walk you through the process of unboxing and setting up the Kitchenaid Mini Food Processor, understanding its parts and functions, preparing food for processing, assembling and operating the appliance, cleaning and maintenance, and troubleshooting common issues. So, let’s get started on this exciting culinary journey!
Key Takeaways:
- The Kitchenaid Mini Food Processor is a versatile and compact kitchen appliance that simplifies food preparation with its powerful motor, sharp blades, and easy-to-use control panel. It’s perfect for busy parents, health-conscious individuals, and cooking enthusiasts.
- From unboxing to troubleshooting, this comprehensive guide empowers users to confidently use and maintain their Kitchenaid Mini Food Processor. With proper preparation, assembly, and troubleshooting know-how, users can enjoy the convenience and efficiency of this essential kitchen tool.
Step 1: Unboxing and Setup
Congratulations on your new Kitchenaid Mini Food Processor! Follow these simple steps to unbox and set up your appliance:
- Start by locating the box containing your Kitchenaid Mini Food Processor. Carefully open the box and remove all the contents.
- Take a moment to inspect the contents and ensure that everything is included. The typical package should contain the Mini Food Processor base, a work bowl, a lid, a blade, and an instruction manual.
- Next, find a suitable location on your kitchen counter to place the Mini Food Processor. Make sure to choose a stable and flat surface.
- Remove the Mini Food Processor base from the packaging and place it on the chosen spot. It should sit securely without wobbling.
- Now, take the work bowl and attach it to the base. You will notice that there are alignment arrows that need to be matched. Twist the work bowl clockwise until you hear a click, indicating that it is securely in place.
- It’s time to attach the lid. Place the lid on top of the work bowl and align the feed tube with the designated slot on the lid.
- Once aligned, press down gently on the lid until it is firmly in place. You should feel a slight resistance.
- Now, let’s move on to the blade assembly. Take the blade and carefully insert it into the work bowl. Ensure that it fits snugly and is securely in place.
- Double-check that all the components are properly connected and secured by gently giving them a slight tug. They should not come loose or detach.
- Lastly, plug in the power cord of your Kitchenaid Mini Food Processor into a nearby electrical outlet. The appliance is now ready to be used!
That’s it! You have successfully unboxed and set up your Kitchenaid Mini Food Processor. We’re now ready to move on to the next step: understanding the parts and functions of the appliance. Stay tuned!
Step 2: Understanding the Parts and Functions
Before diving into using your Kitchenaid Mini Food Processor, it’s important to familiarize yourself with its various parts and functions. This step will help you make the most out of your appliance and ensure a safe and efficient food processing experience.
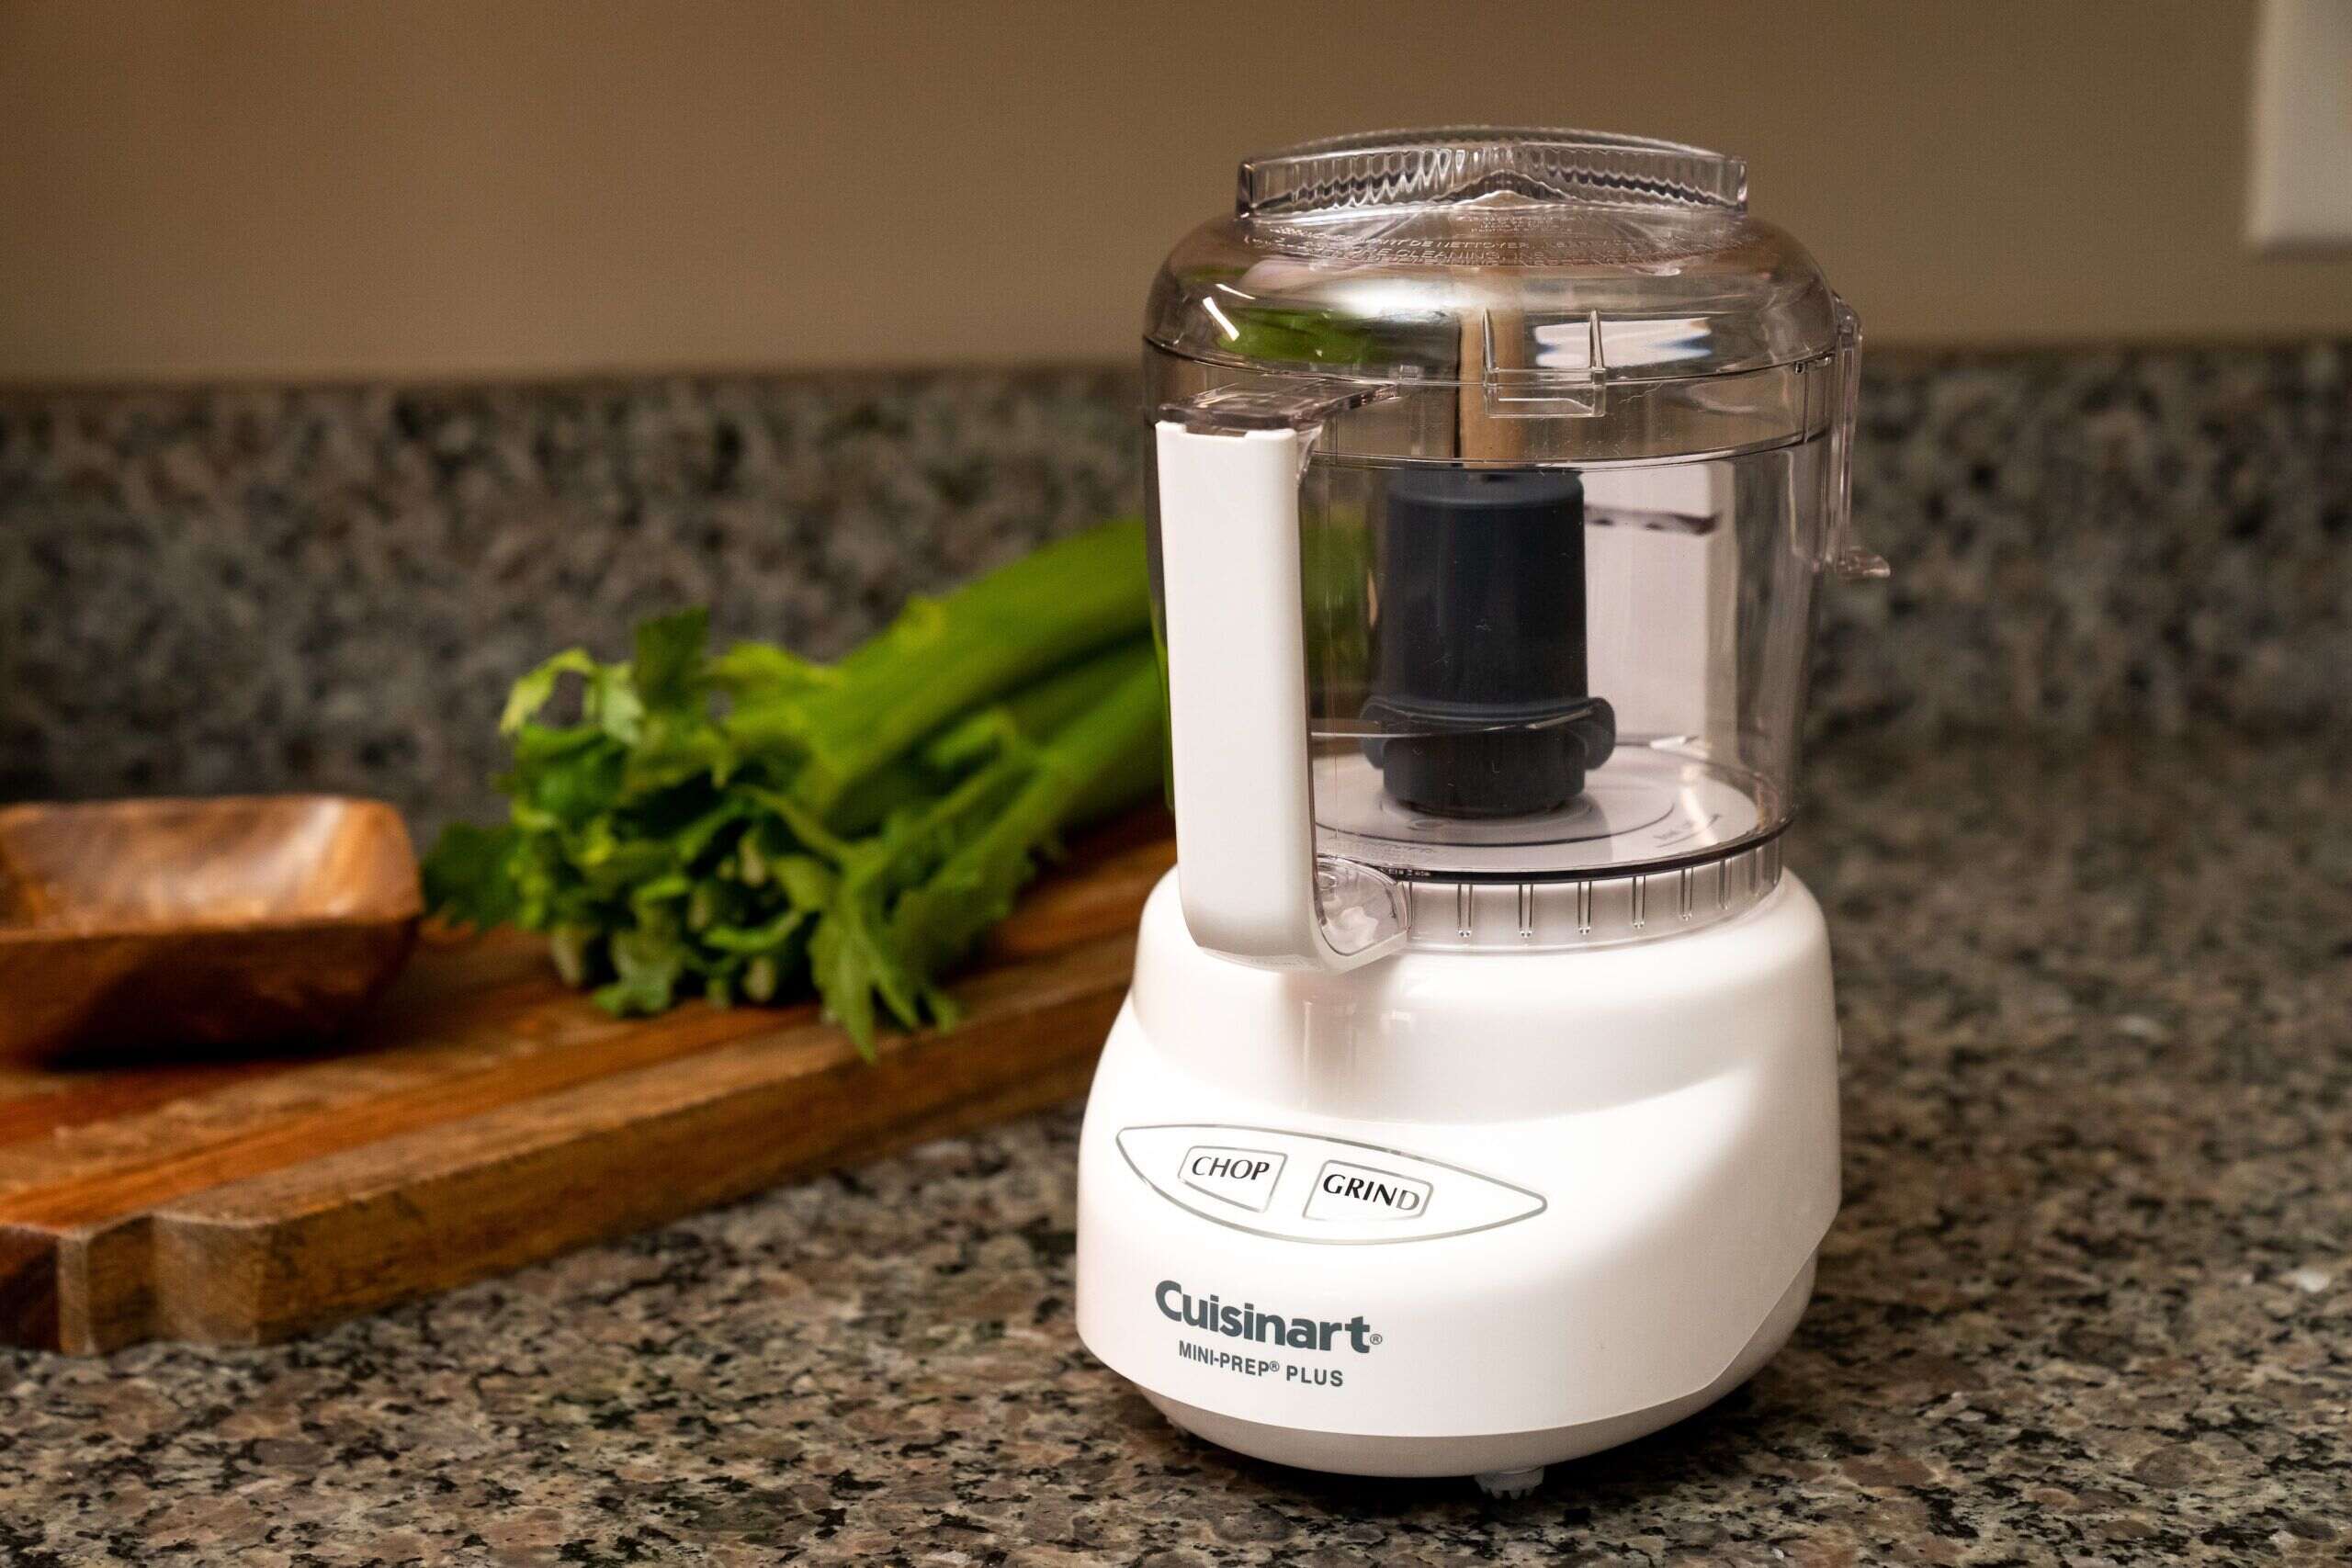
Let’s take a closer look at the key components of the Kitchenaid Mini Food Processor:
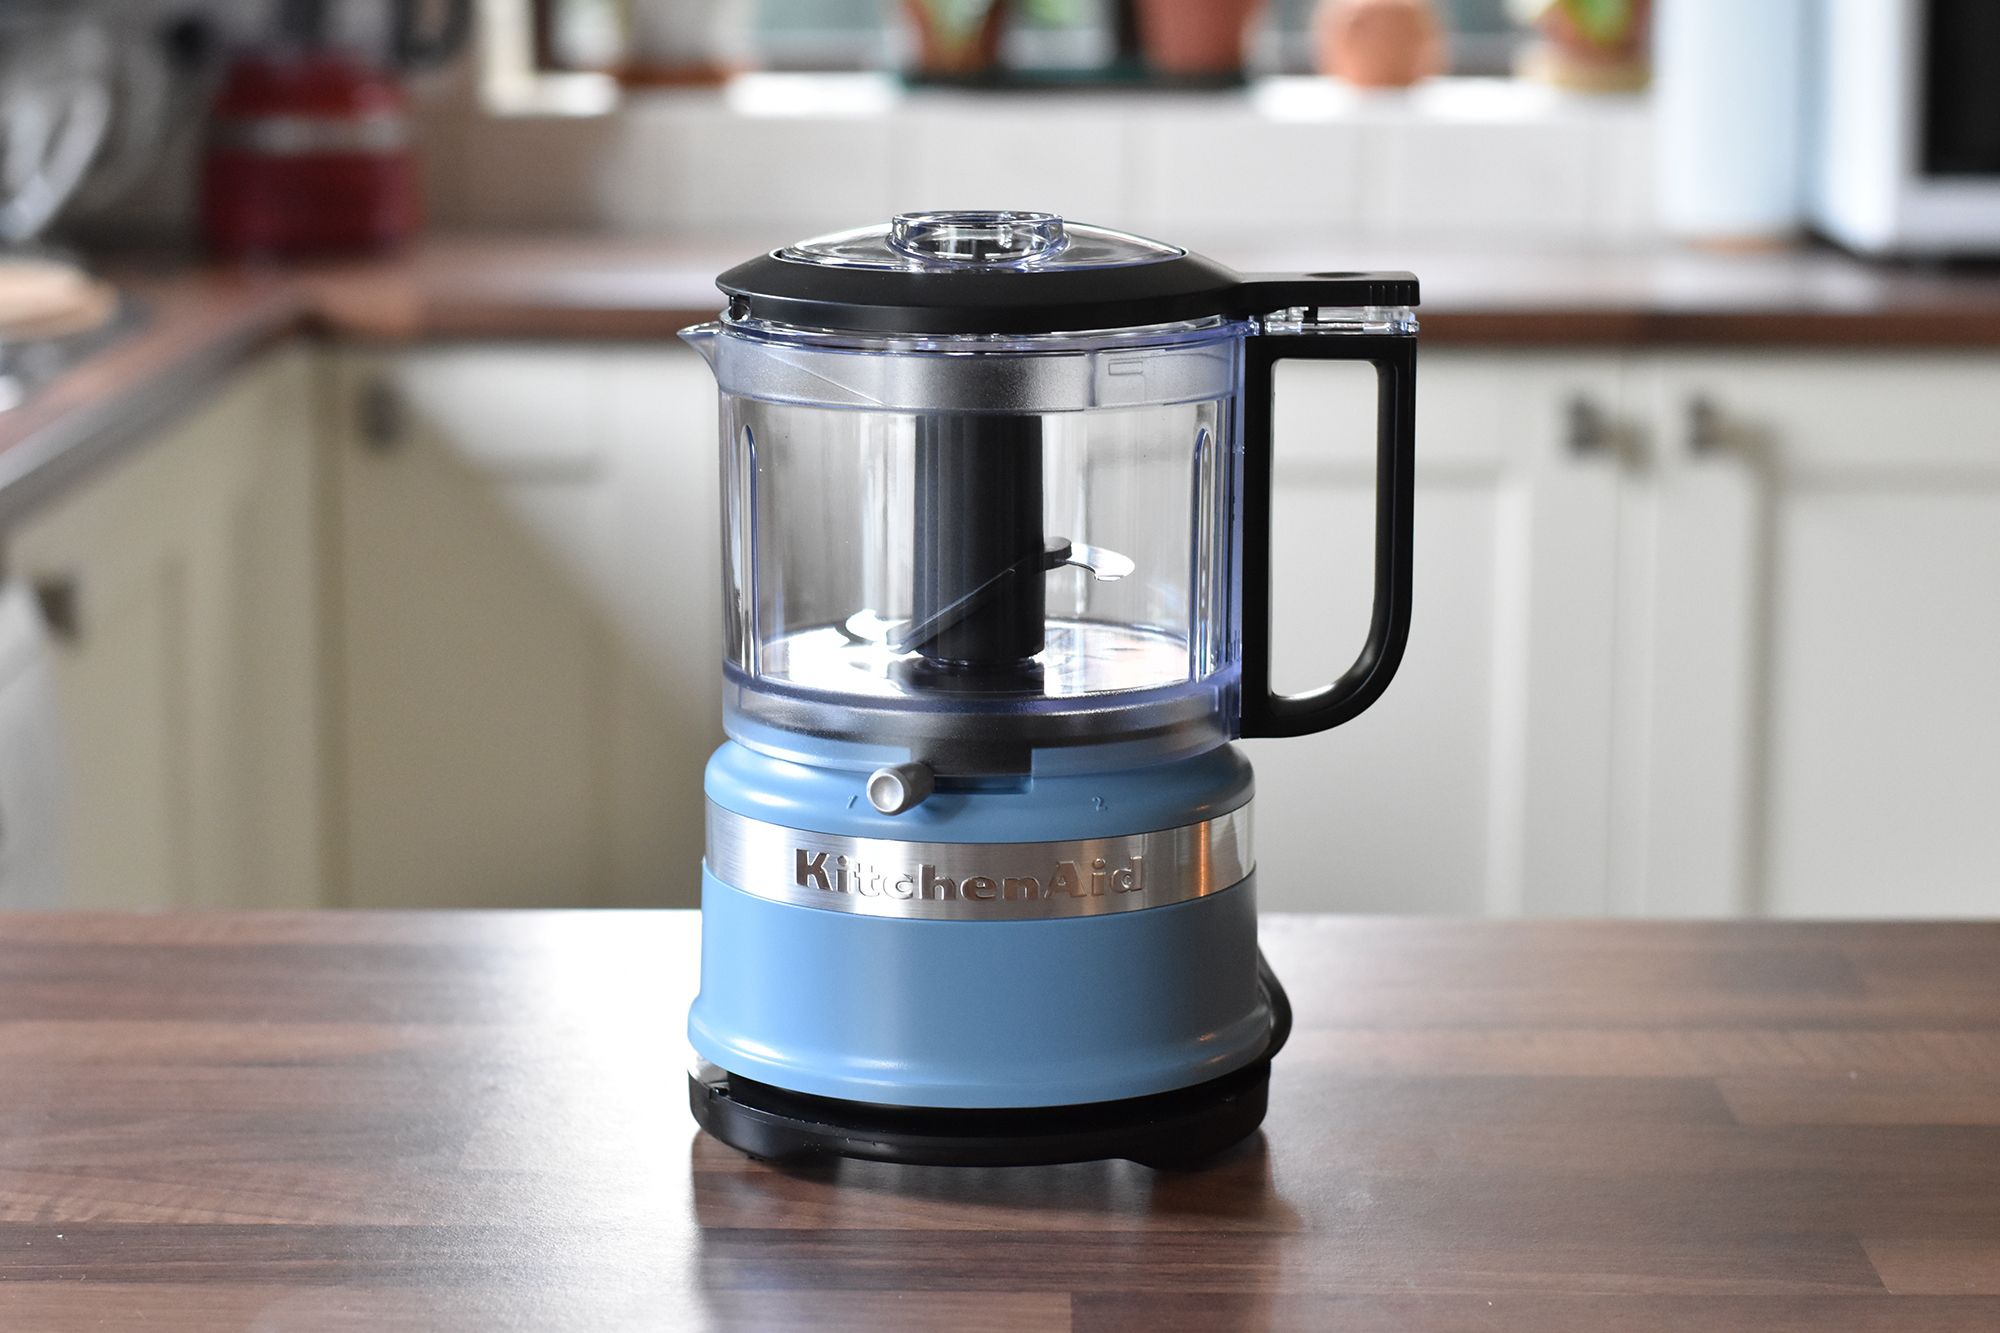
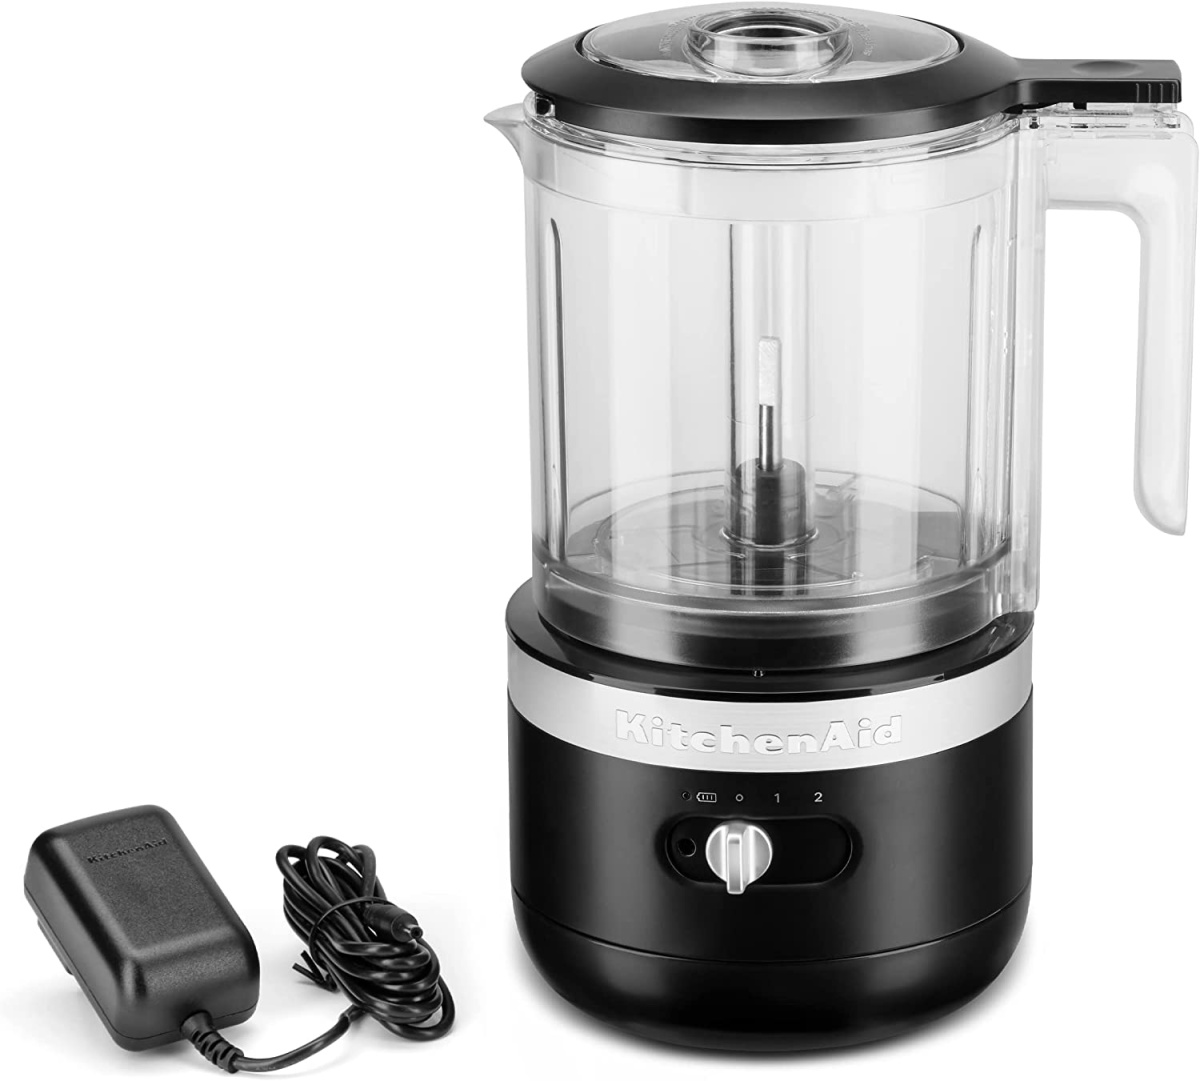
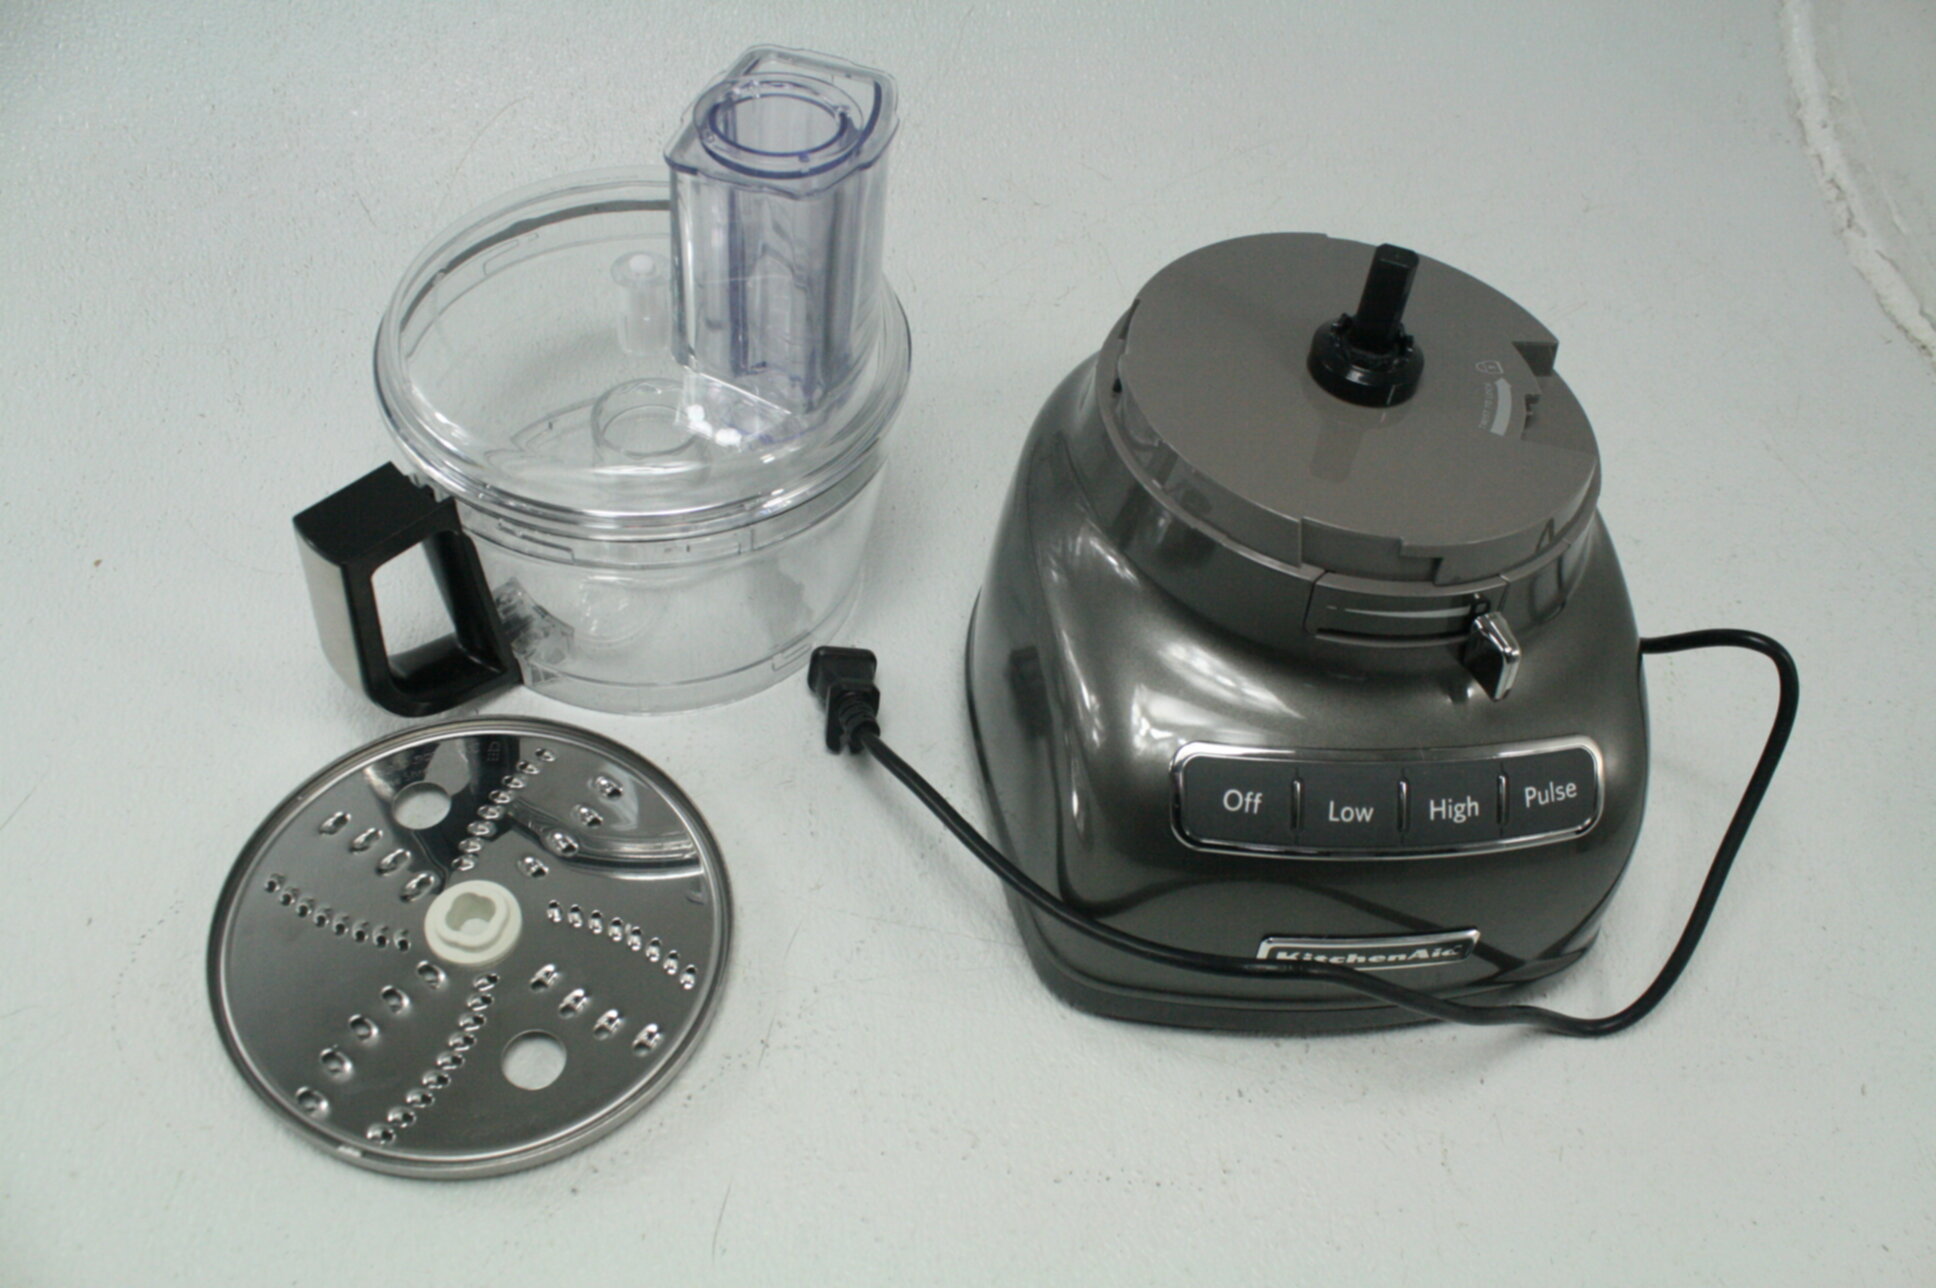
- Base: The base is the foundation of the appliance and houses the motor. It provides stability and support for the rest of the components.
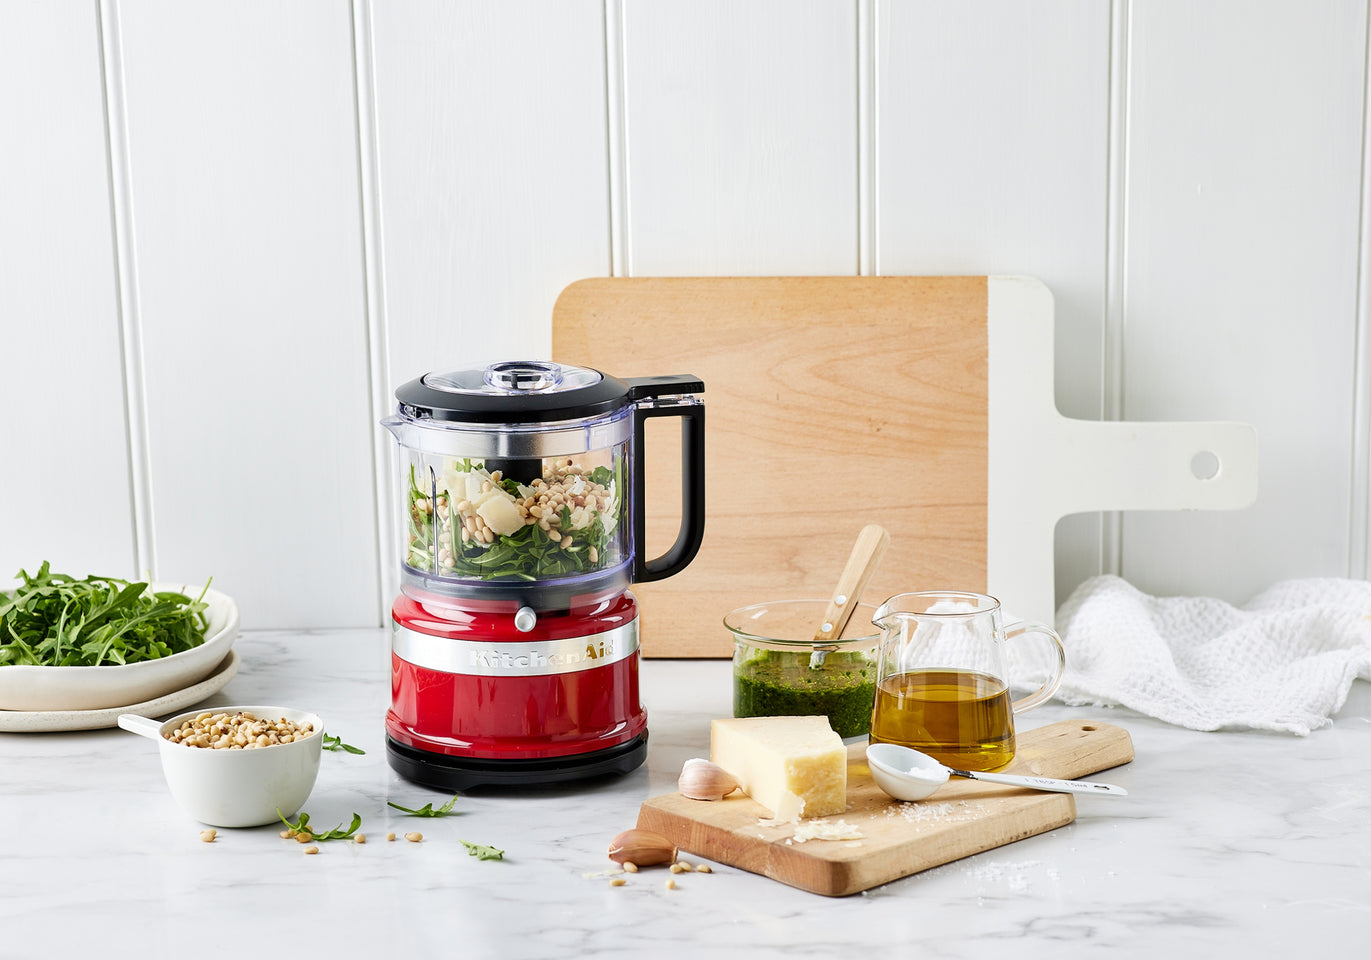
- Work Bowl: The work bowl is where you place the ingredients to be processed. The Mini Food Processor typically comes with a 3-cup capacity work bowl, which is perfect for smaller food preparation tasks.
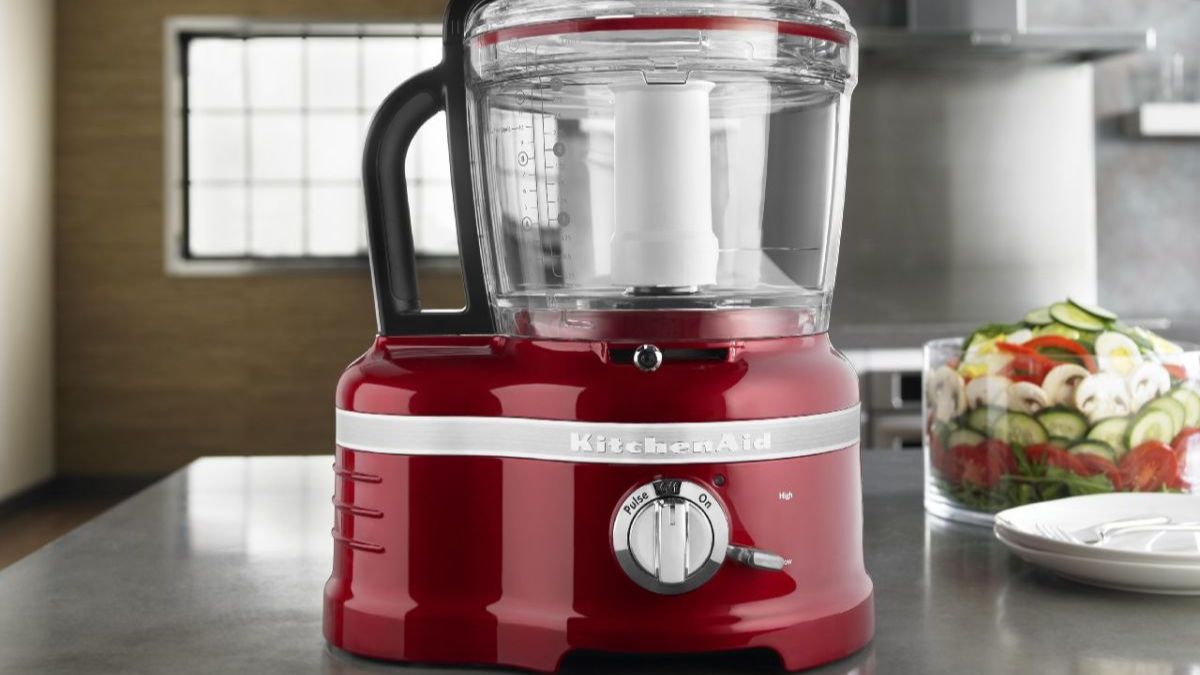
- Lid: The lid covers the work bowl and ensures that the ingredients stay contained during processing. It also houses the feed tube, allowing you to add ingredients while the appliance is running.
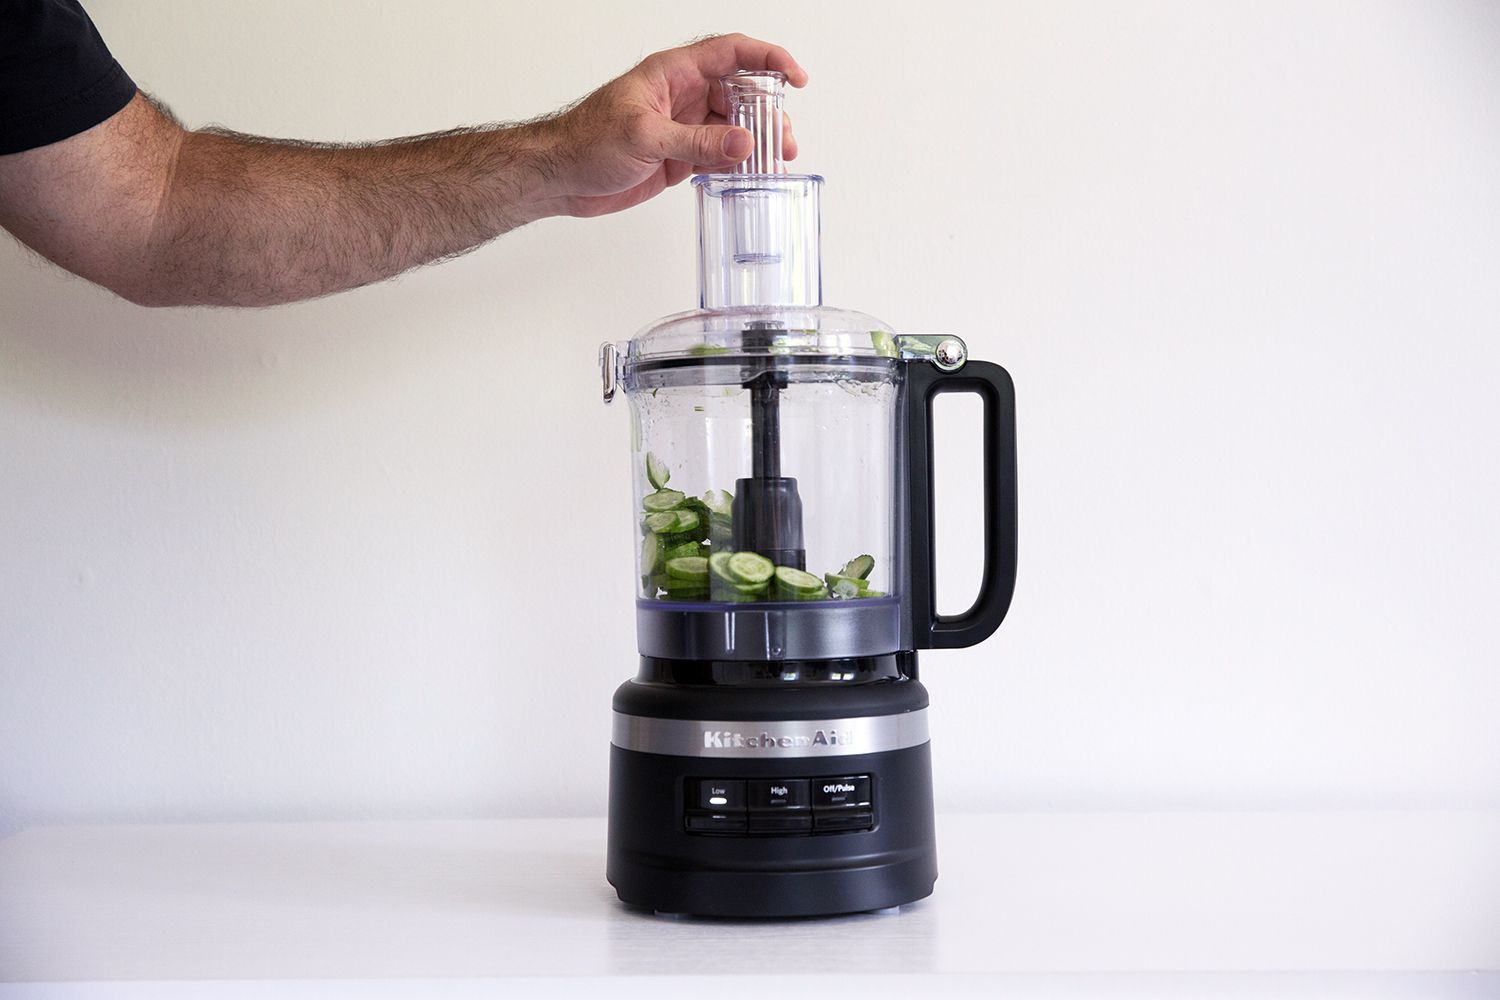
- Feed Tube: The feed tube is located on the lid and allows you to add ingredients while the food processor is in operation. It has a pusher that helps guide the ingredients into the processing chamber.
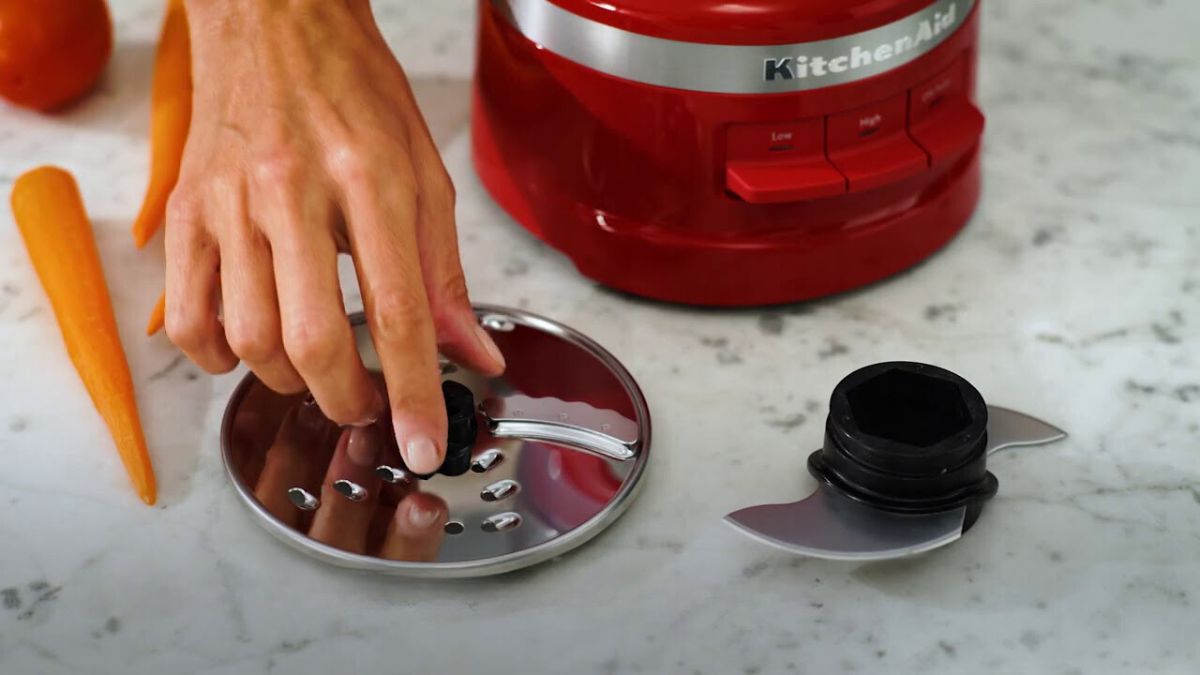
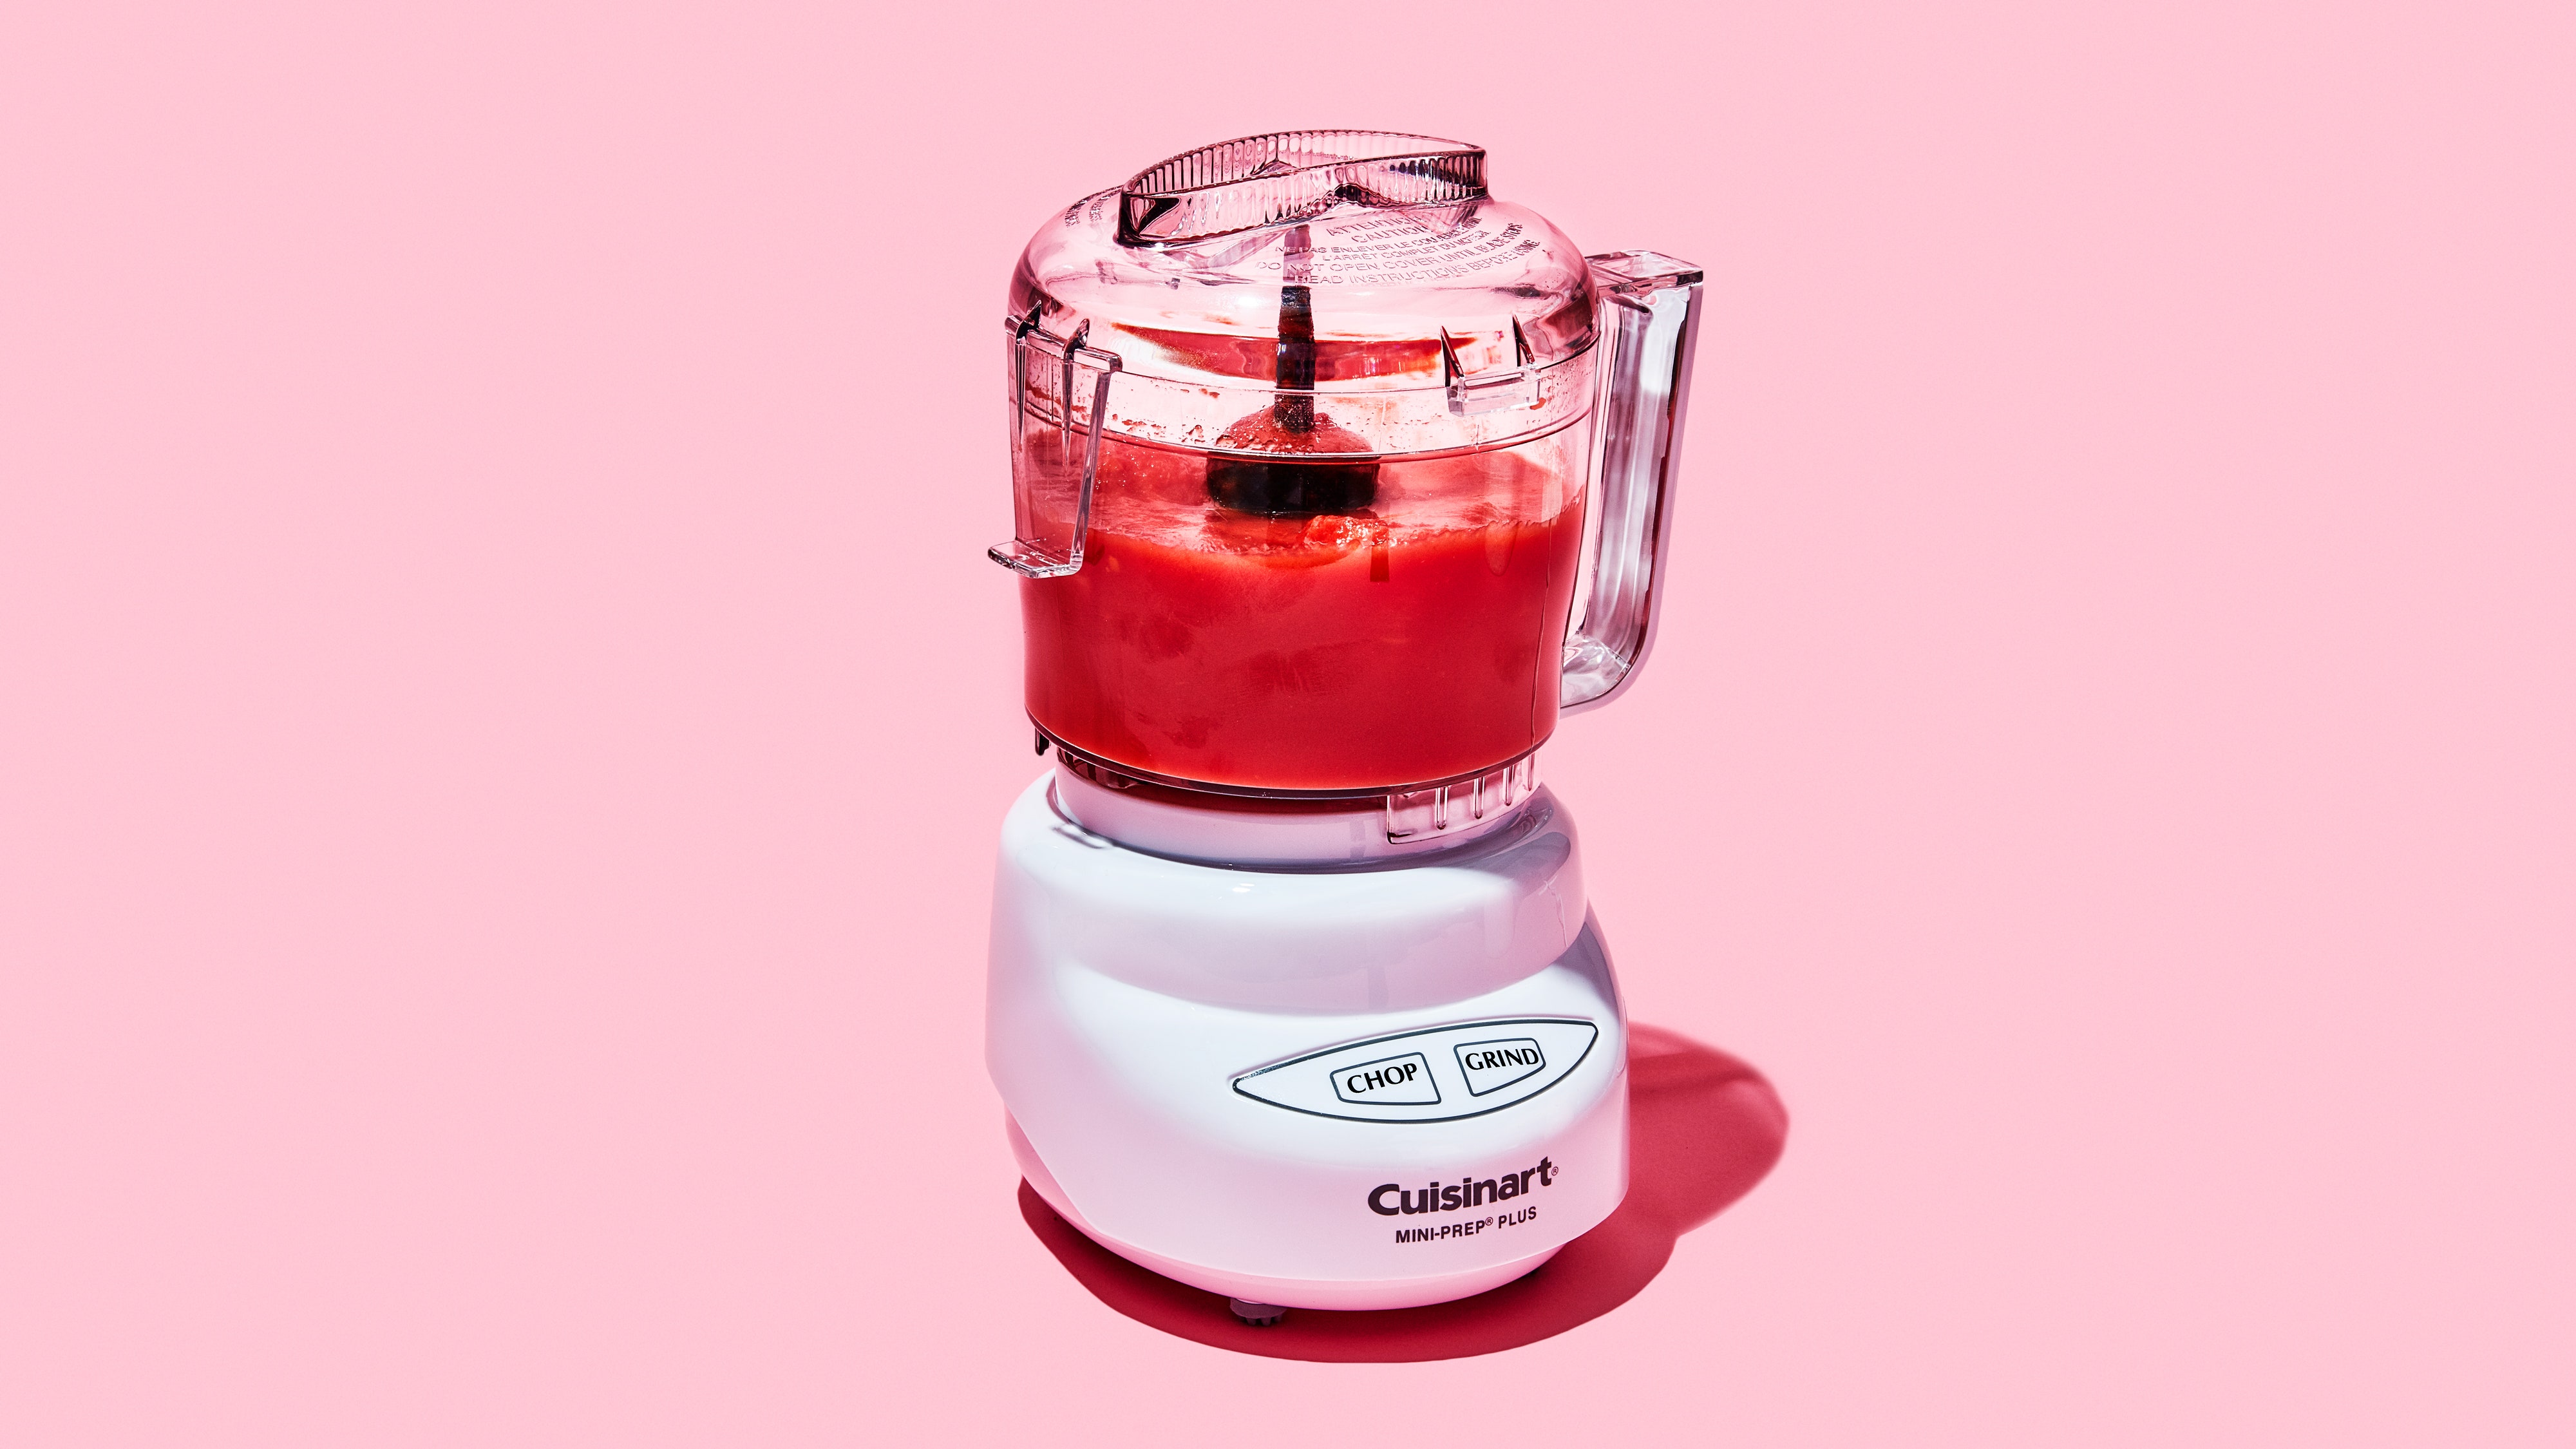
- Blade: The blade is the powerhouse of the food processor and is responsible for chopping, pureeing, and blending the ingredients. It is located at the bottom of the work bowl and spins at high speeds to ensure even and consistent processing.
- Control Panel: The control panel is where you can select the different processing speeds and functions of the appliance. It typically consists of buttons or dials that allow you to customize your food preparation.
- Power Cord: The power cord connects the Mini Food Processor to an electrical outlet, providing the necessary power to operate the appliance.
Now that you are familiar with the various parts of the Kitchenaid Mini Food Processor, let’s explore its functions:
- On/Off Button: This button is used to turn the food processor on and off.
- Pulse Function: The pulse function allows you to quickly process ingredients in short bursts. It is ideal for achieving coarsely chopped results or avoiding over-processing.
- Processing Speeds: The Mini Food Processor may have different processing speeds, usually ranging from low to high. Use the appropriate speed based on the ingredients and desired consistency.
Understanding these parts and functions will enable you to maximize the potential of your Kitchenaid Mini Food Processor. In the next step, we will discuss how to prepare food for processing. Let’s continue our culinary journey!
Step 3: Preparing Food for Processing
Now that you have a good understanding of the parts and functions of your Kitchenaid Mini Food Processor, it’s time to move on to the next step: preparing food for processing. Properly preparing your ingredients will ensure optimal results and a seamless processing experience.
Here are some essential tips for preparing food for your Mini Food Processor:
- Wash and Dry: Before processing any fruits, vegetables, or herbs, make sure to wash them thoroughly under running water. This step removes dirt, debris, and any potential contaminants. After washing, pat them dry with a clean towel to remove excess moisture.
- Cut into Uniform Pieces: For even and consistent processing, it is important to cut your ingredients into uniform pieces. Try to aim for similar sizes to ensure that everything is processed evenly.
- Remove Seeds, Stems, and Tough Portions: When processing fruits or vegetables with seeds, such as tomatoes or cucumbers, it is recommended to remove the seeds to avoid a watery consistency. Additionally, remove any tough stems or inedible portions before processing.
- Peel or Not to Peel: Depending on the recipe and personal preference, you may need to peel certain ingredients, such as potatoes or apples. Consider the texture and appearance you desire for your final dish before deciding whether to peel or leave the skin on.
- Ensure Dry Ingredients: If your recipe calls for dry ingredients, such as oats or nuts, ensure that they are completely dry before placing them in the Mini Food Processor. Any moisture can affect the texture and consistency of the processed ingredients.
- Don’t Overfill: Avoid overfilling the work bowl of your Mini Food Processor, as it can hinder proper processing. It is recommended to fill the bowl up to the designated maximum capacity line to ensure efficient and effective results.
Now that you know how to prepare your ingredients, you’re all set to start processing them in your Kitchenaid Mini Food Processor. Get ready to experience the convenience and versatility of this amazing appliance in the next step, where we will guide you through assembling and operating the Mini Food Processor. Stay tuned!
When using the Kitchenaid Mini Food Processor, make sure to pulse the ingredients in short bursts to achieve the desired consistency, and avoid over-processing.
Step 4: Assembling and Operating the Kitchenaid Mini Food Processor
You’ve prepared your ingredients, and now it’s time to assemble and operate your Kitchenaid Mini Food Processor. Follow these steps to ensure a smooth and successful food processing experience:
- Assembling the Mini Food Processor:
- Start by placing the Mini Food Processor base on a stable and flat surface in your kitchen.
- Take the work bowl and align the arrows on the bowl and base. Twist the bowl clockwise until you hear a click, indicating that it is securely in place.
- Next, place the lid on top of the work bowl, aligning the feed tube with the designated slot on the lid.
- Press down gently on the lid until it locks into place.
- Now, you’re ready to move on to the operating steps.
- Operating the Mini Food Processor:
- Plug in the power cord of your Kitchenaid Mini Food Processor into a nearby electrical outlet.
- Ensure that the Mini Food Processor is assembled correctly, with the work bowl and lid securely in place.
- Before adding your ingredients, make sure that the food processor is set to the off position by pressing the on/off button.
- Add the prepared ingredients to the work bowl, making sure not to exceed the maximum capacity line.
- If your recipe calls for adding ingredients during processing, use the feed tube and pusher to safely add them while the Mini Food Processor is running.
- Select the desired processing speed, whether it’s high speed for smooth purees or low speed for coarse chopping. You can also utilize the pulse function for quick bursts of processing.
- Press the on/off button to start the Mini Food Processor. The motor will engage, and the blades will begin to spin.
- Monitor the processing progress through the transparent lid. Use the pulse function or stop and scrape down the sides of the bowl, if needed, to achieve consistent results.
- Once you’ve achieved the desired texture or consistency, turn off the Mini Food Processor by pressing the on/off button.
- Carefully remove the lid, taking caution as the blades may still be sharp.
- Transfer the processed ingredients to a bowl or container and continue with your recipe as desired.
Following these steps will ensure that you assemble and operate your Kitchenaid Mini Food Processor correctly, allowing you to take full advantage of its capabilities. In the next step, we will cover cleaning and maintenance tips to keep your appliance in excellent condition. Let’s keep the food processing adventure going!
Read more: How To Use The Kitchenaid Food Processor
Step 5: Cleaning and Maintenance
Proper cleaning and maintenance of your Kitchenaid Mini Food Processor are essential to ensure its longevity and peak performance. Follow these simple steps to keep your appliance in excellent condition:
- Unplug and Disassemble:
- Before cleaning, always make sure to unplug the power cord from the electrical outlet.
- Disassemble the Mini Food Processor by removing the lid, work bowl, and blade.
- Hand Wash or Dishwasher:
- For best results, it is recommended to hand wash the work bowl, lid, and blade with warm soapy water.
- Use a non-abrasive sponge or brush to gently clean any residue or food particles.
- Rinse thoroughly with water to ensure all soap is removed.
- If preferred, the work bowl, lid, and blade are typically dishwasher-safe as well. Refer to the instruction manual for specific dishwasher instructions.
- Wipe Down the Base:
- Clean the base of the Mini Food Processor with a damp cloth or sponge.
- Wipe away any spills or splatters, being careful not to allow any liquid to enter the motor housing.
- Ensure that the base is completely dry before reassembling the appliance.
- Storing the Mini Food Processor:
- Once the Mini Food Processor has been cleaned and dried, store it in a safe location away from extreme heat or moisture.
- Consider keeping all the parts together in one place to avoid misplacing any components.
- Regular Maintenance:
- Inspect the Mini Food Processor regularly for any signs of wear or damage.
- Check the blade for sharpness and the work bowl for any cracks or damage.
- If any parts are damaged or showing signs of wear, contact the manufacturer for replacements.
By following these cleaning and maintenance steps, you can ensure that your Kitchenaid Mini Food Processor remains in optimal condition for years to come. So, take care of your appliance, and it will continue to assist you in creating delicious meals effortlessly.
In the next step, we will explore common issues that you might encounter with your Mini Food Processor and provide troubleshooting tips to resolve them. Let’s keep our culinary journey smooth sailing!
Step 6: Troubleshooting Common Issues
While the Kitchenaid Mini Food Processor is a reliable and efficient appliance, you may occasionally encounter some common issues. Don’t worry! We’ve got you covered with troubleshooting tips to help resolve these problems:
- The Mini Food Processor does not start:
- Ensure that the power cord is securely plugged into an electrical outlet.
- Check that all the components, including the work bowl, lid, and blade, are correctly assembled and locked into place.
- Double-check if the Mini Food Processor is set to the “off” position and press the on/off button to start.
- If the issue persists, try plugging the appliance into a different outlet to rule out any power supply problems.
- The Mini Food Processor is not processing ingredients:
- Make sure that the ingredients are cut into uniform pieces and not exceeding the maximum capacity line of the work bowl.
- Ensure that the lid is securely locked in place and the feed tube is properly aligned.
- If using the pulse function, press and release the pulse button in short bursts to process the ingredients.
- Stop the food processor and scrape down the sides of the work bowl with a spatula to ensure even processing.
- If the blades are dull or damaged, consider replacing them for optimal performance. Contact the manufacturer for replacement options.
- The Mini Food Processor produces uneven results:
- Ensure that the ingredients are evenly distributed in the work bowl.
- Pause the processing and use a spatula to scrape down the sides of the bowl, redistributing the ingredients for more even processing.
- For delicate ingredients, use the pulse function to minimize over-processing and achieve the desired texture.
- The Mini Food Processor is leaking:
- Check that the work bowl and lid are securely locked into place, and there are no cracks or damage in the components.
- Make sure the ingredients are not exceeding the maximum capacity or obstructing the proper sealing of the lid.
- Inspect the rubber gasket on the lid for any signs of wear or damage. Replace if necessary.
- If the issue persists, contact the manufacturer for further assistance.
If the issue you’re facing is not listed here or the troubleshooting tips do not resolve the problem, consult the instruction manual provided with your Kitchenaid Mini Food Processor or reach out to the manufacturer’s customer support for additional guidance.
Hopefully, these troubleshooting tips have helped you overcome any common issues you may encounter while using your Mini Food Processor. With a little troubleshooting know-how, you’ll be back to creating delicious recipes in no time!
Now that you’ve successfully resolved any issues, you can confidently enjoy the convenience and versatility of your Kitchenaid Mini Food Processor. Happy food processing!
Conclusion
Congratulations on completing this comprehensive guide on using the Kitchenaid Mini Food Processor! By now, you should feel confident in unboxing and setting up your appliance, understanding its parts and functions, preparing food for processing, assembling and operating the Mini Food Processor, cleaning and maintaining it, and troubleshooting common issues. With this knowledge, you can now explore the endless possibilities of food processing in your kitchen.
The Kitchenaid Mini Food Processor is a versatile tool that can save you valuable time and effort in the kitchen. From chopping vegetables to making dips and sauces, this appliance will streamline your food preparation process and open up a whole new world of culinary creations.
Remember to always follow safety guidelines and manufacturer instructions while using your Mini Food Processor. This includes appropriate assembly, careful handling of blades, and proper cleaning and maintenance.
Whether you’re a cooking enthusiast, a busy parent, or someone looking to simplify their meal prep routine, the Kitchenaid Mini Food Processor will be a valuable asset in your kitchen. It offers convenience, versatility, and reliable performance, making it a must-have tool for any home cook.
Now it’s time to unleash your creativity in the kitchen! Experiment with different recipes, explore new flavors, and enjoy the efficient and effortless food processing experience that the Kitchenaid Mini Food Processor provides.
We hope that this guide has been helpful in empowering you to make the most out of your Kitchenaid Mini Food Processor. Remember to refer back to this article whenever you need a refresher on any of the steps or troubleshooting tips.
Happy cooking and enjoy the delicious meals you’ll create with the help of your Kitchenaid Mini Food Processor!
Frequently Asked Questions about How To Use Kitchenaid Mini Food Processor
Was this page helpful?
At Storables.com, we guarantee accurate and reliable information. Our content, validated by Expert Board Contributors, is crafted following stringent Editorial Policies. We're committed to providing you with well-researched, expert-backed insights for all your informational needs.


0 thoughts on “How To Use Kitchenaid Mini Food Processor”