
Articles
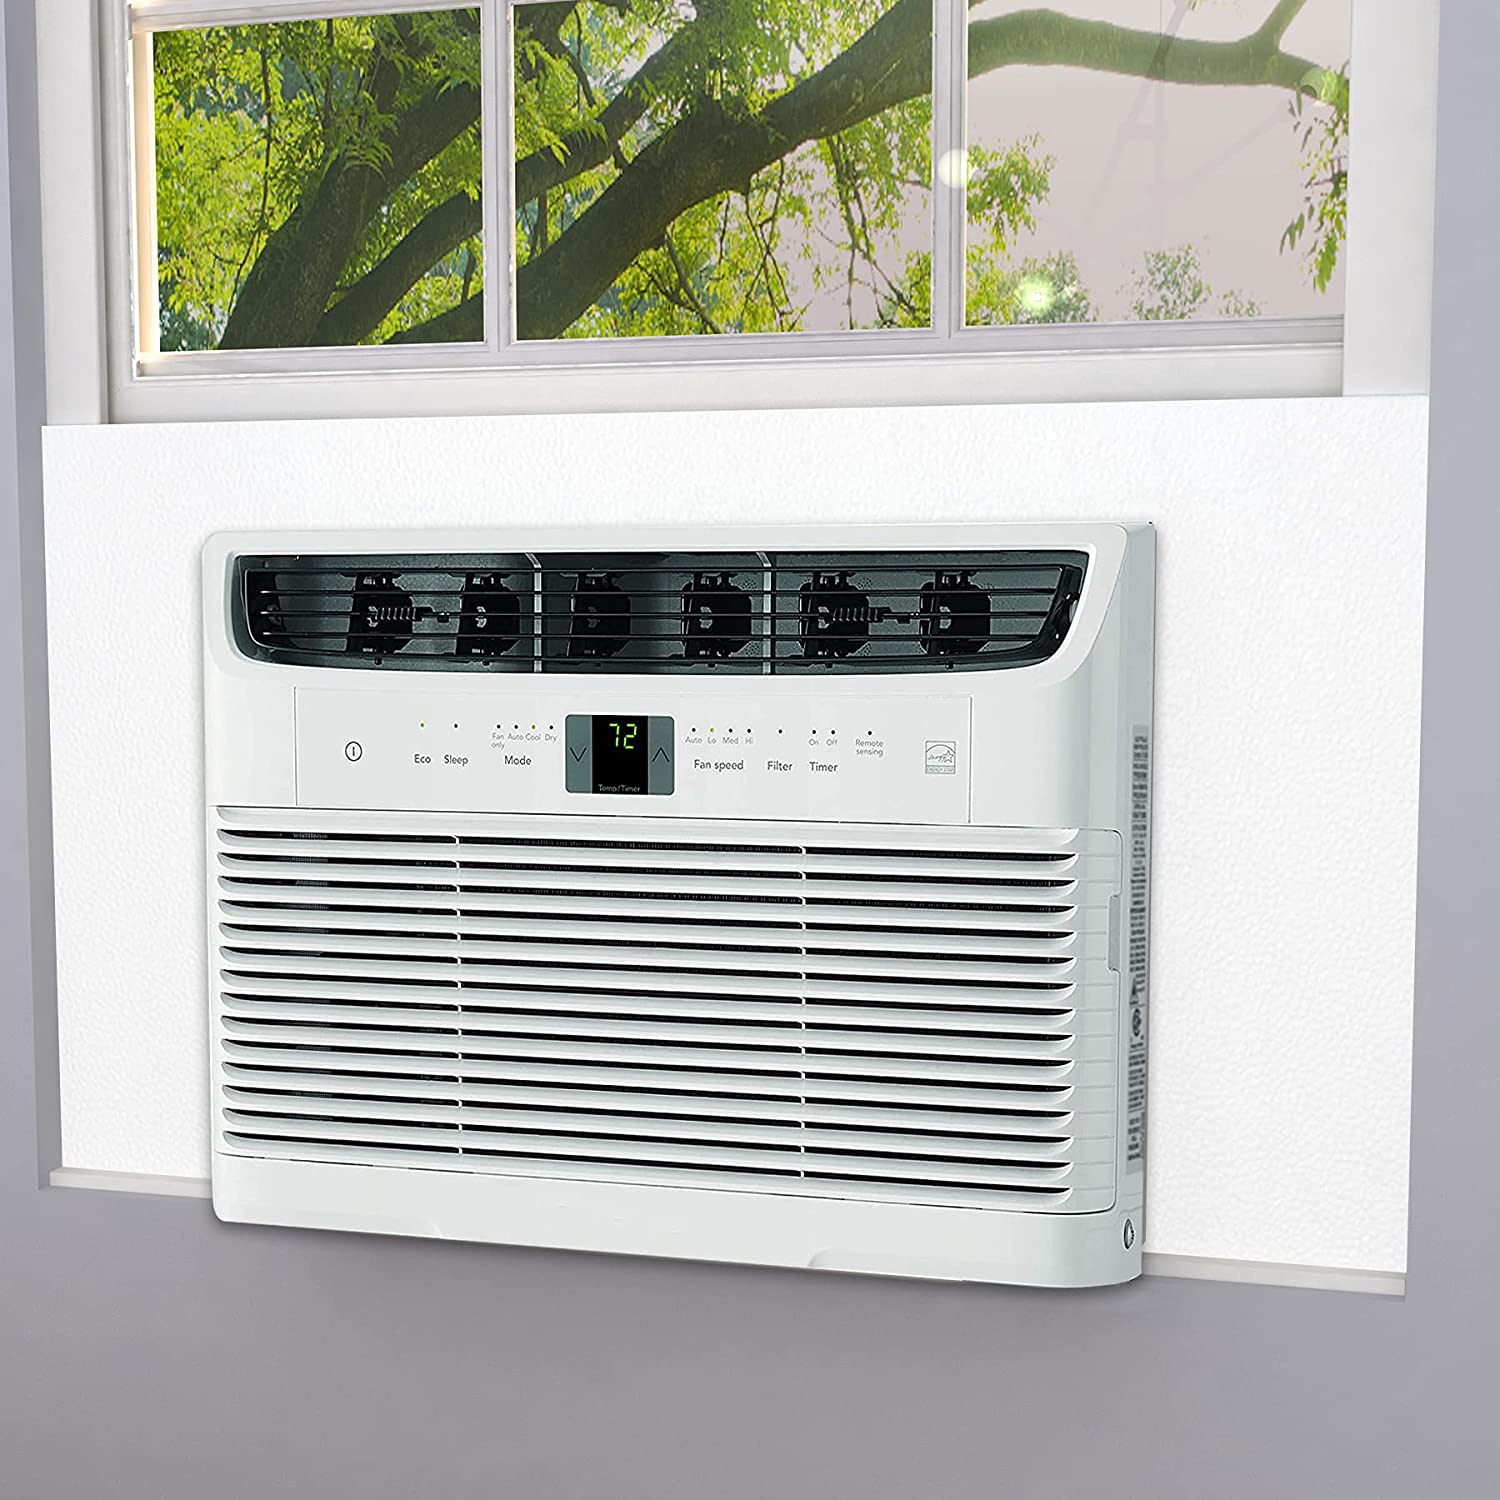
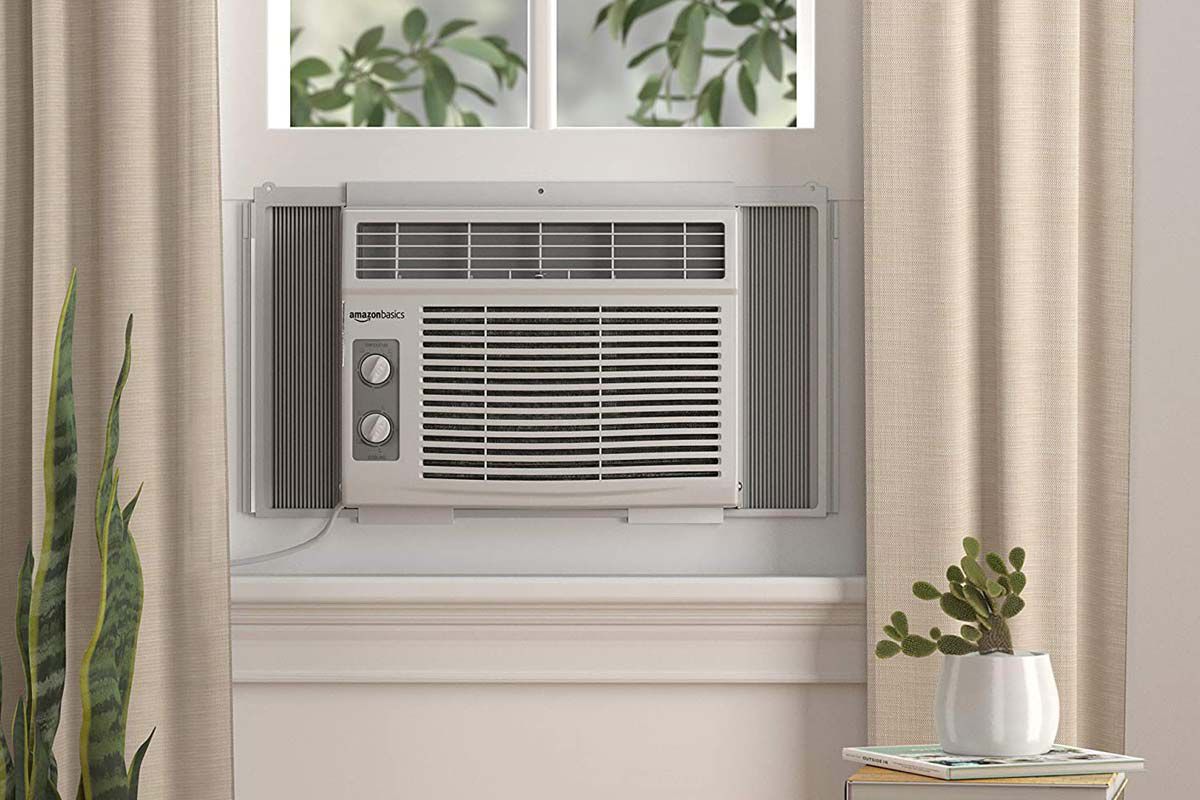
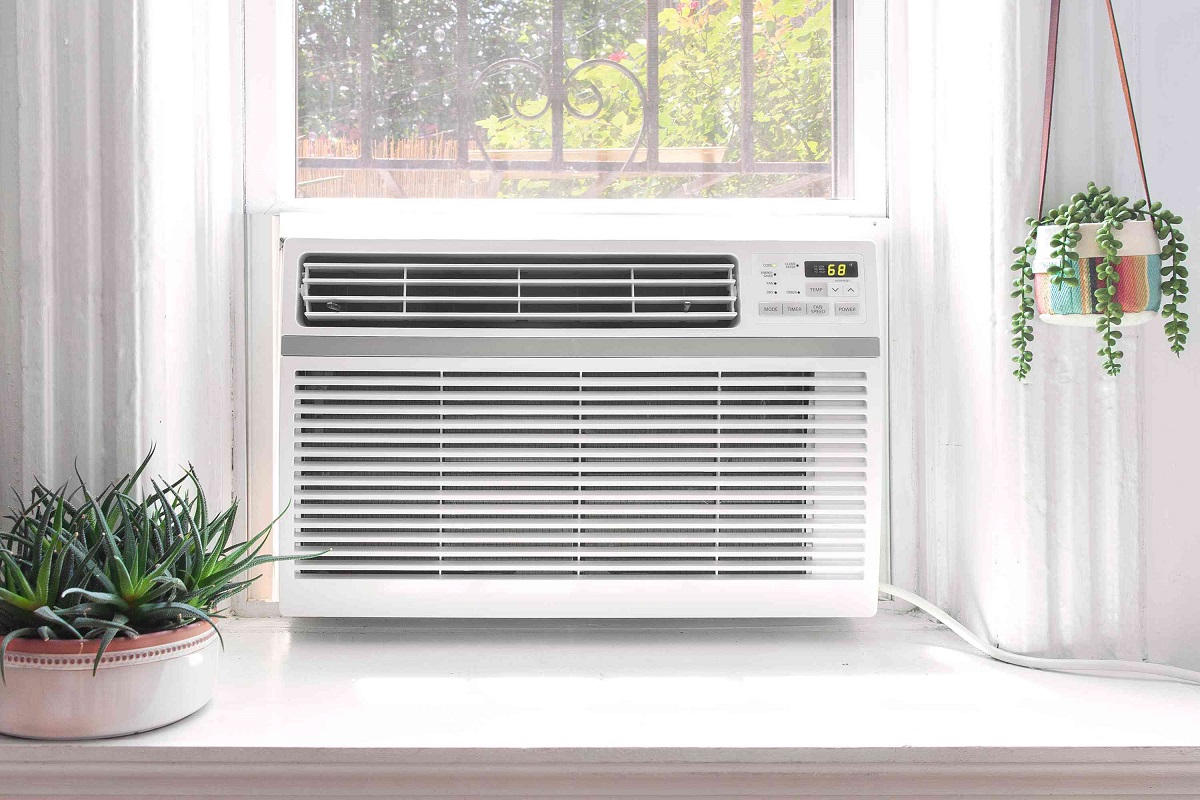
How To Clean Mold Out Of Window AC Unit
Modified: October 19, 2024
Learn effective methods to clean mold out of your window AC unit with these informative articles. Ensure your air conditioner remains in top condition and maintains clean air quality.
(Many of the links in this article redirect to a specific reviewed product. Your purchase of these products through affiliate links helps to generate commission for Storables.com, at no extra cost. Learn more)
Introduction
Mold growth in window AC units can be a common problem, especially in humid climates or if the unit has not been properly maintained. Not only can mold cause unpleasant odors, but it can also affect the air quality and efficiency of your AC unit. Cleaning out mold from your window AC unit is essential to ensure its proper functioning and to create a healthy living environment.
In this article, we will guide you through the step-by-step process of cleaning mold out of your window AC unit, providing you with the necessary supplies and techniques to get your unit back in shape.
Before we start, it’s important to note that if you have a severe mold infestation or if you’re uncertain about your ability to safely clean the unit, it’s best to seek professional help to avoid potential health risks.
Key Takeaways:
- Regularly cleaning or replacing the filter, vacuuming the interior, and disinfecting the fan blades are crucial steps in preventing mold growth and maintaining a healthy environment in your window AC unit.
- Properly cleaning the drain pan and drain line, reassembling the unit, and testing for functionality are essential for ensuring a successful mold removal process and efficient operation of your window AC unit.
Read more: How To Seal Window AC Unit
Step 1: Gather necessary supplies
Before diving into the cleaning process, it’s important to gather all the necessary supplies. Having everything you need on hand will streamline the cleaning process and ensure that you can effectively tackle the mold problem in your window AC unit.
Here are the supplies you will need:
- Protective gear: Safety should be your top priority when dealing with mold. Make sure to wear protective gloves, a mask, and safety goggles to prevent any direct contact with the mold spores.
- Screwdriver: Most window AC units have screws that hold the front panel in place. A screwdriver will be essential for removing these screws and gaining access to the interior of the unit.
- Vacuum cleaner with attachments: The vacuum cleaner will be used to remove any loose debris, dust, and mold spores from the interior of the AC unit.
- Cleaning solution: You can make your own cleaning solution by mixing equal parts water and vinegar or using a commercial cleaner specifically designed for mold removal. Having the cleaning solution ready will ensure that you can effectively clean the surfaces of the AC unit.
- Soft brush or cloth: A soft brush or cloth will be useful for wiping down the interior surfaces of the unit and removing any stubborn mold spots.
- Bleach or hydrogen peroxide (optional): If you’re dealing with a severe mold infestation, you may consider using a diluted bleach or hydrogen peroxide solution for disinfection purposes. However, be cautious and read the instructions on the cleaning products to ensure safe usage.
By gathering these supplies beforehand, you’ll be well-prepared to take on the task of cleaning mold out of your window AC unit. Making sure you have all the necessary tools will save you time and ensure that the cleaning process is as efficient as possible.
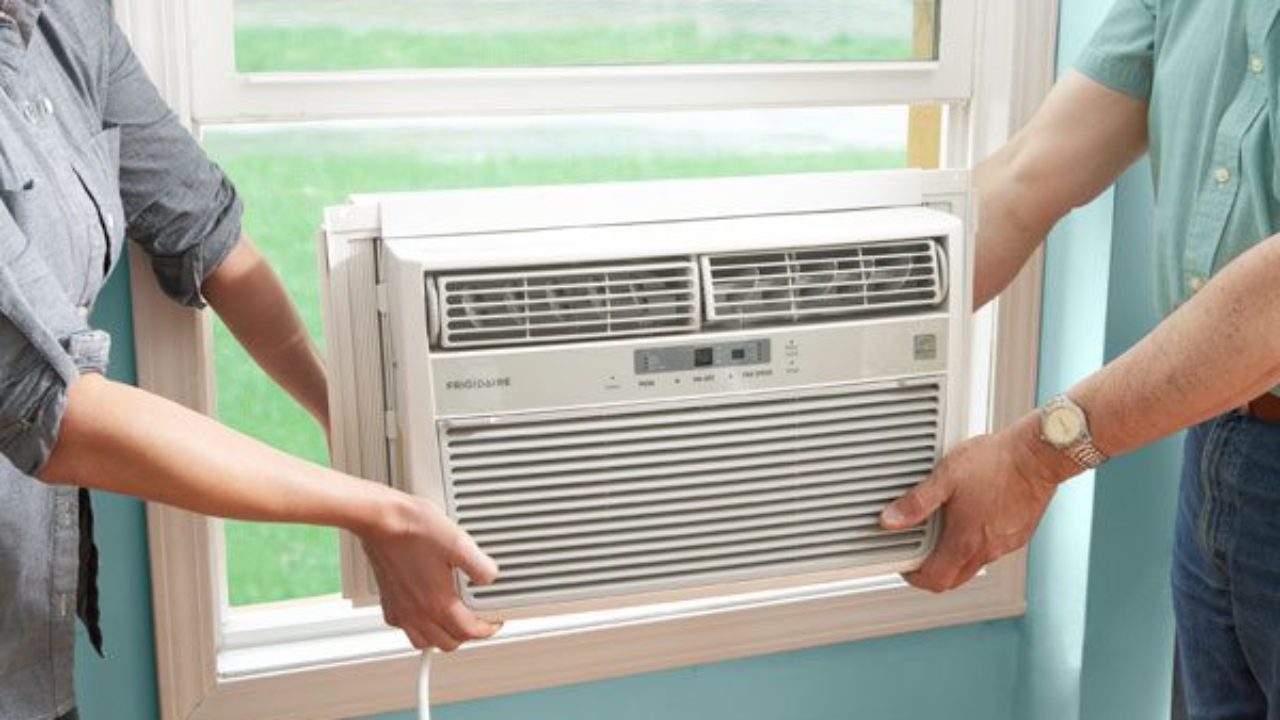
Step 2: Turn off and unplug the AC unit
Before you begin cleaning the AC unit, it’s important to ensure your safety by turning off and unplugging the unit to prevent any electrical accidents. Here’s how to do it:
- Locate the power button or switch on the AC unit and turn it off. This will ensure that the unit is not running while you clean it.
- Next, unplug the AC unit from the electrical outlet. This will eliminate any risk of electric shock or accidental activation of the unit during the cleaning process.
- Make sure to wait for a few minutes to allow any residual electricity to discharge from the unit before proceeding.
Turning off and unplugging the AC unit is crucial for your safety and prevents any damage to the unit while cleaning it. It also eliminates the risk of accidentally turning on the unit, preventing any potential mishaps that could occur during the cleaning process.
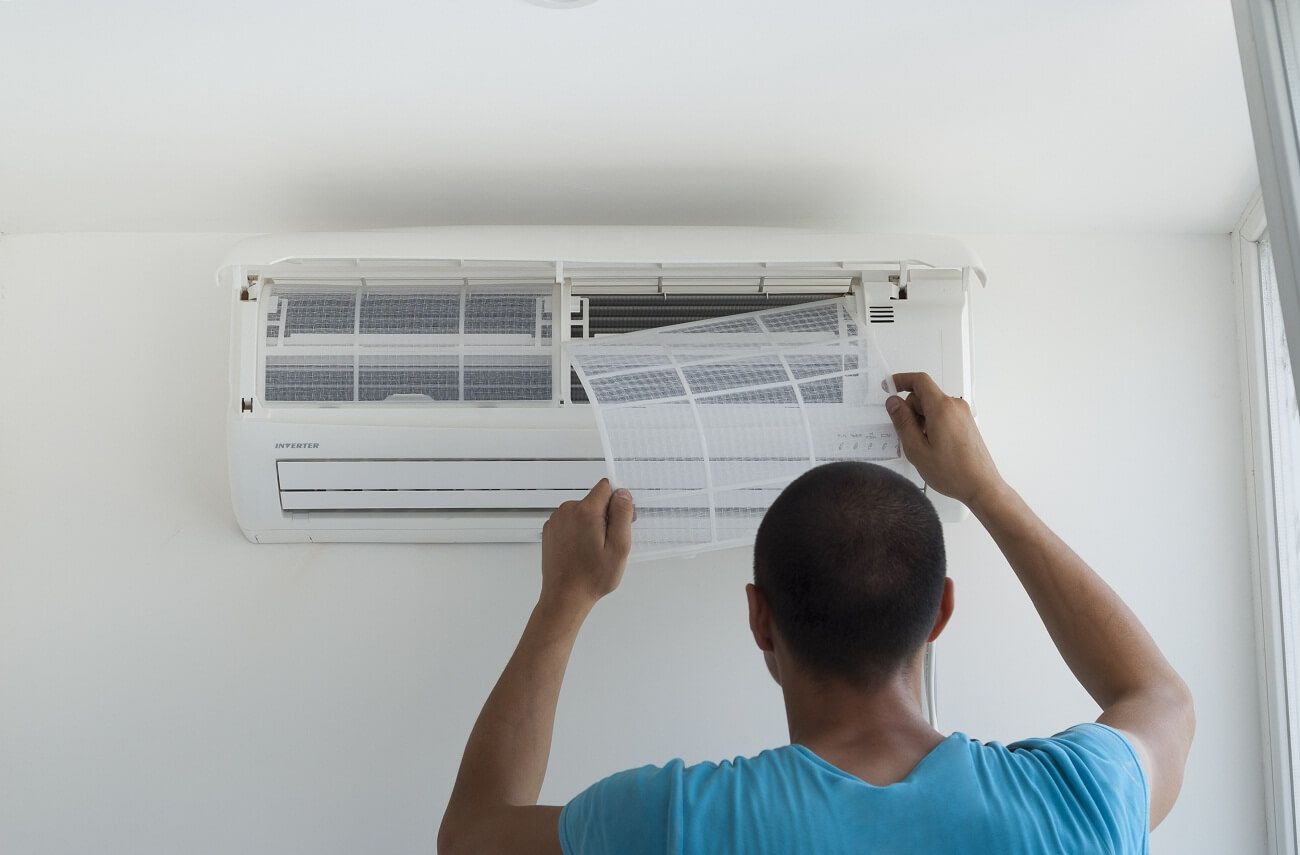
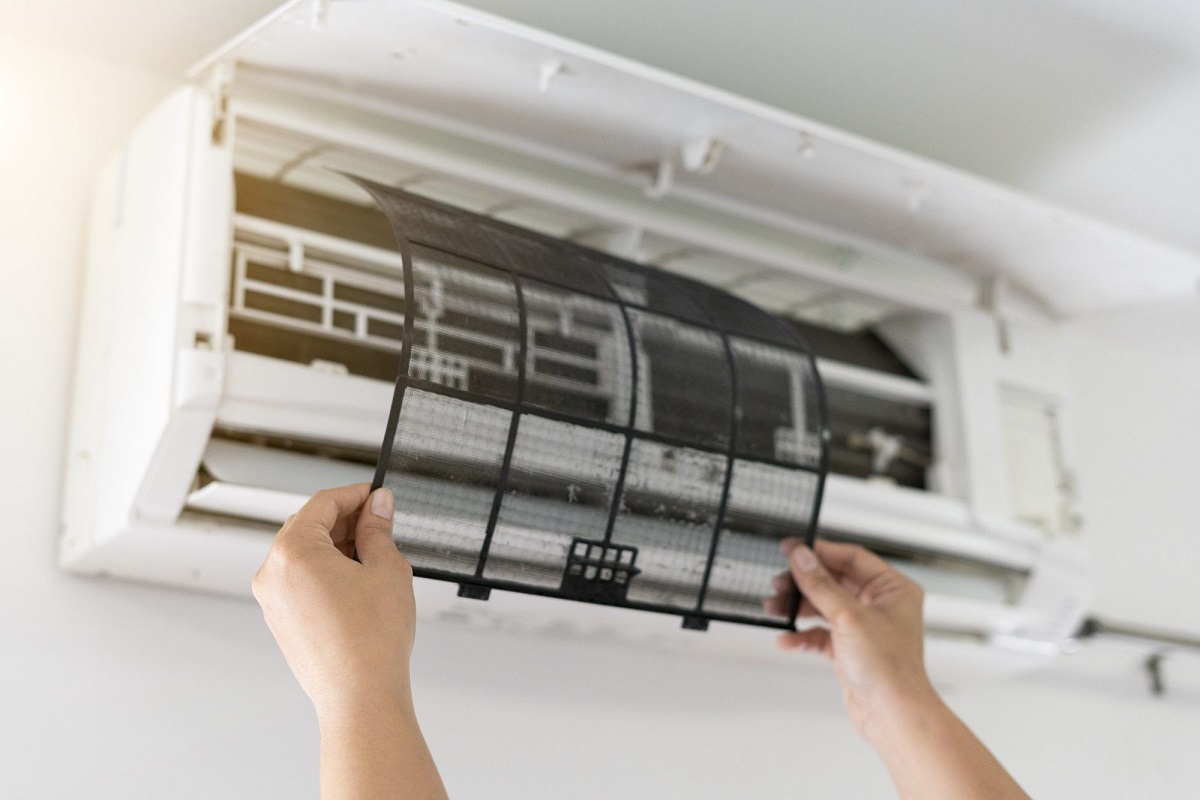
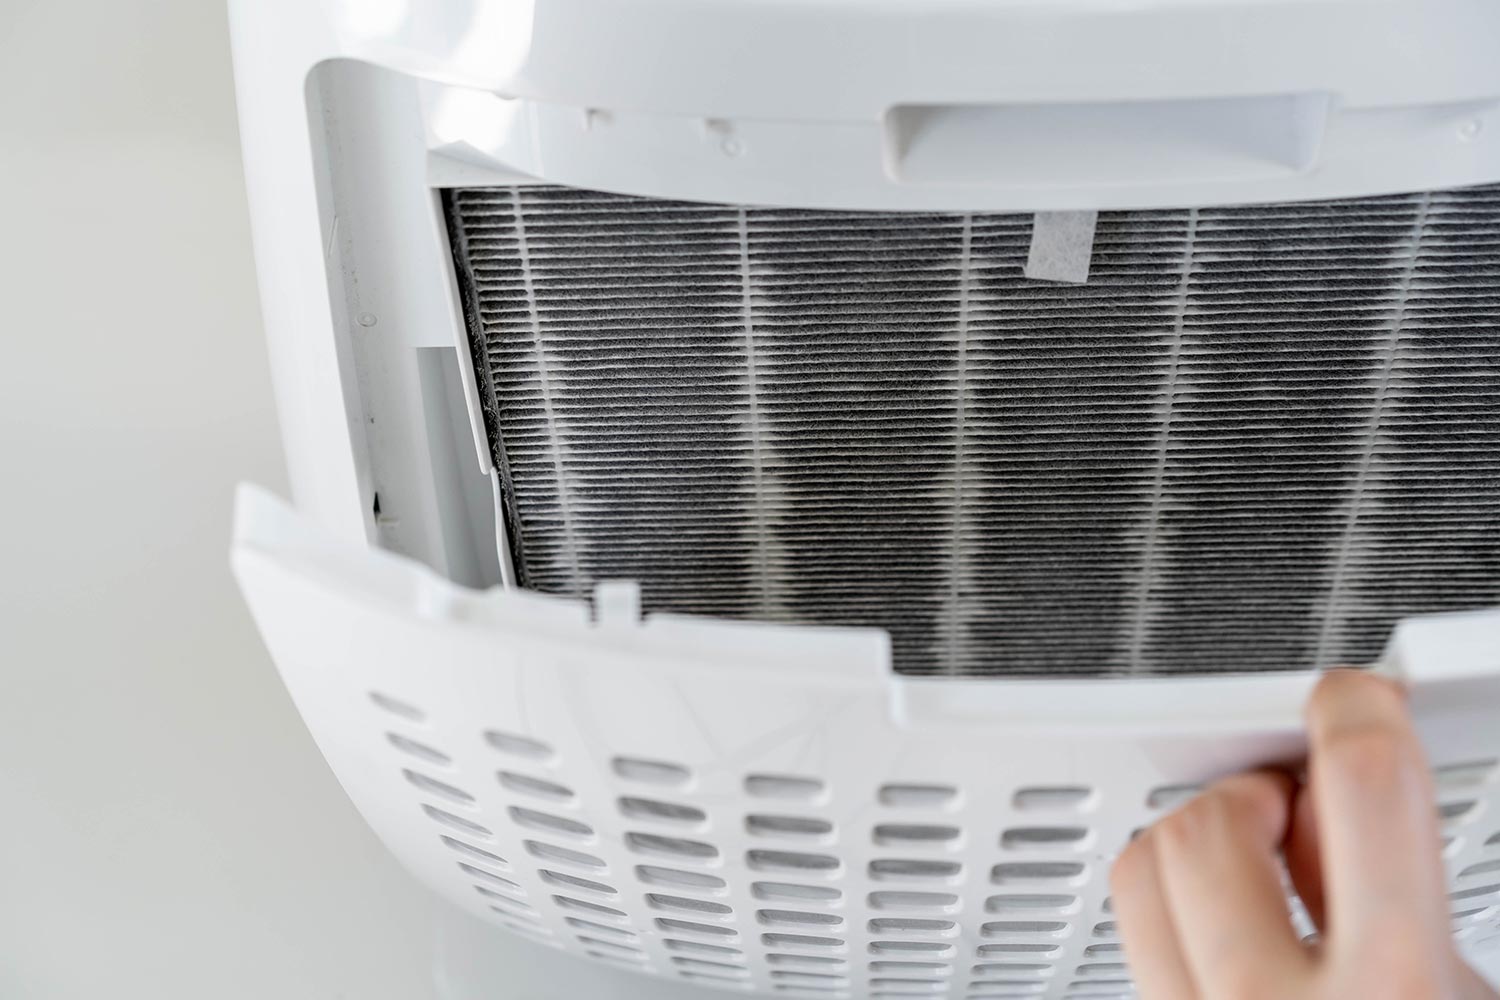
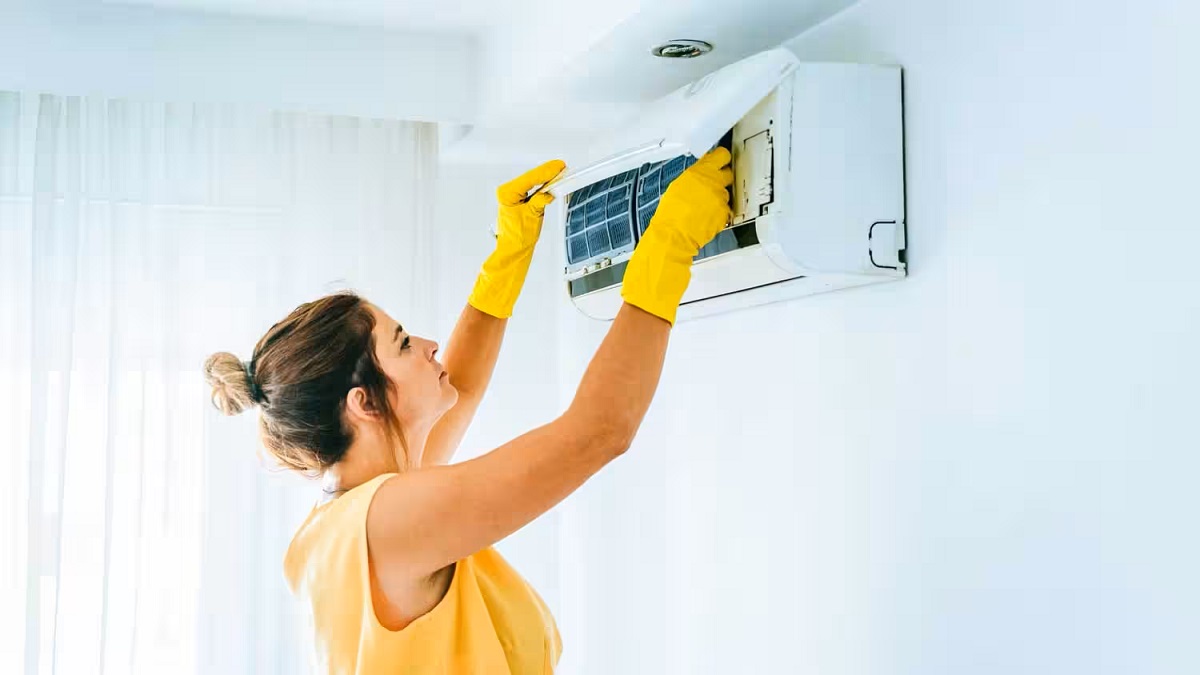
Step 3: Remove and clean the filter
The filter in your window AC unit plays a crucial role in trapping dust, debris, and mold spores. Over time, the filter can become clogged and dirty, reducing the unit’s efficiency and contributing to mold growth. Cleaning or replacing the filter is an important step in maintaining a clean and healthy AC unit.
Here’s how to remove and clean the filter:
- Locate the filter on your window AC unit. In most cases, it is located behind the front panel, which can be accessed by removing the screws.
- Carefully remove the filter from the unit. Take note of how it was positioned so that you can place it back correctly after cleaning.
- If it’s a washable filter, rinse it under running water. Use a gentle stream to avoid damaging the filter. Alternatively, you can soak the filter in a mixture of water and mild detergent for a few minutes to remove stubborn dirt and debris. Rinse it thoroughly to ensure all soap residue is removed.
- Allow the filter to air dry completely before reinstalling it. Ensure that it is completely dry to prevent mold growth in the filter.
- If the filter is disposable or heavily damaged, replace it with a new one. You can purchase a compatible filter from a hardware store or contact the manufacturer for a replacement.
Regularly cleaning or replacing the filter is essential for maintaining good air quality and preventing mold growth in your window AC unit. Make it a habit to clean the filter at least once every month during peak usage seasons, and check it periodically throughout the year to ensure its cleanliness.
Step 4: Vacuum the interior of the AC unit
After removing and cleaning or replacing the filter, the next step in cleaning mold out of your window AC unit is to vacuum the interior of the unit. This will help remove any loose debris, dust, and mold spores that may have accumulated inside.
Here’s how to vacuum the interior of the AC unit:
- Attach a brush or crevice tool to your vacuum cleaner. This will help you reach and clean tight spots and corners inside the unit.
- Carefully insert the vacuum cleaner attachment into the AC unit, reaching as far as possible without applying too much pressure to delicate components.
- Moving in a slow and methodical manner, vacuum the interior surfaces of the unit, paying special attention to areas where mold growth is visible. Be thorough in your cleaning, ensuring that you cover all surfaces.
- Take extra care when vacuuming around electrical components and wiring. Avoid any direct contact between the attachment and these sensitive areas to prevent damage.
- Continue vacuuming until you have removed all loose debris and visible mold growth from the interior of the AC unit.
Vacuuming the interior of the AC unit is an important step in eliminating loose particles and mold spores, which can contribute to mold growth and affect air quality. This step ensures a clean foundation for the rest of the cleaning process.
Read more: How To Remove A Window AC Unit
Step 5: Create a cleaning solution
Creating a cleaning solution is an essential step in effectively removing mold from your window AC unit. There are different options for cleaning solutions, depending on your preference and the severity of the mold infestation.
Here are a few options for creating a cleaning solution:
- Water and vinegar: This is a common and effective solution for cleaning mold. Mix equal parts water and white vinegar in a spray bottle. Vinegar is a natural disinfectant and can help kill mold and prevent its regrowth.
- Commercial mold cleaner: If you prefer a ready-made cleaning solution, you can purchase a commercial mold cleaner from a hardware store. Read and follow the instructions on the product label carefully for safe and effective usage.
- Bleach or hydrogen peroxide: For severe mold infestations, you may consider using a diluted bleach or hydrogen peroxide solution. However, exercise caution when working with these chemicals, as they can be harsh and may cause damage to certain surfaces. Always follow instructions and use protective gear when working with bleach.
Choose the cleaning solution that best suits your needs and the severity of the mold problem in your window AC unit. It’s important to remember that proper ventilation and protective gear should be used when working with any cleaning solution.
Now that you have your cleaning solution prepared, you’re ready to move on to the next step and start cleaning the interior surfaces of your window AC unit.
To clean mold out of a window AC unit, mix equal parts water and white vinegar in a spray bottle. Spray the solution on the moldy areas and let it sit for 10-15 minutes before wiping it clean with a damp cloth. Repeat as needed.
Step 6: Wipe down the interior surfaces
With your cleaning solution ready, it’s time to start wiping down the interior surfaces of your window AC unit. This step will help remove any remaining mold and ensure a thorough cleaning.
Follow these steps to effectively wipe down the interior surfaces:
- Dip a soft brush, cloth, or sponge into the cleaning solution you prepared in the previous step.
- Gently scrub the interior surfaces of the AC unit, focusing on areas with visible mold growth or spots.
- Pay attention to corners, crevices, and hard-to-reach spots where mold may have accumulated.
- Be thorough in your cleaning, ensuring all surfaces are covered and scrubbed. Use gentle, circular motions to loosen and remove the mold.
- If you encounter stubborn mold spots, apply a bit more pressure or use a scrub brush to effectively remove them.
- Continue wiping down and scrubbing the interior surfaces until you have covered the entire area.
As you work, periodically rinse the brush, cloth, or sponge in your cleaning solution to remove any buildup of mold and debris. This will help ensure that you’re not reintroducing mold back into the unit.
After wiping down all the interior surfaces, it’s important to let the cleaned areas air dry before proceeding to the next step. Proper drying helps prevent mold from reoccurring.
By thoroughly wiping down the interior surfaces with your cleaning solution, you’re effectively eliminating mold and ensuring a clean and healthy environment inside your window AC unit.
Step 7: Clean and disinfect the fan blades
One area that often accumulates mold and requires special attention is the fan blades of your window AC unit. Cleaning and disinfecting the fan blades is crucial for maintaining proper airflow and preventing the spread of mold spores.
Follow these steps to clean and disinfect the fan blades:
- Locate the fan blades inside the AC unit. Depending on the design, you may need to remove a cover or access panel to reach them.
- Use a brush or cloth to gently remove any visible dust or debris from the fan blades. Be careful not to bend or damage the blades during this process.
- Prepare a cleaning solution by mixing water and mild detergent or using a commercial cleaner specifically designed for mold.
- Dip a cloth or sponge into the cleaning solution and carefully wipe down each fan blade. Pay attention to both sides of the blades, ensuring thorough cleaning.
- If there is heavy mold growth on the fan blades, consider using a bleach or hydrogen peroxide solution for disinfection. Apply the solution according to the product’s instructions and use caution to avoid damage to the blades or other components of the unit.
- Rinse the fan blades with clean water to remove any residue from the cleaning solution.
- Allow the fan blades to air dry completely before reassembling the unit.
Cleaning and disinfecting the fan blades will not only improve the airflow and efficiency of your window AC unit, but it will also help eliminate any mold spores that may have accumulated on the blades.
Make sure to exercise caution while cleaning the fan blades to avoid any damage, and use appropriate safety measures such as wearing gloves and protective eyewear.
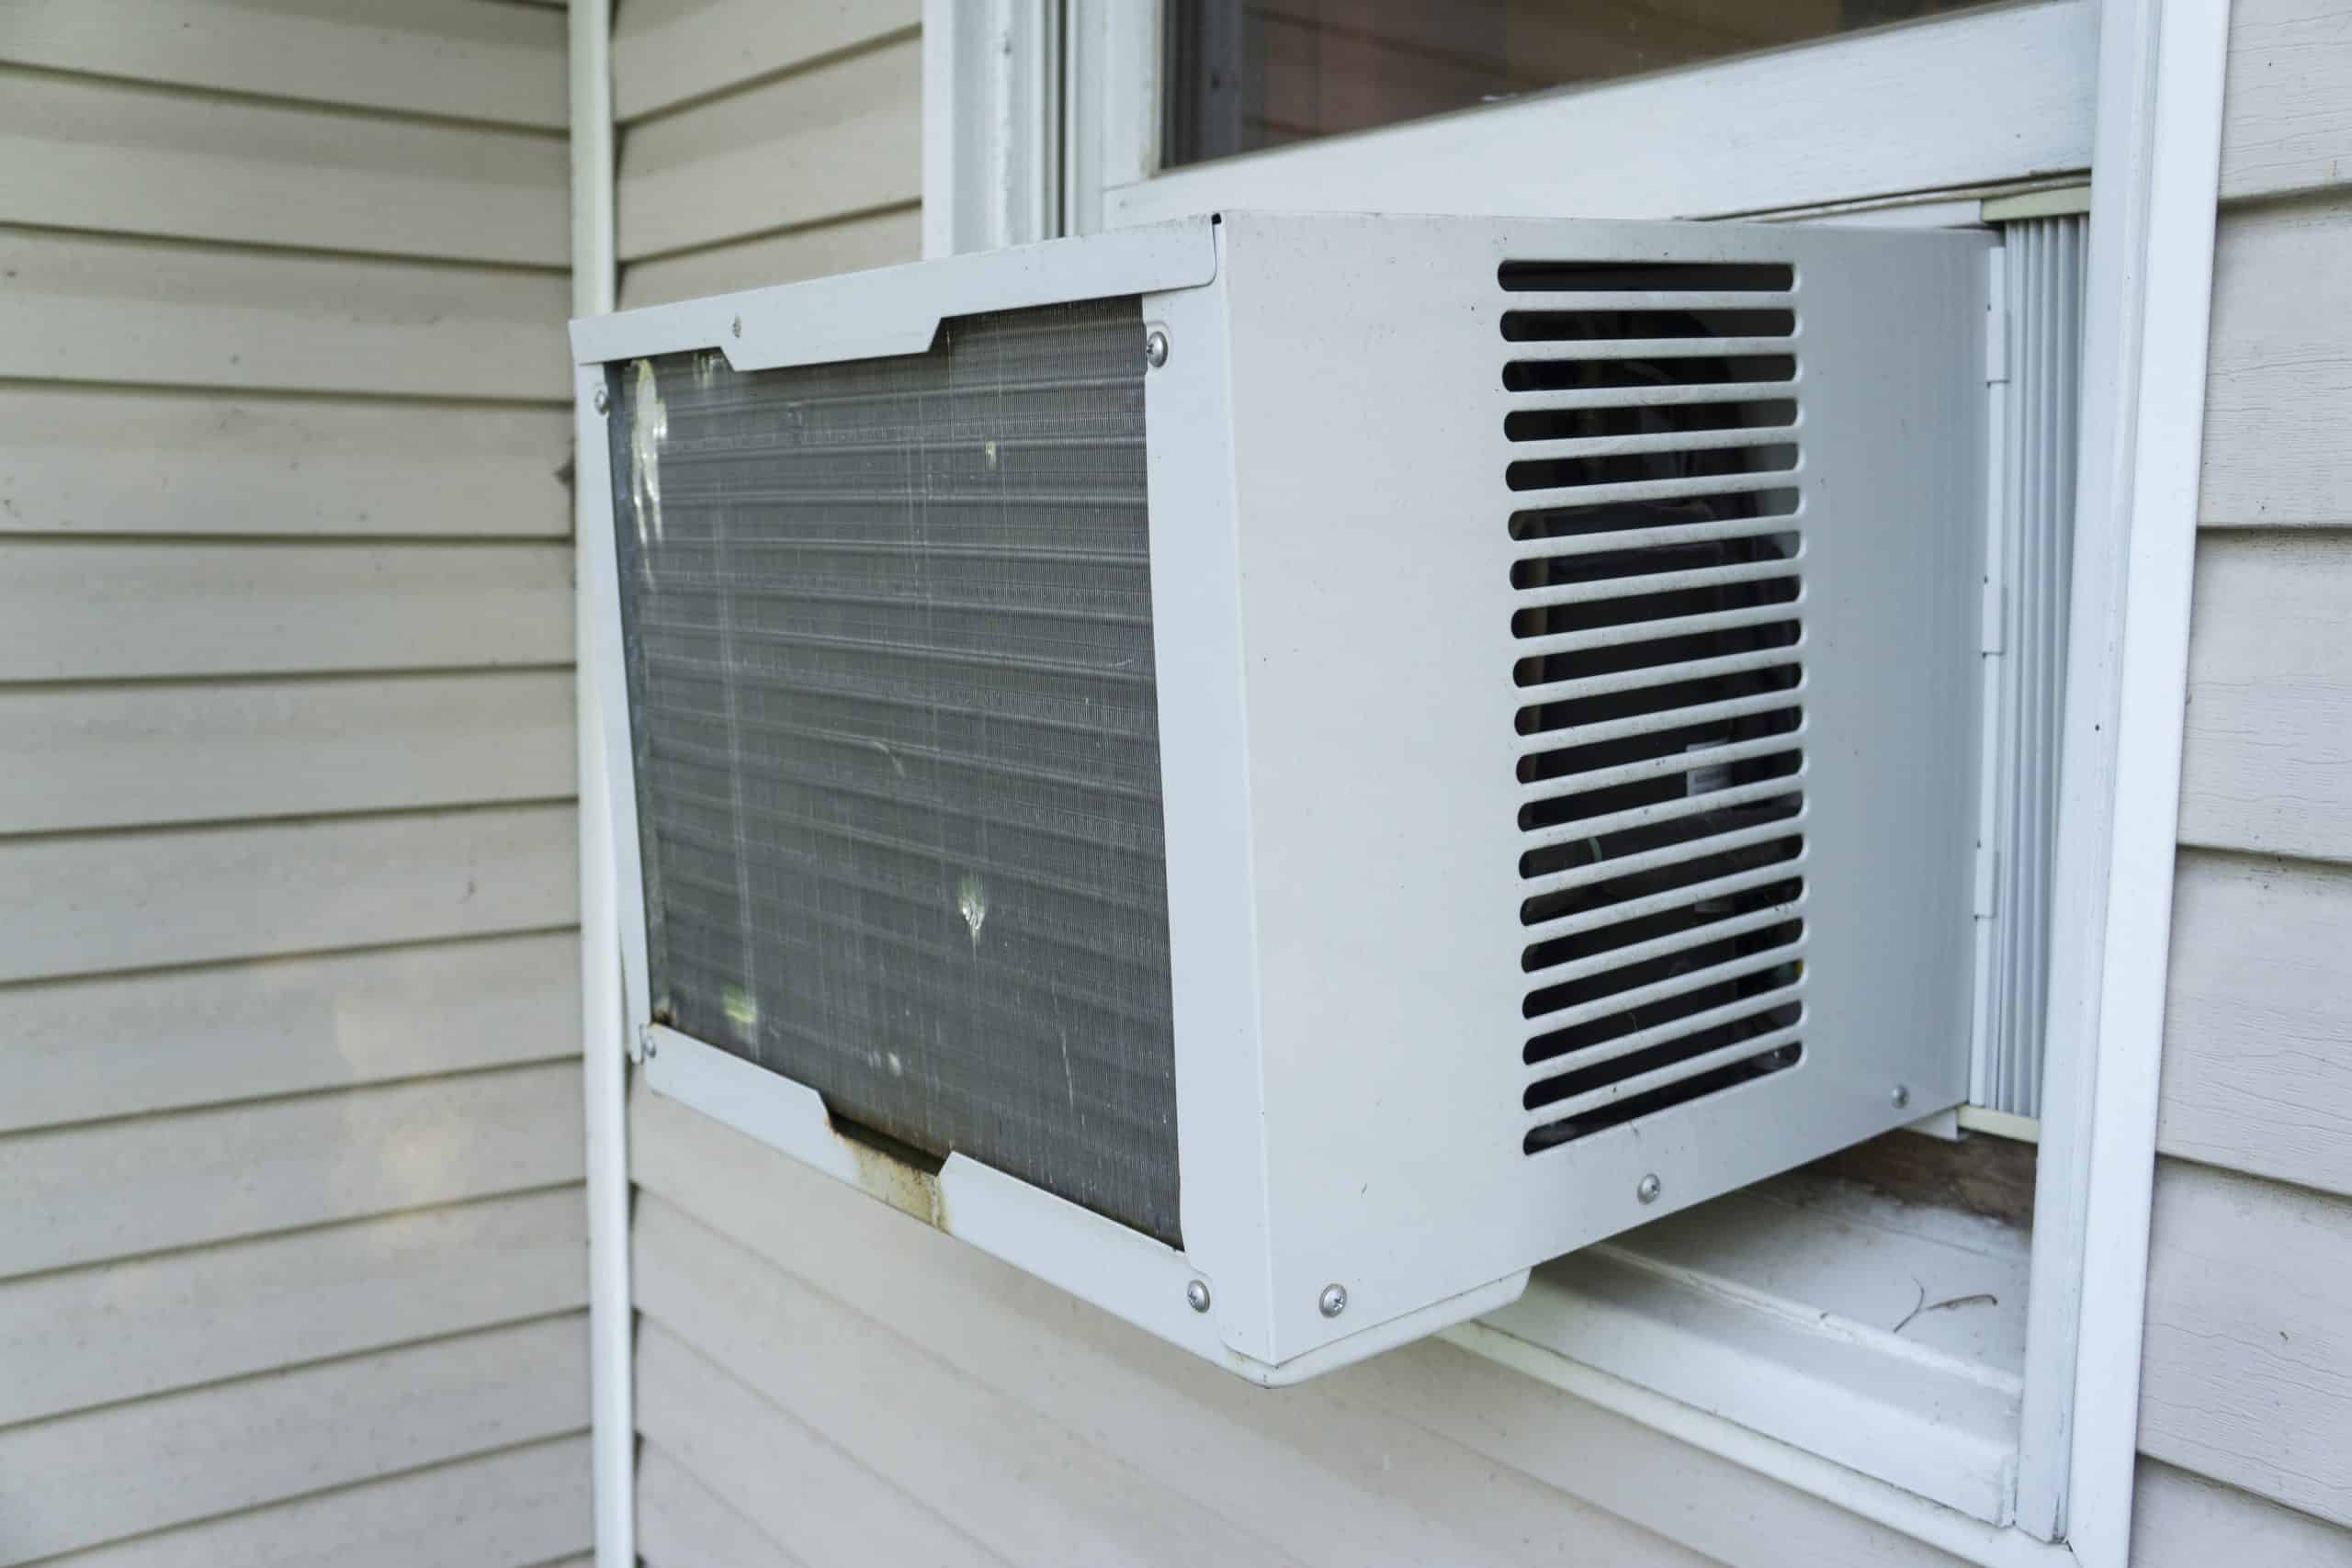
Step 8: Clean the drain pan and drain line
The drain pan and drain line in your window AC unit are important components that help remove condensation from the unit. Over time, these areas can become clogged with debris and mold, which can lead to water leakage and further mold growth. Cleaning the drain pan and drain line is crucial to prevent these issues.
Follow these steps to clean the drain pan and drain line:
- Locate the drain pan, which is usually located at the bottom of the AC unit, beneath the evaporator coil.
- Remove any standing water from the drain pan using a sponge or cloth.
- Mix a cleaning solution using equal parts water and vinegar or use a commercial mold cleaner.
- Dip a brush or cloth into the cleaning solution and scrub the interior of the drain pan to remove any mold or debris.
- Rinse the drain pan thoroughly with clean water to remove any cleaning solution residue.
- Next, locate the drain line, which is a small pipe or tube usually connected to the drain pan.
- Use a flexible brush or pipe cleaner to clean the drain line. Insert it into the pipe and gently scrub back and forth to remove any mold or clogs.
- After cleaning the drain line, flush it with clean water to ensure it is clear and free of any debris.
- Allow the drain pan and drain line to air dry completely before reassembling the unit.
Cleaning the drain pan and drain line is crucial for avoiding water leakage and preventing the growth of mold and bacteria. Regular maintenance of these components will ensure the proper functioning of your window AC unit and promote a healthier and more efficient cooling experience.
Read more: How To Recharge Window AC Unit
Step 9: Reassemble the AC unit and test it
After completing the cleaning process, the final step is to reassemble your window AC unit and test it to ensure it is functioning properly. Here are the steps to follow:
- Carefully reattach the cleaned or new filter to the unit. Make sure it is properly positioned and securely placed.
- Replace the front panel and use a screwdriver to fasten the screws, ensuring the panel is securely in place.
- Plug in the AC unit back into the electrical outlet.
- Turn on the AC unit and set it to the desired temperature and fan speed. Listen for any unusual sounds or smells, indicating a potential issue.
- Allow the AC unit to run for a while to ensure it is cooling properly and the airflow is smooth.
- Check for any signs of water leakage or excessive condensation. If you notice any, double-check the drain pan and drain line to ensure they are clear of clogs.
- Monitor the unit for the next few hours to ensure there are no issues or recurrence of mold growth.
Reassembling the AC unit and testing it is crucial to ensure that the cleaning process was successful and that the unit is functioning properly. By doing a thorough inspection and testing, you can identify any potential issues and address them promptly before they escalate.
If you encounter any problems during the testing phase or notice mold regrowth, it’s advisable to contact a professional HVAC technician for further assistance and inspection.
Conclusion
Cleaning mold out of your window AC unit is essential for maintaining a healthy living environment and ensuring the efficient operation of the unit. Mold growth can not only cause unpleasant odors but also impact the air quality inside your home. By following the step-by-step guide outlined in this article, you can effectively clean your AC unit and prevent mold from recurring.
Remember to gather all the necessary supplies before starting the cleaning process, including protective gear, a screwdriver, a vacuum cleaner with attachments, a cleaning solution, and a soft brush or cloth. Take the time to turn off and unplug the AC unit to ensure your safety.
Start by removing and cleaning or replacing the filter, vacuuming the interior surfaces to remove loose debris and mold spores. Create a cleaning solution using vinegar and water or a commercial mold cleaner. Wipe down the interior surfaces with the cleaning solution, paying special attention to areas with mold growth.
Next, clean and disinfect the fan blades, as they can accumulate mold and affect airflow. Clean the drain pan and drain line to prevent clogs and water leakage. Finally, reassemble the AC unit, ensuring that the filter is properly positioned, and test the unit to ensure it is functioning correctly.
Regular maintenance and cleaning of your window AC unit will not only improve its performance but also contribute to a healthier environment. By taking the necessary steps to clean mold out of your window AC unit, you can enjoy cool and clean air while minimizing the risk of mold-related health issues. If you’re unsure or uncomfortable with the cleaning process, it’s always best to seek professional assistance to ensure a thorough and safe cleaning.
With a well-maintained and mold-free AC unit, you can stay cool and breathe easy during those hot summer months.
Now that you've tackled mold in your window AC unit, maintaining other areas of your home is just as crucial. Dealing with mold on wooden fixtures? Our guide on mold removal from wood furniture provides practical solutions. Additionally, keeping up with routine chores ensures your living space remains welcoming and safe. Don't miss out on valuable tips from our comprehensive home maintenance checklist, tailored to help homeowners manage their upkeep effectively.
Frequently Asked Questions about How To Clean Mold Out Of Window AC Unit
Was this page helpful?
At Storables.com, we guarantee accurate and reliable information. Our content, validated by Expert Board Contributors, is crafted following stringent Editorial Policies. We're committed to providing you with well-researched, expert-backed insights for all your informational needs.


0 thoughts on “How To Clean Mold Out Of Window AC Unit”