Home>Storage Ideas>Living Room Storage>How To Clean Ceilings And Moldings
Living Room Storage
How To Clean Ceilings And Moldings
Modified: August 22, 2024
Learn how to clean ceilings and moldings effectively in your living room. Discover useful tips and techniques for maintaining a clean and tidy living room storage space.
(Many of the links in this article redirect to a specific reviewed product. Your purchase of these products through affiliate links helps to generate commission for Storables.com, at no extra cost. Learn more)
Introduction
Welcome to our comprehensive guide on cleaning ceilings and moldings. Keeping these areas clean not only enhances the overall appearance of your living room, but it also helps to maintain a healthy and hygienic environment. Ceilings and moldings can accumulate dust, stains, and even mold or mildew over time, so regular cleaning is essential.
In this article, we will provide you with step-by-step instructions on how to effectively clean your ceilings and moldings without damaging them. We will also share some helpful tips and tricks to make the process easier and more efficient.
Before we dive into the cleaning process, let’s take a moment to discuss the importance of keeping your ceilings and moldings clean. Ceilings often collect dust, cobwebs, and other airborne particles that can affect indoor air quality. Moldings, on the other hand, can easily develop stains, scuffs, and even mold or mildew growth, especially in areas prone to moisture.
Cleaning your ceilings and moldings not only improves the aesthetics of your living room but also plays a crucial role in maintaining a healthy living environment. Mold and mildew, if left untreated, can cause respiratory issues and allergies. Dust and dirt buildup can also contribute to poor indoor air quality and impact overall well-being.
Now that we understand the significance of cleaning ceilings and moldings, let’s get started with the step-by-step process. Make sure to gather all the necessary supplies before you begin!
Key Takeaways:
- Regularly cleaning ceilings and moldings not only enhances the aesthetics of your living room but also contributes to a healthier indoor environment by removing dust, stains, and potential allergens.
- Gathering the necessary supplies, dusting, removing stains, addressing mold and mildew, wiping and polishing, and adding finishing touches are the key steps to effectively clean ceilings and moldings.
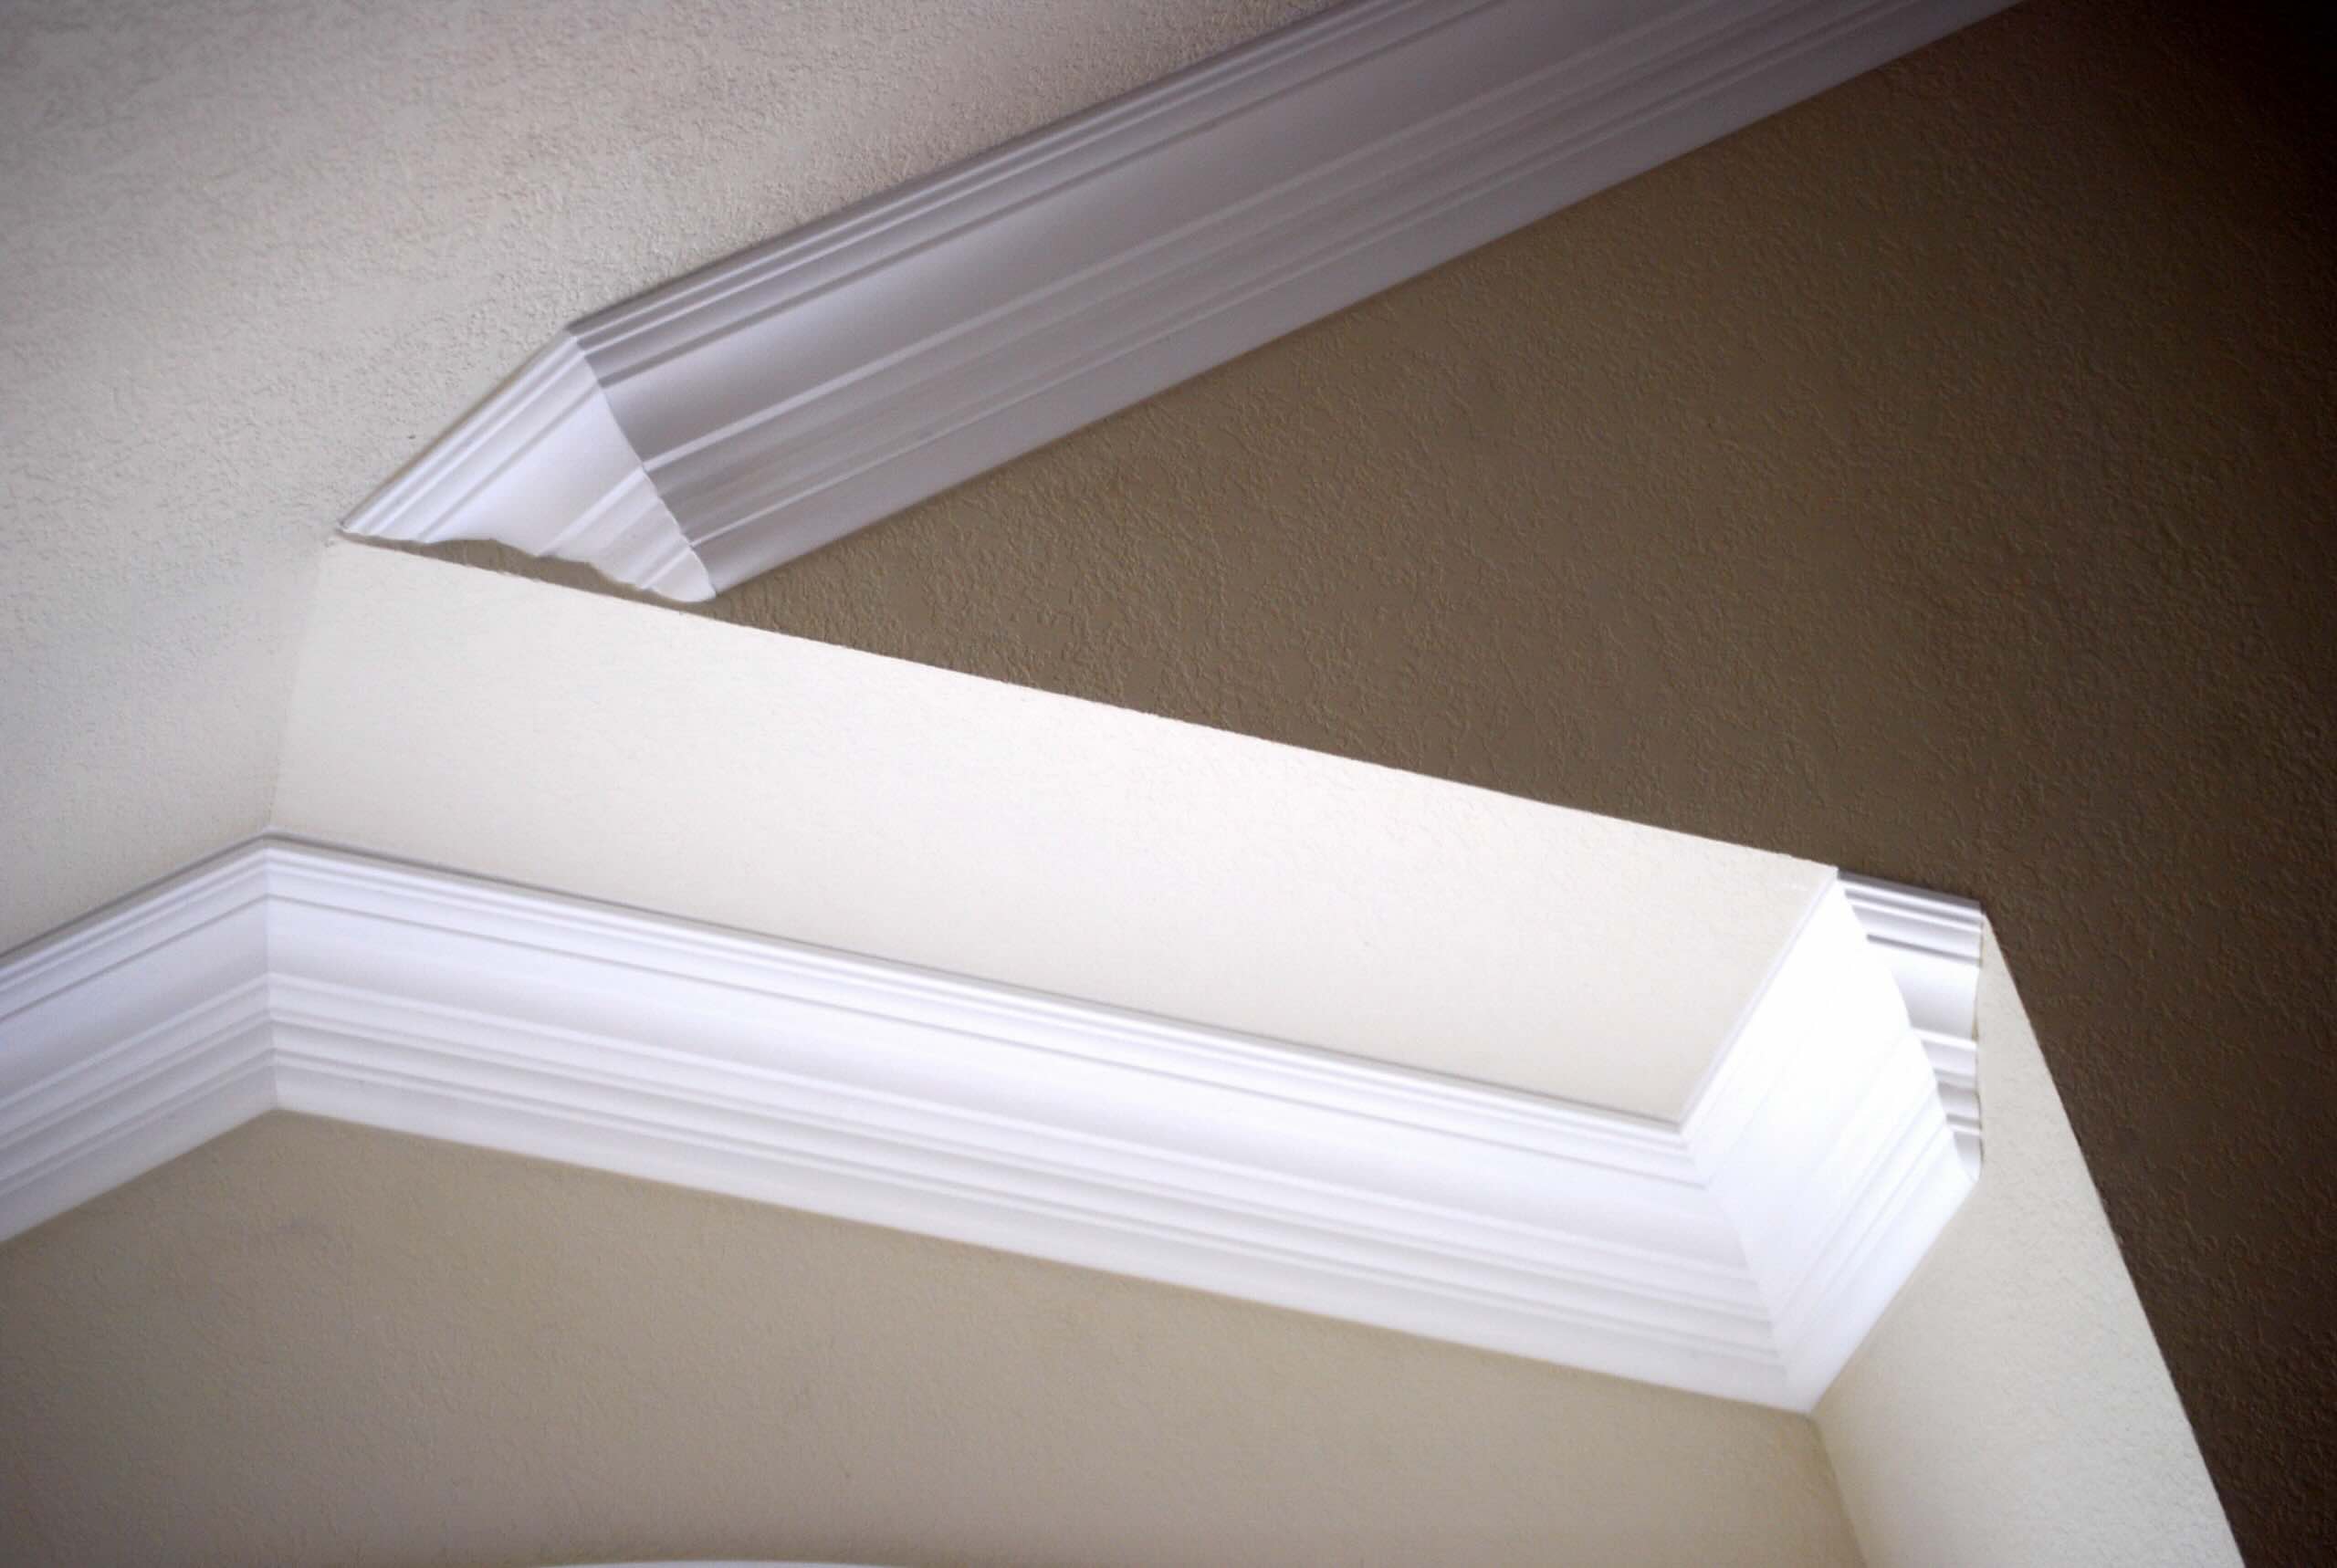
Read more: How To Install Ceiling Molding
Step 1: Gathering the Necessary Supplies
Before you begin cleaning your ceilings and moldings, it’s important to gather all the necessary supplies. Having everything on hand will make the process more efficient and ensure you have everything you need to get the job done properly.
Here’s a list of the supplies you will need:
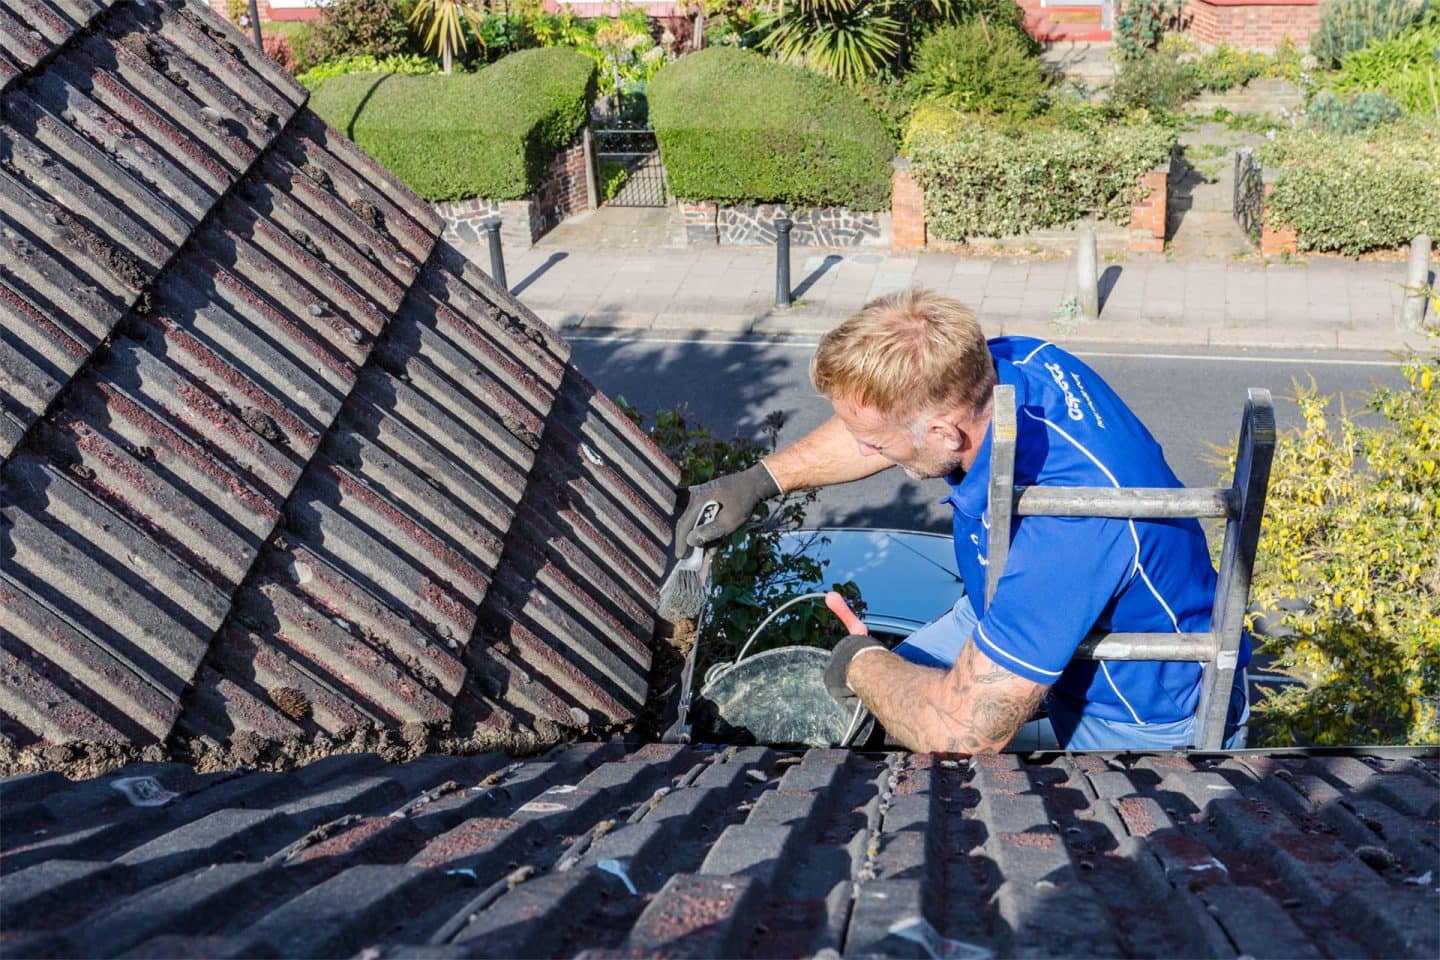
- Ladder: Depending on the height of your ceilings, you may need a sturdy ladder to reach the upper surfaces safely. Make sure the ladder is placed on a stable and even surface to avoid accidents.
- Dusting tools: Choose a lightweight duster or an extendable microfiber dusting tool to remove dust and cobwebs from the ceilings and moldings. These tools are ideal for reaching high areas without straining yourself.
- Protective gear: Wear protective gear such as gloves, safety goggles, and a dust mask to safeguard yourself from dust particles and cleaning chemicals.
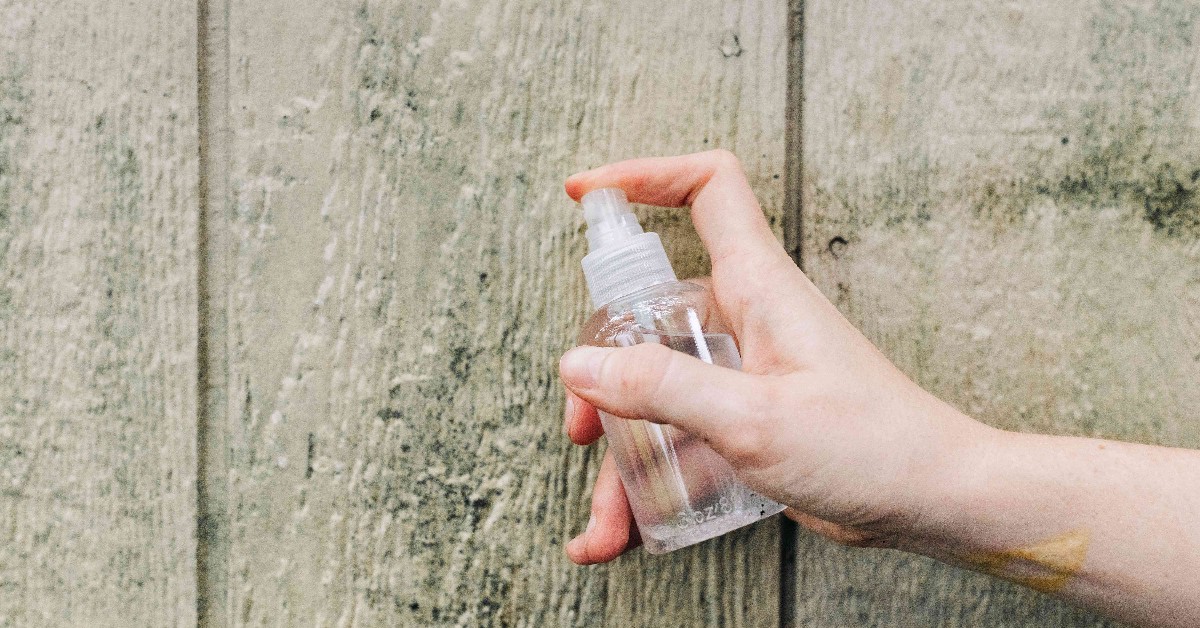
- All-purpose cleaner: Select a non-abrasive all-purpose cleaner that is suitable for your specific ceiling and molding materials. Avoid using harsh chemicals that could cause damage or discoloration.
- Soft cloths: Use soft, lint-free cloths to wipe down the surfaces. Microfiber cloths work well for this purpose as they are gentle and effective at picking up dust and stains.
- Mildew cleaner: If you suspect mold or mildew growth on your ceilings or moldings, choose a mildew cleaner specifically designed to eliminate these issues. Ensure it is safe for use on your particular surfaces.
- Bucket of warm water: Fill a bucket with warm water to dilute the cleaning solution and for rinsing purposes.
- Sponge or soft brush: For stubborn stains or marks, use a sponge or soft brush to gently scrub the affected area. Make sure to choose a brush with bristles that won’t scratch or damage the surfaces.
- Plastic drop cloth or newspapers: To protect your furniture and flooring from any drips or splatters during the cleaning process, lay down a plastic drop cloth or spread newspapers underneath the areas you’ll be working on.
Once you have gathered all the necessary supplies, you are ready to move on to the next step: dusting your ceilings and moldings.
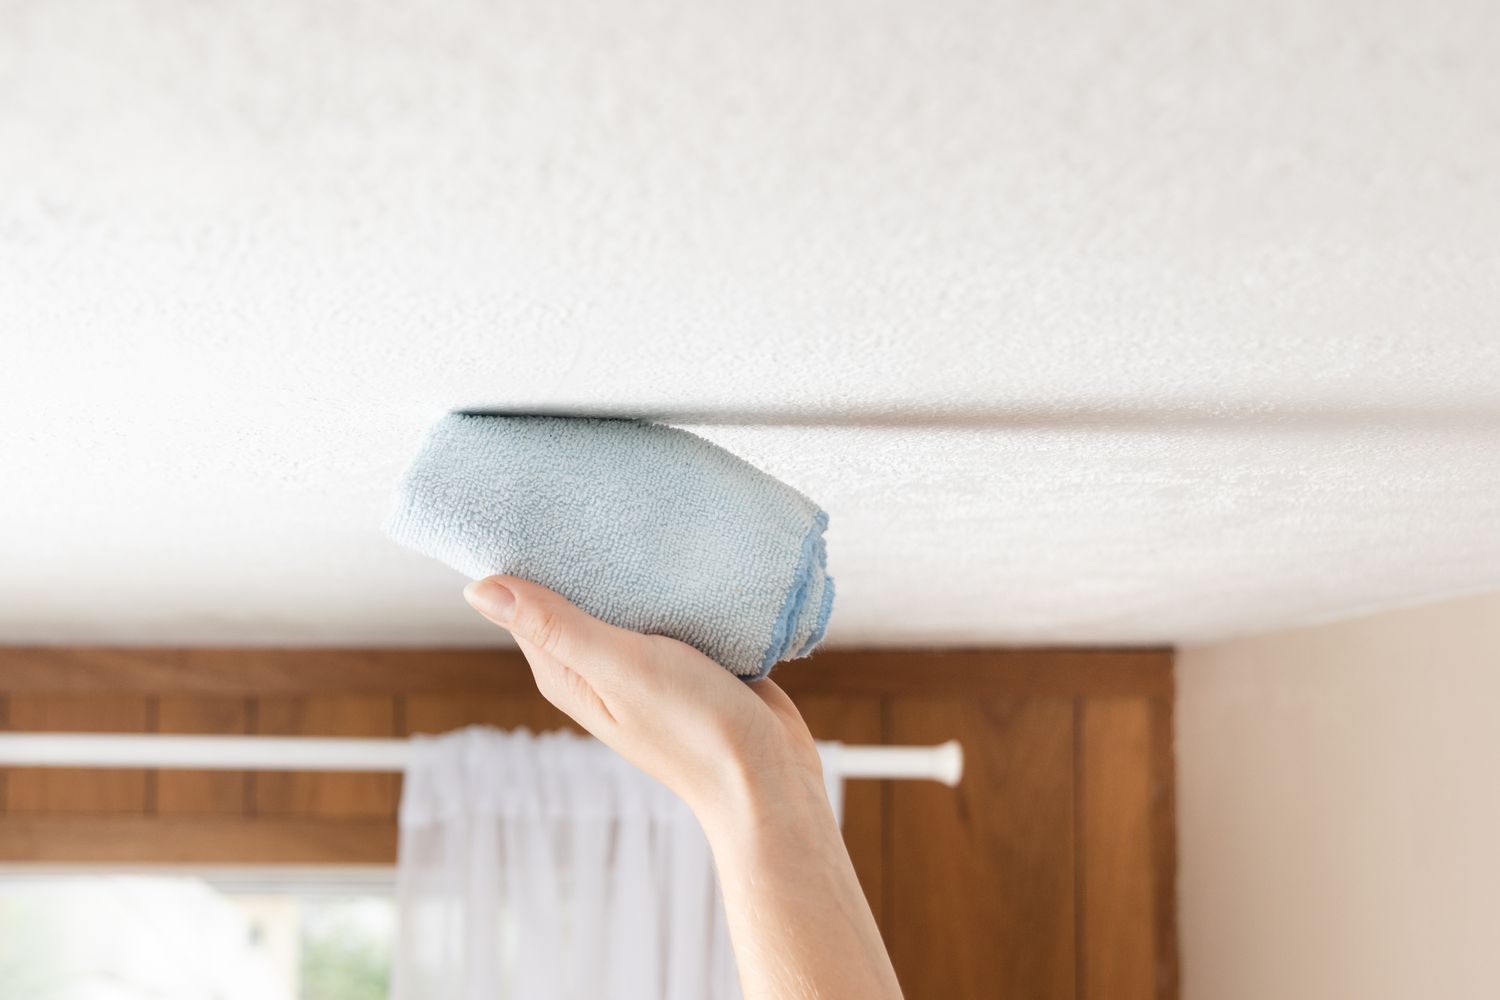
Step 2: Dusting the Ceilings and Moldings
Now that you have all the necessary supplies ready, it’s time to start dusting your ceilings and moldings. Dusting is the first crucial step in the cleaning process and helps remove surface dirt and debris that may have accumulated over time.
Follow these steps to effectively dust your ceilings and moldings:
- Start from the top: Begin by dusting the highest surfaces, such as the ceiling corners and edges. This will prevent dust from falling onto already cleaned areas. Use a ladder to access hard-to-reach spots if needed, and be cautious of your safety.
- Use a duster or dusting tool: Take your lightweight duster or extendable microfiber dusting tool and gently run it along the ceiling surfaces, paying close attention to corners, edges, and moldings. Move in long, sweeping motions to capture as much dust as possible.
- Work systematically: Dust one section of the ceiling at a time, moving from one end of the room to the other. This will ensure that you don’t miss any spots or overlap your cleaning efforts.
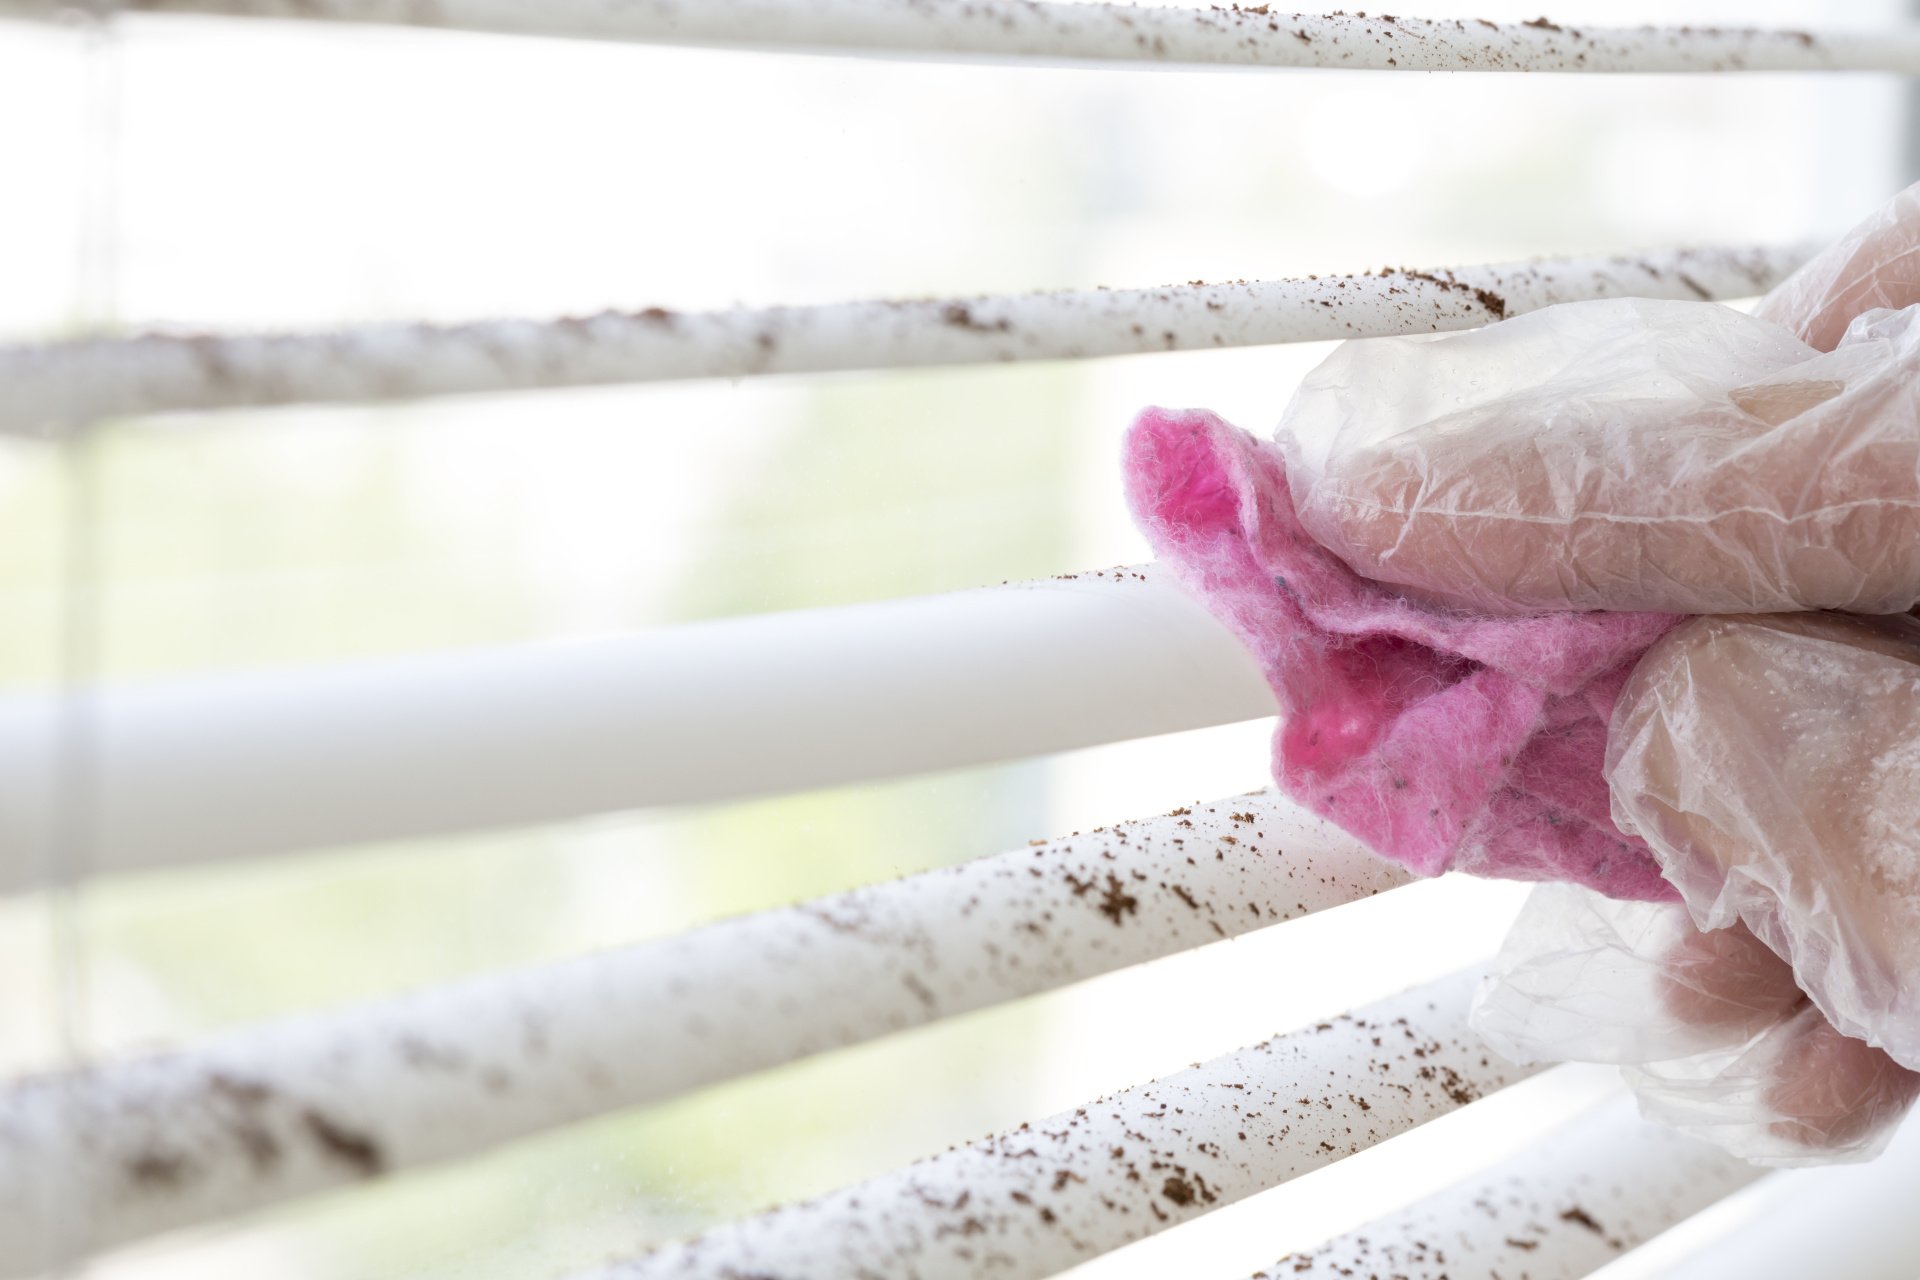
- Be thorough: Don’t forget to dust the moldings, baseboards, and any other decorative accents along the ceilings. These areas are prone to dust buildup and can greatly impact the overall cleanliness and appearance of your living room.
- Inspect for cobwebs: While dusting, keep an eye out for any cobwebs that may be present. Use your duster or a long-handled brush to gently remove them from the corners.
- Don’t forget light fixtures: Dusting your ceilings also includes cleaning any light fixtures or ceiling fans in the room. Use a clean cloth or duster to wipe away any dust from these fixtures.
Remember to take breaks and pace yourself throughout the cleaning process, especially if you’re working on higher areas. Once you have completed dusting your ceilings and moldings, it’s time to move on to the next step: removing stains and marks.
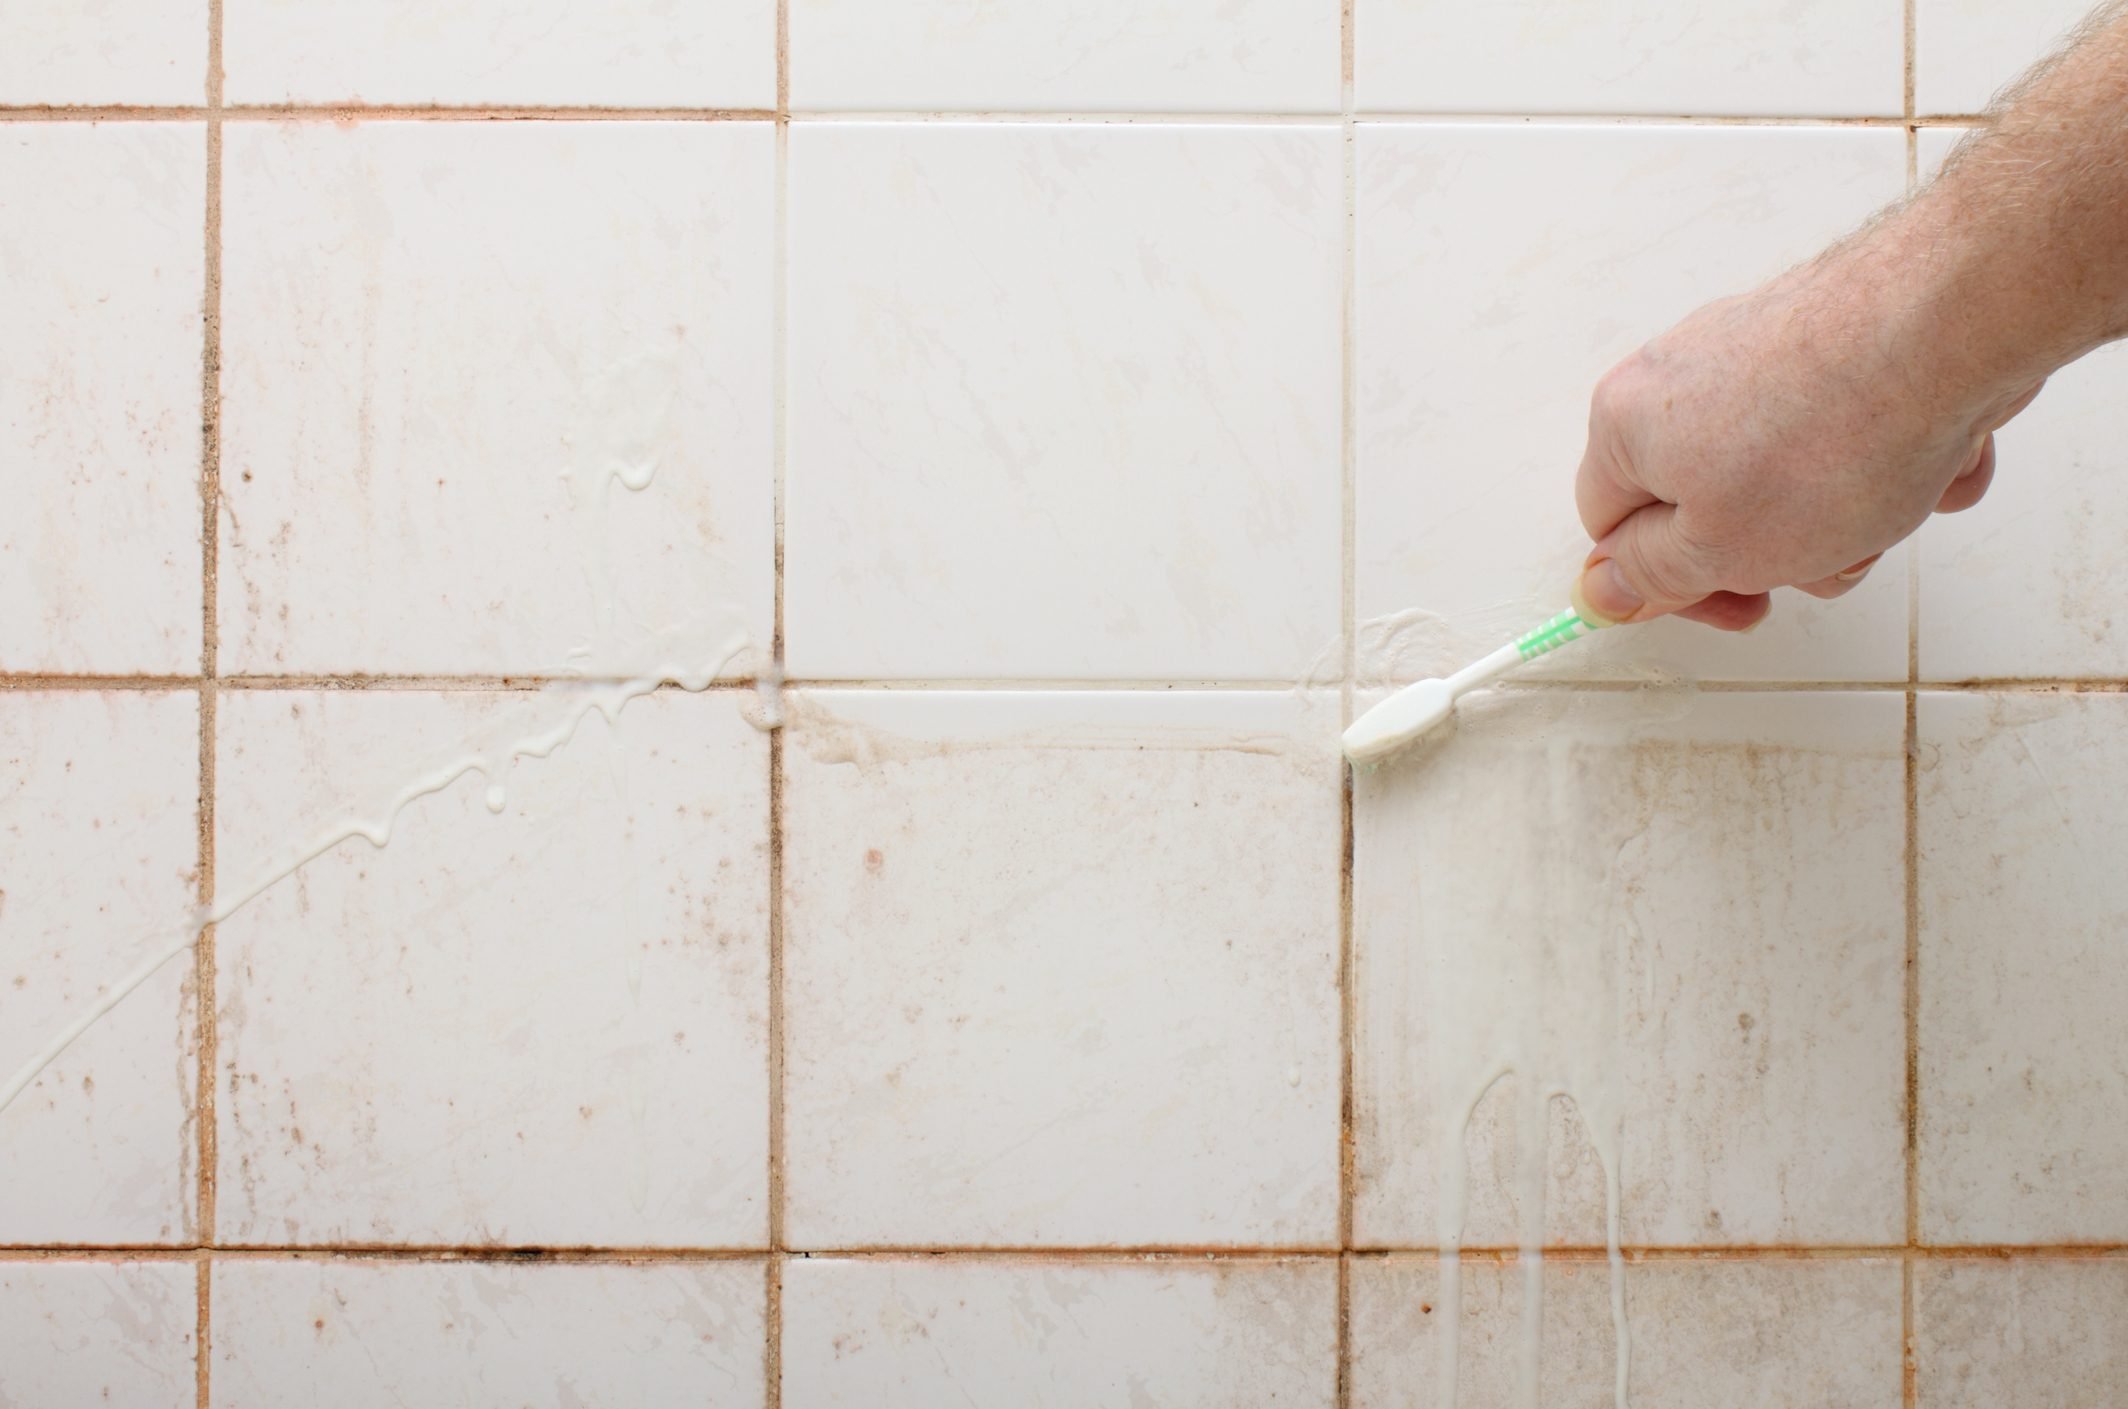
Step 3: Removing Stains and Marks
After dusting your ceilings and moldings, you may notice stains or marks that require a deeper clean. In this step, we will focus on removing these imperfections to restore the pristine appearance of your living room.
Follow these steps to effectively remove stains and marks from your ceilings and moldings:
- Identify the stains: Take a close look at your ceilings and moldings to identify any visible stains or marks. Common culprits include water stains, grease marks, and scuff marks.
- Prepare a cleaning solution: Depending on the type of stain or mark, prepare a suitable cleaning solution. For water stains, a mixture of warm water and mild dish soap can work well. Grease marks may require a gentle degreaser, while scuff marks can often be removed with a damp cloth.
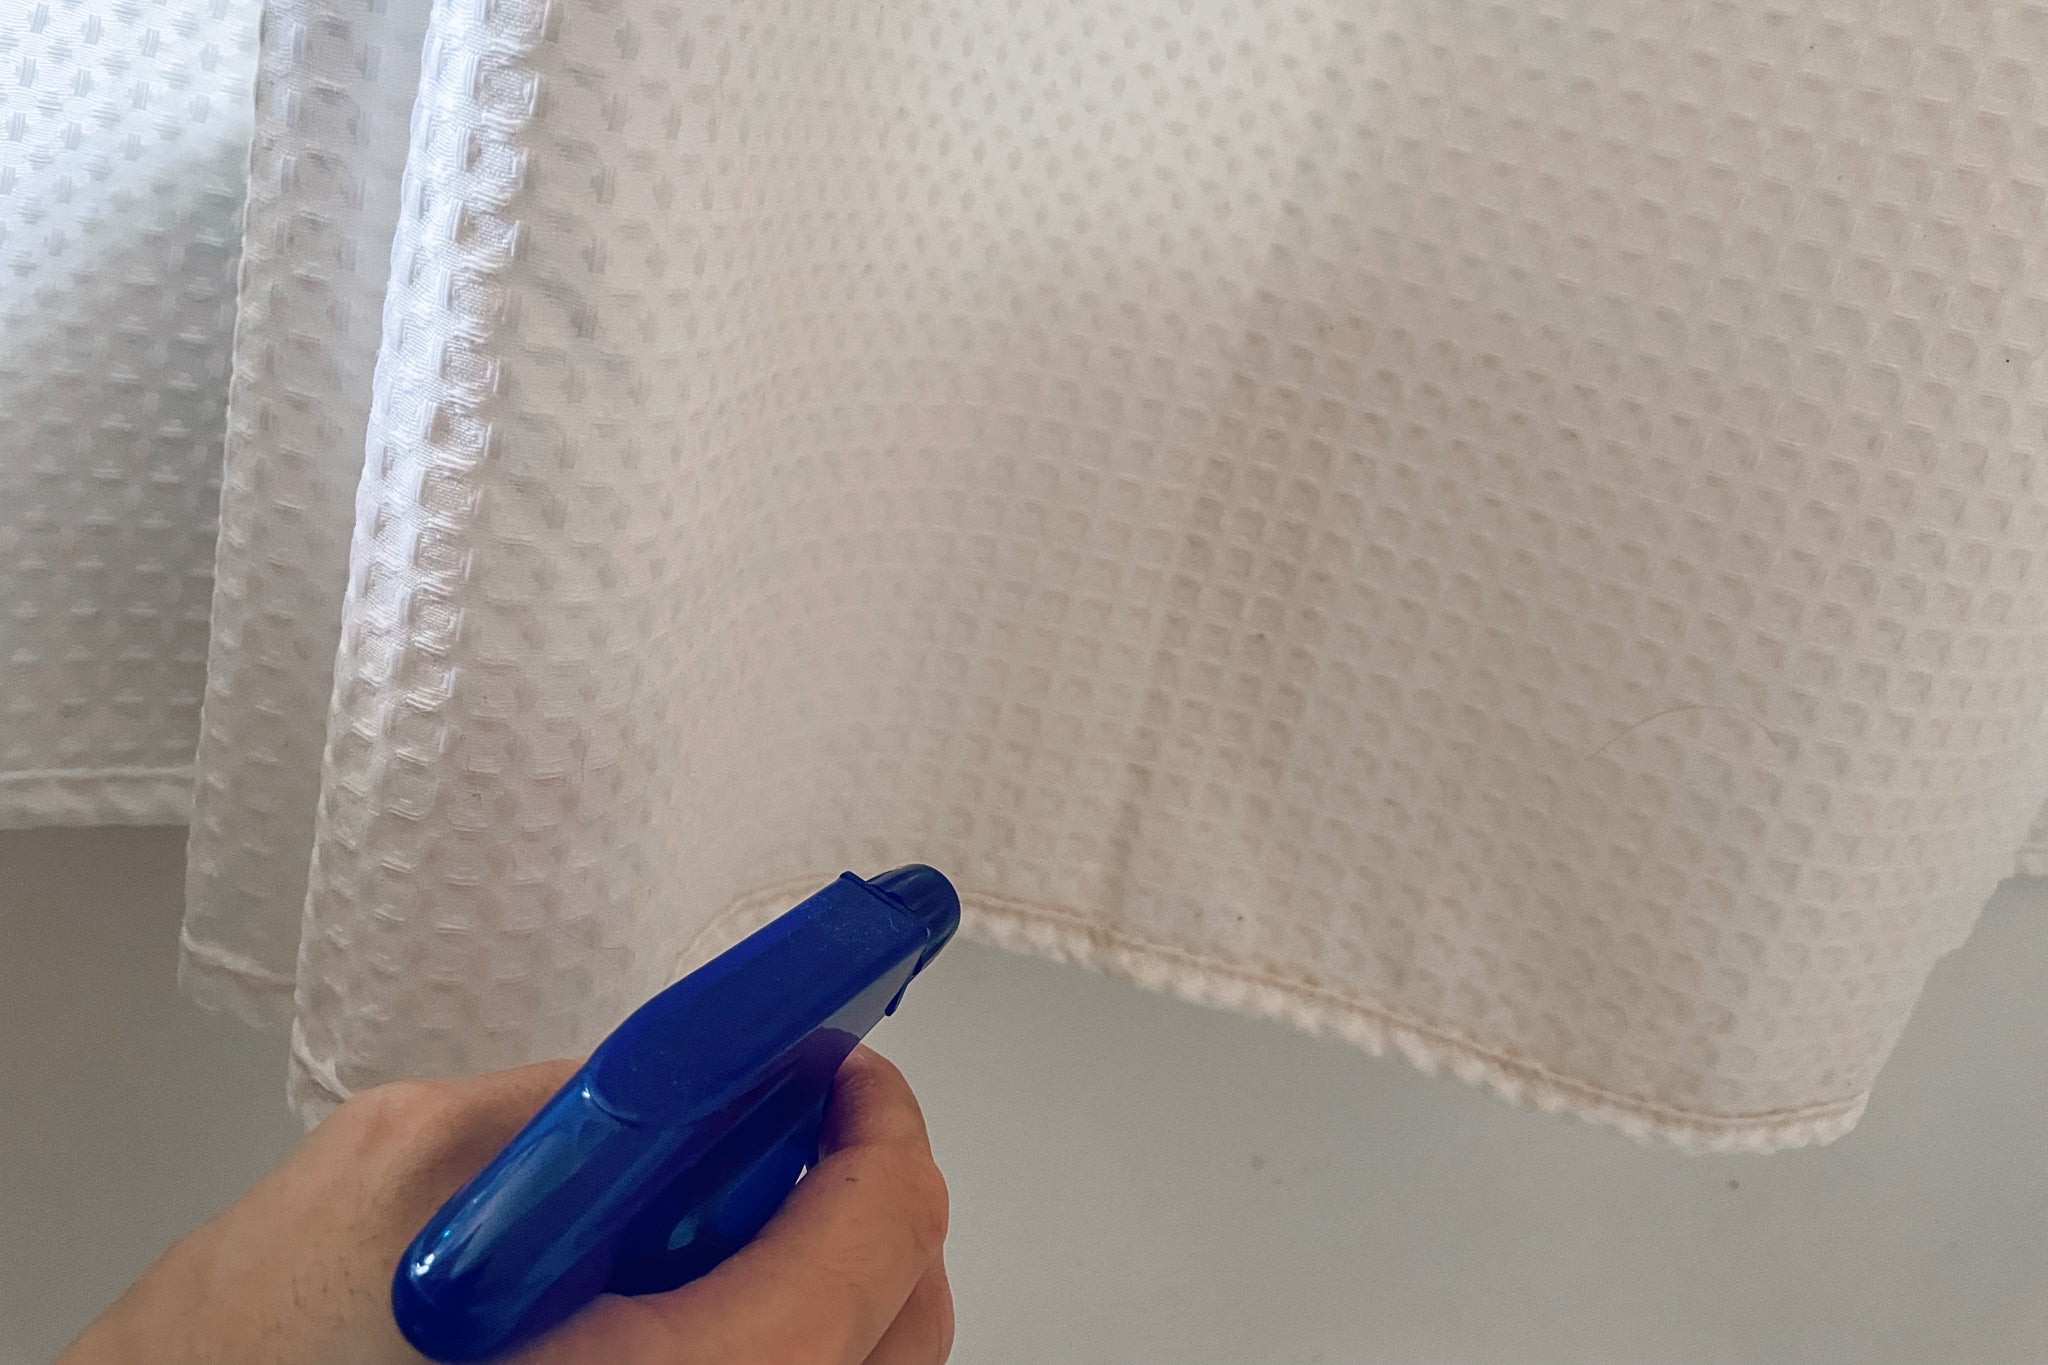
- Test the solution: Before applying the cleaning solution to the entire stain or mark, perform a spot test on an inconspicuous area to ensure it doesn’t cause any damage or discoloration.
- Apply the solution: Once you’re confident in the cleaning solution, apply it to the stain or mark using a soft cloth or sponge. Gently scrub the area in a circular motion, being careful not to apply too much pressure.
- Rinse and repeat: After scrubbing the stain, rinse the area with clean water and inspect the results. If the stain is still visible, repeat the process until it disappears. Be patient and persistent with stubborn stains.
- Dry thoroughly: Once the stains are removed, use a clean, dry cloth to wipe away any excess moisture. It’s important to ensure the ceiling and moldings are completely dry to prevent any potential water damage or mold growth.
It’s worth noting that some tough or persistent stains, such as water damage or deep-set discoloration, may require professional assistance. If your efforts aren’t yielding satisfactory results, don’t hesitate to consult a professional for further guidance.
With the stains and marks removed, it’s time to move on to the next step: cleaning mold and mildew, if necessary.
Use a vacuum with a brush attachment to remove dust and cobwebs from ceilings and moldings. For tougher stains, mix warm water and mild dish soap, then gently scrub with a soft cloth. Avoid using harsh chemicals on painted surfaces.
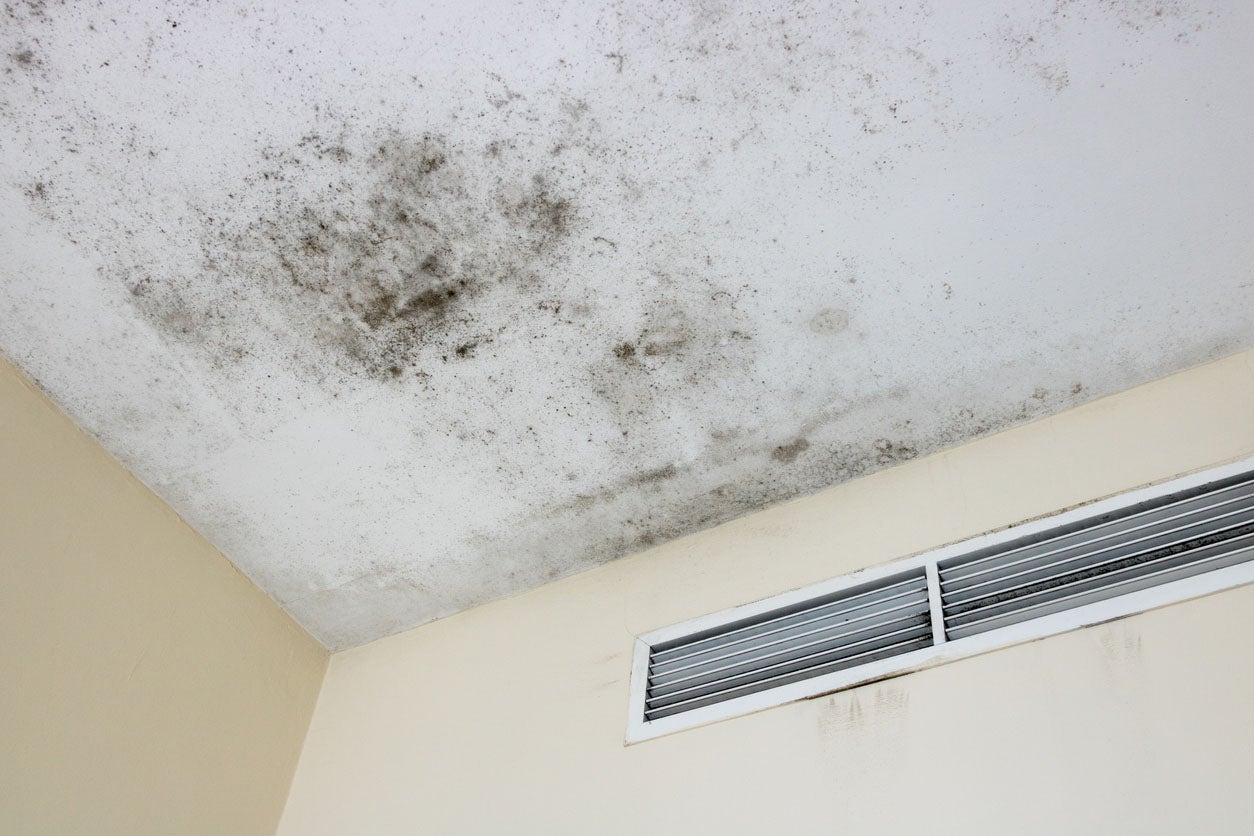
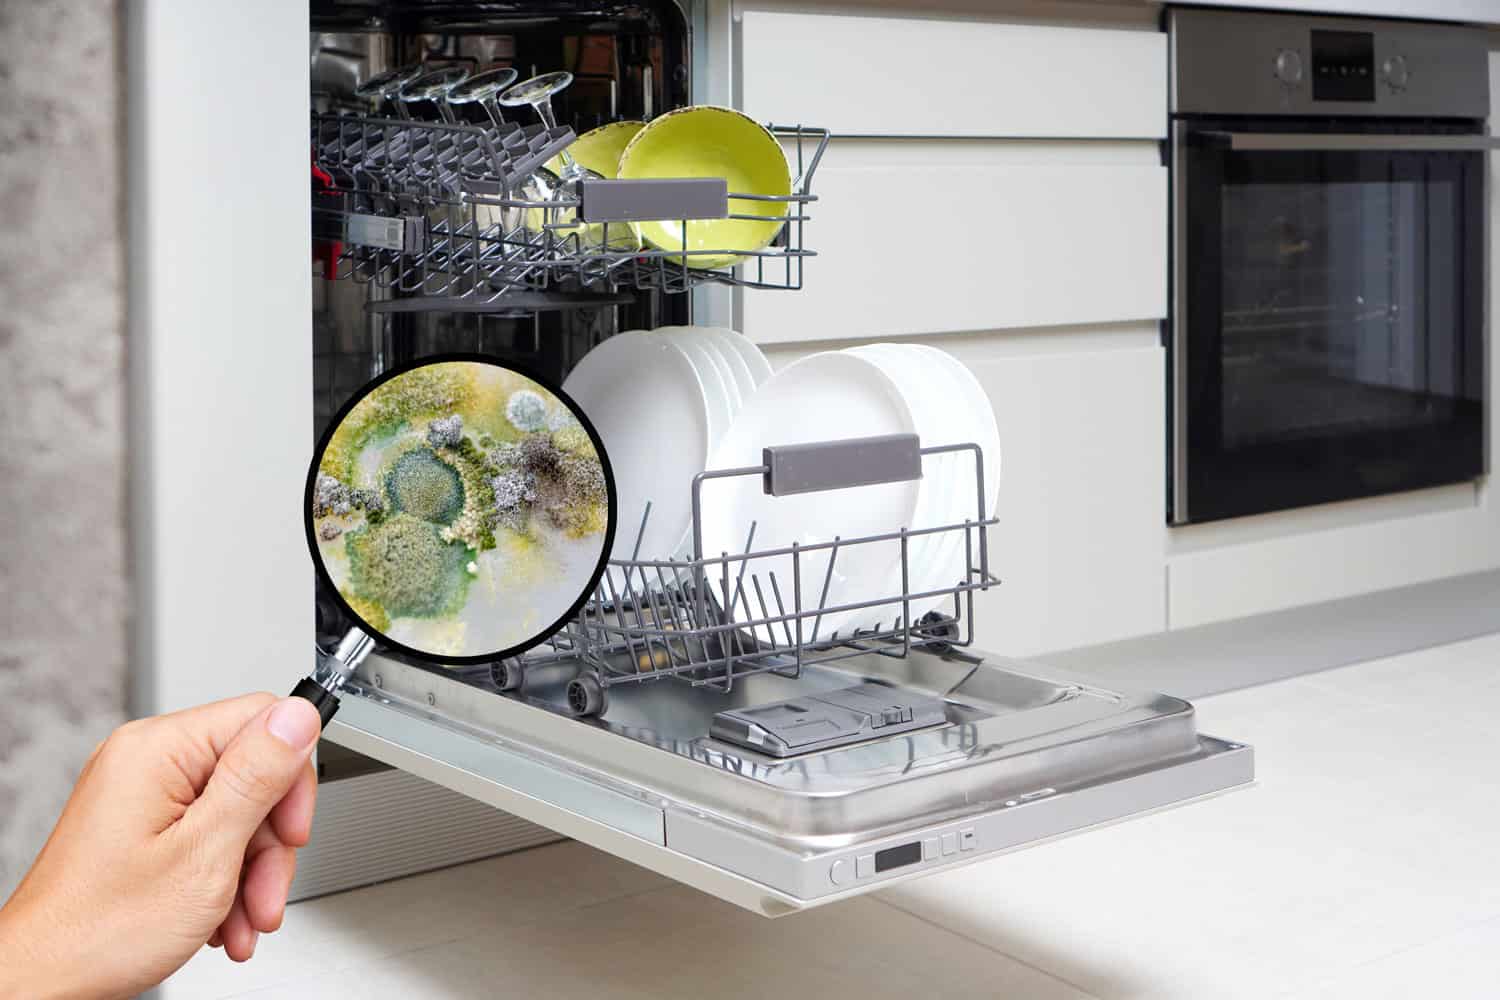
Step 4: Cleaning Mold and Mildew
Mold and mildew can be common issues in areas with high moisture, such as bathrooms or basements. If you notice any signs of mold or mildew on your ceilings or moldings, it’s important to address the issue promptly to prevent further growth and potential health risks.
Follow these steps to effectively clean mold and mildew from your ceilings and moldings:
- Wear protective gear: Before dealing with mold and mildew, ensure you are wearing protective gear, including gloves, safety goggles, and a mask. This will protect you from exposure to mold spores and any harmful cleaning solutions.
- Mix a mold-specific cleaner: Choose a mold-specific cleaner that is safe for use on your specific ceiling and molding materials. Read and follow the instructions carefully to prepare the cleaning solution.
- Apply the cleaner: Spray or apply the cleaning solution directly onto the affected areas. Use a soft brush or sponge to scrub the mold or mildew, applying gentle pressure to avoid damaging the surfaces.
- Let it sit: Allow the cleaning solution to sit on the affected areas for the recommended amount of time. This will help kill and loosen the mold or mildew, making it easier to remove.
- Scrub and rinse: After the solution has had time to work, scrub the mold or mildew using a brush or sponge. Rinse the area thoroughly with clean water to remove any traces of the cleaning solution.
- Dry thoroughly: Ensure the cleaned areas are completely dry to prevent any further mold or mildew growth. Use a dry cloth or allow natural air circulation to aid in the drying process.
- Monitor and address moisture: To prevent future mold and mildew growth, it’s important to address any underlying moisture problems. Identify and fix the source of moisture, whether it’s a leaky pipe or poor ventilation, to create an environment inhospitable to mold and mildew.
It’s essential to note that if the mold or mildew problem is extensive or persists, it may be necessary to seek professional assistance. They can assess the situation and provide proper remediation to ensure a safe and mold-free living environment.
With mold and mildew addressed, let’s move on to the next step: wiping and polishing the ceilings and moldings.
Read more: How To Clean Mold On A Carpet
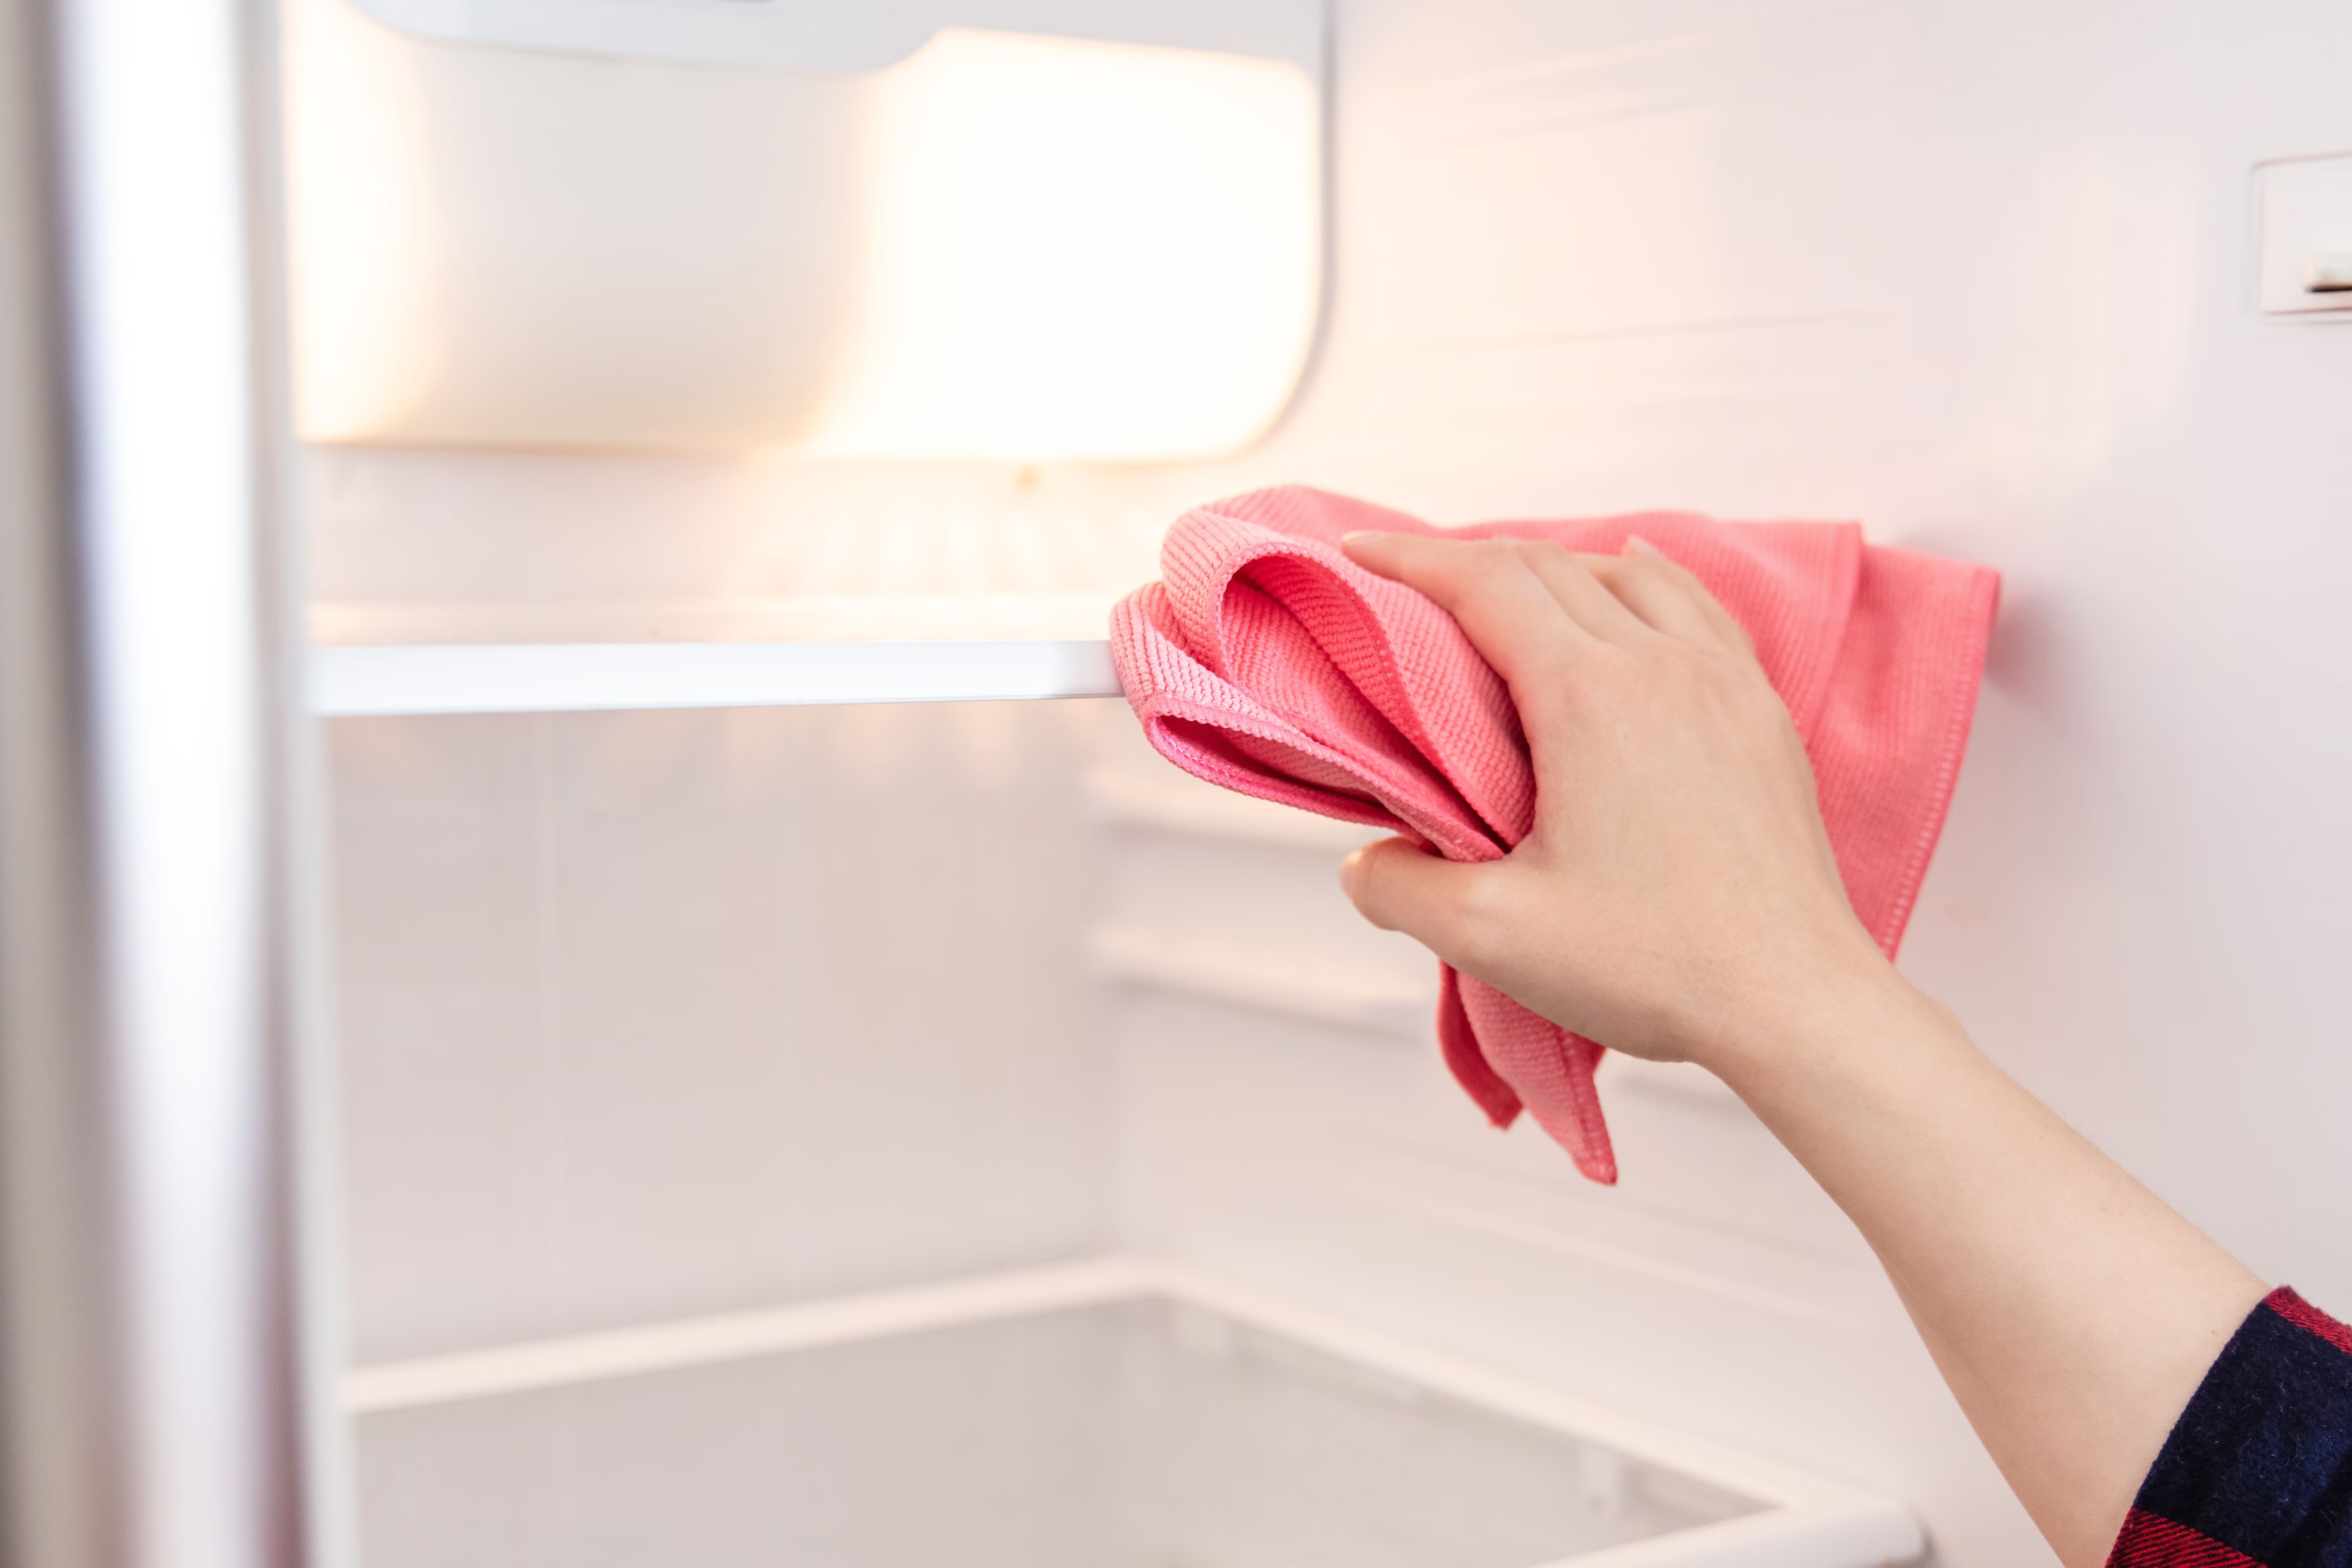
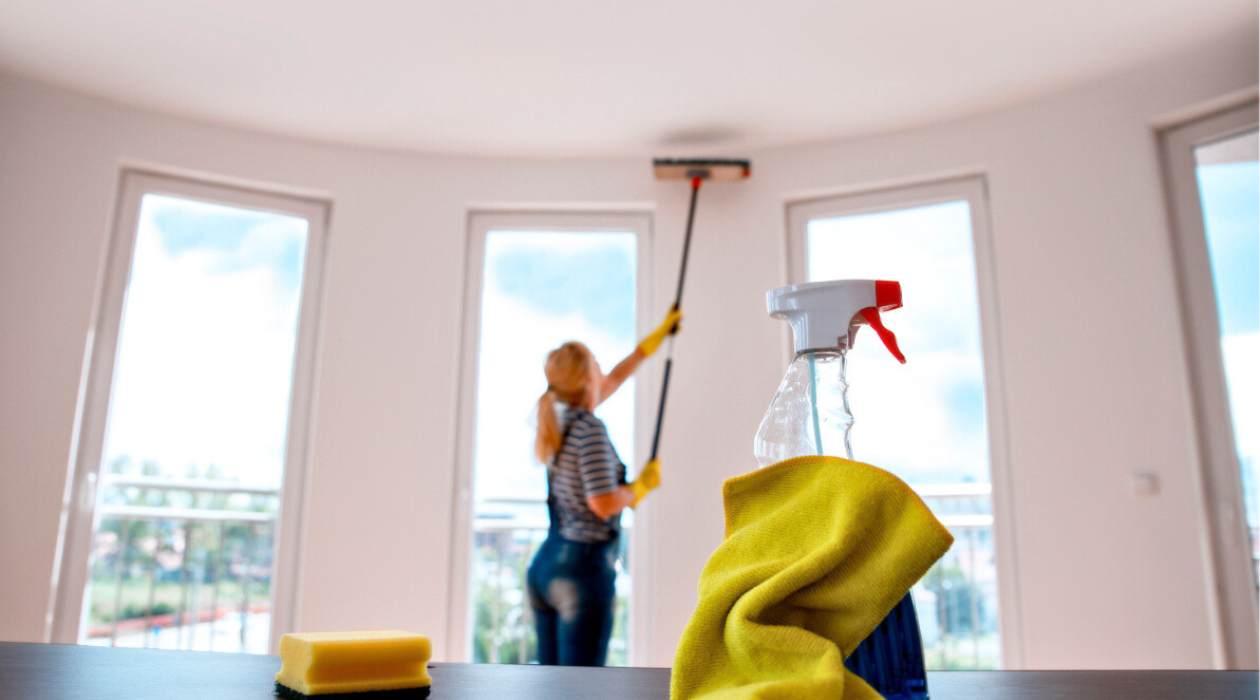
Step 5: Wiping and Polishing
After completing the previous steps of dusting, removing stains and marks, and addressing mold and mildew, it’s time to give your ceilings and moldings a final wipe and polish. This step will help add that finishing touch and enhance their overall appearance.
Follow these steps to effectively wipe and polish your ceilings and moldings:
- Prepare a cleaning solution: Mix a small amount of mild dish soap with warm water in a bucket. This gentle solution will help remove any remaining residue or dirt from the surfaces.
- Dampen a cloth: Dip a clean, soft cloth or sponge into the cleaning solution. Make sure the cloth is damp, not soaking wet, to avoid excessive moisture on the surfaces.
- Wipe down the surfaces: Begin wiping down the ceilings and moldings, working in small sections at a time. Use gentle, circular motions to ensure thorough cleaning, paying attention to any areas that may require extra attention.
- Change the cloth if needed: If your cloth becomes too dirty or saturated with cleaning solution, replace it with a clean one. This will prevent spreading dirt or residue and ensure effective cleaning.
- Dry with a clean cloth: Once you have wiped down all the surfaces, use a separate dry cloth to remove any excess moisture. This will help prevent water damage or streaks.
- Polish the moldings: If your moldings have a glossy finish, you can enhance their shine by applying a small amount of furniture polish. Follow the instructions on the polish and use a soft cloth to buff the moldings gently.
- Inspect for missed spots: After wiping and polishing, take a step back and inspect the ceilings and moldings for any missed spots or streaks. Touch up these areas as needed to ensure a consistent and clean appearance.
By following these steps, you can achieve clean, polished ceilings and moldings that will enhance the overall look of your living room. Now, let’s move on to the final step: adding the finishing touches.
Step 6: Finishing Touches
As you near the end of the cleaning process for your ceilings and moldings, it’s time to add the finishing touches to complete the overall look of your living room. These final steps will help ensure that every detail is taken care of and that your efforts result in a beautifully clean and refreshed space.
Follow these steps to add the finishing touches to your ceilings and moldings:
- Replace or clean light fixtures: Take the opportunity to replace any burnt-out lights or clean existing light fixtures. This will brighten up the room and enhance the ambiance.
- Touch up paint: If you notice any areas of chipped or peeling paint on your moldings, now is the time to touch them up. Use a small brush and matching paint to carefully cover these imperfections and restore a seamless look.
- Inspect for any remaining dirt or dust: Take a moment to inspect the ceilings and moldings for any remaining dirt, dust, or debris that may have been missed during the cleaning process. Use a duster or soft cloth to gently remove any lingering particles.
- Arrange and clean decorations: If you had to move or temporarily remove any decorative items during the cleaning process, now is the time to reposition and clean them. Dust off picture frames, trinkets, or any other décor items you may have.
- Vacuum or clean the surrounding area: As a final touch, vacuum or clean the surrounding area to remove any dust or debris that may have accumulated during the cleaning process. This will leave your entire living room looking fresh and tidy.
- Step back and admire your work: Finally, take a moment to step back and appreciate the results of your efforts. Admire your clean ceilings and moldings and enjoy the refreshed atmosphere they bring to your living room.
By completing these final steps, you can ensure that your ceilings and moldings are not only clean but also properly maintained. Regular dusting and cleaning of these surfaces will help maintain their cleanliness and prevent the need for extensive cleaning in the future.
Congratulations on completing the comprehensive cleaning process for your ceilings and moldings! Your living room is now sparkling and ready to be enjoyed.
Here’s to a fresh and inviting space for you and your loved ones to relax in!
Conclusion
Cleaning ceilings and moldings is an essential part of maintaining a fresh and inviting living room. By following the step-by-step process outlined in this guide, you can effectively remove dust, stains, mold, and mildew from these surfaces, revitalizing the overall appearance of your space.
Remember to gather all the necessary supplies before you begin, including a ladder, dusting tools, cleaning solutions, soft cloths, and protective gear. Dust the ceilings and moldings first, ensuring a thorough removal of any cobwebs or surface debris. Then, address any stains or marks using appropriate cleaning solutions and techniques.
If mold or mildew is present, take the necessary precautions and use mold-specific cleaners to eliminate and prevent further growth. Wipe and polish the surfaces, paying attention to the details and ensuring a uniform and clean finish. Finally, add the finishing touches, such as replacing light fixtures, touching up paint, and cleaning decorations.
Regular maintenance and cleaning of your ceilings and moldings will not only enhance the overall appearance of your living room but also contribute to a healthier environment. By eliminating dust, stains, and potential allergens, you can improve indoor air quality and promote well-being.
We hope this guide has provided you with valuable information and helpful tips for cleaning your ceilings and moldings. Now it’s time to enjoy your fresh, rejuvenated living room and relax in comfort.
Here’s to a clean and inviting space to create cherished memories with family and friends!
Frequently Asked Questions about How To Clean Ceilings And Moldings
Was this page helpful?
At Storables.com, we guarantee accurate and reliable information. Our content, validated by Expert Board Contributors, is crafted following stringent Editorial Policies. We're committed to providing you with well-researched, expert-backed insights for all your informational needs.

0 thoughts on “How To Clean Ceilings And Moldings”