Articles
How To Clean Mold Out Of Portable Ice Maker
Modified: May 6, 2024
Learn effective methods and tips for cleaning mold out of your portable ice maker. Discover articles that provide step-by-step instructions and expert advice.
(Many of the links in this article redirect to a specific reviewed product. Your purchase of these products through affiliate links helps to generate commission for Storables.com, at no extra cost. Learn more)
Introduction
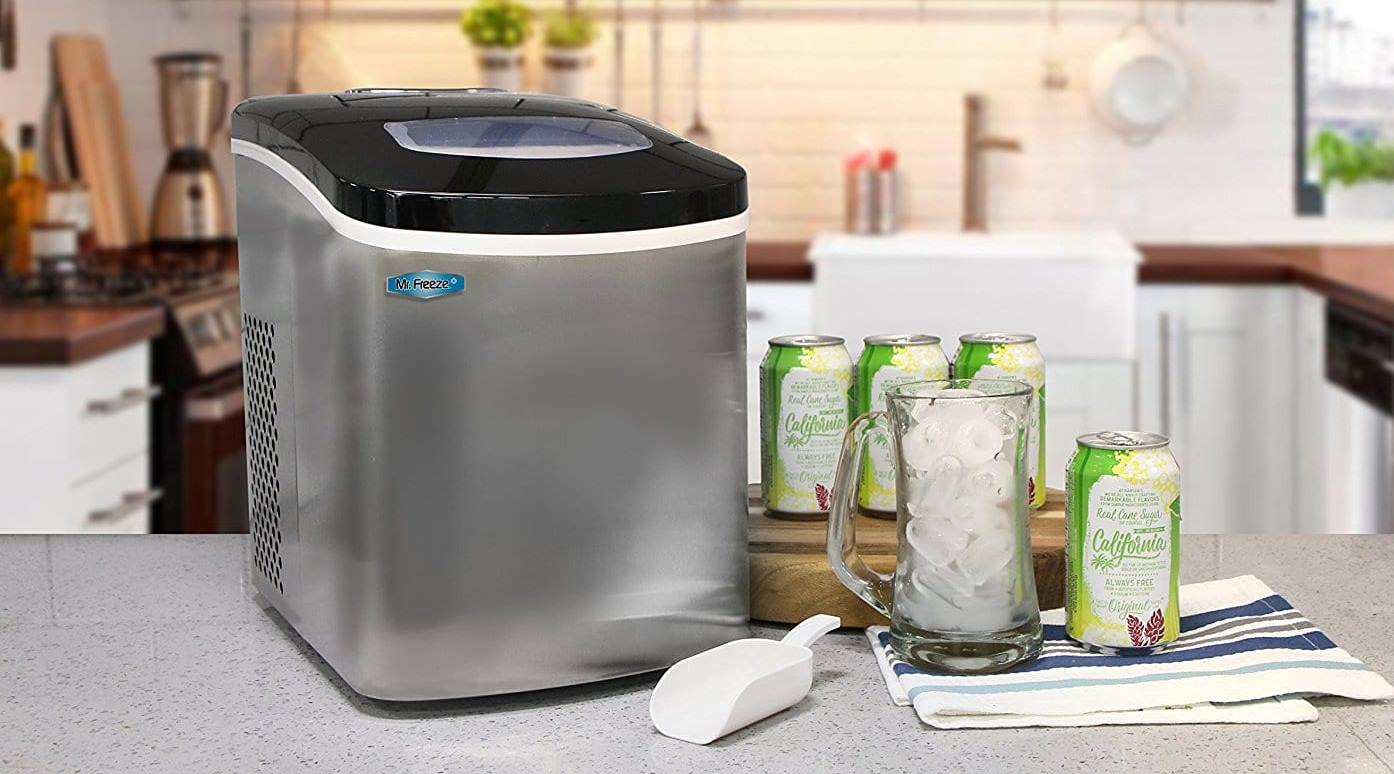
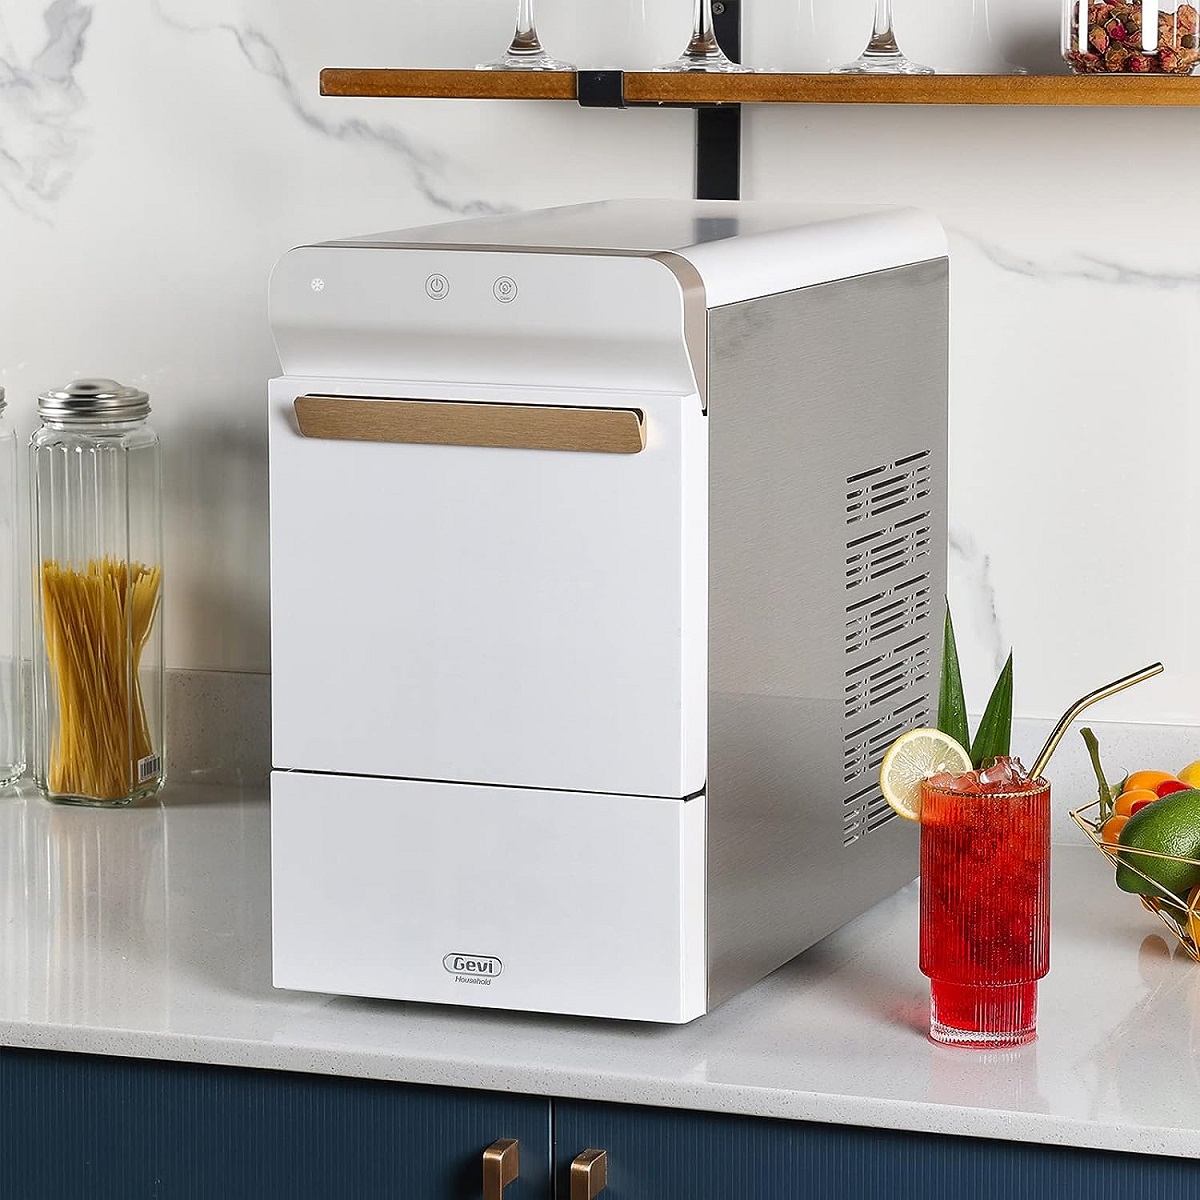
Welcome to our guide on how to clean mold out of a portable ice maker. A portable ice maker is a convenient appliance that allows you to have a steady supply of ice right at your fingertips. However, like any other appliance, it requires regular maintenance to ensure optimal performance and cleanliness.
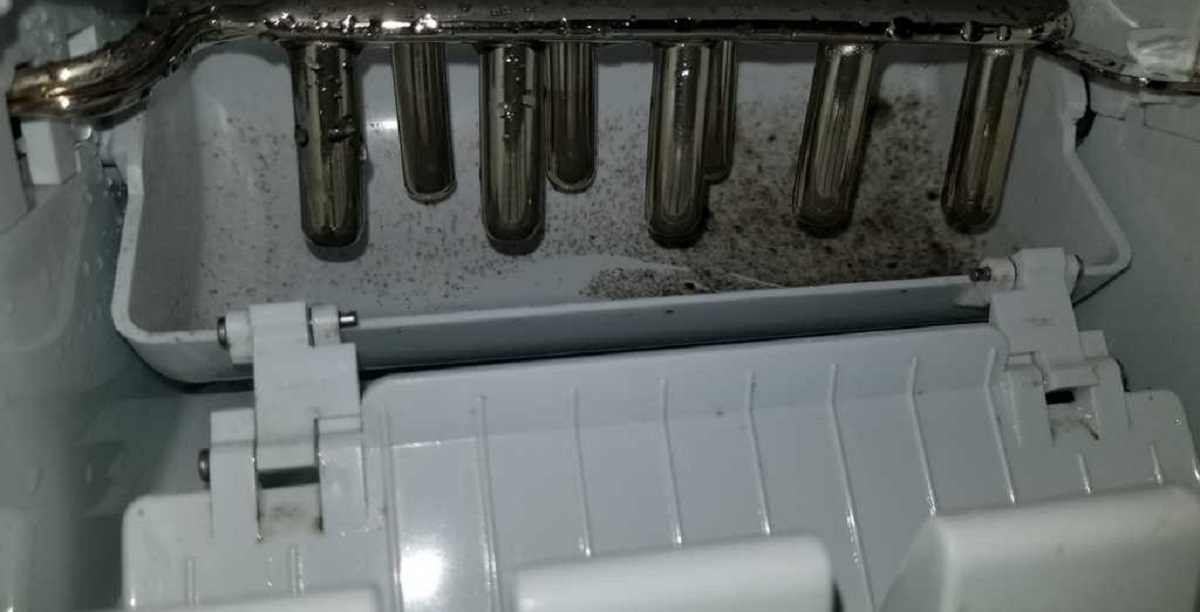
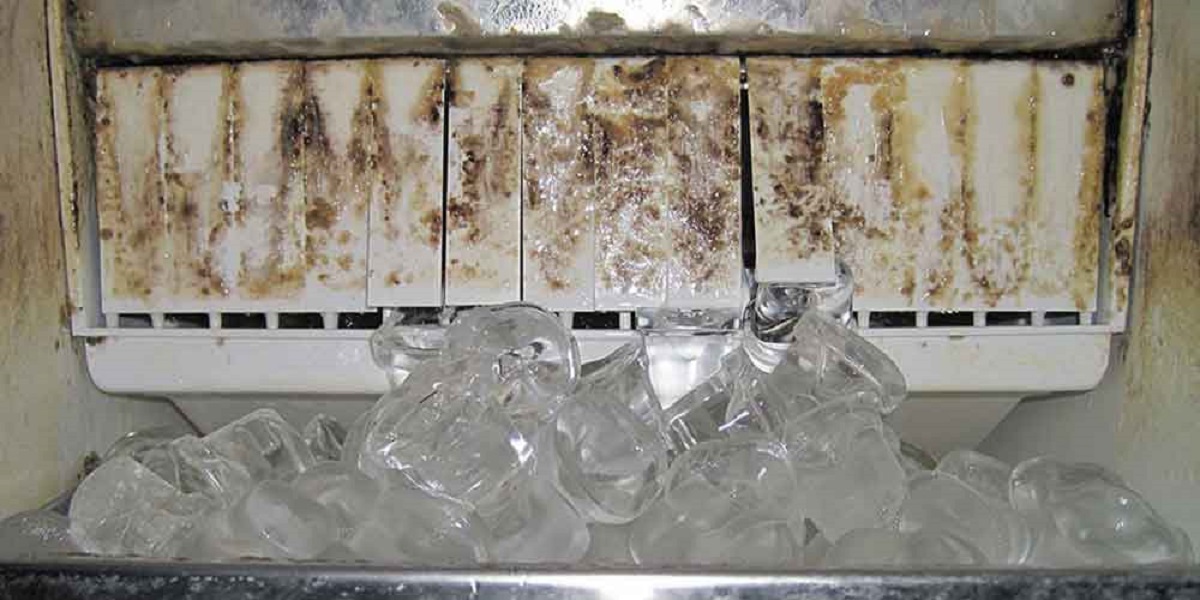
Mold is a common issue that can occur in portable ice makers if they are not properly cleaned and maintained. Mold growth can not only affect the taste and quality of your ice but can also pose health risks. This is why it is important to regularly clean and disinfect your ice maker to keep it mold-free.
In this article, we will provide you with a step-by-step guide on how to effectively clean mold out of your portable ice maker. We will also discuss safety precautions and recommend the necessary materials you will need for the cleaning process. So, let’s get started and ensure your ice maker is clean and ready to produce fresh and hygienic ice!
Key Takeaways:
- Regularly clean your portable ice maker using vinegar and baking soda to prevent mold growth and ensure the production of clean and safe ice cubes. Follow manufacturer’s instructions and consider using a water filter for optimal results.
- Prioritize safety by unplugging the ice maker, wearing protective gear, and ensuring proper ventilation during the cleaning process. Regularly inspect seals, gaskets, and removable parts to maintain a mold-free ice maker.
Read more: How To Clean Out An Ice Maker
Safety Precautions
Before you begin the process of cleaning mold out of your portable ice maker, it is essential to take some safety precautions. These precautions will ensure your well-being and help you avoid any accidents or mishaps during the cleaning process.
- Unplug the Ice Maker: Before you start, make sure to unplug the ice maker from the power source. This will prevent any electrical shocks or accidents while handling the appliance.
- Wear Protective Gear: It is recommended to wear protective gear such as rubber gloves and safety goggles to protect your hands and eyes from any cleaning solutions or mold spores.
- Ventilation: Make sure the area where you are cleaning the ice maker is well-ventilated. Open windows or turn on fans to ensure proper air circulation.
- Read the Manufacturer’s Instructions: Refer to the manufacturer’s instructions for your specific ice maker model. Different models may have different cleaning recommendations, and it is essential to follow them for optimal results.
- Use Approved Cleaning Products: Only use cleaning products that are specifically recommended for ice makers. Avoid using harsh chemicals or abrasives as they can damage the appliance.
By following these safety precautions, you can ensure a safe and hassle-free cleaning experience.
Materials Needed
Before you begin the process of cleaning mold out of your portable ice maker, it is essential to gather the necessary materials. Having all the materials ready in advance will save you time and ensure a smooth cleaning process. Here are the materials you will need:
- Vinegar: Vinegar is a natural and effective solution for removing mold and disinfecting surfaces. You will need white vinegar for this cleaning process.
- Baking Soda: Baking soda is a versatile cleaning agent that can help eliminate odors and stains. It will be used in combination with vinegar for effective mold removal.
- Water: You will need clean water for rinsing and diluting the cleaning solutions.
- Soft Cloth or Sponge: A soft cloth or sponge will be used to clean the interior and exterior surfaces of the ice maker.
- Toothbrush: A toothbrush with soft bristles will come in handy for cleaning hard-to-reach areas and removing stubborn mold.
- Paper Towels: Paper towels are useful for drying and wiping down surfaces during and after cleaning.
Make sure to gather all these materials before you start the cleaning process. This will ensure that you have everything you need to effectively clean mold out of your portable ice maker.
Step 1: Unplug the Ice Maker
The first step in cleaning mold out of your portable ice maker is to unplug the appliance from the power source. This is an important safety precaution that will prevent any electrical accidents or shocks during the cleaning process.
Locate the power cord of your ice maker and disconnect it from the wall outlet. If the cord is connected to a surge protector or extension cord, unplug it from there as well.
By unplugging the ice maker, you ensure that no power is running through the appliance while you handle it and clean it. This step is crucial to protect yourself and prevent any electrical mishaps during the cleaning process.
Once the ice maker is unplugged, you can move on to the next step of removing the ice bin and any other removable parts for thorough cleaning.
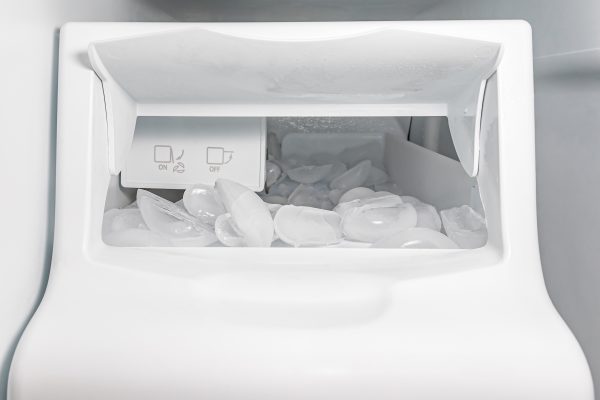
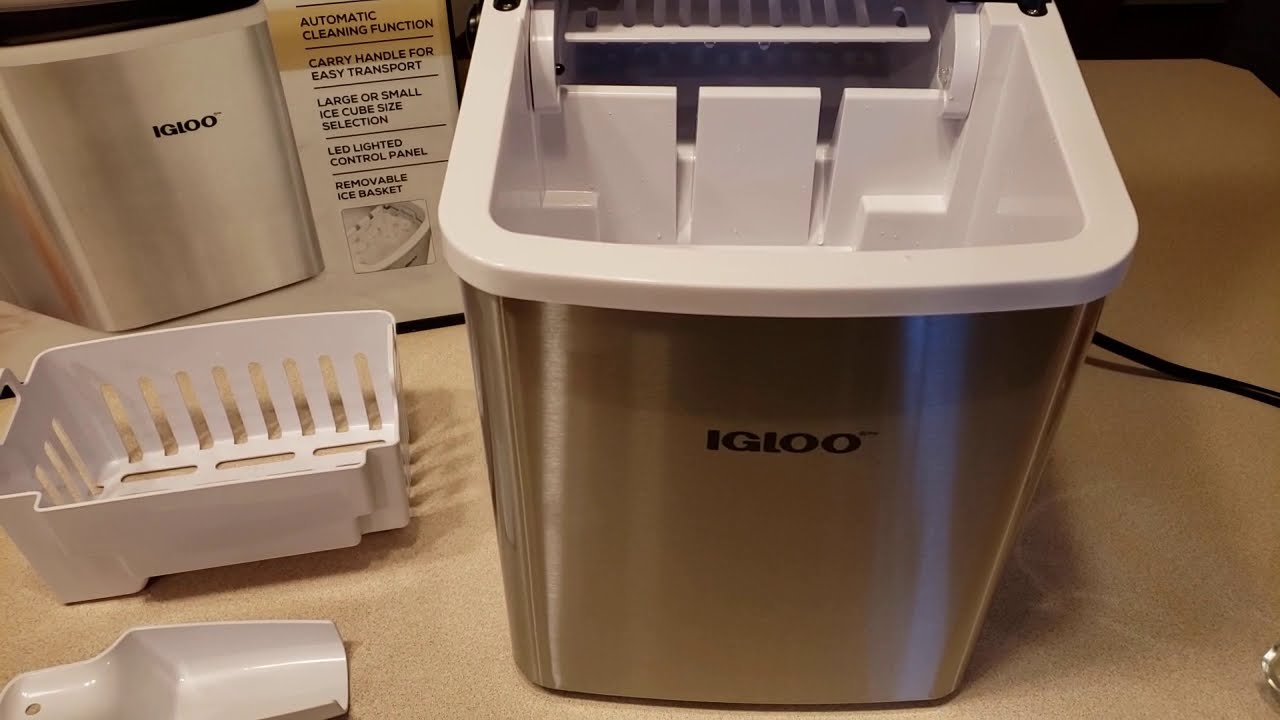
Step 2: Remove Ice Bin and Any Removable Parts
After unplugging the ice maker, the next step is to remove the ice bin and any other removable parts. This will allow you to clean each component separately and ensure a thorough removal of mold and debris.
Start by locating the ice bin inside the ice maker. Most portable ice makers have a removable ice bin that can be easily taken out. Gently lift and pull the ice bin to detach it from the ice maker.
Once the ice bin is removed, check if there are any other removable parts such as ice scoops, water reservoirs, or drip trays. If there are, carefully detach them from the ice maker.
To clean the ice bin and other removable parts, follow these steps:
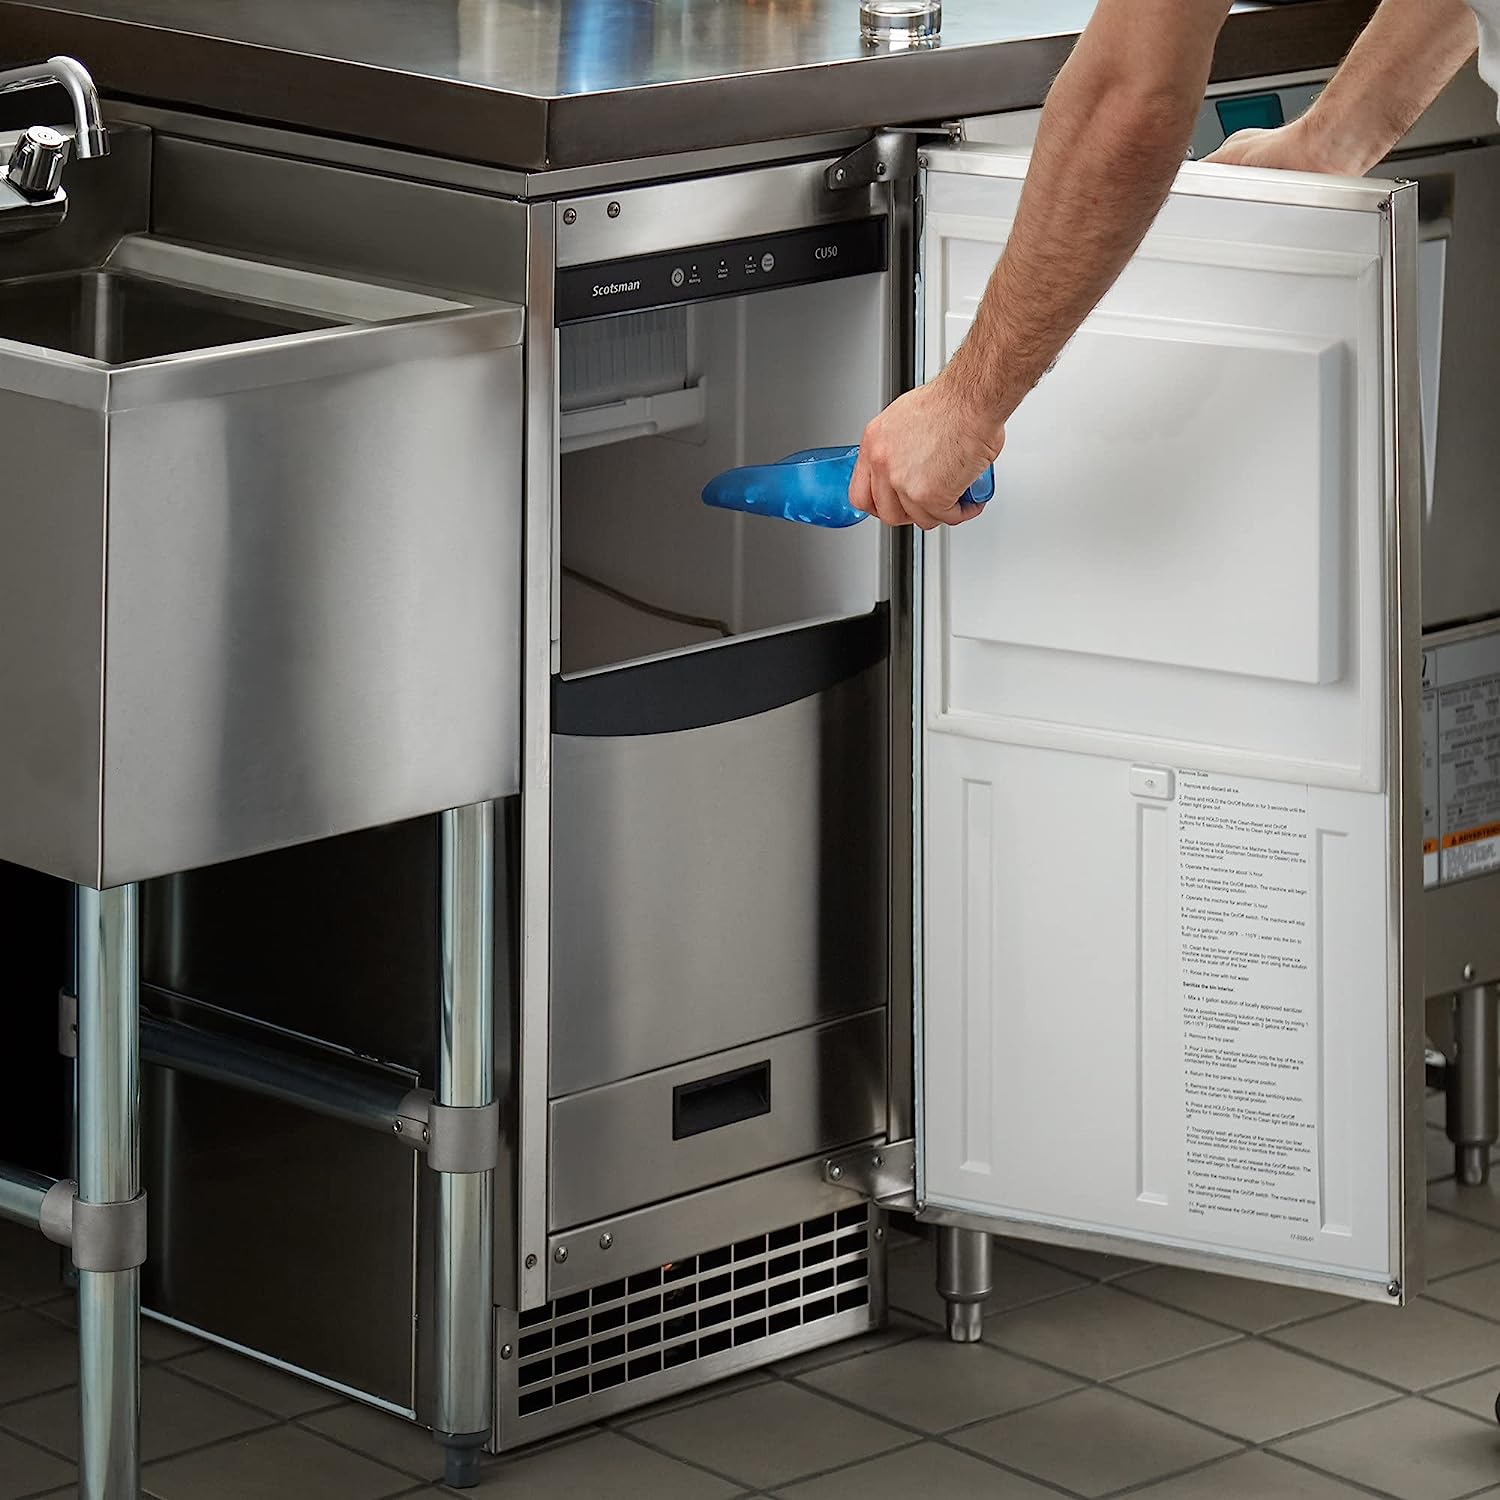
- Empty the Ice Bin: Dump out any remaining ice cubes from the ice bin into the sink or a container.
- Wash with Warm, Soapy Water: Fill a sink or basin with warm water and mild dish soap. Submerge the ice bin and any other removable parts in the soapy water. Use a soft cloth or sponge to scrub away any mold, stains, or residue.
- Rinse Thoroughly: After scrubbing, rinse the ice bin and other parts with clean water to remove any soap residue.
- Dry Completely: Use a clean towel or paper towels to dry the ice bin and all the removable parts. Ensure that they are completely dry before reassembling the ice maker.
By removing the ice bin and other removable parts, you can effectively clean each component and prevent the spread of mold or bacteria. Once they are clean and dry, you can move on to the next step of preparing a cleaning solution.
To clean mold out of a portable ice maker, mix equal parts of water and vinegar and run the solution through a cleaning cycle. Then, rinse the machine with clean water to remove any remaining vinegar.
Step 3: Prepare a Cleaning Solution
After removing the ice bin and any other removable parts, it’s time to prepare a cleaning solution that will effectively eliminate mold and sanitize the interior of your portable ice maker. For this step, we will use a combination of vinegar and baking soda, both of which are natural and effective cleaning agents.
Follow these steps to prepare the cleaning solution:
- Mix Vinegar and Water: In a clean container, combine equal parts of white vinegar and water. The amount of solution you prepare will depend on the size of your ice maker, but a cup or two of each should be sufficient.
- Add Baking Soda: Gradually add a tablespoon or two of baking soda to the vinegar and water mixture. The baking soda will help in removing odors and stains, and enhance the cleaning power of the solution.
- Stir Well: Use a spoon or whisk to stir the solution well, ensuring that the vinegar, water, and baking soda are thoroughly mixed.
Once the cleaning solution is prepared, you can move on to the next step of actually cleaning the moldy parts of your portable ice maker.
Note: If you prefer not to use vinegar and baking soda, you can also use a commercial ice maker cleaner that is specifically designed for removing mold and sanitizing the appliance. Follow the instructions on the cleaner’s packaging for the recommended dilution ratio.
Step 4: Clean the Moldy Parts
Now that you have prepared the cleaning solution, it’s time to clean the moldy parts of your portable ice maker. This step will involve using the cleaning solution to thoroughly sanitize and remove any mold or mildew from the interior and exterior surfaces of the appliance.
Follow these steps to clean the moldy parts:
- Apply the Cleaning Solution: Dip a soft cloth or sponge into the prepared cleaning solution and wring out any excess liquid. Gently wipe the interior walls, trays, and any other moldy areas inside the ice maker. Pay special attention to areas that have visible mold or stains.
- Scrub Stubborn Mold: For areas with stubborn mold or hard-to-reach spots, use a toothbrush dipped in the cleaning solution to scrub away the mold. The soft bristles of the toothbrush will help dislodge any mold growth without causing damage to the surfaces.
- Allow the Solution to Sit: After applying the cleaning solution and scrubbing away mold, let the solution sit on the surfaces for a few minutes. This will allow it to penetrate and further disinfect the areas affected by mold.
- Rinse with Clean Water: Once the solution has had time to work, rinse the interior and exterior surfaces of the ice maker with clean water. This will help remove any leftover cleaning solution and ensure that no residue is left behind.
Make sure to thoroughly clean all parts and surfaces of the ice maker that came into contact with mold. By using the cleaning solution and gentle scrubbing, you will effectively remove any mold and sanitize the appliance.
After cleaning the moldy parts, it’s important to rinse and dry the ice maker thoroughly, which we will cover in the next step.
Step 5: Rinse and Dry Thoroughly
After cleaning the moldy parts of your portable ice maker, the next step is to rinse and dry the appliance thoroughly. Rinsing will remove any remaining cleaning solution or residue, while drying will prevent the growth of new mold and ensure that the ice maker is ready to produce clean and hygienic ice.
Follow these steps to rinse and dry the ice maker:
- Rinse with Clean Water: Use clean water to thoroughly rinse both the interior and exterior surfaces of the ice maker. Make sure to rinse away any lingering cleaning solution or residue to prevent any chemical taste in the ice.
- Wipe Down with a Dry Cloth: After rinsing, use a clean, dry cloth or paper towels to wipe down all the surfaces. This will help remove excess moisture and ensure that the ice maker is completely dry.
- Allow to Air Dry: To ensure thorough drying, allow the ice maker to air dry for a few hours. This will help evaporate any remaining moisture in hard-to-reach areas.
It’s important to make sure that the ice maker is completely dry before reassembling and plugging it back in. Moisture left behind can promote the growth of mold, undoing all your cleaning efforts.
Once the ice maker is dry, you can proceed to the next step of reassembling the appliance and plugging it back in.
Step 6: Reassemble and Plug-In the Ice Maker
After thoroughly rinsing and drying the portable ice maker, it’s time to reassemble the appliance and plug it back in. This step will ensure that the ice maker is ready to produce clean and fresh ice for your convenience.
Follow these steps to reassemble and plug in the ice maker:
- Replace the Ice Bin and Removable Parts: Start by placing the clean and dry ice bin back into its designated spot in the ice maker. If you have any other removable parts, such as ice scoops or drip trays, reattach them as well.
- Ensure Proper Alignment: Make sure that the ice bin and all removable parts are properly aligned and securely positioned within the ice maker. This will ensure smooth operation and prevent any leakage.
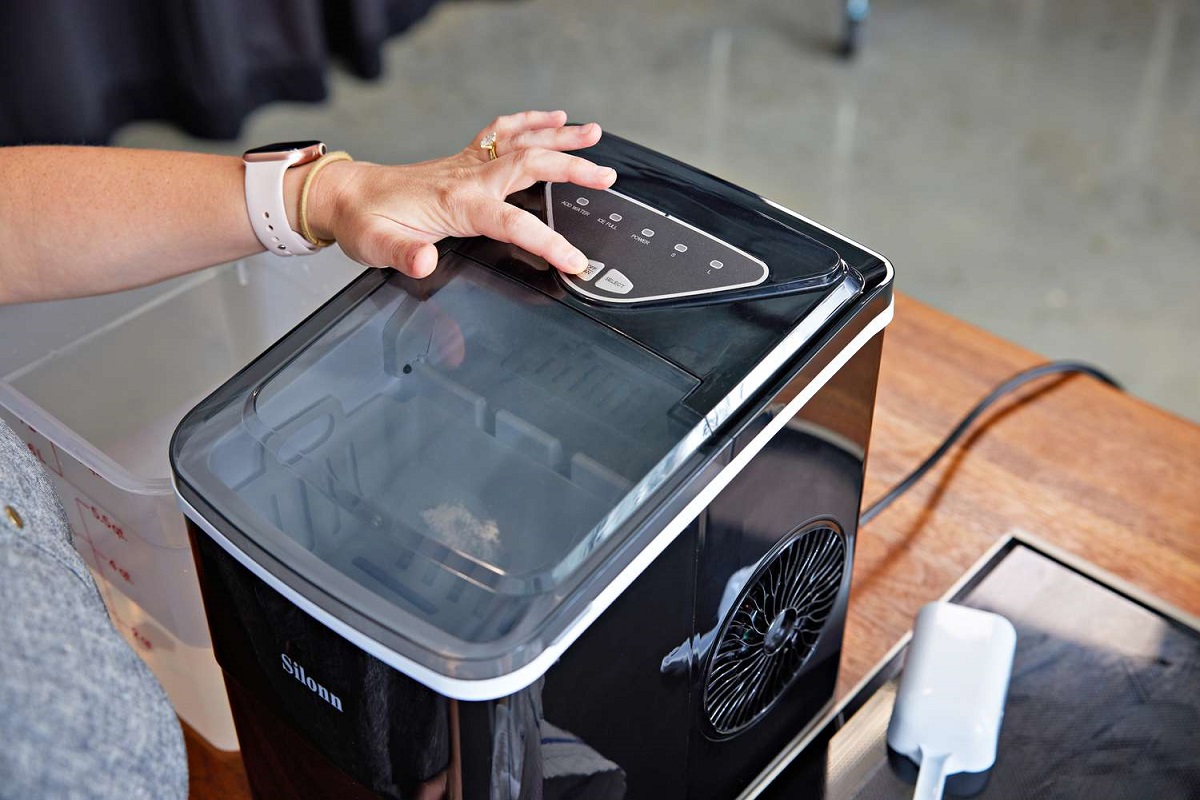
- Plug the Ice Maker Back In: Carefully plug the ice maker back into the power source. Ensure that the cord is securely inserted into the wall outlet or surge protector.
- Power On the Ice Maker: Switch on the power button on the ice maker to start the appliance. The ice maker should begin the ice-making process, and you should soon have a fresh supply of ice ready for use.
- Discard Initial Ice: It is advisable to discard the initial batch of ice produced by the ice maker after cleaning. This will ensure that any residue from the cleaning process is eliminated, giving you clean and safe ice.
By following these steps, you can reassemble your portable ice maker and have it ready to produce hygienic and refreshing ice. Remember to monitor the ice maker periodically to ensure that mold growth or any other issues are prevented in the future.
Congratulations! You have successfully cleaned mold out of your portable ice maker and restored it to a clean and mold-free condition.
Read more: Where To Buy Portable Ice Maker
Additional Tips and Precautions
Here are some additional tips and precautions to keep in mind when cleaning mold out of your portable ice maker:
- Regular Cleaning: It is important to clean your portable ice maker regularly, even if you don’t notice any mold growth. Regular cleaning will help prevent mold and bacteria buildup and ensure the production of clean and safe ice.
- Follow Manufacturer’s Instructions: Always refer to the manufacturer’s instructions for your specific ice maker model. Different models may have specific cleaning instructions or recommendations, and it is important to follow them for optimal results.
- Inspect Seals and Gaskets: Periodically check the seals and gaskets of your ice maker for any signs of mold or mildew. These areas are prone to mold growth, so make sure to clean them thoroughly during your regular cleaning routine.
- Consider Using a Water Filter: Installing a water filter on your ice maker’s water line can help reduce impurities and contaminants, preventing the growth of mold and ensuring the production of clean and clear ice cubes.
- Empty and Clean Regularly: Empty the ice bin and clean the removable parts of your ice maker regularly to prevent the accumulation of stagnant water and potential mold growth.
- Keep the Ice Maker in a Dry Area: Store the ice maker in a dry and well-ventilated area to minimize the chances of mold growth. Avoid placing it in humid or damp places, such as near a sink or dishwasher.
- Replace Moldy or Damaged Parts: If you notice severe mold growth or damage to any parts of your ice maker, it may be necessary to replace those components to maintain the cleanliness and functionality of the appliance.
By following these additional tips and precautions, you can ensure that your portable ice maker remains clean, mold-free, and safe for producing ice.
Remember, always prioritize your safety and follow proper cleaning procedures. If you have any concerns about cleaning your ice maker or dealing with mold growth, consult the manufacturer’s instructions or seek professional assistance.
Now that you've tackled mold in your portable ice maker, why not extend those cleaning victories elsewhere? If you're dealing with unsightly mold on wooden furniture, our guide on effective mold removal will surely come in handy. And don't forget your main ice maker! Regular maintenance is key for optimal performance. Learn the best practices for ice maker cleaning to keep your appliance running smoothly and hygienically.
Frequently Asked Questions about How To Clean Mold Out Of Portable Ice Maker
Was this page helpful?
At Storables.com, we guarantee accurate and reliable information. Our content, validated by Expert Board Contributors, is crafted following stringent Editorial Policies. We're committed to providing you with well-researched, expert-backed insights for all your informational needs.
0 thoughts on “How To Clean Mold Out Of Portable Ice Maker”