Articles
How To Clean Pressure Washer Carburetor
Modified: August 28, 2024
Looking for articles on how to clean a pressure washer carburetor? Check out our expert tips and step-by-step guides to keep your machine running smoothly.
(Many of the links in this article redirect to a specific reviewed product. Your purchase of these products through affiliate links helps to generate commission for Storables.com, at no extra cost. Learn more)
Introduction
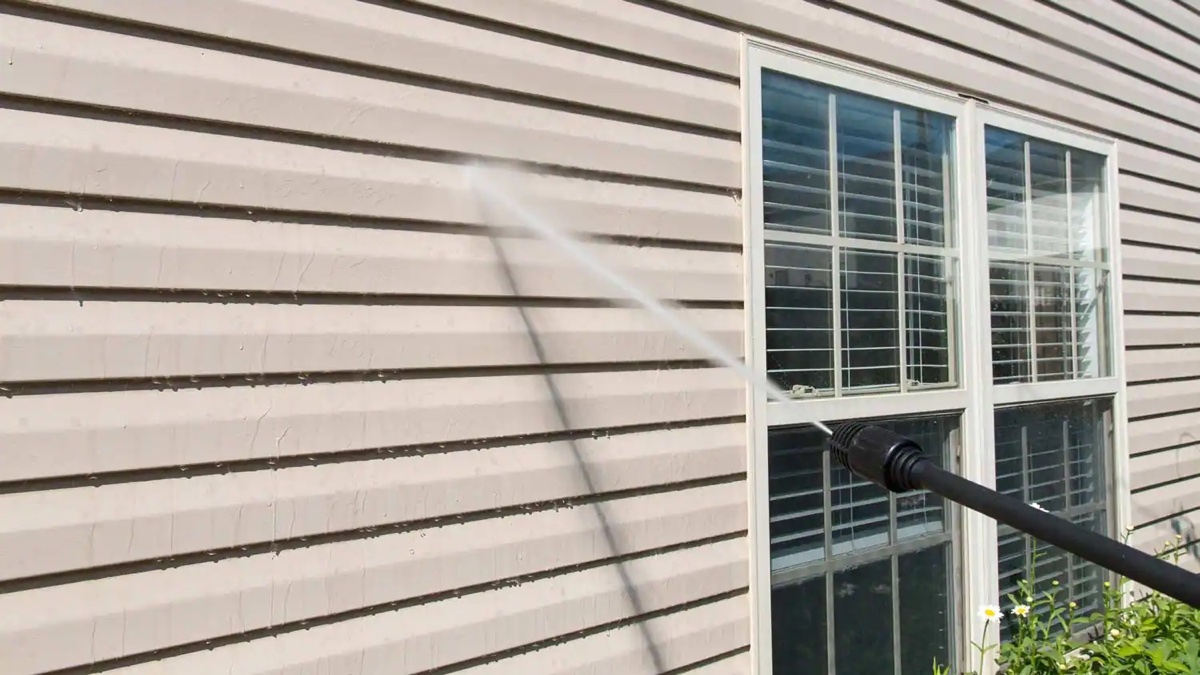
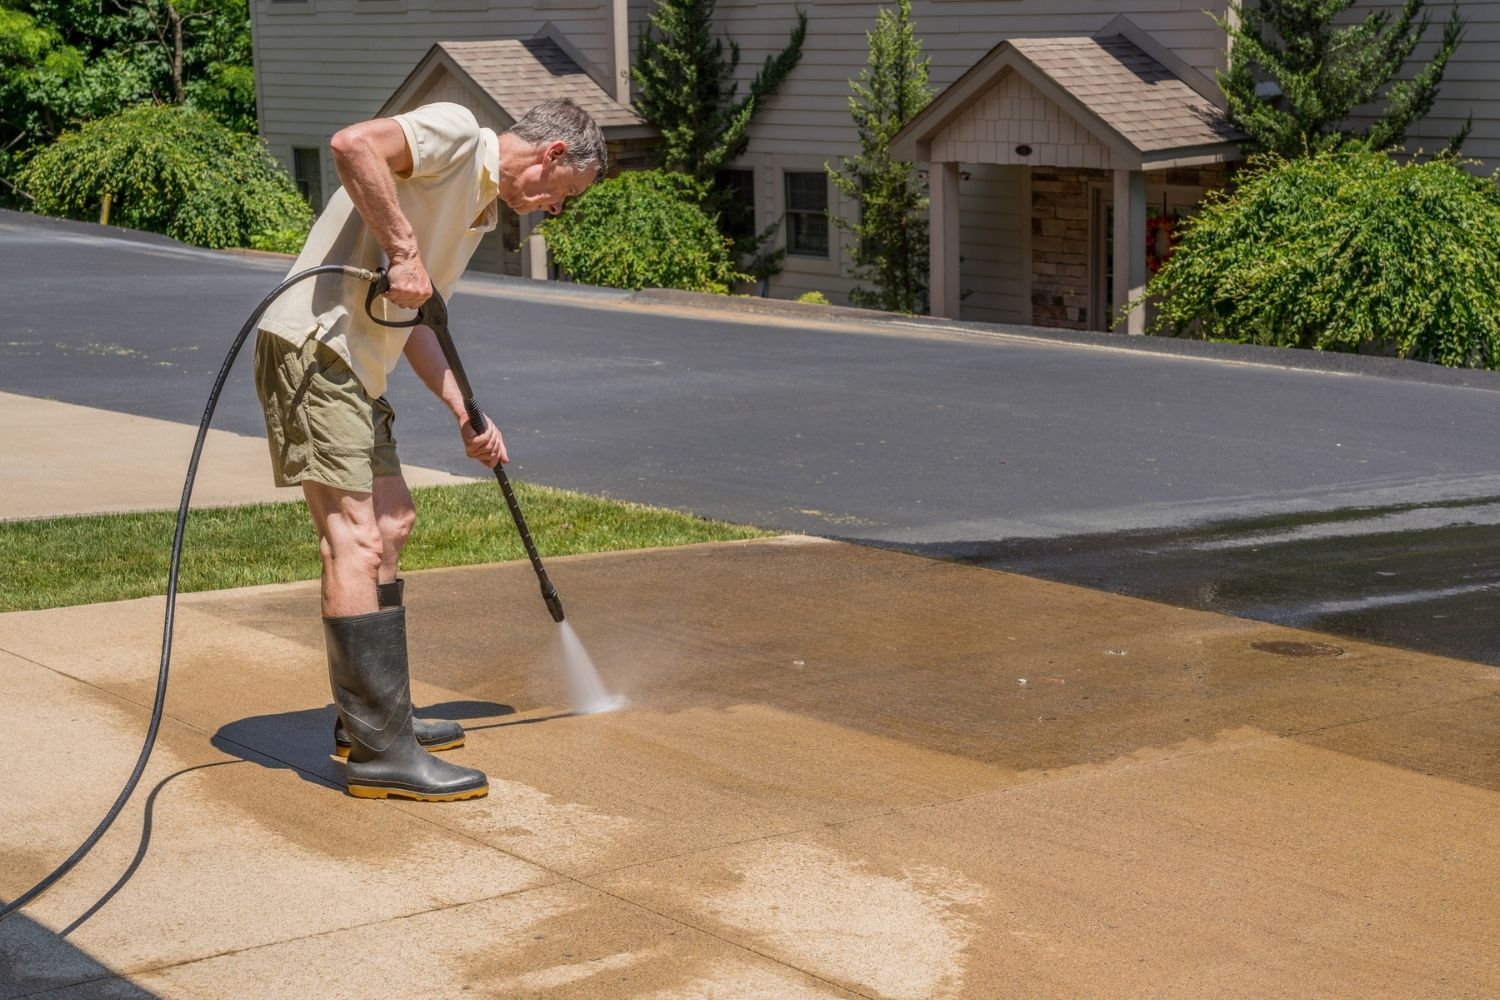
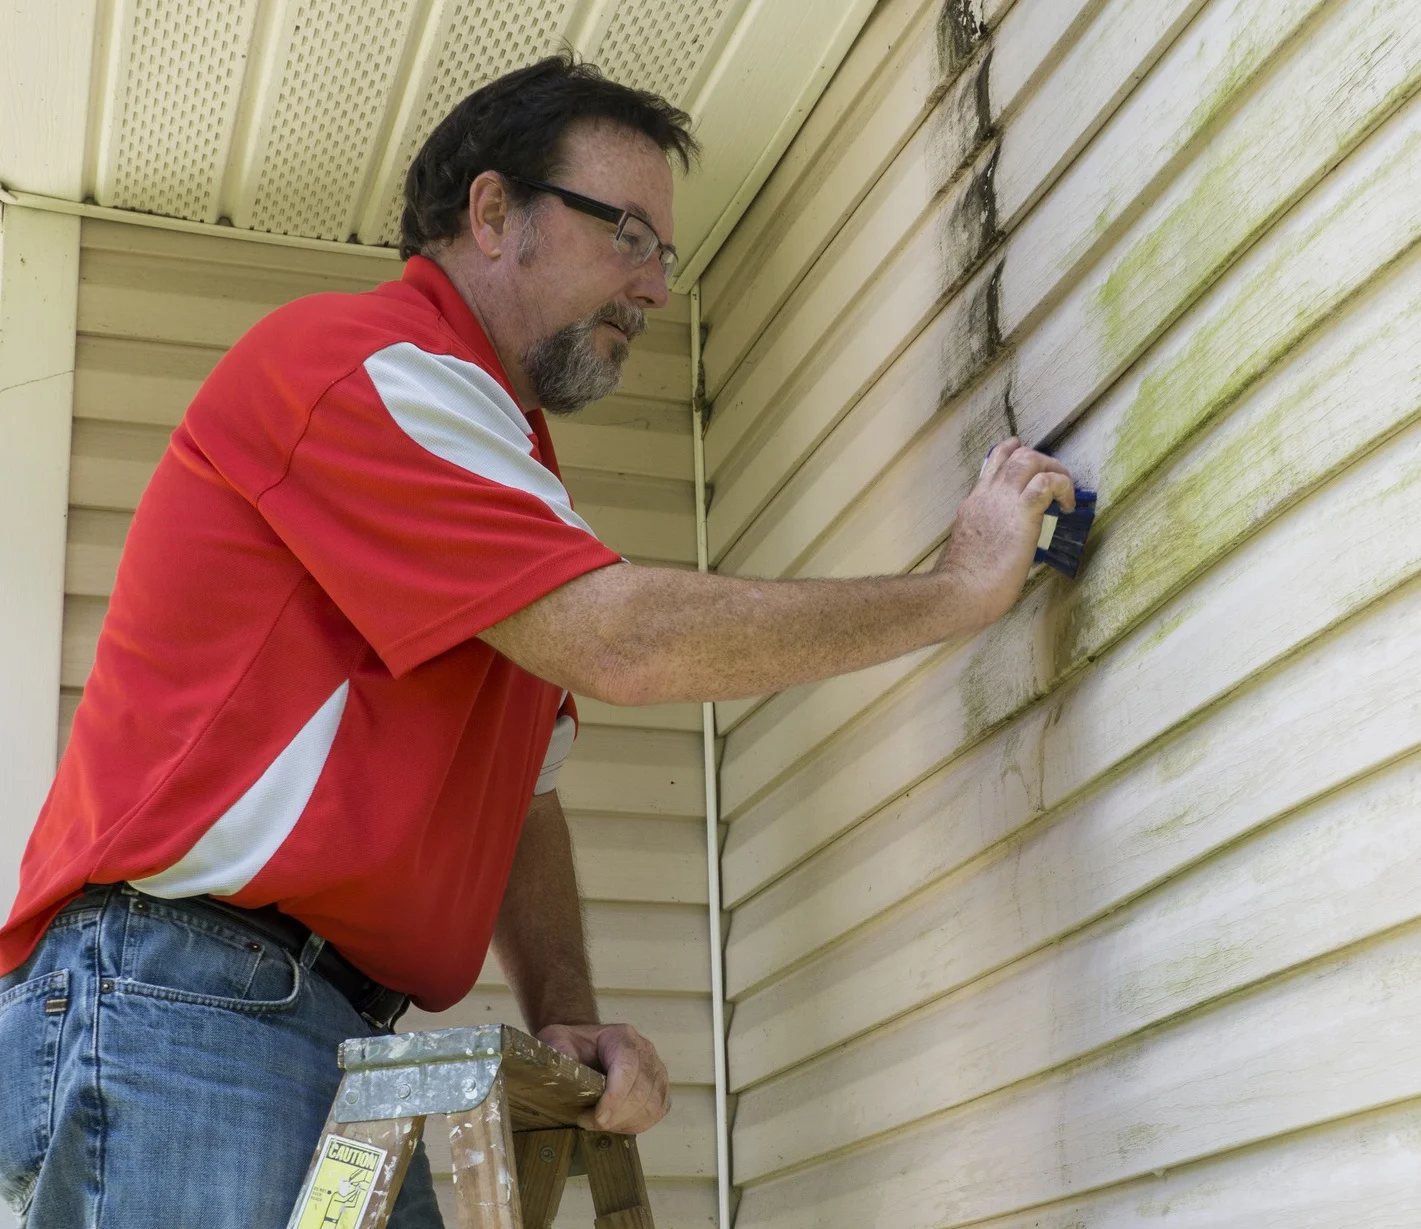
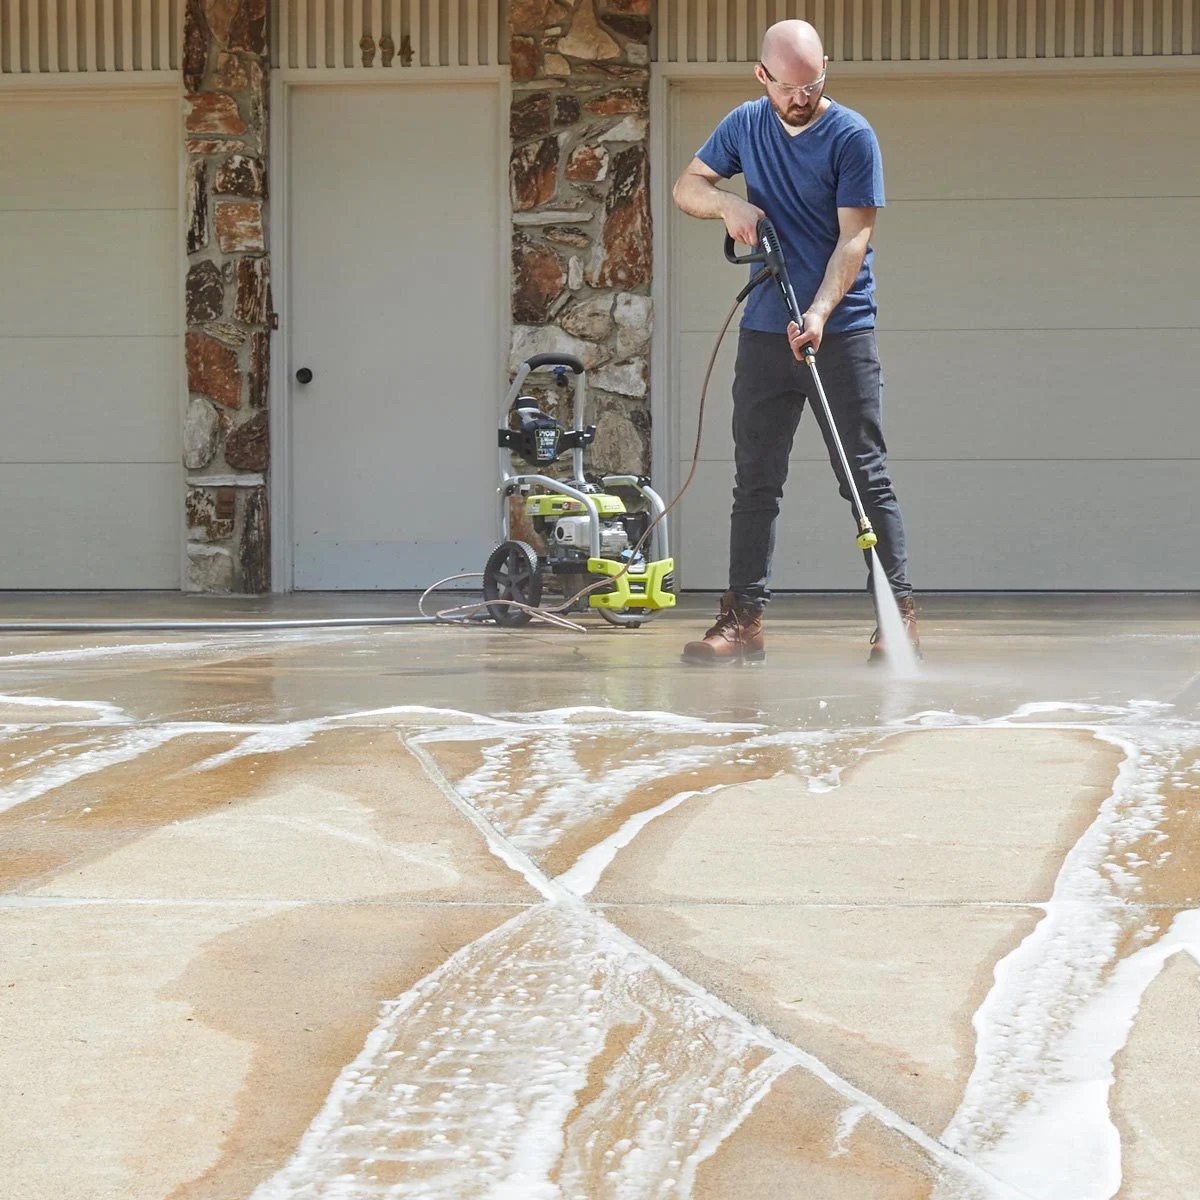
Pressure washers are powerful tools that make cleaning tasks much easier and more efficient. Whether you’re tackling a dirty driveway, dirty siding, or even a muddy car, a pressure washer can quickly blast away dirt, grime, and debris. However, like any machine with moving parts, pressure washers require regular maintenance to keep them running smoothly. One important component that often needs attention is the pressure washer carburetor.
The carburetor is responsible for mixing air and fuel in the correct ratio for combustion in the engine. Over time, the carburetor can become clogged with dirt, debris, and residue from fuel. This buildup can lead to poor engine performance, starting issues, and even engine stalling. To prevent these problems and ensure optimal performance, it’s essential to clean the pressure washer carburetor regularly.
In this article, we will guide you through the process of cleaning the pressure washer carburetor. We will provide step-by-step instructions and essential tips to make the process as easy as possible. By following these guidelines, you can keep your pressure washer running smoothly and maintain its powerful cleaning capabilities.
Key Takeaways:
- Regularly cleaning the pressure washer carburetor prevents engine issues, improves fuel efficiency, and extends the machine’s lifespan, ensuring optimal performance for all cleaning tasks.
- Following a proactive maintenance routine, using clean fuel, and storing the pressure washer properly can prevent future carburetor issues, keeping the machine running smoothly for years to come.
Read more: How To Clean A Lawnmower Carburetor
Understanding the Pressure Washer Carburetor
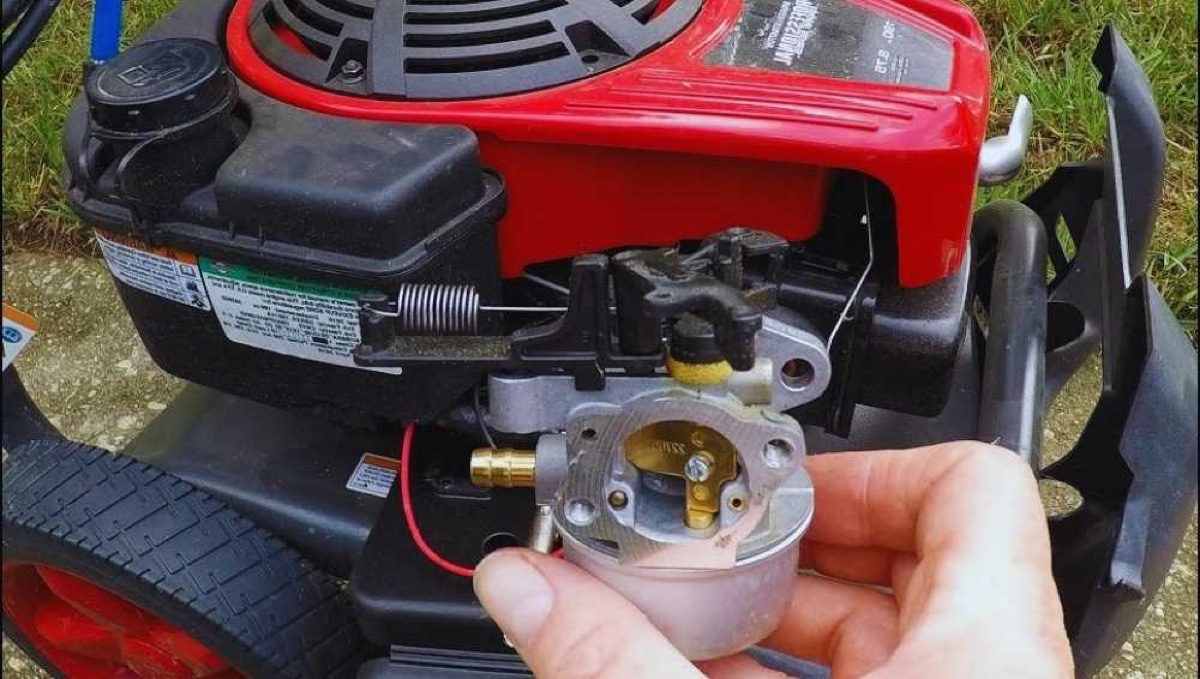
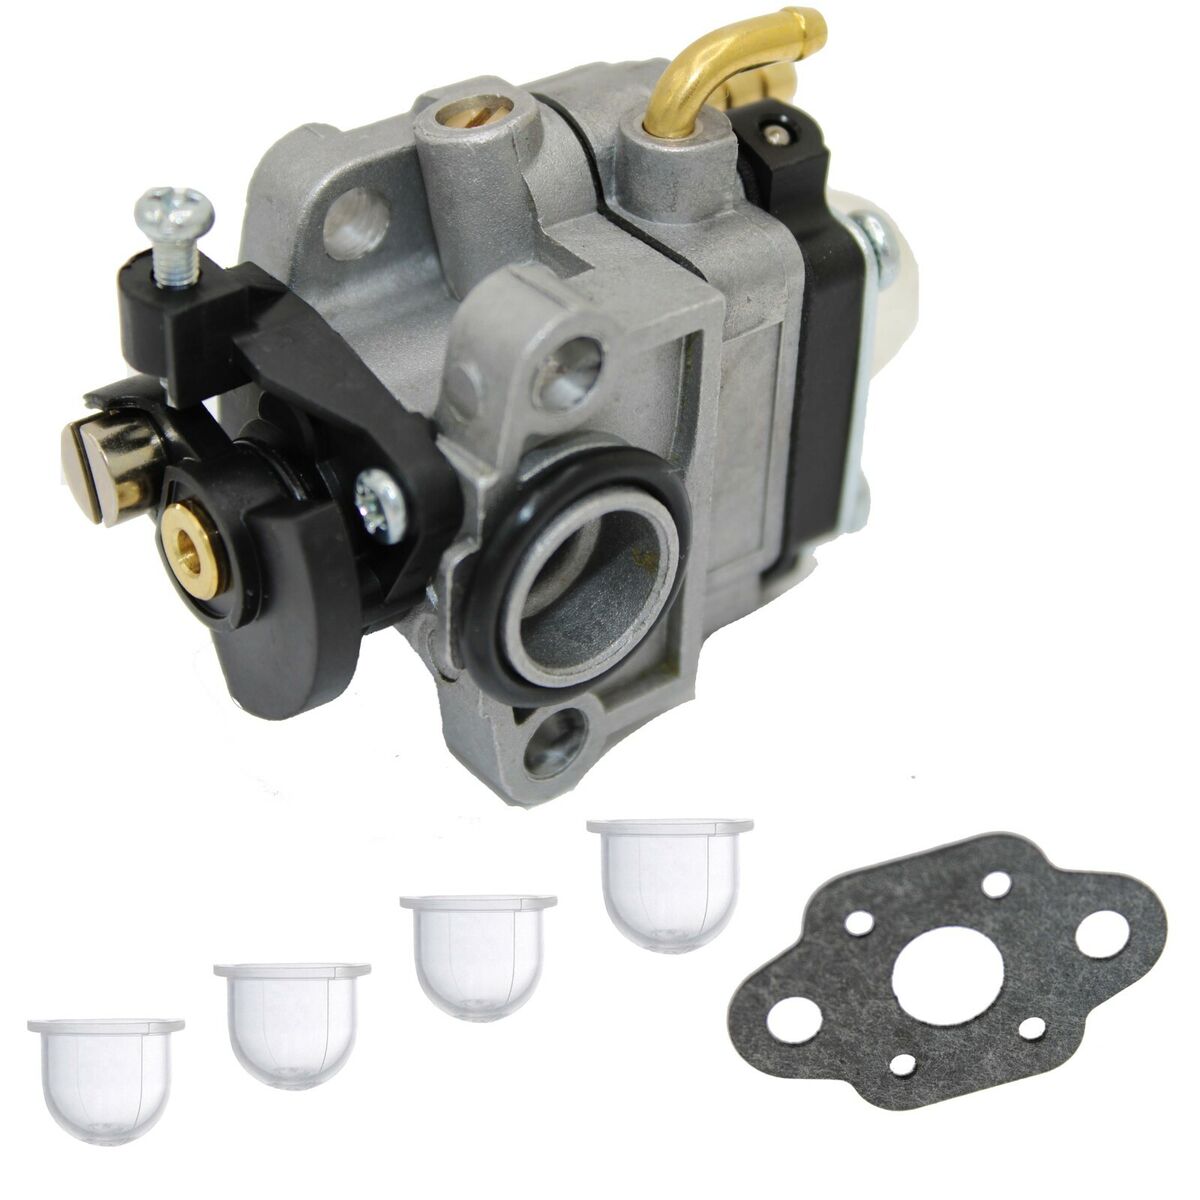
The pressure washer carburetor is a vital component of the machine’s engine system. It plays a crucial role in ensuring the proper mixture of air and fuel for combustion. Most pressure washers use a carburetor with a float bowl design, which contains a needle valve and a float. The needle valve regulates fuel flow into the carburetor based on the position of the float.
When you start the pressure washer, the engine begins pulling air into the carburetor. Simultaneously, the fuel from the float bowl is mixed with the incoming air to create a combustible mixture. This mixture is then sent to the engine’s combustion chamber, where it is ignited by the spark plug, releasing energy and powering the machine.
Maintaining a clean and properly functioning carburetor is essential for the overall performance of your pressure washer. Over time, dirt, debris, and fuel residue can accumulate in the carburetor, causing clogs and hindering its ability to operate efficiently. This can lead to issues such as engine sputtering, difficulty starting, and decreased power output.
Regularly cleaning the pressure washer carburetor not only prevents these problems but also improves fuel efficiency, extends the life of the engine, and ensures smooth operation. By understanding the inner workings of the carburetor and its role in the engine system, you can effectively diagnose issues and know when it’s time to clean or repair this critical component.
Signs that Your Pressure Washer Carburetor Needs Cleaning
It’s important to be aware of the signs that indicate your pressure washer carburetor may need cleaning. By recognizing these symptoms early on, you can address the issue promptly and prevent further damage to the engine. Here are some common signs that your pressure washer carburetor needs cleaning:
- Difficulty starting: If your pressure washer is struggling to start or requires multiple attempts before it fires up, it could be due to a dirty carburetor. Clogs in the carburetor can disrupt the fuel flow and prevent the engine from starting smoothly.
- Poor engine performance: A clogged carburetor can cause the engine to run rough or inconsistently. You may notice engine sputtering, stalling, or a decrease in power output. This can result in inefficient cleaning performance and a frustrating user experience.
- Engine surging: When the pressure washer’s engine revs up and down erratically, it is called engine surging. This can be caused by an inconsistent fuel mixture due to a dirty carburetor. Cleaning the carburetor can help stabilize the engine’s performance and eliminate these surging issues.
- Fuel leaks: If you notice fuel leaking from the carburetor, it is a clear indication that there might be a blockage or damaged component that needs attention. Cleaning the carburetor can help identify and resolve the source of the leak.
- Inconsistent fuel consumption: A dirty carburetor can affect the fuel-to-air ratio, leading to excessive fuel consumption. If you find that your pressure washer is guzzling fuel at a faster rate than normal, it could be a sign that the carburetor needs cleaning.
If you experience any of these signs, it is recommended to clean the pressure washer carburetor as soon as possible. Regular maintenance and cleaning will keep your pressure washer in optimal condition, ensuring reliable performance and prolonging its lifespan.
Preparing for Carburetor Cleaning
Before diving into the process of cleaning your pressure washer carburetor, it’s important to gather the necessary tools and materials and prepare the work area. Taking these preparatory steps will help ensure a smooth and efficient cleaning process. Here’s what you need to do:
- Read the owner’s manual: Familiarize yourself with the specific instructions and recommendations provided by the manufacturer for cleaning the carburetor. This will ensure you follow the correct procedures and avoid any potential damage to the pressure washer.
- Gather the required tools: Typically, you will need a set of wrenches, screwdrivers, carburetor cleaner solution, a small brush, and some clean rags or paper towels. Check the owner’s manual for any additional or specific tools that may be needed for your particular pressure washer model.
- Choose a well-ventilated area: Carburetor cleaning involves working with chemicals, so it’s crucial to select a well-ventilated space to avoid inhaling fumes. Ideally, perform the cleaning outdoors or in a well-ventilated garage.
- Protective gear: Wear protective gloves and safety goggles to shield your hands and eyes from the cleaning solution and any debris that may be dislodged during the cleaning process.
- Disconnect the spark plug: Before proceeding with any maintenance or cleaning tasks, make sure to disconnect the spark plug wire to prevent accidental engine ignition.
- Inspect the carburetor: Take a close look at the carburetor to assess its condition. Look for any visible signs of damage or wear, such as cracked or rusted components. If you notice any severe damage, it may be necessary to replace the carburetor instead of cleaning it.
- Prepare the cleaning solution: Follow the instructions on the carburetor cleaner solution to prepare the appropriate mixture. Some cleaners may require dilution with water, while others can be used as is. Ensure you have enough solution to completely submerge the carburetor components for effective cleaning.
By properly preparing for carburetor cleaning, you set yourself up for a smoother and more successful maintenance task. Once you have all the necessary tools and materials ready, you can move on to the step-by-step process of cleaning the pressure washer carburetor.
Step-by-Step Guide to Cleaning the Pressure Washer Carburetor
Cleaning the pressure washer carburetor may seem intimidating, but with the right approach, it can be a straightforward process. Follow these step-by-step instructions to effectively clean your pressure washer carburetor:
- Disconnect the fuel supply: Locate the fuel line that connects the carburetor to the fuel tank and disconnect it. This step ensures that no fuel flows into the carburetor during the cleaning process.
- Remove the air filter: Locate the air filter housing on the carburetor and remove the air filter. This step allows for better access to the carburetor and prevents any debris from entering the engine during cleaning.
- Remove the carburetor: Depending on the pressure washer model, you may need to remove the carburetor from the engine for thorough cleaning. Refer to the owner’s manual for specific instructions on removing the carburetor.
- Disassemble the carburetor: Carefully disassemble the carburetor into its individual components. This may include the float bowl, gasket, jets, needle valve, and other small parts. Take note of the order and orientation of the components for easy reassembly later.
- Clean the carburetor components: Submerge the carburetor components in a carburetor cleaner solution. Use a small brush to scrub away any dirt or residue from the components. Pay close attention to the jets and small passages, ensuring they are completely free from clogs or debris.
- Rinse and dry the components: After cleaning, rinse the carburetor components with clean water to remove any remaining cleaner solution. Allow the components to thoroughly air dry or use compressed air to speed up the drying process.
- Inspect and replace damaged parts: While the carburetor is disassembled, carefully inspect each component for any signs of damage, wear, or deterioration. Replace any damaged parts with new ones to ensure optimal performance.
- Reassemble the carburetor: Once the components are clean and dry, carefully reassemble the carburetor in the reverse order of disassembly. Make sure each part is properly aligned and reinstalled correctly to avoid any leakage or performance issues.
- Reconnect fuel supply and air filter: Reconnect the fuel line to the carburetor and reinstall the air filter housing. Ensure all connections are secure and tight.
- Test the pressure washer: Start the pressure washer and allow it to run for a few minutes to ensure it is operating smoothly. Check for any abnormal engine performance or fuel leaks. If everything appears to be in order, the cleaning process is complete.
By following these step-by-step instructions, you can clean your pressure washer carburetor effectively and maintain its optimal performance. Regular cleaning will help prevent clogs and ensure your pressure washer operates smoothly and efficiently during all your cleaning tasks.
Read more: How To Clean Stucco With Pressure Washer
Removing the Carburetor from the Pressure Washer
In order to clean the pressure washer carburetor thoroughly, it is often necessary to remove it from the machine. This allows for better access to all the components and ensures a more effective cleaning process. Here are the steps to follow when removing the carburetor from your pressure washer:
- Prepare the work area: Start by finding a clean and flat surface to work on. Lay down a cloth or a piece of cardboard to protect the workspace from any dirt or scratches.
- Locate the carburetor: Identify the carburetor’s exact location on your pressure washer. Refer to the owner’s manual or consult the manufacturer’s website for assistance in locating the carburetor.
- Disconnect the fuel line: Locate the fuel line connecting the carburetor to the fuel tank. Use a pair of pliers to gently loosen the clamp securing the fuel line. Slide the clamp away from the carburetor and carefully pull the fuel line off of the carburetor fitting.
- Remove any connecting components: Depending on the design of your pressure washer, there may be additional components attached to the carburetor, such as the throttle linkage or choke mechanism. Take note of how these components are connected and remove them as necessary.
- Remove the mounting bolts: The carburetor is typically held in place by a few mounting bolts or screws. Use the appropriate tools, such as a wrench or screwdriver, to loosen and remove these bolts. Keep track of the bolts as you remove them, ensuring they are safely set aside for reinstallation later.
- Detach the carburetor: With the mounting bolts removed, carefully lift the carburetor away from the pressure washer. Take care not to force it or cause any damage to the carburetor or surrounding components.
- Inspect the carburetor gasket: As you remove the carburetor, pay attention to the gasket between the carburetor and the engine. If the gasket appears worn, cracked, or damaged in any way, it is recommended to replace it with a new one to ensure a proper seal when reinstalling the carburetor.
By following these steps, you can successfully remove the carburetor from your pressure washer. Remember to keep all the removed components and mounting bolts in a safe place to ensure they are readily available when it’s time to reassemble the carburetor. With the carburetor removed, you can now proceed to disassemble and clean its components to maintain optimal performance.
Disassembling the Carburetor
To thoroughly clean the pressure washer carburetor and its components, it is necessary to disassemble it. Breaking down the carburetor into its individual parts allows for a more detailed cleaning and inspection process. Follow these steps to disassemble the carburetor effectively:
- Refer to the owner’s manual: Before starting the disassembly process, consult the owner’s manual or manufacturer’s guidelines specific to your pressure washer model. These instructions will provide insights into the carburetor’s construction and any unique steps required for disassembly.
- Prepare a clean workspace: Find a well-lit and organized area to work on the disassembly process. Lay down a soft cloth or use a clean tray to keep the carburetor components, seals, and screws organized and easily accessible.
- Take photos for reference: Before removing any components, use a digital camera or smartphone to take photos of the carburetor from multiple angles. These photos will serve as a reference for reassembly and help ensure everything is put back correctly.
- Remove the float bowl: The float bowl is usually held in place by a screw or a series of screws. Locate and remove these screws using the appropriate tool, such as a screwdriver or wrench. Gently lift off the float bowl to reveal the internal components.
- Remove the float and needle valve: In most carburetors, the float is connected to the needle valve. Carefully detach the needle valve assembly, taking note of its position and orientation. Inspect the needle valve and float for any signs of damage or wear.
- Remove the jets: Jets are small, threaded components that regulate fuel flow within the carburetor. Use a small wrench or screwdriver to loosen and remove the jets. Keep track of their location and ensure they are clean and free from any obstructions.
- Inspect and note any damaged components: As you disassemble the carburetor, closely inspect each component for signs of damage, wear, or deterioration. Make note of any parts that may need to be replaced during reassembly.
- Remove other small components: Depending on the carburetor design, there may be other small components, such as gaskets, springs, or diaphragms. Carefully remove these components, keeping them organized and taking note of their placement for reassembly.
Disassembling the carburetor is a delicate task, so patience and attention to detail are crucial. Taking photos, keeping the components organized, and noting any damaged parts will make the reassembly process smoother. With the carburetor dismantled, you can proceed to clean each component thoroughly to remove any accumulated dirt or debris.
When cleaning a pressure washer carburetor, be sure to disconnect the spark plug and drain the fuel before removing the carburetor. Use a carburetor cleaner and small brush to remove any built-up debris. Reassemble carefully and test before use.
Cleaning the Carburetor Components
Now that the pressure washer carburetor is disassembled, it’s time to focus on cleaning each individual component. A thorough cleaning will remove any dirt, debris, or residue that may be hindering the carburetor’s performance. Follow these steps to clean the carburetor components effectively:
- Prepare the cleaning solution: Fill a container with a carburetor cleaning solution. Ensure the container is large enough to fully submerge the carburetor components. Follow the instructions on the cleaning solution regarding dilution, if required.
- Submerge the components: Carefully place the carburetor components into the cleaning solution. Ensure each component is fully immersed, allowing the solution to reach all internal and external surfaces.
- Soak the components: Let the components soak in the cleaning solution for the recommended duration specified by the manufacturer. This allows the solution to break down any stubborn deposits and contaminants.
- Scrub the components: After soaking, use a small brush or toothbrush to gently scrub the carburetor components. Pay close attention to small passages, jets, and other areas where debris may have accumulated. Scrub until all dirt, grime, and residue are removed.
- Rinse with water: Once scrubbed, rinse the components thoroughly with clean water to remove any traces of the cleaning solution. Ensure that all surfaces are free from soap or residue.
- Air dry or use compressed air: Allow the components to air dry completely. Alternatively, use compressed air in a well-ventilated area to remove any remaining moisture and speed up the drying process.
- Inspect the components: After cleaning and drying, carefully inspect each component for any lingering debris or damage. Clean or replace any components that show signs of wear, corrosion, or other issues.
- Reassemble the carburetor: With the components cleaned and inspected, you can now begin the reassembly process. Refer to the photos taken during the disassembly stage, ensuring each component is reinstalled correctly and in the proper order.
Cleaning the carburetor components is a critical step in maintaining optimal performance. By removing dirt and debris, you can ensure proper fuel flow and combustion, resulting in smooth engine operation. Take the time to clean each component thoroughly, and don’t rush the process. With the carburetor components clean and dry, you are now ready to inspect and replace any damaged parts before reassembling the carburetor.
Inspecting and Replacing Damaged Parts
While cleaning the pressure washer carburetor, it’s essential to inspect each component for any signs of damage, wear, or deterioration. Identifying and replacing damaged parts is crucial to ensure the carburetor functions optimally. Here’s a step-by-step guide for inspecting and replacing damaged parts:
- Inspect the carburetor body: Examine the carburetor body for any cracks, corrosion, or other damage. If the body is severely damaged, it may be necessary to replace the entire carburetor.
- Check the gaskets and seals: Inspect the gaskets and seals for any signs of wear, tearing, or brittleness. Damaged gaskets and seals can lead to air or fuel leaks, affecting the overall performance of the carburetor. Replace any damaged gaskets or seals with new ones.
- Examine the float: Inspect the float for any cracks, dents, or signs of leakage. A damaged float can affect the fuel level and disrupt the proper functioning of the carburetor. Replace the float if any damage is detected.
- Check the needle valve: Inspect the needle valve for wear, corrosion, or bending. A faulty needle valve can cause fuel leaks or inconsistent fuel flow, leading to engine performance issues. Replace the needle valve if necessary.
- Inspect the jets: Examine the jets for any clogs, corrosion, or damage. Blocked or damaged jets can disrupt the fuel flow, affecting the carburetor’s performance. Clean the jets thoroughly or replace them if cleaning doesn’t resolve the issue.
- Check other small components: Inspect other small components, such as springs, diaphragms, and small screws, for any damage or wear. Replace any damaged or worn-out components to ensure proper functioning and avoid potential issues in the future.
- Refer to the owner’s manual or consult a professional: If you are uncertain about the condition of any part or need guidance on replacement, refer to the owner’s manual or consult a qualified professional. They can provide expert advice and ensure the correct replacement parts are used.
Taking the time to inspect and replace damaged parts during the cleaning process will help ensure that your pressure washer carburetor is in the best possible condition. By addressing any issues, you can maintain optimal performance and extend the lifespan of your pressure washer. Remember to use high-quality replacement parts and follow the manufacturer’s recommendations for proper installation.
Read more: How To Clean Decking With A Pressure Washer
Reassembling the Carburetor
After cleaning and inspecting the pressure washer carburetor’s components, it’s time to reassemble them properly. Reassembling the carburetor requires careful attention to detail to ensure correct installation and functioning. Following these steps will help you successfully reassemble the carburetor:
- Refer to the photos taken during disassembly: Review the photos you took during the disassembly process. They will serve as a valuable reference to guide you in correctly reassembling the carburetor.
- Start with the jets and small components: Begin by reinstalling the jets and other small components that were removed during disassembly. Refer to the photos and notes you took to ensure these components are correctly positioned and tightened according to the manufacturer’s specifications.
- Reinstall the float and needle valve: Carefully attach the float and needle valve assembly back into place. Ensure the float is properly aligned and moves freely without any obstructions or interference.
- Replace gaskets and seals: If you noticed any damaged or worn gaskets or seals during inspection, replace them with new ones. Properly position the gaskets and seals to ensure a tight and secure fit.
- Position the float bowl: Place the float bowl back onto the carburetor body, aligning it with the mounting holes. Gently tighten the screws or bolts to secure the float bowl in place, being cautious not to overtighten and risk damaging it.
- Double-check all connections: Before completing the reassembly process, ensure that all connections, such as the fuel line and any other components, are securely attached and properly aligned. Double-check that the carburetor is properly fitted and aligned on the engine.
- Reconnect the fuel line: Slide the fuel line back onto the carburetor fitting and tighten the clamp to ensure a secure connection. This will reestablish the fuel supply to the carburetor.
- Install the air filter: Reinstall the air filter housing and properly position the air filter. Ensure the housing is securely fastened to prevent any debris from entering the carburetor during operation.
Reassembling the carburetor may require patience and attention to detail to ensure everything is correctly aligned and properly connected. Take your time and reference your photos and notes whenever necessary. Once you have reassembled the carburetor, you can proceed to test your pressure washer to ensure it runs smoothly after the maintenance.
Testing the Pressure Washer After Carburetor Cleaning
After cleaning and reassembling the pressure washer carburetor, it’s important to test the machine to ensure optimal performance and functionality. Testing allows you to verify that the carburetor is working correctly and that any issues have been resolved. Here are the steps to follow when testing the pressure washer:
- Inspect all connections: Before starting the pressure washer, double-check that all connections, such as the fuel line and air filter, are securely fastened. Ensure there are no leaks or loose components.
- Reconnect the spark plug wire: If you disconnected the spark plug wire during the cleaning process, reconnect it to the spark plug. This will enable the engine to start and run.
- Prime the fuel system: If your pressure washer has a primer bulb, press it several times to prime the fuel system. This helps ensure that fuel is properly flowing to the carburetor.
- Start the pressure washer: Turn on the pressure washer and allow it to idle for a few moments. Listen for any unusual noises and monitor the engine performance.
- Engage the trigger wand: With the pressure washer running, engage the trigger wand to activate the sprayer. Observe the pressure, flow rate, and overall performance of the machine.
- Check for consistent and smooth engine operation: Ensure that the engine is running smoothly without any sputtering, stalling, or surging. If you notice any irregularities, it may indicate further carburetor adjustments or potential issues that require additional attention.
- Inspect for fuel leaks: Look for any signs of fuel leaks around the carburetor and its connections. If you detect any leaks, immediately shut off the machine and address the problem before using it again.
- Test under load: Perform a mock cleaning task with the pressure washer to evaluate its performance under load. Pay attention to the pressure output, water flow, and overall cleaning power. Ensure that the pressure washer operates efficiently and effectively.
By testing the pressure washer after carburetor cleaning, you can confirm that the cleaning process was successful and that the carburetor is functioning properly. If you encounter any issues or if the pressure washer does not perform as expected, it may indicate the need for further adjustments or repairs. In such cases, consulting a professional or contacting the manufacturer for assistance is advisable.
Tips for Preventing Carburetor Issues in the Future
To keep your pressure washer’s carburetor in good working condition and prevent future issues, it’s important to follow a regular maintenance routine. By implementing these tips, you can extend the lifespan of the carburetor and ensure optimal performance of your pressure washer:
- Use clean fuel: Always use clean, fresh fuel in your pressure washer. Avoid using old or contaminated fuel, as it can leave residue and clog the carburetor. If your pressure washer will be sitting unused for an extended period, consider using a fuel stabilizer to prevent fuel degradation.
- Keep the fuel system clean: Regularly inspect and clean the fuel system components, such as the fuel filter and fuel lines. Remove any debris or obstructions that could potentially block the fuel flow to the carburetor.
- Perform regular maintenance: Follow the manufacturer’s recommendations for regular maintenance tasks. This may include cleaning or replacing the air filter, checking spark plug condition, and inspecting fuel lines and connections. Routine maintenance helps identify and address potential issues before they escalate.
- Store the pressure washer properly: When not in use, store your pressure washer in a clean and dry environment, protected from the elements. Use fuel stabilizer and run the machine for a few minutes before storing it to ensure that the carburetor and fuel system are free of residual fuel.
- Run the pressure washer regularly: Even if you’re not using it for cleaning tasks, it’s beneficial to run the pressure washer periodically. This helps keep the carburetor and engine components in good working order by preventing fuel from sitting stagnant for extended periods.
- Consider professional maintenance: If you’re unsure about performing maintenance tasks yourself, consider taking your pressure washer to a qualified professional for regular servicing. They have the expertise to conduct thorough inspections, clean the carburetor, and address any potential issues.
- Store the pressure washer upside down: If your area experiences freezing temperatures, store the pressure washer upside down. This helps prevent any remaining water in the carburetor and other components from freezing and causing damage.
- Read the owner’s manual: Familiarize yourself with the specific recommendations provided by the manufacturer. The owner’s manual contains valuable information about maintenance intervals, fuel type, and other essential guidelines to keep your pressure washer carburetor running smoothly.
- Monitor fuel levels: Avoid running the pressure washer with a low fuel level, as it may cause the carburetor to run too lean. This can lead to engine damage and inefficient performance. Fill up the fuel tank before each use to ensure a sufficient fuel supply.
By following these tips, you can proactively prevent carburetor issues and maintain the performance and reliability of your pressure washer. Regular maintenance and proper fuel management are key to ensuring that the carburetor operates optimally and provides long-lasting service.
Conclusion
A clean and well-maintained pressure washer carburetor is vital for the efficient and reliable operation of your pressure washer. By taking the time to understand the importance of carburetor cleaning and following the step-by-step guide outlined in this article, you can ensure that your pressure washer continues to perform at its best. Regular cleaning and maintenance of the carburetor will not only improve fuel efficiency and prevent engine issues but also extend the lifespan of your pressure washer.
Remember to thoroughly inspect and clean each component of the carburetor, replacing any damaged or worn parts as needed. Take precautions to work in a well-ventilated area and wear appropriate protective gear. Before reassembling the carburetor, carefully check your photos and notes from the disassembly process to ensure correct placement of components and a secure connection of all parts.
After reassembling the carburetor, it’s crucial to test the pressure washer to verify that everything is functioning properly. Monitor for any irregularities in engine performance, fuel leaks, or other issues. If you encounter any problems, it’s recommended to consult the owner’s manual or seek assistance from a professional to ensure appropriate adjustments are made or repairs are conducted.
Finally, implementing preventive measures, such as using clean fuel, performing regular maintenance, and storing the pressure washer properly, can help prevent future carburetor issues. By adhering to these practices and being proactive in maintaining your pressure washer, you can continue to enjoy its powerful cleaning capabilities for years to come.
With a clean and well-maintained carburetor, your pressure washer is ready to tackle any cleaning task effectively and efficiently, giving you the confidence to take on projects with ease. So, invest the time and effort into cleaning and maintaining your pressure washer carburetor and enjoy the benefits of a powerful and reliable cleaning machine.
Frequently Asked Questions about How To Clean Pressure Washer Carburetor
Was this page helpful?
At Storables.com, we guarantee accurate and reliable information. Our content, validated by Expert Board Contributors, is crafted following stringent Editorial Policies. We're committed to providing you with well-researched, expert-backed insights for all your informational needs.


0 thoughts on “How To Clean Pressure Washer Carburetor”