Home>Gardening & Outdoor>Garden Tools & Equipment>How To Clean Leaf Blower Carburetor

Garden Tools & Equipment
How To Clean Leaf Blower Carburetor
Modified: August 27, 2024
Learn how to effectively clean your leaf blower carburetor with our step-by-step guide. Keep your garden tools and equipment in top condition for peak performance.
(Many of the links in this article redirect to a specific reviewed product. Your purchase of these products through affiliate links helps to generate commission for Storables.com, at no extra cost. Learn more)
Introduction
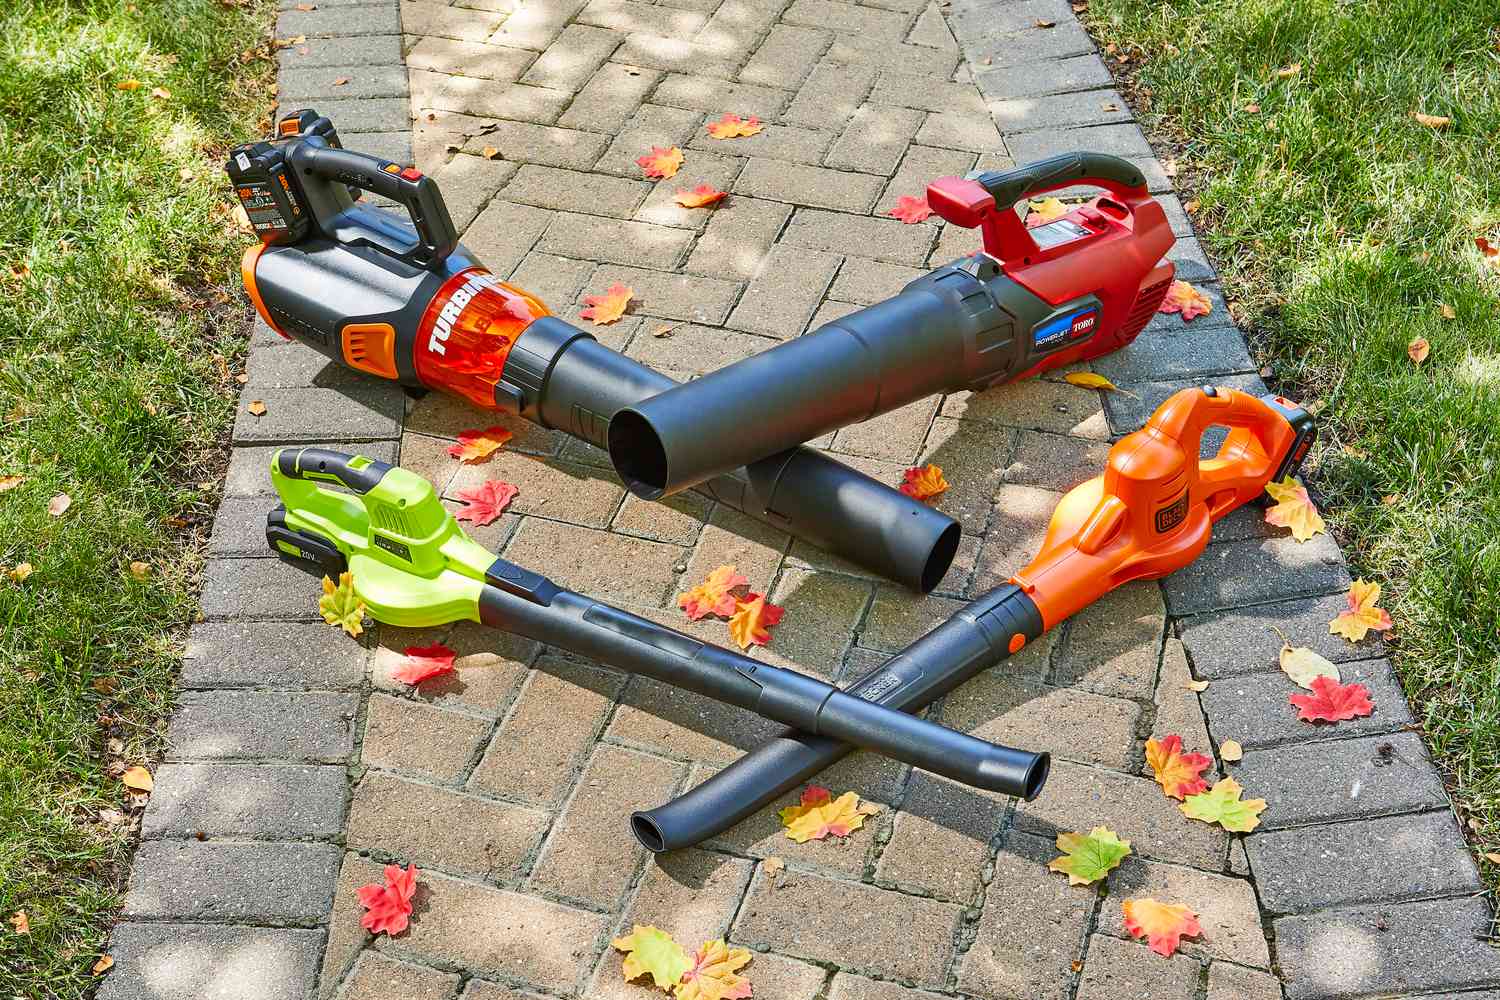
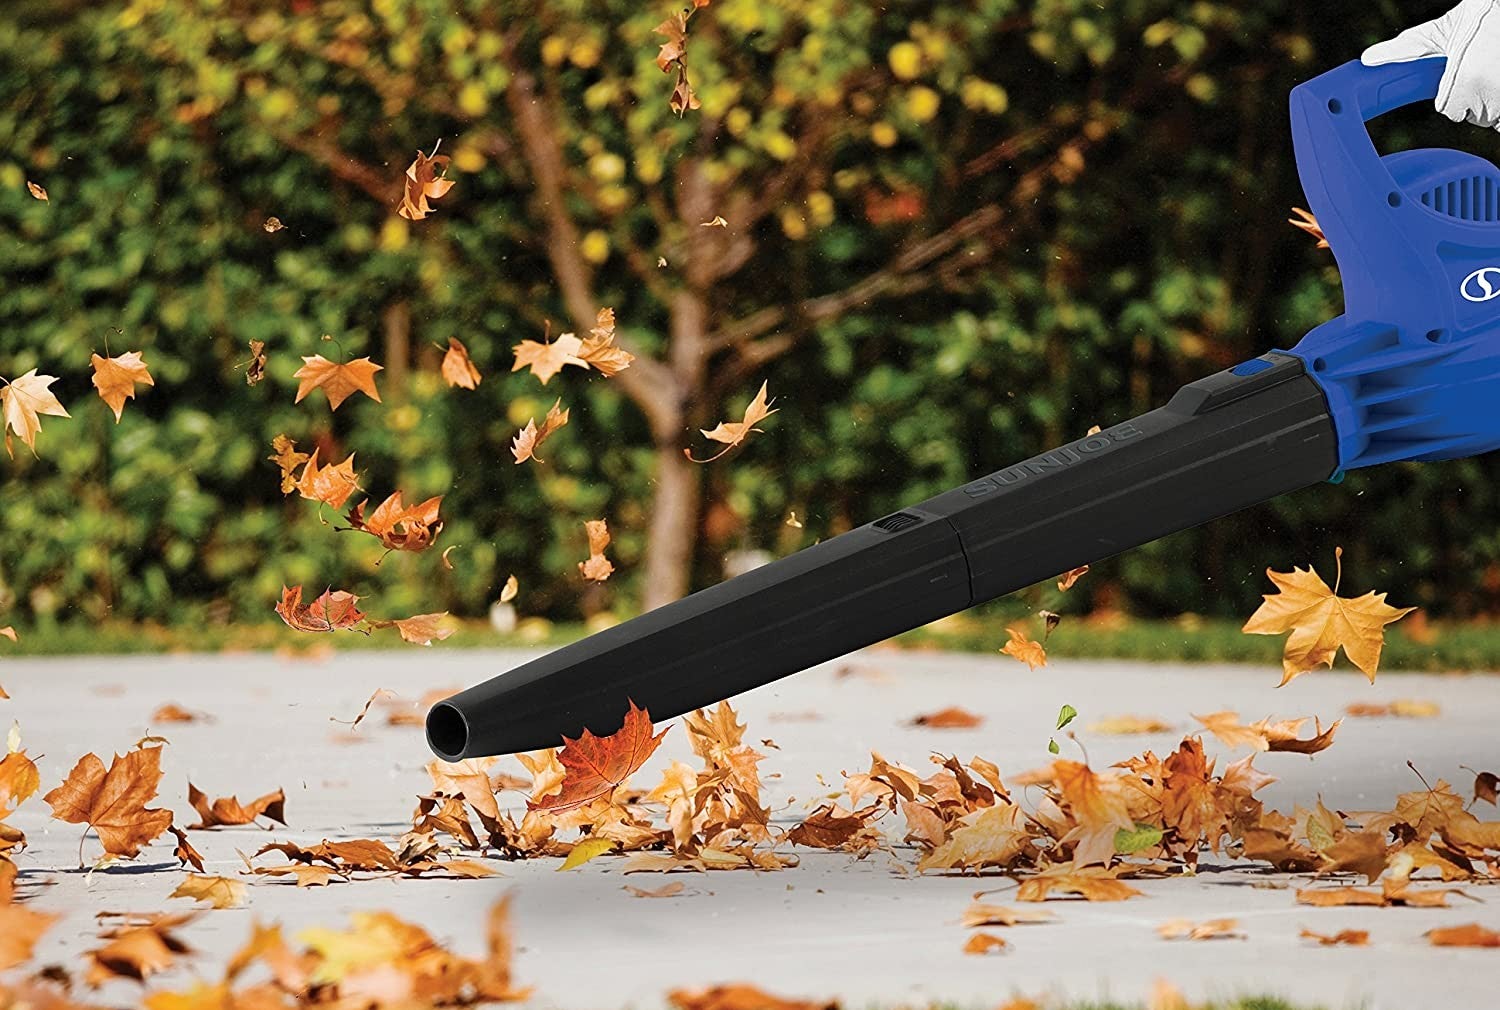
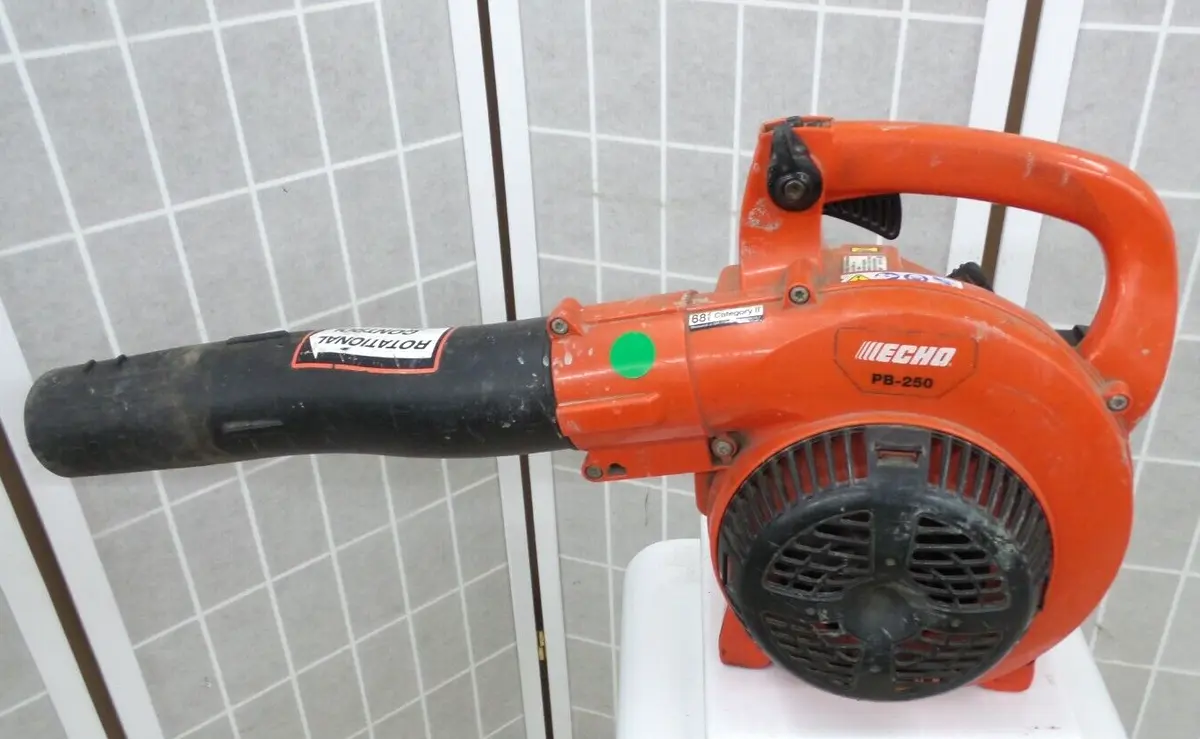
Maintaining a leaf blower in optimal condition is essential for ensuring its longevity and peak performance. One of the key maintenance tasks is cleaning the carburetor, as it can become clogged with debris and residue over time, leading to engine inefficiency and reduced power output. While this task may seem daunting at first, with the right guidance and tools, it can be accomplished with relative ease.
In this comprehensive guide, we will delve into the intricate process of cleaning a leaf blower carburetor, providing step-by-step instructions and valuable insights to empower you in this maintenance endeavor. By understanding the inner workings of the carburetor and following the outlined procedures, you can breathe new life into your leaf blower, restoring its functionality and efficiency.
So, grab your tools and let's embark on this journey to rejuvenate your leaf blower and equip you with the knowledge and confidence to tackle this essential maintenance task.
Key Takeaways:
- Regularly cleaning your leaf blower carburetor is crucial for maintaining its performance and longevity, ensuring it operates efficiently and effectively.
- By following a systematic approach and using the right tools, you can confidently clean and reassemble your leaf blower carburetor, prolonging its lifespan and enhancing its functionality.
Read more: How To Clean Gutters With A Leaf Blower
Understanding the Leaf Blower Carburetor
The carburetor plays a vital role in the functionality of a leaf blower, as it is responsible for mixing air and fuel in the correct proportion before delivering it to the engine for combustion. This precision is crucial for the engine to operate efficiently and generate the power needed to propel the blower.
Over time, the carburetor can become clogged with dirt, varnish, and other deposits, hindering its ability to deliver the proper air-fuel mixture. This can lead to issues such as rough idling, poor acceleration, and overall decreased performance. Understanding the components of the carburetor is essential before delving into the cleaning process.
The main components of a typical leaf blower carburetor include:
- Venturi: This is a constricted area in the carburetor where the air speeds up, creating a low-pressure area that draws in fuel.
- Float Chamber: Also known as the float bowl, this chamber holds a supply of fuel for the carburetor.
- Throttle Valve: This valve controls the amount of air entering the carburetor, which in turn regulates the engine speed.
- Jet: Jets are small openings that control the amount of fuel entering the carburetor.
- Needle Valve: This valve, often controlled by a float, regulates the fuel level in the carburetor.
Understanding how these components work together to facilitate the combustion process is crucial for appreciating the significance of keeping the carburetor clean and well-maintained. With this foundational knowledge, you will be better equipped to tackle the cleaning process and ensure the optimal performance of your leaf blower.
Tools and Materials Needed
Before diving into the task of cleaning the leaf blower carburetor, it’s essential to gather the necessary tools and materials to ensure a smooth and efficient process. Here’s a comprehensive list of items you’ll need:
Tools:
- Screwdriver Set: A set of screwdrivers, including flathead and Phillips head, to assist in disassembling the leaf blower and accessing the carburetor.
- Needle-Nose Pliers: Useful for manipulating small components and removing stubborn parts from the carburetor.
- Carburetor Adjustment Tool: Specifically designed for adjusting the carburetor settings, ensuring optimal performance after cleaning.
- Compressed Air Duster: Ideal for blowing away debris and buildup from the carburetor components.
- Wire Brush Set: Various sizes of wire brushes to effectively remove stubborn deposits from the carburetor parts.
- Safety Gloves and Goggles: Essential for protecting your hands and eyes from dirt, debris, and cleaning solvents.
- Clean Cloth or Paper Towels: For wiping down components and ensuring a clean working environment.
Materials:
- Carburetor Cleaner: A specialized cleaning solution designed to dissolve varnish, dirt, and other deposits from carburetor components.
- Replacement Gaskets: It's advisable to have replacement gaskets on hand to ensure a proper seal when reassembling the carburetor.
- Fuel Container: A container to safely drain and store the fuel from the leaf blower before starting the cleaning process.
- Workbench or Clean Workspace: A well-lit and organized workspace to disassemble and clean the carburetor components.
By ensuring that you have all the necessary tools and materials readily available, you can streamline the carburetor cleaning process and approach the task with confidence. Proper preparation sets the stage for a successful maintenance endeavor, allowing you to restore your leaf blower to optimal working condition.
Read more: How To Clean Dryer Vent With A Leaf Blower
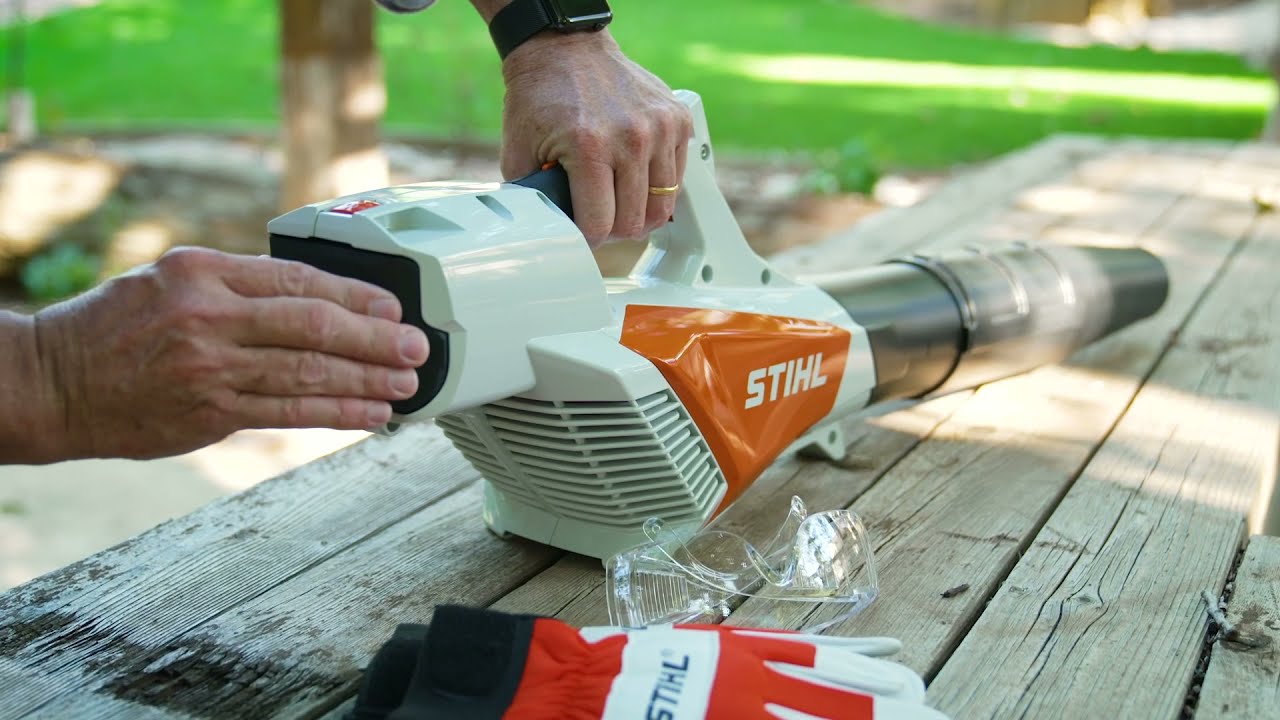
Step 1: Preparing the Leaf Blower
Before embarking on the carburetor cleaning process, it’s crucial to prepare the leaf blower and create a safe and organized workspace. Here’s a detailed guide to help you prepare the leaf blower for the maintenance task:
1. Safety First: Start by ensuring that the leaf blower is powered off and that the engine has had sufficient time to cool down. Additionally, don safety gloves and goggles to protect your hands and eyes throughout the process.
2. Draining the Fuel: To prevent any accidental spills or leaks, carefully drain the fuel from the leaf blower’s tank into a designated fuel container. This step is essential to minimize the risk of fuel exposure during the carburetor cleaning process.
3. Accessing the Carburetor: Depending on the leaf blower model, you may need to remove a cover or housing to access the carburetor. Refer to the manufacturer’s manual for specific instructions on accessing the carburetor assembly.
4. Organizing the Workspace: Set up a clean and well-lit workspace, such as a workbench or table, to disassemble and clean the carburetor components. Organize your tools and materials within easy reach to facilitate a smooth and efficient cleaning process.
5. Inspection and Assessment: Take a moment to visually inspect the carburetor and surrounding components for any visible damage, wear, or loose connections. This preliminary assessment can help identify any additional maintenance needs beyond cleaning.
By meticulously preparing the leaf blower and the workspace, you can lay the groundwork for a methodical and safe carburetor cleaning process. This proactive approach sets the stage for a successful maintenance endeavor, ensuring that the leaf blower is ready for the subsequent steps of disassembly and cleaning.
Step 2: Removing the Carburetor
Once the leaf blower is adequately prepared and the workspace is organized, the next crucial step in the carburetor cleaning process is to remove the carburetor from the blower. This step requires attention to detail and a systematic approach to ensure the safe and proper removal of the carburetor. Here’s a comprehensive guide to assist you through this essential phase:
1. Disconnection of Linkages and Hoses: Carefully disconnect any linkages, such as throttle or choke cables, and hoses that are connected to the carburetor. Take note of their positions and orientations to facilitate reassembly later on.
2. Removal of Mounting Screws or Bolts: Using the appropriate screwdriver or wrench, carefully remove the mounting screws or bolts that secure the carburetor to the engine or mounting bracket. Keep track of these fasteners to prevent misplacement.
3. Extraction of the Carburetor: Gently maneuver the carburetor out of its original position, taking care not to force or damage any surrounding components. Pay attention to any gaskets or seals that may be present and ensure that they remain intact during the removal process.
4. Inspection of Carburetor and Surrounding Components: With the carburetor removed, take the opportunity to inspect the surrounding components for any signs of damage, wear, or buildup. This visual assessment can provide valuable insights into the overall condition of the blower’s fuel system.
5. Safe Storage of the Carburetor: Once removed, place the carburetor on a clean and stable surface, ensuring that it is protected from any potential damage or contamination. This step is crucial to maintain the integrity of the carburetor during the cleaning process.
By following these meticulous steps, you can safely and effectively remove the carburetor from the leaf blower, setting the stage for the subsequent cleaning and maintenance procedures. Attention to detail and a methodical approach are key in ensuring the successful removal of the carburetor without causing any damage to the blower or its components.
Step 3: Disassembling the Carburetor
With the carburetor safely removed from the leaf blower, the next critical phase in the cleaning process involves disassembling the carburetor to access its internal components for thorough cleaning and inspection. This step demands precision and attentiveness to detail to ensure that the delicate components are handled with care. Here’s a comprehensive guide to assist you through the disassembly process:
1. Identification of Components: Take a moment to familiarize yourself with the various components of the carburetor, including the float chamber, throttle valve, jets, and needle valve. Understanding the layout and function of these parts is crucial before proceeding with disassembly.
2. Removing External Covers and Linkages: Carefully remove any external covers or plates that shield the internal components of the carburetor. Additionally, disconnect any remaining linkages or levers that may still be attached to the carburetor body.
3. Extraction of Internal Components: Using the appropriate tools, such as screwdrivers or pliers, gently remove the internal components of the carburetor, including the float, jets, needle valve, and any other removable parts. Exercise caution to prevent damage to these delicate components.
4. Inspection of Internal Parts: As each component is removed, take the opportunity to inspect them for signs of debris, varnish, or wear. Pay particular attention to the jets and passages, as these areas are prone to clogging and buildup.
5. Organized Component Layout: As you disassemble the carburetor, arrange the components in a systematic manner, keeping them organized and labeled if necessary. This approach will facilitate the reassembly process and prevent confusion when cleaning the individual parts.
6. Documentation and Photography: Consider documenting the disassembly process through photographs or detailed notes. This documentation can serve as a valuable reference during reassembly, ensuring that each component is placed back in its correct position.
By meticulously disassembling the carburetor and handling its components with care, you can pave the way for a thorough cleaning and inspection of each part. Attention to detail and a methodical approach are essential in ensuring that the carburetor is prepared for the subsequent cleaning process, ultimately contributing to the restoration of optimal functionality in the leaf blower.
When cleaning a leaf blower carburetor, make sure to disconnect the spark plug and drain the fuel. Use a carburetor cleaner to remove any built-up debris and dirt, and carefully reassemble the carburetor before testing the leaf blower.
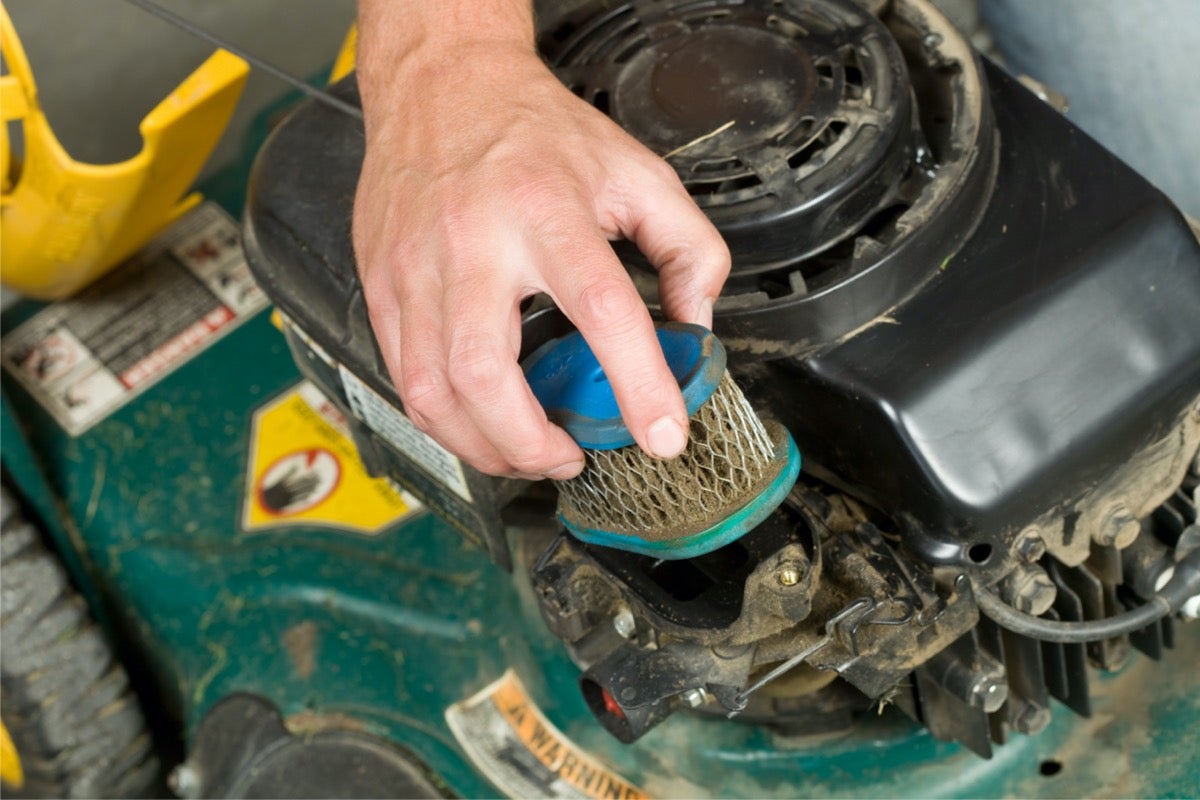
Step 4: Cleaning the Carburetor
With the carburetor disassembled and its components laid out, the cleaning phase is crucial to remove accumulated debris, varnish, and other contaminants that may hinder its functionality. This step demands precision and thoroughness to ensure that each component is restored to its optimal condition. Here’s a comprehensive guide to assist you through the meticulous cleaning process:
1. Soaking in Carburetor Cleaner: Submerge the disassembled carburetor components in a container filled with carburetor cleaner. Allow the parts to soak for the duration recommended by the cleaner manufacturer to dissolve varnish and stubborn deposits effectively.
2. Use of Compressed Air: After soaking, use compressed air to blow out any remaining debris from the internal passages and jets. This step helps ensure that all traces of buildup are thoroughly removed from the intricate components.
3. Inspection and Scrubbing: Inspect each component for any lingering deposits and use a small wire brush to gently scrub away any stubborn residue. Exercise caution to avoid damaging the delicate surfaces of the carburetor parts.
4. Cleaning of External Surfaces: Wipe down the external surfaces of the carburetor components with a clean cloth or paper towel to remove any residual cleaner and ensure that the parts are free from contaminants.
5. Cleaning of Gaskets and Seals: Carefully clean the gaskets and seals that were removed with the carburetor, ensuring that they are free from debris and in good condition. Replace any damaged or worn gaskets with suitable replacements.
6. Thorough Drying: After cleaning, ensure that all components are thoroughly dried using compressed air or clean, dry cloths. Moisture can impede the proper functioning of the carburetor, making thorough drying essential.
7. Reassessment of Components: Once cleaned and dried, reinspect each component to ensure that it is free from contaminants and that no damage has occurred during the cleaning process.
By painstakingly cleaning each component of the carburetor, you can effectively eliminate the accumulated residues and contaminants that may compromise its performance. Attention to detail and a methodical approach are essential in ensuring that the carburetor is restored to its optimal condition, setting the stage for its reassembly and subsequent installation in the leaf blower.
Read more: How To Clean Leaf Blower Fuel Filter
Step 5: Reassembling the Carburetor
After the meticulous cleaning process, the reassembly of the carburetor is a critical phase that demands precision and attentiveness to detail. Proper reassembly ensures that each component is correctly positioned and secured, setting the stage for the carburetor to function optimally within the leaf blower. Here’s a comprehensive guide to assist you through the methodical reassembly process:
1. Component Positioning: Begin by arranging the cleaned carburetor components in a systematic manner, ensuring that each part is easily accessible and ready for reassembly. Refer to any documentation or photographs taken during disassembly for reference.
2. Installation of Gaskets and Seals: Carefully place any gaskets and seals in their respective positions, ensuring that they provide a proper seal and prevent any potential air or fuel leaks once the carburetor is reinstalled in the leaf blower.
3. Reassembly of Internal Components: With the gaskets in place, begin reassembling the internal components of the carburetor, such as the float, jets, needle valve, and any other removable parts. Exercise caution to prevent damage to the delicate components during reassembly.
4. Adjustment and Calibration: If the carburetor features adjustable settings, such as idle speed or mixture adjustments, ensure that these settings are calibrated according to the manufacturer’s specifications before finalizing the reassembly process.
5. Securing Mounting Screws or Bolts: Carefully position the carburetor in its designated location within the leaf blower, aligning it with the mounting holes. Secure the carburetor in place by tightening the mounting screws or bolts to the specified torque, ensuring a stable and secure fit.
6. Reconnection of Linkages and Hoses: Reconnect any linkages, such as throttle or choke cables, and hoses to the carburetor, ensuring that they are properly positioned and secured. Verify that each connection is secure and functions as intended.
7. Verification of Reassembly: Once the carburetor is reassembled, perform a final verification to ensure that all components are correctly positioned and secured. Double-check the alignment of gaskets, the tightness of fasteners, and the functionality of linkages and moving parts.
By methodically reassembling the carburetor and ensuring that each component is correctly positioned and secured, you can prepare the carburetor for its subsequent installation and integration into the leaf blower’s fuel system. Attention to detail and a systematic approach are essential in ensuring the successful reassembly of the carburetor, ultimately contributing to the restoration of optimal functionality in the leaf blower.
Step 6: Reinstalling the Carburetor
With the carburetor meticulously reassembled, the final phase of the maintenance process involves reinstalling the carburetor into the leaf blower, integrating it into the fuel system, and ensuring that all connections are secure and properly aligned. This critical step demands precision and attention to detail to ensure that the carburetor functions optimally within the blower. Here’s a comprehensive guide to assist you through the meticulous reinstallation process:
1. Positioning of the Carburetor: Carefully maneuver the reassembled carburetor into its designated location within the leaf blower, ensuring that it aligns with the mounting holes and interfaces with the fuel system components.
2. Securing Mounting Screws or Bolts: Once positioned, secure the carburetor in place by fastening the mounting screws or bolts to the specified torque, ensuring a stable and secure fit. Verify that the carburetor is firmly seated and aligned with the blower’s engine.
3. Reconnection of Linkages and Hoses: Reconnect any linkages, such as throttle or choke cables, and hoses to the carburetor, ensuring that they are correctly positioned and securely attached. Verify that each connection is aligned and functions as intended.
4. Verification of Connections: Perform a thorough verification of all connections, ensuring that each linkage and hose is securely attached and free from any obstructions or kinks that may impede the flow of air or fuel to the carburetor.
5. Inspection of Surrounding Components: Take a moment to inspect the surrounding components and assemblies for any signs of damage, wear, or misalignment that may have occurred during the carburetor removal and reinstallation process.
6. Reattachment of Covers or Housings: If any covers or housings were removed to access the carburetor, reattach them securely, ensuring that they provide adequate protection and support for the carburetor and surrounding components.
7. Fuel System Priming and Testing: Once the carburetor is reinstalled, prime the fuel system as per the manufacturer’s recommendations, and conduct a thorough testing of the leaf blower to ensure that the engine starts and operates smoothly.
By meticulously reinstalling the carburetor and verifying that all connections are secure and properly aligned, you can ensure that the leaf blower’s fuel system functions optimally. Attention to detail and a methodical approach are essential in ensuring the successful reinstallation of the carburetor, ultimately contributing to the restoration of peak performance in the leaf blower.
Conclusion
Cleaning a leaf blower carburetor is a fundamental maintenance task that can significantly impact the performance and longevity of the equipment. By understanding the intricate components of the carburetor and following a systematic approach to cleaning and reassembly, you can breathe new life into your leaf blower and ensure its optimal functionality for future use.
Throughout this comprehensive guide, we’ve explored the essential steps involved in cleaning a leaf blower carburetor, from the initial preparation and disassembly to the meticulous cleaning and reinstallation processes. Each phase demands attention to detail, precision, and a methodical approach to ensure that the carburetor is restored to its optimal condition.
Proper preparation, including gathering the necessary tools and materials, and creating a safe and organized workspace, sets the stage for a successful maintenance endeavor. The careful removal, disassembly, cleaning, and reassembly of the carburetor components contribute to the restoration of its functionality and efficiency.
By incorporating these maintenance practices into your leaf blower care routine, you can prolong the equipment’s lifespan, enhance its performance, and ensure that it remains a reliable and indispensable tool for maintaining your outdoor spaces. Regular maintenance, including carburetor cleaning, is key to preserving the functionality and longevity of your leaf blower, allowing you to tackle outdoor tasks with ease and efficiency.
Armed with the knowledge and guidance provided in this guide, you are well-equipped to embark on the journey of cleaning your leaf blower carburetor with confidence and precision. By investing the time and effort into this essential maintenance task, you can enjoy the benefits of a well-maintained and fully functional leaf blower for years to come.
Frequently Asked Questions about How To Clean Leaf Blower Carburetor
Was this page helpful?
At Storables.com, we guarantee accurate and reliable information. Our content, validated by Expert Board Contributors, is crafted following stringent Editorial Policies. We're committed to providing you with well-researched, expert-backed insights for all your informational needs.


0 thoughts on “How To Clean Leaf Blower Carburetor”