Articles
How To Clean Siding With Pressure Washer
Modified: October 20, 2024
Learn how to clean your siding effortlessly with a pressure washer. Our articles provide helpful tips and techniques for achieving a spotless finish.
(Many of the links in this article redirect to a specific reviewed product. Your purchase of these products through affiliate links helps to generate commission for Storables.com, at no extra cost. Learn more)
Introduction
Siding is an essential component of any home’s exterior, providing protection against the elements and enhancing the overall appearance. Over time, however, dirt, grime, mold, and mildew can accumulate on the surface, making it look dull and unattractive. To restore its beauty and prolong its lifespan, regular cleaning is necessary.
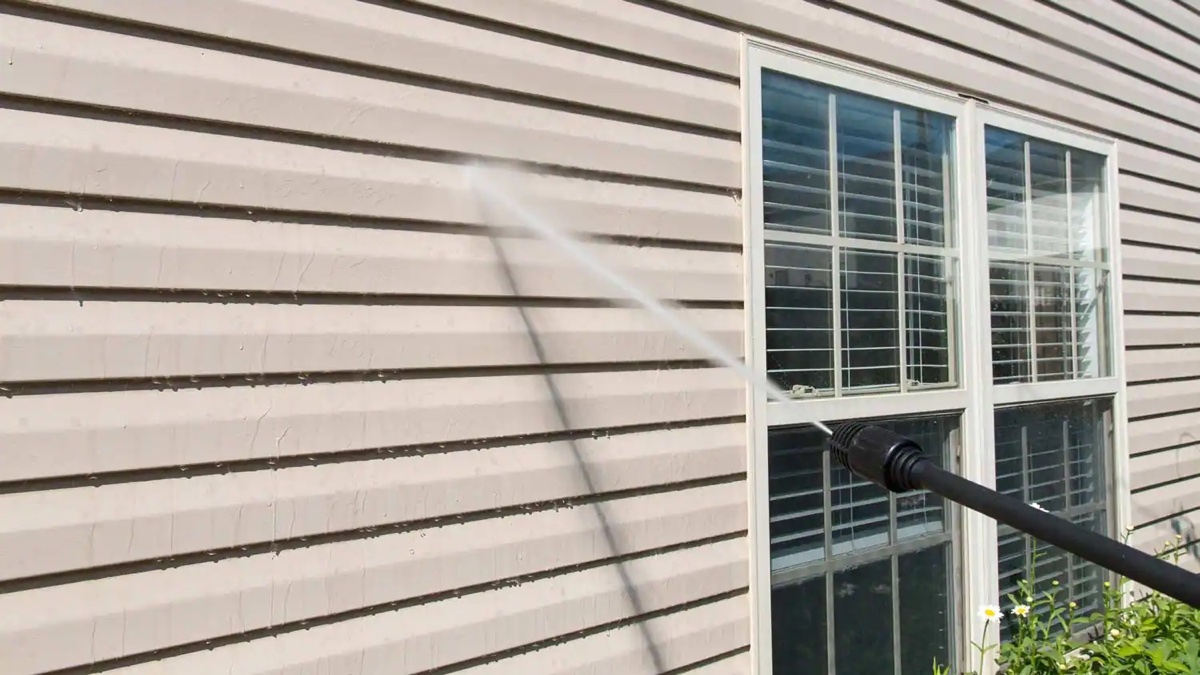
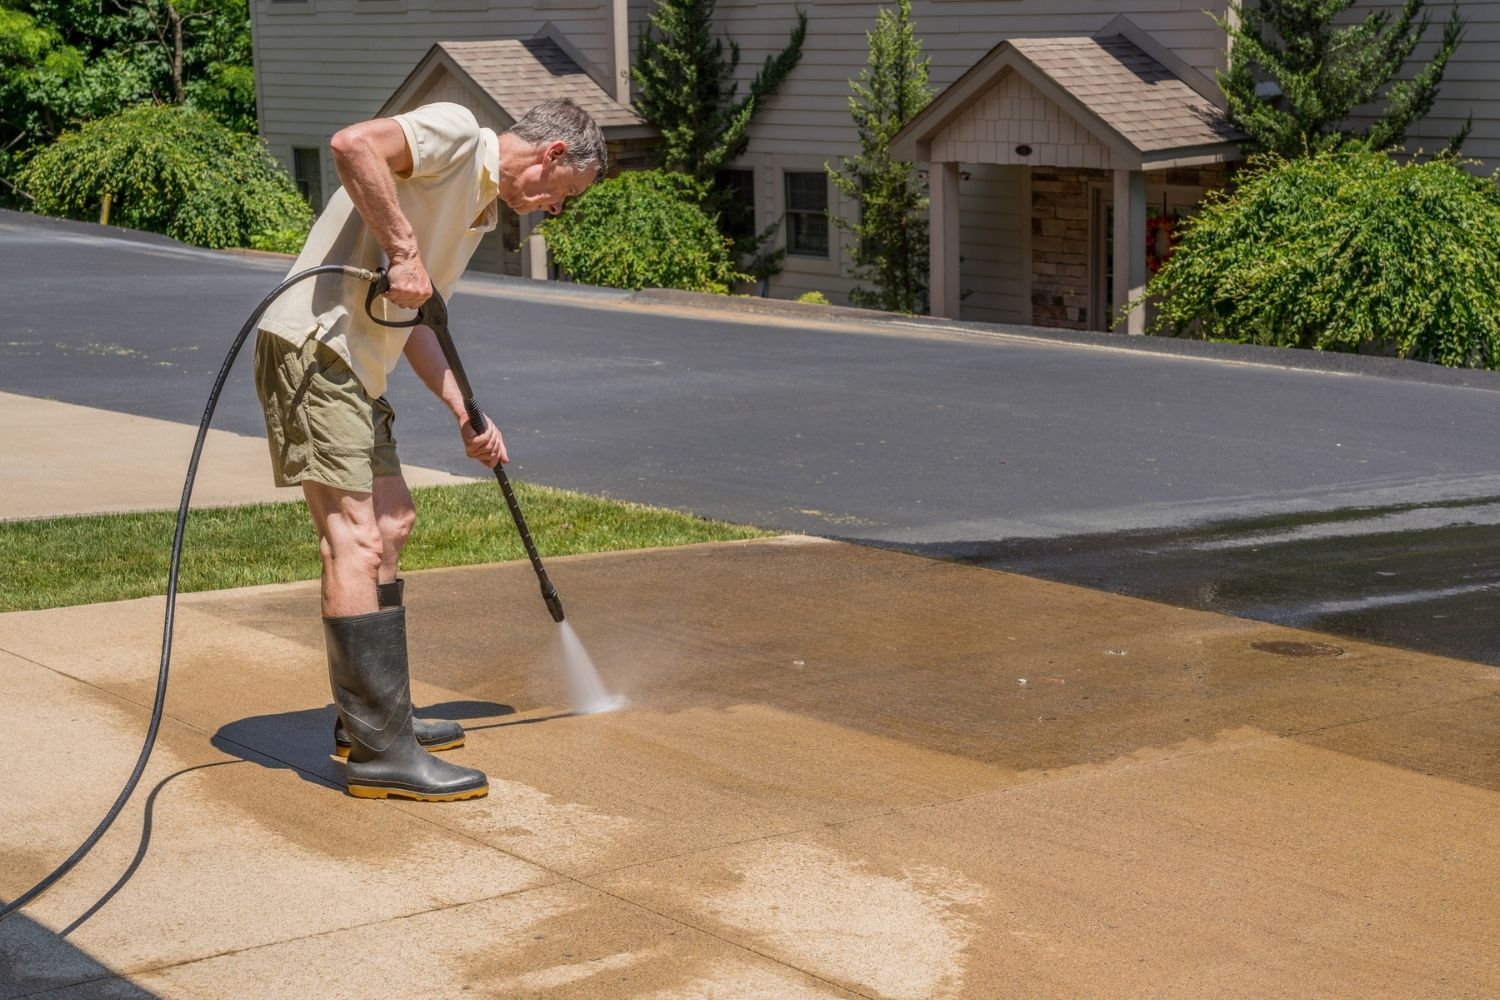
One of the most effective ways to clean siding is by using a pressure washer. A pressure washer utilizes a powerful stream of water to remove dirt and debris from the surface, leaving your siding looking fresh and rejuvenated. Not only does it save you time and effort compared to manual scrubbing, but it also provides more thorough cleaning results.
In this article, we will guide you through the process of cleaning siding with a pressure washer, ensuring that you achieve optimal results while maintaining the safety of both yourself and your home. We will provide step-by-step instructions, highlight necessary safety precautions, and offer valuable tips for post-cleaning maintenance.
By following these guidelines, you will be able to transform your dull and dirty siding into a vibrant and inviting exterior that enhances the overall curb appeal of your home. So, let’s dive into the benefits of cleaning siding with a pressure washer and the necessary precautions to take before you begin.
Key Takeaways:
- Pressure washing your siding saves time, restores appearance, prevents damage, and enhances curb appeal. Prioritize safety, gather equipment, prepare the area, and follow proper cleaning and maintenance steps for optimal results.
- Regularly inspect and clean your siding to maintain its cleanliness and address issues promptly. Consider professional maintenance for specialized care and enjoy a vibrant, well-maintained exterior that leaves a lasting impression.
Read more: How To Clean Siding Without Pressure Washer
Benefits of Cleaning Siding with a Pressure Washer
Cleaning siding with a pressure washer offers numerous benefits that make it a preferred method for homeowners. Here are some of the top advantages:
- Time and Effort Efficiency: Manual scrubbing of siding can be a labor-intensive and time-consuming task. Pressure washing, on the other hand, allows you to cover a larger surface area in a shorter amount of time. The strong water stream removes dirt and grime efficiently, reducing the need for manual scrubbing.
- Thorough Cleaning: A pressure washer delivers a high-pressure water stream that penetrates deep into the crevices and hard-to-reach areas of your siding. This ensures a thorough cleaning process, removing stubborn stains, mold, and mildew that may be hiding in the corners of your siding.
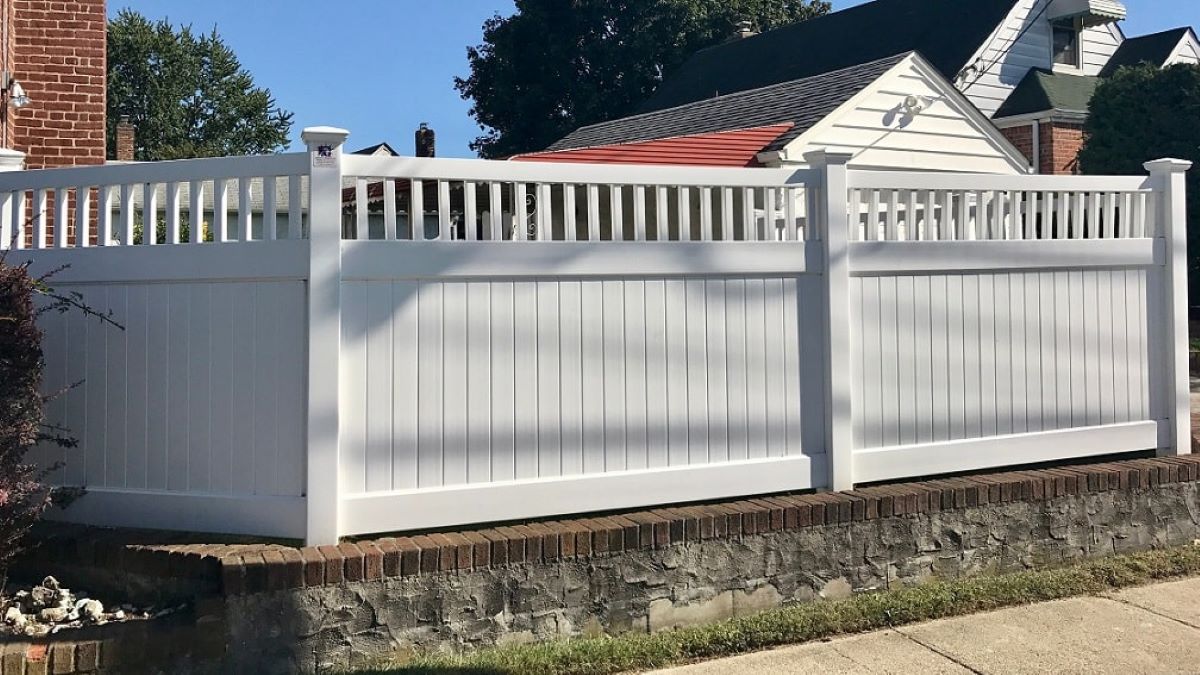
- Restores Appearance: Over time, siding can accumulate dirt, grime, and other unsightly substances that diminish its appearance. Pressure washing is highly effective in restoring the original look of your siding, leaving it clean, fresh, and vibrant.
- Prevents Damage: Regular cleaning with a pressure washer helps prevent damage to your siding. By removing dirt, mold, and mildew, you reduce the risk of these organisms causing structural damage or deteriorating the quality of your siding. This can help extend the lifespan of your siding and save you money on potential repairs or replacements.
- Improves Curb Appeal: The exterior of your home is the first thing visitors and passersby see. A clean and well-maintained siding greatly enhances your home’s curb appeal, increasing its value and making a positive impression on others.
- Cost-Effective: Hiring professional cleaners or investing in specialized cleaning products can be costly. By owning a pressure washer and cleaning your siding yourself, you can save money in the long run and maintain the cleanliness of your siding whenever it is needed.
Overall, cleaning siding with a pressure washer provides a convenient, efficient, and cost-effective solution for maintaining the beauty and durability of your home’s exterior. It is an investment that pays off in many ways, giving you a clean and appealing siding that will leave a lasting impression on anyone who sees it.
Safety Precautions Before Starting
Before you begin cleaning your siding with a pressure washer, it is crucial to prioritize safety. Here are some important precautions to keep in mind:
- Protective Gear: Wear suitable clothing, including long sleeves, pants, and closed-toe shoes. This will protect your skin from any debris or water splashes.
- Eye Protection: Safety goggles or glasses are essential to shield your eyes from the high-pressure water stream and any potential debris that may become dislodged during the cleaning process.
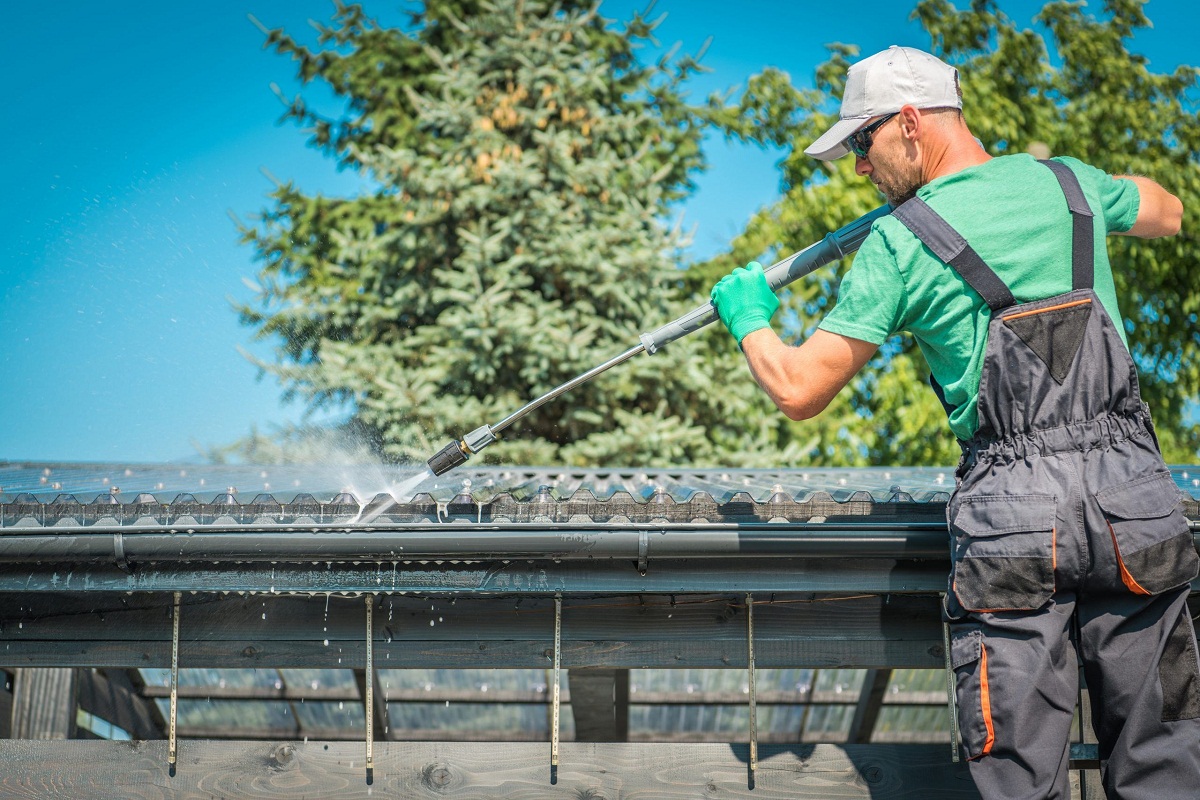
- Ladder Safety: If you need to use a ladder to reach higher areas of your siding, make sure it is in stable condition. Place it on a flat and sturdy surface, and have someone hold it steady while you work.
- Electrical Safety: Ensure that all electrical outlets and cords are away from any water sources to avoid the risk of electric shock. If using an electric pressure washer, keep the cord clear of the water stream.
- Pressure Settings: Familiarize yourself with the pressure settings and features of your pressure washer. Start with a lower pressure setting and gradually increase if necessary, being cautious not to use excessive force that may damage the siding.
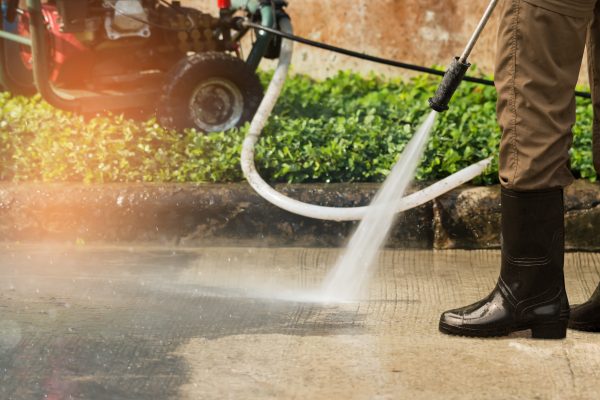
- Distance from Siding: Maintain a safe distance between the pressure washer nozzle and the siding. Depending on the power of your pressure washer, a distance of approximately 12 to 18 inches is recommended to avoid causing damage to the siding.
- Environmental Concerns: Be mindful of nearby plants, flowerbeds, and any delicate surfaces. Consider covering or protecting them before you start cleaning to prevent damage from the high-pressure water stream or cleaning solutions.
- Know Your Siding Material: Different siding materials require different cleaning approaches. Ensure that you are aware of the specific recommendations for your siding material to prevent any potential damage or discoloration.
By following these safety precautions, you can minimize the risk of accidents, injuries, and damage to your property. It is essential to prioritize your safety and the safety of those around you while achieving a clean and beautiful siding.
Step 1: Gather Required Equipment and Materials
Before you begin cleaning your siding with a pressure washer, it’s important to gather all the necessary equipment and materials. Here’s a list of what you’ll need:
- Pressure Washer: Choose a pressure washer with a PSI (pounds per square inch) rating suitable for your siding material. A pressure washer with adjustable pressure settings is ideal for more control.
- Nozzles: Most pressure washers come with different nozzle attachments for various spray patterns. The appropriate nozzle for cleaning siding is usually a 25° or 40° angle nozzle.
- Extension Wand: An extension wand or telescoping wand can help you reach higher areas of your siding without the need for a ladder.
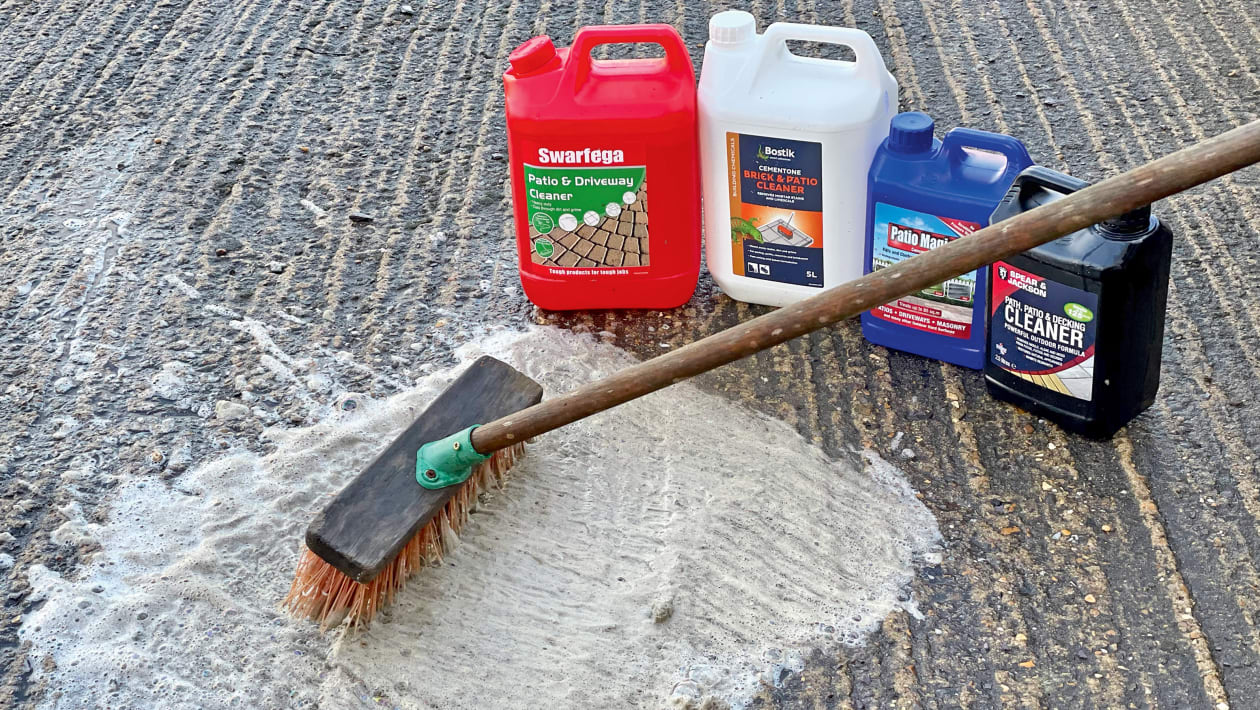
- Siding Cleaner or Detergent: Choose a siding cleaner or detergent specifically designed for pressure washing. Look for formulas that are safe for your siding material.
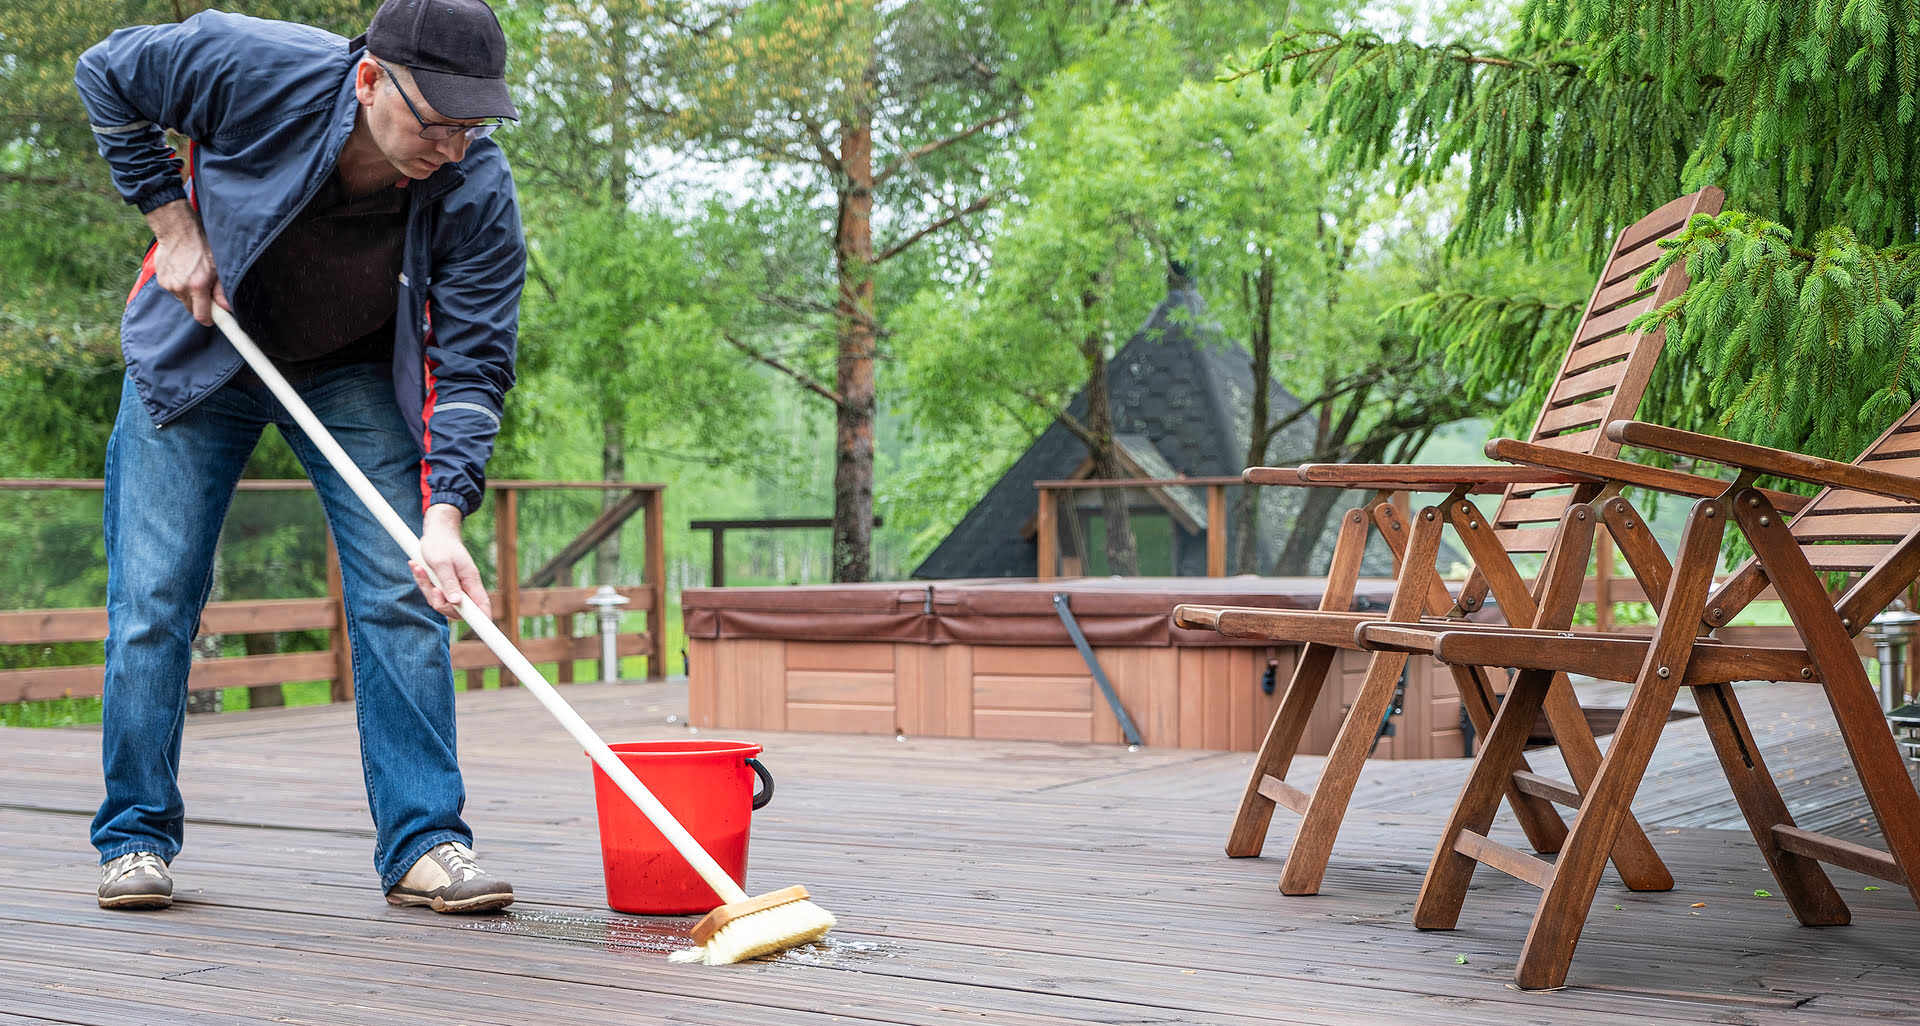
- Bucket and Brush: A bucket for mixing the detergent and a brush with soft bristles for scrubbing stubborn stains or areas that require extra attention.
- Protective Gear: Wear long sleeves, pants, closed-toe shoes, safety goggles or glasses, and gloves to protect yourself from debris and the cleaning solution.
- Ladder: If needed, have a stable ladder on hand to safely reach higher sections of the siding.
- Tarp or Plastic Sheeting: Cover any delicate plants, flowerbeds, or areas that you want to protect from the cleaning solution or debris.
By having all the necessary equipment and materials ready, you can ensure a smooth and efficient cleaning process without any interruptions. Once you’ve gathered everything, move on to the next step of preparing the area before starting the pressure washing.
Step 2: Prepare the Area
Before you start pressure washing the siding, it’s important to properly prepare the surrounding area. Follow these steps to ensure a safe and efficient cleaning process:
- Remove Obstacles: Clear the area around the siding of any obstacles such as furniture, decorations, or outdoor equipment. This will make it easier to maneuver and access all areas while pressure washing.
- Cover Electrical Outlets: If there are any electrical outlets or outdoor light fixtures near the siding, cover them with plastic or waterproof tape to protect them from water splashes.
- Close Windows and Doors: Make sure all windows and doors are securely closed to prevent water from entering your home. If needed, cover them with plastic sheeting for extra protection.
- Protect Nearby Plants and Surfaces: Cover any nearby plants or delicate surfaces, such as patio furniture or outdoor decor, with tarps or plastic sheeting. This will protect them from the cleaning solution or debris that may be generated during the pressure washing process.
- Inspect Siding for Damage: Take a close look at your siding for any signs of damage, such as cracks, loose panels, or gaps. If you notice any issues, repair or replace the damaged areas before proceeding with the pressure washing.
- Secure Loose Objects: If you have any loose objects, such as window screens or outdoor fixtures, secure them properly or remove them temporarily to prevent them from being damaged during the cleaning process.
By taking the time to prepare the area properly, you’ll minimize the risk of accidents, protect your property, and ensure a more effective and efficient cleaning process. Once the area is prepared, you’re ready to move on to the next step of preparing the pressure washer for use.
Read more: How To Clean Stucco With Pressure Washer
Step 3: Preparing the Pressure Washer
With the area prepared, it’s time to get your pressure washer ready for use. Follow these steps to ensure proper setup and preparation:
- Read the Manual: Familiarize yourself with the manufacturer’s instructions and recommendations for your specific pressure washer model. This will ensure you understand how to operate it safely and effectively.
- Connect Water Supply: Attach a garden hose to the water supply inlet on the pressure washer. Ensure the connection is secure and there are no leaks.
- Prime the System: Once the water supply is connected, turn on the water source and allow it to flow through the pressure washer to prime the system. This will ensure a constant water supply during the cleaning process.
- Attach the Nozzle: Choose the appropriate nozzle for cleaning siding, such as a 25° or 40° angle nozzle. Attach it securely to the end of the pressure washer wand.
- Test the Pressure: Before you start pressure washing the siding, test the pressure by spraying a small area on the ground or a less visible part of the siding. Adjust the pressure setting if needed, ensuring it is not too high to avoid damaging the siding.
- Mix Detergent: If using a siding cleaner or detergent, mix it according to the manufacturer’s instructions. Some pressure washers have a built-in detergent tank, while others require a separate detergent dispenser attachment.
- Attach Detergent Dispenser (if applicable): If using a separate detergent dispenser, attach it to the pressure washer following the manufacturer’s instructions. Make sure the detergent line is securely connected.
By properly preparing your pressure washer, you’ll ensure that it is functioning correctly and ready to deliver the necessary power and cleaning solution to effectively clean your siding. Once the pressure washer is prepared, you can move on to the next step of applying the detergent to the siding.
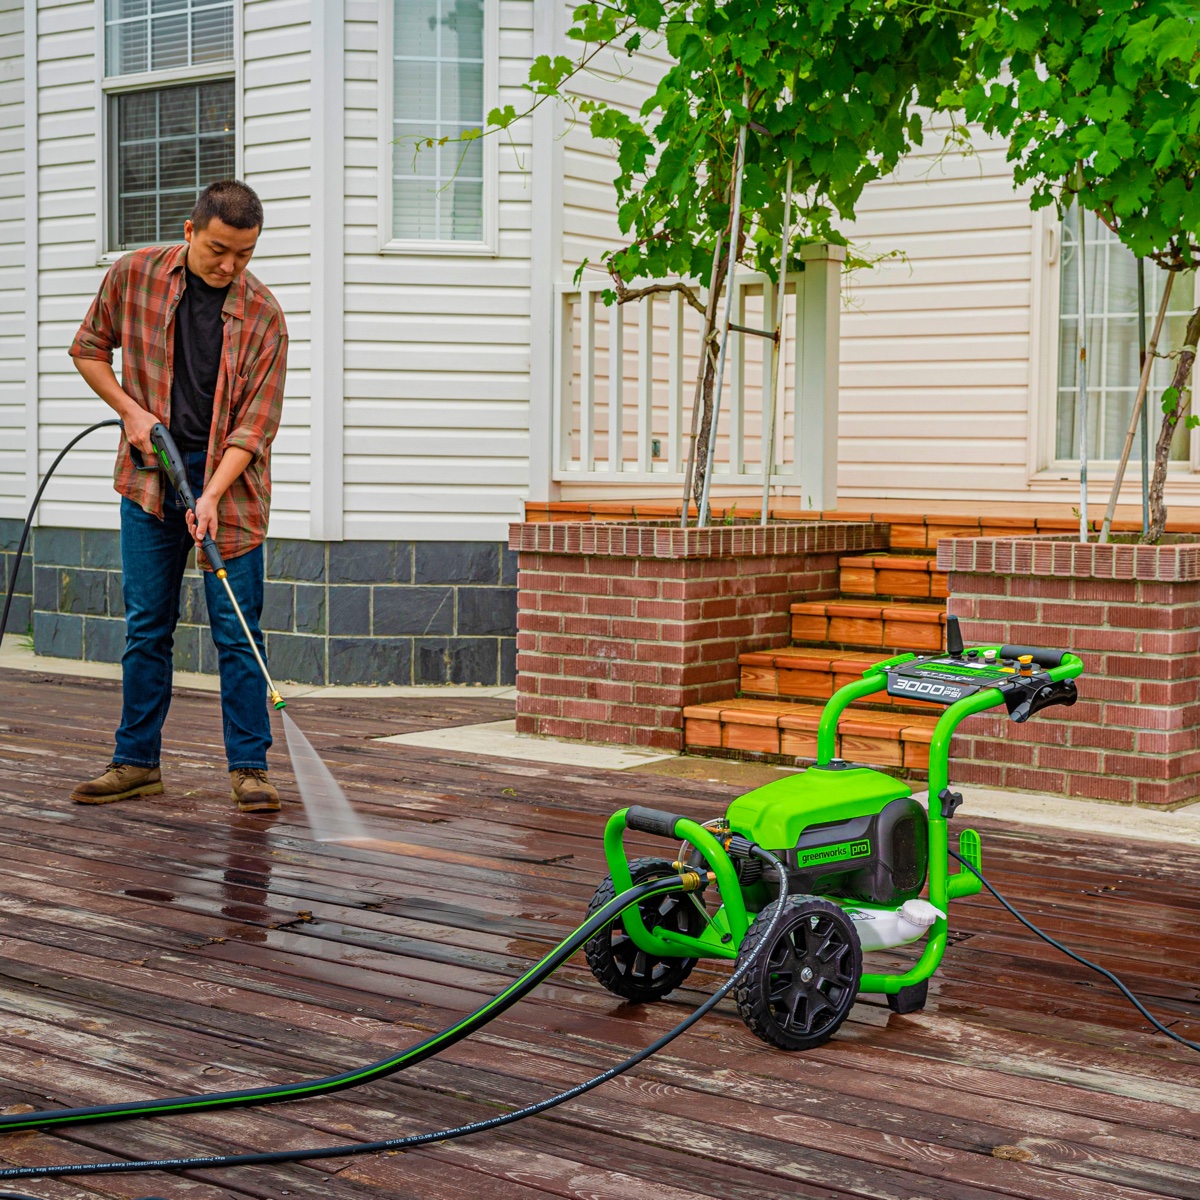
When using a pressure washer to clean siding, start from the top and work your way down to prevent streaking. Use a low-pressure nozzle and keep the wand at a consistent distance from the surface for even cleaning.
Step 4: Applying Detergent
Once your pressure washer is prepared, it’s time to apply the detergent to the siding. Follow these steps for effective application:
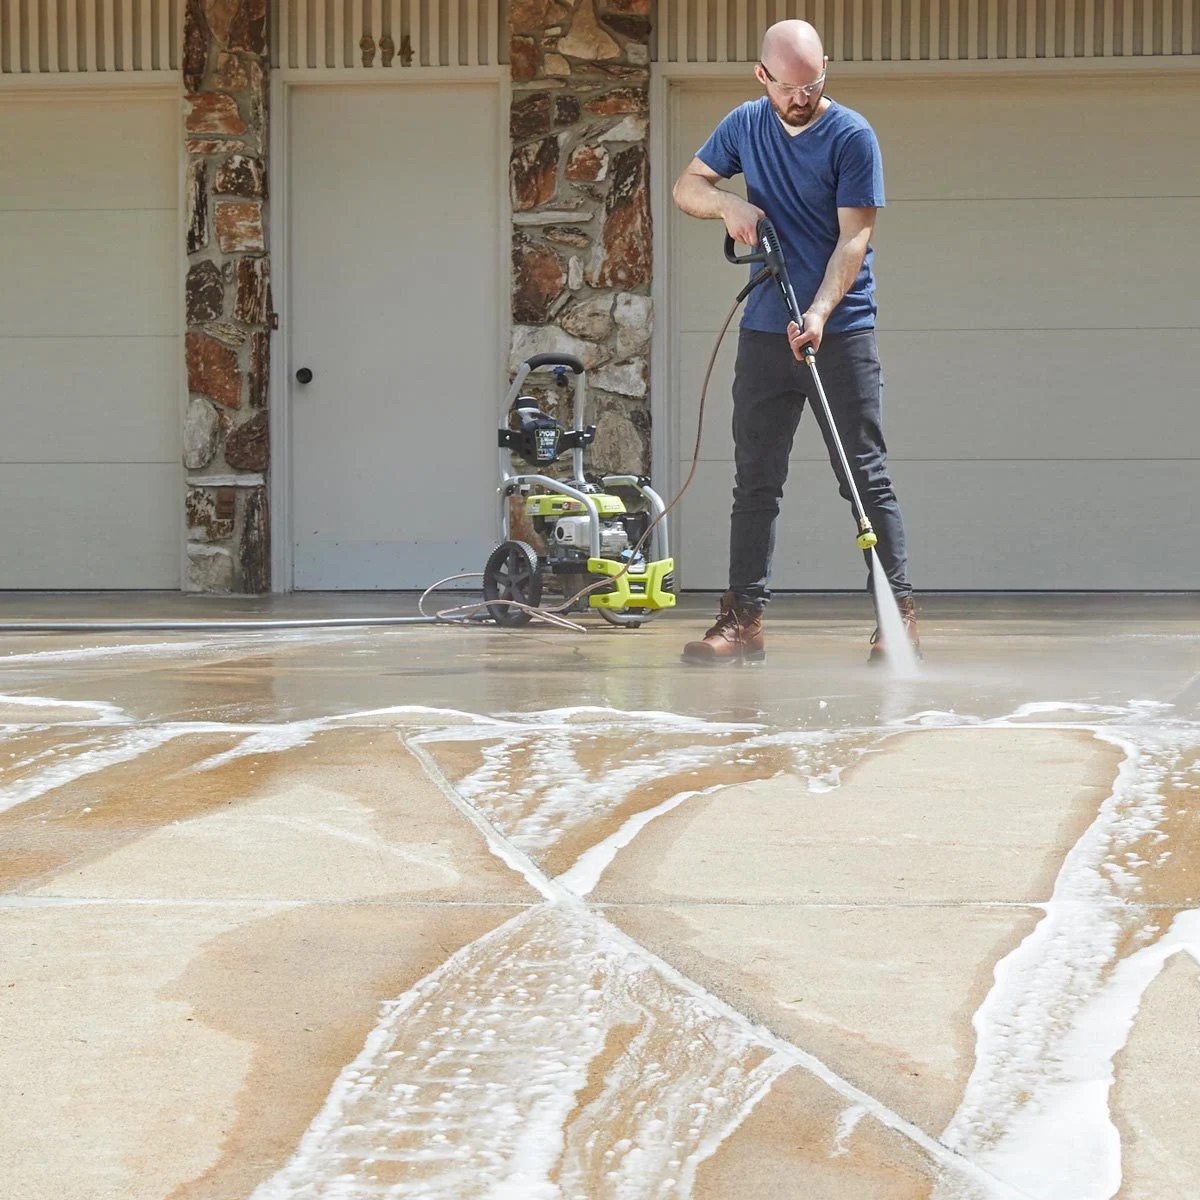
- Start from the Bottom: Begin applying the detergent from the bottom of the siding and work your way up. This ensures that the entire surface is properly cleaned and allows the detergent to penetrate any stubborn stains or grime.
- Apply in Sections: Work in small sections, typically 4 to 5 feet wide, to ensure that the detergent does not dry on the siding before you can wash it off.
- Use a Low Pressure Setting: Switch to a low-pressure setting or adjust the pressure accordingly for the application of detergent. This allows for better coverage and helps prevent any damage to the siding.
- Apply Evenly: Use consistent and overlapping strokes to ensure even coverage of the detergent. This will ensure that all areas of the siding are treated and ready for the next step of pressure washing.
- Avoid Direct Contact with Windows, Doors, and Vents: Take care not to let the detergent come into direct contact with windows, doors, or vents, as it may cause damage. If necessary, cover these areas with plastic sheeting for added protection.
- Allow Detergent to Sit: Depending on the manufacturer’s instructions, allow the detergent to sit on the siding for the recommended amount of time. This allows it to break down dirt and stains for easier removal.
By applying the detergent properly, you’ll ensure that the siding is thoroughly treated and ready for the next step of pressure washing. The detergent will help break down and loosen dirt, grime, and stains, making the cleaning process more efficient and effective. Once the detergent has had sufficient time to work, you can proceed to the next step of washing the siding with the pressure washer.
Step 5: Washing the Siding
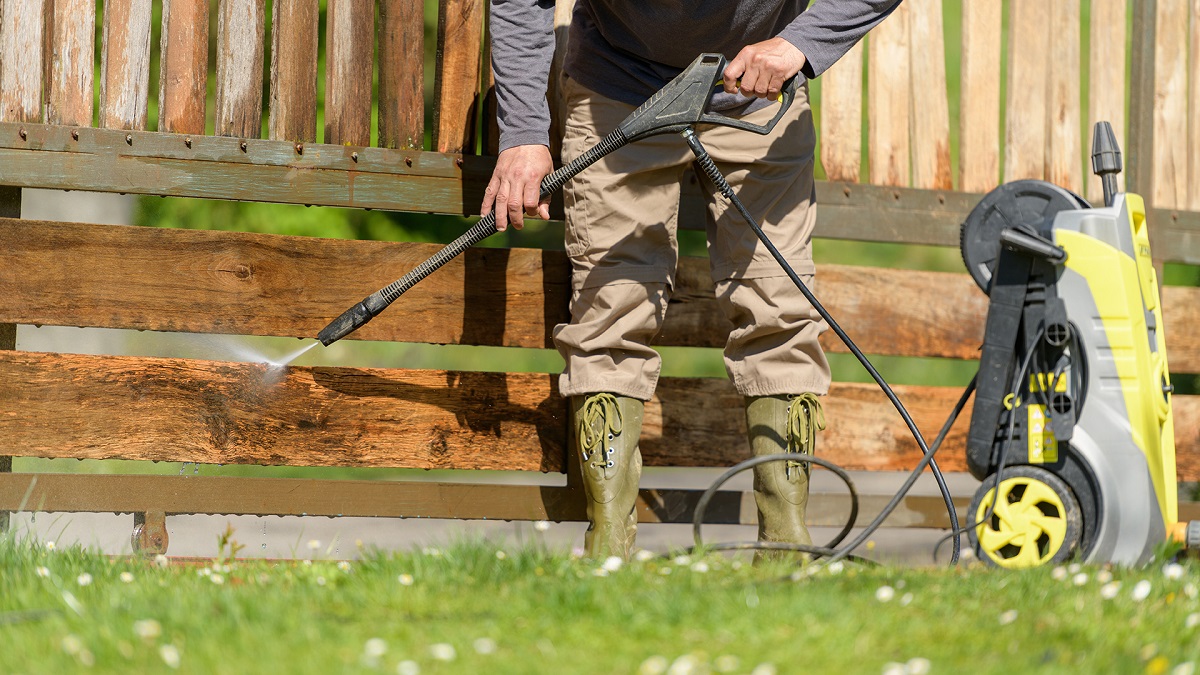
With the detergent applied, it’s time to start washing the siding with the pressure washer. Follow these steps for a thorough and effective cleaning:
- Start from the Top: Begin washing the siding from the top and work your way down. This allows the dirt and debris to flow downward, preventing streaking and ensuring a more even cleaning.
- Hold the Nozzle at a 45-Degree Angle: Hold the pressure washer wand at a 45-degree angle to the siding. This angle helps to direct the water stream efficiently and prevent any damage to the siding.
- Move in Smooth, Overlapping Strokes: Move the pressure washer wand in smooth and overlapping strokes, covering one section at a time. This ensures that every inch of the siding is thoroughly cleaned.
- Pause on Stubborn Stains: If you encounter stubborn stains or areas that require extra attention, pause and concentrate the water stream on those areas. Use gentle and controlled bursts to avoid any damage to the siding.
- Work in Small, Manageable Sections: Divide the siding into small, manageable sections to ensure more efficient and thorough cleaning. This also prevents the detergent from drying on the siding before you can rinse it off.
- Check for Uniform Cleaning: Periodically stop and evaluate the cleanliness of the siding. Ensure that there are no streaks or missed spots, and repeat the pressure washing process if necessary.
During the washing process, it’s important to maintain a safe distance from the siding to prevent any damage. Remember to always keep the pressure washer wand at a 45-degree angle and adjust the pressure setting as needed.
By following these steps, you can effectively wash the siding and remove dirt, grime, mold, and other buildup, restoring its original cleanliness and luster.
Once you have completed the pressure washing, it’s time to move on to the next step of rinsing off the detergent for a spotless finish.
Step 6: Rinsing Off the Detergent
After washing the siding with the pressure washer and applying detergent, it’s crucial to thoroughly rinse off the detergent for a spotless finish. Follow these steps to ensure proper rinsing:
- Switch to a Clean Water Setting: Remove the detergent dispenser attachment (if applicable) and switch the pressure washer to a clean water setting. This will allow for a final rinse without any detergent residue.
- Start from the Top: Begin rinsing the siding from the top and work your way down. This ensures that any remaining detergent is washed away, allowing for a streak-free and clean appearance.
- Use the Same Technique as Washing: Hold the pressure washer wand at a 45-degree angle and use the same smooth, overlapping strokes as you used during the washing process. This ensures even rinsing and removes any remaining dirt or debris.
- Pay Attention to Corners and Crevices: Focus on corners, crevices, and hard-to-reach areas that may still have detergent residue. Direct the water stream carefully into these areas to ensure thorough rinsing.
- Check for Residue: Periodically check the siding for any remaining detergent residue. If you notice any streaks or spots, go over those areas again with the pressure washer until they are completely rinsed off.
Proper rinsing is crucial to remove all traces of detergent from the siding. By following these steps, you can ensure a clean and residue-free finish, maintaining the aesthetic appeal of your siding.
Once you have rinsed off the detergent, it’s time to move on to the final step of post-cleaning maintenance to keep your siding in great condition.
Read more: How To Clean Decking With A Pressure Washer
Step 7: Post-Cleaning Maintenance
After completing the pressure washing and rinsing process, it’s important to perform post-cleaning maintenance to keep your siding in excellent condition. Follow these steps for effective maintenance:
- Inspect for Any Damage: Take a close look at your siding for any signs of damage or areas that may need repairs. Look for loose panels, cracks, or gaps, and address any issues promptly to avoid further damage.
- Remove Excess Water: Use a soft, absorbent cloth or towel to wipe away any excess water from the siding. This prevents water spots or streaks from forming as the siding dries.
- Allow the Siding to Dry: Allow the siding to dry completely before considering any additional treatments or touching it. This ensures that any remaining moisture evaporates before you proceed.
- Consider Protective Coatings: Depending on the type of siding material, you may want to apply protective coatings or sealants to enhance its durability and resistance to dirt and stains. Consult the manufacturer’s recommendations for the appropriate products and application methods.
- Regularly Inspect and Clean: Make it a habit to regularly inspect your siding for any accumulation of dirt, grime, or mildew. Address any issues promptly to prevent them from becoming more challenging to remove.
- Maintain Landscaping: Trim any overhanging tree branches or shrubs that may touch or scrape against the siding. This minimizes the risk of scratches and allows for proper airflow and sunlight exposure to prevent mold and mildew growth.
- Consider Professional Maintenance: If you’re unsure about performing ongoing maintenance yourself or if your siding requires specialized care, consider hiring professional cleaners who specialize in siding maintenance and restoration.
By following these post-cleaning maintenance practices, you can prolong the life and appearance of your siding. Regular inspections and cleaning will help you detect and address any issues before they escalate, ensuring that your siding remains in optimal condition.
With the completion of post-cleaning maintenance, you can now enjoy the clean and refreshed look of your siding, enhancing the overall aesthetic appeal of your home.
Conclusion
Cleaning your siding with a pressure washer can transform the appearance of your home’s exterior, restoring its beauty and protecting it from damage. By following the step-by-step guide outlined in this article, you can effectively clean your siding while maintaining safety and achieving optimal results.
Using a pressure washer offers numerous benefits, including saving time and effort, providing thorough cleaning, restoring the appearance of your siding, preventing damage, improving curb appeal, and being a cost-effective solution. It is a worthwhile investment that pays off with a clean and vibrant exterior.
Before you start cleaning, it’s crucial to take safety precautions, such as wearing protective gear, securing ladders, ensuring electrical safety, and being cautious of pressure settings. These precautions will help you avoid accidents and protect yourself and your property.
Gathering the necessary equipment and materials, preparing the area, and properly setting up your pressure washer are crucial steps in the cleaning process. Applying detergent, washing the siding, rinsing off the detergent, and performing post-cleaning maintenance are essential to ensure a thorough and lasting clean.
Maintaining your siding’s cleanliness and addressing any issues promptly through regular inspections and cleaning will prolong its lifespan and preserve its overall condition. If in doubt, consider seeking professional assistance for specialized care or if you are unsure about performing ongoing maintenance.
By following these guidelines, you can enjoy a beautiful, clean, and well-maintained siding that enhances the curb appeal of your home and leaves a lasting impression on all who see it.
Frequently Asked Questions about How To Clean Siding With Pressure Washer
Was this page helpful?
At Storables.com, we guarantee accurate and reliable information. Our content, validated by Expert Board Contributors, is crafted following stringent Editorial Policies. We're committed to providing you with well-researched, expert-backed insights for all your informational needs.
0 thoughts on “How To Clean Siding With Pressure Washer”