Articles
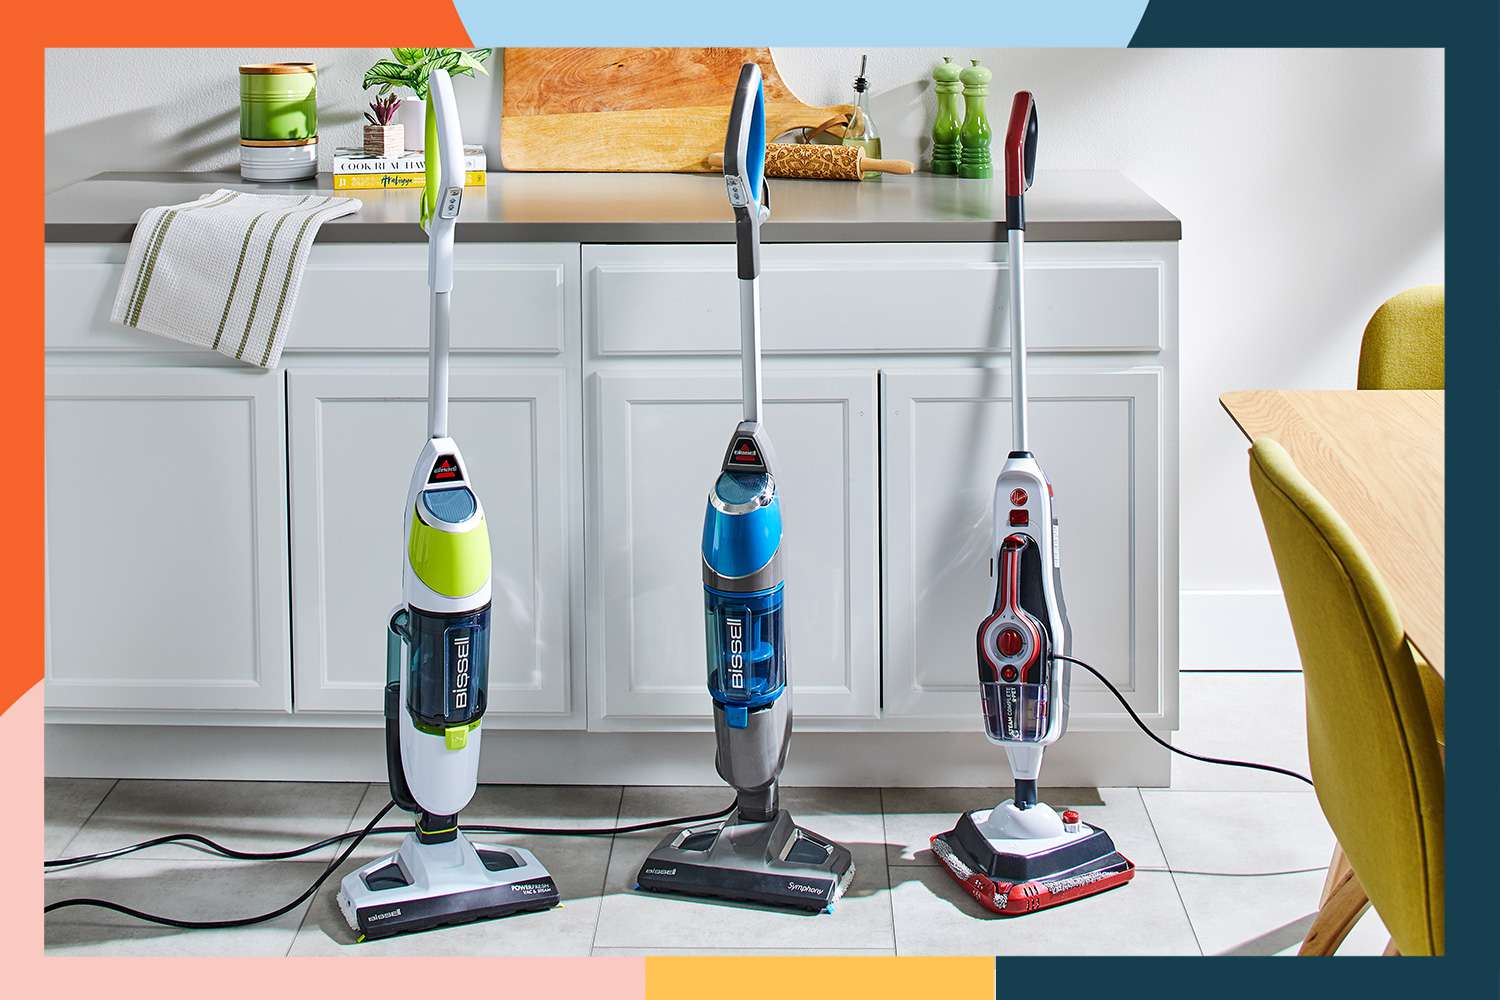
How To Clean Out A Steamer
Modified: February 20, 2024
Learn the best techniques and tips for cleaning out a steamer with these informative articles. Ensure your steamer is in top shape for efficient and effective use.
(Many of the links in this article redirect to a specific reviewed product. Your purchase of these products through affiliate links helps to generate commission for Storables.com, at no extra cost. Learn more)
Introduction
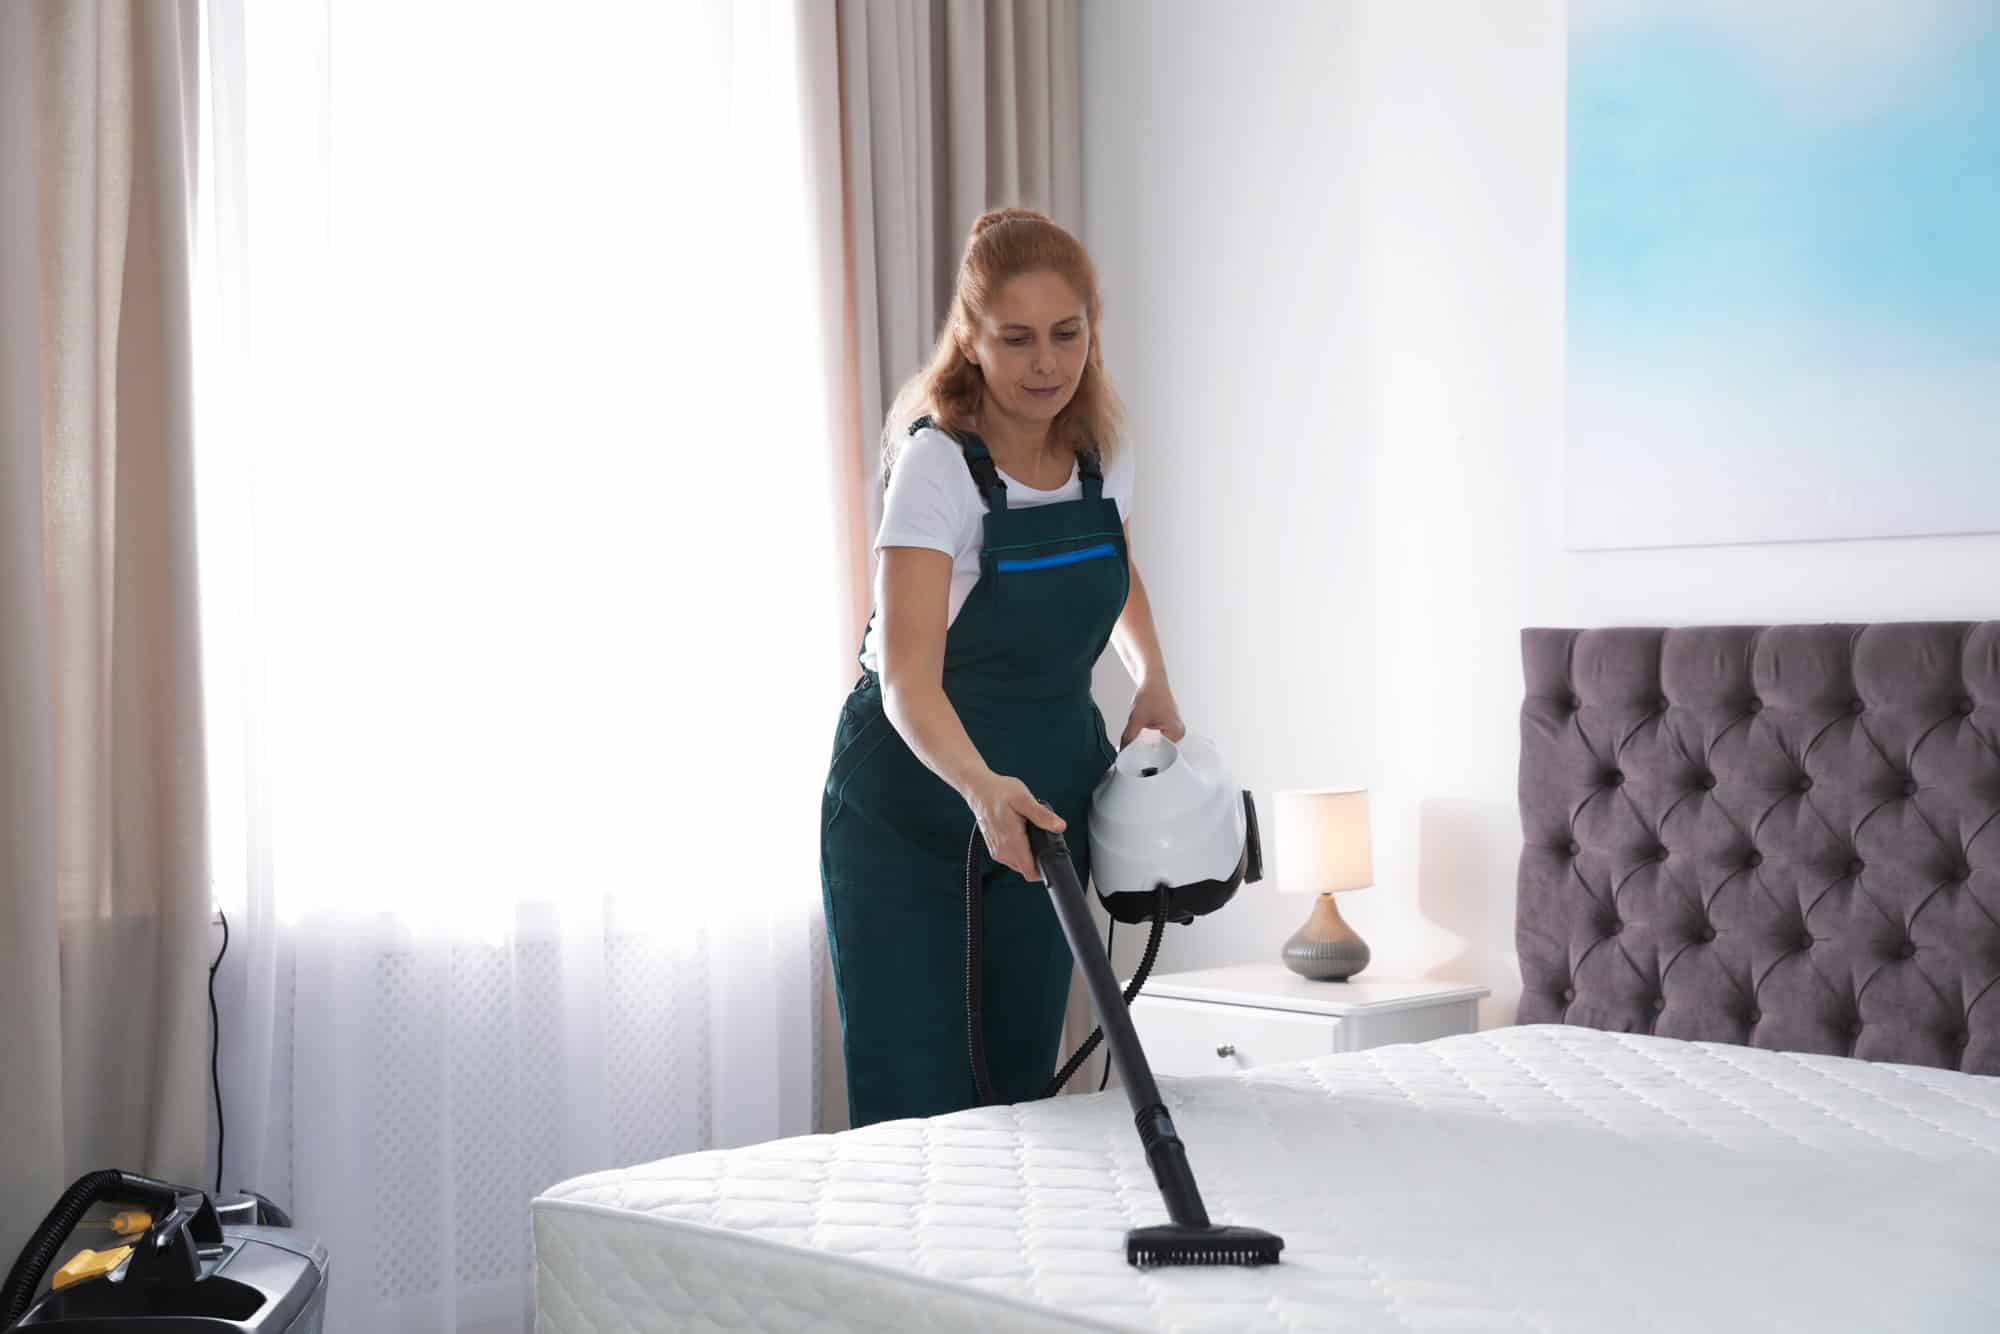
Steamers are a popular and convenient appliance for removing wrinkles and freshening up clothing, drapes, and upholstery. However, like any household appliance, they require regular maintenance to ensure optimal performance and longevity. One essential aspect of steamer maintenance is cleaning out the steamer regularly.
In this article, we will outline a step-by-step guide on how to clean out a steamer effectively. By following these simple yet effective cleaning methods, you can keep your steamer in top-notch condition and ready for use whenever you need it.
Key Takeaways:
- Regularly cleaning your steamer with distilled water, vinegar, and gentle tools ensures optimal performance and longevity, while also contributing to better hygiene and extending its lifespan.
- Thoroughly cleaning and testing your steamer, including its water tank, accessories, and tubing, guarantees a wrinkle-free and fresh-looking wardrobe, while also maintaining the appliance’s efficiency and reliability.
Read more: How To Clean Clothes Steamer
Step 1: Gather the necessary supplies
Before you begin cleaning your steamer, it’s important to gather all the necessary supplies. Having everything on hand will ensure a smooth and efficient cleaning process. Here are the supplies you’ll need:
- Distilled water: Distilled water is recommended for cleaning your steamer as it doesn’t contain any minerals or impurities that could clog the steamer’s components.
- Vinegar or descaling solution: Depending on the type of steamer you have, you may need vinegar or a descaling solution to remove mineral buildup and maintain the steamer’s performance.
- Microfiber cloth or soft sponge: These gentle cleaning tools will help remove dirt and grime from the steamer’s surfaces without causing any damage.
- Cotton swabs: Cotton swabs are perfect for reaching into small crevices and corners to remove any debris.
- Old toothbrush: An old toothbrush can be handy for scrubbing away stubborn stains or buildup.
Once you’ve gathered these supplies, you’re now ready to move on to the next step: disconnecting the steamer from the power source.
Step 2: Disconnect the steamer from the power source
Prior to cleaning your steamer, it’s crucial to disconnect it from the power source to ensure your safety. Unplugging the steamer will prevent any accidents or injuries while you are handling and cleaning the appliance.
If your steamer has a detachable water tank, ensure that it is empty before disconnecting the appliance. Carefully remove the tank from the steamer and empty any remaining water into a sink or drain. This step will prevent any spillage or leakage while you clean the steamer.
Once the steamer is unplugged and the water tank is empty, you can proceed to the next step: cleaning out the water tank.
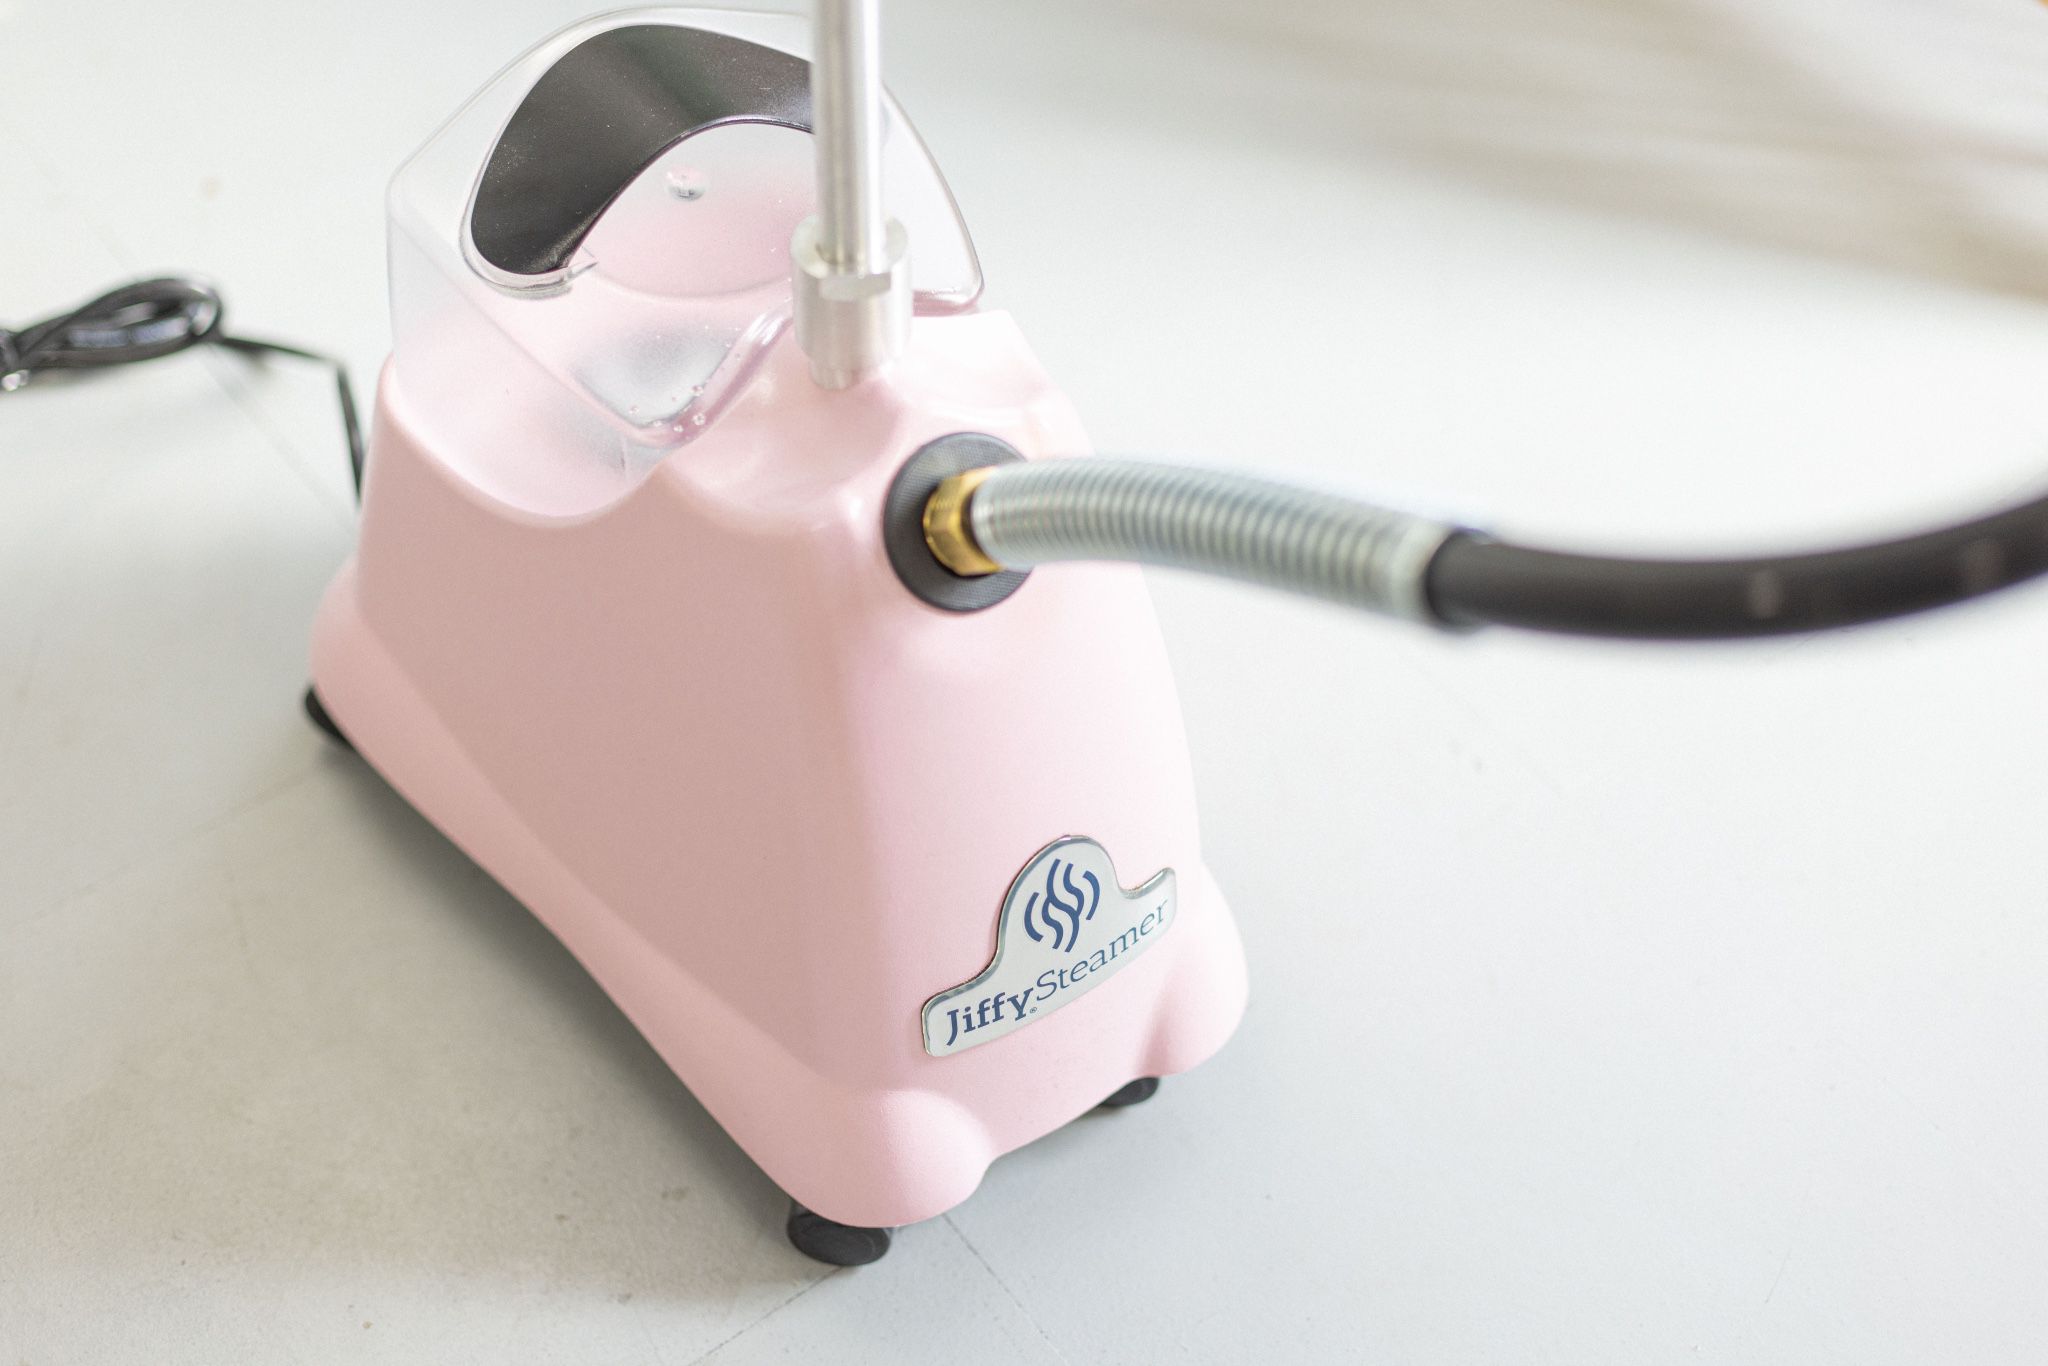
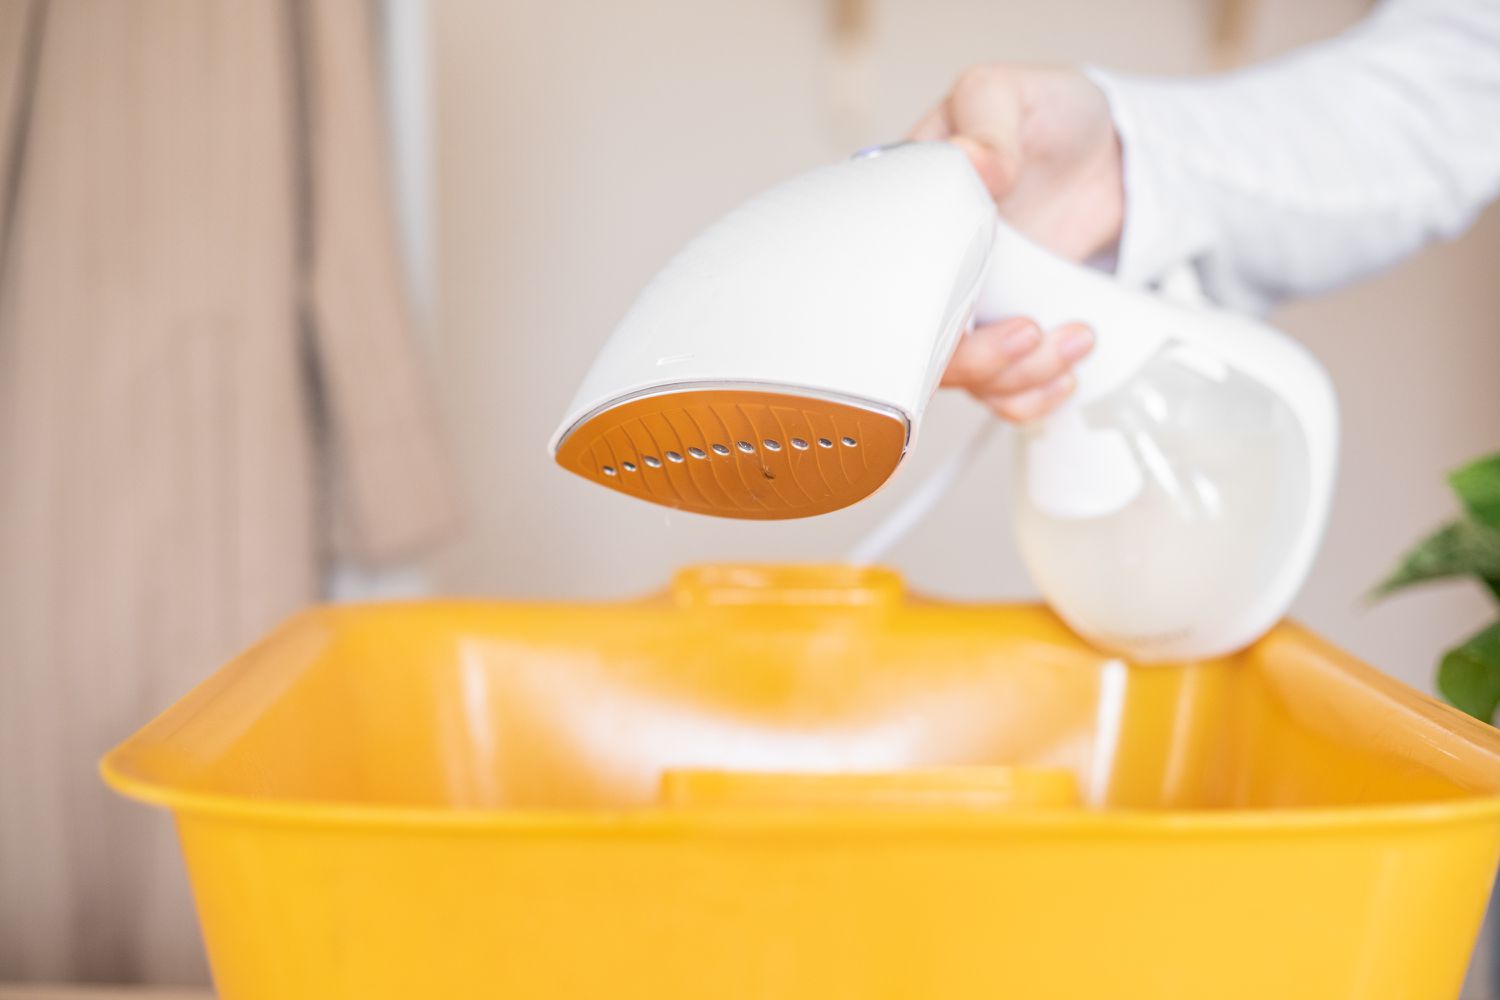
Step 3: Empty and clean out the water tank
The water tank of your steamer plays a crucial role in producing the steam needed for wrinkle removal. Over time, mineral deposits and impurities from the water can accumulate inside the tank, affecting the steamer’s performance. To ensure optimal functioning, it’s essential to regularly empty and clean out the water tank.
To start, remove the water tank from the steamer if it is detachable. Carefully pour out any remaining water into a sink or drain. If your steamer has a non-removable tank, consult the user manual for instructions on how to empty it.
Once the tank is empty, fill it with a mixture of distilled water and vinegar. The vinegar will help remove any mineral buildup in the tank. Alternatively, if your steamer has a descaling solution recommended by the manufacturer, follow the instructions and use the solution instead.
Allow the water tank to sit for about 15-20 minutes to allow the vinegar or descaling solution to break down the mineral deposits. Afterward, empty the water tank and rinse it thoroughly with clean water to remove any remaining vinegar or solution residue.
Use a microfiber cloth or a soft sponge to wipe the inner and outer surfaces of the water tank. Pay close attention to any stubborn residue and gently scrub it away with an old toothbrush or a cotton swab.
Once the tank is clean and free of any residue, leave it to air dry completely before reattaching it to the steamer. This ensures that no moisture is left inside the tank, which could lead to mold or bacterial growth.
With the water tank now clean and dry, you can move on to the next step: removing accessories and detachable parts.
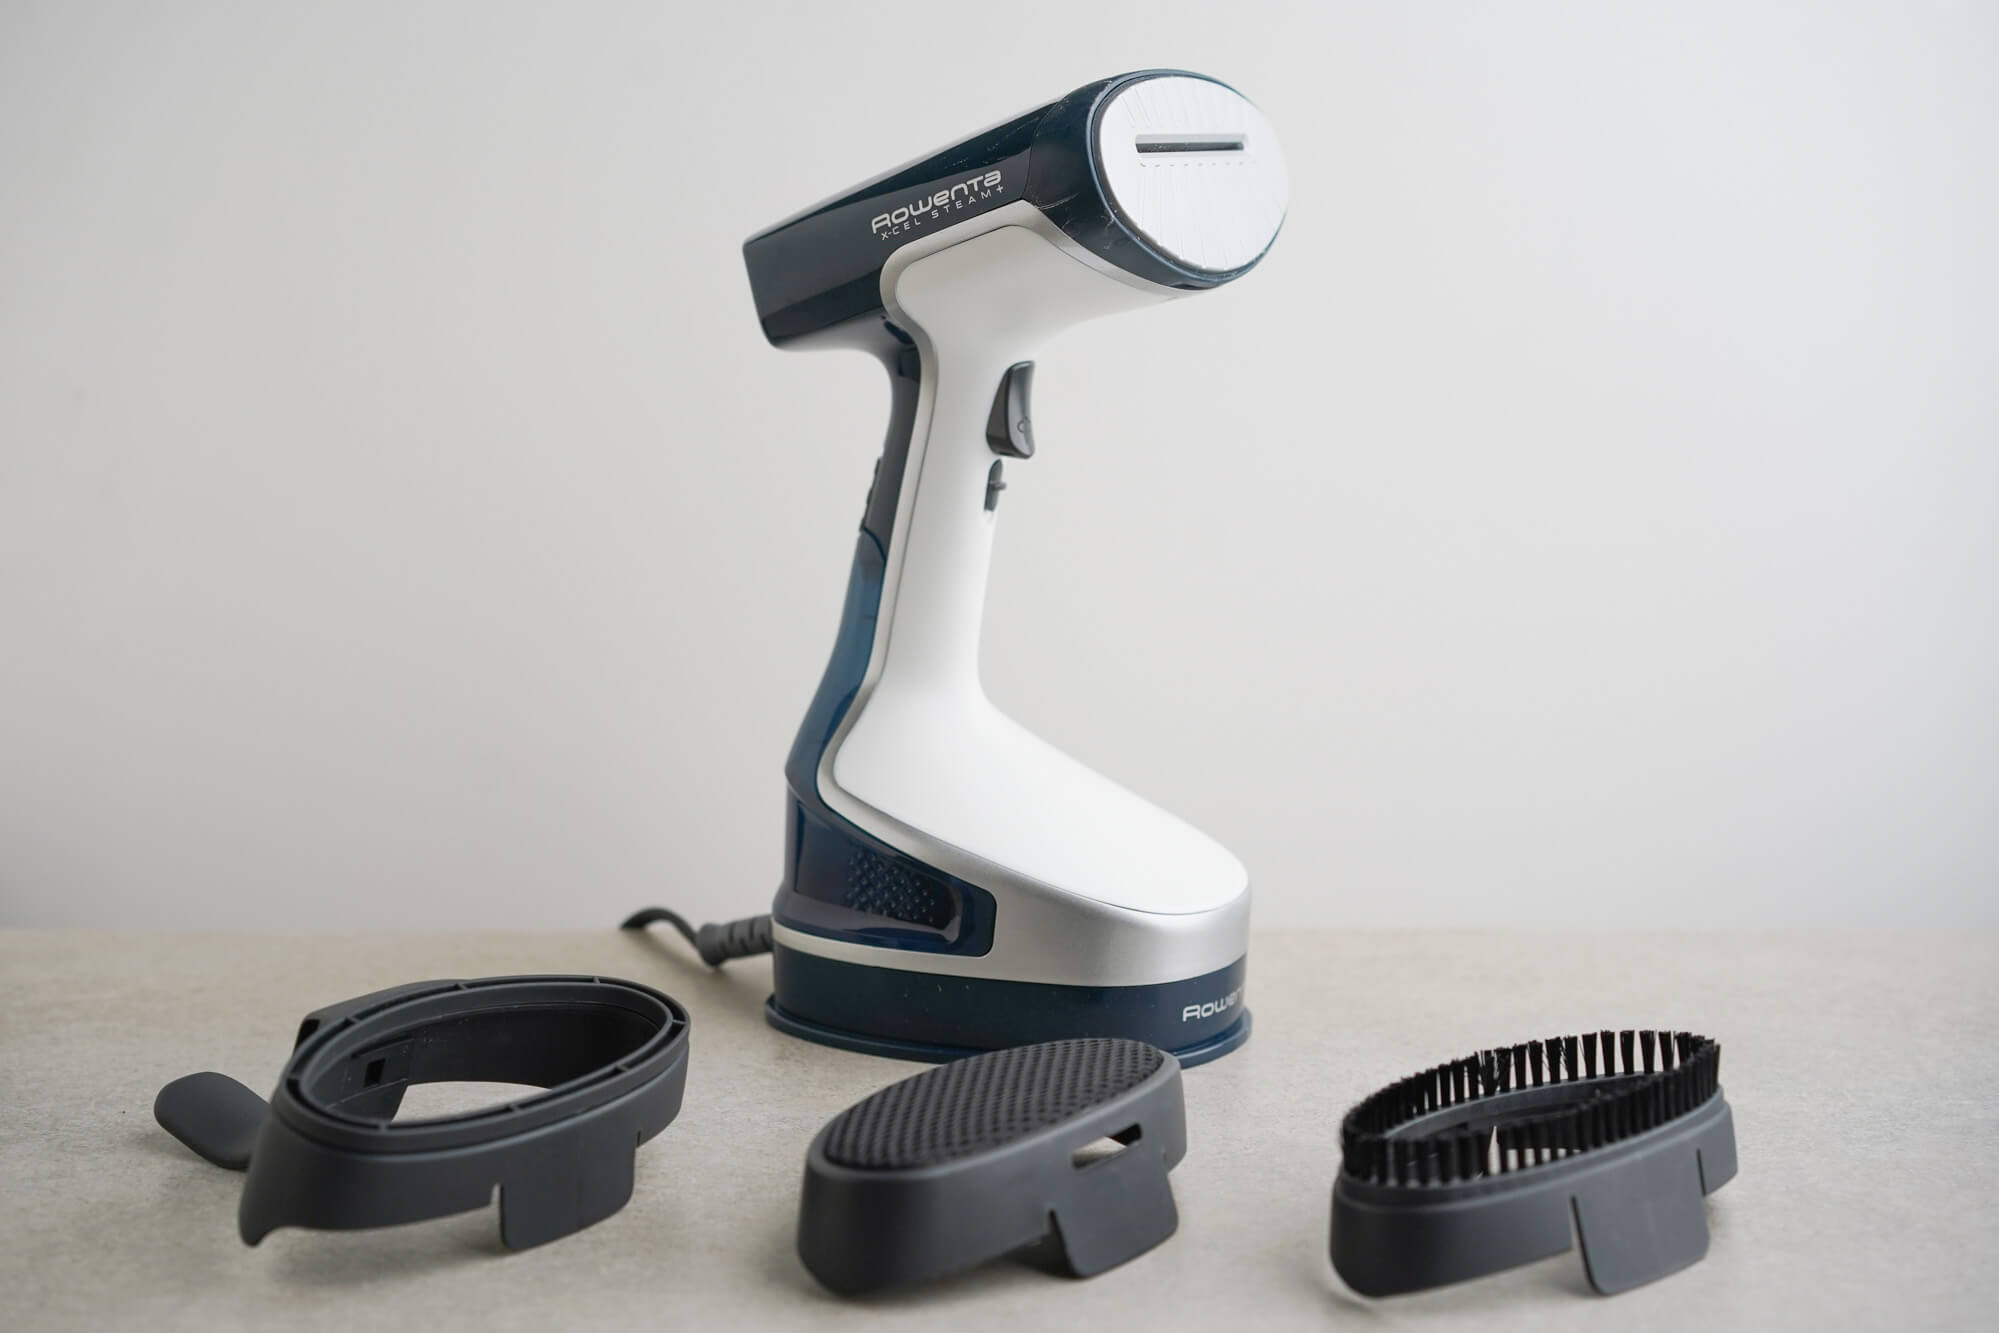
Step 4: Remove accessories and detachable parts
Now that you have cleaned the water tank, it’s time to focus on the accessories and detachable parts of your steamer. These components can accumulate dirt, lint, and other debris over time, which can affect the steamer’s performance and hygiene.
Start by referring to the user manual for guidance on removing the different accessories and detachable parts of your steamer. Common components that may need cleaning include the steam head or nozzle, brush attachments, and fabric brush.
Gently detach each accessory or part according to the manufacturer’s instructions. Take extra care when handling fragile components to avoid any damage.
Once removed, inspect each accessory for any visible dirt, lint, or residue. Use a microfiber cloth or a soft sponge to wipe away any visible dirt or debris.
If the accessories are particularly dirty, you can also wash them with a mild soap and water solution. Use a gentle scrub brush or your fingers to clean them thoroughly, and then rinse them off with clean water.
Leave the accessories and detachable parts to air dry completely before reattaching them to the steamer. This step is crucial to ensure that no moisture is trapped inside the components, which could lead to mold or bacterial growth.
Now that the accessories and detachable parts are clean and dry, it’s time to move on to the next step: wiping down the exterior of the steamer.
Read more: How To Clean Shark Steamer
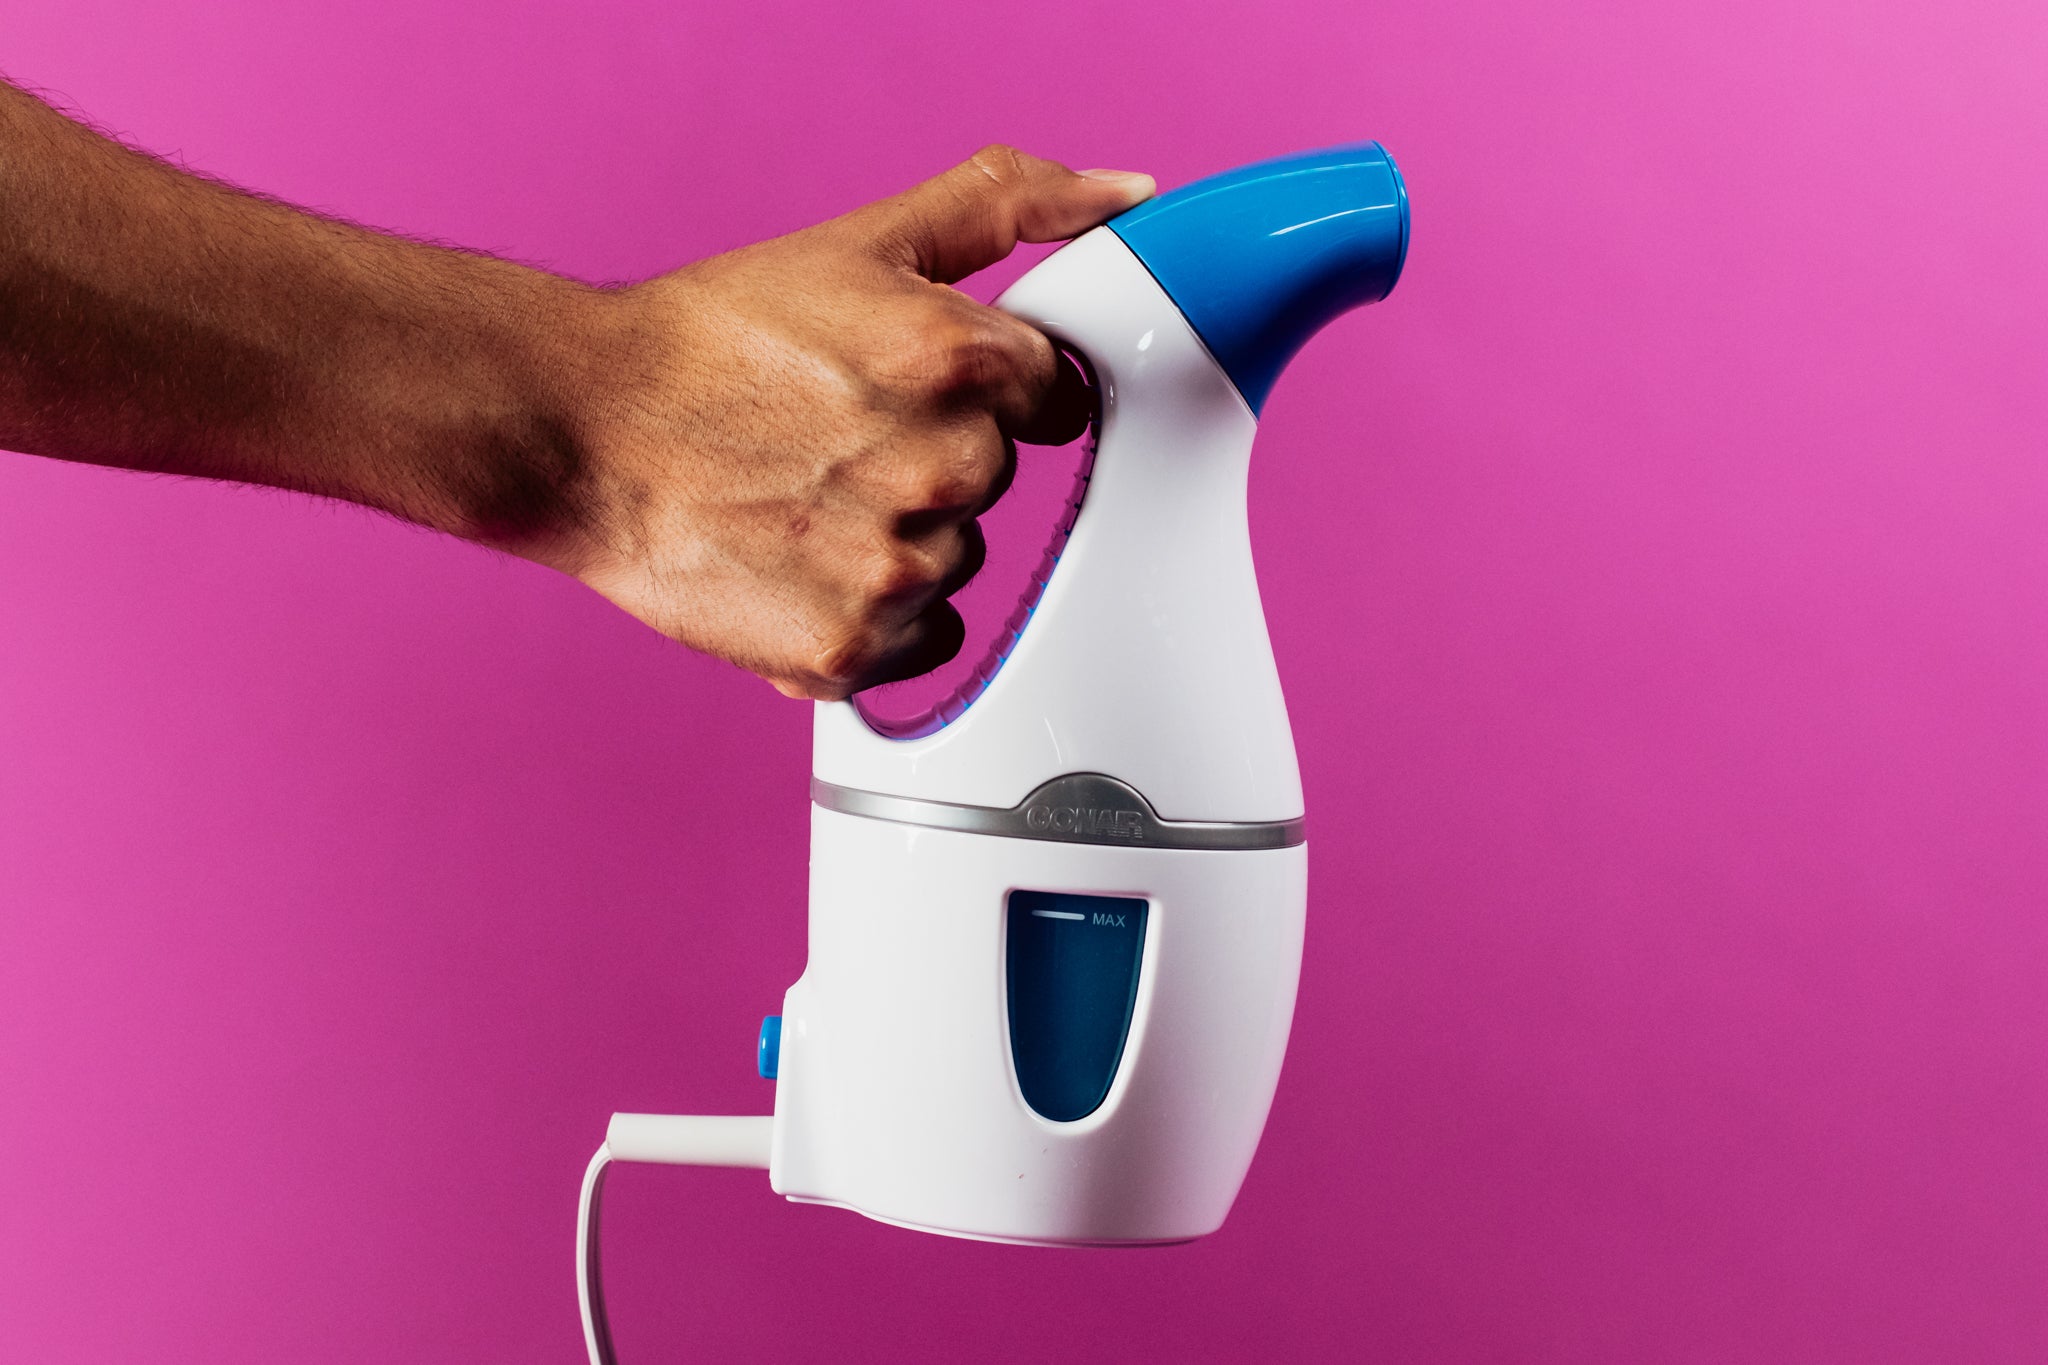
Step 5: Wipe down the exterior of the steamer
While focusing on the internal components is important, it’s equally necessary to clean the exterior of your steamer. Dust, dirt, and fingerprints can accumulate on the surface, diminishing the appearance of your appliance. Moreover, a clean exterior adds to the overall hygiene of the steamer.
To clean the exterior, start by unplugging your steamer from the power source if you haven’t done so already. This ensures your safety during the cleaning process.
Using a clean, damp microfiber cloth or a soft sponge, gently wipe down the exterior of the steamer. Be sure to pay attention to areas that are prone to collecting dirt, such as the handle, control buttons, and any visible seams or crevices.
If there are stubborn stains or build-up on the surface, you can use a mild soapy water solution to remove them. Dip the cloth or sponge into the solution, wring out any excess liquid, and gently scrub the affected areas. Avoid using harsh chemicals or abrasive cleaners, as they can damage the surface of the steamer.
After wiping down the exterior, use a dry microfiber cloth to remove any excess moisture and ensure that the surface is completely dry. This step helps to prevent water spots or streaks from forming on the steamer.
With the exterior of the steamer now clean and dry, it’s time to move on to the next step: cleaning the steam head or nozzle.
To clean out a steamer, mix equal parts water and white vinegar in the steaming chamber and let it sit for 30 minutes. Then, rinse with clean water and wipe dry.
Step 6: Clean the steam head or nozzle
The steam head or nozzle is the part of the steamer that emits the steam, making it an essential component to clean. Over time, mineral deposits and residue can build up on the steam head, affecting its performance and efficiency. Cleaning the steam head ensures that it functions properly and continues to produce high-quality steam.
To begin, refer to your steamer’s user manual for specific instructions on cleaning the steam head or nozzle. Different steamers may have varying designs, so it’s important to follow the manufacturer’s recommendations.
If the steam head is detachable, remove it carefully according to the instructions provided. If it’s not detachable, you will need to clean it in place using a different approach.
If the steam head is detachable, soak it in a solution of equal parts distilled water and vinegar. This mixture will help dissolve any mineral deposits that have built up on the surface. Allow the steam head to soak for about 15-20 minutes.
After soaking, use a soft brush or a cotton swab to gently scrub the steam head, paying special attention to any visible residue or buildup. Be careful not to apply excessive force that could damage the delicate components.
If the steam head is not detachable, you can still clean it by using a mixture of distilled water and vinegar. Dip a cloth or a cotton swab in the solution and carefully clean the surface of the steam head, ensuring that no excess liquid drips into the steamer.
After cleaning, thoroughly rinse the steam head with clean water to remove any remaining vinegar or solution residue. If necessary, you can repeat the cleaning process to ensure that it is completely clean.
Once the steam head is clean and rinsed, allow it to air dry completely before reattaching it to the steamer. This step is vital in preventing any moisture from entering the steamer and causing damage.
With the steam head or nozzle now clean and dry, let’s move on to the next step: cleaning the hose or tubing.
Step 7: Clean the hose or tubing
The hose or tubing of your steamer is responsible for carrying steam from the water tank to the steam head or nozzle. Over time, it can accumulate debris, lint, or mineral buildup, which can affect the flow of steam and the overall performance of the appliance. Cleaning the hose or tubing is crucial to maintain optimal functionality.
Before you begin cleaning the hose or tubing, ensure that the steamer is unplugged from the power source for safety.
If the hose or tubing is detachable, carefully remove it from both the water tank and the steam head or nozzle. Run warm water through the hose or tubing to flush out any loose debris or residue.
If there is visible build-up or stubborn residue inside the hose or tubing, you can use a mixture of distilled water and vinegar. Fill a basin or container with the solution and soak the hose or tubing for about 30 minutes. This will help dissolve the build-up and remove any impurities.
After soaking, use a soft brush or a flexible pipe cleaner to gently scrub the inside of the hose or tubing. Be thorough and pay attention to any areas with stubborn residue. Avoid using abrasive materials or excessive force that could damage the components.
Rinse the hose or tubing thoroughly with clean water to remove any remaining vinegar or solution. Inspect it to ensure that it is free of any debris or residue.
If the hose or tubing is not detachable, you can still clean it by using the vinegar and water solution. Fill a spray bottle with the solution and spray it into the opening of the hose or tubing. Allow the solution to sit for a few minutes to break down the build-up, then flush it out with warm water.
Once the hose or tubing is clean, hang it or lay it flat to air dry completely before reattaching it to the steamer. Ensuring that it is completely dry will prevent any mold or bacterial growth and maintain the optimal functioning of the steamer.
With the hose or tubing now clean and dry, we can move on to the next step: reassembling the steamer.
Step 8: Reassemble the steamer
After thoroughly cleaning all the individual components of your steamer, it’s time to reassemble the appliance. Proper reassembly ensures that all parts are securely in place and ready for use.
Begin by referring to the user manual for specific instructions on how to reassemble your particular steamer model. This will guide you through the correct order in which to attach the different components.
If you had detached any accessories or detachable parts during the cleaning process, carefully reattach them to their respective positions. Pay attention to any connectors, clips, or screws that may be required for proper attachment.
For the water tank, ensure that it is completely dry before reattaching it to the steamer. This will prevent any moisture from entering the appliance and potentially causing damage. Insert the water tank securely into its designated slot or connection point, making sure it is firmly in place.
Reattach the steam head or nozzle to the hose or tubing, ensuring a secure and snug fit. Double-check that it is properly aligned and connected to ensure a smooth and uninterrupted steam flow.
Take a few moments to inspect the steamer after reassembly, ensuring that all components are securely in place. Check for any loose connections or parts that may require further adjustment.
With the steamer now properly reassembled, we can move on to the next step: testing the steamer to ensure it is functioning correctly.
Read more: How To Clean A Sofa With A Steamer
Step 9: Test the steamer
Now that you have completed the cleaning and reassembly process, it’s important to test your steamer to ensure it is functioning correctly. Testing the steamer will give you peace of mind and confirm that all the cleaning efforts have paid off.
Start by plugging in the steamer and allowing it to heat up according to the manufacturer’s instructions. This usually takes a few minutes.
Once the steamer has reached the appropriate temperature, hold it in the recommended position for steaming and press the steam button. Observe if steam is produced consistently and flows smoothly from the steam head or nozzle. Verify that there are no leaks or unusual noises coming from the appliance.
Take a garment or piece of fabric that needs steaming and test the steamer’s effectiveness. Move the steamer over the fabric, allowing the steam to penetrate and relax the wrinkles. Check if the steamer is producing sufficient steam and if the wrinkles are effectively removed.
If you encounter any issues during the testing process, consult the user manual for troubleshooting guidelines or contact the manufacturer’s customer support for assistance.
However, if the steamer is performing as expected and producing consistent steam, it means that the cleaning process has been successful, and your steamer is ready to be used.
Congratulations! You have successfully cleaned out your steamer and ensured it is in optimal working condition. Regular maintenance and cleaning will prolong the lifespan of your steamer and ensure its continued performance. Remember to follow the manufacturer’s recommendations for regular cleaning and maintenance to keep your steamer in top shape.
Now that your steamer is clean and ready to go, you can enjoy wrinkle-free clothes and freshened upholstery with ease and confidence.
Remember, a clean steamer is not only more effective in removing wrinkles but also contributes to better hygiene and extends the life of your appliance.
Happy steaming!
Conclusion
Cleaning out your steamer is an essential task that should be performed regularly to maintain its performance, hygiene, and longevity. By following the step-by-step guide outlined in this article, you can effectively clean your steamer and ensure it is in optimal working condition.
Starting with gathering the necessary supplies, disconnecting the steamer from the power source, and emptying and cleaning out the water tank, you set the foundation for a thorough cleaning process. Removing accessories and detachable parts, wiping down the exterior, and cleaning the steam head or nozzle help to eliminate any dirt, grime, or mineral buildup.
Moreover, cleaning the hose or tubing ensures that steam flows smoothly through the steamer and maintains its effectiveness. Reassembling the steamer correctly and testing its functionality guarantee that all components are securely in place, and the appliance is ready for use.
Regular maintenance and cleaning of your steamer not only improve its performance but also contribute to better hygiene and extend its lifespan. By incorporating these cleaning steps into your routine, you can enjoy wrinkle-free clothes and freshened upholstery with ease and confidence.
Remember, always refer to the manufacturer’s instructions for specific cleaning guidelines and recommendations. If you encounter any issues or have concerns, it’s advisable to consult the user manual or contact the manufacturer’s customer support for further assistance.
So, now that you have the knowledge and tools to properly clean out your steamer, take the time to maintain this valuable appliance. Your steamer will thank you with its continued efficiency and reliability, ensuring that you always have a wrinkle-free and fresh-looking wardrobe.
Happy cleaning!
Frequently Asked Questions about How To Clean Out A Steamer
Was this page helpful?
At Storables.com, we guarantee accurate and reliable information. Our content, validated by Expert Board Contributors, is crafted following stringent Editorial Policies. We're committed to providing you with well-researched, expert-backed insights for all your informational needs.


0 thoughts on “How To Clean Out A Steamer”