Home>Home Appliances>Cleaning Appliances>How To Clean A Shark Vacuum Cleaner
Cleaning Appliances
How To Clean A Shark Vacuum Cleaner
Modified: January 4, 2024
Learn the best way to clean your Shark vacuum cleaner for optimal performance and longevity. Follow our step-by-step guide for maintaining your cleaning appliances.
(Many of the links in this article redirect to a specific reviewed product. Your purchase of these products through affiliate links helps to generate commission for Storables.com, at no extra cost. Learn more)
Introduction
Welcome to the comprehensive guide on how to clean a Shark vacuum cleaner! Keeping your vacuum cleaner clean is essential for maintaining its performance and longevity. Regular cleaning not only ensures that your vacuum operates at its best but also helps in maintaining a healthy and clean indoor environment. In this guide, we will walk you through the step-by-step process of cleaning various components of your Shark vacuum cleaner, including the dust cup, filters, brushroll, hose, and attachments.
A clean vacuum not only ensures that your floors and carpets are free from dirt and debris but also prevents the spread of allergens and bacteria. By following these cleaning and maintenance steps, you can optimize the suction power and overall efficiency of your Shark vacuum cleaner.
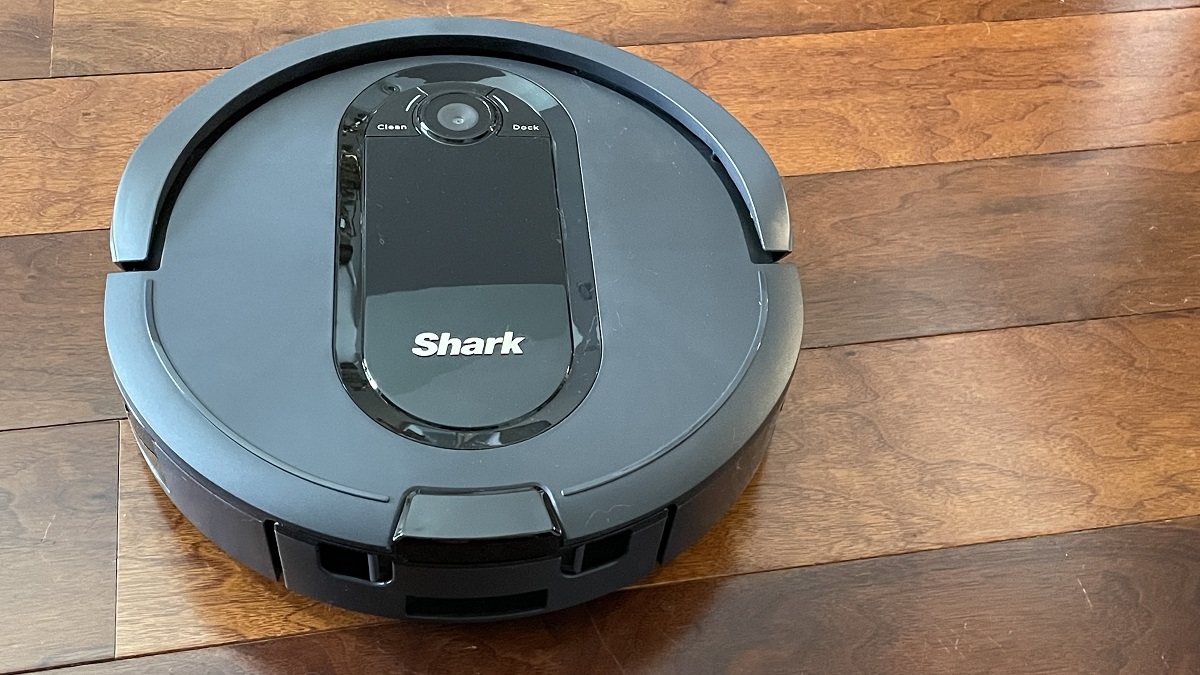
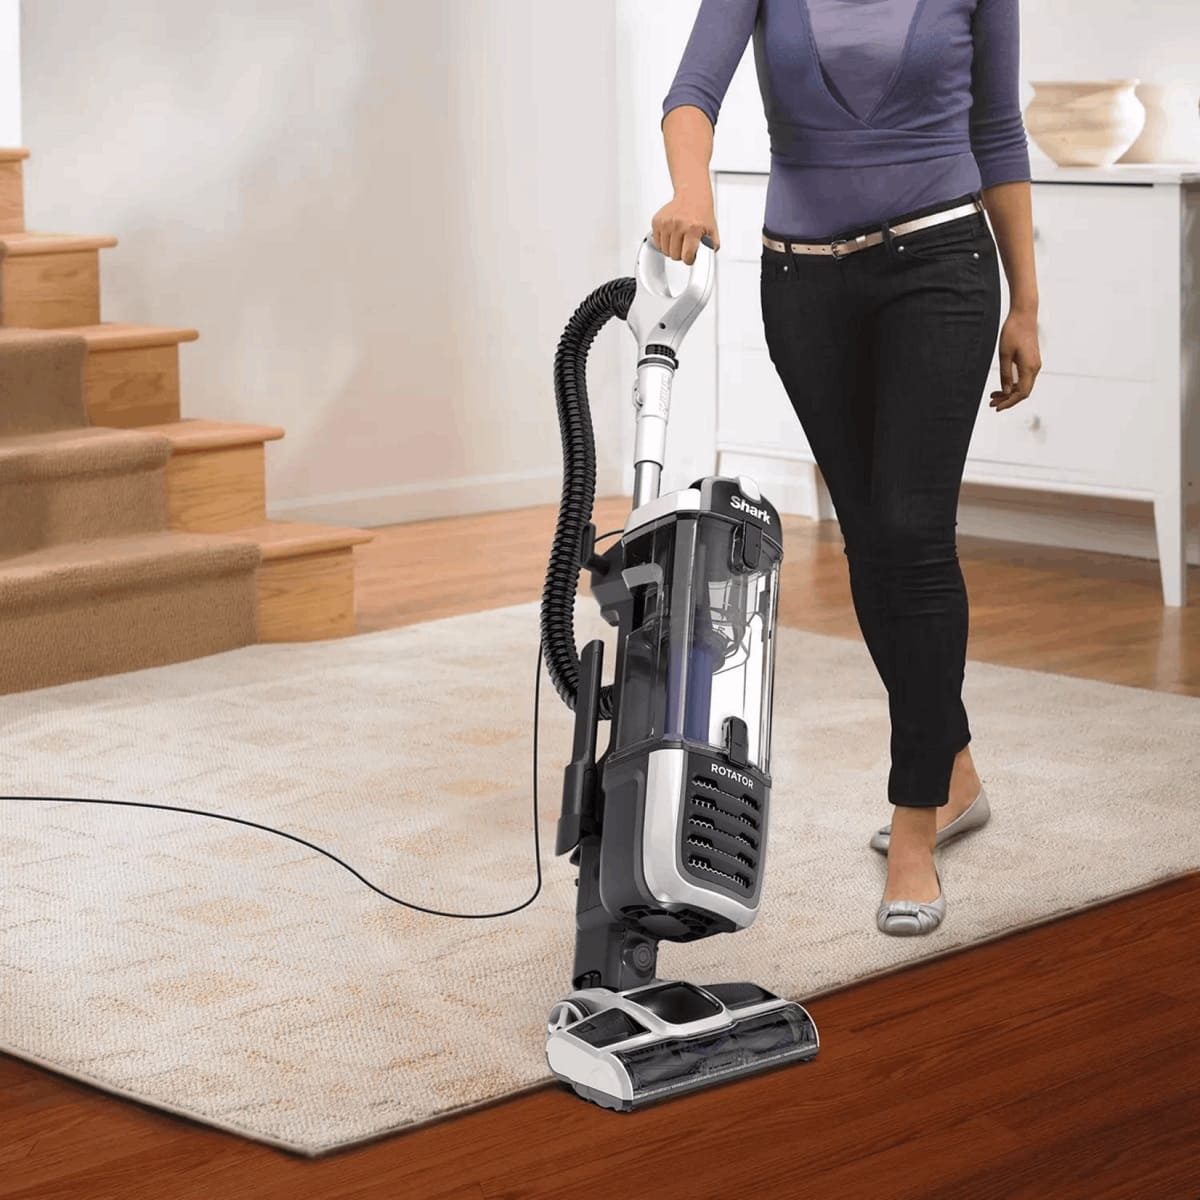
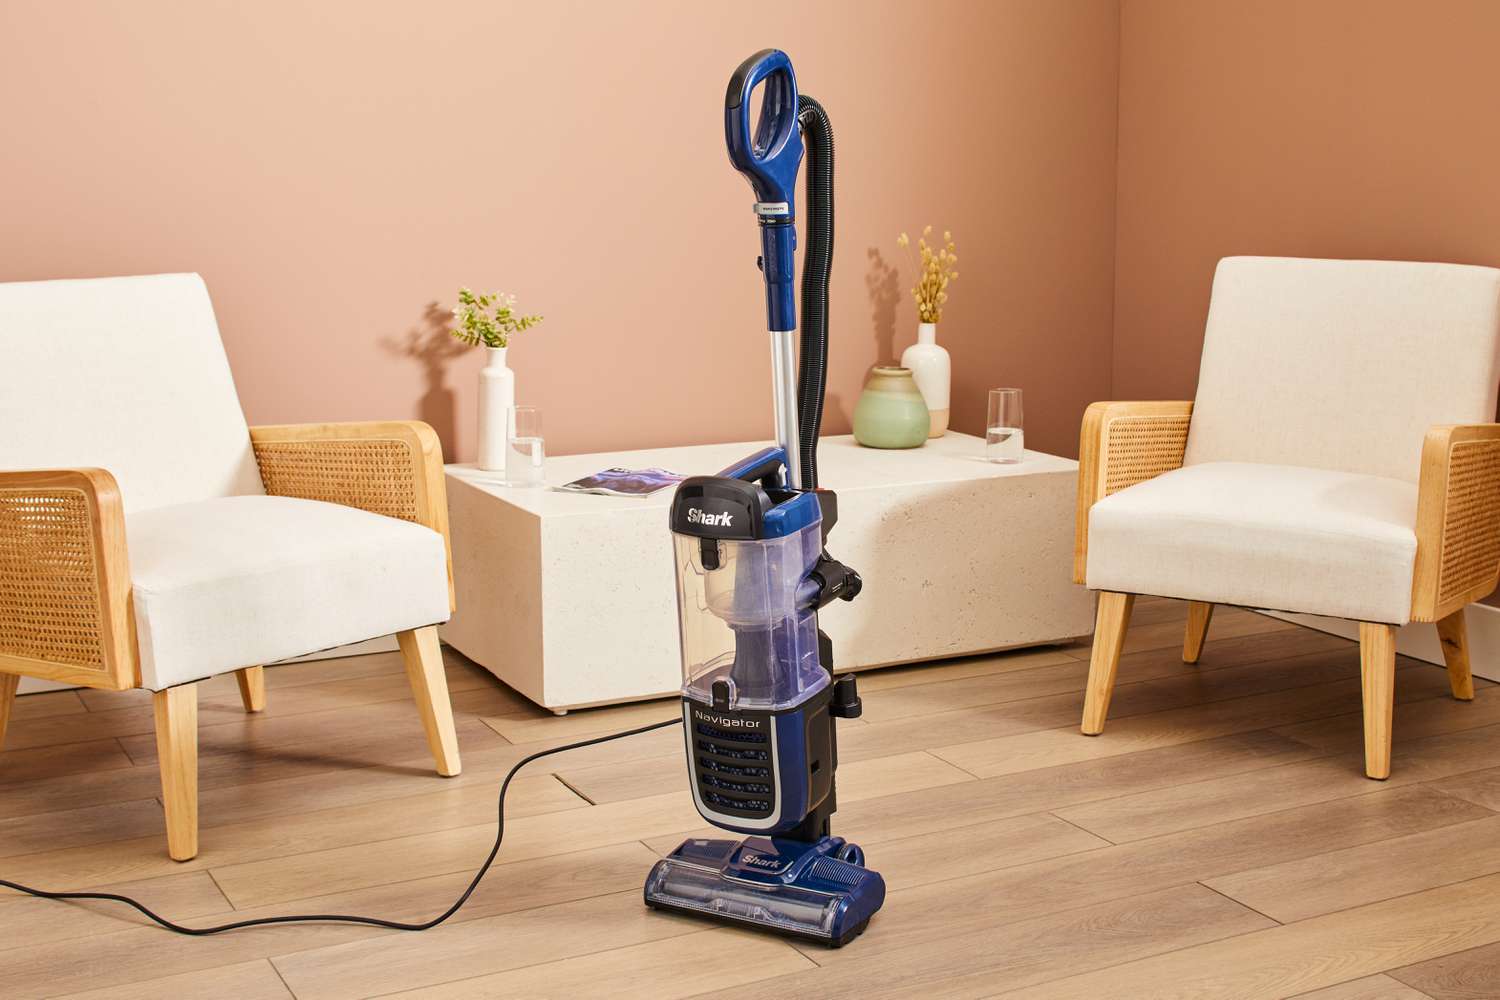
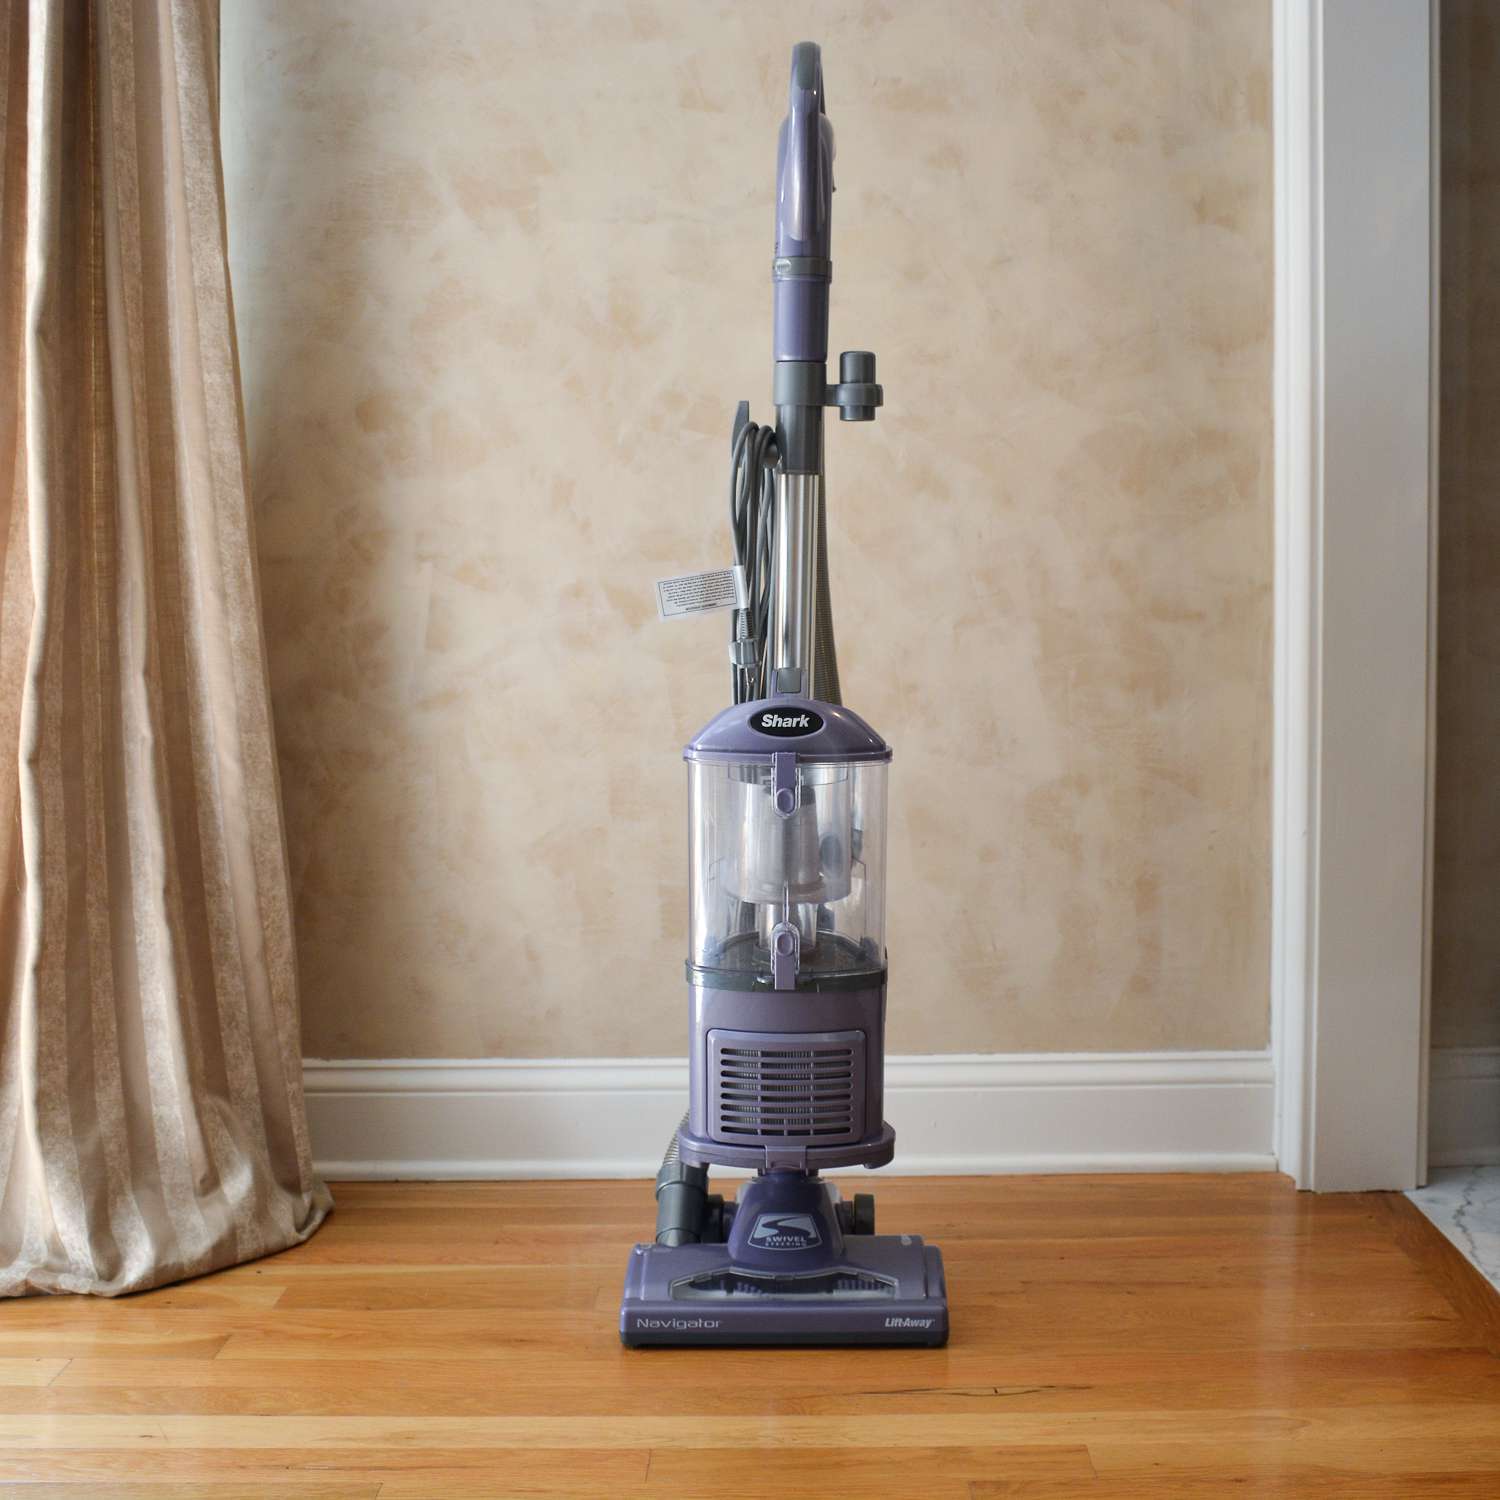
Whether you have a traditional upright Shark vacuum or a versatile Shark cordless stick vacuum, the cleaning techniques covered in this guide are applicable to various models. With just a few simple steps, you can keep your Shark vacuum cleaner in top-notch condition, ensuring that it continues to deliver exceptional cleaning performance for years to come.
So, let’s dive into the process of cleaning and maintaining your Shark vacuum cleaner, ensuring that it remains a reliable and effective tool for keeping your home clean and healthy. Let’s get started!
Key Takeaways:
- Regularly cleaning and maintaining your Shark vacuum, including the dust cup, filters, brushroll, hose, and attachments, ensures optimal suction power and a healthier indoor environment.
- Following essential maintenance tips, such as regular filter cleaning and clearing blockages promptly, extends the lifespan of your Shark vacuum and ensures consistent, powerful cleaning performance.
Read more: Who Makes Shark Vacuum Cleaner
Preparing the Vacuum Cleaner
Before you begin the cleaning process, it’s important to prepare your Shark vacuum cleaner to ensure safety and effectiveness. Here are the steps to prepare your vacuum cleaner for cleaning:
- Turn Off and Unplug: Before cleaning your Shark vacuum, make sure it is powered off and unplugged from the electrical outlet to avoid any accidents.
- Allow Cooling: If you have been using the vacuum, allow it to cool down for a while before starting the cleaning process. This helps prevent any burns or discomfort during the cleaning.
- Empty the Dust Cup: If the dust cup is full, empty it before proceeding with the cleaning process. This ensures that you have a clean surface to work with and prevents the spread of dirt and debris during cleaning.
- Gather Cleaning Supplies: Prepare all the necessary cleaning supplies such as a cleaning brush, mild detergent, warm water, and a soft cloth or sponge for cleaning the various components of the vacuum.
By following these preparatory steps, you can ensure that your Shark vacuum cleaner is ready for the cleaning process. Proper preparation not only ensures safety but also sets the stage for effective cleaning and maintenance of your vacuum cleaner.
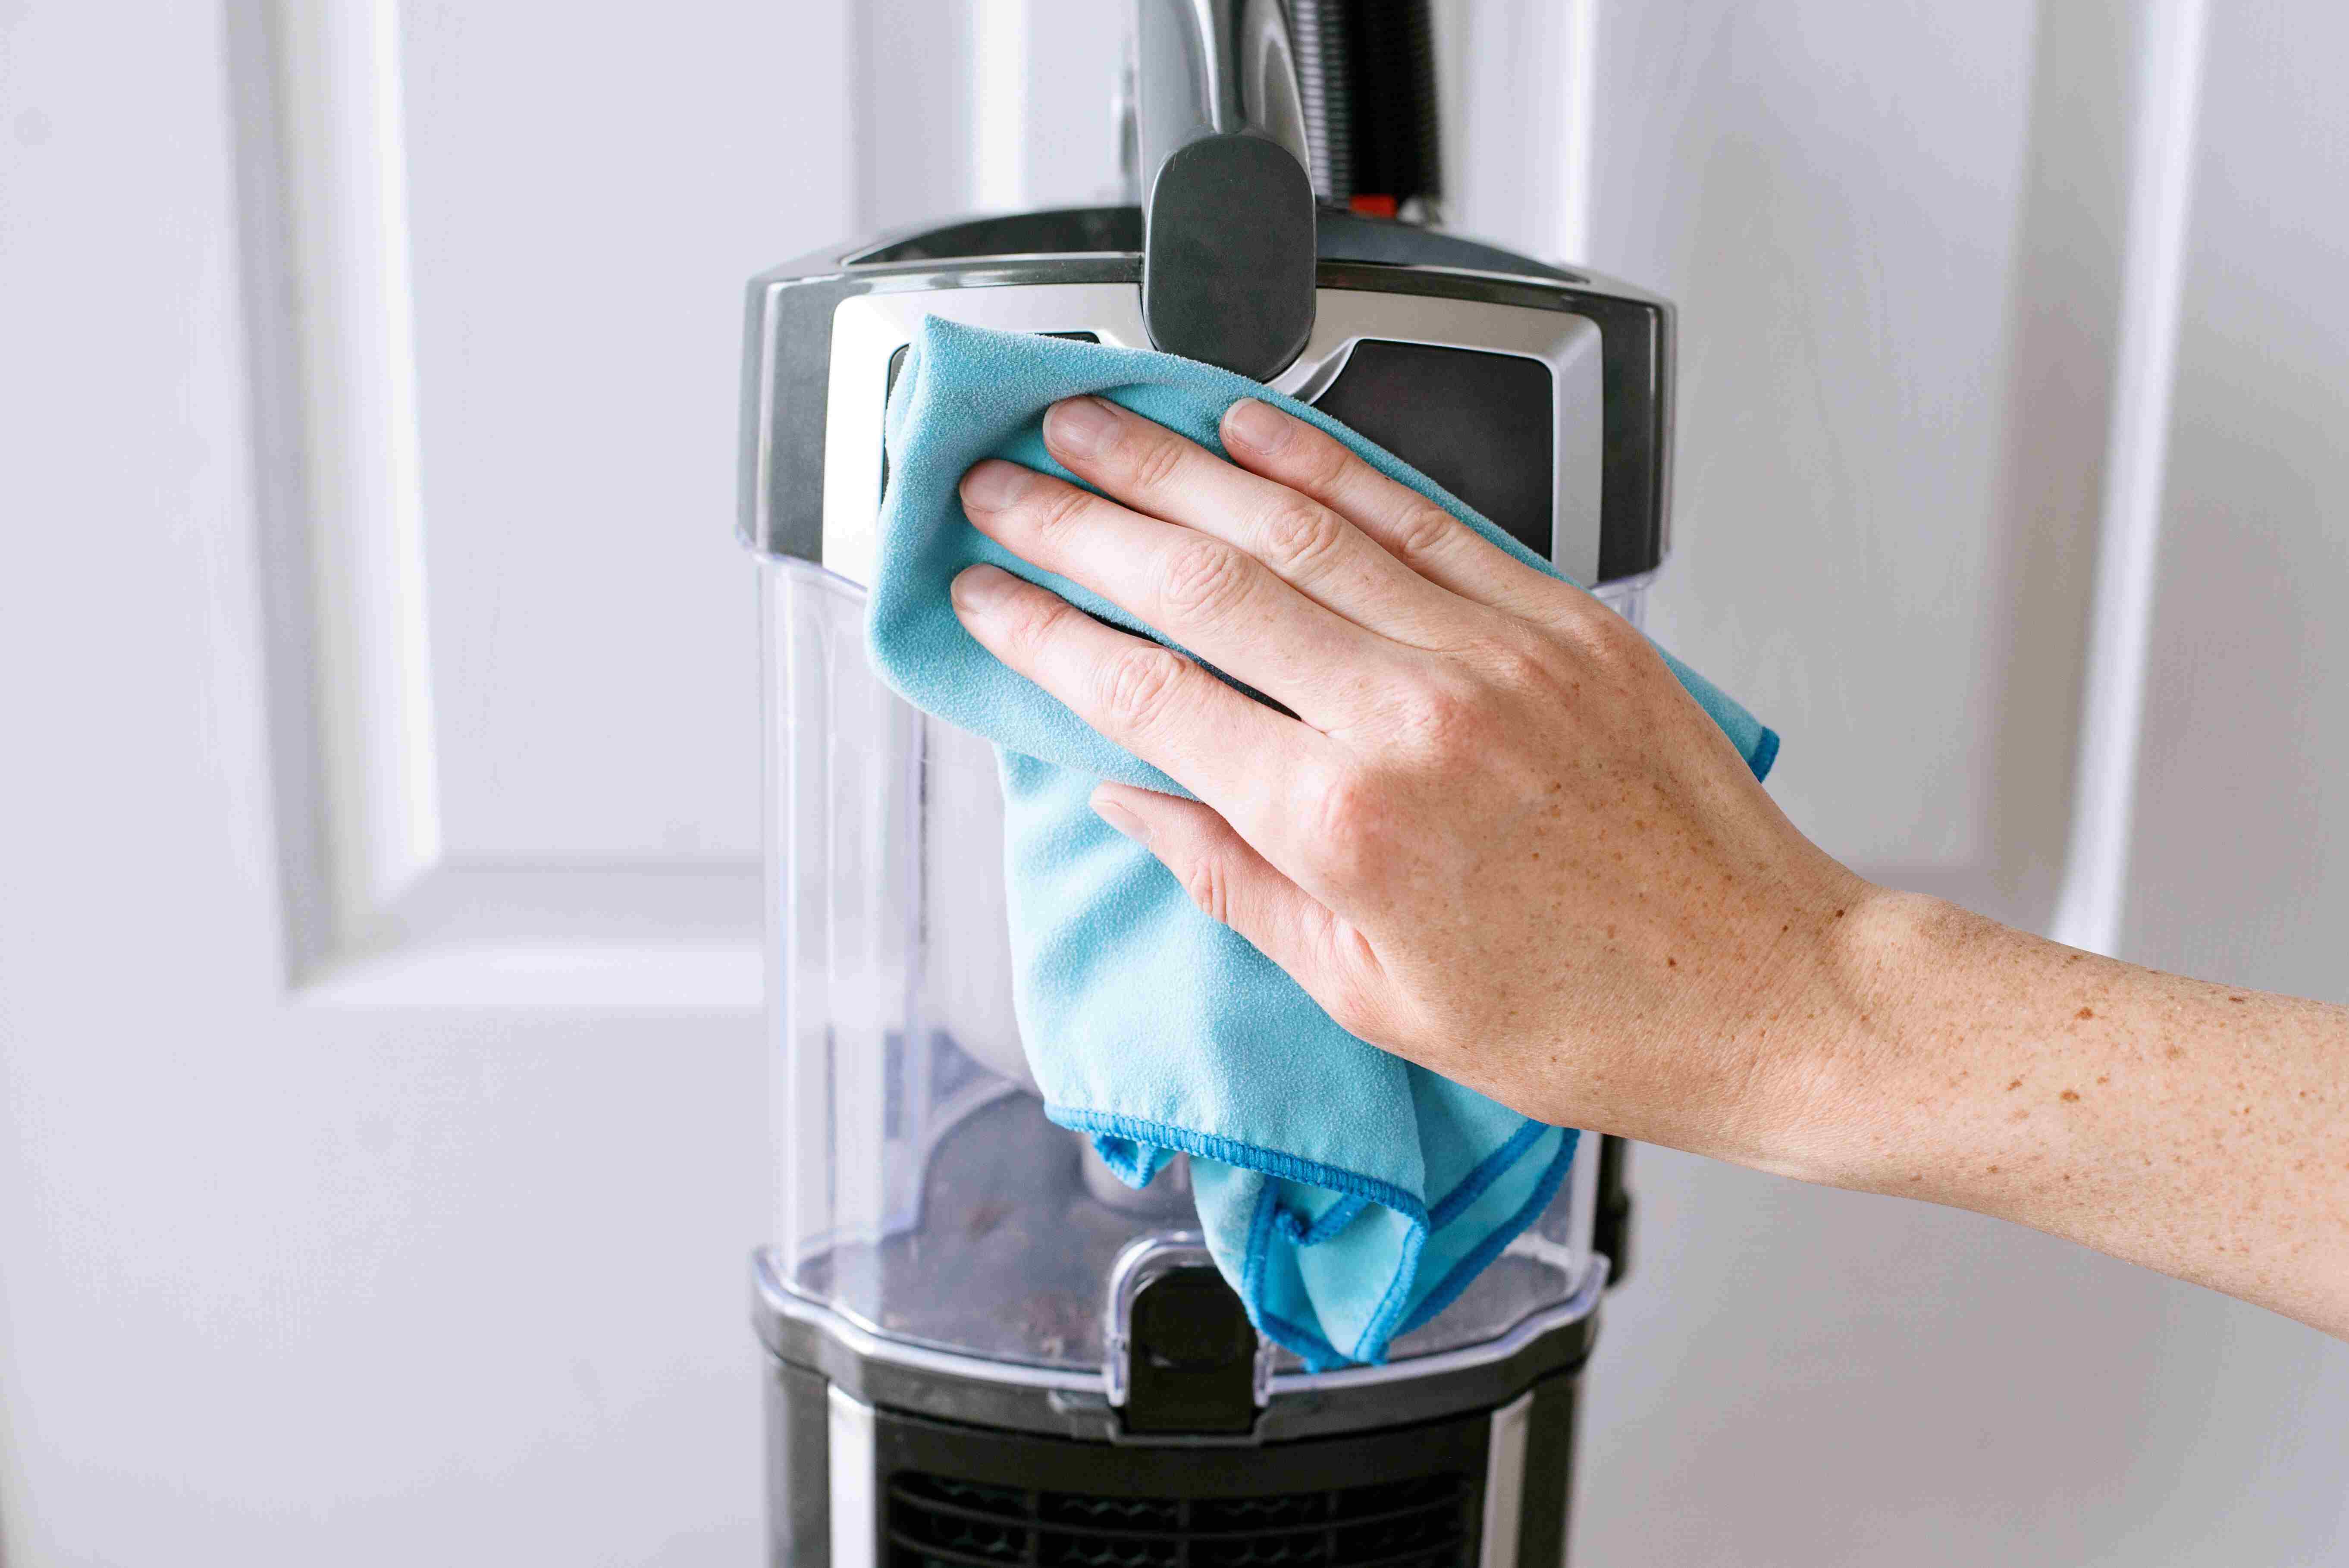
Cleaning the Dust Cup
The dust cup of your Shark vacuum is where all the dirt, dust, and debris are collected during cleaning. Regularly cleaning the dust cup is essential to maintain the suction power and overall performance of your vacuum cleaner. Here’s how to effectively clean the dust cup:
- Empty the Dust Cup: Start by removing the dust cup from the vacuum cleaner. Hold it over a trash bin and press the release button to empty the contents. Use a cleaning brush or soft cloth to remove any stubborn debris stuck inside the dust cup.
- Wash the Dust Cup: For a thorough clean, wash the dust cup with warm water and a mild detergent. Use a soft brush or sponge to scrub the interior of the dust cup, ensuring that all dirt and residue are removed. Rinse it thoroughly and allow it to air dry completely before reassembling it to the vacuum cleaner.
- Clean the Seals and Gaskets: Inspect the seals and gaskets around the dust cup for any dirt or debris. Wipe them clean with a damp cloth to ensure a tight seal when the dust cup is reattached to the vacuum.
By regularly cleaning the dust cup, you can prevent clogs, maintain optimal suction, and ensure that your Shark vacuum continues to deliver powerful cleaning performance. A clean dust cup also contributes to a healthier indoor environment by effectively trapping dust and allergens during vacuuming.
Now that you’ve cleaned the dust cup, let’s move on to the next crucial step: cleaning the filters of your Shark vacuum cleaner.
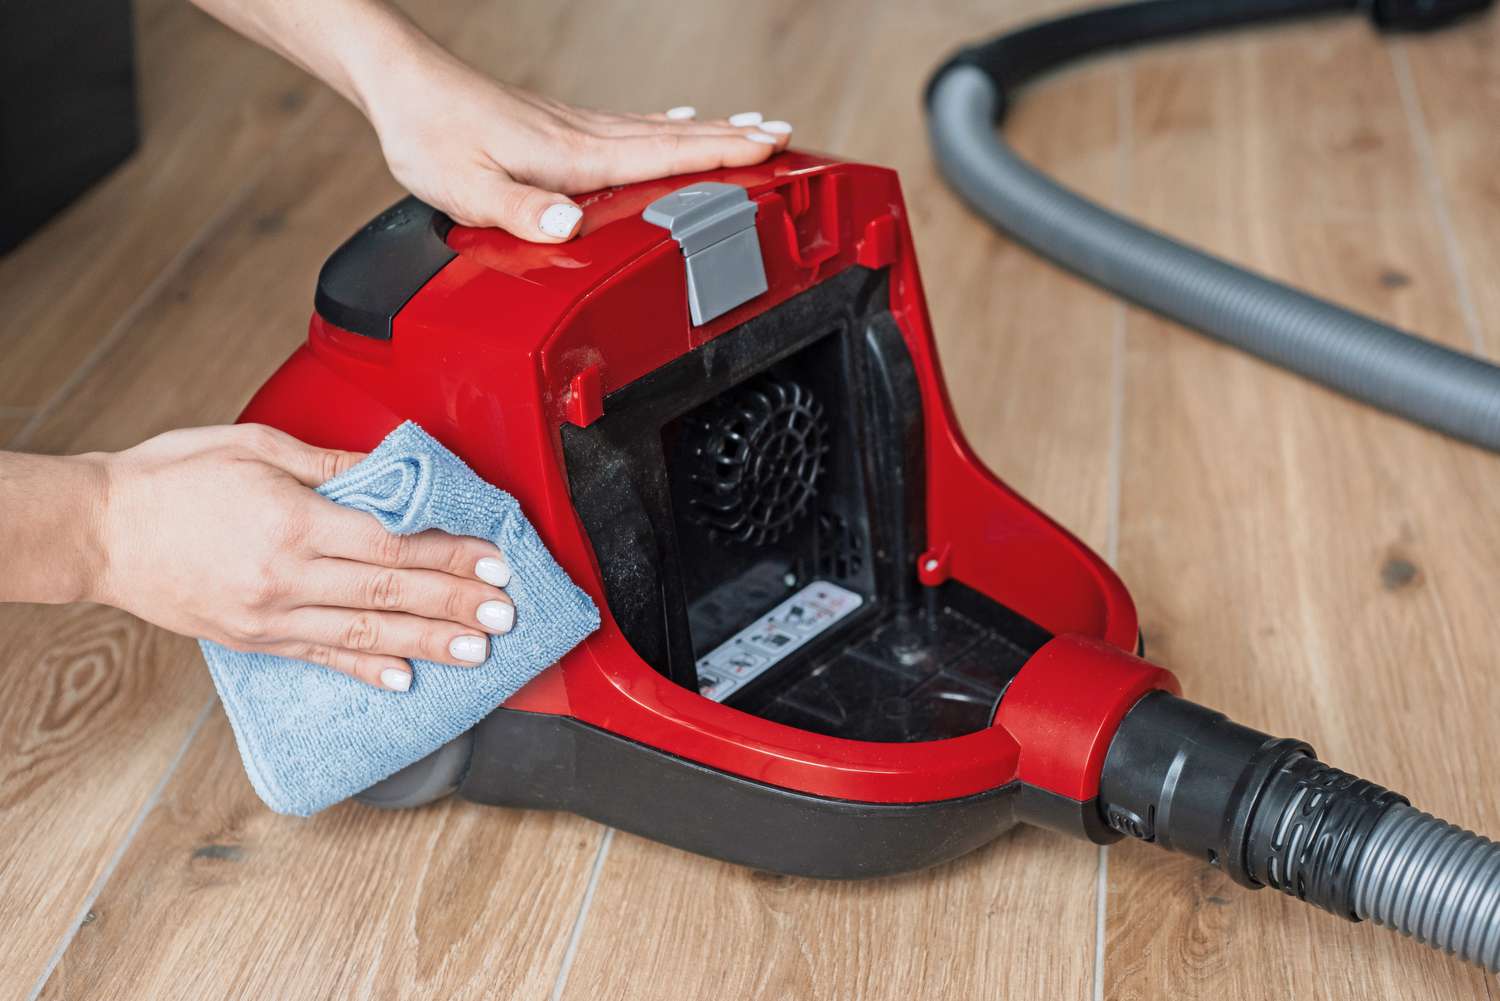
Cleaning the Filters
Your Shark vacuum cleaner is equipped with filters that play a vital role in trapping dust, allergens, and other particles during the cleaning process. Over time, these filters can become clogged with dirt, reducing the vacuum’s suction power and overall performance. Here’s how to effectively clean the filters of your Shark vacuum:
- Remove the Filters: Depending on the model of your Shark vacuum, you may have a combination of foam and felt filters, as well as a HEPA filter. Carefully remove the filters from the vacuum cleaner, following the manufacturer’s instructions in the user manual.
- Tap or Brush Away Debris: Take the filters outside and gently tap them together to dislodge any loose dirt and debris. You can also use a soft-bristled brush to remove stubborn particles from the filters. This helps in pre-cleaning the filters before thorough washing.
- Wash the Filters: Fill a sink or basin with lukewarm water and add a small amount of mild detergent. Submerge the filters in the soapy water and gently agitate them to loosen and remove the trapped dirt. Rinse the filters thoroughly under running water until the water runs clear.
- Air Dry the Filters: After washing, allow the filters to air dry completely before reassembling them into the vacuum cleaner. It’s important to ensure that the filters are completely dry to prevent mold or mildew growth, which can compromise their effectiveness.
- Reassemble the Filters: Once the filters are dry, carefully reinsert them into the vacuum cleaner according to the manufacturer’s instructions. Ensure that they are securely in place to maintain proper filtration and suction.
Regularly cleaning and maintaining the filters of your Shark vacuum is crucial for preserving its suction power and ensuring efficient trapping of dust and allergens. Clean filters also contribute to better indoor air quality, making your home a healthier environment for your family and pets.
With the filters cleaned and reinstalled, let’s move on to the next step: cleaning the brushroll of your Shark vacuum cleaner.
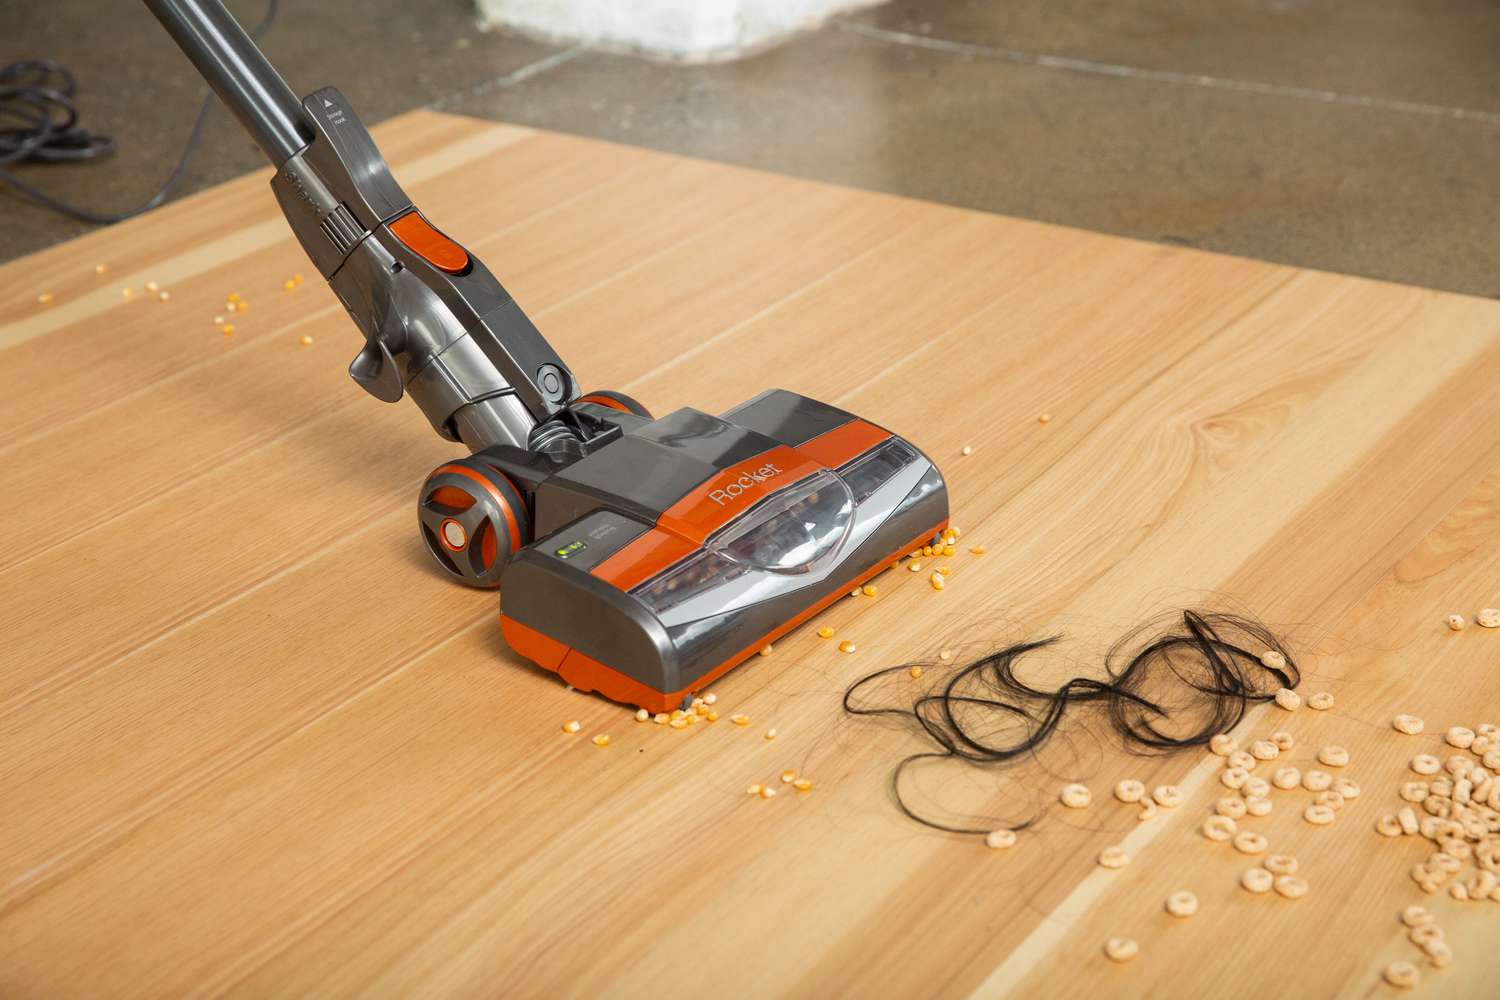
Cleaning the Brushroll
The brushroll of your Shark vacuum cleaner plays a crucial role in agitating and loosening dirt and debris from carpets and rugs, allowing the vacuum to effectively pick up the particles. Over time, the brushroll can become tangled with hair, thread, and other debris, affecting its performance. Here’s how to clean the brushroll of your Shark vacuum:
- Access the Brushroll: Depending on your Shark vacuum model, you may need to remove a cover or access panel to expose the brushroll. Refer to the user manual for specific instructions on accessing the brushroll.
- Remove Tangled Debris: Use scissors or a seam ripper to carefully cut and remove any hair, thread, or debris that is wrapped around the brushroll. Take care to avoid damaging the bristles or the brushroll itself during this process.
- Clean the Brushroll: Use a cleaning brush or a damp cloth to thoroughly clean the brushroll, removing any remaining dirt, dust, or residue. Ensure that the bristles are free from obstructions and that the brushroll spins freely without any hindrance.
- Inspect the Belt (If Applicable): If your Shark vacuum has a belt-driven brushroll, take this opportunity to inspect the condition of the belt. Look for any signs of wear or damage, and replace the belt if necessary to maintain optimal performance.
- Reassemble the Brushroll: Once the brushroll is clean and free from tangled debris, reassemble the cover or access panel according to the manufacturer’s instructions. Ensure that the brushroll is securely in place and ready for use.
By regularly cleaning the brushroll of your Shark vacuum, you can ensure that it continues to effectively agitate and pick up dirt from your floors, maintaining the overall cleaning performance of the vacuum. A clean brushroll also prevents tangles and obstructions, prolonging the life of the vacuum cleaner.
With the brushroll cleaned and checked, let’s move on to the next step: cleaning the hose and attachments of your Shark vacuum cleaner.
To clean a Shark vacuum cleaner, start by emptying the dust cup and removing any hair or debris from the brush roll. Then, wash the filters and let them dry completely before reassembling the vacuum.
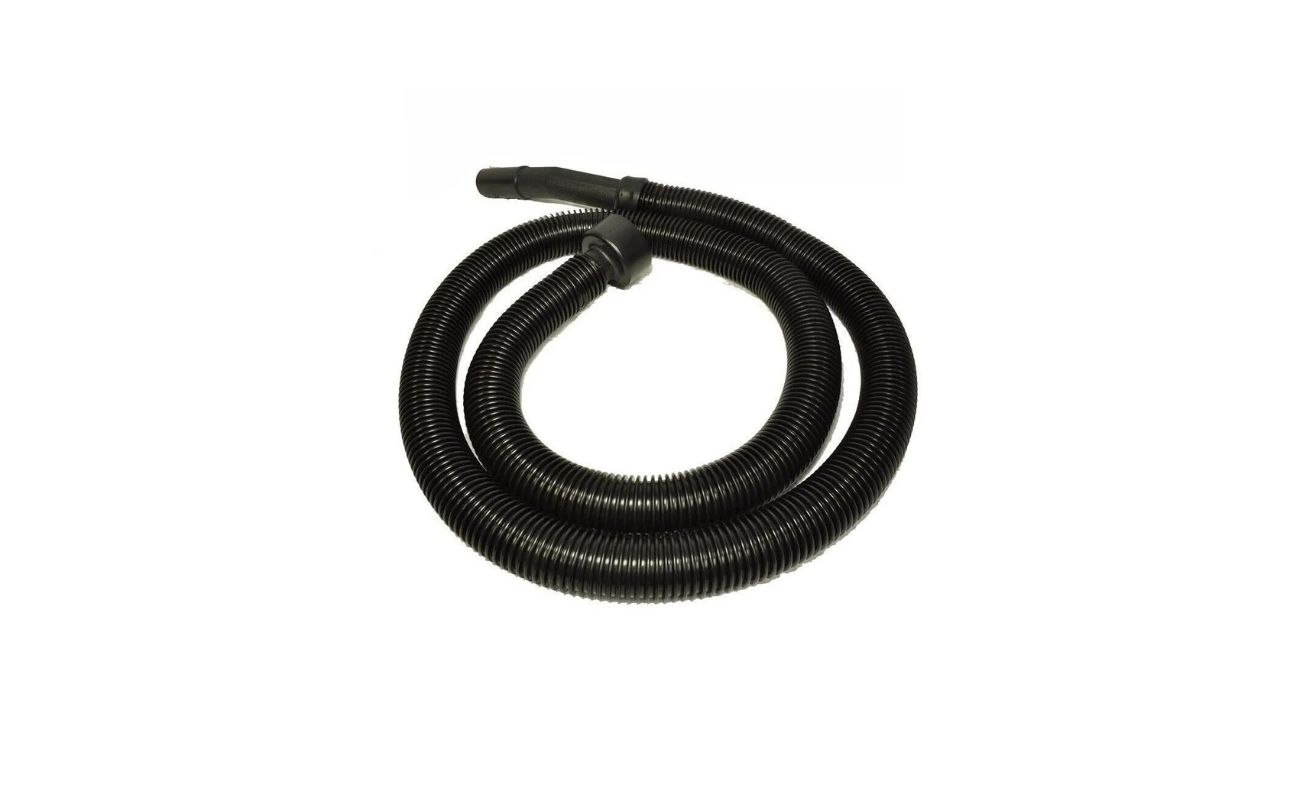
Cleaning the Hose and Attachments
The hose and attachments of your Shark vacuum cleaner are essential for reaching tight spaces, upholstery, and above-floor areas. Over time, dust, hair, and debris can accumulate inside the hose and attachments, affecting the vacuum’s suction and cleaning performance. Here’s how to effectively clean the hose and attachments:
- Remove and Inspect Attachments: Start by removing all the detachable attachments such as the crevice tool, dusting brush, and upholstery tool from the vacuum cleaner. Inspect them for any visible dirt, debris, or blockages.
- Clean the Attachments: Use a cleaning brush or a damp cloth to thoroughly clean the attachments, removing any trapped dirt or residue. Pay special attention to crevices and bristles to ensure that the attachments are completely clean and free from obstructions.
- Clean the Hose: Detach the hose from the vacuum and inspect it for any clogs or blockages. Use a long-handled brush or a flexible cleaning wand to remove any trapped debris from the hose. You can also run a cloth or a cleaning brush through the hose to dislodge any dirt or hair that may be stuck inside.
- Check for Blockages: Shine a flashlight through the hose to check for any remaining blockages or obstructions. If necessary, use a broomstick or a flexible cleaning rod to push out any stubborn debris from the hose.
- Reattach the Hose and Attachments: Once the hose and attachments are thoroughly cleaned and free from blockages, reattach them to the vacuum cleaner, ensuring a secure fit for optimal performance during cleaning.
By regularly cleaning the hose and attachments of your Shark vacuum, you can ensure that the vacuum maintains its versatility and suction power, allowing you to effectively clean various surfaces and hard-to-reach areas in your home. Clean attachments and a clear hose contribute to the overall efficiency and performance of your Shark vacuum cleaner.
With the hose and attachments cleaned and reattached, let’s move on to the next step: reassembling the vacuum cleaner for regular use.
Reassembling the Vacuum Cleaner
Now that you have thoroughly cleaned the various components of your Shark vacuum cleaner, it’s time to reassemble the vacuum for regular use. Proper reassembly ensures that the vacuum operates at its best and delivers optimal cleaning performance. Here are the steps to reassemble your Shark vacuum cleaner:
- Replace the Dust Cup: If you removed the dust cup for cleaning, securely reattach it to the vacuum cleaner, ensuring that it locks into place. A properly installed dust cup prevents leaks and maintains suction during cleaning.
- Reinsert the Filters: Carefully reinsert the cleaned and dry filters back into their designated slots in the vacuum cleaner. Make sure they are properly seated to maintain effective filtration and suction power.
- Secure the Brushroll Cover: If you removed the brushroll cover for cleaning, reattach it according to the manufacturer’s instructions. Ensure that it is securely in place to protect the brushroll and maintain safety during operation.
- Attach the Hose and Accessories: Reattach the hose and any detachable accessories such as the crevice tool, dusting brush, or upholstery tool. Ensure that they are securely connected for effective cleaning in various areas of your home.
- Plug In and Power On: Once the vacuum cleaner is reassembled, plug it back into the electrical outlet and power it on. Test the vacuum to ensure that all components are working properly and that the suction is strong and consistent.
By following these reassembly steps, you can ensure that your Shark vacuum cleaner is ready for regular use, providing powerful and efficient cleaning performance throughout your home. Proper reassembly also contributes to the longevity and reliability of your vacuum cleaner.
With the vacuum cleaner reassembled and ready for action, let’s explore some essential maintenance tips to keep your Shark vacuum in top-notch condition.
Maintenance Tips
Maintaining your Shark vacuum cleaner is essential for prolonging its lifespan and ensuring consistent cleaning performance. Here are some valuable maintenance tips to keep your Shark vacuum in top-notch condition:
- Regular Filter Cleaning: Make it a habit to clean the filters of your Shark vacuum at least once a month, or more frequently if you have pets or if the vacuum is used extensively. Clean filters ensure optimal suction and prevent dust and allergens from being released back into the air.
- Clear Blockages Promptly: If you notice a loss of suction or unusual sounds during vacuuming, check for blockages in the hose, brushroll, or attachments. Promptly clear any blockages to prevent damage to the vacuum and maintain efficient cleaning performance.
- Inspect and Replace Belts: If your Shark vacuum has a belt-driven brushroll, regularly inspect the condition of the belt and replace it if it shows signs of wear or damage. A well-maintained belt ensures effective brushroll operation.
- Empty the Dust Cup Frequently: To prevent the dust cup from becoming overly full and affecting suction, empty it after each use or whenever it reaches the maximum fill line. This simple practice helps maintain consistent cleaning performance.
- Check and Clean Brushroll Regularly: Inspect the brushroll for tangled hair, thread, or debris after each use. Regularly clean the brushroll to prevent obstructions and maintain effective agitation during cleaning.
- Store Properly: When not in use, store your Shark vacuum in a clean, dry area, away from direct sunlight and moisture. Proper storage helps protect the vacuum from damage and ensures it’s ready for use when needed.
By incorporating these maintenance tips into your vacuum care routine, you can extend the life of your Shark vacuum cleaner and enjoy consistent, powerful cleaning performance for years to come. Regular maintenance not only protects your investment but also contributes to a healthier and cleaner home environment.
Now that you’re equipped with essential maintenance tips, you can confidently keep your Shark vacuum cleaner in optimal condition, ensuring that it remains a reliable cleaning companion in your home.
Conclusion
Congratulations on completing the comprehensive guide on how to clean and maintain your Shark vacuum cleaner! By following the step-by-step cleaning process and incorporating essential maintenance tips, you have taken proactive steps to ensure that your vacuum remains in top-notch condition, delivering powerful and efficient cleaning performance.
Regularly cleaning the dust cup, filters, brushroll, hose, and attachments of your Shark vacuum not only optimizes its suction power but also contributes to a healthier indoor environment by effectively trapping dust, allergens, and debris during cleaning. By adhering to the maintenance tips, you can prolong the lifespan of your vacuum and enjoy consistent cleaning results throughout your home.
Remember, a well-maintained Shark vacuum cleaner is a valuable asset in keeping your living spaces clean, fresh, and free from dirt and allergens. By investing a little time and effort into cleaning and maintaining your vacuum, you are ensuring that it continues to be a reliable cleaning companion for years to come.
Thank you for prioritizing the care and maintenance of your Shark vacuum cleaner. With these cleaning and maintenance practices in place, you can confidently tackle cleaning tasks with the assurance of a powerful and efficient cleaning performance from your Shark vacuum.
Here’s to a cleaner, healthier home environment, courtesy of your well-maintained Shark vacuum cleaner!
Frequently Asked Questions about How To Clean A Shark Vacuum Cleaner
Was this page helpful?
At Storables.com, we guarantee accurate and reliable information. Our content, validated by Expert Board Contributors, is crafted following stringent Editorial Policies. We're committed to providing you with well-researched, expert-backed insights for all your informational needs.


0 thoughts on “How To Clean A Shark Vacuum Cleaner”