Articles
How To Clean Jiffy Steamer
Modified: October 19, 2024
Learn how to clean your Jiffy Steamer effectively with these helpful articles. Keep your steamer in top condition for optimal performance.
(Many of the links in this article redirect to a specific reviewed product. Your purchase of these products through affiliate links helps to generate commission for Storables.com, at no extra cost. Learn more)
Introduction
Welcome to this comprehensive guide on how to clean your Jiffy Steamer! Jiffy Steamers are popular and reliable tools for removing wrinkles from clothes, curtains, and upholstery. Regular cleaning and maintenance are essential to keep your steamer in optimal condition and extend its lifespan.
Over time, mineral deposits, dirt, and other residues can accumulate in the water tank and steam head of your Jiffy Steamer, leading to reduced performance and potential damage. By following the steps outlined in this article, you will learn how to safely and effectively clean your Jiffy Steamer, ensuring its continued functionality and efficiency.
Before we dive into the cleaning process, it is important to emphasize the significance of safety precautions. Always unplug the steamer from the power source and allow it to cool down completely before beginning the cleaning process. This will prevent accidental burns and ensure your safety.
Now that we have covered the necessary introduction, let’s move on to the first step: gathering the supplies you will need to clean your Jiffy Steamer.
Key Takeaways:
- Regularly cleaning and maintaining your Jiffy Steamer is crucial for optimal performance and longevity. Follow safety precautions, gather supplies, and thoroughly clean the water tank and steam head to ensure wrinkle-free fabrics every time.
- Prioritize safety by disconnecting and cooling down the steamer before disassembling and cleaning. Use vinegar or Jiffy Steamer cleaner solution to effectively remove mineral buildup and regularly test the steamer for proper functionality.
Read more: Where To Buy Jiffy Esteam Travel Steamer
Safety Precautions
Before you start cleaning your Jiffy Steamer, it is crucial to take the necessary safety precautions. Here are some guidelines to keep in mind:
1. Disconnect the steamer: Always unplug the Jiffy Steamer from the power source before you begin the cleaning process. This will prevent any potential electrical shocks or accidents.
2. Allow the steamer to cool down: After unplugging the steamer, make sure to allow it to cool down completely. This will prevent any burns or injuries while handling the appliance.
3. Handle with care: When cleaning the steamer, be mindful of its hot surfaces. Use oven mitts or heat-resistant gloves to protect your hands from accidental burns.
4. Work in a well-ventilated area: Clean your Jiffy Steamer in a well-ventilated area to prevent inhaling any cleaning solutions or fumes.
5. Read the manufacturer’s instructions: Familiarize yourself with the specific safety guidelines provided by Jiffy to ensure you are following the proper cleaning procedures.
Remember, safety should always be a priority when handling any electrical appliance. By following these precautions, you can clean your Jiffy Steamer effectively and without any unnecessary risks.
Now that we have covered the safety precautions, let’s move on to the next step: gathering the supplies you’ll need for the cleaning process.
Gather Supplies
Before you begin the cleaning process, it is essential to gather all the necessary supplies. Having everything ready will streamline the process and ensure you have everything you need. Here are the supplies you’ll need to clean your Jiffy Steamer:
- Distilled water: It is highly recommended to use distilled water instead of tap water. Tap water contains minerals that can build up in the steamer over time and potentially affect its performance.
- Vinegar or Jiffy Steamer cleaner solution: Vinegar is an effective and natural cleaning agent that can help dissolve mineral deposits in the steamer. Alternatively, you can use a cleaner solution specifically designed for Jiffy Steamers, which can be purchased separately.
- Clean, soft cloth or sponge: You’ll need a soft cloth or sponge to wipe down the steamer parts and remove any dirt or residue.
- Cotton swabs: Cotton swabs are handy for reaching narrow and hard-to-reach areas of the steamer, such as the steam vents.
- Mild dish soap: In case you need to clean the external parts of the steamer, mild dish soap can be used to remove any stains or grime.
Make sure you have all these supplies readily available before you proceed with the cleaning process. Having them at hand will enable you to clean your Jiffy Steamer efficiently and effectively.
Now that you have gathered all the necessary supplies, the next step is to disconnect and cool down the steamer before disassembling it for cleaning.
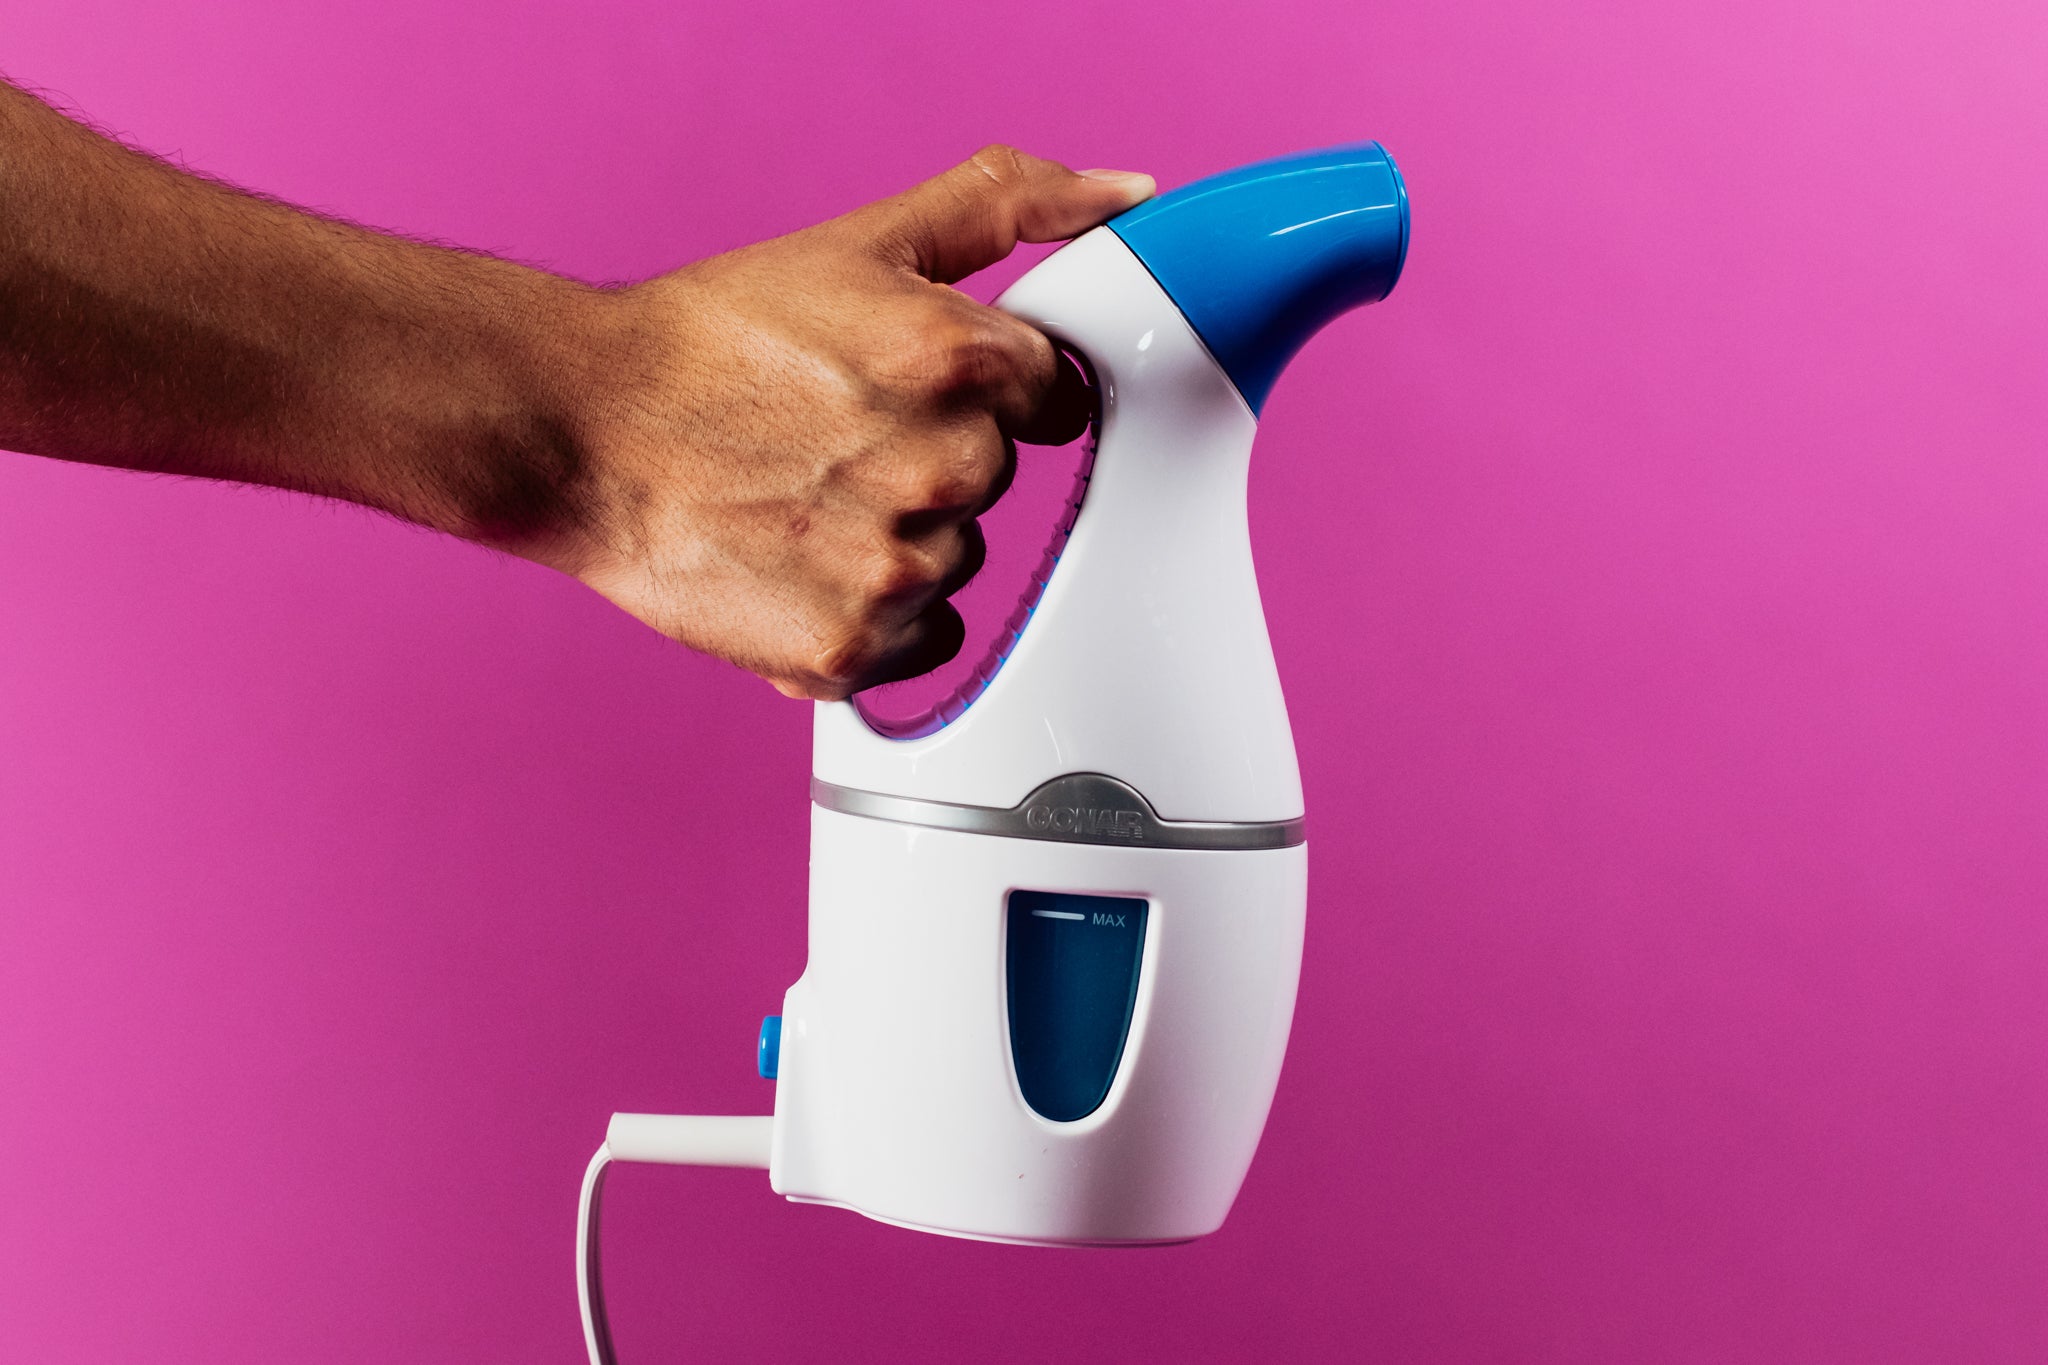
Disconnect and Cool Down the Steamer
Before you can begin the cleaning process, it is important to first disconnect and allow the Jiffy Steamer to cool down completely. This step ensures your safety and prevents any accidental burns during the cleaning process.
Follow these steps to disconnect and cool down your Jiffy Steamer:
- Unplug the steamer: Start by unplugging the power cord from the electrical outlet. This will prevent any potential electrical shocks while handling the appliance.
- Turn off the steamer: If your Jiffy Steamer has an on/off switch, make sure it is switched off. This will ensure that the appliance is not generating steam while you are cleaning it.
- Allow the steamer to cool down: Give the steamer enough time to cool down completely. This step is crucial to prevent any burns or injuries while handling the appliance during the cleaning process.
It is important not to rush this step. Ensure that the steamer is completely cool to the touch before proceeding to the next steps.
Once your Jiffy Steamer has been disconnected and allowed to cool down, you are ready to move on to the next step: disassembling the steamer for thorough cleaning.
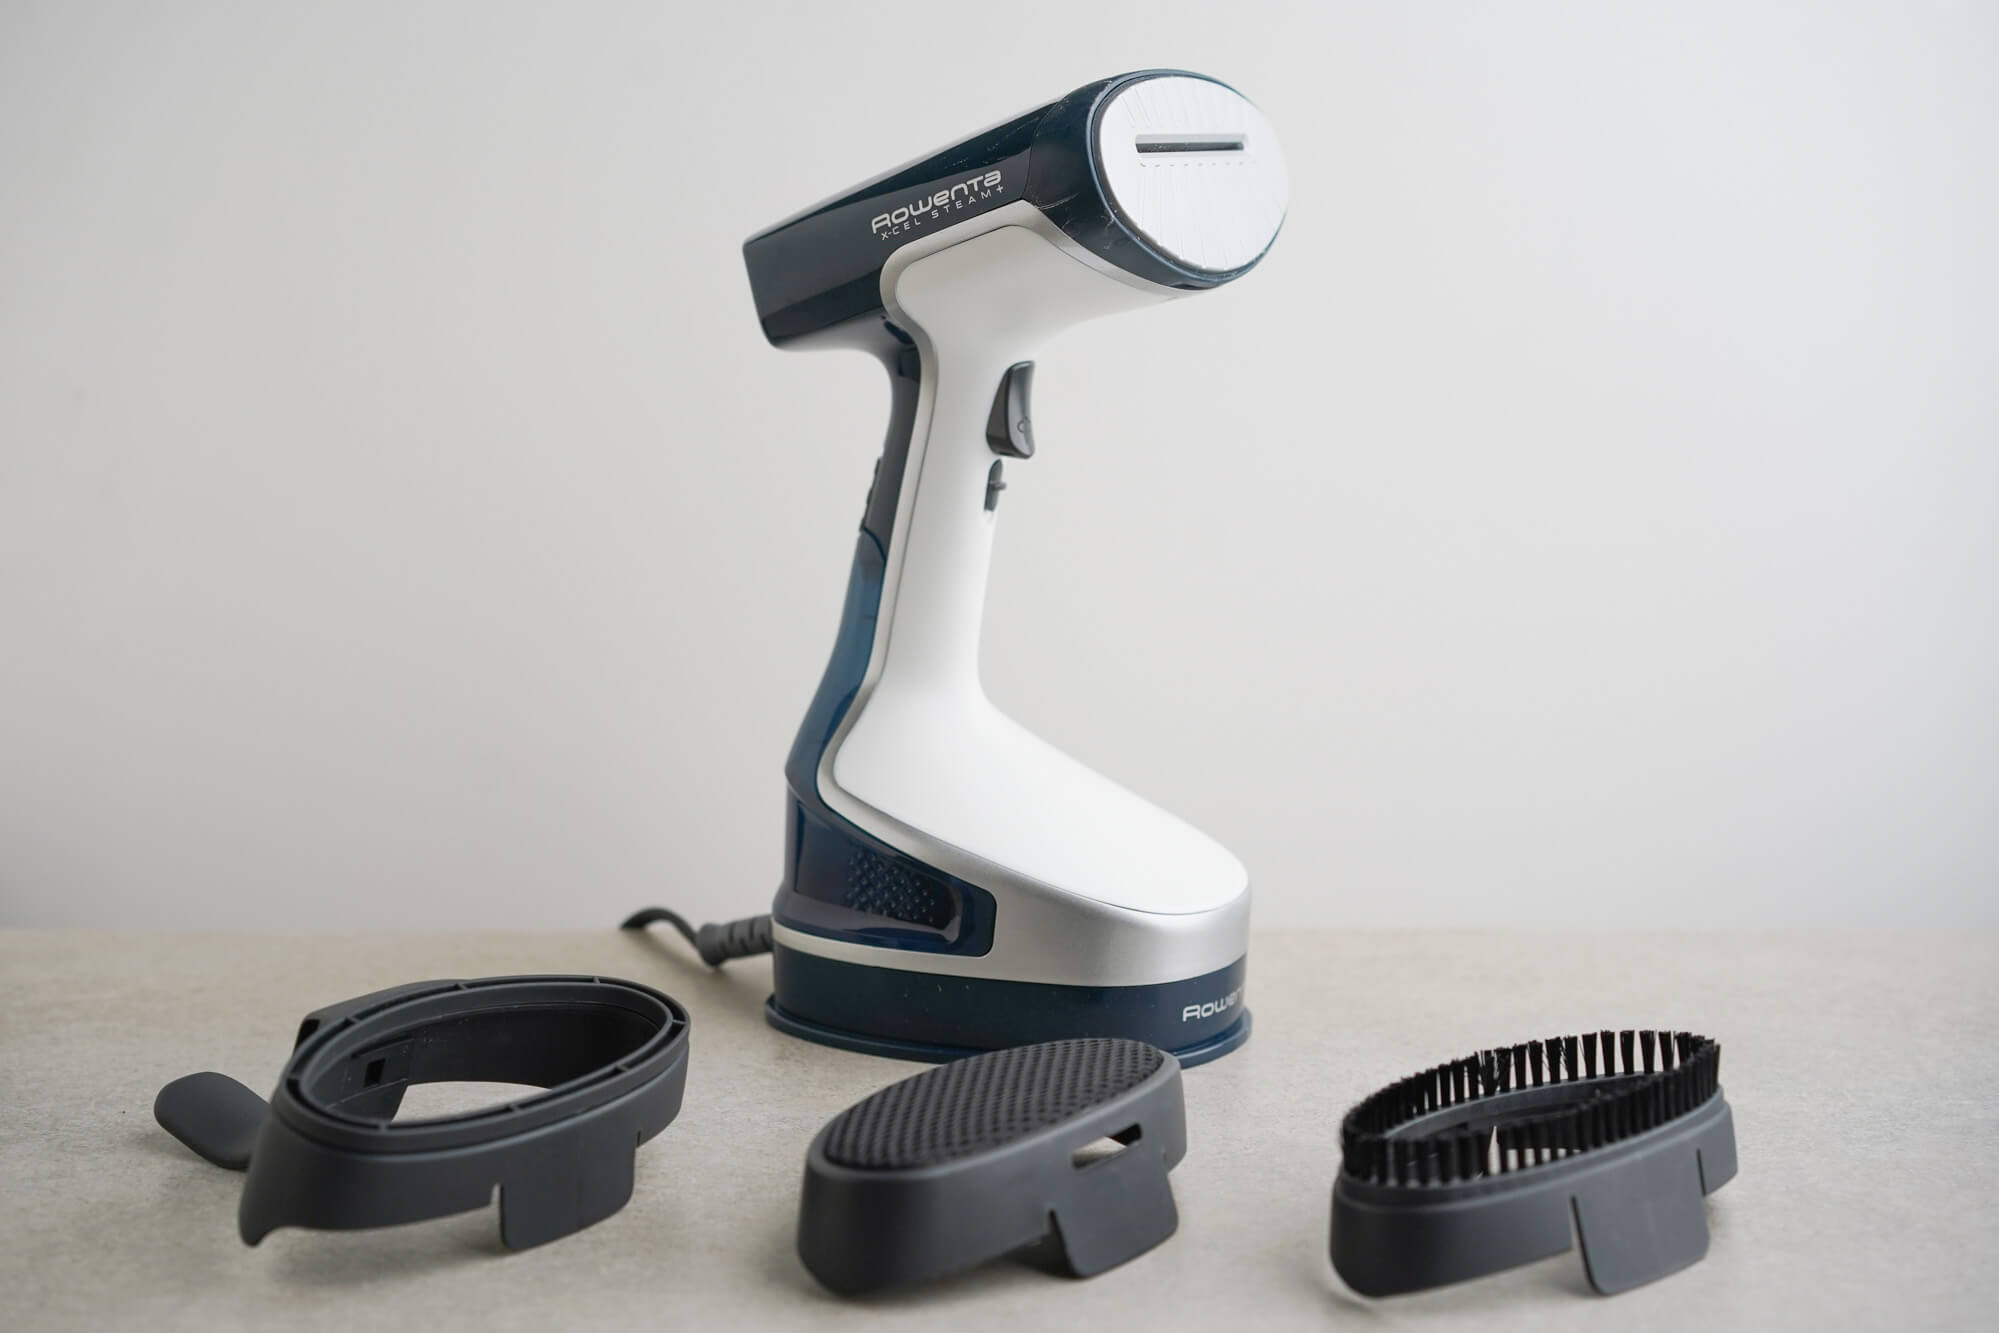
Disassemble the Steamer
Before you can clean each individual part of your Jiffy Steamer, it is necessary to disassemble the appliance. This will allow you to access different components and clean them thoroughly. Here are the steps to disassemble your Jiffy Steamer:
- Refer to the manufacturer’s instructions: Every Jiffy Steamer model may have slightly different disassembly steps, so it is important to consult the manufacturer’s instructions specific to your model. These instructions will guide you on how to safely disassemble your steamer.
- Remove the water tank: The water tank is typically located at the base of the steamer. Check if there is a locking or release mechanism to separate it from the main body. Gently detach the water tank and set it aside for cleaning.
- Detach the steam head: The steam head is the part of the steamer that emits the steam. Depending on your Jiffy Steamer model, there may be a latch or button to disconnect it from the main body. Carefully separate the steam head from the steamer.
- Take apart any additional components: Some Jiffy Steamers may have additional parts that need to be disassembled for thorough cleaning. Check for any removable attachments, such as brush attachments or steam hose connections, and disconnect them as needed.
As you disassemble your Jiffy Steamer, it is important to handle the parts with care. Be gentle to avoid any damage to the steamer or its components.
Once your Jiffy Steamer is fully disassembled, you are ready to move on to the next step: cleaning the water tank.
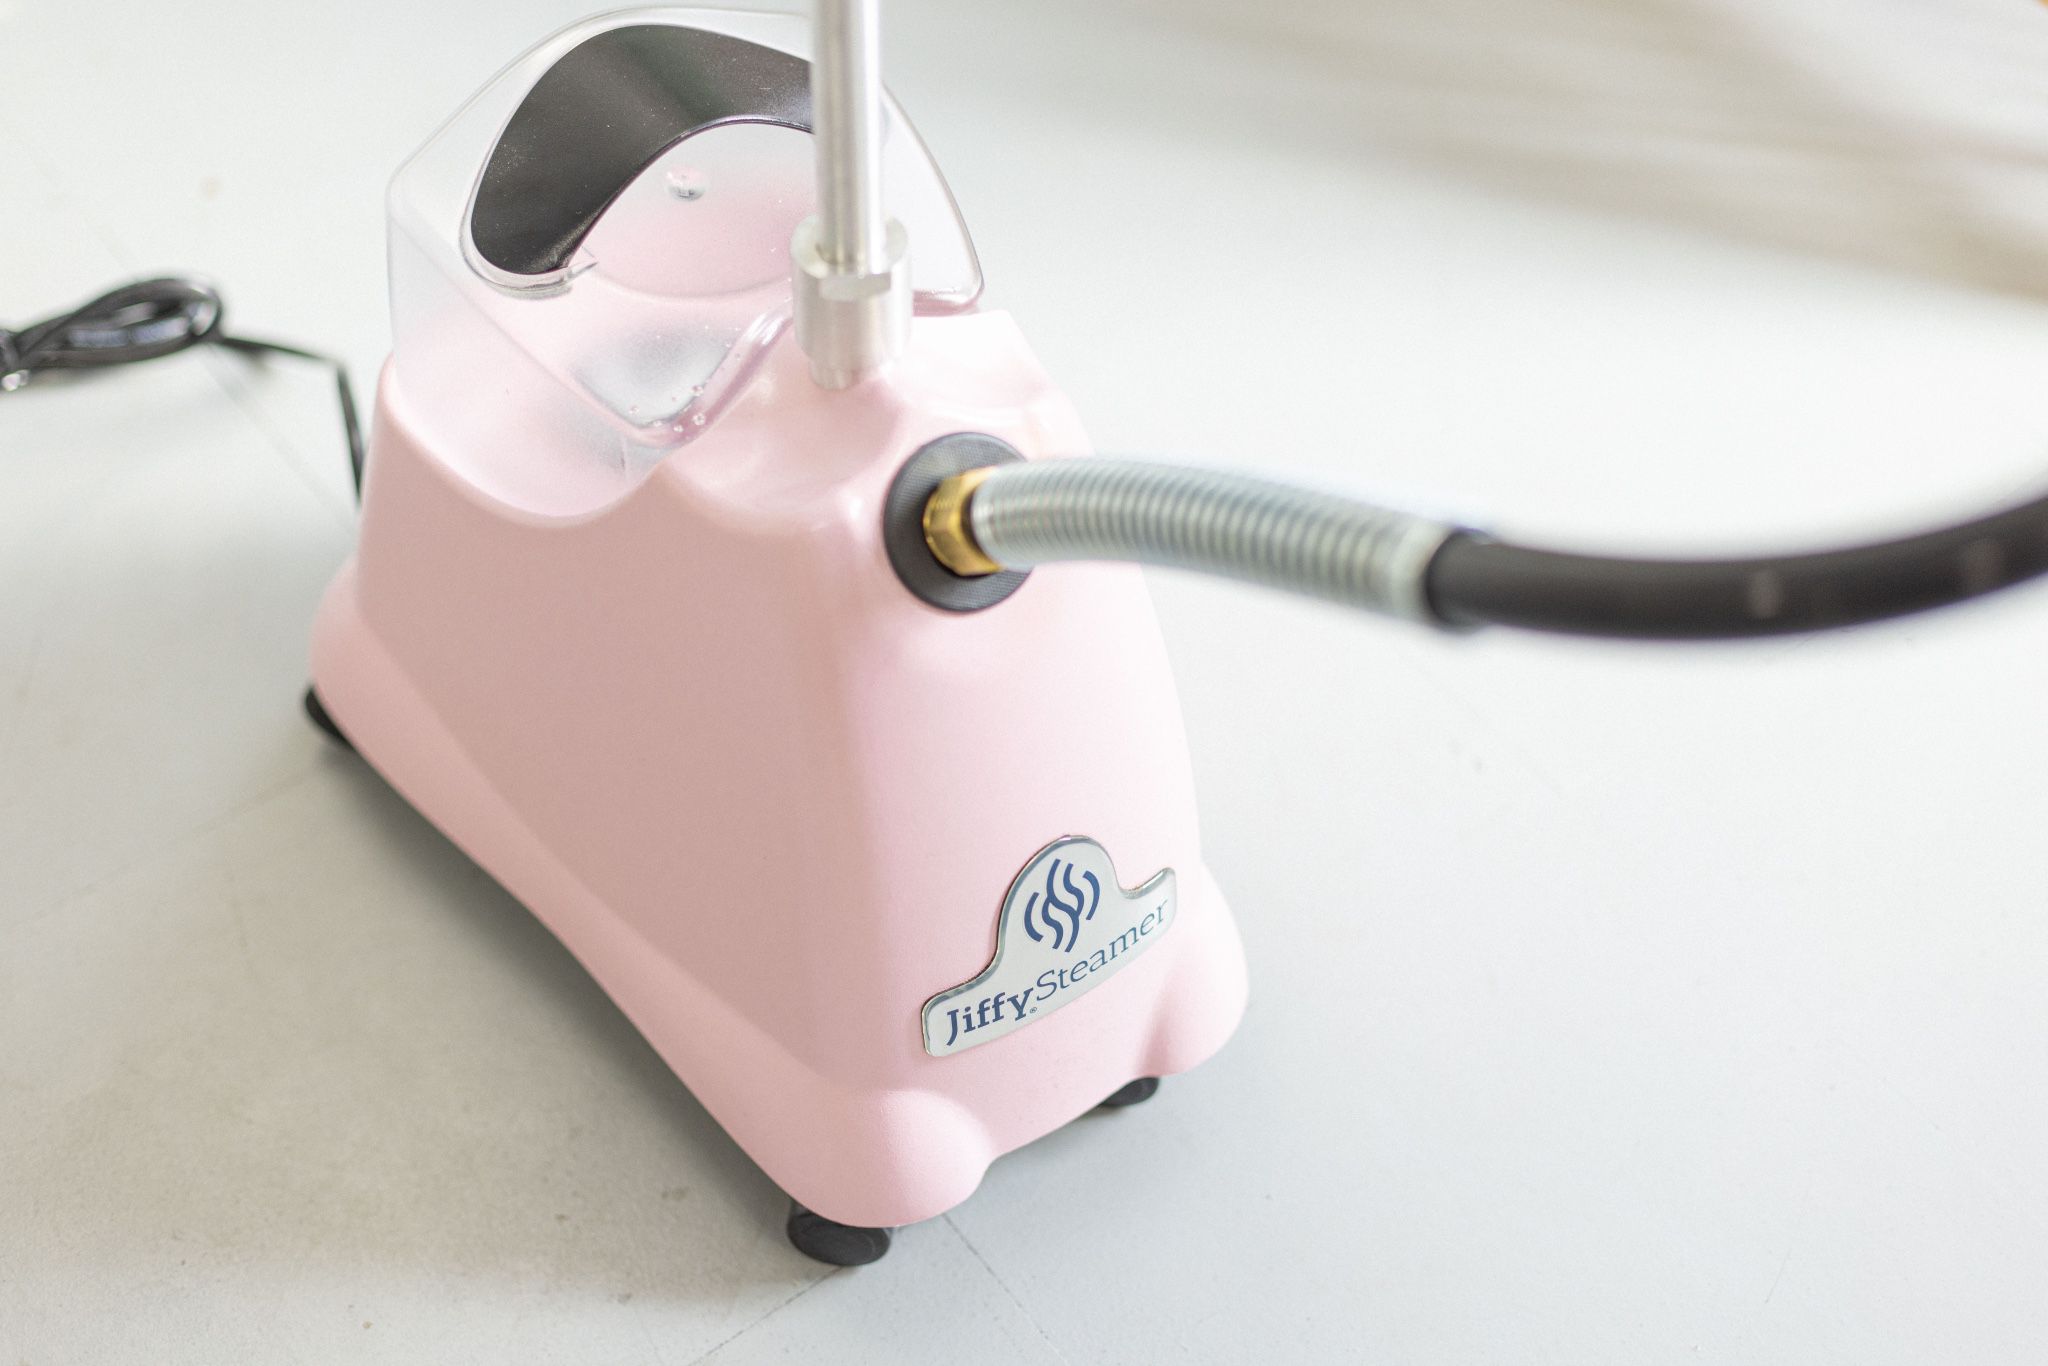
Clean the Water Tank
The water tank of your Jiffy Steamer is responsible for holding the water that is converted into steam. Over time, mineral deposits and residue can accumulate in the water tank, affecting the steamer’s performance. Here are the steps to effectively clean the water tank:
- Empty any remaining water: Before cleaning the water tank, make sure to empty any remaining water from it. This can be done by pouring out the water through the designated pour spout or drain valve.
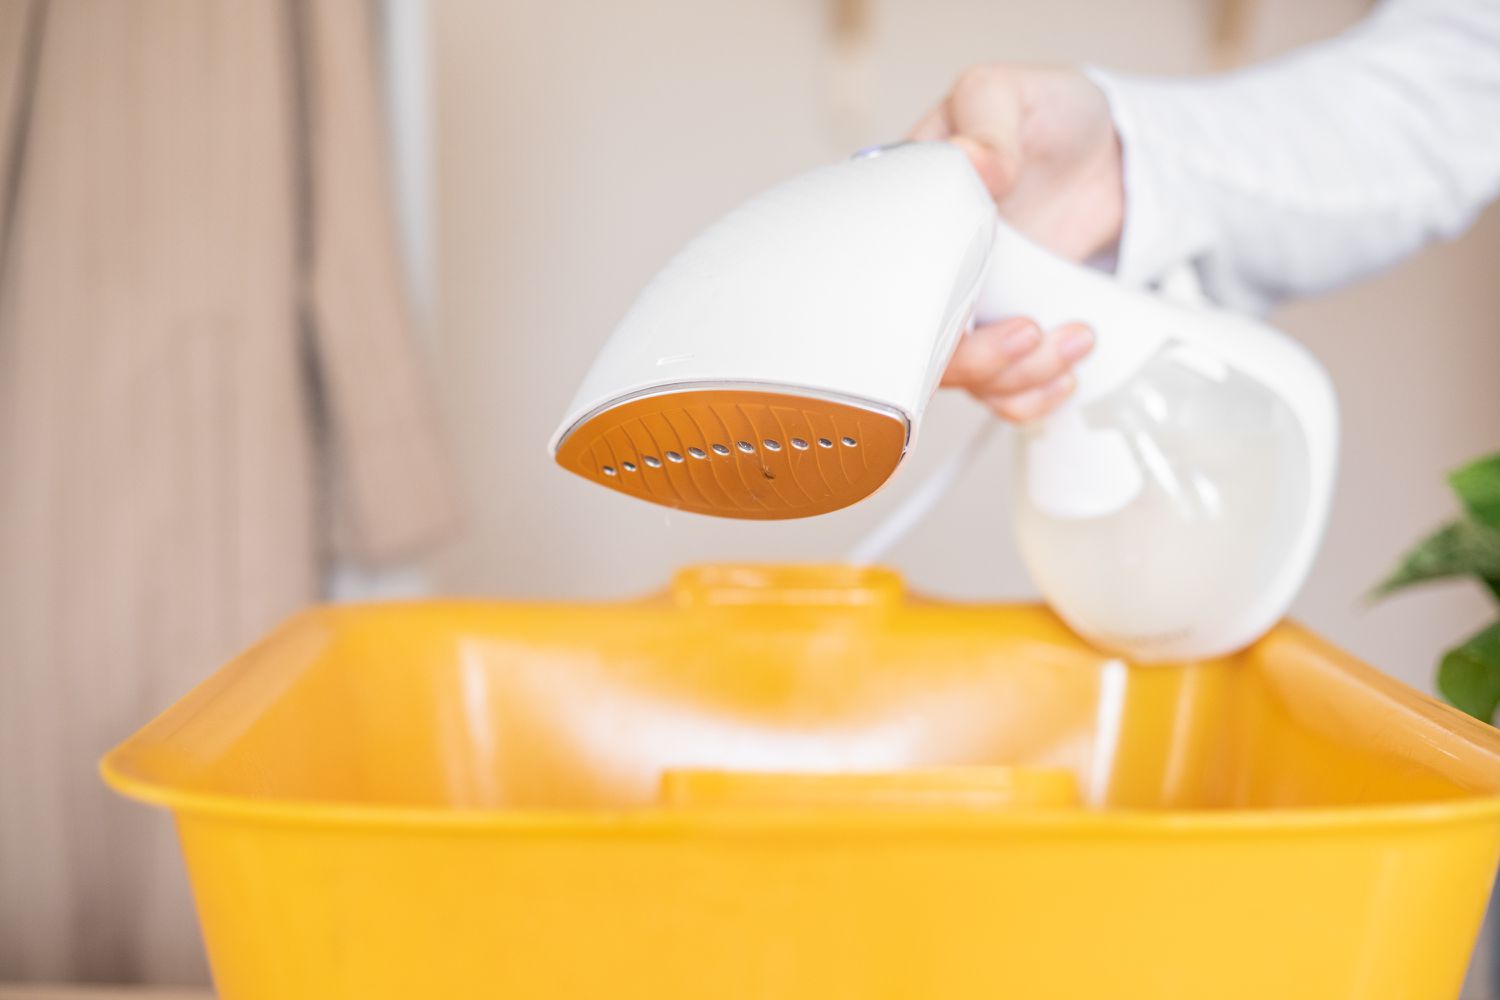
- Prepare a cleaning solution: Fill the water tank partially with a mixture of equal parts distilled water and vinegar or Jiffy Steamer cleaner solution. The acidity of vinegar helps dissolve mineral deposits. If using a cleaner solution, follow the instructions on the product label for the proper dilution.
- Let the cleaning solution sit: Allow the cleaning solution to sit in the water tank for a few minutes. This allows the vinegar or cleaner solution to effectively break down any mineral buildup inside the tank.
- Scrub the tank interior: Use a clean, soft cloth or sponge to gently scrub the interior of the water tank. Pay special attention to areas with mineral deposits or residue. For hard-to-reach areas, you can use a cotton swab dampened with the cleaning solution.
- Rinse the tank: Thoroughly rinse the water tank with clean distilled water to remove any remaining cleaning solution or residue. Ensure that all traces of the cleaning solution are thoroughly washed away.
- Dry the water tank: After rinsing, dry the water tank completely. You can use a clean, dry cloth or air-dry the tank by leaving it in a well-ventilated area. It is important to ensure the tank is completely dry before reassembling the steamer.
By following these steps, you can effectively clean the water tank of your Jiffy Steamer and remove mineral deposits and residue. Clean tanks will contribute to better steaming performance and prolong the lifespan of your appliance.
Now that you have finished cleaning the water tank, let’s move on to the next step: cleaning the steam head of your Jiffy Steamer.
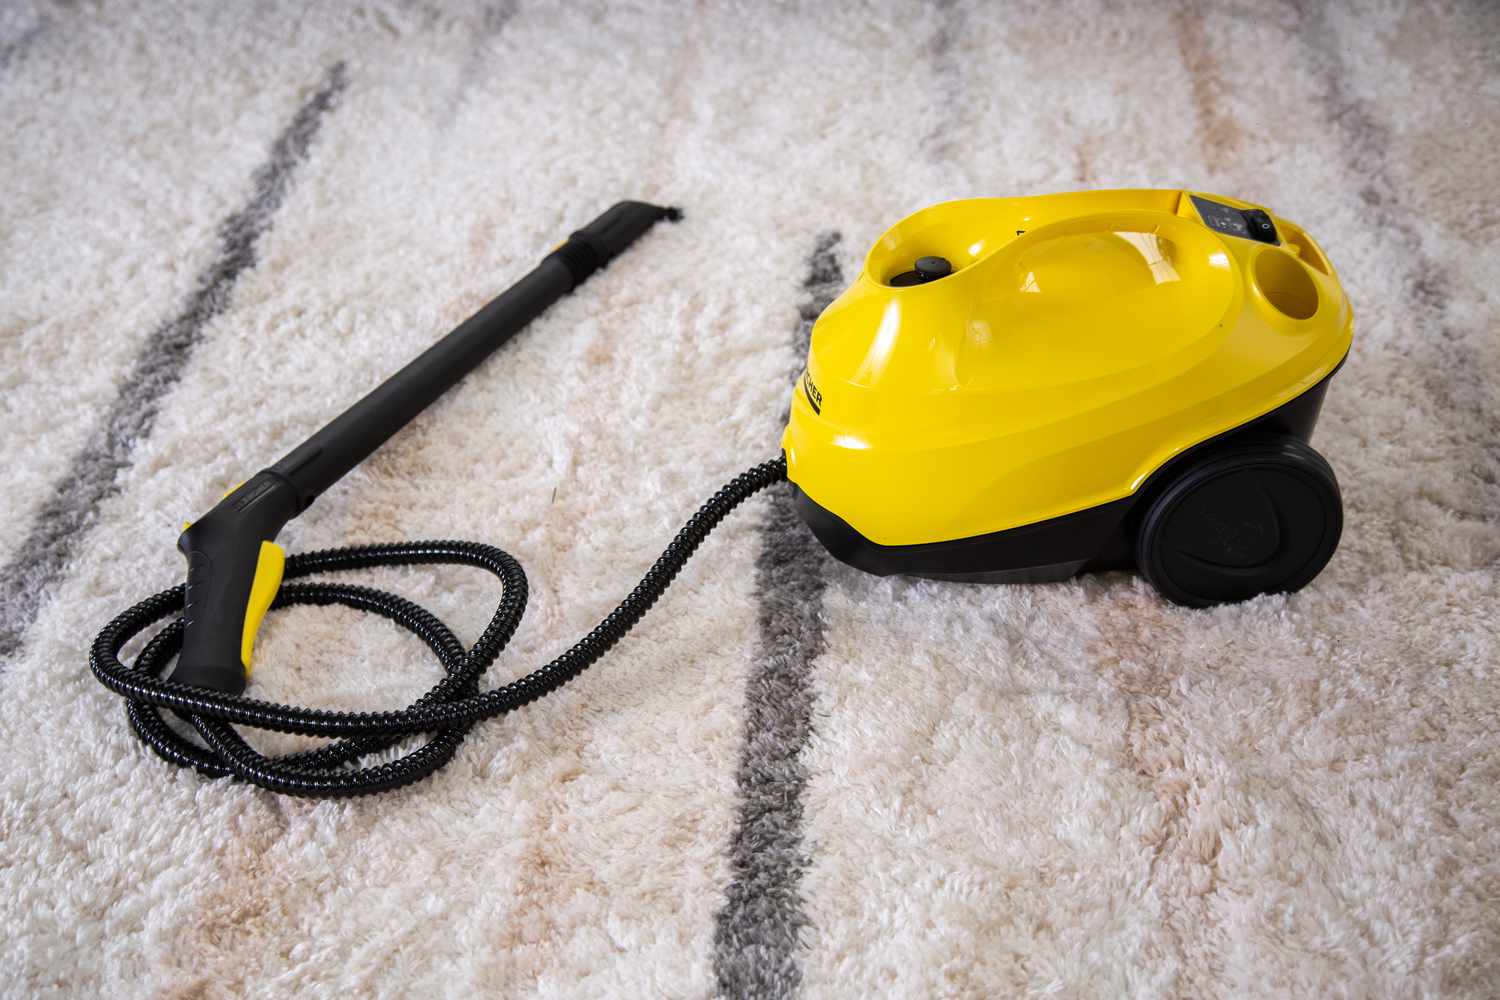
To clean a Jiffy Steamer, mix equal parts of white vinegar and water and pour it into the steamer. Let it sit for an hour, then empty and rinse thoroughly. Wipe the exterior with a damp cloth.
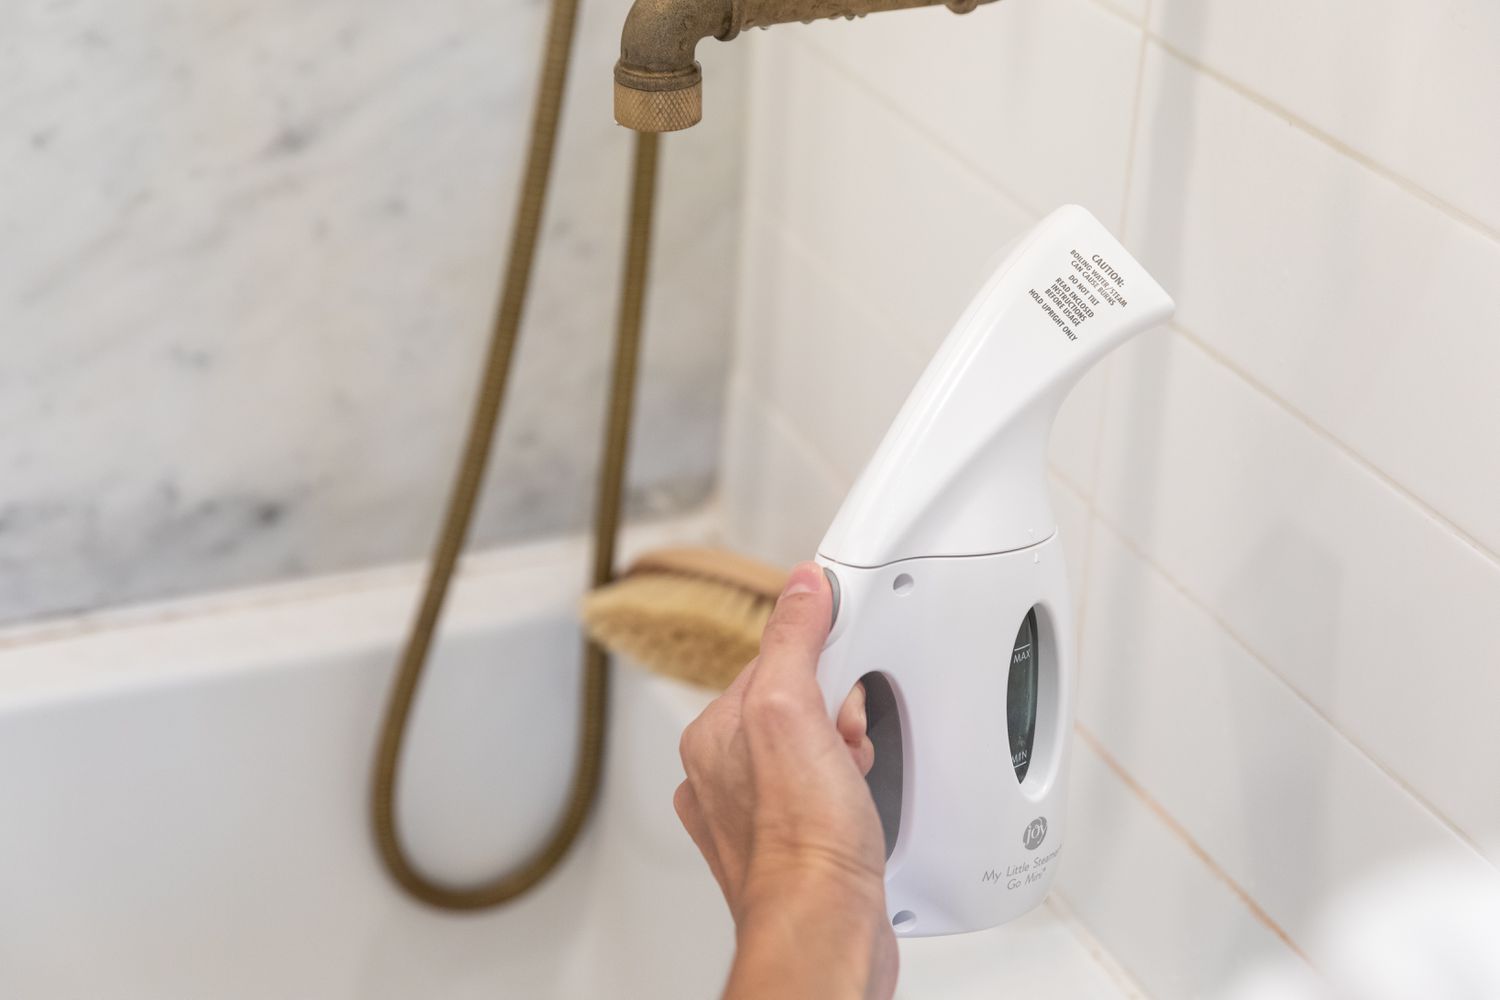
Clean the Steam Head
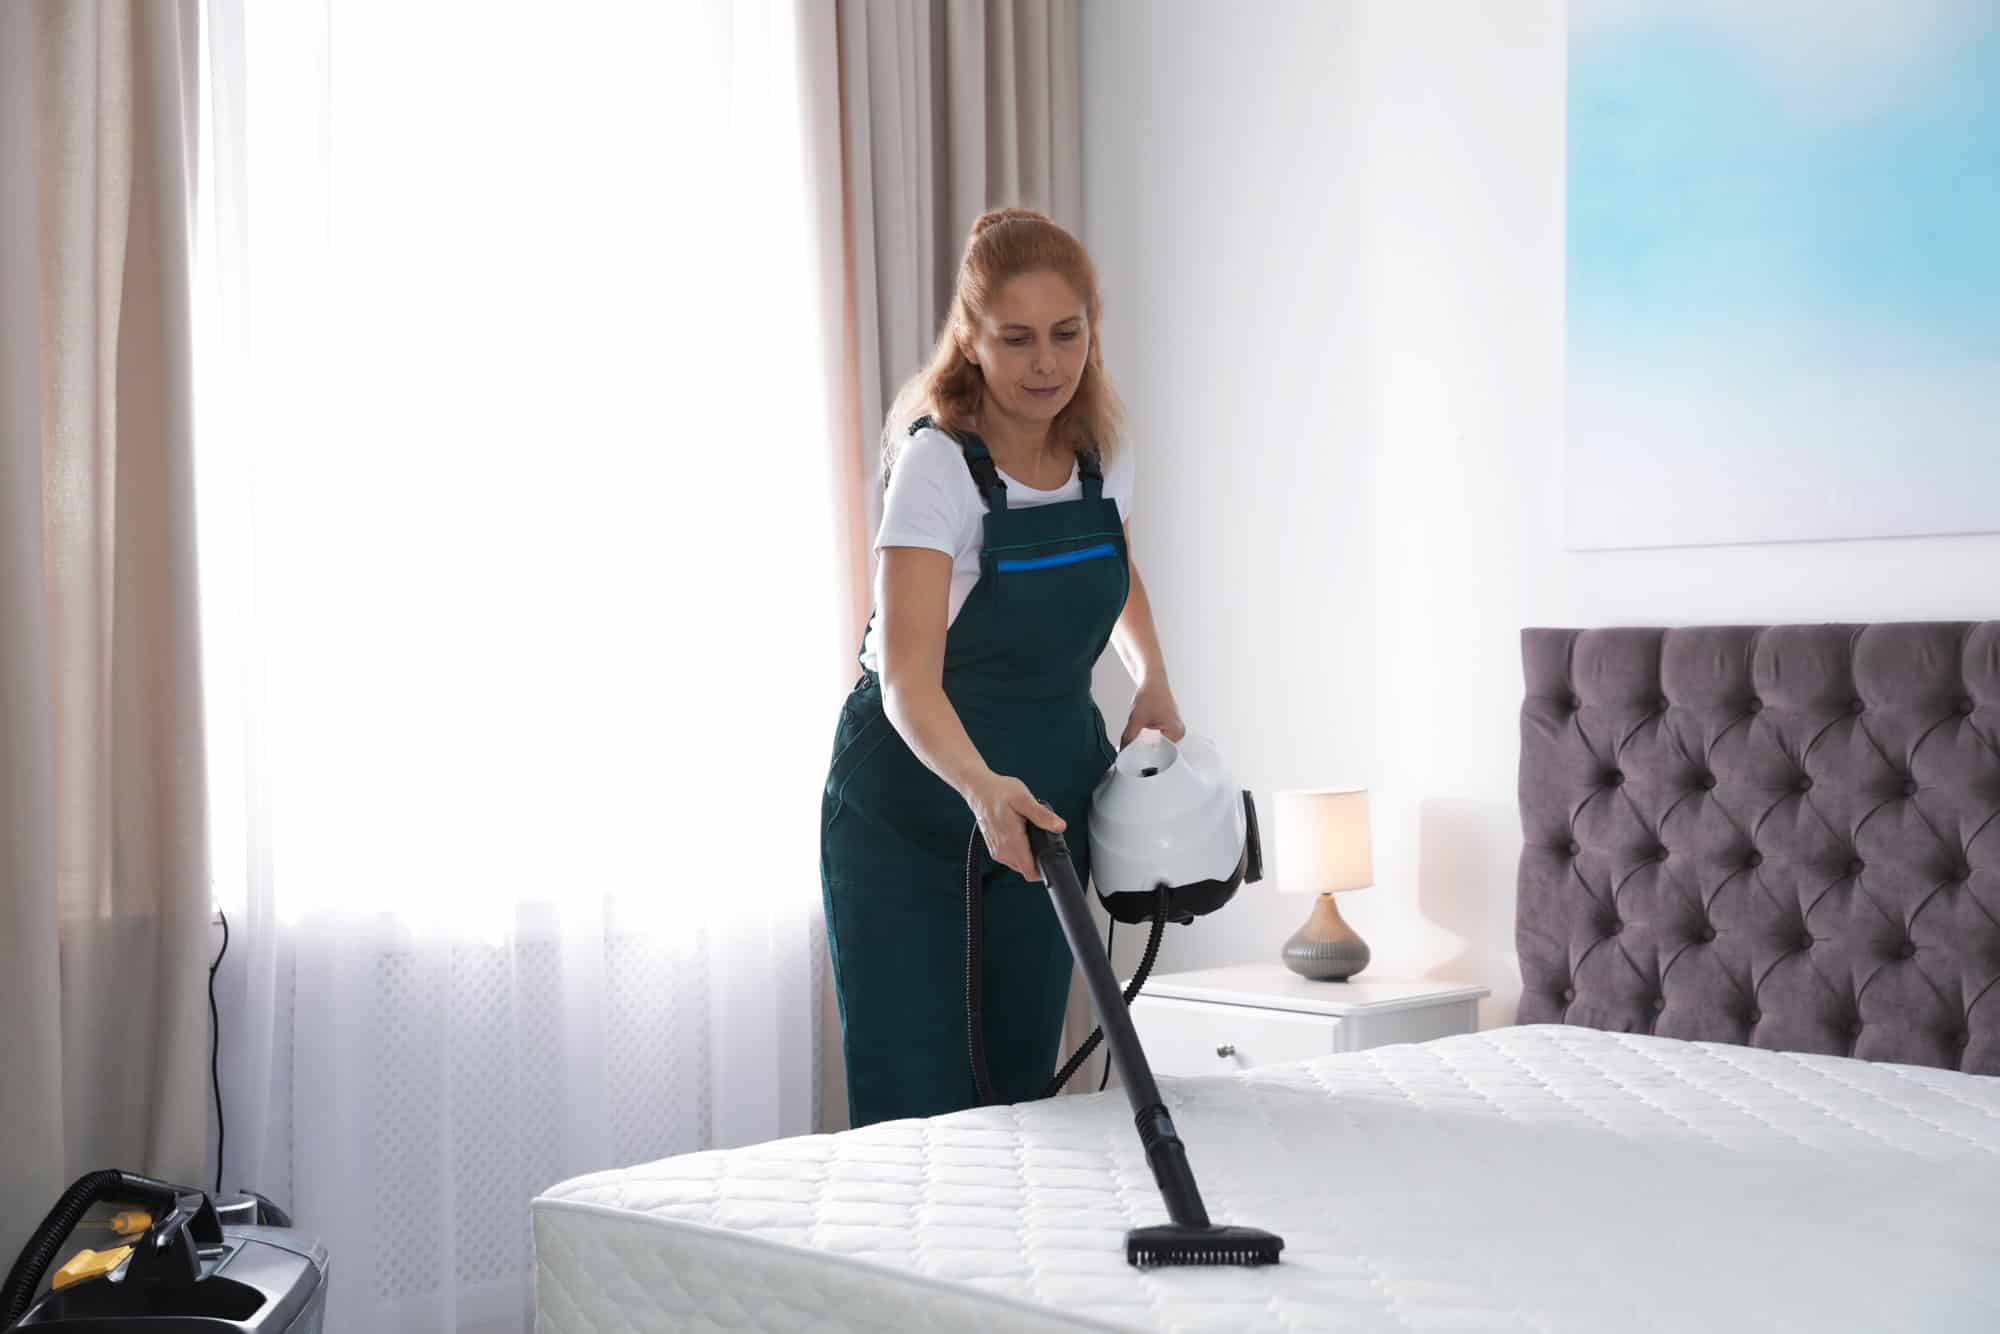
The steam head is a crucial component of your Jiffy Steamer as it is responsible for emitting steam and removing wrinkles from your fabrics. Cleaning the steam head regularly ensures optimal performance and prolongs the lifespan of your steamer. Here’s how you can clean the steam head effectively:
- Prepare a cleaning solution: Mix equal parts distilled water and vinegar or use a Jiffy Steamer cleaner solution. This solution will help break down any mineral deposits or residue that may have accumulated in the steam head.
- Dip a clean cloth or sponge: Wet a clean, soft cloth or sponge with the cleaning solution. Ensure that it is damp but not soaking wet to avoid any damage to the steam head.
- Gently wipe the steam head: Use the damp cloth or sponge to gently wipe the steam head, paying special attention to areas where mineral buildup or residue may be present. Be careful not to apply excessive pressure or force that could damage the steam head.
- Clean the steam vents: The steam vents on the steam head can sometimes get blocked or clogged with mineral deposits. Use a cotton swab dipped in the cleaning solution to carefully clean the steam vents and remove any debris or buildup.
- Rinse the steam head: After cleaning, rinse the steam head with clean distilled water to remove any remaining cleaning solution or residue.
- Dry the steam head: Use a clean, dry cloth to thoroughly dry the steam head. Ensure that it is completely dry before reassembling the steamer.
Cleaning the steam head regularly will help maintain its performance and ensure that it functions properly when steaming your fabrics. Keep in mind that different Jiffy Steamer models may have slight variations in the design of the steam head, so refer to the manufacturer’s instructions for any specific cleaning recommendations.
Now that you have cleaned the water tank and steam head, it’s time to address any mineral buildup that may have accumulated in your Jiffy Steamer.
Remove Mineral Buildup
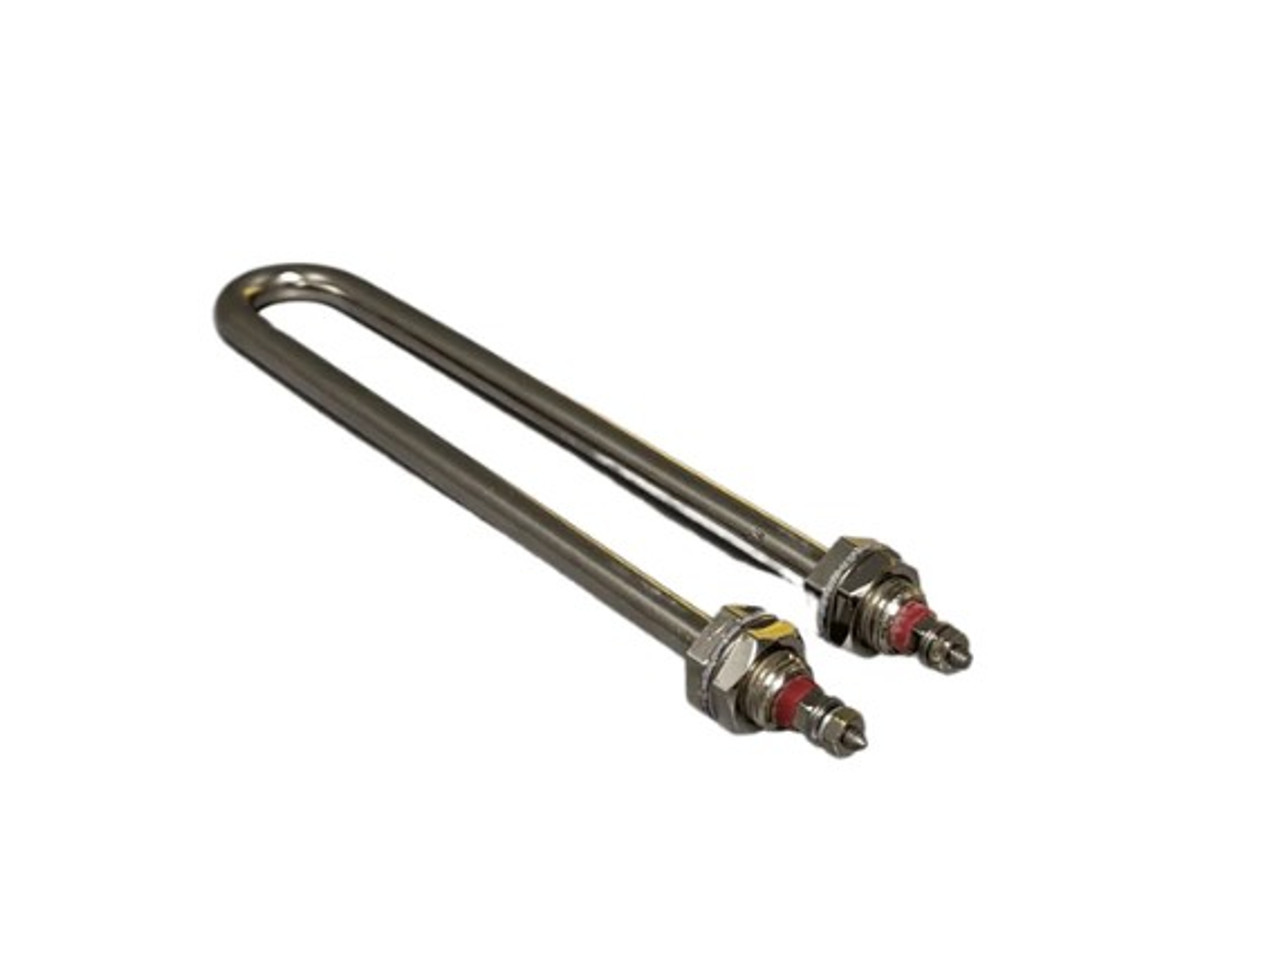
Mineral buildup can occur over time in your Jiffy Steamer, particularly in areas where the water comes into contact with heating elements. This buildup can affect the steamer’s performance and efficiency. Here are the steps to remove mineral buildup from your Jiffy Steamer:
- Prepare a descaling solution: Fill the water tank partially with a descaling solution specifically formulated for removing mineral deposits. You can find these descaling solutions at most appliance stores or online. Refer to the product instructions for the proper dilution ratio.
- Let the descaling solution sit: Allow the descaling solution to sit in the water tank and steam head for the recommended amount of time, as stated on the product instructions. This will allow the solution to break down and dissolve mineral buildup.
- Run the steamer: Plug in the steamer and turn it on. Allow the steam to flow through the steam head and vents for a few minutes. This will help dislodge and flush out any loosened mineral deposits.
- Empty and rinse the water tank: Once the steam flow has removed the mineral buildup, disconnect the steamer and empty the descaling solution from the water tank. Rinse the tank thoroughly with clean distilled water to ensure that all traces of the descaling solution are removed.
- Clean the steam head: Using a soft cloth or sponge dampened with clean distilled water, gently wipe the steam head to remove any remaining mineral deposits or residue.
- Dry and reassemble the steamer: Thoroughly dry all the components of your Jiffy Steamer, including the water tank and steam head. Once dry, reassemble the steamer according to the manufacturer’s instructions.
Regularly descaling your Jiffy Steamer will help maintain its performance and extend its lifespan. It is recommended to descale the steamer every few months or as needed, depending on the hardness of the water in your area.
With the mineral buildup removed, you are now ready to reassemble your Jiffy Steamer and test its functionality.
Reassemble the Steamer
Now that you have thoroughly cleaned and dried each individual part of your Jiffy Steamer, it’s time to reassemble the appliance. Proper reassembly is essential to ensure that all components fit securely and the steamer functions effectively. Here’s how to reassemble your Jiffy Steamer:
- Refer to the manufacturer’s instructions: Every Jiffy Steamer model may have slightly different reassembly steps, so it’s important to consult the manufacturer’s instructions specific to your model. These instructions will guide you on how to properly reassemble the steamer.
- Attach the steam head: Align the steam head with the connection points on the main body of the steamer. Gently push or twist the steam head until it securely fits into place. Ensure that it is properly secured to avoid any steam leaks during operation.
- Reattach any additional components: If you had detached any additional components during the disassembly process, such as brush attachments or steam hose connections, reattach them according to the manufacturer’s instructions.
- Place the water tank back into position: Insert the clean and dry water tank back into its designated slot on the steamer’s main body. Ensure that it fits snugly and securely.
As you reassemble your Jiffy Steamer, be cautious and handle the components with care. Avoid using excessive force that could potentially damage the steamer or its parts.
Once your Jiffy Steamer is fully reassembled, it’s time to move on to the final step: testing the steamer to ensure everything is working properly.
Read more: How To Clean Clothes Steamer
Test the Steamer
After cleaning, reassembling, and ensuring all the components of your Jiffy Steamer are back in place, it’s important to test the appliance before using it on your fabrics. Testing allows you to verify that everything is functioning properly and that there are no issues that need to be addressed. Here are the steps to test your Jiffy Steamer:
- Plug in the steamer: Connect the power cord of your Jiffy Steamer into a functioning electrical outlet.
- Fill the water tank: Fill the water tank with distilled water up to the recommended level. Ensure that the water tank is securely in place.
- Turn on the steamer: Switch on the power button or knob to activate the steamer. Allow it a few minutes to heat up and generate steam.
- Test the steam output: Position the steam head a few inches away from a cloth or towel and press the steam activation button. Observe the steam output and ensure that a steady and consistent stream of steam is being emitted.
- Check for any issues: While testing the steamer, inspect for any leaks, unusual noises, or other malfunctions. If you notice any issues or abnormalities, refer to the manufacturer’s instructions or contact Jiffy’s customer support for assistance.
If your Jiffy Steamer passes the test and operates as intended, congratulations! You can now proceed to use it on your fabrics with confidence. If you encounter any issues during the test, it’s best to address them before attempting to use the steamer on your garments.
Regular testing and maintenance of your Jiffy Steamer will help ensure its longevity and optimal performance. By following the proper cleaning and maintenance procedures outlined in this guide, you can enjoy wrinkle-free fabrics and prolong the life of your Jiffy Steamer.
Now that you have tested your Jiffy Steamer and confirmed its functionality, let’s conclude this guide.
Conclusion
Congratulations! You have successfully learned how to clean your Jiffy Steamer and keep it in optimal condition. Regular cleaning and maintenance are key to ensuring the longevity and performance of your appliance.
Throughout this guide, we covered important steps such as gathering supplies, disconnecting and cooling down the steamer, disassembling the steamer, cleaning the water tank, steam head, and removing mineral buildup. We also discussed the process of reassembling the steamer and testing it to ensure everything is working properly.
Remember to always prioritize safety by following the recommended safety precautions, such as disconnecting the steamer, allowing it to cool down, and handling it with care. Safety should be your top priority throughout the cleaning process.
By following these steps and cleaning your Jiffy Steamer regularly, you can maintain its efficiency and performance, ensuring wrinkle-free fabrics every time you use it. Cleaning the water tank and steam head, removing mineral buildup, and testing the steamer will help resolve any issues and keep it working in optimal condition.
If you encounter any difficulties during the cleaning process or if you have any specific concerns, it is always advisable to refer to the manufacturer’s instructions or contact Jiffy’s customer support for further assistance.
Now that you are equipped with the knowledge and steps to clean your Jiffy Steamer, enjoy the benefits of a well-maintained appliance and effortlessly remove wrinkles from your clothes, curtains, and upholstery.
Happy steaming!
Now that you've mastered cleaning your Jiffy Steamer, why stop there? Dive into our guide on using steam power to refresh your couch, perfect for tackling tough stains and odors. Ready for more? Check out our roundup of stellar fabric steamers set to hit the market in 2024. Whether you're sprucing up your living space or hunting for the latest tools, we've got the insights you need.
Frequently Asked Questions about How To Clean Jiffy Steamer
Was this page helpful?
At Storables.com, we guarantee accurate and reliable information. Our content, validated by Expert Board Contributors, is crafted following stringent Editorial Policies. We're committed to providing you with well-researched, expert-backed insights for all your informational needs.

0 thoughts on “How To Clean Jiffy Steamer”