
Articles
How To Clean Spray Foam Insulation
Modified: January 19, 2024
Looking for articles on how to clean spray foam insulation? Check out our expert tips and techniques for maintaining and cleaning your insulation effectively.
(Many of the links in this article redirect to a specific reviewed product. Your purchase of these products through affiliate links helps to generate commission for Storables.com, at no extra cost. Learn more)
Introduction
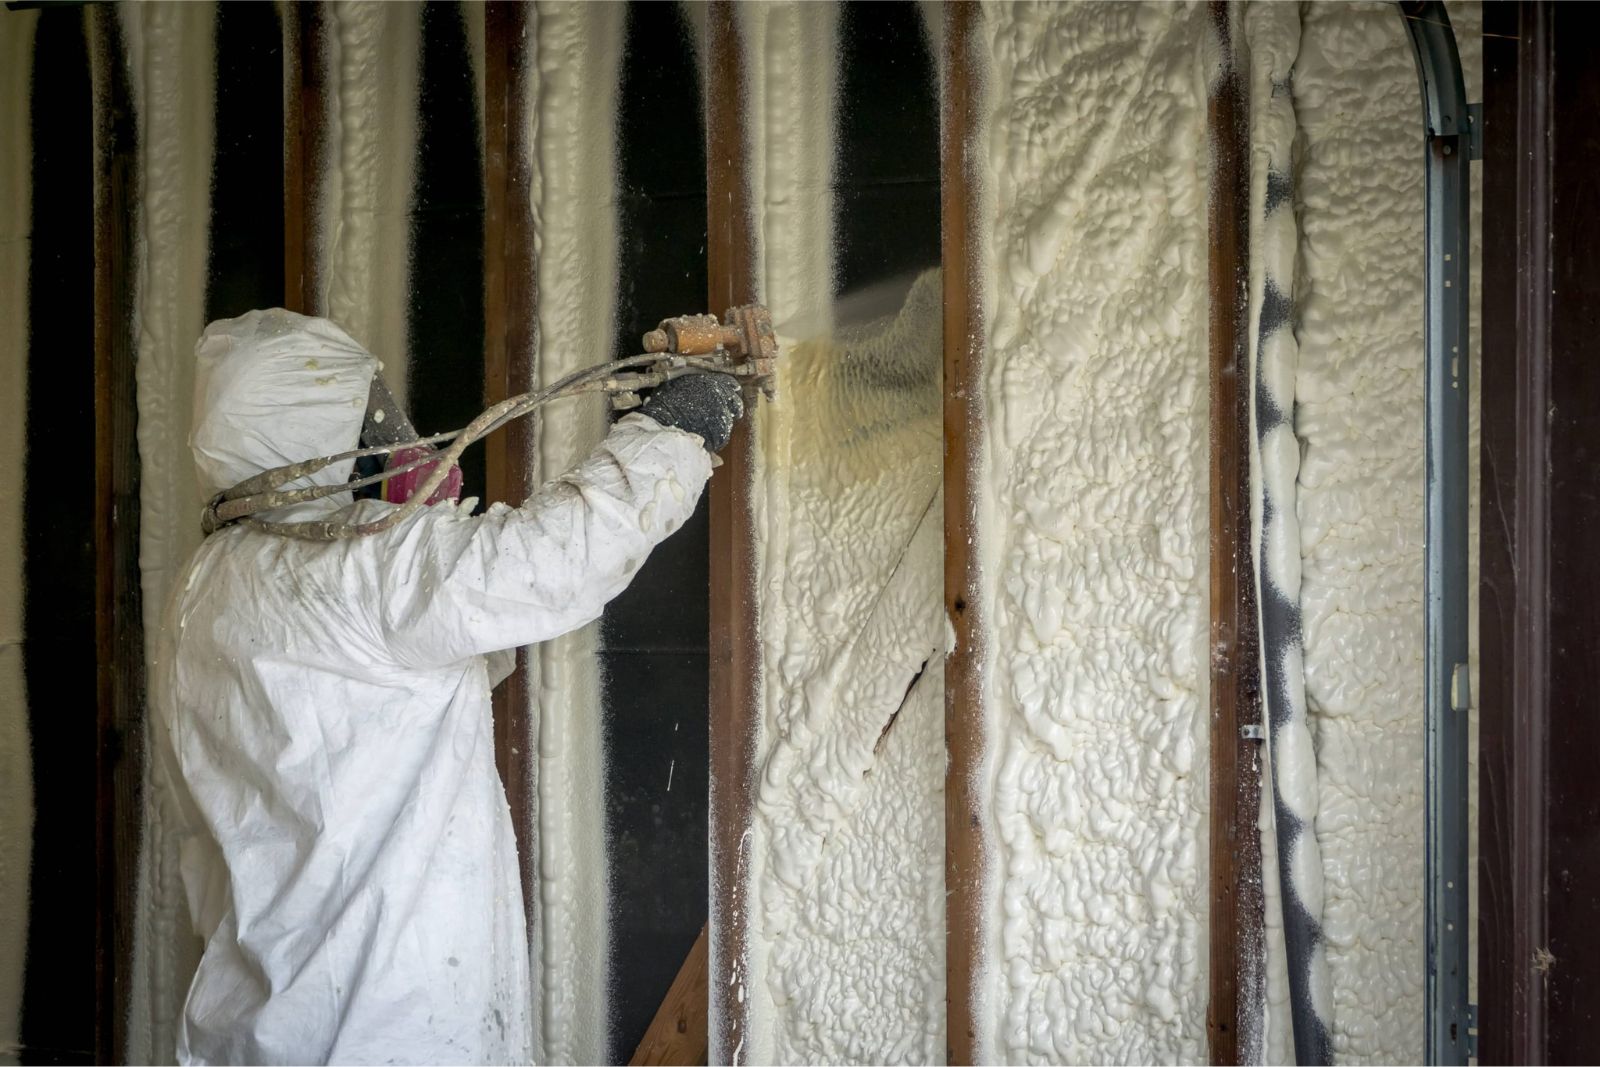
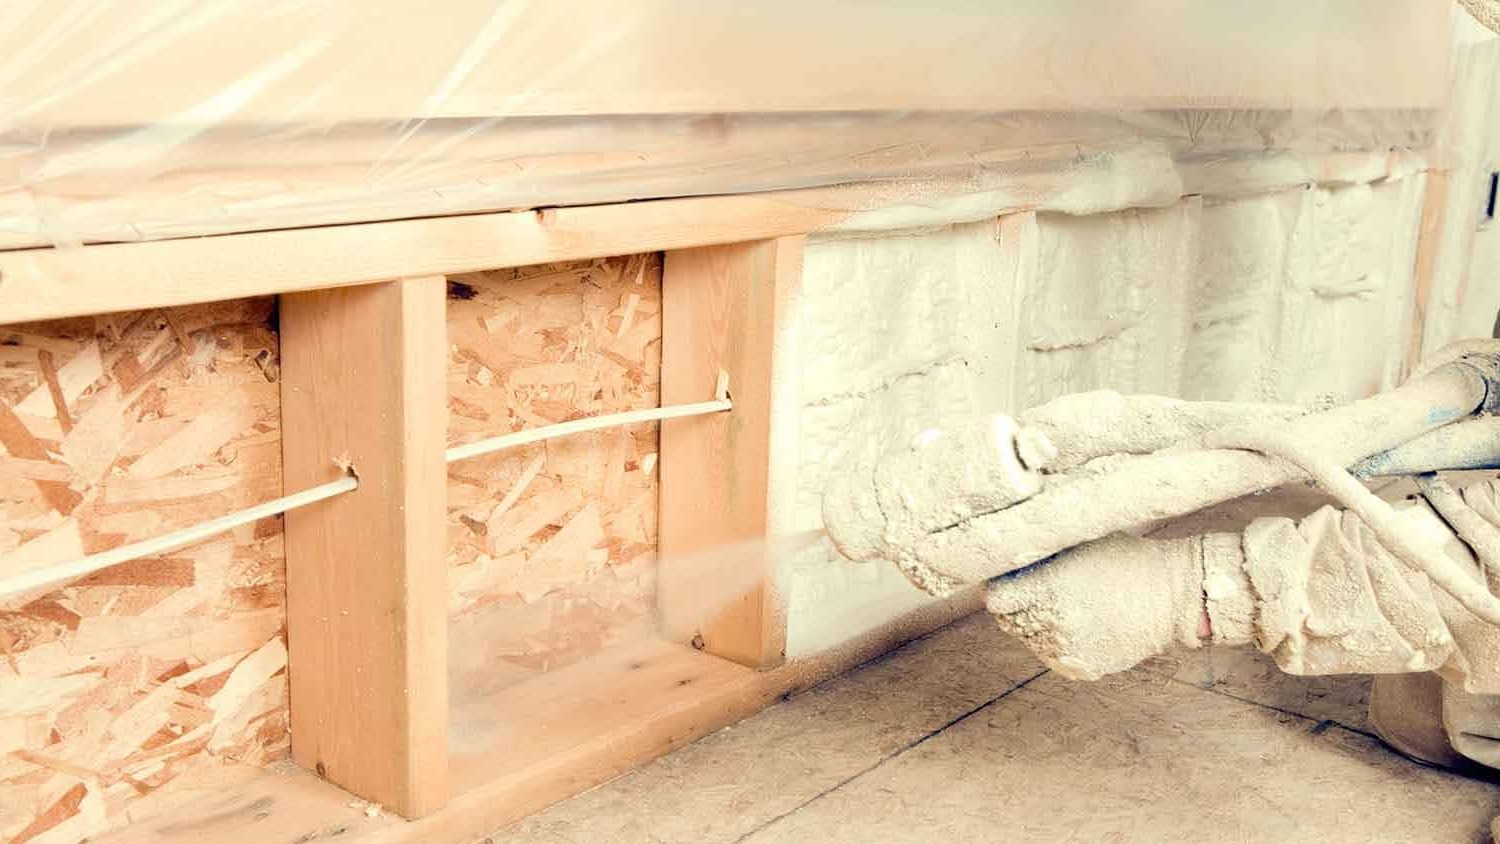
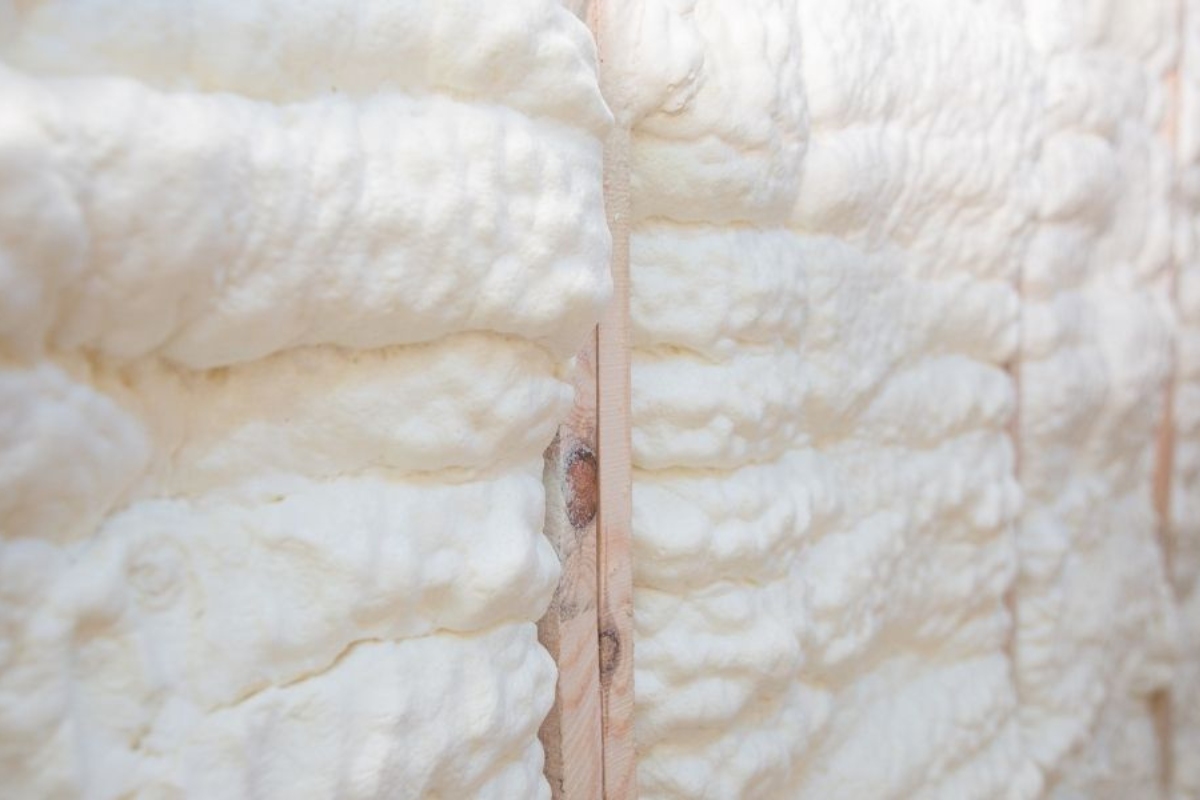
Spray foam insulation is a popular choice for homeowners looking to improve energy efficiency and reduce heating and cooling costs. It creates an airtight seal, effectively blocking drafts and preventing heat transfer. However, over time, spray foam insulation can accumulate dirt, dust, and other debris, which can compromise its effectiveness. That’s why proper cleaning and maintenance are essential to ensure the longevity and performance of your insulation.
In this article, we will guide you through the process of cleaning spray foam insulation. We will provide you with step-by-step instructions and tips on how to effectively remove dirt, dust, and stains from your insulation. By following these guidelines, you can maintain the efficiency of your insulation and keep your home comfortable all year round.
Before we dive into the cleaning process, it’s important to note that while spray foam insulation is a durable and resilient material, it can be sensitive to certain cleaning agents and techniques. It’s always best to consult with a professional or the manufacturer’s guidelines before attempting to clean your insulation. This will help prevent any potential damage and ensure that you are using the appropriate cleaning methods for your specific type of insulation.
Now, let’s get started and learn how to clean spray foam insulation effectively!
Key Takeaways:
- Regular cleaning and maintenance of spray foam insulation is crucial for maintaining energy efficiency and a comfortable home environment. Follow safety precautions, remove debris, treat stains, and deep clean for optimal results.
- Prioritize safety, gather necessary tools, and follow step-by-step instructions to effectively clean spray foam insulation. Protect your investment and enjoy a clean, efficient home for years to come.
Read more: How To Spray Foam Insulation In Attic
Preparing for the Cleaning Process
Before you begin the cleaning process, it’s important to make a few preparations to ensure a smooth and successful outcome. Here are some steps to take before you start cleaning your spray foam insulation:
- Assess the condition of your insulation: Take some time to inspect the spray foam insulation and identify any areas that require cleaning. Look for stains, dirt buildup, or any signs of damage that might need special attention.
- Gather the necessary tools and materials: To effectively clean your spray foam insulation, you will need a few essential tools and materials. These may include a vacuum cleaner with a soft brush attachment, a mild detergent or cleaning solution, a soft cloth or sponge, and a bucket of warm water.
- Protect the surrounding area: Cleaning spray foam insulation can be a messy process, so it’s important to protect the surrounding area. Cover any furniture, carpeting, or valuable items nearby to prevent them from getting damaged or soiled during the cleaning process.
- Ensure proper ventilation: Cleaning agents and solutions can emit fumes that may be harmful when inhaled. It’s crucial to ensure proper ventilation in the area where you’ll be cleaning your spray foam insulation. Open windows and doors if possible, and use fans to circulate fresh air throughout the space.
- Wear appropriate protective gear: Cleaning spray foam insulation may expose you to dust, debris, or cleaning agents, so it’s important to wear appropriate protective gear. Consider wearing gloves, safety glasses, and a dust mask to safeguard yourself during the cleaning process.
By following these preparatory steps, you’ll be well-equipped and ready to move on to the actual cleaning process. Taking the time to assess the condition, gather the necessary tools, protect the surrounding area, ensure proper ventilation, and wear the appropriate protective gear will help ensure a safe and successful cleaning experience.
Necessary Tools and Materials
When it comes to cleaning spray foam insulation, having the right tools and materials on hand can make the process much easier and more effective. Here are the essential tools and materials you’ll need:
- Vacuum Cleaner with Soft Brush Attachment: A vacuum cleaner is a must-have tool for removing loose dirt, dust, and debris from the surface of the insulation. Be sure to use a soft brush attachment to avoid damaging the foam.
- Mild Detergent or Cleaning Solution: Depending on the condition of your spray foam insulation, you may need a mild detergent or cleaning solution to tackle stains or spots. Look for a non-abrasive, solvent-free cleaner that won’t damage the foam.
- Soft Cloth or Sponge: A soft cloth or sponge is useful for applying the cleaning solution and gently scrubbing away stains or dirt without causing any damage to the insulation.
- Bucket of Warm Water: Warm water will be used to dilute the cleaning solution and rinse off the foam insulation after cleaning.
- Protective Gear: As mentioned earlier, it’s important to protect yourself during the cleaning process. Wear gloves, safety glasses, and a dust mask to prevent any potential harm from cleaning agents or debris.
It’s important to note that certain tools and materials, such as abrasive brushes or harsh chemicals, should be avoided, as they can damage the spray foam insulation. Stick to gentle cleaning methods and non-abrasive materials to preserve the integrity of the foam.
By having these necessary tools and materials readily available before you begin the cleaning process, you’ll be well-prepared to tackle any dirt, stains, or debris on your spray foam insulation. Remember, using the right tools and materials will help ensure a thorough and safe cleaning experience while maintaining the longevity and effectiveness of your insulation.
Step 1: Safety Precautions
Prioritizing safety is essential when it comes to cleaning spray foam insulation. While the cleaning process itself may not be particularly hazardous, taking proper safety precautions can help prevent any accidents or health risks. Here are some important safety measures to follow:
- Wear Protective Gear: Before you begin cleaning, it’s crucial to protect yourself by wearing the appropriate gear. This includes gloves, safety goggles, and a dust mask. Gloves will shield your hands from any potential cleaning agents or debris, while safety goggles will protect your eyes from splashes or particles. A dust mask will help filter out any airborne particles, ensuring that you breathe clean air during the cleaning process.
- Ensure Adequate Ventilation: Good ventilation is key to maintaining a safe environment while cleaning spray foam insulation. Open windows and doors to promote airflow and consider using fans to facilitate fresh air circulation. Adequate ventilation will help prevent the buildup of fumes from cleaning agents and ensure a healthy breathing environment.
- Use Non-Toxic and Non-Combustible Cleaning Agents: When selecting cleaning agents, prioritize non-toxic and non-combustible options. Avoid using harsh chemicals that may damage the spray foam insulation or pose health hazards. Read product labels carefully and opt for mild detergents or specialized foam insulation cleaners recommended by the manufacturer.
- Turn Off Electrical Power: As an extra safety measure, if you are cleaning spray foam insulation near electrical outlets or light switches, it’s a good idea to turn off the power to those areas. This reduces the risk of electrical shock or accidents caused by liquid contact with electrical components.
- Work in Well-Lit Areas: Ensure that the area you’re working in is well-lit to minimize the chances of accidents or mishaps. Sufficient lighting will allow you to see any potential hazards or stains more clearly, improving safety and the effectiveness of your cleaning efforts.
Remember, neglecting safety precautions can lead to accidents or health issues. By following these safety measures and using common sense during the cleaning process, you can maintain a safe environment and achieve successful results when cleaning your spray foam insulation.
Step 2: Removing Loose Debris
Before diving into deep cleaning your spray foam insulation, it’s important to remove any loose debris that may be sitting on the surface. This includes dust, dirt, cobwebs, or any other particles that have accumulated over time. Here’s how to effectively remove loose debris:
- Start with a Vacuum Cleaner: Use a vacuum cleaner with a soft brush attachment to gently remove loose debris from the foam insulation. The soft brush attachment will prevent any damage to the surface of the foam. Move the vacuum cleaner in a slow and gentle motion across the insulation, paying close attention to areas where debris is most visible.
- Focusing on Hard-to-Reach Areas: Pay extra attention to hard-to-reach areas, such as corners, edges, and crevices. These areas tend to accumulate more debris and may require additional effort to ensure thorough cleaning. Use attachments or small tools that can fit into these narrow spaces to remove loose debris effectively.
- Gentle Brushing or Dusting: If there are any stubborn debris or cobwebs that the vacuum cleaner couldn’t fully remove, use a soft cloth, sponge, or a soft-bristled brush to gently brush or dust them away. Be careful not to apply too much pressure that can damage the foam insulation. Lightly and delicately brush or dust the surface to avoid any indentation or damage.
- Utilize Compressed Air: If you have access to compressed air, it can be a useful tool to blast away loose debris from hard-to-reach areas. Use it sparingly and at a safe distance to prevent damage to the insulation or yourself. Always follow the manufacturer’s instructions when using compressed air equipment.
By effectively removing loose debris, you’ll create a clean and debris-free surface to work with when moving on to the next steps of the cleaning process. This step is crucial in ensuring that the deep cleaning process is more effective and prevents any particles from being trapped in the foam insulation.
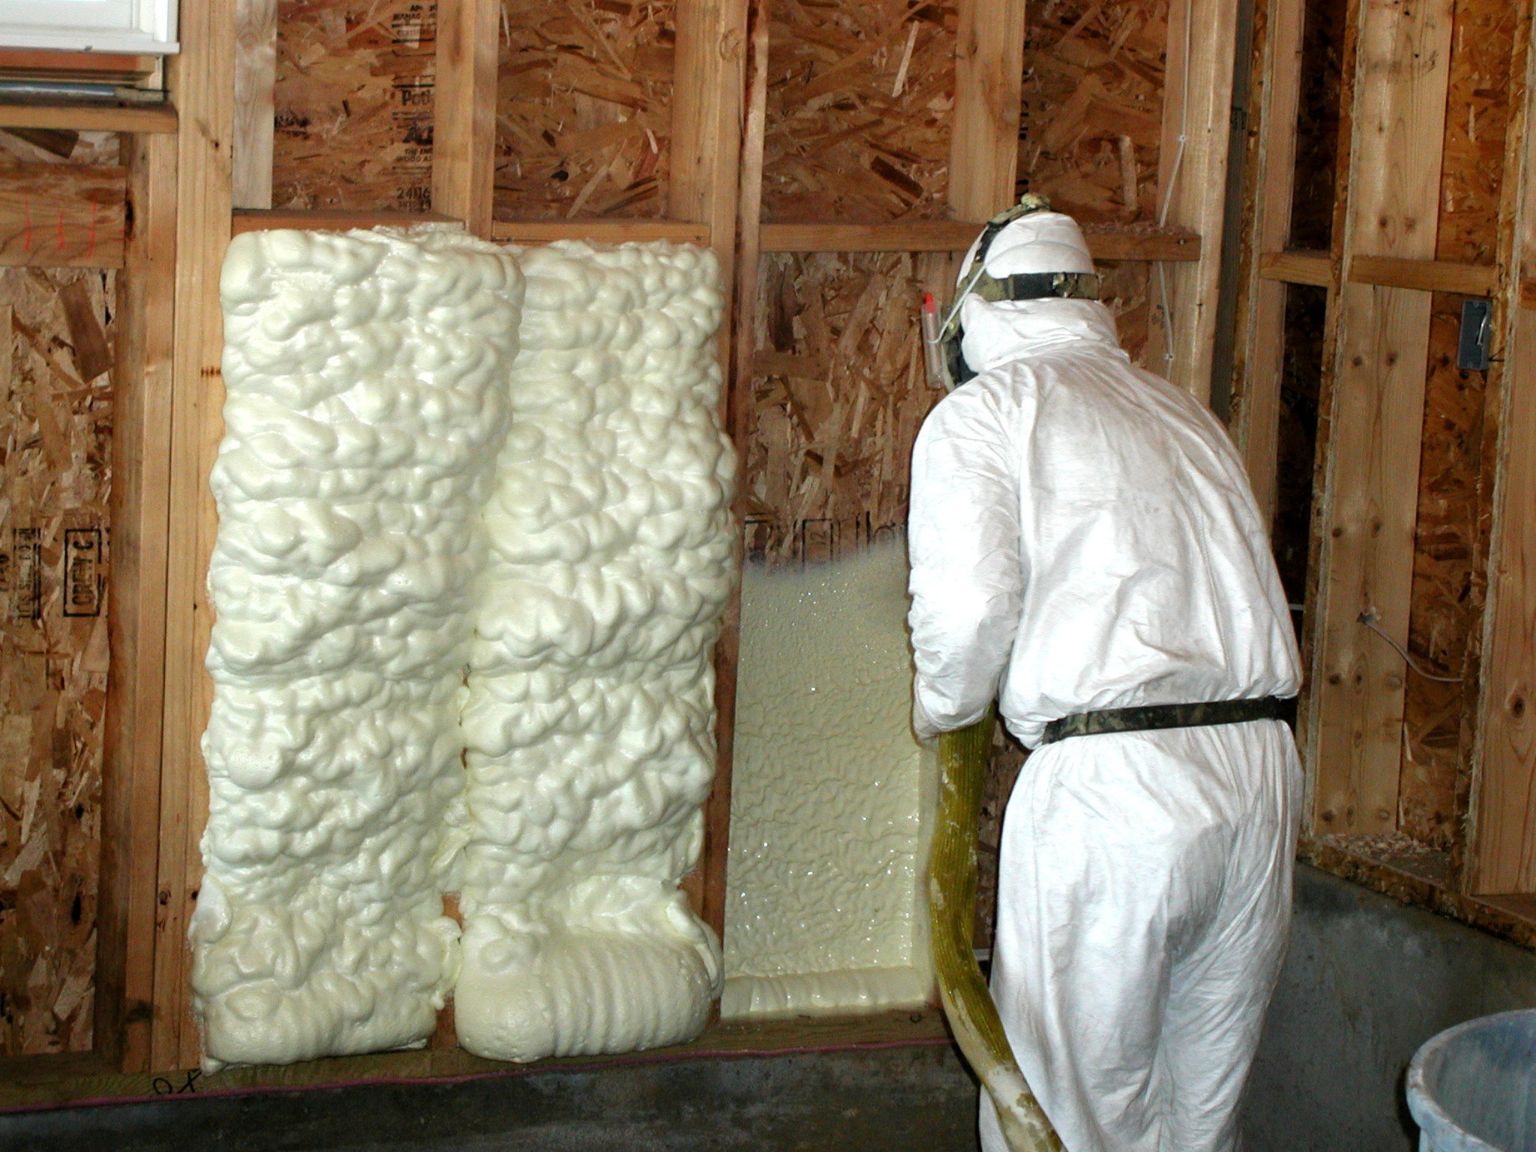
After spraying foam insulation, immediately wipe off any excess with a cloth dampened with acetone or a citrus-based cleaner to prevent it from hardening and becoming difficult to remove.
Read more: What Is The Best Spray Foam Insulation
Step 3: Vacuuming and Dusting
After removing the loose debris from the surface of the spray foam insulation, it’s time to perform a more thorough cleaning by vacuuming and dusting. This step will help eliminate any remaining dirt particles and ensure a cleaner and fresher insulation. Here’s how to properly vacuum and dust your spray foam insulation:
- Use a Soft Brush Attachment: Attach a soft brush attachment to your vacuum cleaner and set it to a low suction setting. The soft brush attachment will help prevent any damage to the foam insulation while effectively removing dust and smaller particles.
- Vacuum in a Gently Back-and-Forth Motion: Slowly move the vacuum cleaner back and forth across the surface of the insulation, applying light pressure. Start from the top and work your way down, ensuring that you cover the entire area. Pay special attention to any visible dust or dirt spots, and make multiple passes if necessary.
- Dust the Nooks and Crannies: Use a soft cloth or sponge to gently dust the nooks and crannies along the insulation. This includes corners, edges, and other areas that the vacuum cleaner may not be able to reach effectively. Be gentle to avoid causing any damage to the foam.
- Vacuum the Floor and Surrounding Areas: Don’t forget to vacuum the floor and any surrounding areas where the debris may have settled. This will help prevent any debris from being tracked back onto the insulation after cleaning.
- Repeat if Necessary: If you notice any lingering dust or dirt, make additional passes with the vacuum cleaner or use a clean cloth to dust those trouble spots. Be thorough in your cleaning to ensure a pristine and dust-free surface.
Vacuuming and dusting the spray foam insulation helps improve its overall cleanliness and ensures optimum performance. By removing smaller particles and dust, you’ll maintain a healthier living environment and prolong the lifespan of the insulation.
Note that it’s always a good idea to periodically vacuum and dust your spray foam insulation as part of regular maintenance to prevent the buildup of dirt and debris. This will help keep the insulation in top condition and maximize its energy efficiency benefits.
Step 4: Treating Stains and Spots
Over time, spray foam insulation may develop stains or spots that require special attention to get them clean. In this step, we’ll guide you on how to treat stains and spots effectively without damaging the insulation. Here’s what you need to do:
- Identify the Stains: Inspect the spray foam insulation and identify any noticeable stains or spots that require cleaning. Common stains may include oil, grease, food, or other substances that have made their way onto the surface of the insulation.
- Gently Blot the Stains: For fresh or recent stains, start by gently blotting them with a clean, soft cloth or sponge. Avoid rubbing as it may push the stain further into the insulation. Blotting can help absorb some of the stain and prevent it from setting deeper into the foam.
- Use a Mild Detergent or Cleaning Solution: For stubborn or set-in stains, you may need to use a mild detergent or specialized cleaning solution. Dilute the detergent or cleaning solution according to the manufacturer’s instructions. Test it on a small, inconspicuous area of the insulation to ensure it doesn’t cause any discoloration or damage.
- Gently Clean the Stains: Dip a soft cloth or sponge into the diluted cleaning solution and gently dab or blot the stained area. Work from the outside of the stain toward the center to prevent the stain from spreading further. Avoid scrubbing vigorously as it can damage the insulation. Use gentle, circular motions to lift the stain from the surface.
- Rinse with Warm Water: After treating the stains, rinse the area with a clean cloth or sponge dampened with warm water. This will help remove any residual cleaning solution and prevent it from accumulating on the insulation.
- Dry Thoroughly: Once you’ve treated the stains, allow the area to air dry completely. Ensure that there is adequate ventilation to expedite the drying process. Avoid direct heat sources as they may damage the insulation.
Remember, it’s important to always follow the manufacturer’s guidelines and recommendations when treating stains on spray foam insulation. This will help avoid any potential damage to the insulation and ensure that the cleaning process is performed correctly.
By effectively treating stains and spots, you’ll not only improve the appearance of your spray foam insulation but also maintain its overall integrity and performance.
Step 5: Deep Cleaning the Spray Foam Insulation
After removing loose debris, vacuuming, dusting, and treating any stains or spots, it’s time to deep clean your spray foam insulation. This step will help ensure a thorough cleaning and remove any remaining dirt or grime. Here’s how to effectively deep clean the insulation:
- Prepare a Cleaning Solution: Mix a mild detergent or cleaning solution with warm water in a bucket. Follow the manufacturer’s instructions for the appropriate ratio of detergent to water. Avoid using abrasive chemicals or cleaners that could damage the spray foam insulation.
- Dip a Soft Cloth or Sponge: Dip a soft cloth or sponge into the cleaning solution. Wring out any excess liquid to avoid saturating the insulation. The cloth or sponge should be damp, but not dripping.
- Gently Clean the Surface: Starting from the top, gently wipe the spray foam insulation with the damp cloth or sponge. Use gentle, circular motions to remove dirt and grime without applying excessive pressure. Pay attention to any areas that appear particularly dirty or stained.
- Change the Cleaning Solution if Needed: As the cleaning solution becomes dirty, change it with fresh, clean water and detergent. This will prevent spreading dirt or grime onto other areas of the insulation.
- Rinse with Clean Water: After cleaning a section, rinse the cloth or sponge with clean water and remove any excess cleaning solution from the insulation. This will prevent residue buildup and ensure a thorough cleaning.
- Continue Cleaning in Sections: Work in small sections, moving gradually across the insulation. Repeat the process of applying the cleaning solution, gently wiping the surface, and rinsing until you have thoroughly cleaned the entire area.
- Dry Thoroughly: Once you have finished cleaning, allow the spray foam insulation to air dry completely. Ensure there is adequate ventilation in the area to promote faster drying. Avoid using direct heat sources, as they can damage the foam or cause it to shrink.
Deep cleaning your spray foam insulation will help remove any stubborn dirt, grime, or residue that may have accumulated over time. The process will leave your insulation cleaner and fresher, contributing to improved indoor air quality and the overall performance of the insulation.
It’s crucial to exercise caution while deep cleaning the spray foam insulation and to avoid using harsh cleaners or abrasive tools. Be gentle throughout the process to avoid damaging the insulation and compromising its effectiveness.
Step 6: Drying the Area
After completing the cleaning process for your spray foam insulation, it’s important to properly dry the area to prevent any moisture buildup or potential damage. Here’s how to effectively dry the insulation:
- Air Circulation: Ensure there is adequate air circulation in the area. Open windows and doors if possible to allow fresh air to flow through and expedite the drying process. You can also use fans or ventilation systems to help circulate air in the space.
- Remove Excess Moisture: Use absorbent materials, such as towels or cloths, to remove any excess moisture from the surface of the insulation. Gently press the cloth against the foam to absorb the moisture without applying too much pressure that could cause damage.
- Patience is Key: Allow ample time for the spray foam insulation to air dry naturally. Depending on the humidity levels and surrounding environment, drying times may vary. Avoid using heat sources, such as heaters or hair dryers, as they can potentially damage the insulation or cause it to shrink unevenly.
- Verify Dryness: To ensure that the insulation is completely dry, visually inspect the surface for any signs of moisture or dampness. Touch the surface gently with your hand to check for any remaining moisture. If you encounter any moist areas, allow them more time to dry before considering the process complete.
- Monitor for Mold or Mildew: As you dry the spray foam insulation, keep an eye out for any signs of mold or mildew. These can indicate excessive moisture levels or poor ventilation. If you notice any mold or mildew growth, it’s crucial to address it promptly to prevent further damage and potential health issues.
Remember, thorough drying of the area is crucial to maintain the insulation’s integrity and prevent any potential issues caused by moisture or humidity. Taking the time to properly dry the spray foam insulation will ensure its long-lasting performance and effectiveness in providing energy efficiency benefits for your home.
By following these steps and allowing sufficient drying time, you can ensure a clean and dry spray foam insulation, promoting a healthier and more comfortable living environment.
Read more: Why Is Spray Foam Insulation Bad
Conclusion
Cleaning spray foam insulation is an important part of its maintenance and can help ensure its longevity and performance. By following the steps outlined in this article, you can effectively clean your spray foam insulation and maintain a clean and efficient home environment.
Beginning with preparatory steps such as assessing the condition of the insulation and gathering the necessary tools and materials, you set yourself up for success. Prioritizing safety precautions throughout the cleaning process, including wearing protective gear and ensuring proper ventilation, helps safeguard your well-being.
Removing loose debris, vacuuming, and dusting are crucial steps in the cleaning process. These actions help eliminate dirt, dust, and cobwebs that can impair the insulation’s effectiveness. Treating stains and spots effectively requires gentle blotting and the use of mild detergents, ensuring careful attention to detail.
Deep cleaning the spray foam insulation involves using a cleaning solution and gently wiping the surface. This step removes dirt and grime, resulting in a cleaner and fresher insulation. Properly drying the area is essential to prevent moisture buildup and potential damage to the insulation.
By following these steps and taking the necessary precautions, you can maintain the efficiency of your spray foam insulation while creating a more comfortable and healthy living environment. Remember to consult the manufacturer’s guidelines and recommendations for specific cleaning instructions for your type of spray foam insulation.
Regular cleaning and maintenance of your spray foam insulation will enhance its performance, improve energy efficiency, and prolong its lifespan. So, take the time to care for your spray foam insulation and enjoy the benefits for years to come.
Frequently Asked Questions about How To Clean Spray Foam Insulation
Was this page helpful?
At Storables.com, we guarantee accurate and reliable information. Our content, validated by Expert Board Contributors, is crafted following stringent Editorial Policies. We're committed to providing you with well-researched, expert-backed insights for all your informational needs.


0 thoughts on “How To Clean Spray Foam Insulation”