Articles
How To Paint A Stainless Steel Sink
Modified: May 6, 2024
Learn how to paint a stainless steel sink with these helpful articles. Transform your kitchen with a fresh new look.
(Many of the links in this article redirect to a specific reviewed product. Your purchase of these products through affiliate links helps to generate commission for Storables.com, at no extra cost. Learn more)
Introduction
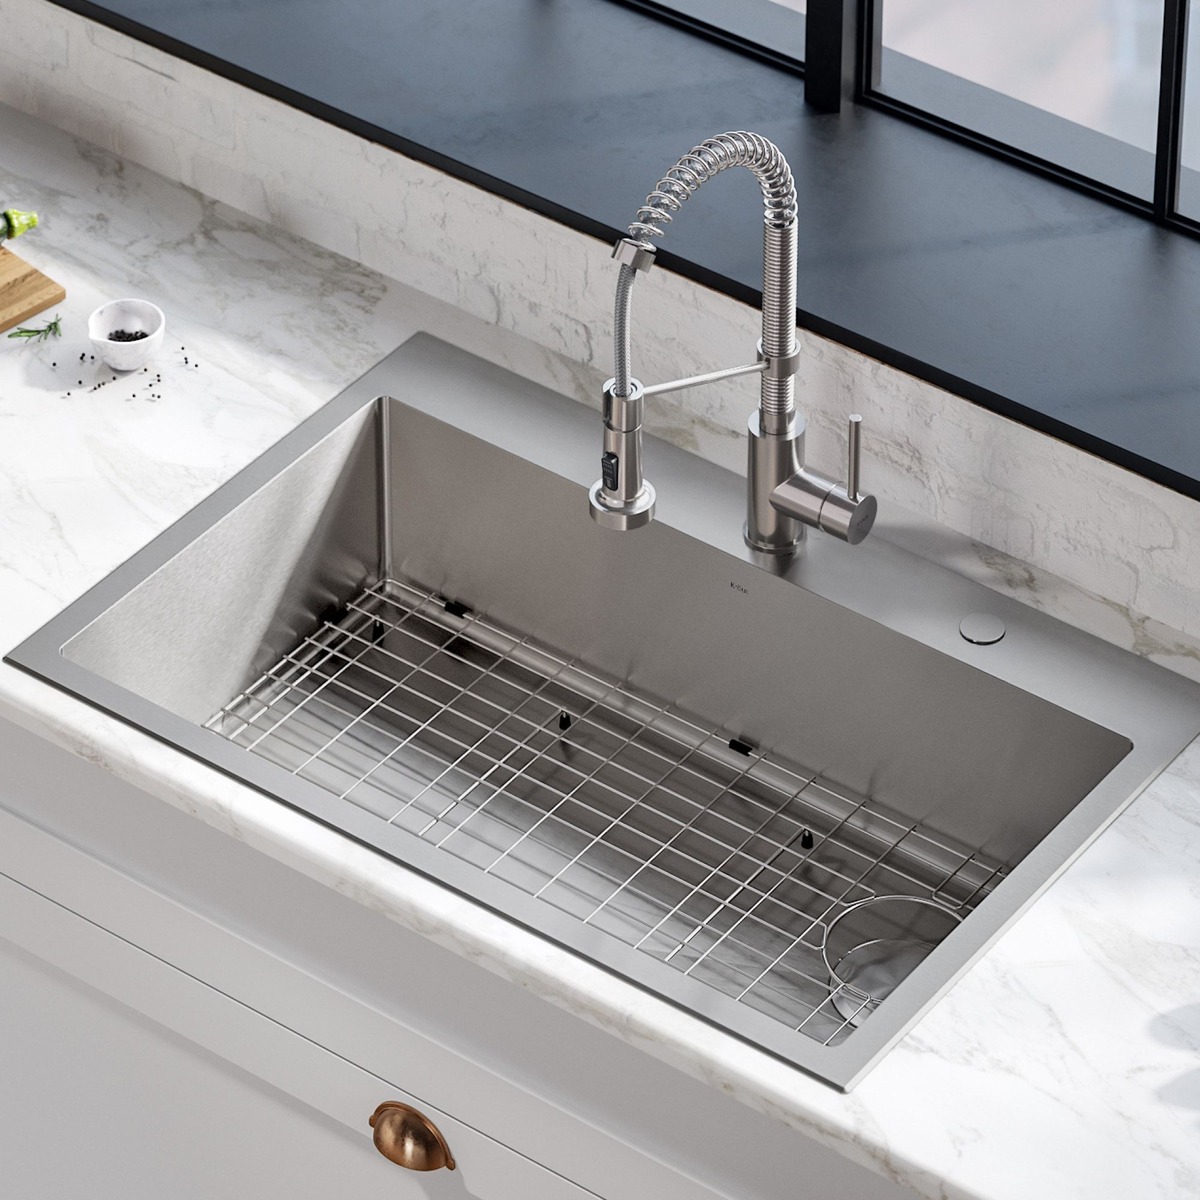
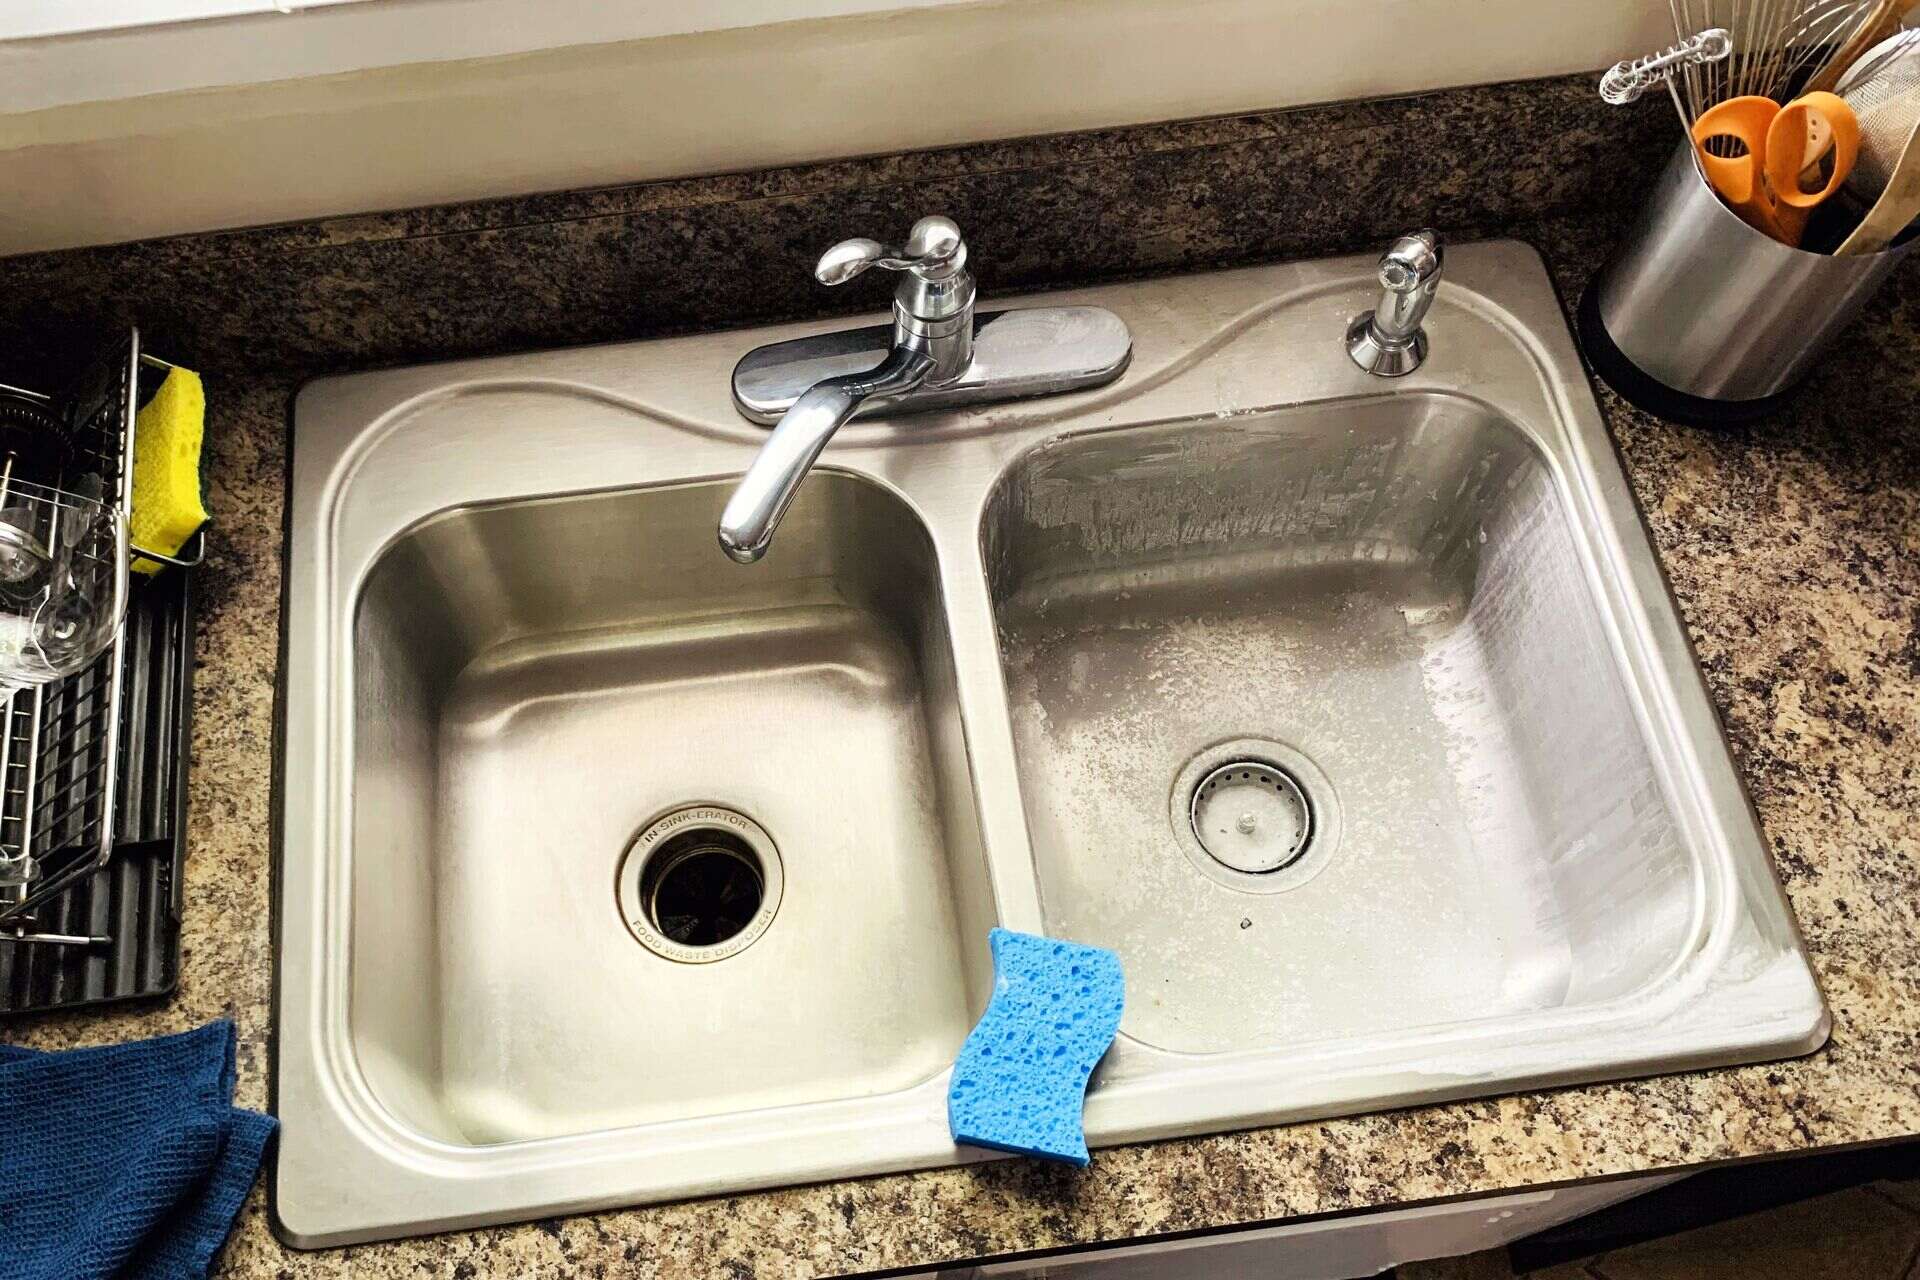
Having a stainless steel sink in your kitchen can add a touch of modern elegance to your space. However, over time, the shine and beauty of the stainless steel may start to fade, leaving you with a dull and worn-out sink. The good news is that you don’t have to replace your sink to get it looking brand new again. With a little bit of effort and the right materials, you can easily paint your stainless steel sink and give it a fresh new look.
In this article, we will guide you through the step-by-step process of painting a stainless steel sink. From preparing the sink to applying the paint and curing it, we will cover everything you need to know to ensure a successful transformation. So, let’s get started!
Key Takeaways:
- Revitalize your kitchen by painting your stainless steel sink with the right materials and step-by-step process for a cost-effective and stunning transformation.
- Proper preparation, cleaning, and sanding are crucial for optimal paint adhesion, while applying a clear coat and allowing the paint to cure fully ensures a durable and long-lasting finish.
Read more: How To Refinish Stainless Steel Sink
Materials Needed
Before you begin painting your stainless steel sink, it’s essential to gather all the necessary materials. Here’s a list of items you’ll need:
- Painter’s tape
- Newspapers or plastic sheets
- Sandpaper or sanding block (medium grit)
- Primer specifically designed for metal surfaces
- High-quality paint suitable for metal surfaces
- Clear coat or protective sealant
- Paintbrush or foam roller
- Disposable gloves
- Clean cloth or paper towels
- Mild detergent or stainless steel cleaner
- Masking tape or painter’s tape
- Respirator mask (optional, but recommended for ventilation)
- Drop cloth or old sheets to protect surrounding surfaces
- Utility knife (to score the tape and easily remove it later)
Having these materials on hand before you begin will make the painting process smoother and more efficient.
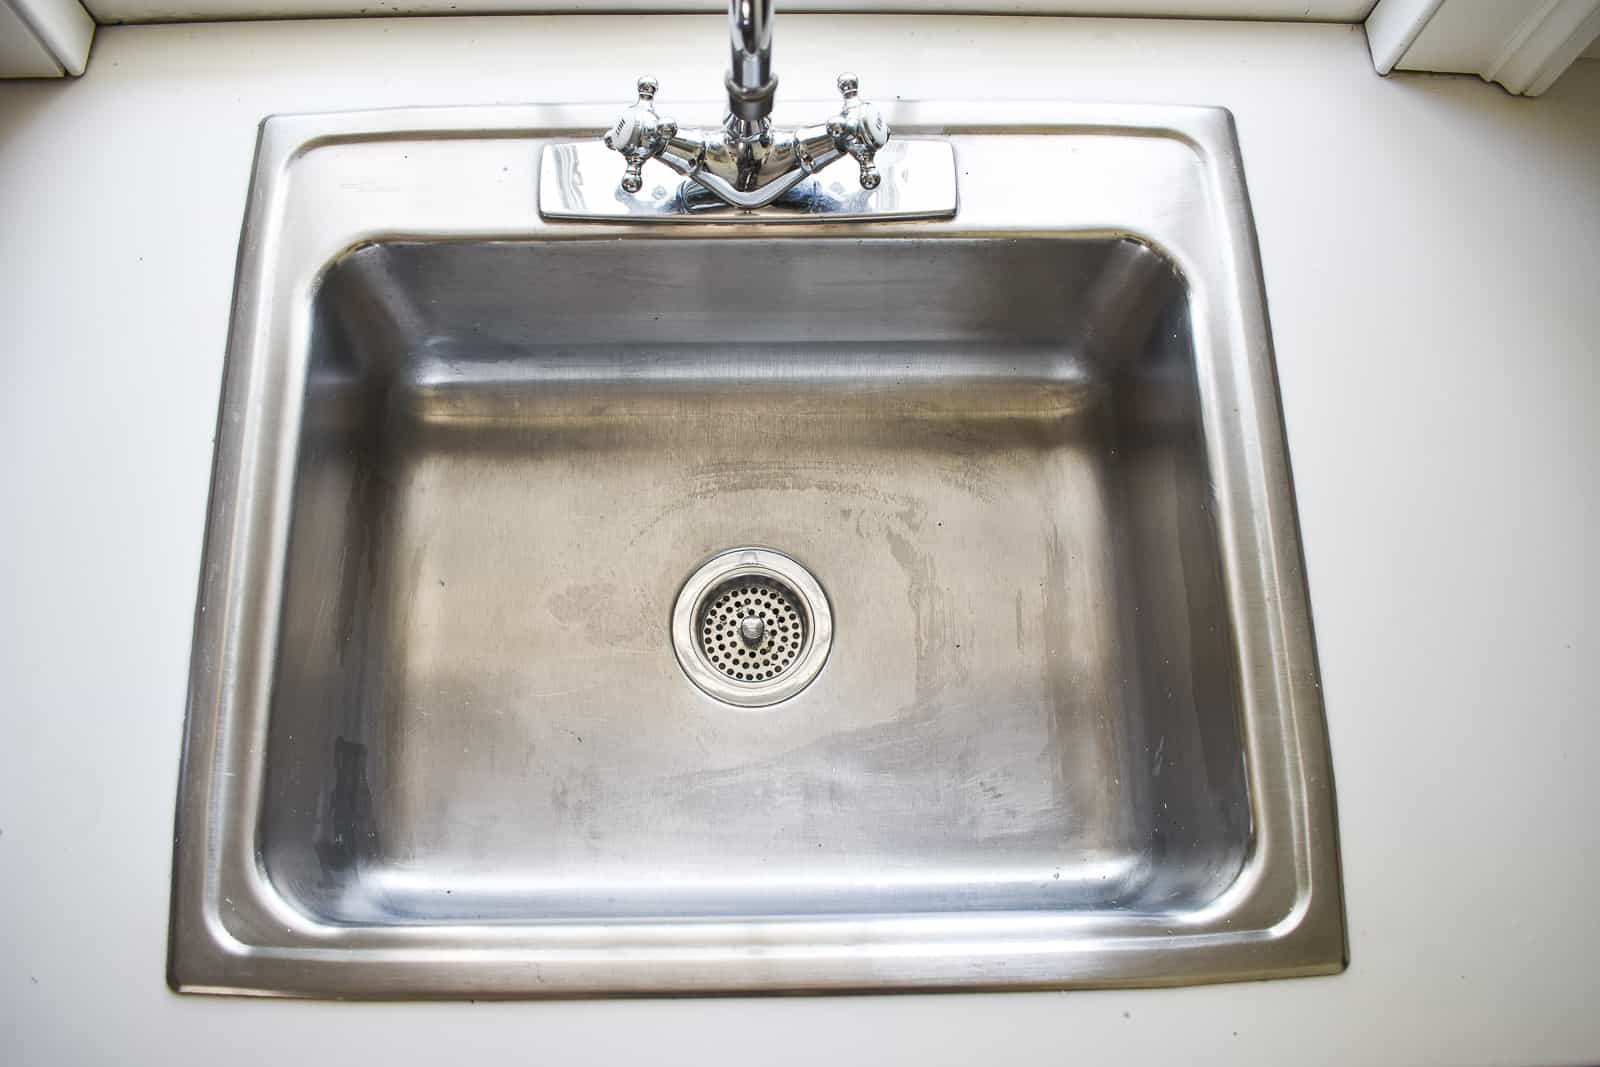
Step 1: Preparing the Sink
Before you can start painting your stainless steel sink, it’s important to properly prepare the surface. Here are the steps to follow for effective preparation:
- Cover surrounding areas: Use newspapers or plastic sheets to protect the surrounding countertops, cabinets, and walls from any accidental paint splatters or drips. Secure them in place with painter’s tape to ensure they stay in position throughout the painting process.
- Remove any accessories: Take off any removable parts or accessories from the sink, such as faucet handles or drain covers. This will make it easier to paint and ensure a smooth application of the paint.
- Thoroughly clean the sink: Use a mild detergent or stainless steel cleaner and warm water to clean the entire surface of the sink. This step is crucial to remove any dirt, grime, grease, or residues that may interfere with the paint’s adherence to the stainless steel. Rinse the sink with clean water and pat it dry with a clean cloth or paper towels.
- Score the masking tape: If you’re using masking tape to protect certain areas of the sink that you don’t want to paint, score the edges of the tape with a utility knife. This will allow for clean and easy removal of the tape once the paint has dried.
By properly preparing the sink, you’re setting the foundation for a successful painting project. Taking the time to complete these steps will ensure that the paint adheres well to the stainless steel surface and lasts for a long time.
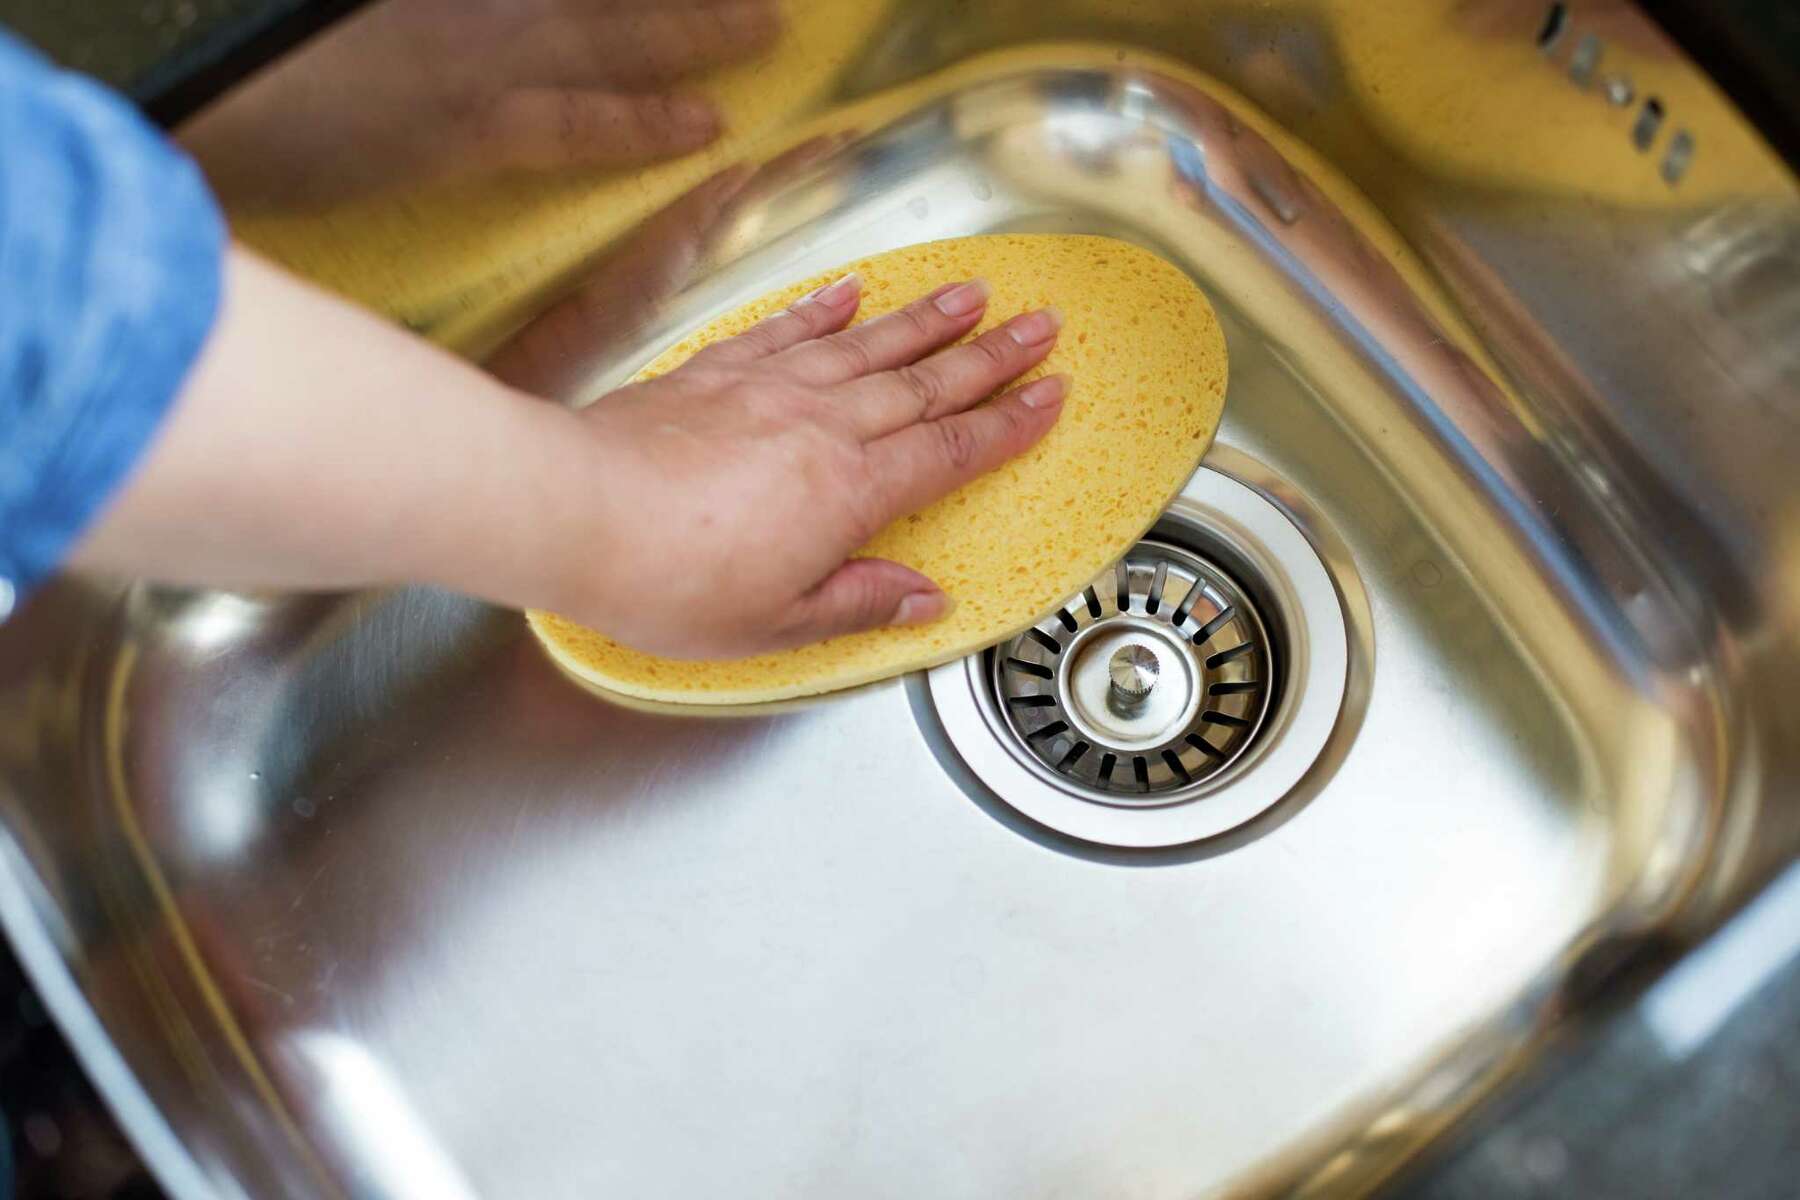
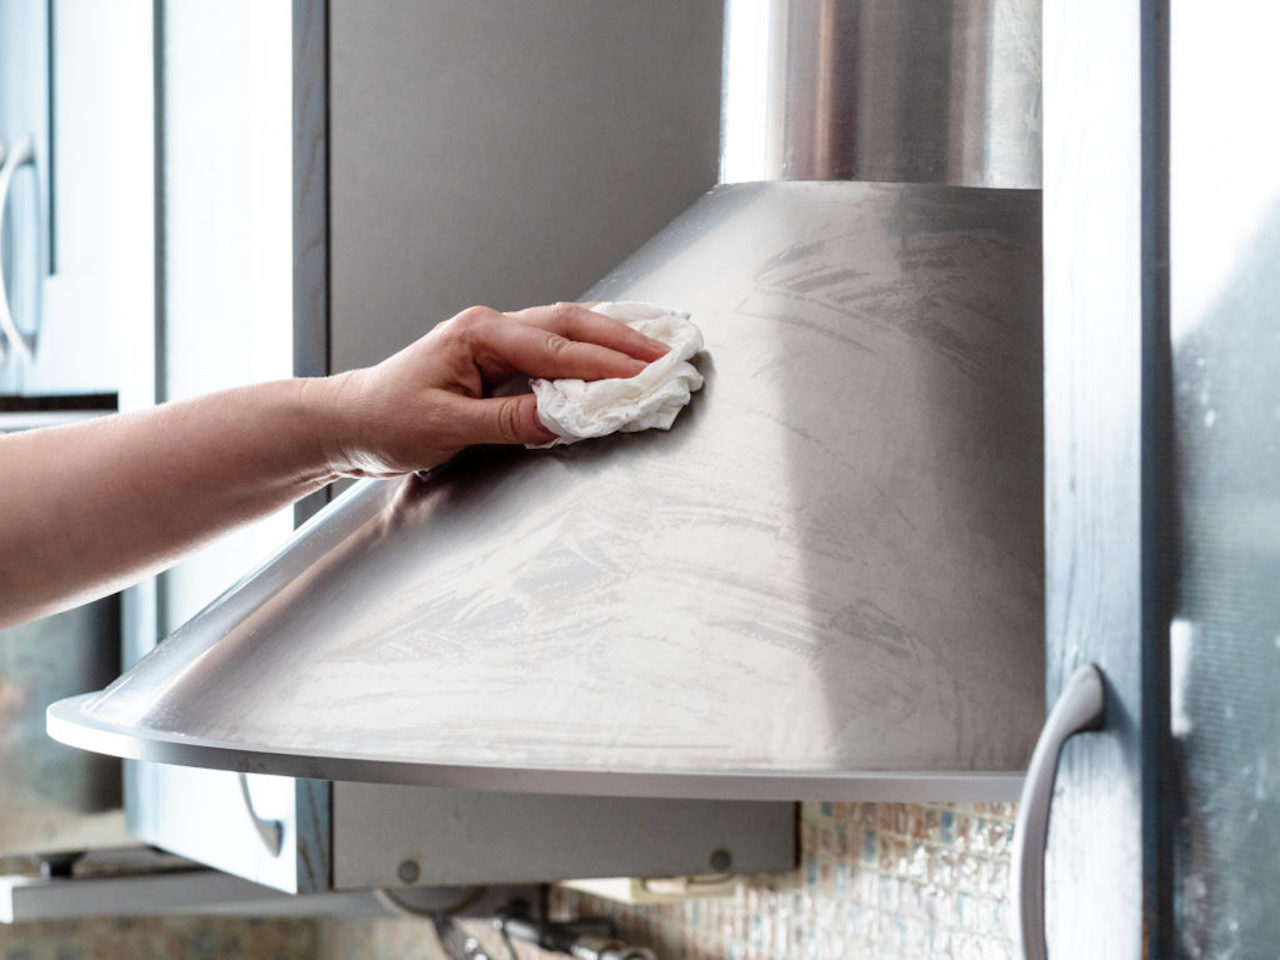
Step 2: Cleaning the Sink
After the initial preparation, it’s essential to give your stainless steel sink a thorough cleaning to ensure a smooth and even paint application. Here’s how to clean your sink effectively:
- Remove any remaining debris: Use a soft brush or sponge to gently scrub away any remaining dirt, grime, or particles that were not removed during the initial cleaning. Pay attention to hard-to-reach areas, such as the corners and edges of the sink.
- Apply stainless steel cleaner: Apply a small amount of stainless steel cleaner or mild detergent directly to the sink’s surface. Using a soft cloth or sponge, buff the cleaner into the stainless steel in circular motions. This will help remove any stubborn stains or discoloration.
- Rinse the sink: Thoroughly rinse the sink with clean water to remove any traces of the cleaner or detergent. Make sure all cleaning agents are completely removed to prevent interfering with the paint application.
- Dry the sink: Use a clean, dry cloth or paper towel to dry the sink. Make sure there is no moisture left on the surface before moving on to the next step. Any remaining moisture could affect the paint adhesion and durability.
By cleaning the sink properly, you’re ensuring that the paint will adhere seamlessly to the stainless steel surface. Removing any dirt, stains, or residues will provide a clean canvas for the paint application and ensure a professional-looking finish.
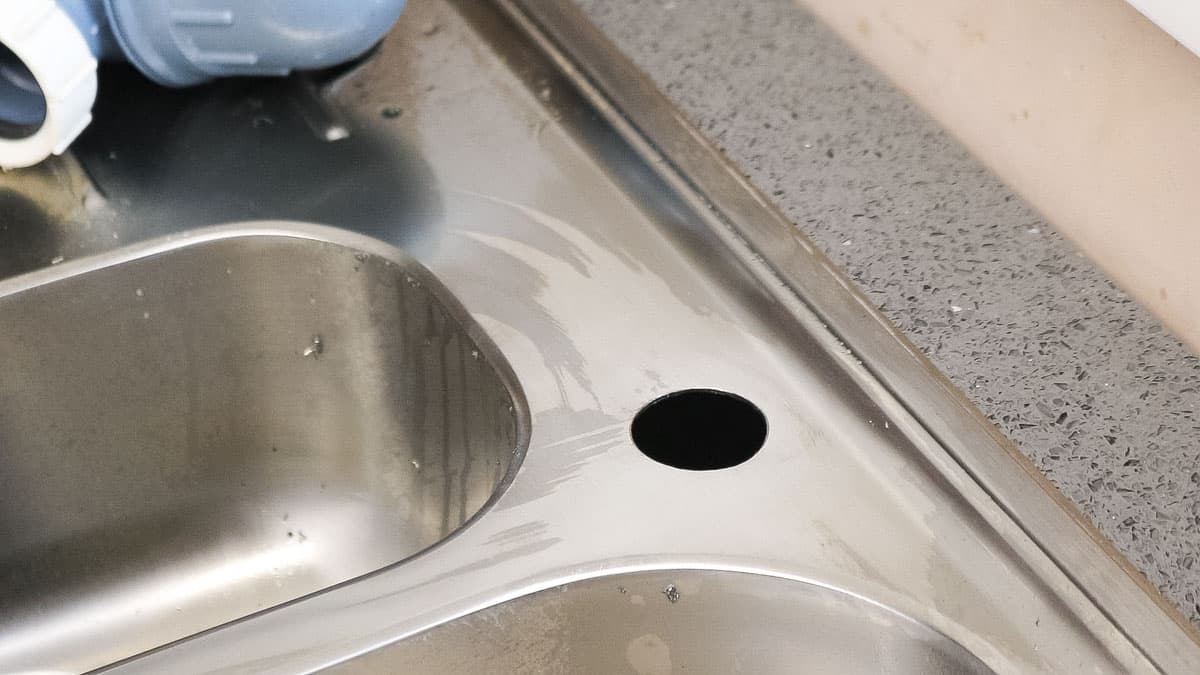
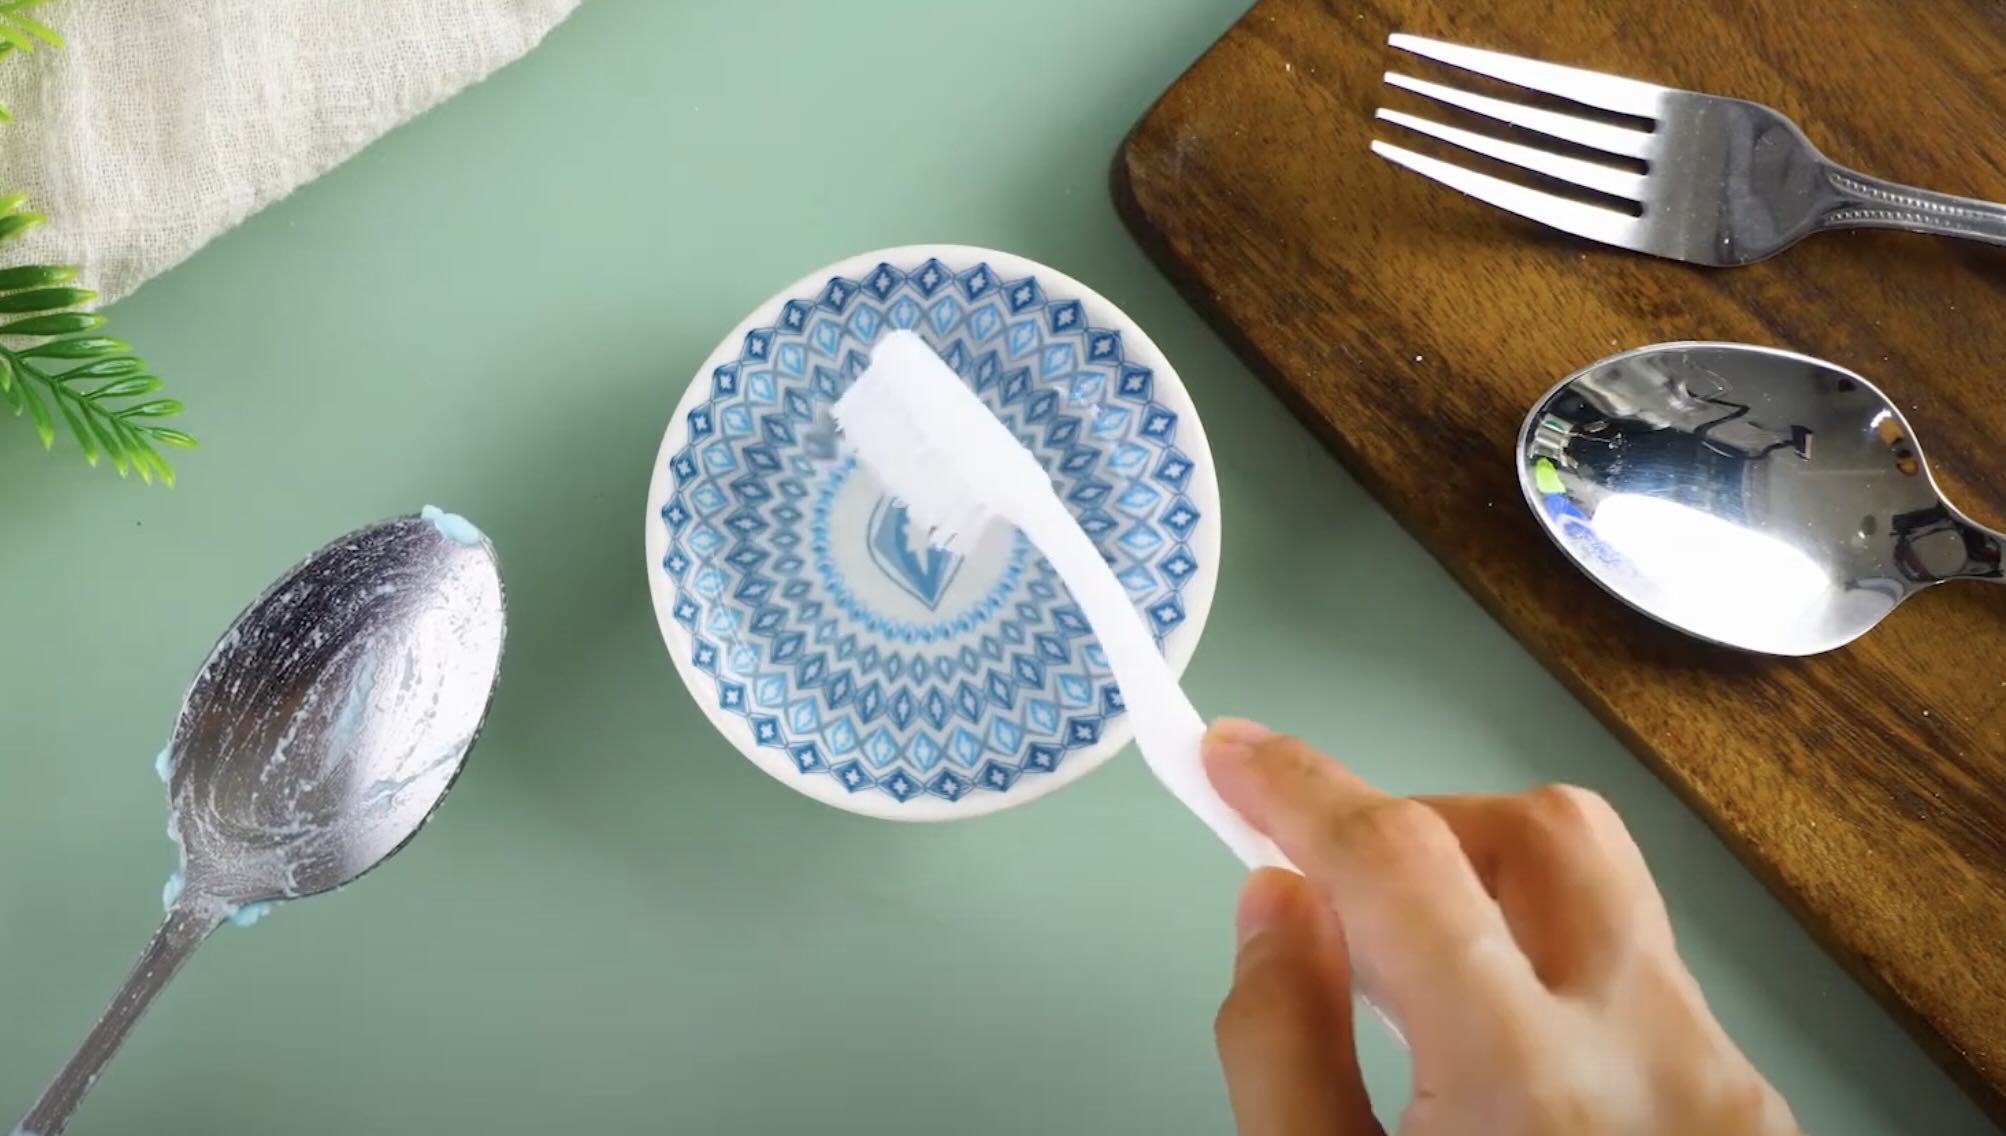
Step 3: Sanding the Surface
Sanding the surface of the stainless steel sink is an important step in the painting process. It helps to create a rough texture on the smooth stainless steel surface, allowing the primer and paint to adhere better. Here’s how to sand the sink properly:
- Select the right sandpaper: Choose a sandpaper with a medium grit, such as 120 or 150. This grit level is ideal for creating a textured surface without causing too much abrasion or scratches.
- Wet the sandpaper: To prevent the sandpaper from clogging up and to ensure smooth sanding, wet the sandpaper with water. This will also help to keep the dust and debris minimized.
- Sand in a circular motion: Take the wet sandpaper and gently sand the entire sink in a circular motion. Apply light pressure and work systematically, covering the entire surface of the sink. This step will create tiny scratches on the stainless steel, allowing the primer and paint to adhere more securely.
- Rinse the sink: Once you have finished sanding, thoroughly rinse the sink with clean water to remove any sanding residue. It’s important to remove all dust and debris to ensure a clean surface for the next steps.
- Dry the sink: Use a clean cloth or paper towel to dry the sink completely. Make sure there is no moisture left on the surface before moving on to the next step.
Sanding the surface of the sink is a crucial step in ensuring the longevity and durability of the paint job. By creating a textured surface, the primer and paint will have better adhesion, resulting in a smooth and professional finish.
When painting a stainless steel sink, make sure to thoroughly clean and degrease the surface before applying a high-quality, rust-resistant primer and paint specifically designed for metal surfaces. Allow each coat to dry completely before applying the next one for a smooth and durable finish.
Read more: How To Install A Stainless Steel Sink
Step 4: Applying Primer
Applying primer is an essential step in the process of painting a stainless steel sink. The primer creates a strong bond between the surface and the paint, resulting in better adhesion and long-lasting results. Here’s how to apply primer to your sink:
- Choose a primer specifically designed for metal surfaces: Select a high-quality primer that is specifically formulated for metal, such as stainless steel. This will ensure proper adhesion and durability.
- Pour the primer into a paint tray or container: Transfer the primer into a paint tray or container that is suitable for your brush or roller.
- Start applying the primer: Use a paintbrush or a foam roller to apply a thin and even coat of primer to the entire surface of the sink. Ensure that you cover all areas, including the corners and edges.
- Let the primer dry: Follow the instructions provided by the manufacturer to determine the drying time of the primer. Typically, it will take a few hours to dry completely. Make sure the primer is dry to the touch before moving on to the next step.
- Sand the primed surface (optional): If you notice any imperfections or roughness on the primed surface, you can lightly sand it with a fine-grit sandpaper to create a smooth finish. Remember to wipe away any dust or debris before proceeding.
- Rinse and dry the sink: After sanding (if applicable), rinse the sink with clean water to remove any sanding residue. Dry the sink thoroughly with a clean cloth or paper towel.
Applying primer to your stainless steel sink is crucial for ensuring optimal paint adhesion and a durable finish. Taking the time to properly prime the surface will result in a professional-looking paint job that will last for years to come.
Step 5: Applying Paint
Now that you have properly primed your stainless steel sink, it’s time to apply the paint. The paint will give your sink the desired color and finish, completely transforming its appearance. Follow these steps to apply the paint:
- Choose a high-quality paint for metal surfaces: Select a paint that is specifically formulated for metal surfaces and provides excellent adhesion and durability.
- Pour the paint into a paint tray or container: Transfer the paint into a paint tray or container that is appropriate for your brush or roller.
- Start painting: Use a paintbrush or foam roller to apply a thin and even coat of paint to the entire surface of the sink. Work in small sections at a time, making sure to cover all areas, including corners and edges. Apply additional coats, if needed, following the drying time recommended by the manufacturer.
- Allow the paint to dry: Follow the paint manufacturer’s instructions regarding the drying time. It’s crucial to allow the paint to dry completely before applying additional coats or moving on to the next steps. This will help prevent smudging or damaging the paint job.
- Sand and clean (optional): If you notice any imperfections or roughness in the painted surface, you can lightly sand it with a fine-grit sandpaper. Be careful not to sand too aggressively to avoid damaging the paint. After sanding, rinse the sink with clean water to remove any sanding residue and dry it thoroughly.
By applying the paint properly, you’ll be able to achieve a smooth and professional-looking finish on your stainless steel sink. Take your time and allow the paint to dry between coats to ensure the best results.
Step 6: Applying Clear Coat
After applying the paint and allowing it to dry, the next step is to protect and seal the surface by applying a clear coat. The clear coat serves as a protective layer, enhancing the durability and longevity of the paint job. Here’s how to apply the clear coat:
- Choose a clear coat or protective sealant: Select a clear coat specifically designed for metal surfaces. Look for a product that provides excellent protection against water, stains, and general wear and tear.
- Pour the clear coat into a clean container: Transfer the clear coat into a clean container that is suitable for your brush or roller.
- Apply a thin and even coat of clear coat: Use a paintbrush or foam roller to apply a thin and even layer of clear coat to the entire painted surface of the sink. Make sure to cover all areas, including corners and edges.
- Allow the clear coat to dry: Follow the manufacturer’s instructions regarding the drying time of the clear coat. It’s important to allow sufficient drying time for the clear coat to fully cure and provide optimal protection.
- Apply additional coats if necessary: If desired, you can apply additional coats of clear coat to further enhance the protection and shine of the sink. Make sure to allow each coat to dry before applying the next one.
Applying a clear coat will not only protect your painted stainless steel sink but also give it a glossy and finished appearance. The clear coat acts as a barrier, shielding the paint from daily use, cleaning products, and moisture.
Step 7: Curing the Paint
The final step in painting a stainless steel sink is to allow the paint to cure properly. Curing refers to the process of the paint fully drying and hardening, resulting in a durable and long-lasting finish. Follow these steps to ensure proper curing of the paint:
- Follow the manufacturer’s instructions: Different paints may have different curing times and recommendations. It is important to carefully read and follow the instructions provided by the paint manufacturer for the specific product you used.
- Avoid using the sink: During the curing process, it is best to avoid using the sink for the recommended duration specified by the paint manufacturer. This will prevent any damage or premature wear on the freshly painted surface.
- Allow ample time for curing: The curing time can vary depending on factors such as the type of paint, humidity levels, and temperature. It is recommended to give the paint at least 24-48 hours, or as advised by the manufacturer, to fully cure before using the sink regularly.
- Protect the surface: While the paint is curing, it is important to protect the surface from any potential damage. Avoid placing heavy objects or causing any scratches or impacts to the painted surface during this time.
Properly curing the paint will ensure that it fully sets and hardens, providing a strong and durable finish. Patience is key during this step, as rushing the process could compromise the integrity of the paint job.
Read more: How To Clean Stainless Steel Sink Stains
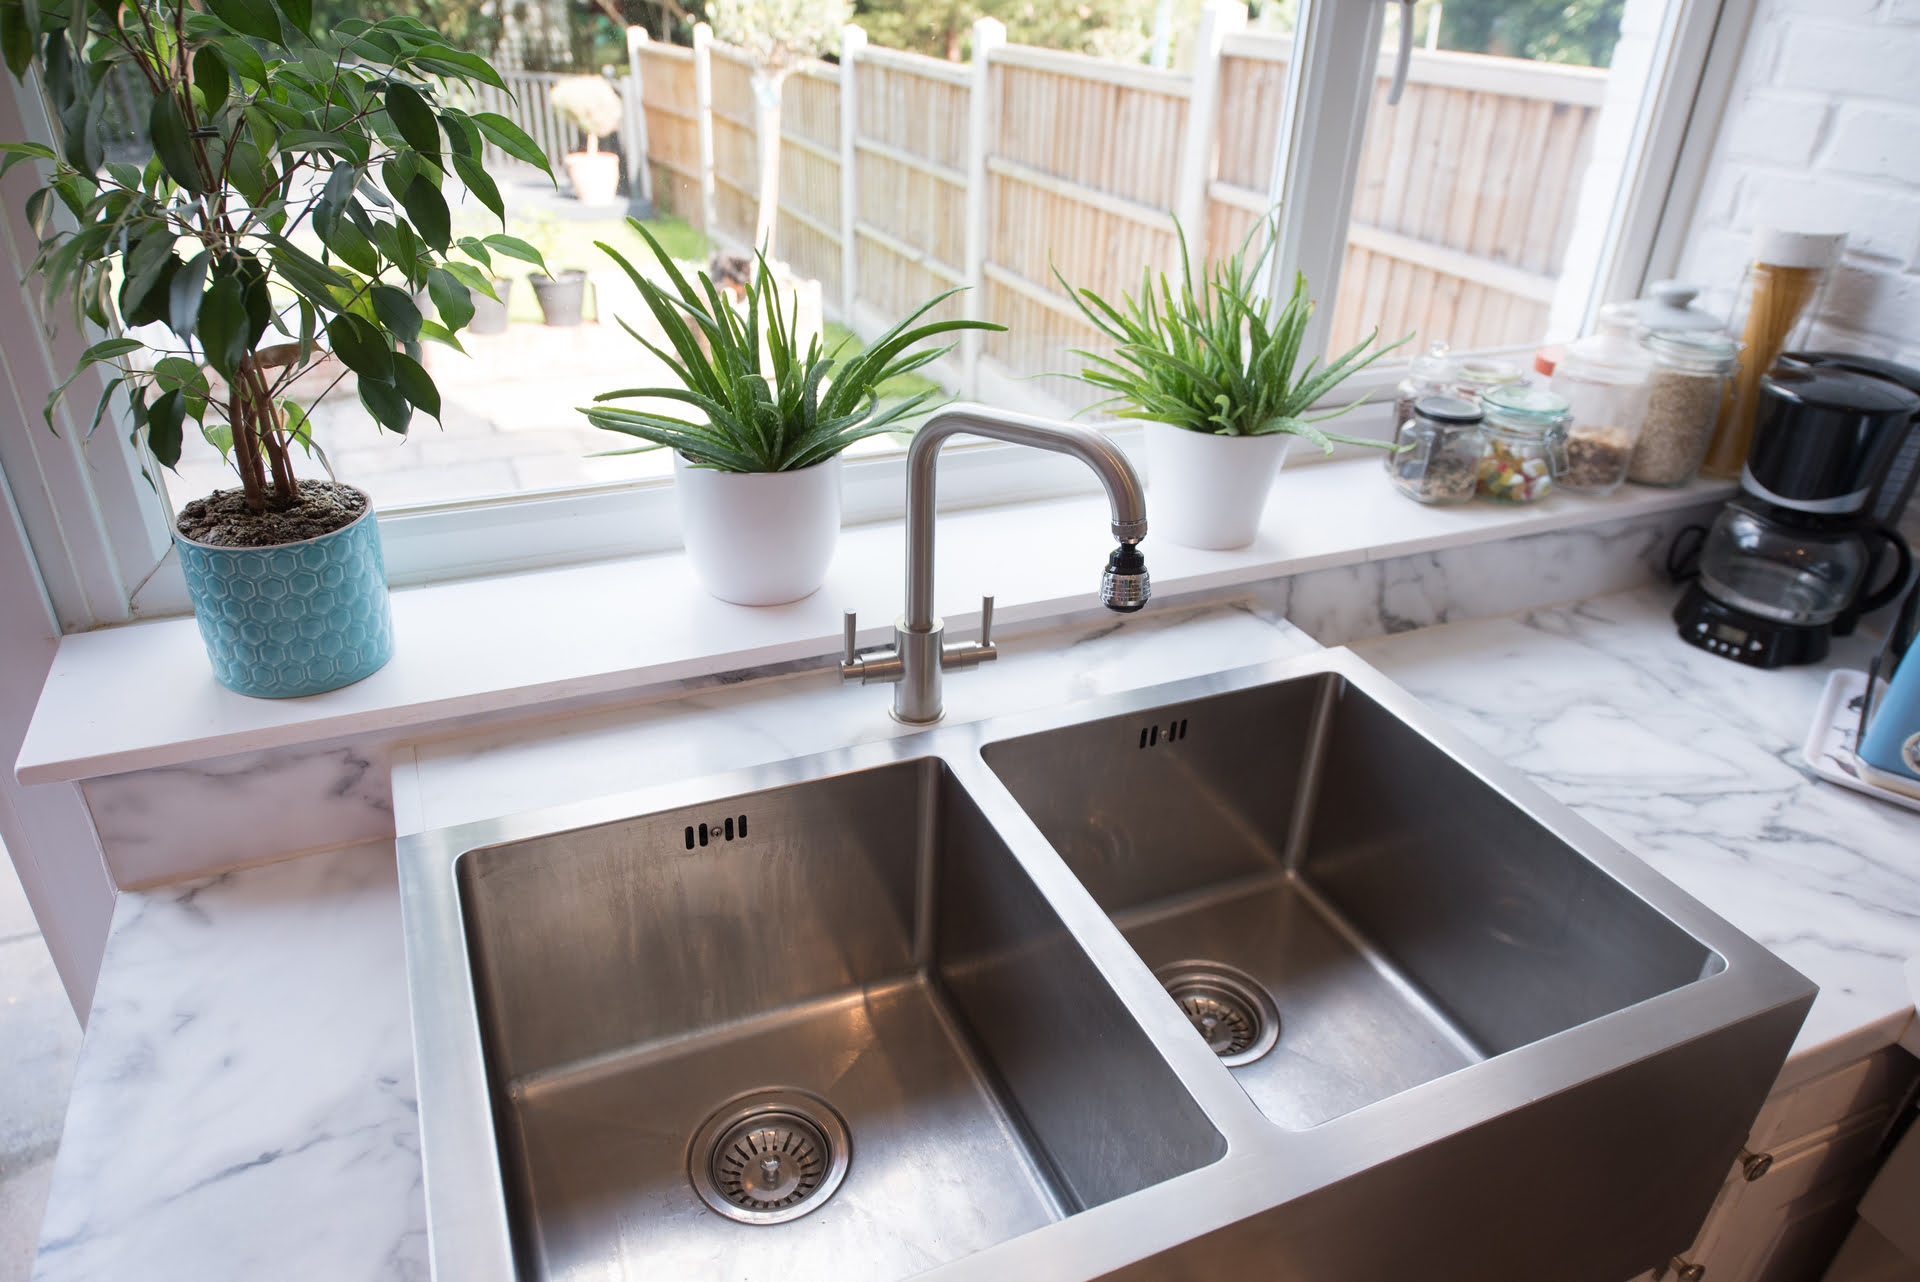
Conclusion
Painting a stainless steel sink is a cost-effective and creative way to revitalize your kitchen and give it a fresh new look. By following the steps outlined in this article, you can transform your dull and worn-out sink into a stunning focal point. Remember to take your time during each step for the best results.
Properly preparing the sink, cleaning it thoroughly, and sanding the surface will ensure optimal paint adhesion. Applying a high-quality primer and paint designed for metal surfaces will give your sink a smooth and professional-looking finish. Adding a clear coat as a protective layer will enhance the durability and longevity of the paint job.
Lastly, allow the paint to cure fully before using the sink regularly. This will ensure that the paint has hardened, resulting in a durable and long-lasting finish. Take care to protect the surface during the curing process to prevent any damage.
With a little effort and the right materials, you can achieve a beautifully painted stainless steel sink that will bring a fresh and modern touch to your kitchen. So don’t hesitate to unleash your creativity and transform your sink into a stunning centerpiece that you can be proud of!
Now that you've mastered painting your stainless steel sink, why stop there? Dive into our feature on "Paint Tricks: 10 Painting Techniques Loved By The Experts" and discover a world of colors and finishes that could transform more than just your kitchen. Whether you're touching up an old piece of furniture or giving your walls a dramatic makeover, these expert techniques will guide you to flawless results. Get ready to unleash your inner artist and give your entire home a fresh, vibrant look.
Frequently Asked Questions about How To Paint A Stainless Steel Sink
Was this page helpful?
At Storables.com, we guarantee accurate and reliable information. Our content, validated by Expert Board Contributors, is crafted following stringent Editorial Policies. We're committed to providing you with well-researched, expert-backed insights for all your informational needs.


0 thoughts on “How To Paint A Stainless Steel Sink”