Articles
How To Refinish Stainless Steel Sink
Modified: October 20, 2024
Learn the step-by-step process of refinishing your stainless steel sink with our informative articles. Achieve a beautiful, polished look for your kitchen.
(Many of the links in this article redirect to a specific reviewed product. Your purchase of these products through affiliate links helps to generate commission for Storables.com, at no extra cost. Learn more)
Introduction
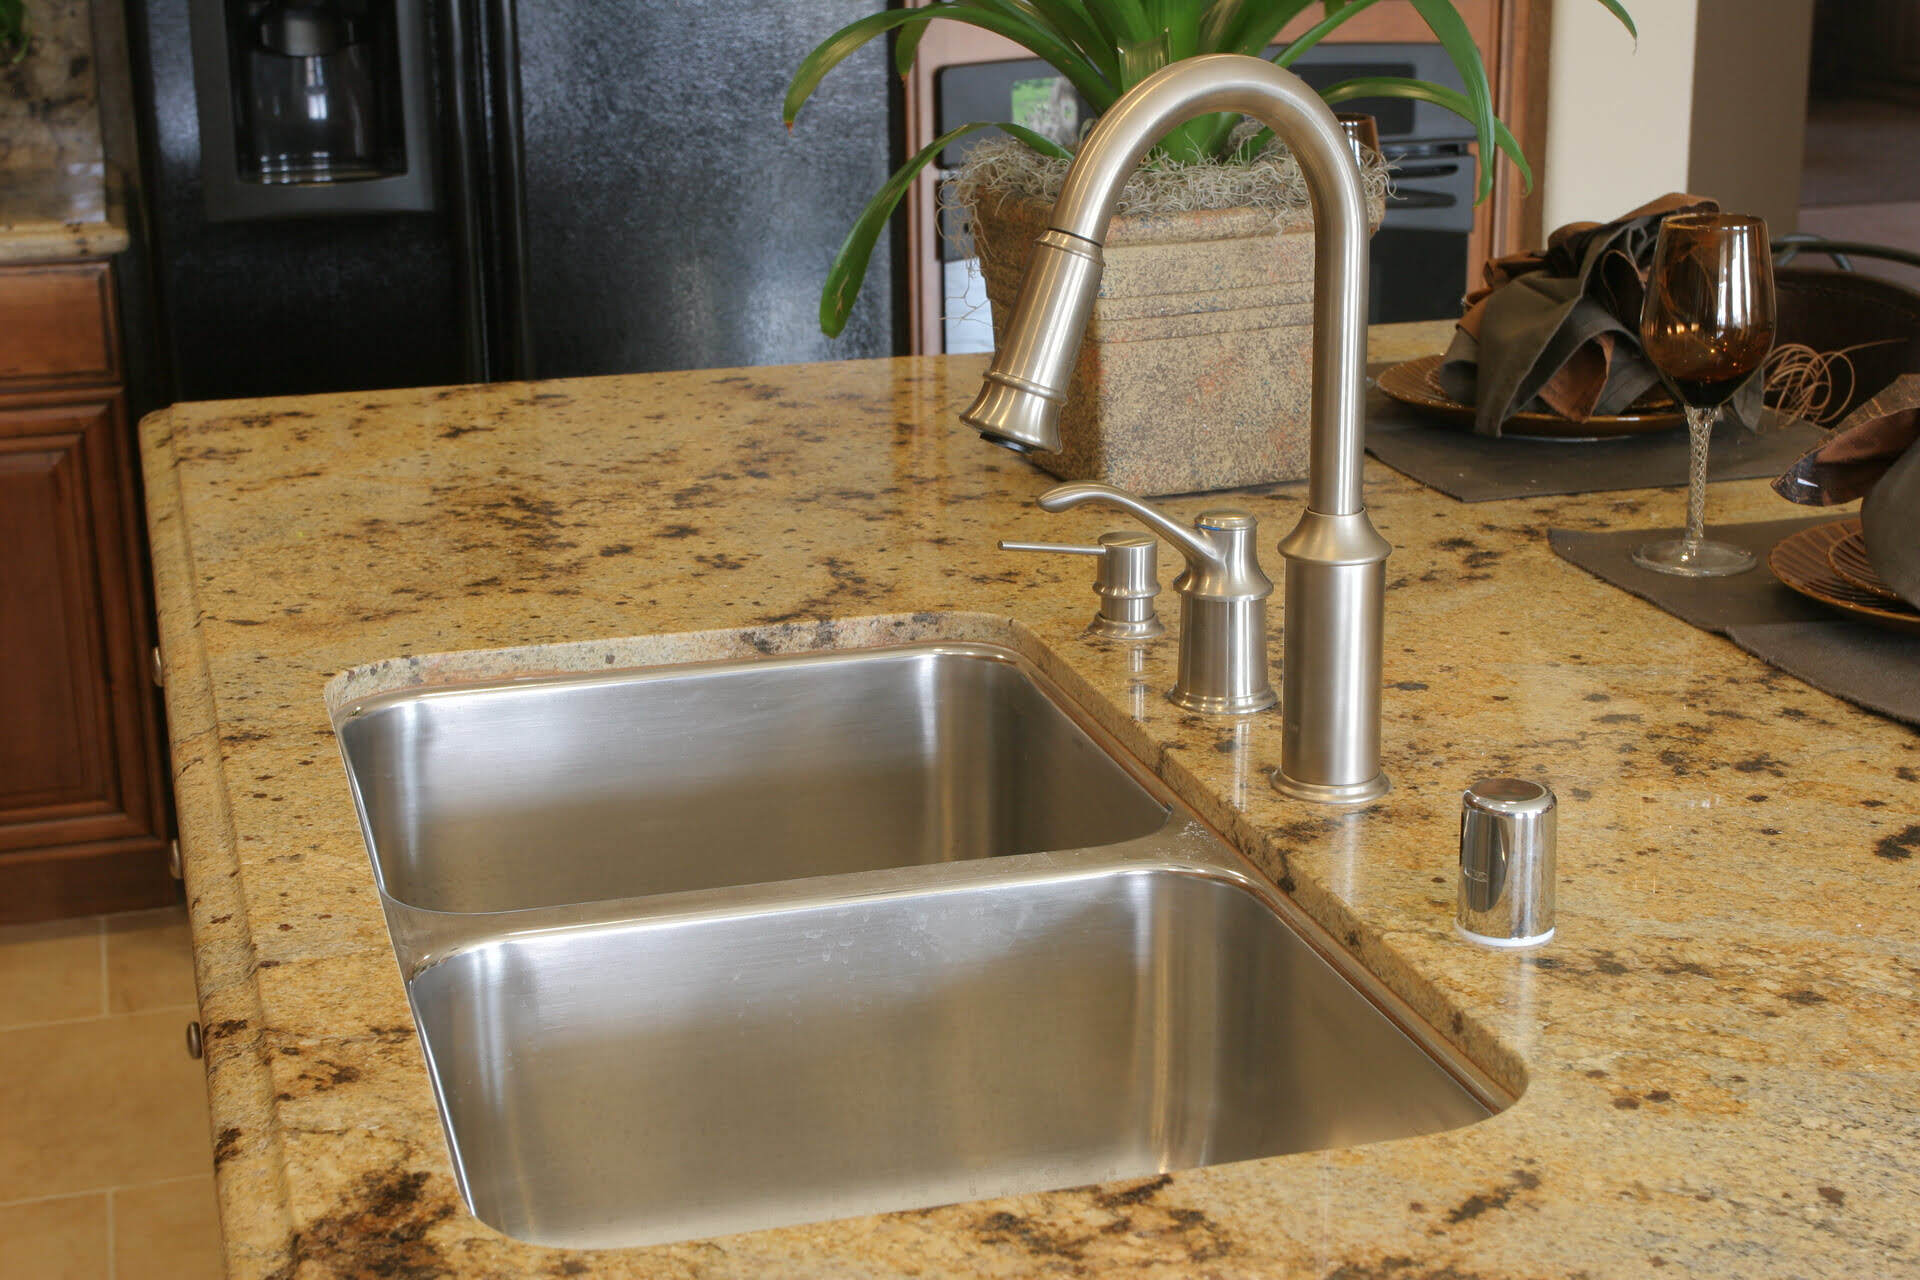
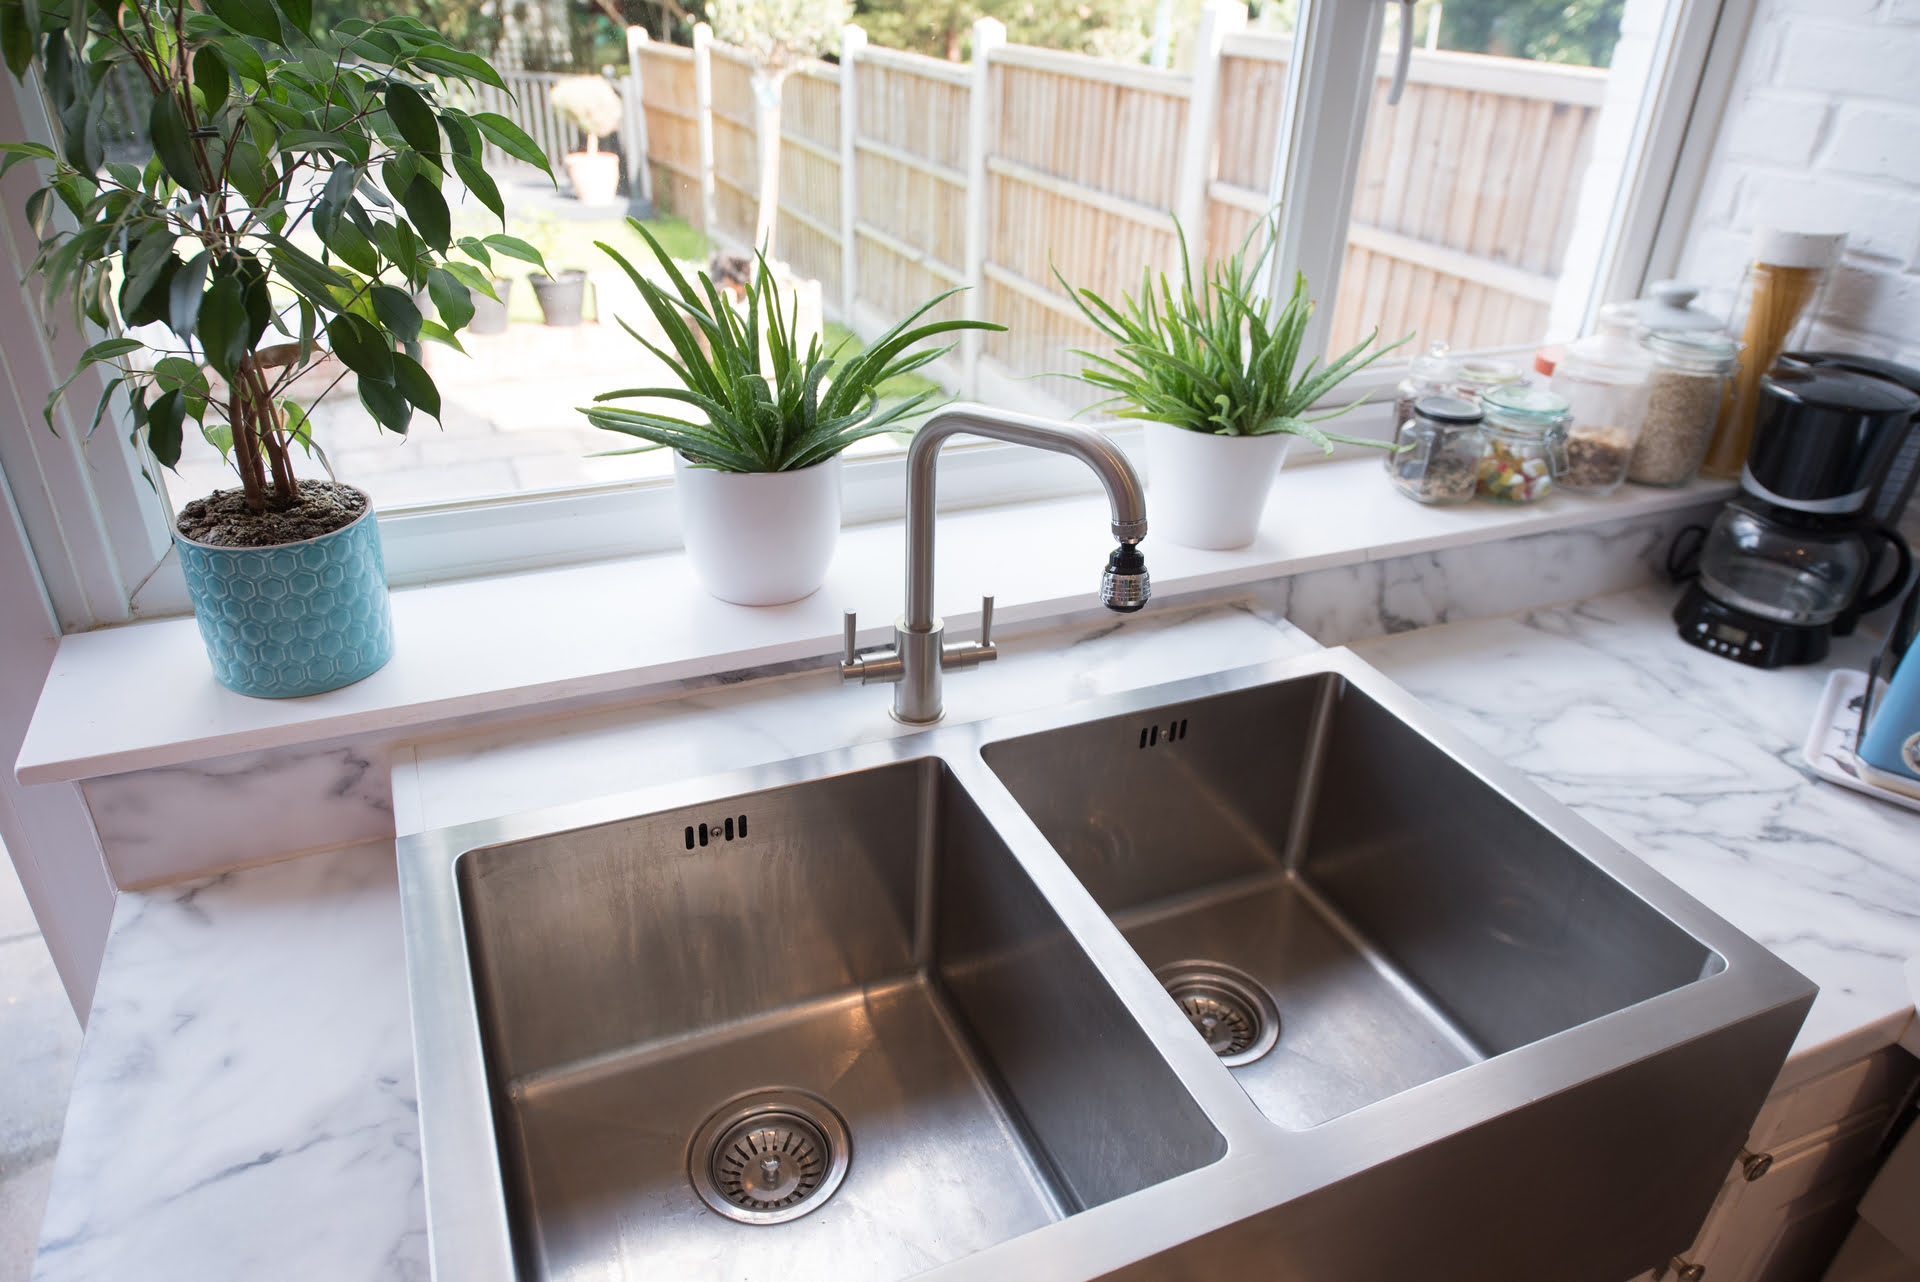
Stainless steel sinks are not only durable and versatile but also add a sleek and modern touch to any kitchen. However, over time, they may start to show signs of wear and tear, losing their shine and accumulating scratches. If you’re looking to refresh the appearance of your stainless steel sink and restore its original luster, refinishing is the way to go.
In this article, we will guide you through the step-by-step process of refinishing a stainless steel sink. From gathering the necessary supplies to applying a protective coating, we will cover everything you need to know to achieve a beautifully restored sink that looks brand new.
So, let’s roll up our sleeves and dive into the world of stainless steel sink refinishing.
Key Takeaways:
- Refinishing a stainless steel sink involves thorough cleaning, scratch removal, and restoring the shine. Applying a protective coating ensures long-lasting beauty, making it a rewarding DIY project for a gleaming kitchen centerpiece.
- Attention to detail, patience, and the right supplies are essential for successfully refinishing a stainless steel sink. Following the step-by-step process and proper maintenance will keep your sink looking brand new for years to come.
Read more: How To Paint A Stainless Steel Sink
Step 1: Gather Supplies
Before we embark on our journey to refinish a stainless steel sink, it’s essential to gather all the necessary supplies. Here’s a list of items you’ll need:
- Microfiber cloth
- Mild dish soap
- Non-abrasive cleaner
- Stainless steel cleaner/polish
- Scratch remover
- Soft sponge or cloth
- Fine-grit sandpaper
- Protective gloves
- Masking tape
- Plastic sheeting or drop cloth
- Protective coating (optional)
Make sure you have all these items readily available before you begin the refinishing process. This will ensure a smooth and uninterrupted workflow.
Now that we’ve gathered our supplies, let’s move on to the next step: cleaning the sink.
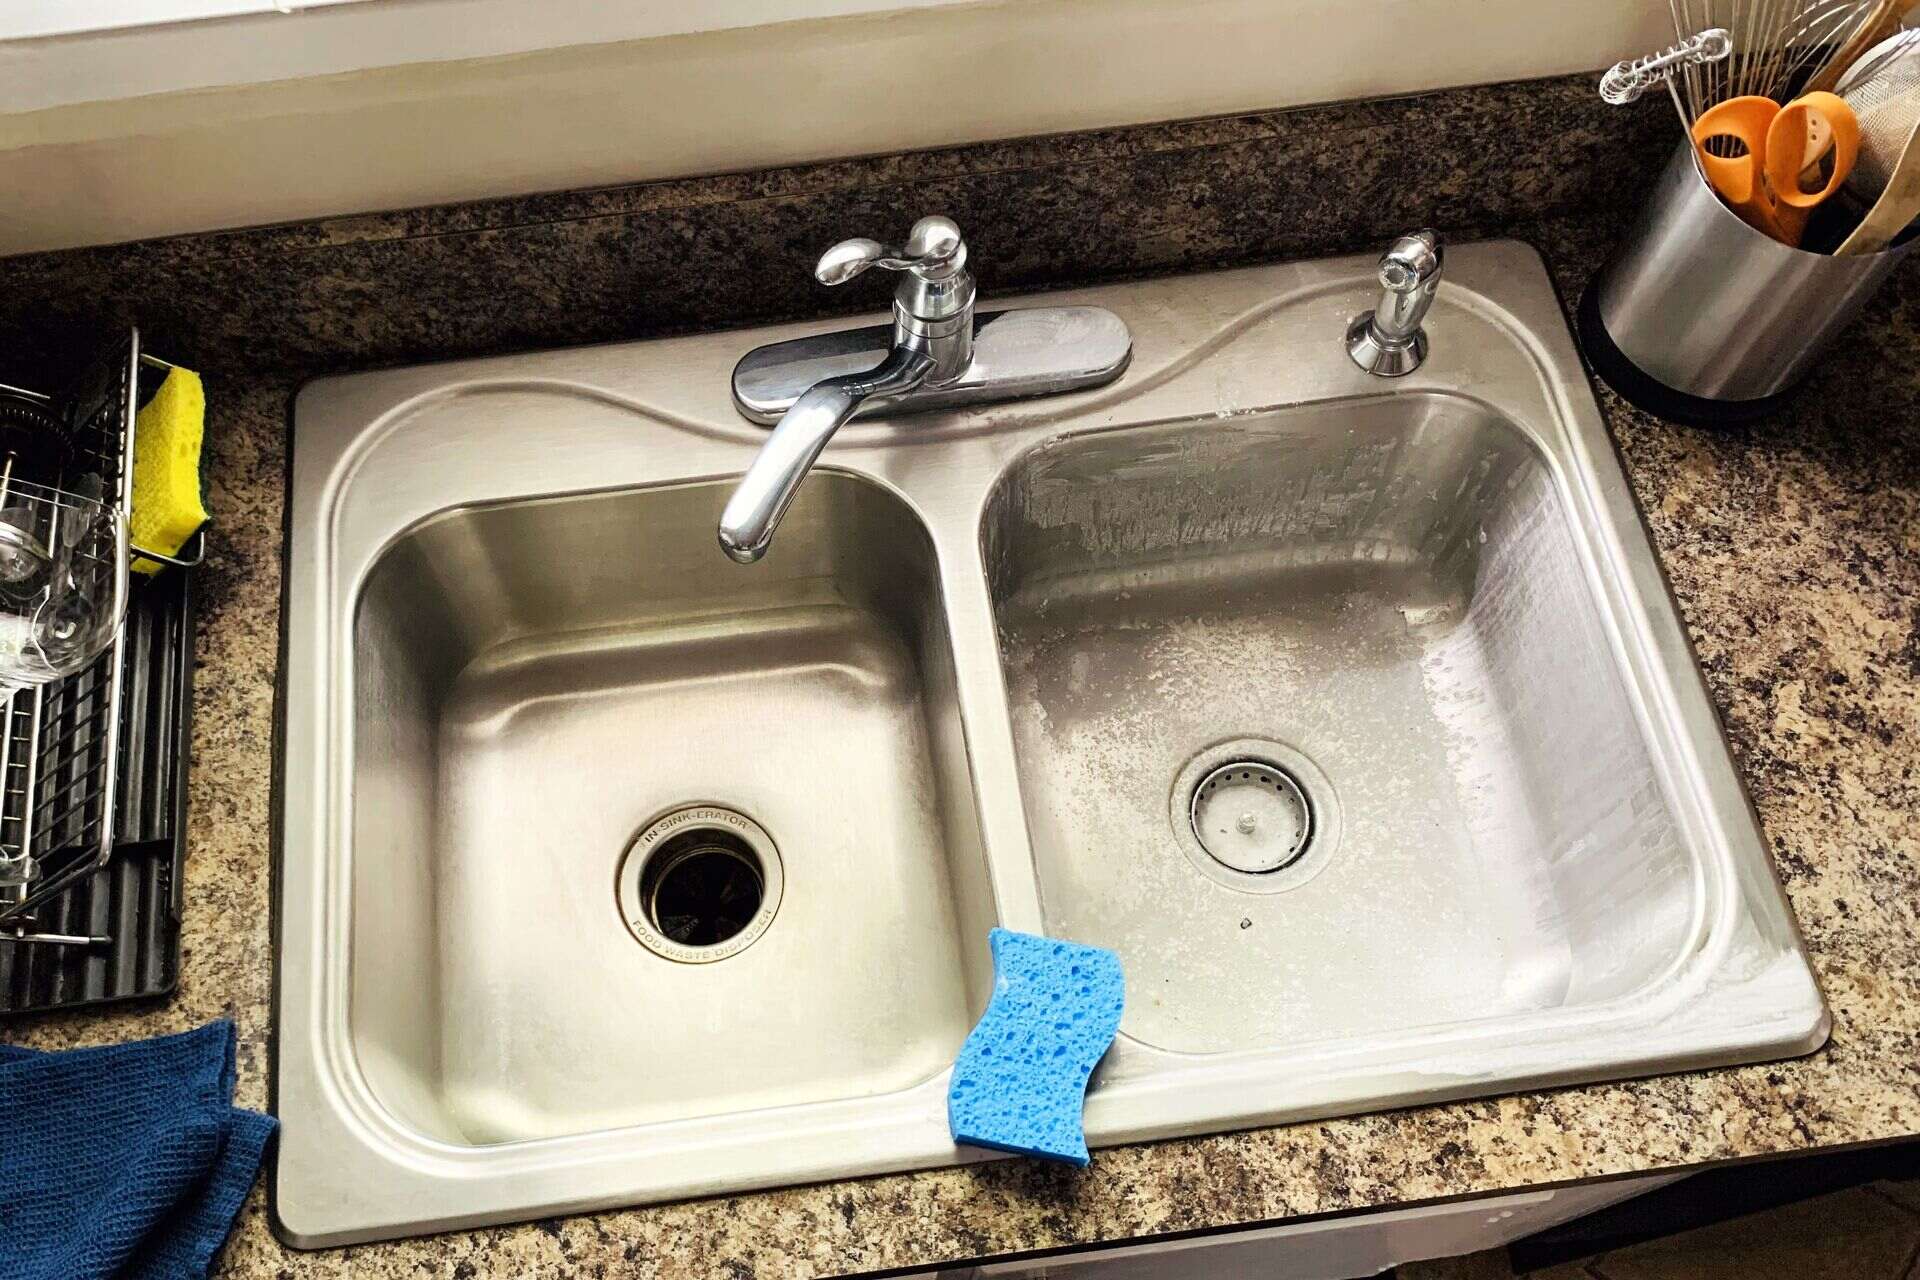
Step 2: Clean the Sink
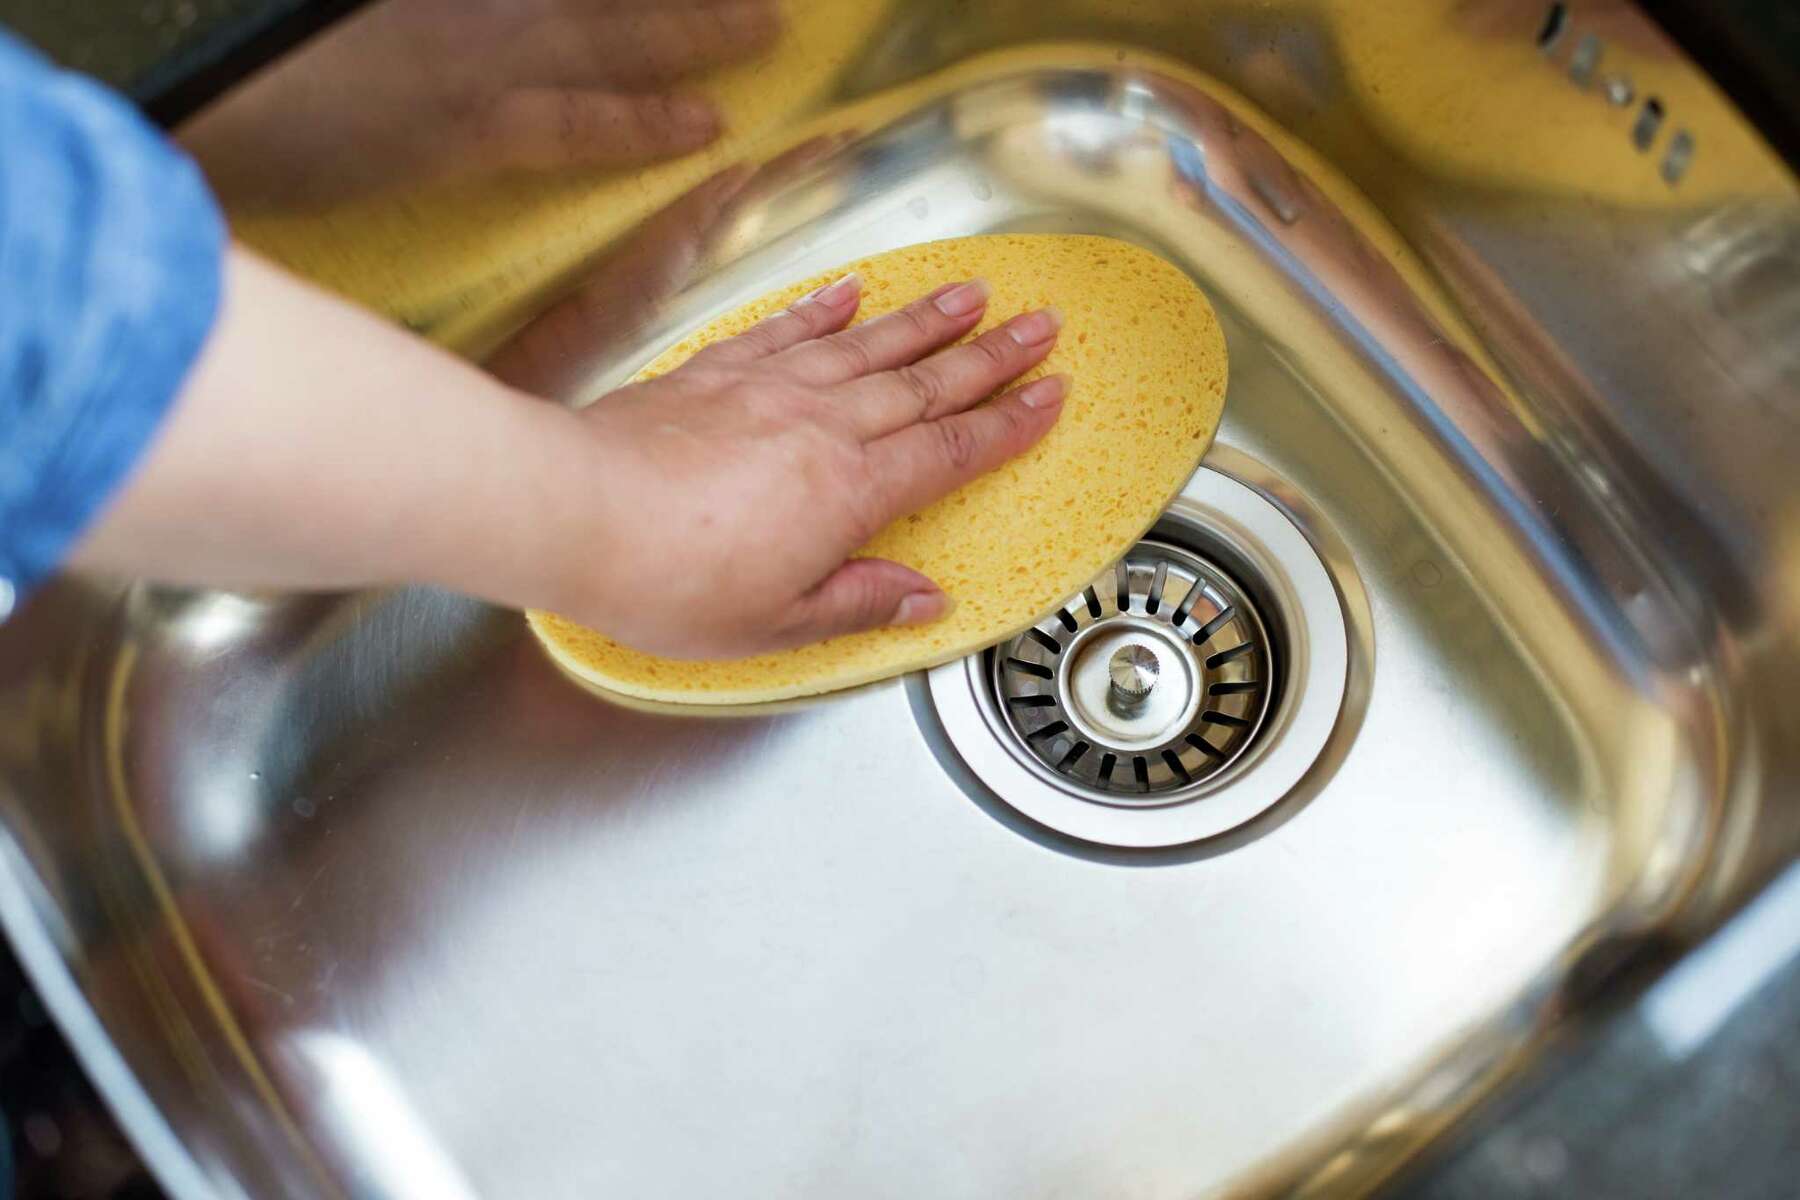
Before you can start refinishing your stainless steel sink, it’s crucial to clean it thoroughly. This will remove any dirt, grime, or stains that may have accumulated over time. Follow these steps to effectively clean your sink:
- Begin by rinsing the sink with warm water to remove any loose debris.
- Squeeze a small amount of mild dish soap onto a soft sponge or cloth.
- Gently scrub the entire surface of the sink, paying close attention to any particularly dirty areas.
- Rinse the sink thoroughly with warm water to remove all traces of soap.
- Dry the sink with a clean microfiber cloth to prevent water spots and streaks.
By following these steps, you’ll achieve a clean and fresh canvas for the upcoming refinishing process. Now let’s move on to removing scratches from the stainless steel sink.
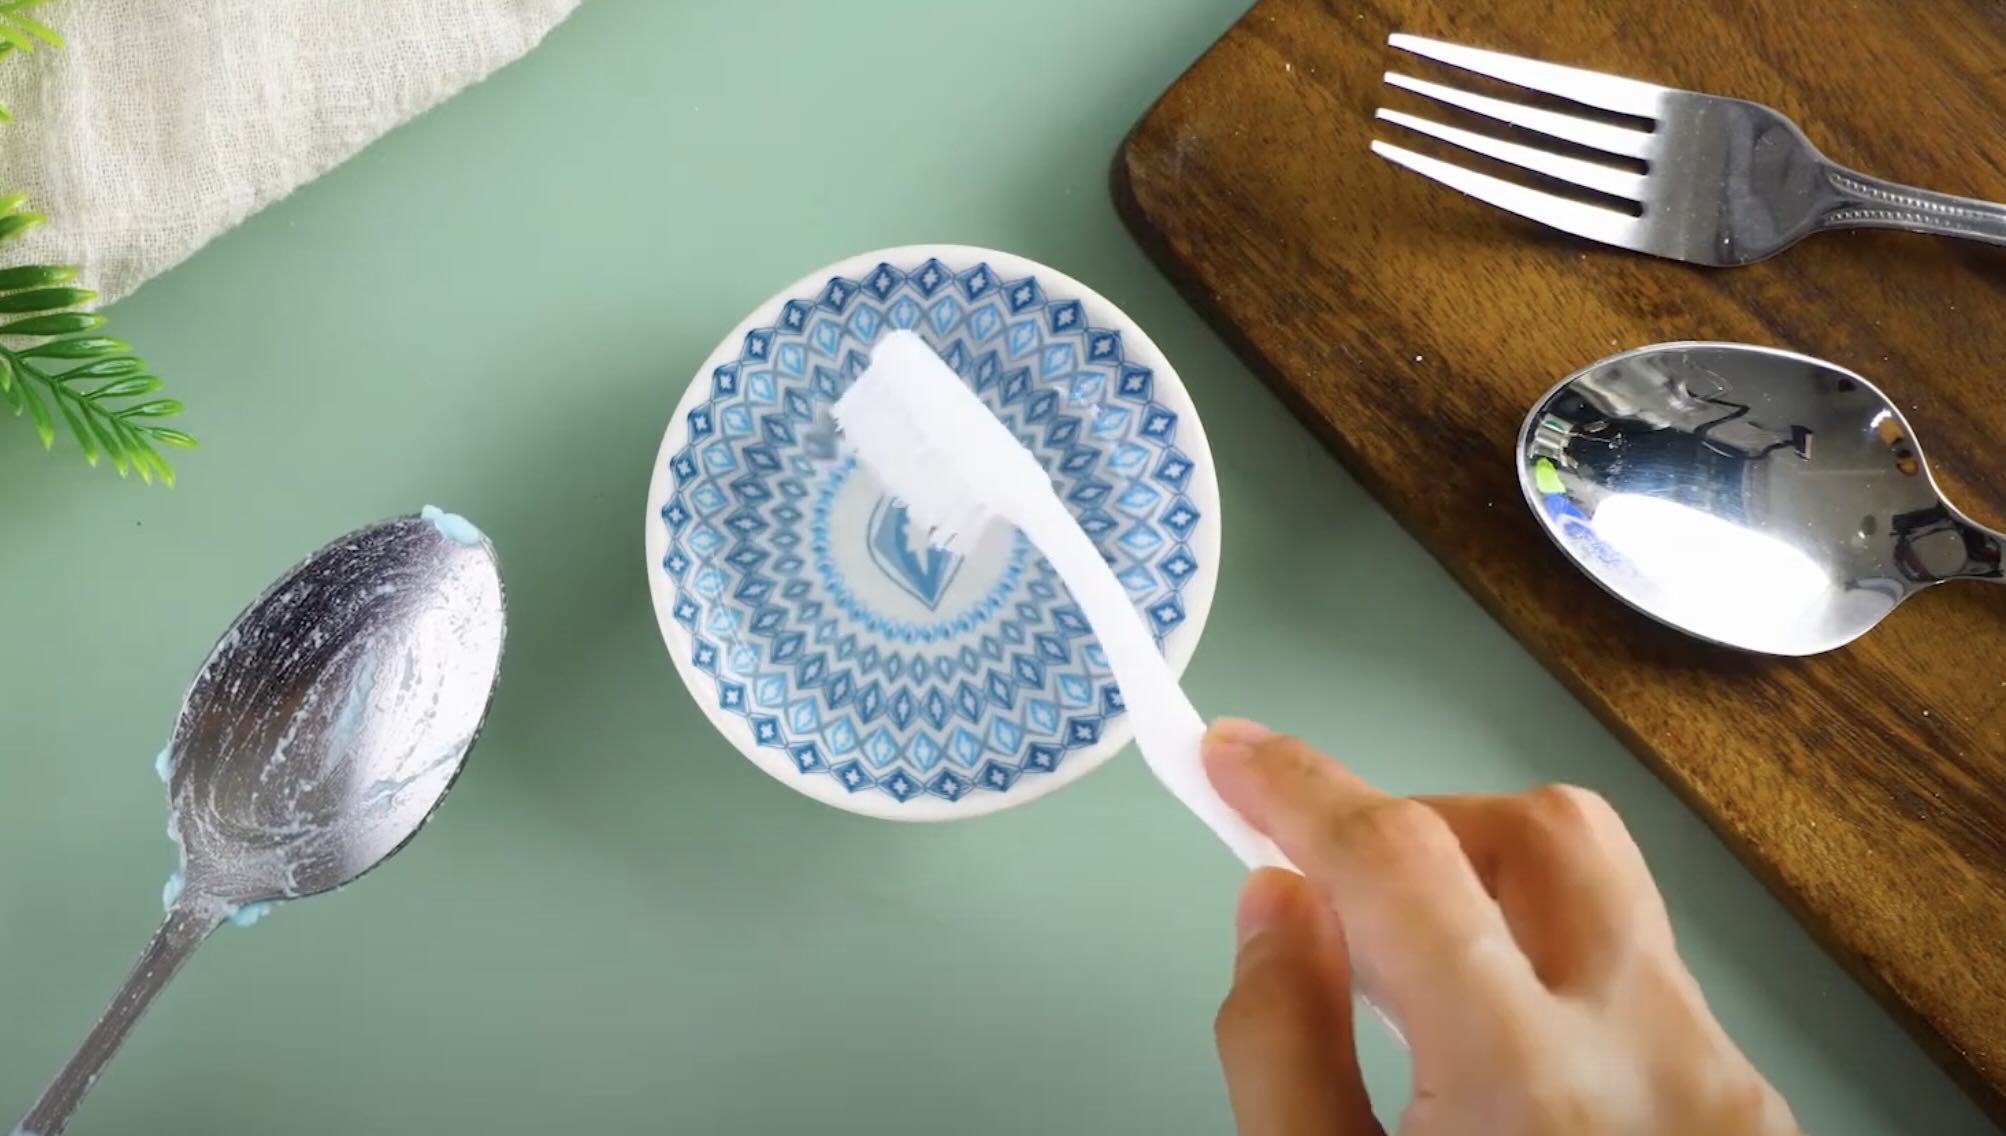
Step 3: Remove Scratches
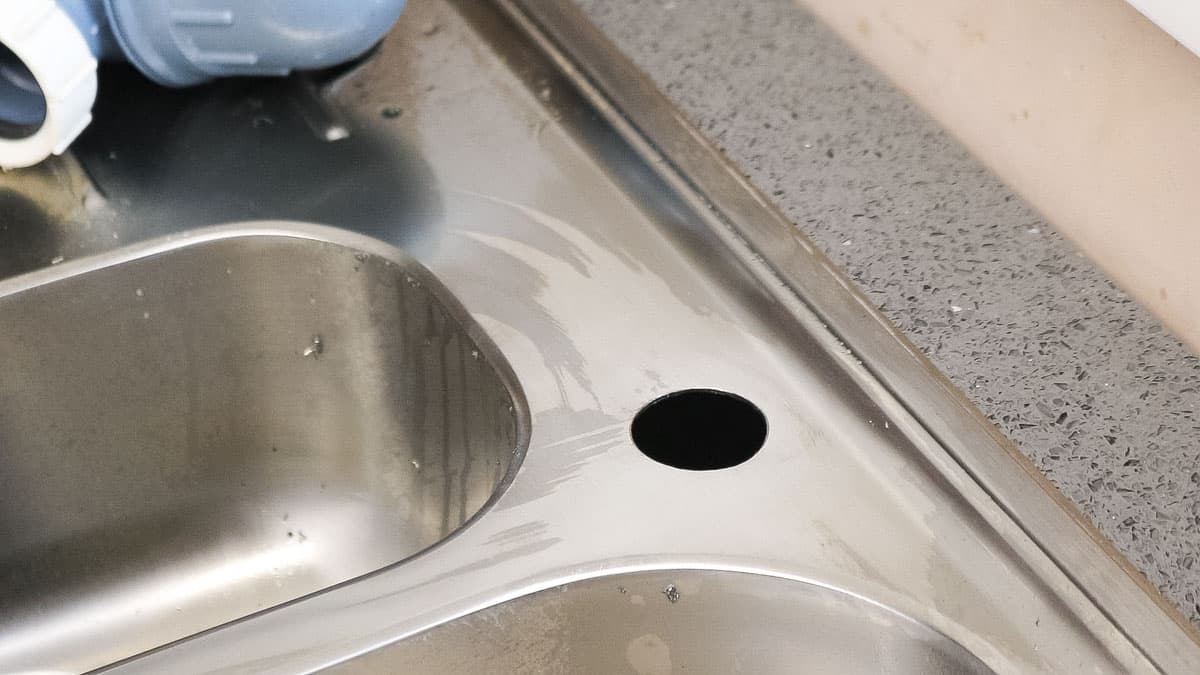
Scratches on a stainless steel sink can not only be unsightly but also diminish its overall appearance. Fortunately, with a little effort and the right techniques, you can effectively remove these scratches. Follow these steps to restore your sink’s smooth surface:
- Identify the direction of the grain: Stainless steel sinks have a grain similar to wood. To effectively remove scratches, it’s crucial to follow the direction of the grain.
- Use fine-grit sandpaper: Start by gently rubbing the scratched area with a fine-grit sandpaper in the direction of the grain. Be careful not to apply too much pressure, as this can cause further damage. Continue sanding until the scratches are no longer visible.
- Clean the sink: After sanding, use a non-abrasive cleaner to thoroughly clean the sink and remove any residue from the sanding process. Rinse the sink with warm water and dry it with a soft cloth.
- Buff with stainless steel cleaner/polish: Apply a small amount of stainless steel cleaner/polish to a soft cloth and gently buff the entire sink in the direction of the grain. This will help restore the shine and further minimize the appearance of any remaining scratches.
With these steps, you’ll be able to effectively remove scratches from your stainless steel sink, giving it a renewed and polished look. Now, let’s move on to restoring the shine of the sink in the next step.
After thoroughly cleaning the stainless steel sink, use a fine-grit sandpaper to remove any scratches or stains. Then, apply a stainless steel polish to restore its shine and protect it from future damage.
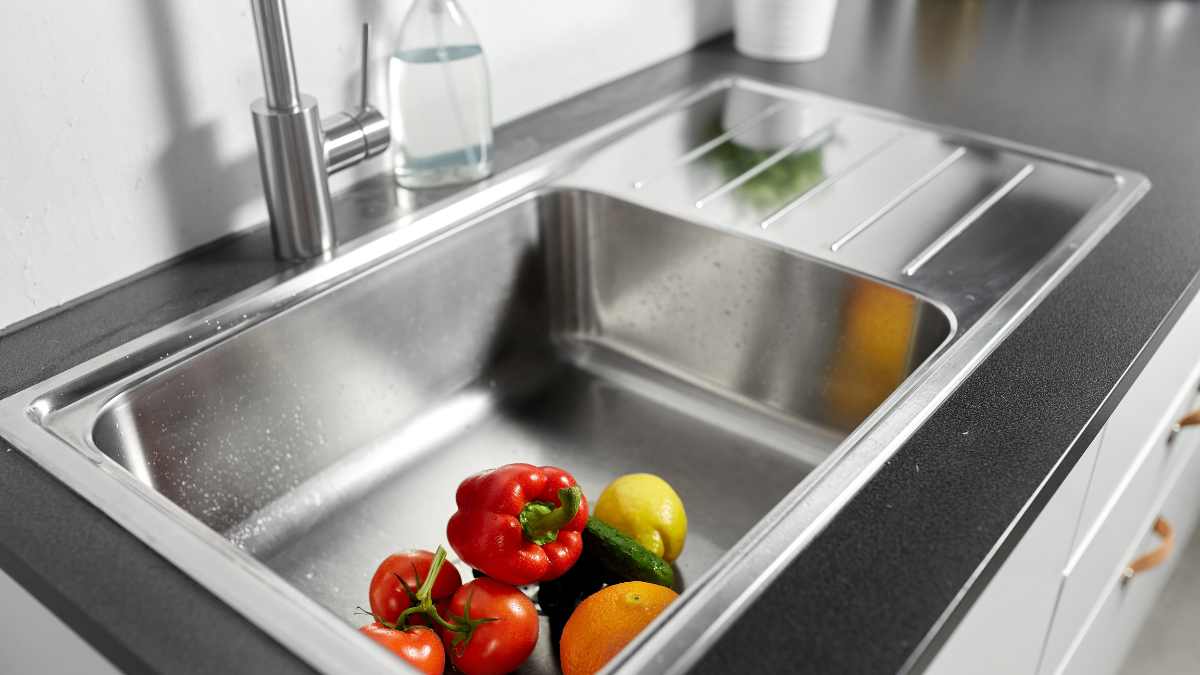
Step 4: Restore Shine
After removing scratches and ensuring a clean surface, the next step in refinishing your stainless steel sink is to restore its shine. Here’s how you can bring back the luster:
- Apply stainless steel cleaner/polish: Use a clean, soft cloth to apply a small amount of stainless steel cleaner/polish to the entire surface of the sink. Gently rub the cleaner/polish in circular motions, making sure to cover all areas.
- Buff the sink: Once the cleaner/polish is applied, use a fresh cloth to buff the sink, again using circular motions. This will help to distribute the cleaner/polish evenly and bring out the shine in the stainless steel.
- Repeat if necessary: Depending on the condition of your sink, you may need to repeat the application of the cleaner/polish and buffing process to achieve the desired level of shine.
By following these steps, you’ll be able to restore the shine of your stainless steel sink, making it look as good as new. Now, let’s move on to the next step: applying a protective coating.
Read more: How To Install A Stainless Steel Sink
Step 5: Apply Protective Coating
To prolong the longevity and maintain the shine of your refinished stainless steel sink, it’s recommended to apply a protective coating. The coating acts as a barrier, preventing future scratches and keeping the surface looking vibrant. Follow these steps to apply a protective coating:
- Ensure a clean and dry sink: Before applying the protective coating, make sure the sink is free from any debris, fingerprints, or moisture. Clean and dry the sink thoroughly using a microfiber cloth.
- Mask off surrounding areas: Use masking tape to protect any surrounding surfaces, such as countertops or backsplashes, from accidentally getting coated.
- Apply the protective coating: Follow the instructions provided by the manufacturer to apply the protective coating to the surface of the sink. Use a clean, soft cloth or a sponge to evenly spread the coating. Be sure to apply a thin and even layer to avoid streaks or drips.
- Allow it to dry: Let the protective coating dry according to the recommended drying time mentioned on the product label. Avoid using the sink during this time to allow the coating to cure properly.
- Remove masking tape: Once the protective coating is completely dry, carefully remove the masking tape from the surrounding areas.
Applying a protective coating will help maintain the beauty of your refinished stainless steel sink for a longer period. Now, let’s move on to the final step: adding the finishing touches.
Step 6: Final Touches
Now that you’ve completed the refinishing process for your stainless steel sink, it’s time to add the final touches to ensure a polished and finished look. Follow these steps:
- Clean and polish the entire sink: Take a clean, soft cloth and give the entire sink a final wipe-down using a stainless steel cleaner/polish. This will remove any remaining residue and enhance the shine of the sink.
- Inspect for any missed areas: Carefully examine the sink from different angles, checking for any spots or scratches that may have been missed. If necessary, touch up these areas by repeating the appropriate steps from the previous steps.
- Remove any excess product: Check for any excess cleaner/polish or protective coating and use a clean cloth to remove it. This will ensure a smooth and flawless finish.
- Admire your refinished sink: Step back and take a moment to appreciate the hard work you’ve put into refinishing your stainless steel sink. Enjoy the rejuvenated appearance it brings to your kitchen.
With these final touches, your stainless steel sink should now look as good as new. Remember to follow proper cleaning and maintenance practices to keep your sink in optimal condition for years to come.
So there you have it! By following these steps, you can successfully refinish your stainless steel sink and restore its original beauty. Now, enjoy the fresh and gleaming look of your newly refinished sink in your kitchen.
We hope this guide has been helpful, and we wish you the best of luck in your stainless steel sink refinishing endeavor!
Conclusion
Refinishing a stainless steel sink is a rewarding project that can breathe new life into your kitchen. By following the step-by-step process outlined in this article, you can effectively restore your sink’s appearance and bring back its original shine.
From gathering the necessary supplies to cleaning the sink, removing scratches, restoring the shine, and applying a protective coating, each step contributes to the overall success of the refinishing process.
Remember to take your time and follow the instructions carefully. Pay attention to the direction of the grain while sanding, as this will ensure a seamless finish. Additionally, always use non-abrasive cleaners and gentle materials to avoid causing further damage to the sink’s surface.
Once you’ve completed the refinishing process, take a moment to admire your handiwork. Your stainless steel sink will look as good as new, adding a fresh and modern touch to your kitchen.
To maintain the beauty of your refinished sink, regular cleaning and proper maintenance are essential. Avoid using abrasive cleaners or harsh materials that can scratch the surface. Instead, opt for mild dish soap and a soft cloth to clean the sink regularly.
With proper care, your refinished stainless steel sink will continue to be a centerpiece in your kitchen for years to come.
We hope this article has provided you with valuable insights and guidance on how to refinish a stainless steel sink. Enjoy the process and the stunning results!
Frequently Asked Questions about How To Refinish Stainless Steel Sink
Was this page helpful?
At Storables.com, we guarantee accurate and reliable information. Our content, validated by Expert Board Contributors, is crafted following stringent Editorial Policies. We're committed to providing you with well-researched, expert-backed insights for all your informational needs.


0 thoughts on “How To Refinish Stainless Steel Sink”