Articles
How To Drill Hole In Stainless Steel Sink
Modified: December 7, 2023
Learn the step-by-step process of drilling a hole in a stainless steel sink with our informative articles. Master this essential skill for your plumbing or DIY projects.
(Many of the links in this article redirect to a specific reviewed product. Your purchase of these products through affiliate links helps to generate commission for Storables.com, at no extra cost. Learn more)
Introduction
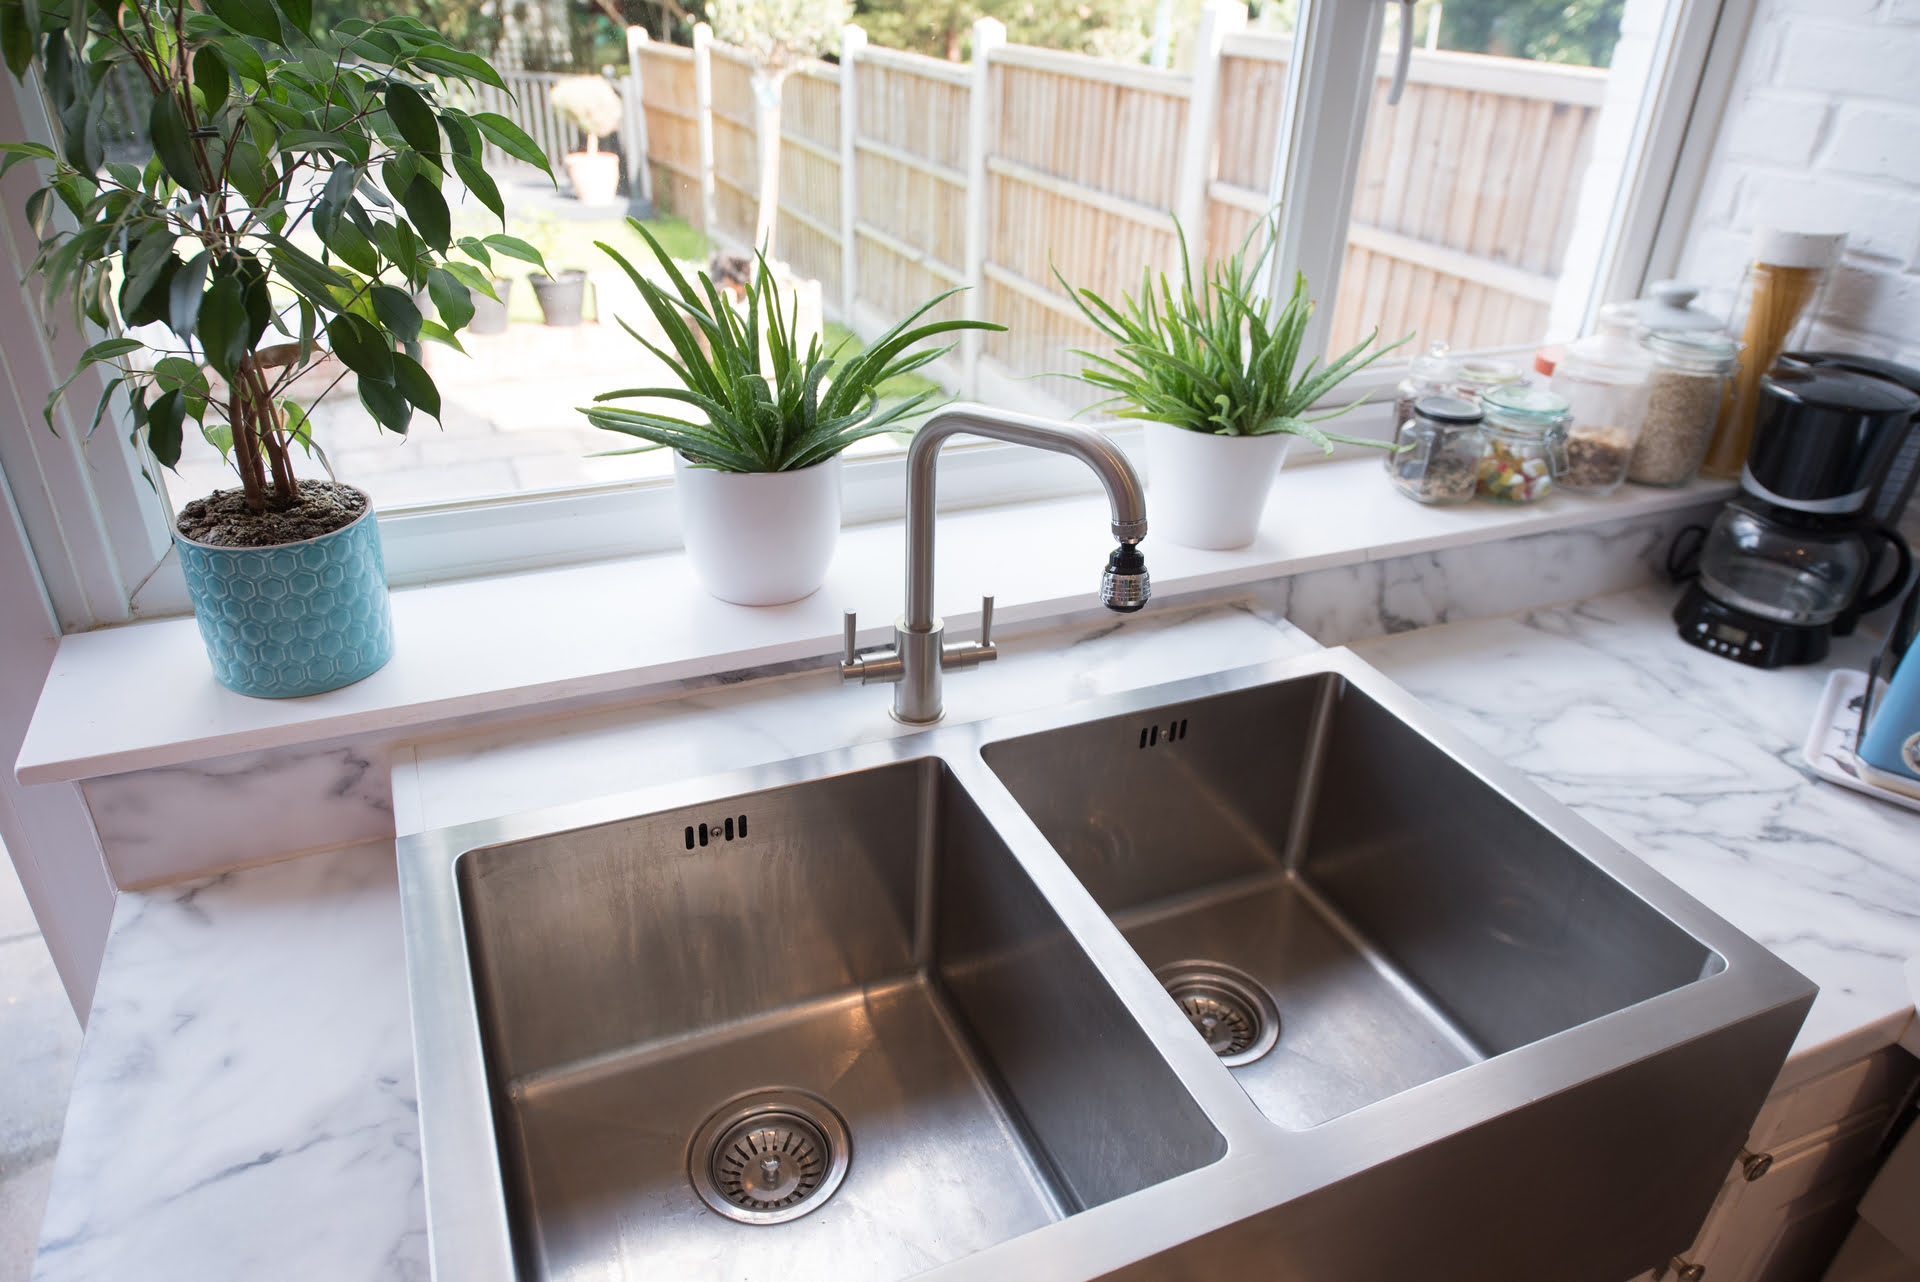
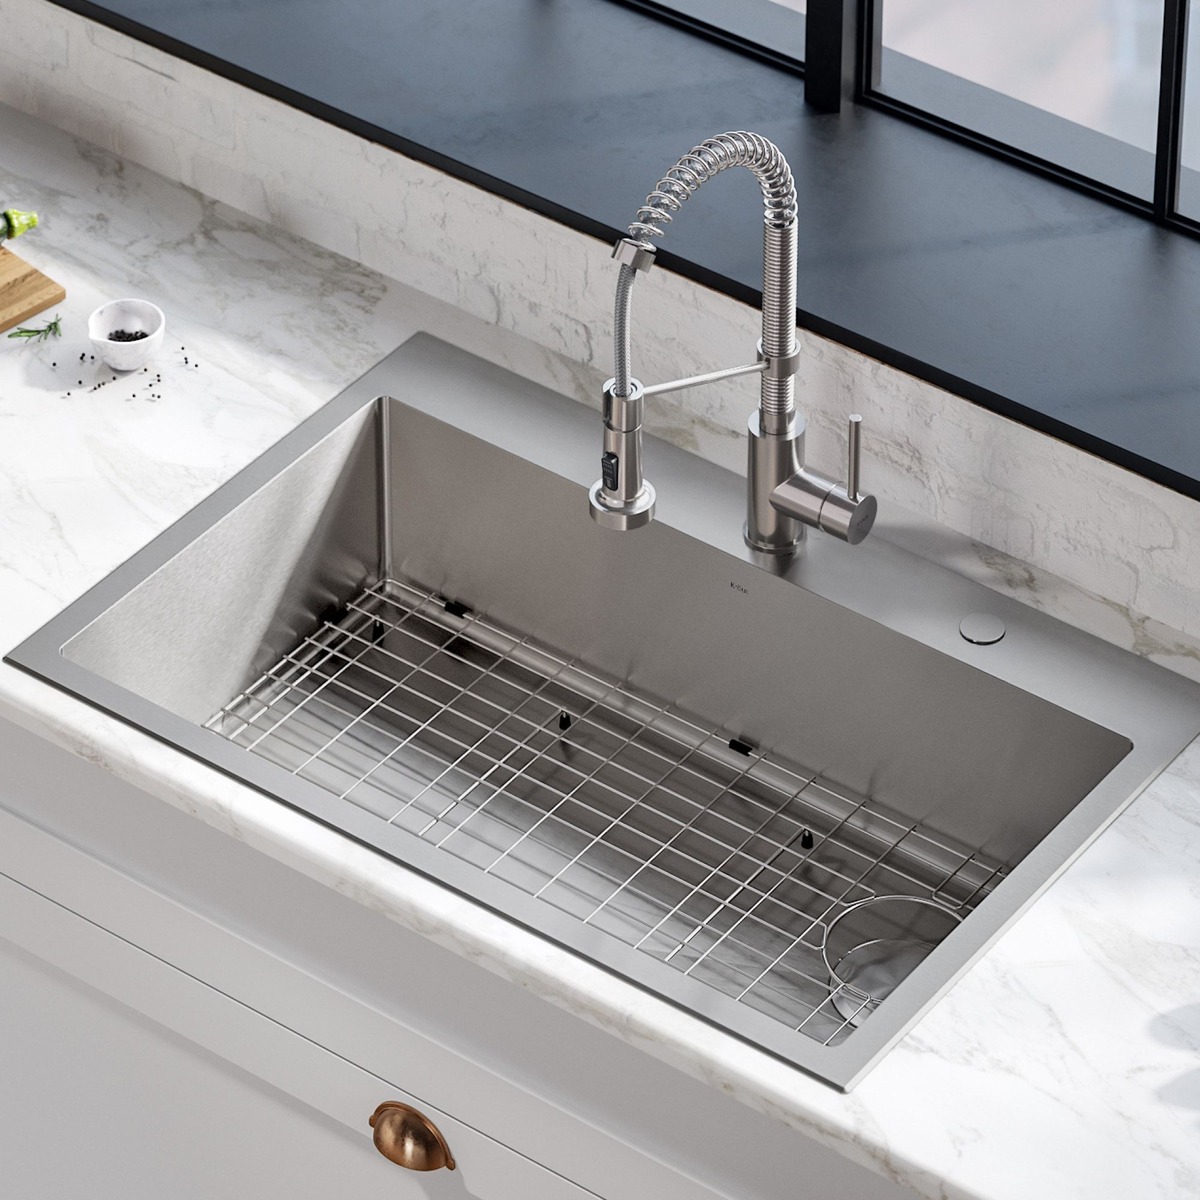
Drilling a hole in a stainless steel sink may seem like a daunting task, but with the right tools and techniques, it can be done effectively and safely. Whether you need to install a soap dispenser, a faucet, or any other accessory, knowing how to drill a hole in stainless steel will come in handy.
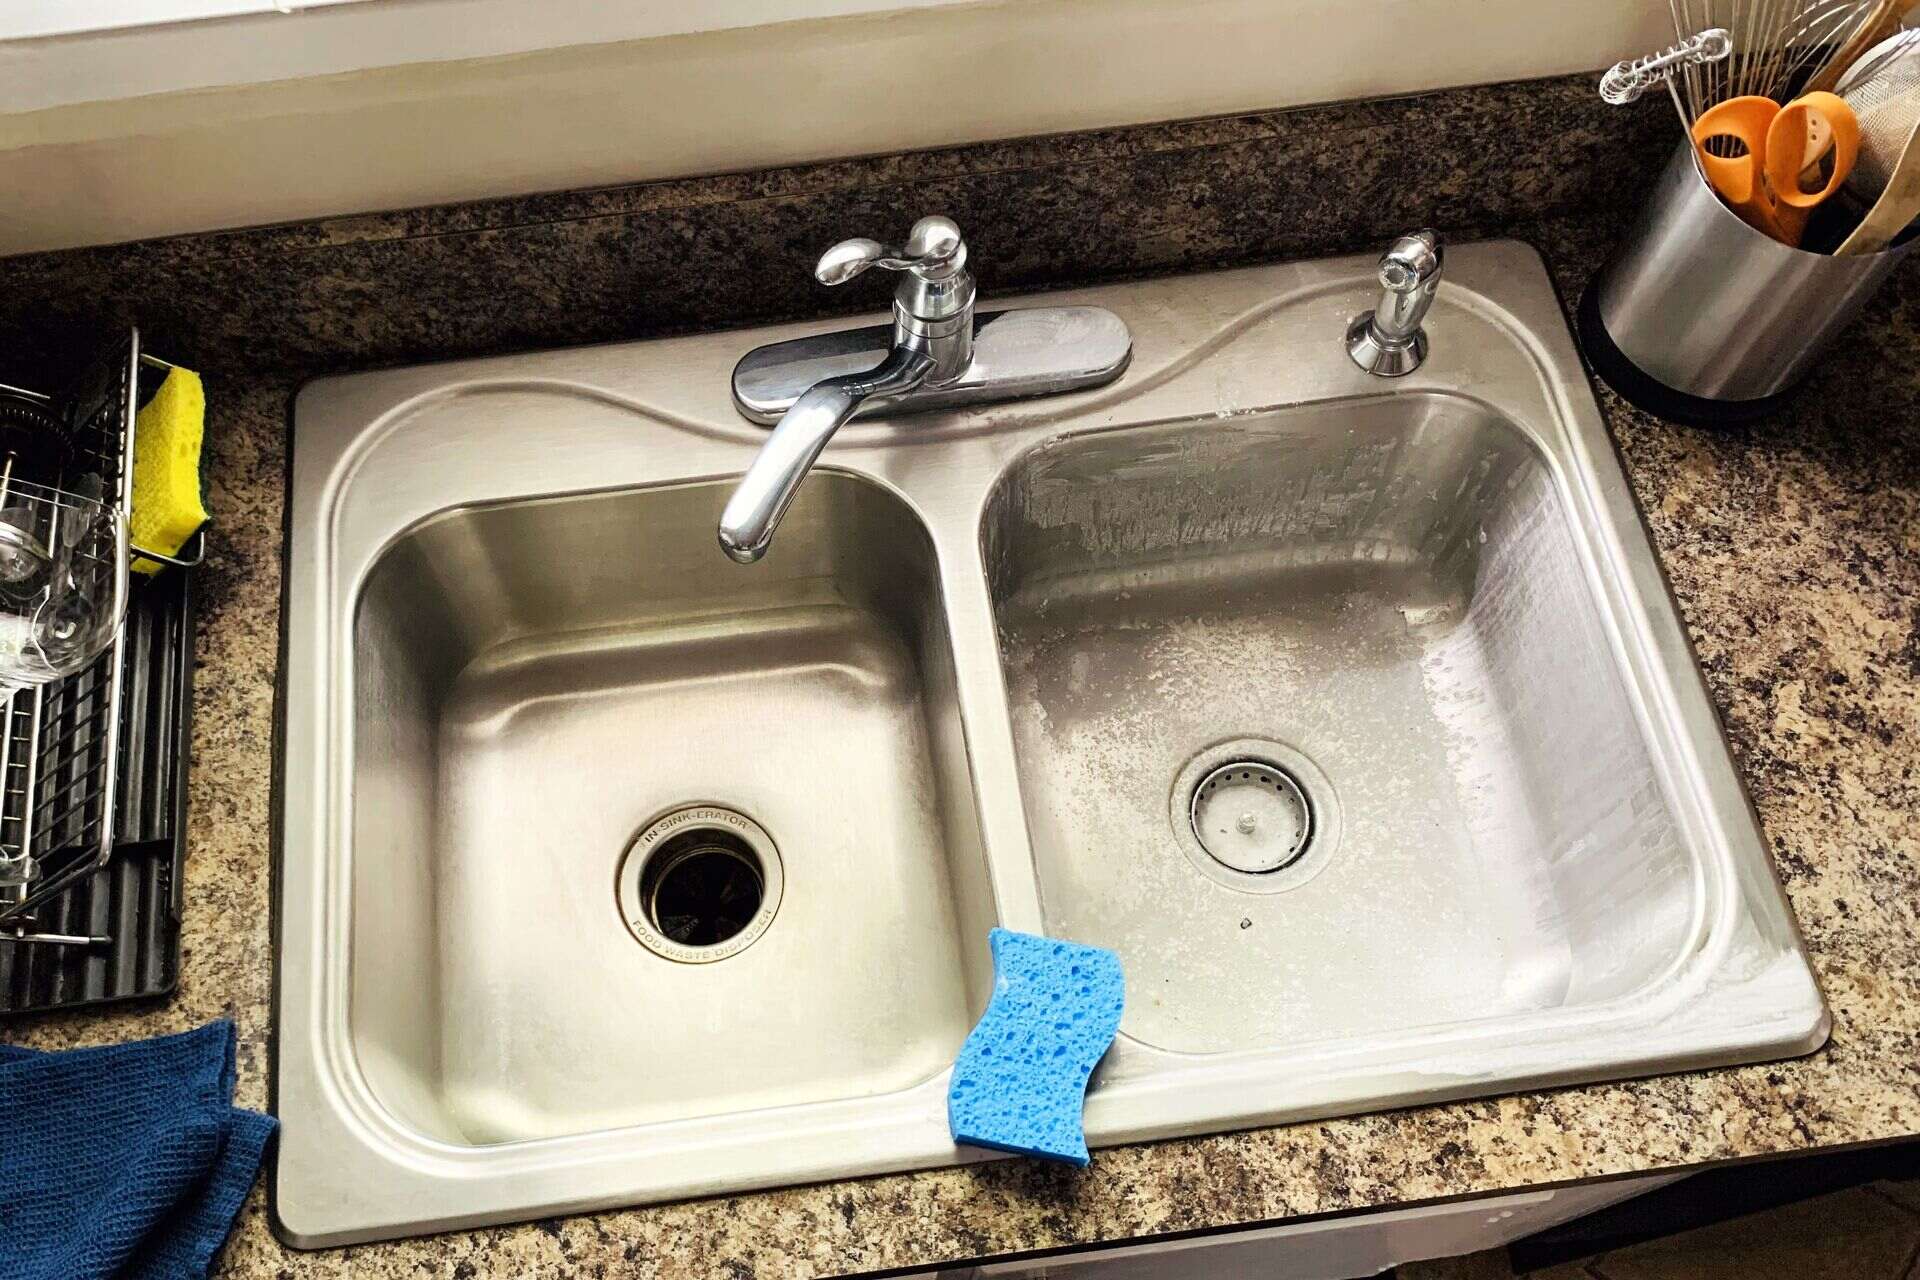
Stainless steel sinks are popular choices in kitchens and bathrooms due to their durability, resistance to corrosion, and sleek appearance. However, their hardness and toughness can make drilling into them a bit challenging. It is essential to follow the correct procedure to avoid damaging the sink and achieve professional-looking results.
In this guide, we will walk you through the step-by-step process of drilling a hole in a stainless steel sink. We will cover all the materials and tools you will need, as well as provide helpful tips to ensure a successful drilling experience. So, let’s get started!
Key Takeaways:
- Transform your stainless steel sink with confidence by following the step-by-step guide to drilling a hole. Prioritize safety, gather the right tools, and achieve professional results for your desired accessories.
- Exercise patience, precision, and safety when drilling a hole in a stainless steel sink. From marking the spot to finishing touches, follow the detailed process for a successful and polished outcome.
Read more: How To Paint A Stainless Steel Sink
Materials and Tools Needed
Before you begin drilling a hole in a stainless steel sink, it is important to gather all the necessary materials and tools. Here’s a list of what you will need:
- Stainless steel sink
- Marker or pencil
- Drill
- Cobalt or titanium drill bits
- Drill press or handheld drill
- Drill lubricant (such as cutting oil or mineral oil)
- Masking tape or painter’s tape
- Safety goggles or glasses
- Work gloves
- Clamp or vice (if using a handheld drill)
- Utility knife or deburring tool
- Cleaning cloth
- Mild soap or stainless steel cleaner
Make sure you have all these items ready before you begin drilling. Having everything on hand will make the process smoother and more efficient.
Step 1: Marking the Drilling Spot
The first step in drilling a hole in a stainless steel sink is to accurately mark the spot where you want the hole to be. This ensures precision and avoids any unnecessary mistakes. Here’s how to do it:
- Choose the location: Decide where you want your hole to be based on your specific needs. Use a measuring tape or ruler to measure the distance from the edge of the sink to the desired spot. Mark the spot with a marker or pencil.
- Check for obstacles: Before finalizing the drilling spot, double-check if there are any potential obstacles on the underside of the sink, such as pipes or brackets. This will help you avoid damaging any important components during the drilling process.
- Apply masking tape: Place a small piece of masking tape or painter’s tape over the drilling spot. This reduces the chances of the drill bit slipping and provides extra protection for the stainless steel surface.
Take a moment to ensure the marked spot is in the correct position according to your needs and there are no obstructions on the underside of the sink. Once you’re satisfied with the location, you’re ready to move on to the next step.
Step 2: Preparing the Drill
After marking the drilling spot on your stainless steel sink, the next step is to prepare the drill for the task. Proper preparation ensures smooth drilling and minimizes the risk of damaging the sink. Follow these steps:
- Select the appropriate drill bit: To drill through stainless steel, you’ll need a drill bit specifically designed for metal. Cobalt or titanium drill bits are recommended due to their durability and ability to withstand the hardness of stainless steel. Choose a drill bit that corresponds to the size of the hole you want to create.
- Secure the sink: If you’re using a handheld drill, it’s a good idea to secure the sink in place using a clamp or vice. This will prevent the sink from moving during the drilling process.
- Attach the drill bit: Insert the chosen drill bit into the chuck of your drill. Ensure it is securely tightened to avoid any wobbling or instability during drilling.
- Apply lubricant: Stainless steel can generate a lot of heat during drilling, which can dull the drill bit and damage the sink. To prevent overheating, apply a few drops of drill lubricant, such as cutting oil or mineral oil, onto the drilling spot. This lubricates the area and keeps the temperature down.
- Put on safety gear: Before drilling, put on safety goggles or glasses to protect your eyes from any debris that may be generated during the process. It’s also a good idea to wear work gloves to protect your hands.
By following these preparation steps, you’ll ensure that the drilling process is smooth and efficient, reducing the chances of potential damage to the sink and promoting a successful drilling experience.
Step 3: Drilling the Pilot Hole
Once you’ve prepared the drill and the sink, it’s time to start drilling the pilot hole. The pilot hole acts as a guide for the final hole and helps prevent the drill bit from slipping and causing damage. Here’s how to proceed:
- Set the drill at a slow speed: For stainless steel, it’s best to start drilling at a slower speed setting on your drill. This reduces the risk of the drill bit overheating and allows for better control during the drilling process.
- Position the drill: Place the tip of the drill bit exactly on the marked spot on the tape-covered area of the sink. Hold the drill perpendicular to the surface to ensure a straight hole.
- Apply gentle pressure: While maintaining a steady grip on the drill, apply gentle pressure to start drilling into the stainless steel. Allow the drill bit to do the work and avoid exerting too much force, as it can cause damage or break the bit.
- Start drilling: Begin drilling at a slow and steady pace, using the pilot hole as a guide. Ensure the drill remains upright and doesn’t tilt or wobble. Use medium pressure and let the drill bit gradually penetrate the surface of the stainless steel.
- Monitor the progress: As you drill, periodically stop to check the depth and make sure the hole is being formed correctly. This helps prevent drilling too deep or getting off-center.
- Clean the debris: As you drill, stainless steel shavings will accumulate around the drilling area. It’s important to periodically pause and clean away the debris using a cloth to maintain visibility and prevent clogging.
By following these steps, you will successfully create a pilot hole in the stainless steel sink, setting the stage for drilling the final hole. Remember to take your time and maintain steady and controlled drilling to achieve the desired results.
Use a cobalt or carbide drill bit specifically designed for stainless steel. Start with a small pilot hole and gradually increase the size. Use cutting oil to lubricate the bit and reduce heat.
Read more: How To Refinish Stainless Steel Sink
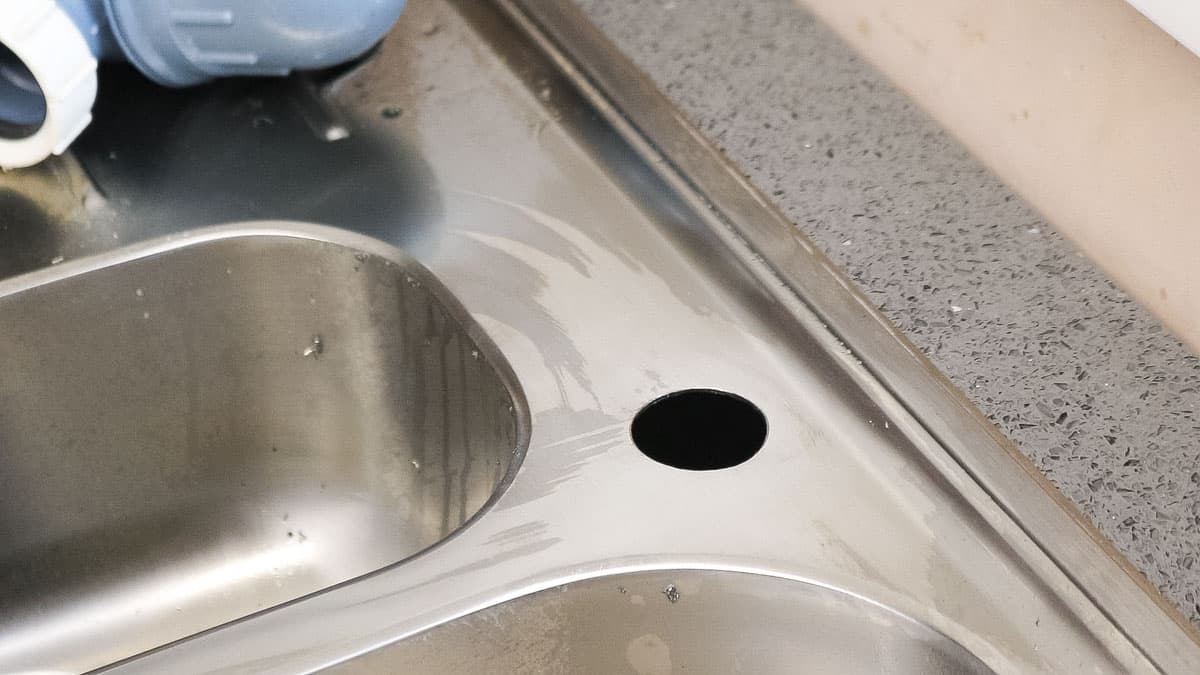
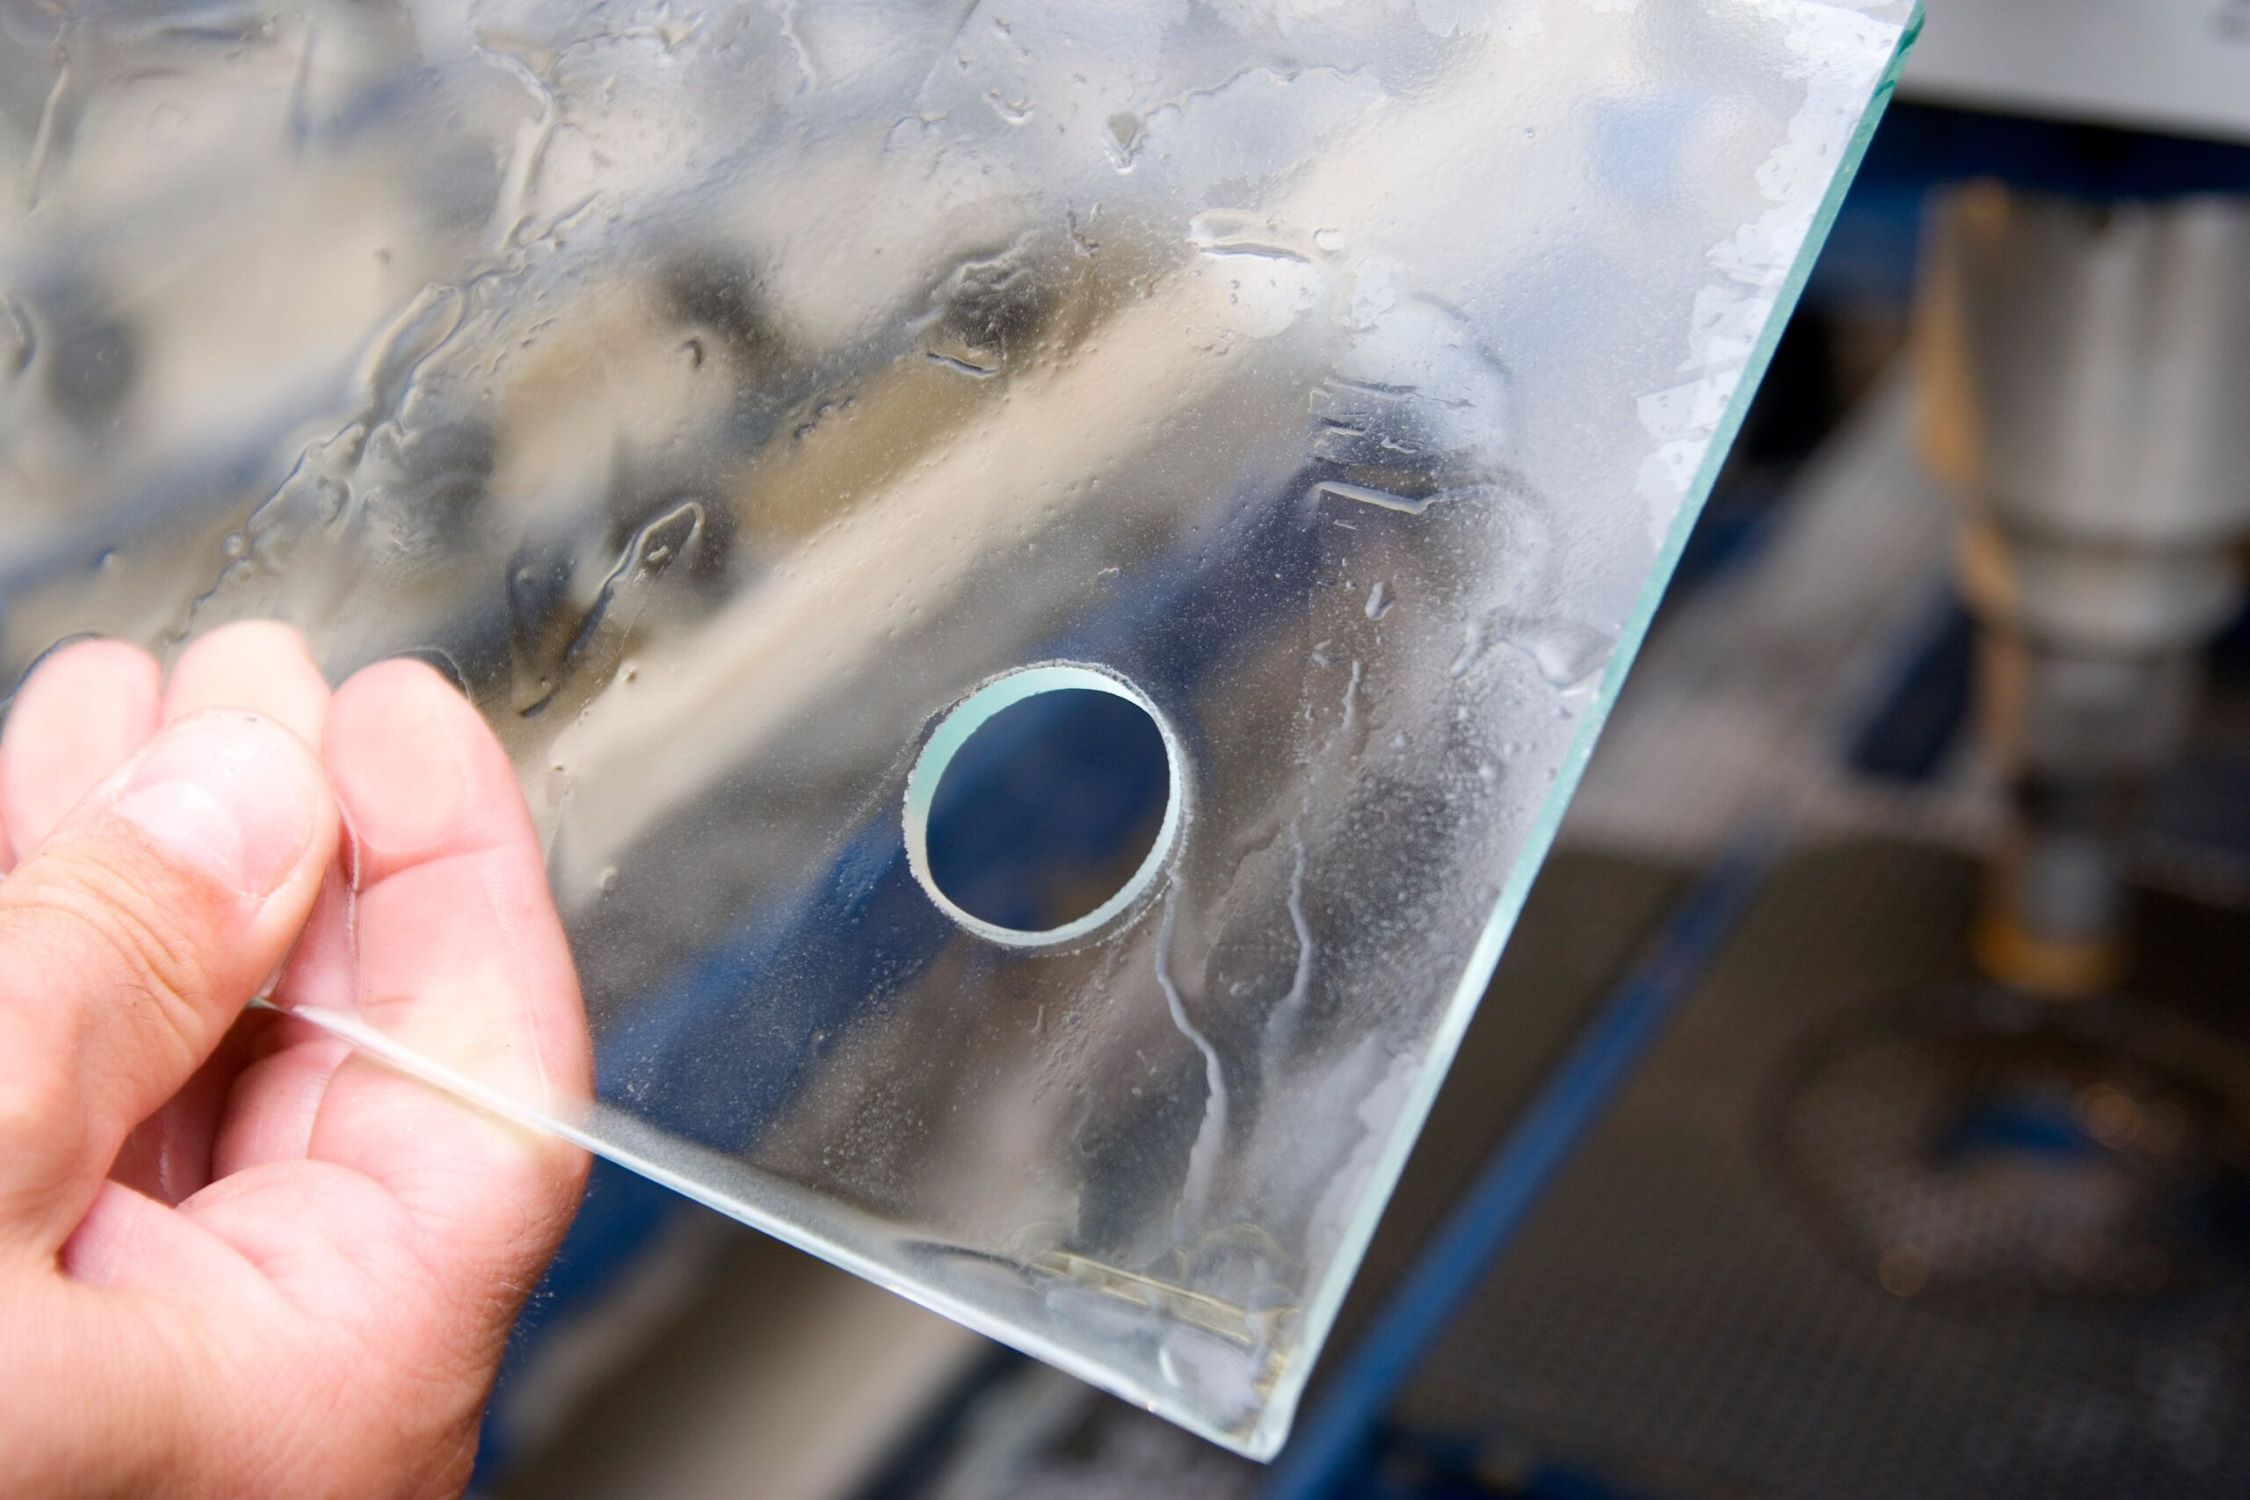
Step 4: Drilling the Final Hole
After successfully drilling the pilot hole in your stainless steel sink, it’s time to proceed to the final hole. This step requires precision and careful execution to create a clean and accurately sized hole. Here’s what you need to do:
- Switch to a larger drill bit: Once the pilot hole is complete, you will need to switch to a larger drill bit that matches the size of the final hole you desire. This ensures that the hole is properly sized and fits your intended accessory or fixture.
- Apply lubricant: Before proceeding with drilling the final hole, apply a few more drops of drill lubricant to the drilling spot. This will help reduce friction, prevent overheating, and prolong the lifespan of your drill bit.
- Position the drill: Position the drill bit at the center of the pilot hole. Take extra care to keep the drill perpendicular to the surface of the sink to ensure a straight and accurate hole.
- Start drilling: Begin drilling at a medium speed, gradually increasing the speed if necessary. Apply consistent and firm pressure to allow the drill bit to penetrate the stainless steel and create the final hole. Take your time and maintain control throughout the process.
- Monitor the progress: Pause occasionally to check the depth and ensure that the hole is being formed properly. Adjust the drilling speed and pressure as needed to achieve the desired results.
- Remove the masking tape: Once the hole is complete, carefully remove the masking tape from the sink. This will reveal a clean and polished hole without any tape residue.
It’s important to note that drilling stainless steel requires patience and precision. Take your time, let the drill bit do the work, and avoid rushing the process. By following these steps, you’ll be able to successfully drill the final hole with accuracy and achieve professional-looking results.
Step 5: Cleaning Up and Finishing Touches
Once you have drilled the final hole in your stainless steel sink, there are a few important steps to follow to ensure a clean finish and complete the installation process. These steps will help you tidy up any residual debris and give your sink a polished look. Here’s what you need to do:
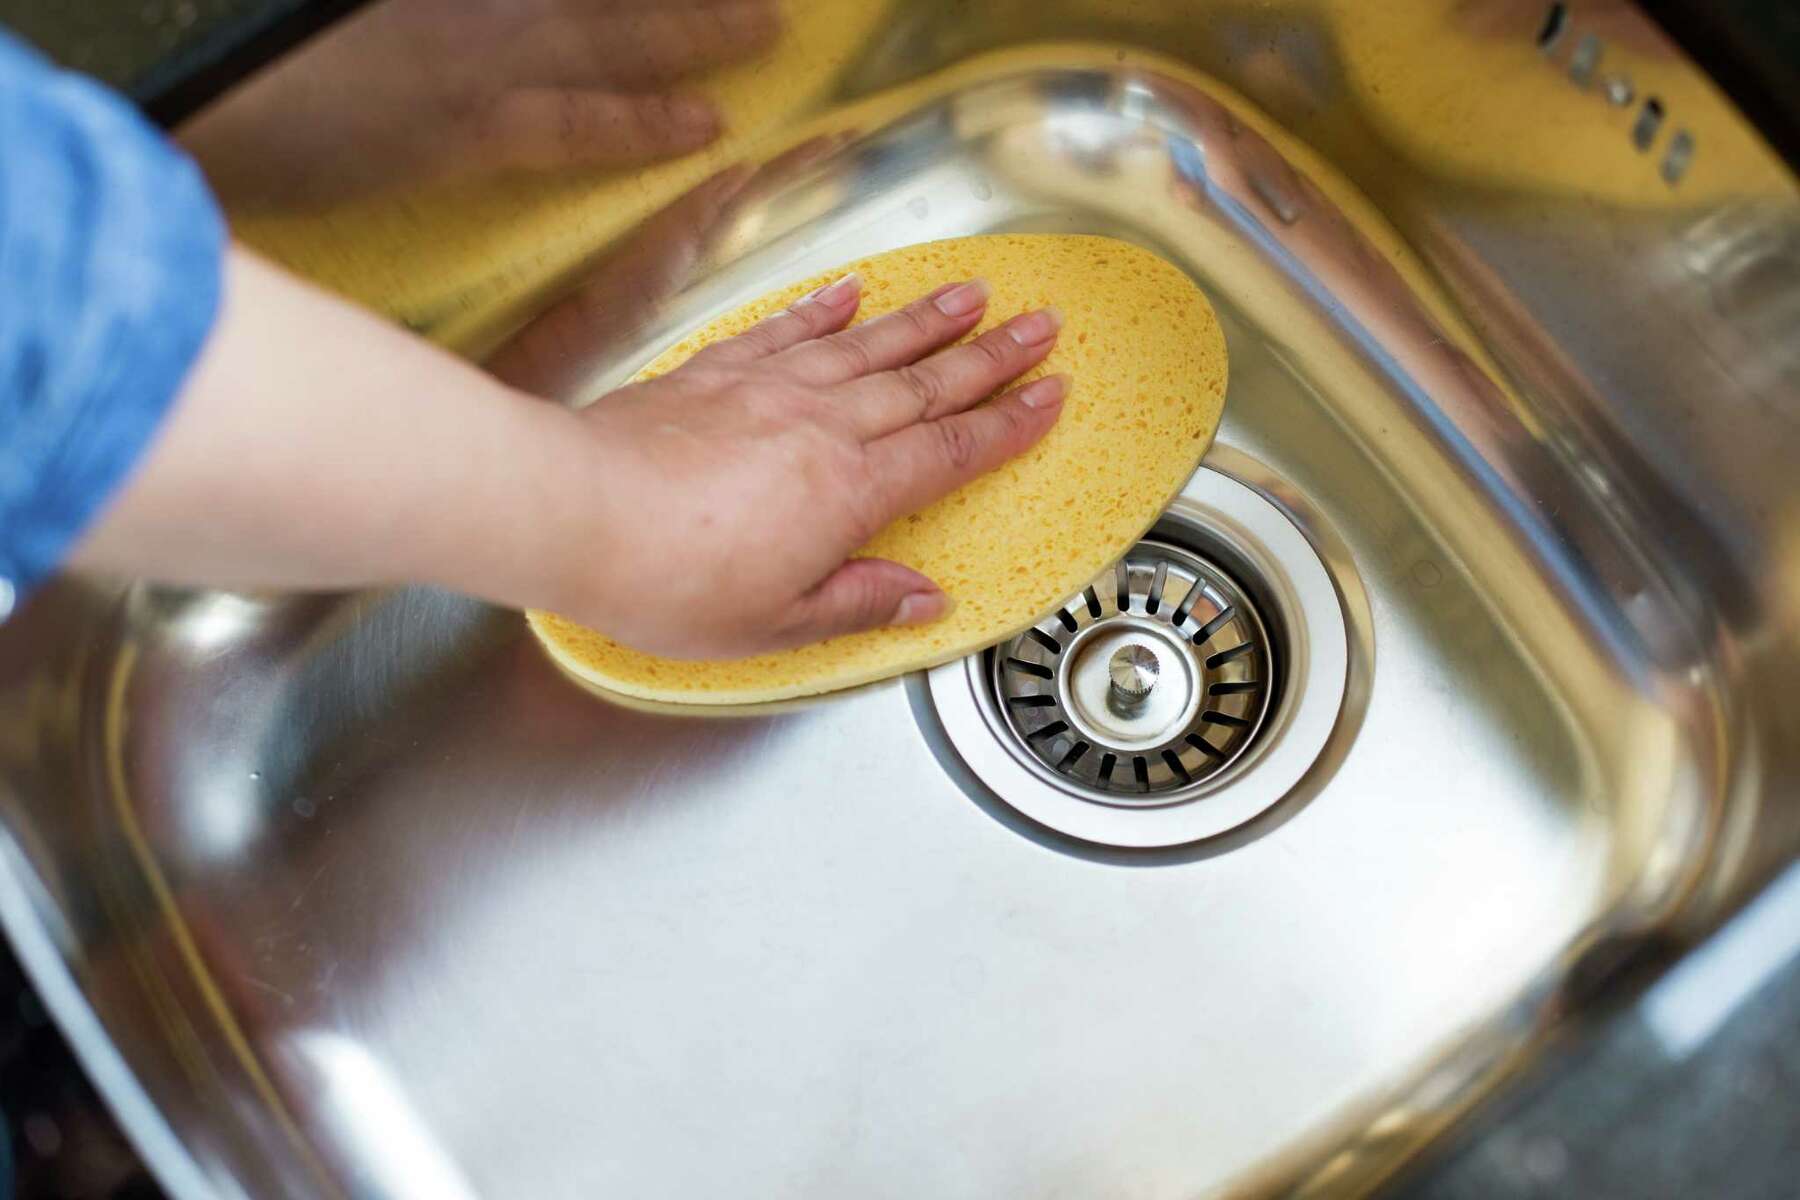
- Remove any metal shavings: After drilling, take a cloth or a soft brush and carefully clean up any metal shavings or debris around the hole. This will help prevent scratches and maintain the overall cleanliness of your sink.
- Use a deburring tool or utility knife: If there are any rough edges or burrs around the hole, use a deburring tool or a utility knife to smooth them out. Gently file or shave away any sharp edges to create a neat and polished appearance.
- Clean the sink: Take a mild soap or a stainless steel cleaner and clean the entire sink, including the newly drilled hole. This will remove any remaining debris, fingerprints, or grease marks, leaving your sink looking pristine.
- Dry and inspect the sink: After cleaning, ensure that the sink is thoroughly dried using a clean cloth. Take a close look at the drilled hole to ensure there are no visible defects or irregularities.
- Install the accessory or fixture: With your newly drilled and cleaned hole, you can now proceed to install the desired accessory or fixture. Follow the manufacturer’s instructions for proper installation, ensuring a secure and functional attachment.
By following these final steps, you’ll be able to give your stainless steel sink a professional finish and complete the installation of your chosen accessory or fixture. Take pride in your work and enjoy the functionality and beauty that the drilled hole brings to your sink.
Safety Precautions
When drilling a hole in a stainless steel sink, it is important to prioritize safety to prevent accidents and injuries. Follow these safety precautions to ensure a safe and successful drilling process:
- Wear safety goggles or glasses: Protect your eyes from debris and metal shavings by wearing safety goggles or glasses throughout the drilling process. This will prevent any potential eye injuries.
- Use work gloves: Wear work gloves to protect your hands from sharp edges, metal shavings, and potential burns from the drill or hot metal surfaces.
- Work in a well-ventilated area: It is recommended to drill in a well-ventilated area or use a fan to prevent the buildup of dust or fumes. This helps maintain good air quality and reduces the risk of respiratory irritation.
- Secure the sink: If using a handheld drill, securely clamp or vice the sink to prevent it from moving during drilling. This ensures stability and reduces the risk of accidents or damage to the sink.
- Be aware of electrical and plumbing lines: Before drilling, locate any nearby electrical or plumbing lines to avoid accidentally damaging or cutting them. Ensure that the area is clear and free from any potential hazards.
- Use the appropriate drill bit: Choose a drill bit specifically designed for stainless steel to ensure efficiency and reduce the risk of bit breakage or wear. Using the wrong type of drill bit can lead to difficulties and potential accidents.
- Apply lubricant: Use a drill lubricant, such as cutting oil or mineral oil, to reduce friction and prevent overheating of the drill bit. This helps prolong the life of the drill bit and maintains the integrity of the sink.
- Take breaks when needed: Drilling can be physically demanding, especially for a longer duration. Take breaks as necessary to rest and avoid fatigue, which could compromise your control over the drill and increase the risk of accidents.
- Follow the drill manufacturer’s instructions: Always refer to the drill manufacturer’s guidelines and instructions for proper usage and safety precautions. Different drills may have specific safety recommendations that should be followed.
By adhering to these safety precautions, you can minimize the risk of accidents, injuries, and damage to your stainless steel sink. Your safety should always be a top priority when undertaking any DIY projects.
Conclusion
Drilling a hole in a stainless steel sink may initially seem like a daunting task, but with the right tools, techniques, and safety precautions, it can be achieved successfully. By following the step-by-step guide outlined in this article, you can confidently drill holes in your stainless steel sink to accommodate various accessories and fixtures.
Remember to gather all the necessary materials and tools before starting the drilling process. Take the time to properly mark the drilling spot and ensure there are no obstructions beneath the sink. Preparing the drill with the appropriate drill bit and applying lubricant will help make the drilling smoother and more efficient.
Throughout the drilling process, exercise caution and prioritize safety. Wear safety goggles or glasses, use work gloves, and work in a well-ventilated area. Secure the sink if using a handheld drill and be aware of any nearby electrical or plumbing lines that could be damaged.
Once the drilling is complete, clean up any debris and remove any rough edges or burrs around the hole. Clean the entire sink, including the newly drilled hole, to achieve a polished and finished appearance. Finally, install your desired accessory or fixture according to the manufacturer’s instructions.
By following these guidelines and taking the necessary precautions, you can confidently drill holes in your stainless steel sink without compromising its integrity or aesthetic appeal. Enjoy the enhanced functionality and customization that the drilled hole provides, knowing that you accomplished it safely and effectively.
So, go ahead and transform your stainless steel sink to suit your needs with a perfectly drilled hole. Happy drilling!
Frequently Asked Questions about How To Drill Hole In Stainless Steel Sink
Was this page helpful?
At Storables.com, we guarantee accurate and reliable information. Our content, validated by Expert Board Contributors, is crafted following stringent Editorial Policies. We're committed to providing you with well-researched, expert-backed insights for all your informational needs.


0 thoughts on “How To Drill Hole In Stainless Steel Sink”