Articles
How To Install A Stainless Steel Sink
Modified: October 19, 2024
Learn how to install a stainless steel sink with our comprehensive articles. Expert tips and step-by-step instructions to guide you through the process.
(Many of the links in this article redirect to a specific reviewed product. Your purchase of these products through affiliate links helps to generate commission for Storables.com, at no extra cost. Learn more)
Introduction
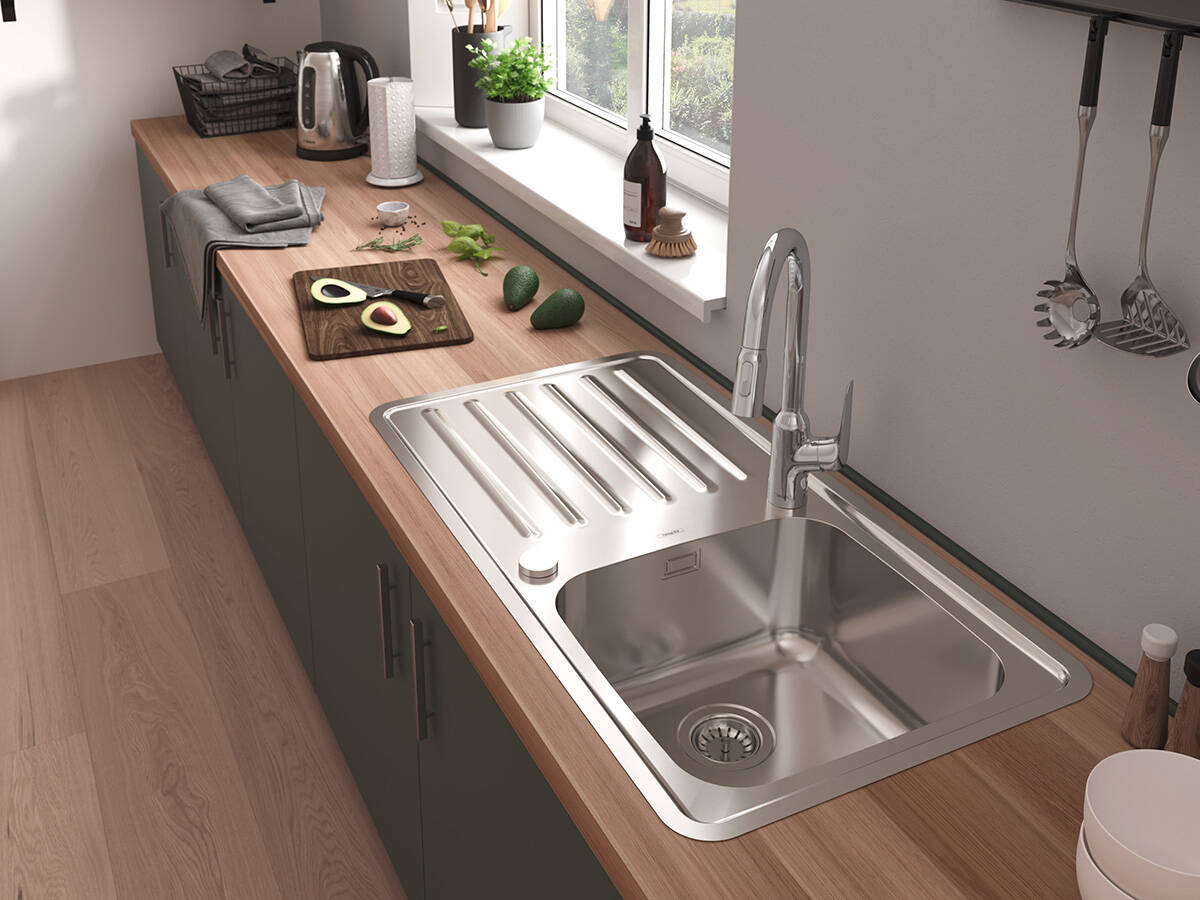
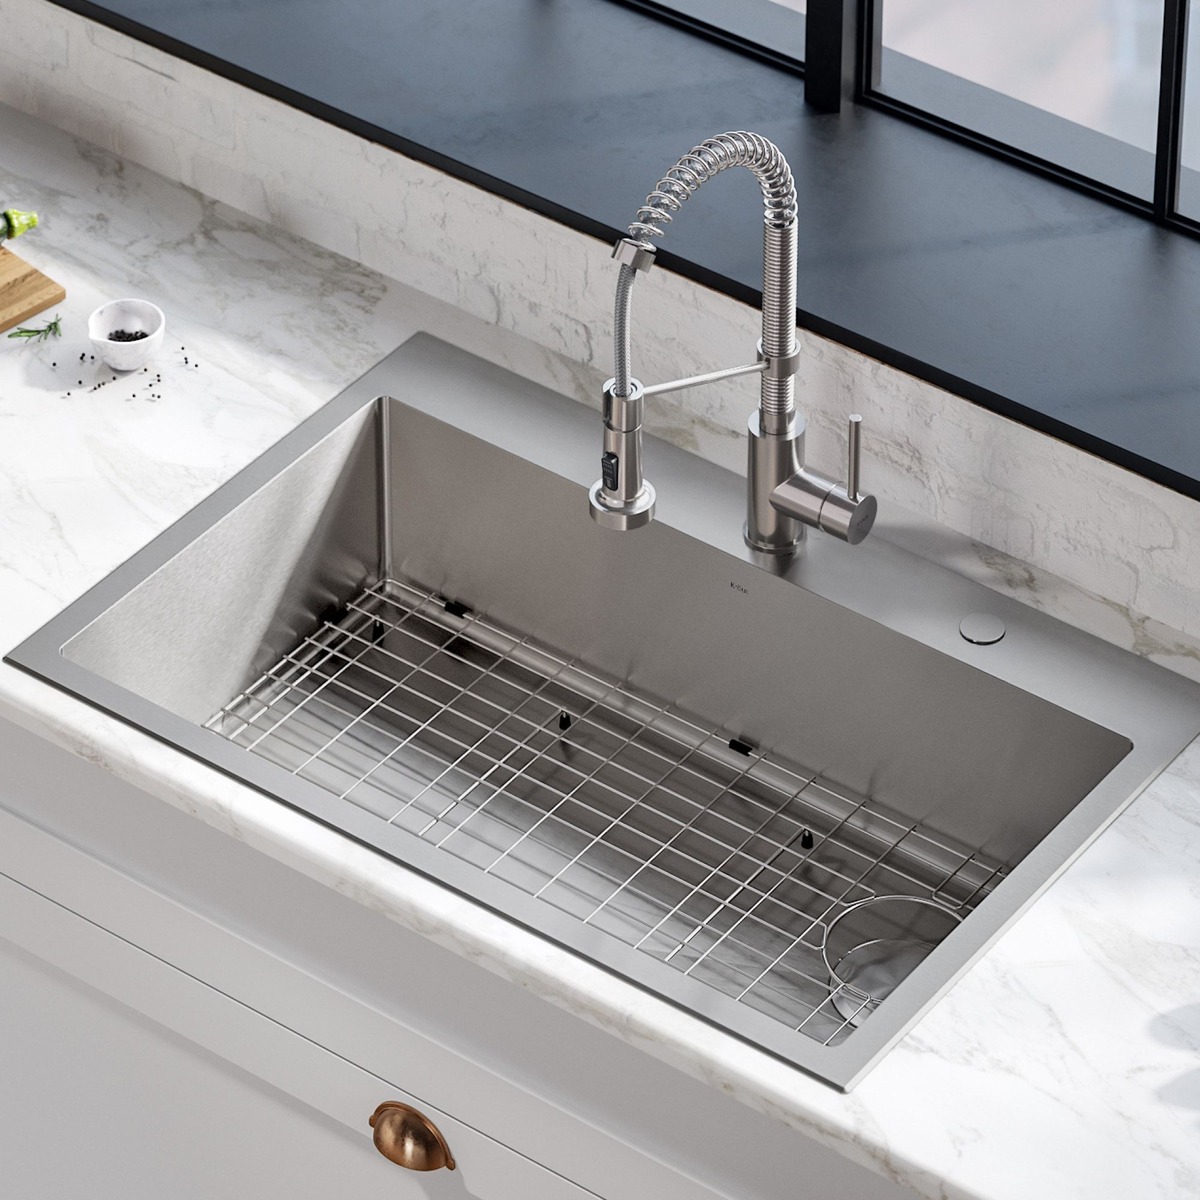
Installing a stainless steel sink in your kitchen can be a great way to update the look and functionality of your space. With its sleek and modern design, a stainless steel sink not only adds a touch of elegance to your kitchen but also provides durability and easy maintenance.
In this article, we will guide you through the step-by-step process of installing a stainless steel sink, from gathering the necessary tools and materials to cleaning and polishing the sink. Whether you are a seasoned DIY enthusiast or a beginner, you can confidently tackle this project and enjoy the satisfaction of a job well done.
Before we dive into the installation process, it’s essential to make sure you have all the tools and materials you’ll need. Let’s take a look at what you’ll require:
Key Takeaways:
- Proper preparation, positioning, and secure attachment of the sink are crucial for a successful installation. Connecting water supply lines, installing the faucet and drain assembly, and testing for leaks ensure the functionality of your sink.
- Applying a sealant around the sink edges and regular cleaning and polishing will help maintain the integrity and shine of your stainless steel sink throughout its lifespan.
Read more: How To Paint A Stainless Steel Sink
Step 1: Gather the necessary tools and materials
Before you start the installation process, it’s essential to gather all the necessary tools and materials. Here is a list of what you’ll need:
- Stainless steel sink: Choose a sink that fits your kitchen’s dimensions and style preferences.
- Sink template: This template will help you accurately mark the cutout area on your countertop.
- Measuring tape: Use a measuring tape to measure the dimensions of your sink and countertop.
- Pencil: You’ll need a pencil to mark the cutout area on the countertop.
- Jigsaw: A jigsaw will be necessary to cut the countertop for the sink installation.
- Screwdriver: A screwdriver will come in handy for attaching the sink to the countertop and installing the faucet.
- Adjustable wrench: An adjustable wrench is needed for connecting the water supply lines.
- Plumber’s putty: Plumber’s putty is used to create a watertight seal around the faucet and drain assembly.
- Plumbing tape: This tape is essential for preventing leaks in the water supply connections.
- Silicone sealant: Silicone sealant is used to seal the edges of the sink and prevent water leakage.
- Clean cloth: A clean cloth is necessary for cleaning and polishing the stainless steel sink.
Make sure you have all these tools and materials readily available before you proceed to the next step. With everything in place, you’ll be prepared to install your stainless steel sink with ease and efficiency.
Step 2: Prepare the sink area
Now that you have gathered all the necessary tools and materials, it’s time to prepare the sink area before installing the stainless steel sink. This step ensures a smooth and secure installation process.
- Clear the countertop: Remove any items or clutter from the countertop, creating a clean and empty workspace for the sink installation.
- Turn off the water supply: Locate the water shut-off valves under the sink and turn them off to stop the water flow.
- Disconnect plumbing connections: Use an adjustable wrench to disconnect the plumbing connections from the old sink if you’re replacing an existing one. Place a bucket or towel under the connections to catch any residual water.
- Remove the old sink: Carefully lift and remove the old sink from the countertop. If it’s glued or caulked in place, apply gentle pressure or use a putty knife to loosen it.
- Clean the countertop: Thoroughly clean the countertop surface to ensure a smooth and debris-free installation area. Use a mild cleaner and a non-abrasive cloth to avoid scratching the countertop material.
- Position the sink template: Place the sink template provided with your stainless steel sink on the countertop. Align it according to the manufacturer’s instructions and use a pencil to trace the outline of the sink onto the countertop.
- Double-check measurements: Use a measuring tape to verify the accuracy of the sink cutout dimensions. It’s crucial to ensure a precise fit for the sink installation.
By following these steps, you’ll have a clean and properly prepared sink area ready for the next stage of the installation process. Taking the time to properly prepare the sink area will help ensure a seamless and secure installation of your stainless steel sink.
Step 3: Position the stainless steel sink
With the sink area prepared, it’s time to position the stainless steel sink in its designated spot on the countertop. This step is crucial for achieving a proper fit and ensuring the sink is aligned correctly.
- Apply a bead of silicone sealant: Flip the sink upside down and apply a thin bead of silicone sealant around the perimeter of the sink’s lip. This will create a watertight seal when the sink is installed.
- Position the sink in the cutout: Carefully place the sink into the cutout on the countertop, ensuring it aligns properly with the traced outline. Press down firmly to secure the sink in place.
- Check for levelness: Use a level to check if the sink is level from front to back and side to side. Adjust as necessary by adding or removing silicone sealant beneath the sink.
- Secure the sink with mounting clips: Depending on the sink model, install the provided mounting clips along the edges of the sink. Use a screwdriver to tighten the clips, securing the sink to the countertop.
- Wipe away excess silicone sealant: Use a damp cloth to carefully remove any excess silicone sealant that may have squeezed out around the edges of the sink.
Positioning the stainless steel sink correctly is crucial for proper drainage and functionality. Take your time during this step to ensure that the sink is level and securely fastened to the countertop. This will provide a solid foundation for the remaining installation process.
Step 4: Attach the sink to the countertop
Now that the stainless steel sink is properly positioned, it’s time to attach it to the countertop. This step ensures that the sink is securely fastened and stable for use.
- Install the sink mounting brackets: Depending on the sink model, you may need to install mounting brackets underneath the sink. Follow the manufacturer’s instructions to properly position and secure the brackets.
- Attach the mounting clips: Using a screwdriver, tighten the mounting clips around the edges of the sink. These clips provide additional support and stability to the sink when attached to the countertop.
- Tighten the mounting clips: Use a screwdriver or a wrench to ensure that the mounting clips are securely tightened, holding the sink firmly in place.
- Test the sink’s stability: Gently shake the sink to test its stability. If it feels loose or wobbly, further tighten the mounting clips to secure the sink tightly to the countertop.
Attaching the sink to the countertop is a critical step in the installation process. It ensures that the sink remains stable and firmly in place during use. By following these steps, you can be confident in the secure attachment of your stainless steel sink to the countertop.
Read more: How To Refinish Stainless Steel Sink
Step 5: Install the faucet and drain assembly
With the sink securely attached to the countertop, it’s now time to install the faucet and drain assembly. These components are essential for the functionality of the sink and will allow you to control the flow of water and manage waste disposal.
- Position the faucet: Place the faucet into the pre-drilled holes on the sink. Ensure that the faucet aligns properly with the sink and is centered. Follow the manufacturer’s instructions for securing the faucet in place.
- Connect the water supply lines: Use flexible water supply lines to connect the faucet to the shut-off valves. Attach one end of the supply line to the faucet’s inlet and the other end to the corresponding shut-off valve. Tighten the connections using an adjustable wrench.
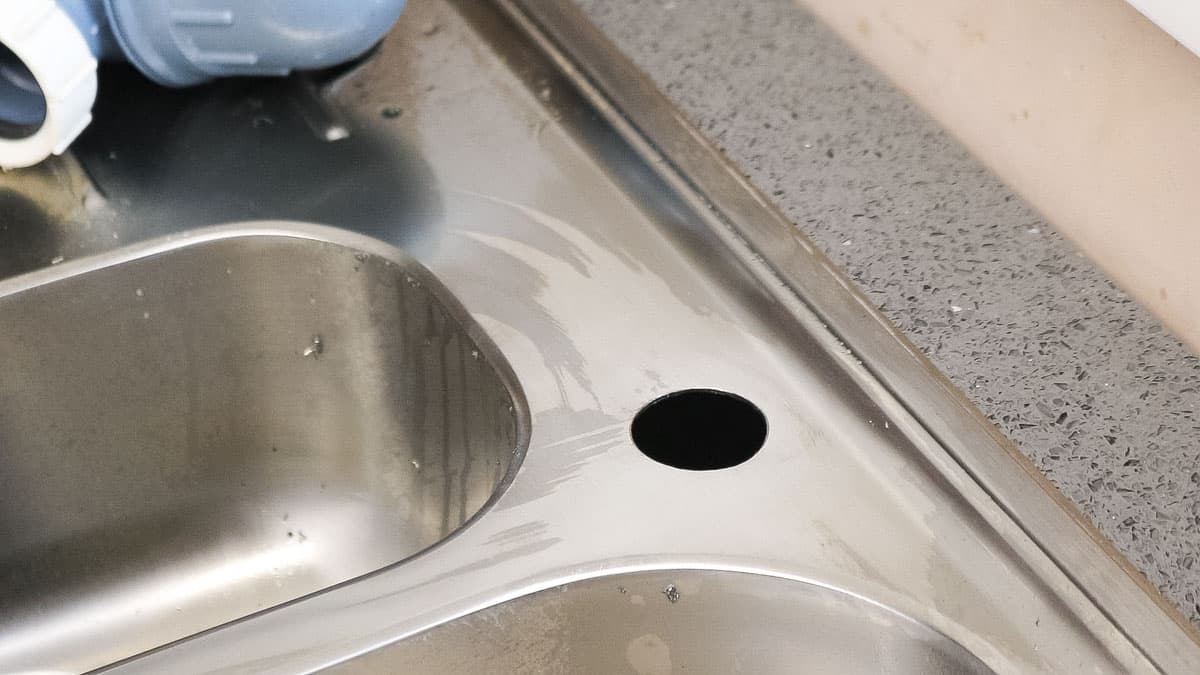
- Install the drain assembly: Insert the drain assembly into the sink’s drain hole, following the manufacturer’s instructions. Attach any necessary gaskets or washers to ensure a proper seal.
- Connect the P-trap: Connect the P-trap to the drain assembly, allowing it to create a bend in the pipe and prevent sewer gases from entering your kitchen. Use adjustable wrenches to securely tighten the connections.
Properly installing the faucet and drain assembly is crucial for the sink’s functionality. Take your time to ensure that the connections are secure and leak-free. Once completed, you can move on to the next step with confidence.
When installing a stainless steel sink, be sure to use a high-quality silicone caulk to seal the edges and prevent water damage. This will help to ensure a tight, secure fit and prevent leaks.
Step 6: Connect the water supply lines
With the faucet and drain assembly installed, the next step is to connect the water supply lines to the sink. This will allow for the proper flow of water into the sink.
- Turn off the water supply: Before connecting the water supply lines, ensure that the water supply is turned off at the shut-off valves.
- Attach the supply lines: Connect one end of a flexible water supply line to the hot water faucet inlet and the other end to the corresponding shut-off valve. Repeat this step for the cold water supply line.
- Tighten the connections: Use an adjustable wrench to tighten the connections between the supply lines and the shut-off valves and faucet. Make sure the connections are secure but be careful not to overtighten and damage the pipes or fittings.
- Check for leaks: Once the connections are tightened, turn on the water supply and check for any leaks around the supply line connections. If any leaks are detected, tighten the connections or apply plumber’s tape to create a better seal.
Properly connecting the water supply lines ensures that your stainless steel sink has a reliable source of water. Take your time during this step to ensure that the connections are secure and leak-free. This will help prevent any potential water damage and maintain the functionality of your sink.
Step 7: Test for leaks
After connecting the water supply lines, it’s crucial to test for any potential leaks. This step ensures that your sink is properly installed and that there are no issues with the plumbing connections.
- Turn on the water supply: Open the shut-off valves to allow water to flow into the sink.
- Check for visible leaks: Carefully inspect the area around the supply line connections, faucet, and drain assembly for any signs of water leakage. Look for drips, water pooling, or moisture on the connections.
- Listen for unusual sounds: Turn on the faucet and listen for any unusual sounds such as hissing or gurgling. These sounds could indicate a potential leak or a plumbing issue.
- Inspect under the sink: Place a bucket or container under the sink and check for any water accumulation over a period of time. This will help detect any hidden leaks that may not be immediately visible.
- Fix any leaks: If you detect any leaks during the testing process, promptly address them. Apply plumber’s tape or tighten the connections as necessary to create a proper seal and stop the leaks.
Testing for leaks is an important part of the installation process. It ensures that your sink is properly sealed and functioning without any water leakage. Taking the time to test for leaks will help prevent potential water damage and give you peace of mind knowing that your stainless steel sink is installed correctly.
Step 8: Apply sealant around the sink edges
Applying a sealant around the edges of the sink is an essential step to prevent water from seeping into the gaps between the sink and the countertop. This helps maintain the integrity of the installation and ensures a watertight seal.
- Clean the sink edges: Before applying the sealant, ensure that the sink edges are clean and free from any debris or residue. Use a mild cleaner and a non-abrasive cloth to wipe down the edges of the sink.
- Trim the sealant tube: Cut the tip of the sealant tube to create a small opening. Start with a smaller opening, as you can always make it larger if needed.
- Apply the sealant: Starting from one corner, carefully apply a thin bead of sealant around the edges of the sink. Move along the edge, applying consistent pressure to create an even line of sealant. Continue until you reach the starting point.
- Smooth the sealant: After applying the sealant, use a damp cloth or your finger to smooth and flatten the bead of sealant. This will ensure a neat and professional finish.
- Allow the sealant to cure: Check the manufacturer’s instructions for the recommended curing time. It is typically around 24 hours. Avoid using the sink during this time to allow the sealant to fully set.
Applying sealant around the edges of the sink is an important step to prevent water damage and maintain the longevity of your installation. Taking the time to perform this step will provide an extra layer of protection and ensure that your stainless steel sink remains securely sealed.
Read more: How To Clean Stainless Steel Sink Stains
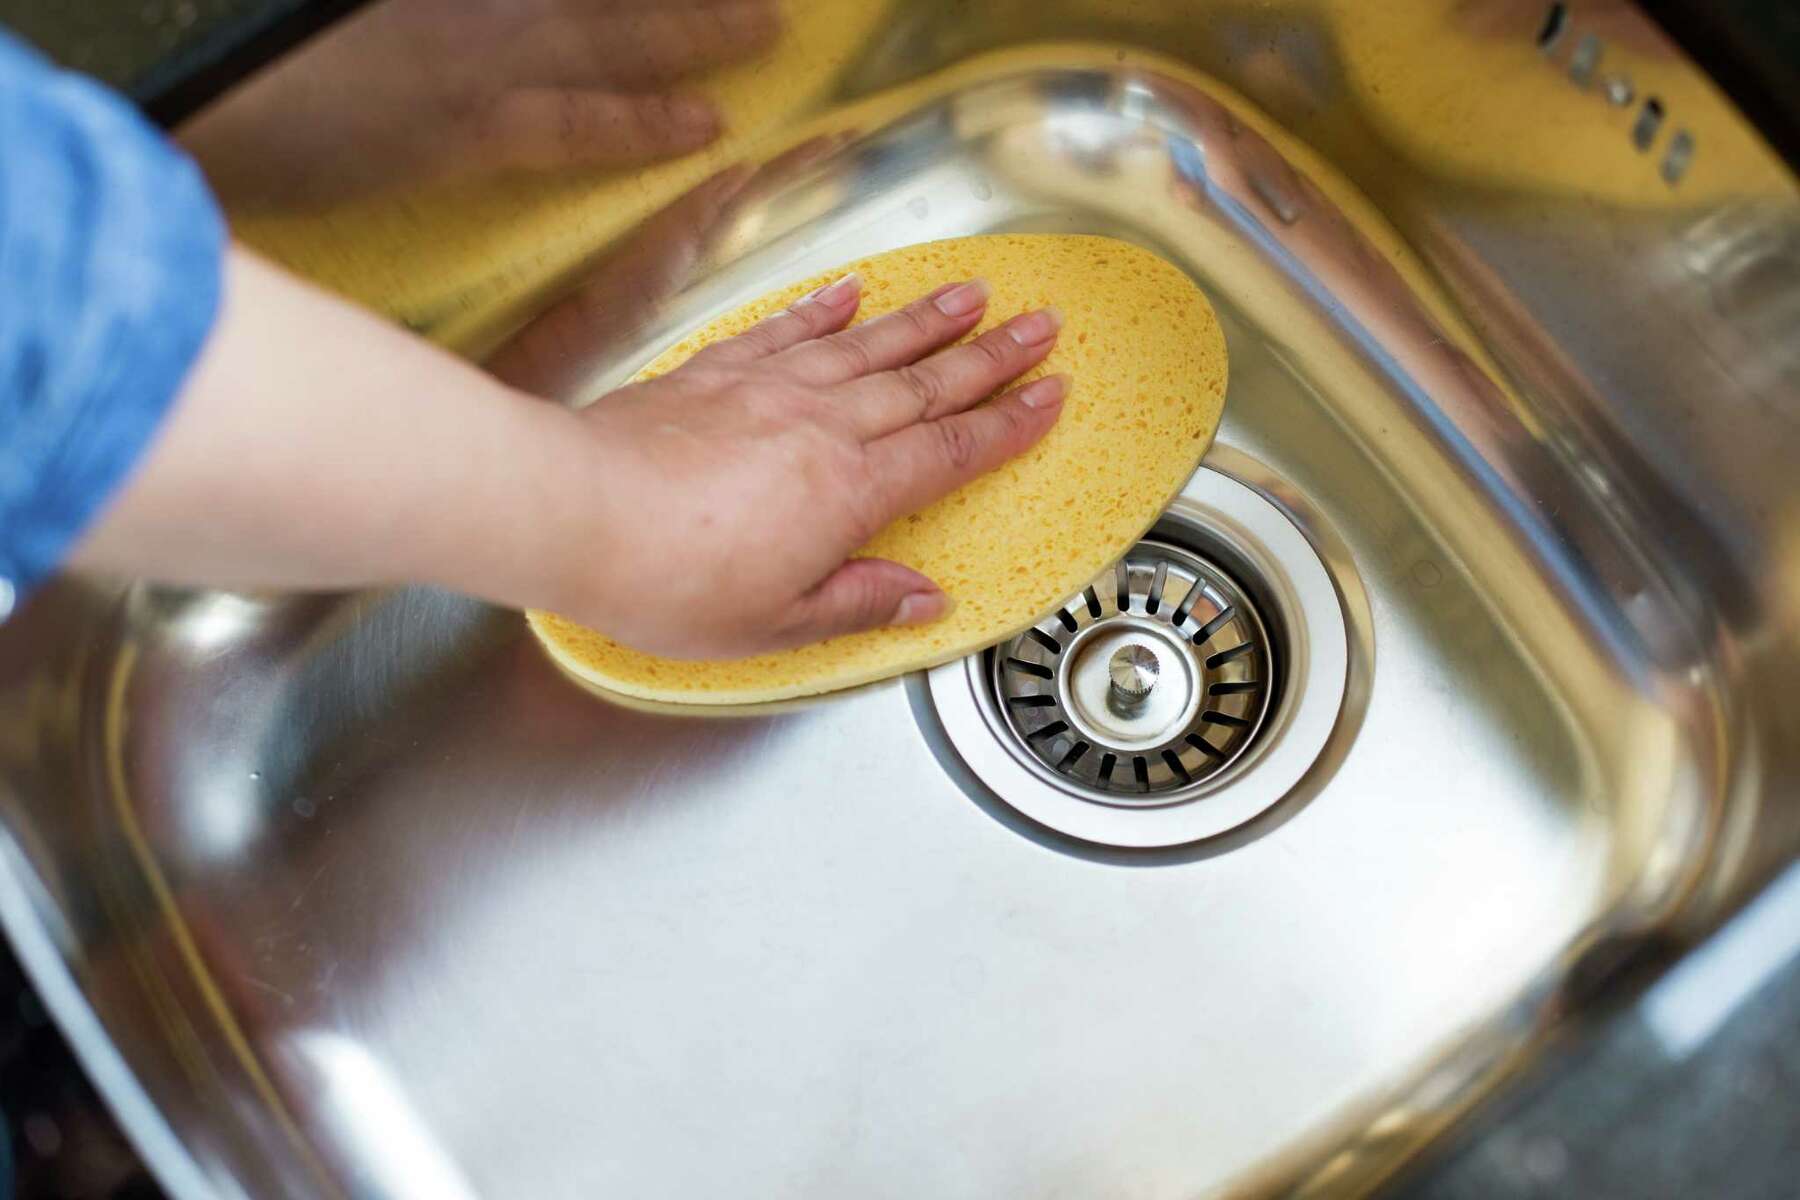
Step 9: Clean and polish the stainless steel sink
After the installation is complete, it’s important to clean and polish your stainless steel sink to restore its shine and keep it looking pristine. Regular cleaning and maintenance will help extend the life of your sink and maintain its aesthetic appeal.
- Prepare a cleaning solution: Mix warm water with a mild dish soap or a specialized stainless steel cleaner. Avoid using abrasive cleaners or scrub brushes that can scratch the stainless steel surface.
- Apply the cleaning solution: Dip a soft cloth or sponge into the cleaning solution and gently scrub the entire surface of the sink. Pay attention to any stubborn stains or spots and give them a little extra attention.
- Rinse thoroughly: Rinse the sink with clean water to remove any soap residue or cleaning solution. Be sure to rinse all the way to the drain to ensure all cleaning agents are removed.
- Dry the sink: Use a clean, dry cloth to wipe down the sink and remove any excess water. This will help prevent water spots and maintain the shine of the stainless steel.
- Apply a stainless steel polish (optional): If desired, you can apply a stainless steel polish to further enhance the shine and protect the surface of the sink. Follow the manufacturer’s instructions for application.
- Buff the sink: Using a soft cloth or a microfiber cloth, buff the entire surface of the sink in a circular motion to bring out the shine and remove any streaks or smudges.
Regularly cleaning and polishing your stainless steel sink will help maintain its appearance and prevent the buildup of stains and grime. Implementing these cleaning and maintenance practices will keep your sink looking like new for years to come.
Conclusion
Congratulations! You have successfully installed a stainless steel sink in your kitchen. By following the step-by-step process outlined in this article, you have transformed your kitchen with a sleek and functional addition.
Installing a stainless steel sink not only enhances the aesthetics of your kitchen but also provides durability and easy maintenance. Its modern design and versatility make it a popular choice among homeowners.
Remember, proper preparation, positioning, and secure attachment of the sink are crucial for a successful installation. Connecting the water supply lines, installing the faucet and drain assembly, and testing for leaks ensure the functionality of your sink.
Applying a sealant around the sink edges and regular cleaning and polishing will help maintain the integrity and shine of your stainless steel sink throughout its lifespan.
Enjoy your new stainless steel sink and the benefits it brings to your kitchen. Whether you’re washing dishes, prepping food, or simply enjoying the beauty of its sleek design, your stainless steel sink is sure to become a centerpiece in your kitchen for years to come.
Frequently Asked Questions about How To Install A Stainless Steel Sink
Was this page helpful?
At Storables.com, we guarantee accurate and reliable information. Our content, validated by Expert Board Contributors, is crafted following stringent Editorial Policies. We're committed to providing you with well-researched, expert-backed insights for all your informational needs.


0 thoughts on “How To Install A Stainless Steel Sink”