
Articles
How To Open The Top Of A Maytag Washer
Modified: February 28, 2024
Learn how to open the top of a Maytag washer with step-by-step instructions, tips, and tricks. Find informative articles and guides to help you troubleshoot and fix common issues.
(Many of the links in this article redirect to a specific reviewed product. Your purchase of these products through affiliate links helps to generate commission for Storables.com, at no extra cost. Learn more)
Introduction
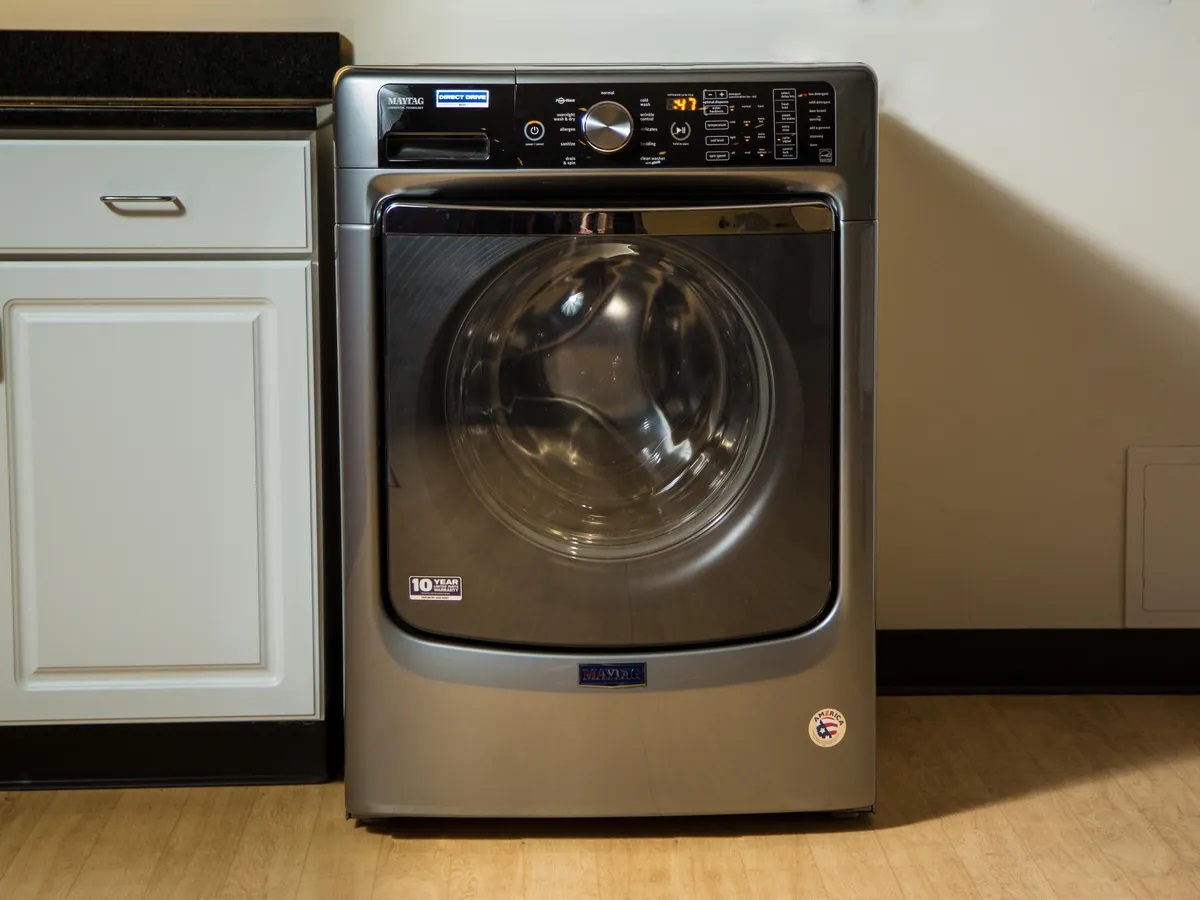
Maytag washers are known for their durability and high-performance capabilities. However, there may be times when you need to access the inner components of your Maytag washer, such as to clean or repair certain parts. One common task that may require accessing the top of a Maytag washer is to check or replace the lid switch or the control board.
In this article, we will guide you through the steps on how to open the top of a Maytag washer safely and easily. By following these instructions, you can gain access to the inner workings of your washer so that you can perform the necessary maintenance or repairs, helping to prolong the lifespan of your appliance.
Before we dive into the steps, it is important to note that while opening the top of a Maytag washer is generally a straightforward process, it is always recommended to refer to the manufacturer’s instructions or consult a professional if you are unsure or uncomfortable with performing the task yourself.
Now, let’s gather the necessary tools and materials before we begin opening the top of your Maytag washer.
Key Takeaways:
- Safely open the top of your Maytag washer by following simple steps, ensuring proper unplugging, screw removal, and careful handling of internal components. Regular maintenance prolongs the appliance’s lifespan.
- Prioritize safety and gather necessary tools before opening the top of your Maytag washer. Accessing the inner components allows for efficient maintenance and repairs, ensuring continued efficiency and performance.
Read more: How To Clean Maytag Top Load Washer Filter
Tools and Materials Needed
Before you start opening the top of your Maytag washer, you will need the following tools and materials:
- Screwdriver (usually a Phillips or Torx head)
- Work gloves
- Protective eyewear
Having the right tools and protective gear is essential for a safe and successful opening of your washer. The screwdriver will be used to remove the screws that secure the top panel, while the gloves and eyewear will provide protection against any potential mishaps or accidents.
Make sure to gather all the necessary tools and materials before proceeding to open the top of your Maytag washer. Safety should always be a top priority.
Safety Precautions
Before you begin opening the top of your Maytag washer, it is important to take the following safety precautions:
- Unplug the washer: Before starting any work on your appliance, always unplug it from the power source. This will help prevent any accidental electrical shocks or damage to the washer.
- Wear protective gear: Put on work gloves and protective eyewear to safeguard yourself from any potential injuries or accidents that may occur during the process.
- Follow manufacturer’s instructions: While the general process of opening the top panel is similar for most Maytag washers, it’s always a good idea to consult the manufacturer’s instructions for your specific model. These instructions may include additional safety guidelines or precautions that you need to follow.
- Work in a well-ventilated area: Ensure that you are working in a well-ventilated space to prevent the accumulation of any potentially harmful fumes from cleaning agents or other chemicals you might use during the repair or maintenance process.
- Handle parts with care: When removing or reinstalling any components of your washer, handle them with care to avoid any damage or injury. Be mindful of sharp edges and hot surfaces, if applicable.
By following these safety precautions, you can minimize the risk of accidents and ensure a safe working environment as you open the top of your Maytag washer.
Step 1: Unplug the Washer
Before you begin opening the top of your Maytag washer, it is crucial to ensure your safety by unplugging the appliance from the power source. This step will eliminate any risk of electric shock or injury while you work on the washer.
Locate the power cord at the back of the washer and disconnect it from the outlet. If the outlet is not easily accessible, switch off the circuit breaker that supplies power to the washer.
Make sure to double-check that the washer is completely disconnected from the power source before proceeding to the next step.
Unplugging the washer is a fundamental safety measure that should never be skipped. Keeping yourself safe during the entire process is vital, and this initial step sets the groundwork for a secure working environment.
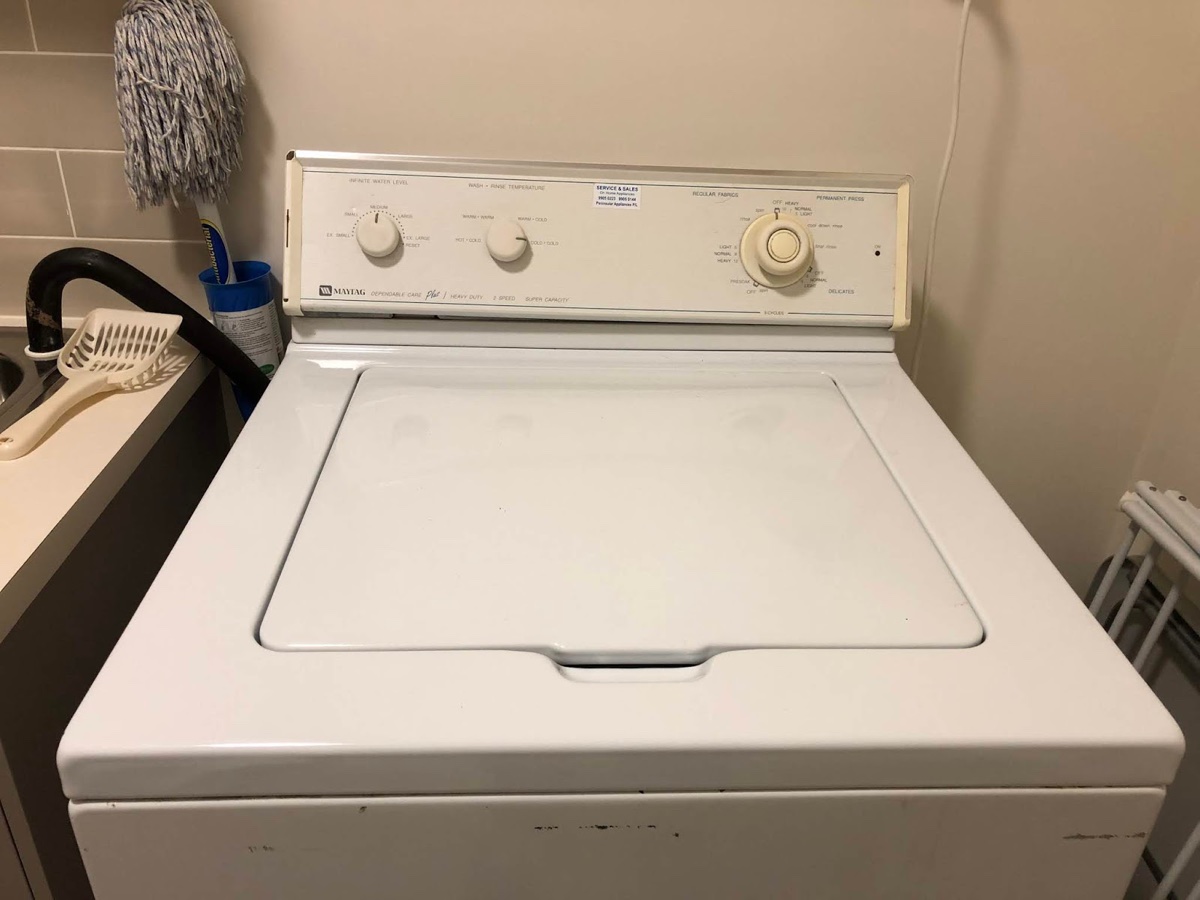
Step 2: Locate and Remove the Top Panel Screws
Once you have unplugged the Maytag washer, you can start by locating and removing the screws that secure the top panel of the appliance. These screws are usually found on the back or the sides of the washer.
Grab a screwdriver, typically a Phillips or Torx head, that fits the screws on your washer. Begin by inspecting the back of the machine, looking for any visible screws that may hold the top panel in place. If you don’t find any screws on the back, check the sides for their presence.
Once you have located the screws, use the appropriate screwdriver to carefully loosen and remove them. Make sure to keep track of the screws and set them aside in a safe place so that they don’t get lost or misplaced during the process.
It is worth noting that the number of screws and their placement may vary depending on the specific model of your Maytag washer. Some washers may have two screws at the back, while others may have one on each side. Refer to the manufacturer’s instructions or the user manual if you are unsure about the location of the screws.
With the screws removed, you are now ready to proceed to the next step and lift the top panel of your Maytag washer.
To open the top of a Maytag washer, first unplug the machine. Then, locate the two screws at the back of the top panel and remove them. Slide the top panel back and lift it up to access the interior.
Read more: How To Drain A Maytag Washer
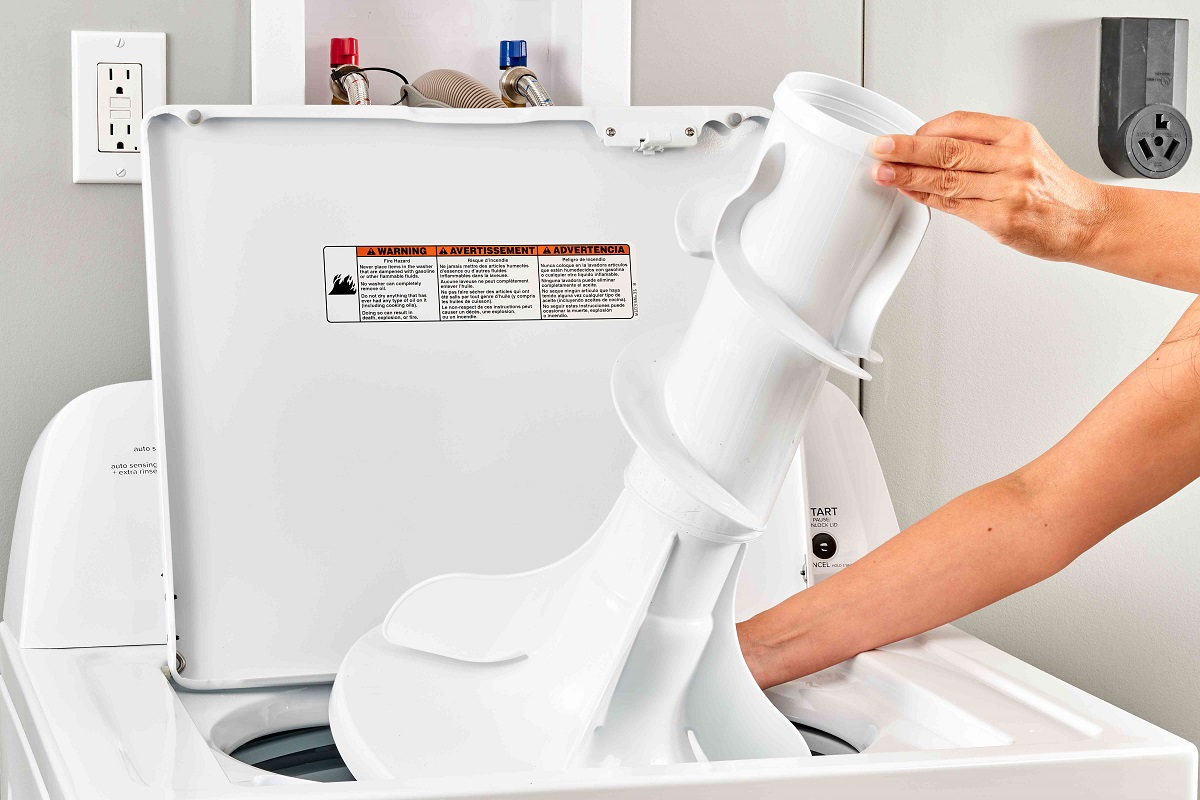
Step 3: Lift and Remove the Top Panel
With the screws removed, it’s time to lift and remove the top panel of your Maytag washer. This step will give you access to the inner components of the appliance.
Start by placing your hands on either side of the top panel near the front of the washer. Apply firm and even pressure to lift the panel upwards. Depending on the model, there may be clips or tabs that secure the top panel in place. Give it a gentle tug if needed, but be careful not to use excessive force.
As you lift the top panel, be vigilant of any wiring or hoses connected to it. Some Maytag washers may have wires or hoses attached to the top panel, which need to be disconnected before fully removing the panel. Take note of their positions and detach them carefully to prevent any damage.
Once you have lifted the panel and disconnected any necessary wiring or hoses, set the top panel aside in a safe area. You may want to place it on a soft surface or cover it with a cloth to prevent scratches or damage.
Now that the top panel is removed, you can easily access the inner components of your Maytag washer and proceed with your desired maintenance or repair tasks.
Step 4: Accessing the Inner Components
Now that you have successfully removed the top panel of your Maytag washer, you can easily access the inner components of the appliance. This step allows you to perform maintenance or repair tasks efficiently.
Take a moment to familiarize yourself with the layout of the washer’s interior. You will be able to see various components such as the lid switch, control board, wiring harnesses, and other parts that may need attention.
Depending on the reason for opening the top of your Maytag washer, you can now proceed with the specific task at hand. For example, if you need to replace the lid switch, locate the switch on the top or front of the washing machine. Disconnect the wiring harness connected to it, and carefully remove the faulty switch. Then, install the new switch and reattach the wiring harness.
If you need to access the control board or other internal components, follow the necessary steps outlined in the manufacturer’s instructions or the user manual. Pay close attention to any precautions or specific procedures mentioned to ensure safety and proper handling of the components.
Remember to work methodically and take notes or pictures as you go along, especially if you need to disassemble any parts. This will help you during the reassembly process and ensure everything is put back correctly.
Take your time and be attentive to detail when accessing the inner components of your Maytag washer. Proper maintenance and care will result in a longer lifespan for your appliance.
Step 5: Reassembling the Washer
After you have completed the necessary maintenance or repairs on the internal components of your Maytag washer, it is time to reassemble the appliance.
Begin by carefully placing the top panel back onto the washer. Align the clips or tabs, if present, and make sure the panel sits securely on the appliance. Ensure that any wires or hoses that were disconnected during the removal process are properly reconnected and secured.
Next, take the screws that you removed earlier and insert them into their respective holes on the back or sides of the washer. Use the screwdriver to tighten the screws, but be cautious not to overtighten, as it may cause damage to the washer or the screws themselves.
Once all the screws are securely in place, double-check that the top panel is firmly attached and aligned with the rest of the appliance. Give it a gentle shake or tap to ensure it is stable and properly seated.
Finally, plug the washer back into the power source. Test the washer to ensure it is operating correctly and that all the repaired or maintained components are functioning as intended.
With the washer reassembled and tested, you have successfully completed the process of opening and repairing your Maytag washer.
Remember to dispose of any packaging materials or old parts properly, following local regulations and guidelines.
By following these steps and taking the necessary precautions, you can safely and effectively open the top of your Maytag washer, perform maintenance or repairs, and prolong the lifespan of your appliance.
Conclusion
Opening the top of a Maytag washer may seem like a daunting task at first, but with the right tools and proper guidance, it can be a straightforward process. By following the steps outlined in this article, you can safely access the inner components of your Maytag washer to perform necessary maintenance or repairs.
Remember to always prioritize safety by unplugging the washer and wearing protective gear before starting any work. Take your time to locate and remove the screws that secure the top panel, and lift it with care, being mindful of any attached wiring or hoses.
Once you have removed the top panel, you can easily access the inner components of the washer and proceed with your desired maintenance or repair tasks. Familiarize yourself with the layout of the interior and follow the manufacturer’s instructions or user manual for specific procedures.
After completing the intended maintenance or repairs, reassemble the washer by aligning the top panel properly, reattaching any disconnected wiring or hoses, and tightening the screws securely. Finally, plug the washer back into the power source and test its functionality.
Performing regular maintenance on your Maytag washer will help keep it in optimal condition and extend its lifespan. By opening the top panel and accessing the inner components, you can address any issues promptly and ensure the continued efficiency and performance of your appliance.
However, if you are unsure or uncomfortable with performing any maintenance or repair tasks yourself, it is recommended to seek professional assistance. They have the expertise and knowledge to handle the job safely and effectively.
With proper care and maintenance, your Maytag washer will continue to provide you with reliable and efficient service for years to come.
Frequently Asked Questions about How To Open The Top Of A Maytag Washer
Was this page helpful?
At Storables.com, we guarantee accurate and reliable information. Our content, validated by Expert Board Contributors, is crafted following stringent Editorial Policies. We're committed to providing you with well-researched, expert-backed insights for all your informational needs.


0 thoughts on “How To Open The Top Of A Maytag Washer”