Articles
How To Connect Smart Light Bulb
Modified: October 20, 2024
Learn how to connect and control your smart light bulb with this informative article. Discover step-by-step instructions and tips for setting up your smart home lighting
(Many of the links in this article redirect to a specific reviewed product. Your purchase of these products through affiliate links helps to generate commission for Storables.com, at no extra cost. Learn more)
Introduction
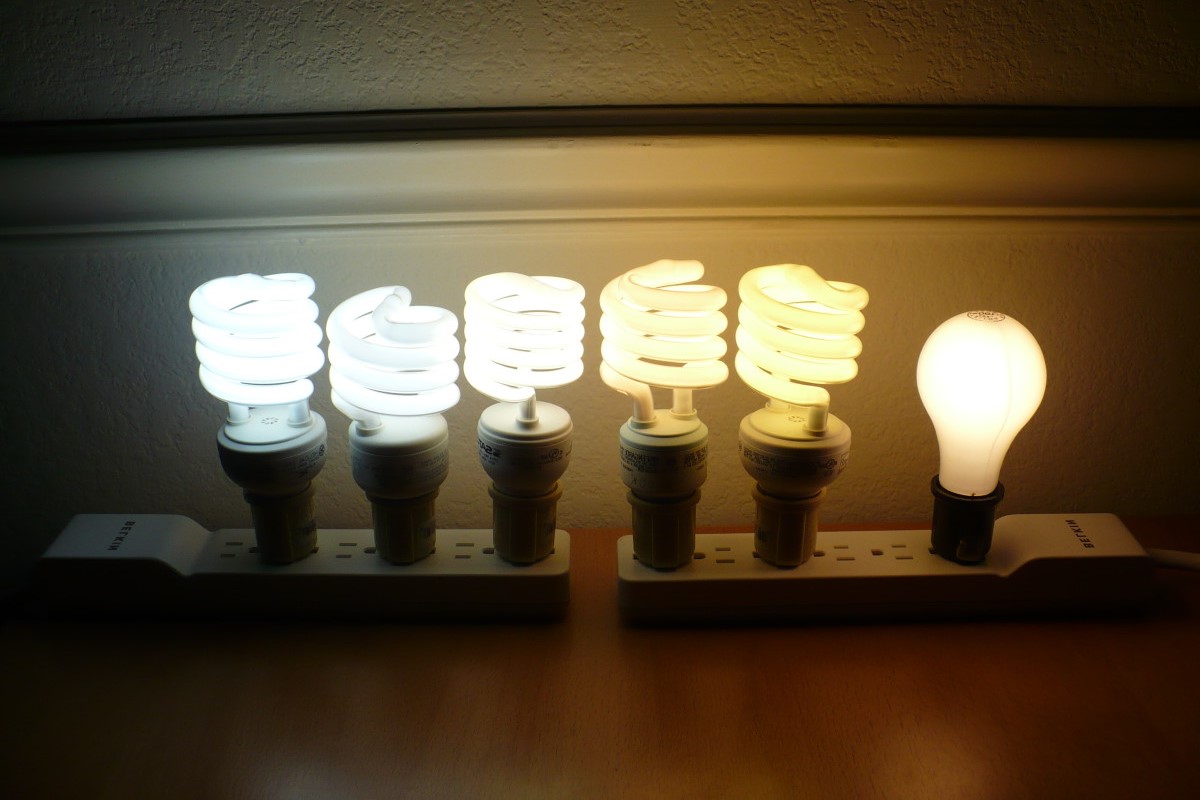
Welcome to the world of smart lighting! In recent years, smart light bulbs have gained immense popularity as they offer convenience, energy efficiency, and a whole new level of control over your home lighting. Whether you’re a tech enthusiast or simply looking to create the perfect ambiance in your living space, connecting a smart light bulb can be a game-changer.
Smart light bulbs are not your typical light bulbs; they are equipped with wireless capabilities that allow you to control them remotely using your smartphone or voice commands. With just a few simple steps, you can transform your regular light fixtures into smart lighting solutions that can be easily customized to suit your needs.
In this article, we will guide you through the process of connecting a smart light bulb to enhance your home lighting experience. From choosing the right bulb to setting it up and troubleshooting any connectivity issues, we’ve got you covered.
So, let’s dive in and discover how to connect your smart light bulb!
Key Takeaways:
- Transform your home lighting with smart light bulbs, offering convenience, energy efficiency, and customizable control. Choose the right bulb, connect to Wi-Fi, and explore endless lighting possibilities for a personalized ambiance.
- Troubleshoot common connectivity issues with patience and persistence, ensuring a seamless smart light bulb experience. Enjoy the benefits of smart lighting, from scheduling automation to creating vibrant scenes for any occasion.
Read more: How To Connect Smart Bulbs To Alexa
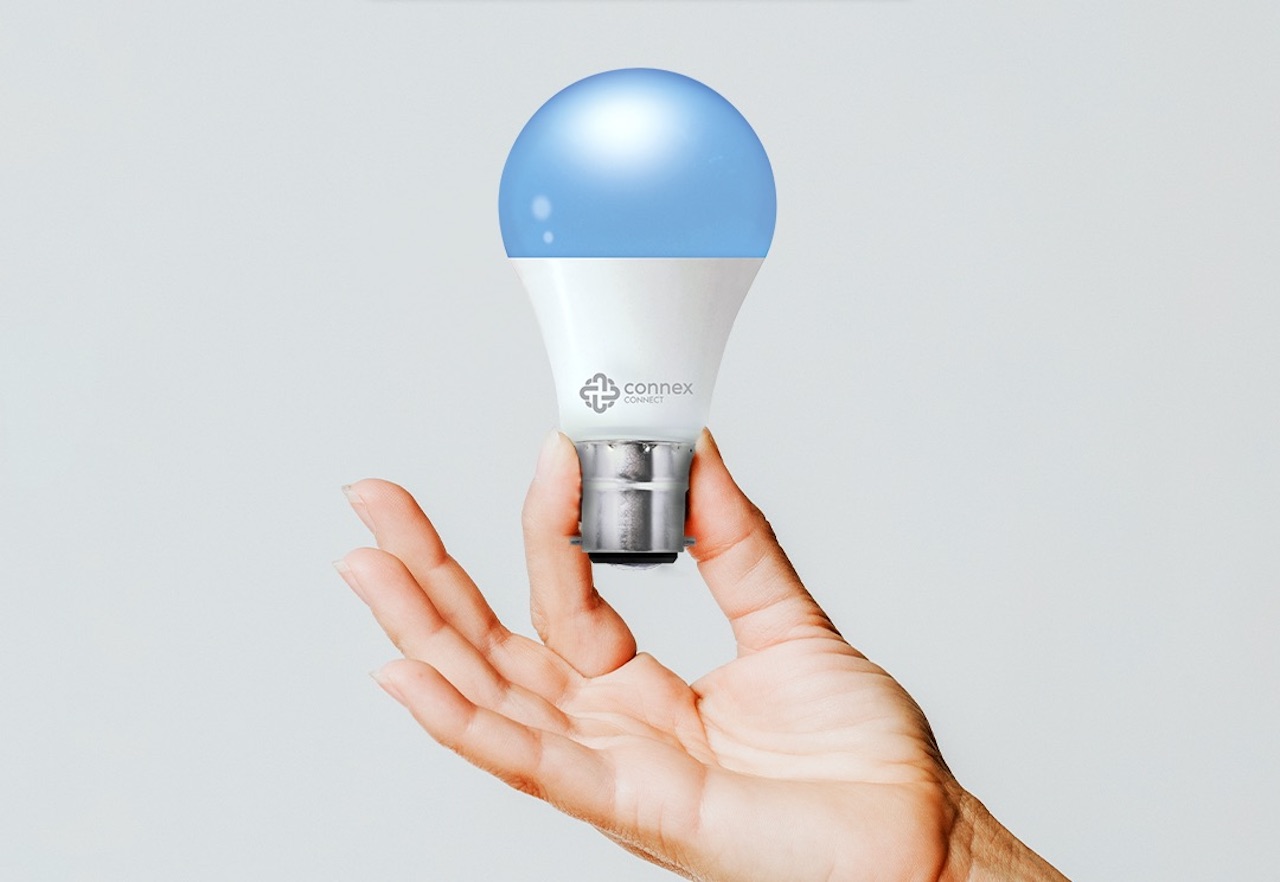
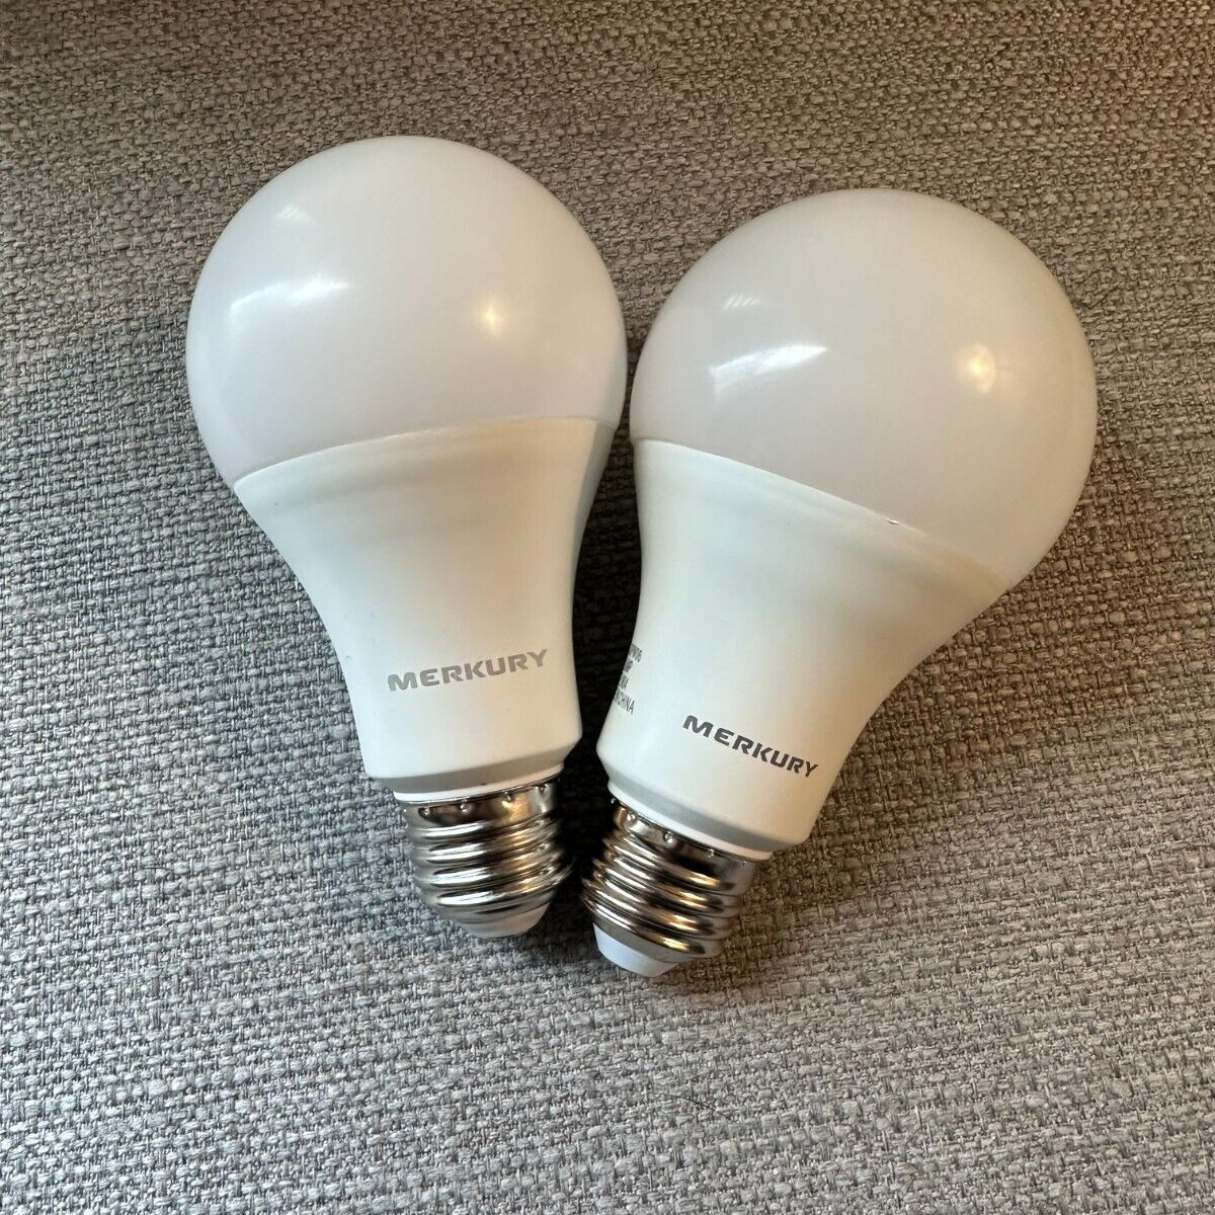
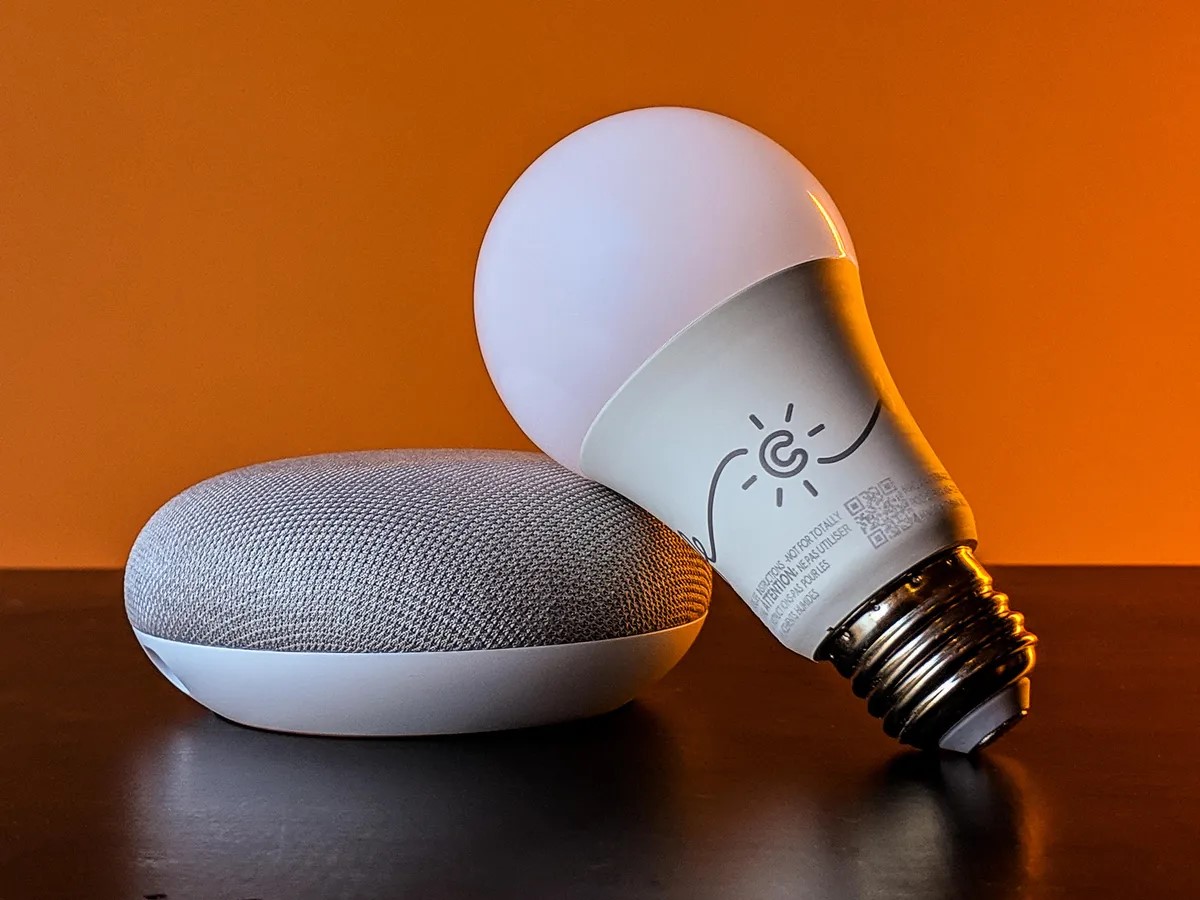
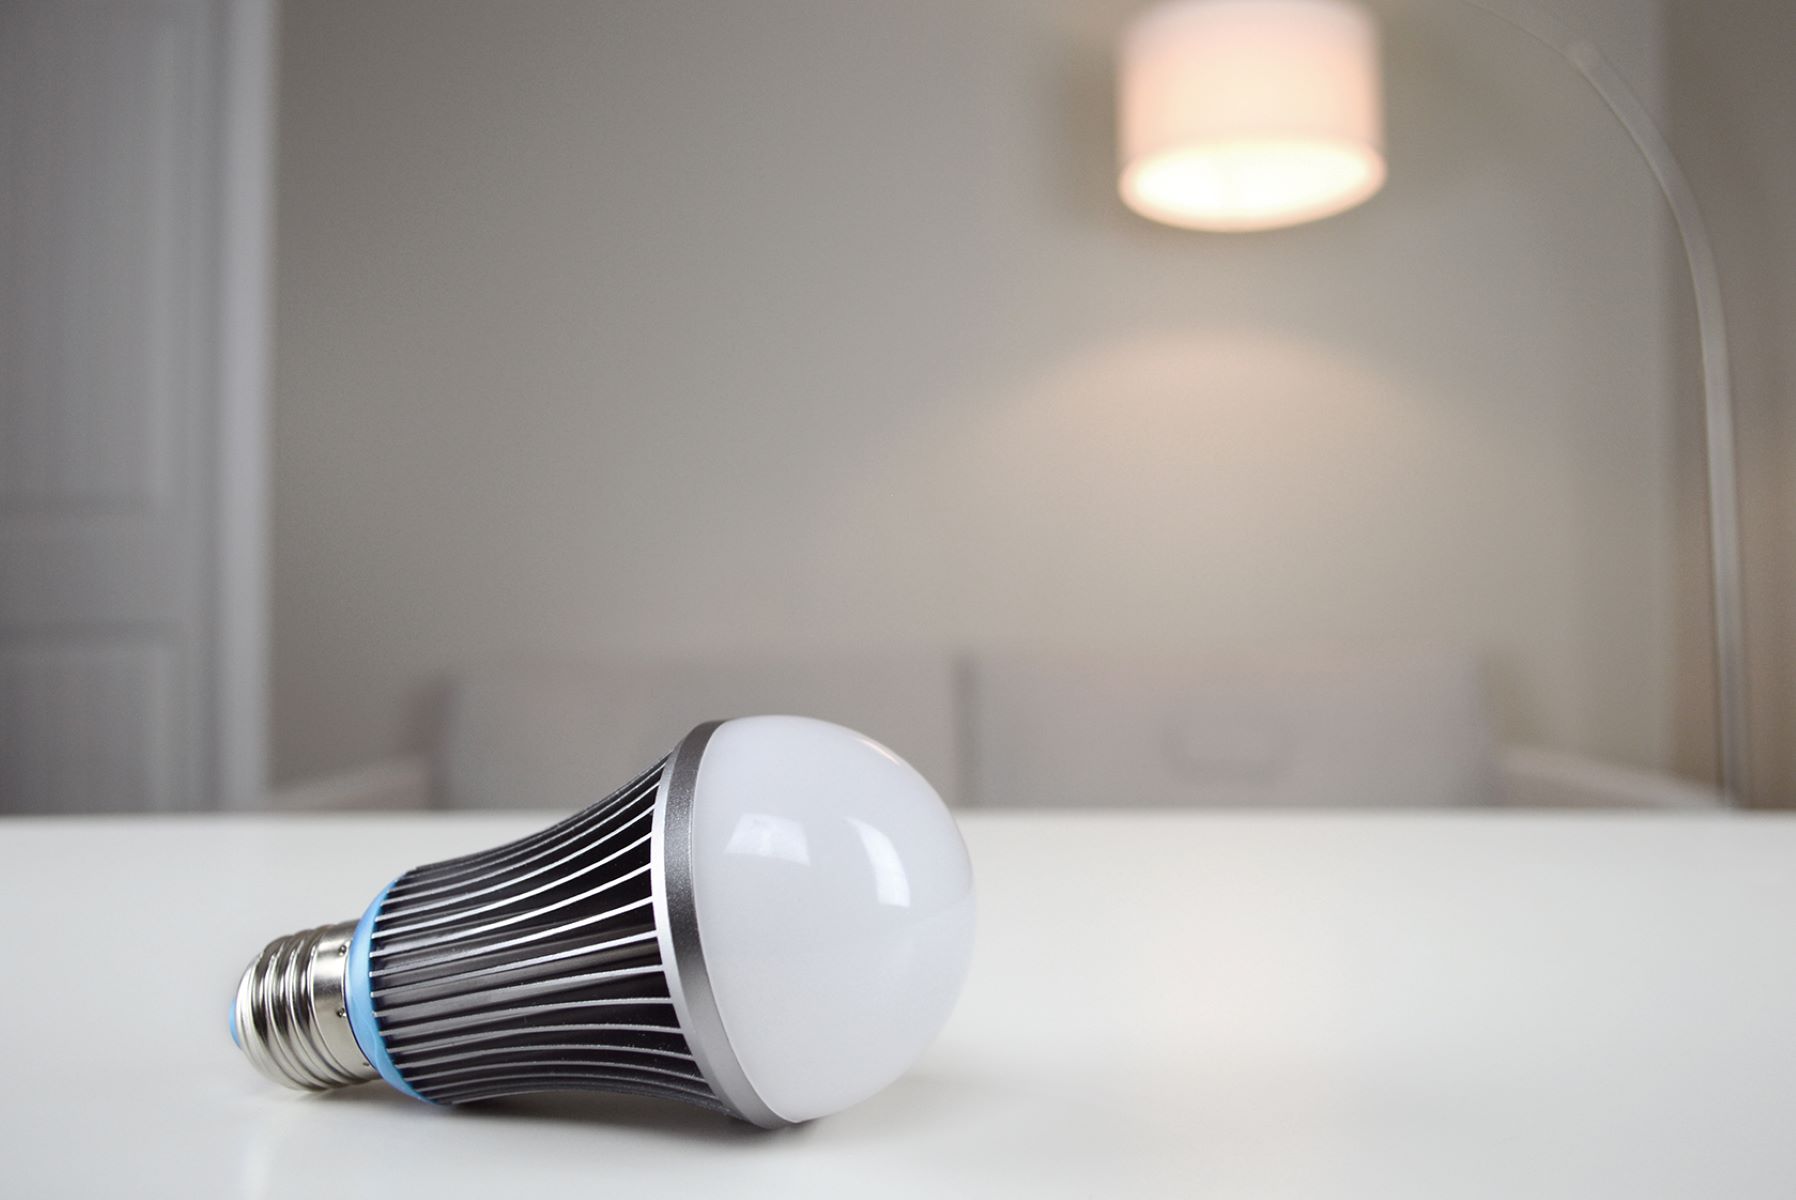
Step 1: Choose a smart light bulb
The first step in connecting a smart light bulb is to choose the right one for your needs. There are various options available in the market, so it’s important to consider a few factors before making a decision.
Firstly, determine the type of smart light bulb you require. There are different options such as Wi-Fi, Bluetooth, and Zigbee-enabled bulbs. Wi-Fi bulbs offer the most seamless connectivity as they can be controlled from anywhere as long as you have an internet connection. Bluetooth bulbs require proximity to your smartphone or a central hub, while Zigbee bulbs require a compatible smart home hub for connectivity.
Secondly, consider the color temperature and brightness level of the bulb. Smart light bulbs often offer a variety of color options, ranging from warm white to cool daylight, allowing you to create different moods and ambiances. Make sure to choose a bulb with a brightness level that suits your preferences and the specific area where it will be installed.
Next, determine if you want a smart light bulb that can be controlled by voice commands. Many smart bulbs are compatible with virtual assistants like Amazon Alexa, Google Assistant, or Apple HomeKit, allowing you to easily control the lights using voice commands.
Additionally, check if the smart light bulb is compatible with your existing smart home ecosystem. If you already have other smart devices, such as smart speakers or a home automation hub, ensure that the bulb can seamlessly integrate with your setup.
Lastly, consider your budget. Smart light bulbs come in various price ranges, so it’s essential to find one that fits within your budget while still meeting your desired features and functionality.
By considering these factors, you can make an informed decision and choose a smart light bulb that perfectly suits your needs. Once you have chosen the right bulb, you are ready to move on to the next step of setting it up.
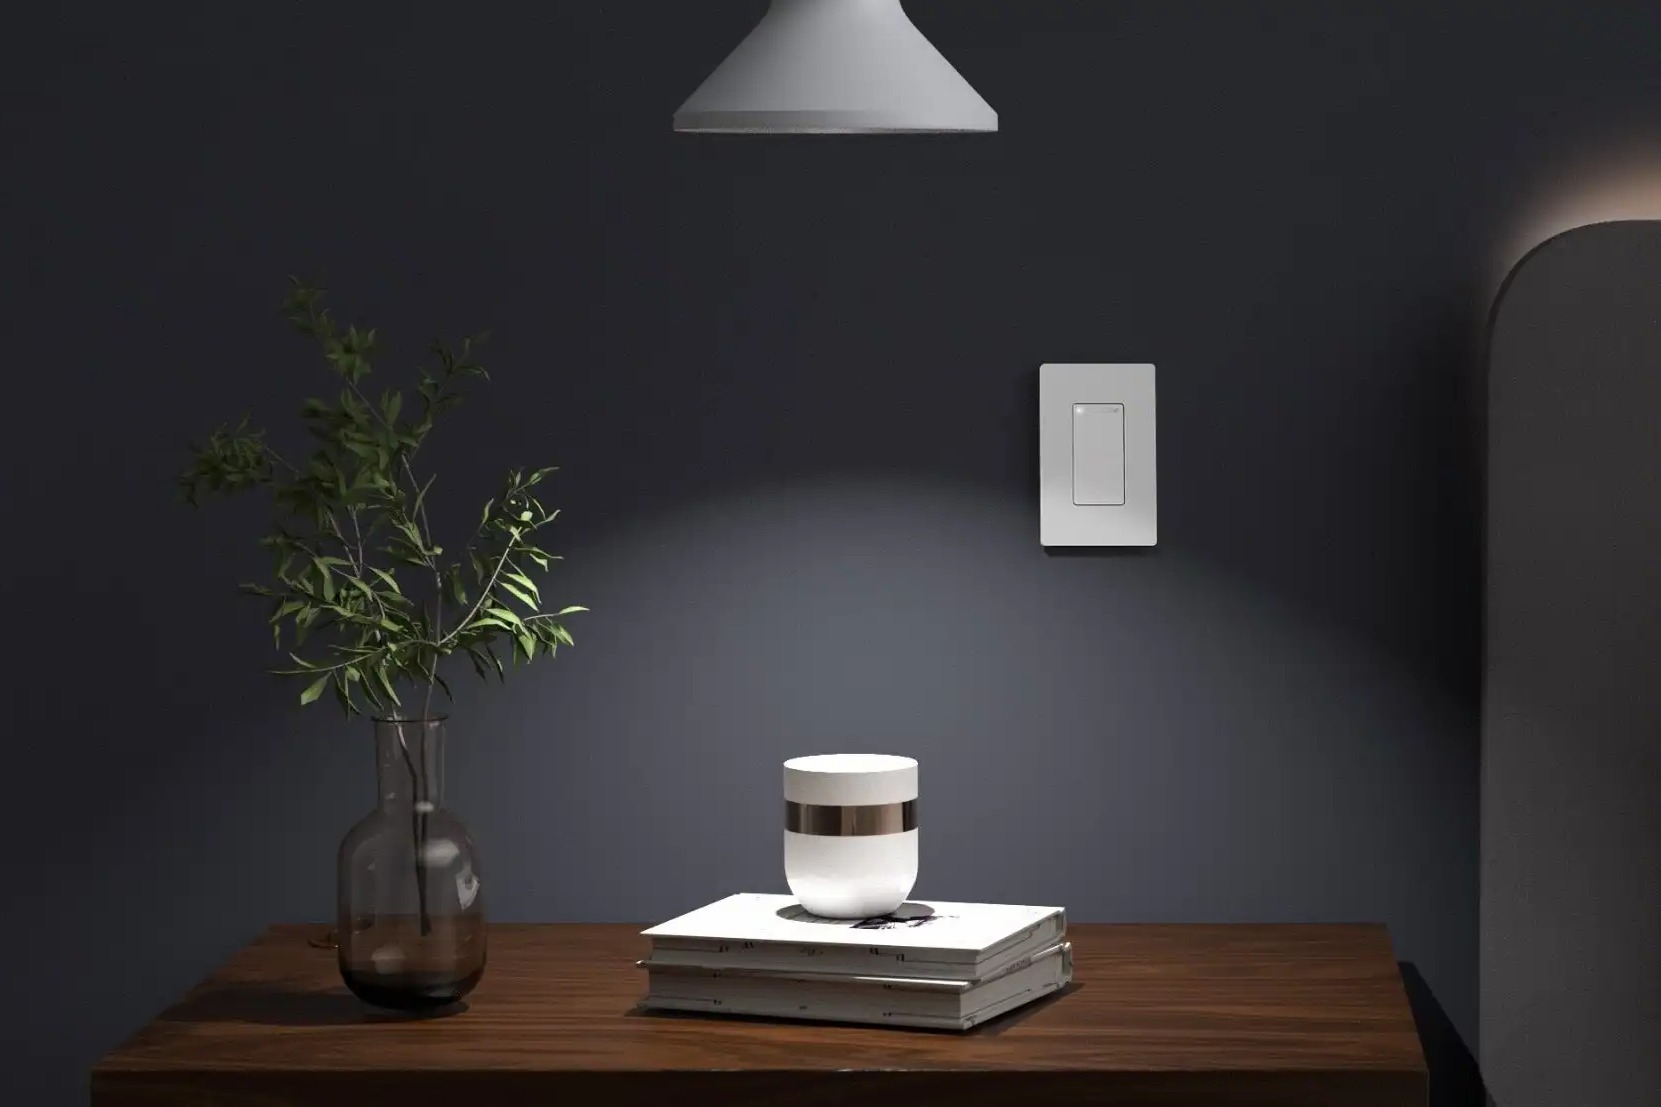
Step 2: Set up your smart light bulb
Now that you have chosen the perfect smart light bulb, it’s time to set it up. Setting up your smart light bulb is a straightforward process, and most bulbs come with detailed instructions to help you along the way. Follow these general steps to get started:
- Ensure that the power to the light fixture is turned off before proceeding. This is crucial for your safety.
- Remove your old light bulb from the fixture.
- Screw in your smart light bulb securely into the same socket. Make sure it is fitted properly.
- If your smart light bulb comes with a physical remote control, insert the batteries and ensure they are working.
- Many smart bulbs require you to turn them on and off multiple times to activate the pairing mode. Follow the instructions provided by the manufacturer to do this.
- Once your smart light bulb is in pairing mode, the bulb will start to blink or change colors, indicating that it is ready to connect to a network.
Please note that specific instructions may vary depending on the brand and model of your smart light bulb. It’s always a good idea to refer to the user manual provided by the manufacturer for detailed setup instructions.
Once your smart light bulb is set up, you can now proceed to connect it to your Wi-Fi network, which we’ll cover in the next step. Having a stable internet connection is crucial for controlling your smart light bulb remotely and accessing its full range of features.
Now that you’ve set up your smart light bulb, you’re one step closer to enjoying the convenience and versatility of smart lighting. Let’s move on to the next step and connect your smart light bulb to your Wi-Fi network.
Step 3: Connect the smart light bulb to your Wi-Fi network
Connecting your smart light bulb to your Wi-Fi network is essential for controlling it remotely and unlocking its full potential. Follow these steps to get your smart light bulb connected:
- Ensure that your smartphone or tablet is connected to your Wi-Fi network.
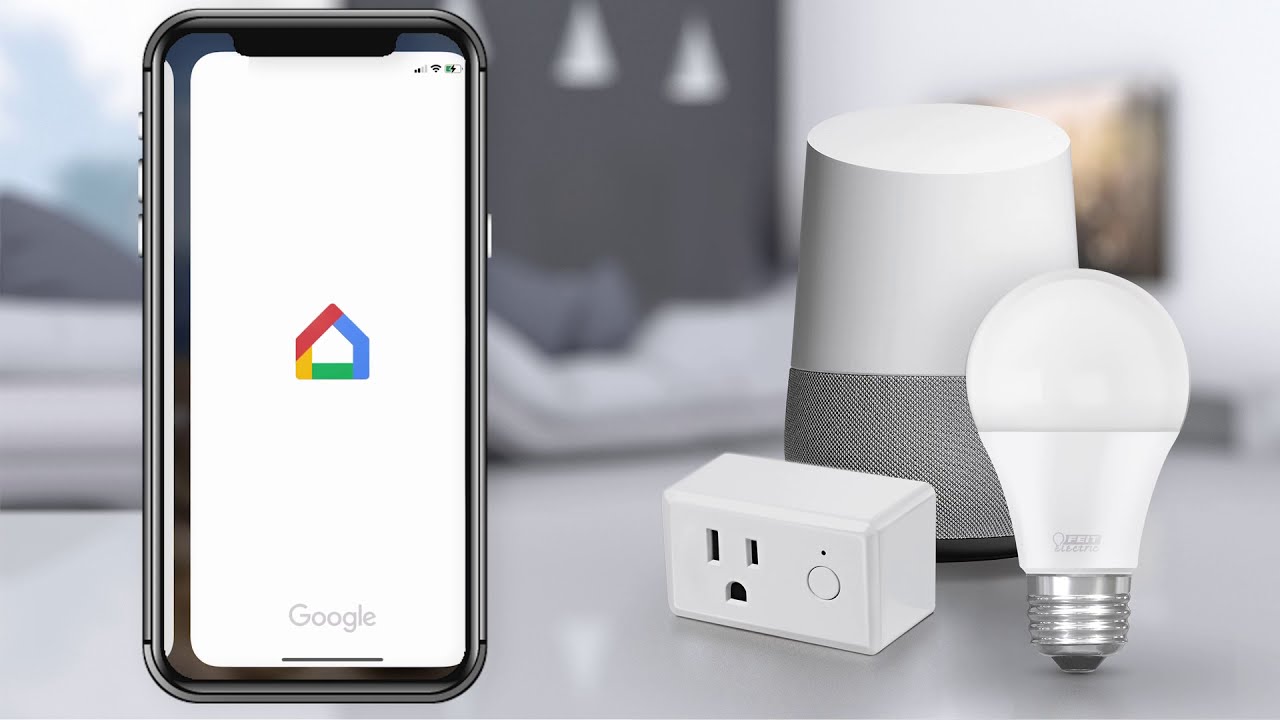
- Open the smart light bulb app on your device. If you haven’t downloaded it yet, head to the app store and search for the specific app that corresponds to your smart light bulb brand.
- Look for the option in the app to add a new device or connect to a smart light bulb. The wording may vary depending on the app.
- Follow the app’s instructions to put your smart light bulb into pairing or discovery mode. This typically involves turning the bulb on and off or using a specific button or combination of buttons.
- The app should now detect your smart light bulb. Select it from the list of available devices.
- Next, the app will prompt you to enter your Wi-Fi network’s password or allow you to connect to your network by scanning a QR code on your router.
- Once you’ve entered the password or scanned the QR code, the app will attempt to connect the smart light bulb to your Wi-Fi network.
- Wait for a moment while the app establishes the connection. This may take a few seconds.
- Once the connection is successful, the app will notify you that your smart light bulb is now connected to the Wi-Fi network.
- You can now control your smart light bulb via the app, even when you’re away from home.
Make sure to follow the app’s specific instructions as different apps may have slightly different processes for connecting a smart light bulb to a Wi-Fi network.
Connecting your smart light bulb to your Wi-Fi network unlocks a range of features, such as scheduling, dimming, and color-changing options, all of which can be controlled from the convenience of your smartphone. In the next step, we’ll guide you through downloading and installing the smart light bulb app.
Step 4: Download and install the smart light bulb app
To control your smart light bulb and access its full range of features, you will need to download and install the corresponding app on your smartphone or tablet. Follow these steps to get the app up and running:
- Open the app store on your device (such as Google Play Store for Android or the App Store for iOS).
- In the search bar, type in the name of the app associated with your smart light bulb brand. Alternatively, you can scan the QR code provided in the manufacturer’s packaging for direct access to the app.
- Once you’ve found the app, tap on it to open the app’s page.
- Look for the “Install” or “Get” button (depending on your device) and tap on it to start downloading the app.
- Depending on your internet connection, the app may take a few moments to download and install.
- Once the installation is complete, you’ll see the app’s icon on your device’s home screen or in your app drawer.
- Tap on the app’s icon to open it.
- If prompted, allow the app to access necessary permissions, such as location or device information. These permissions are required for the app to properly connect and control your smart light bulb.
Now that you have successfully downloaded and installed the smart light bulb app, you’re ready to move on to the next step of registering and logging into the app.
Keep in mind that the app’s specific steps may vary slightly depending on the brand and model of your smart light bulb. Consult the manufacturer’s documentation or website if you encounter any difficulties during the app installation process.
When setting up a smart light bulb, make sure to follow the manufacturer’s instructions for connecting it to your home Wi-Fi network. This usually involves using a dedicated app and entering your network credentials.
Read more: How To Connect Alexa To Light Bulb
Step 5: Register and log in to the smart light bulb app
Before you can start controlling your smart light bulb through the app, you’ll need to register and log in to the app using your credentials. Follow these steps to get started:
- Open the smart light bulb app on your device.
- Look for the option to create a new account or register. This could be a button labeled “Sign up” or “Register.”
- Tap on the button to start the registration process.
- Enter your email address or phone number, and create a strong password for your account. Alternatively, some apps may allow you to sign up using your Google or Facebook account.
- Follow the on-screen instructions to complete the registration process. This may include verifying your email or phone number.
- Once you’ve registered, navigate back to the main screen of the app.
- Look for the option to log in to your account. This could be a button labeled “Log in” or “Sign in.”
- Tap on the button and enter the credentials you used during the registration process – your email/phone number and password.
- If the app offers the option to remember your login credentials for future use, you can enable it for convenience.
- Tap on the “Log in” or “Sign in” button to access your account.
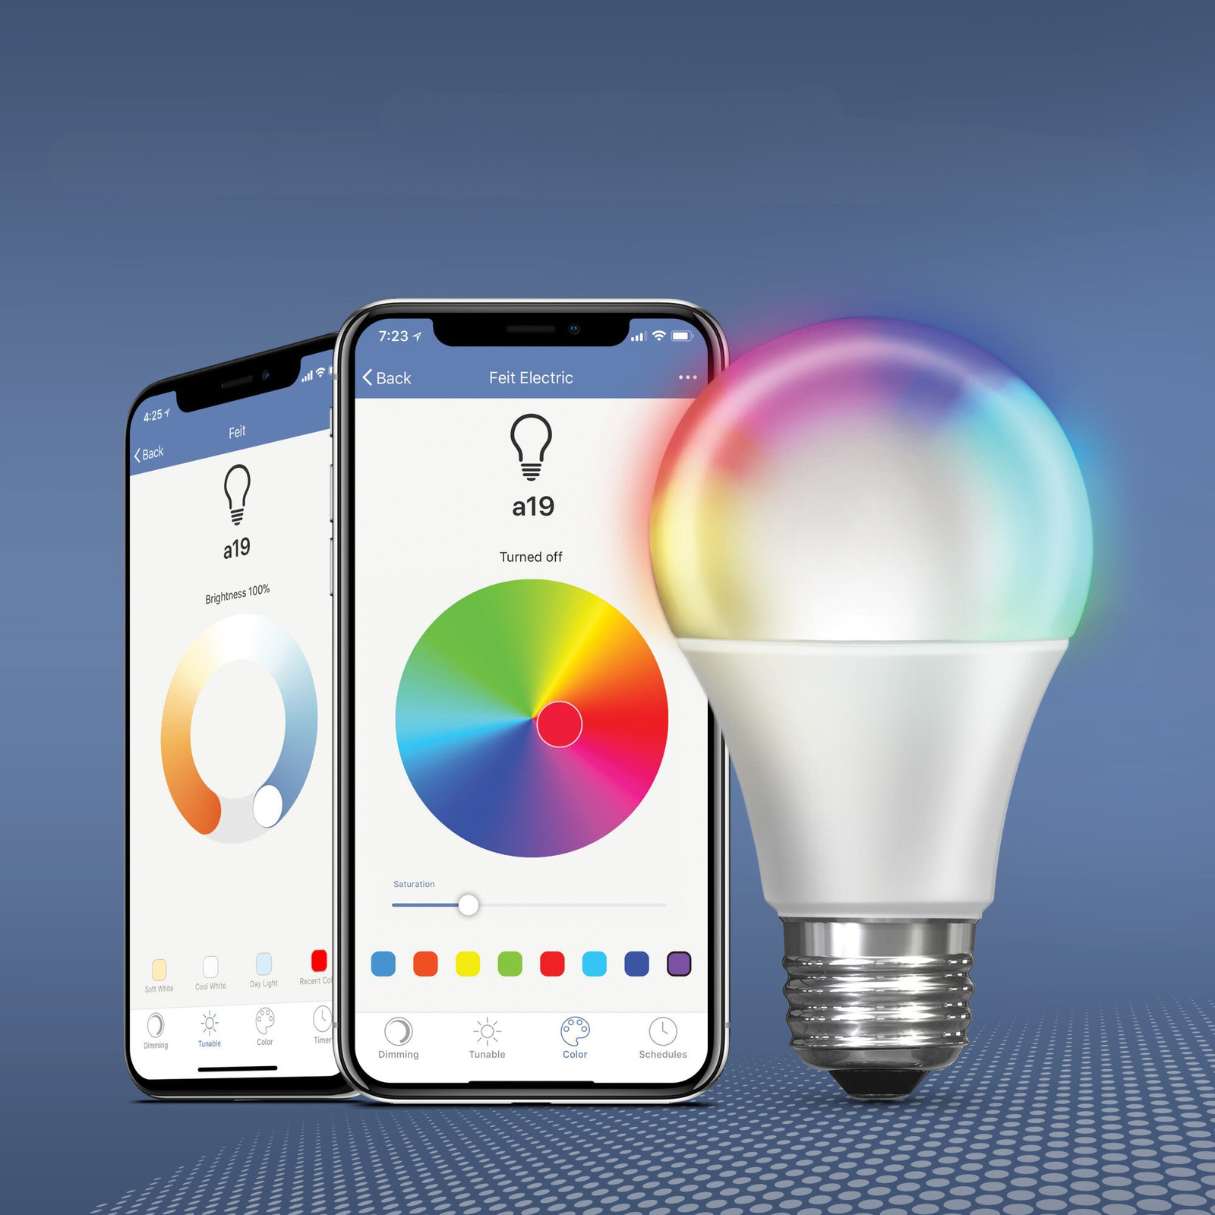
After successfully logging in, you should be greeted with the main screen of the app, which allows you to control and customize your smart light bulb’s settings. From here, you can access features like changing colors, adjusting brightness, and creating schedules.
Remember to keep your login credentials secure and avoid sharing them with others to protect your privacy and ensure the security of your smart light bulb system.
In the next step, we’ll guide you through connecting your smart light bulb to the app to establish the connection between your device and the bulb.
Step 6: Follow app instructions to connect the smart light bulb
Now that you are registered and logged in to the smart light bulb app, it’s time to connect your smart light bulb to the app. The app will guide you through the process of establishing a connection between your device and the bulb. Follow these steps:
- Open the smart light bulb app on your device, and make sure you are logged in.
- Look for the option to add a new device or connect a smart light bulb. This can usually be found on the main screen, or in the app’s settings or device management section.
- Tap on the “Add Device” or “Connect Device” button to begin the setup process.
- Follow the on-screen instructions provided by the app. These instructions may include turning the bulb on and off, pressing a button on the bulb, or scanning a QR code on the bulb or its packaging.
- Ensure that your smart light bulb is in pairing mode and ready for connection. This is typically indicated by the bulb flashing or changing colors.
- The app will automatically search for nearby devices. Once it detects your smart light bulb, select it from the list or scan the QR code if prompted.
- Continue following the app’s instructions to finalize the connection between your device and the smart light bulb.
- Once the connection is established, the app will confirm that the smart light bulb is successfully connected and ready to use.
- You can now start controlling your smart light bulb through the app, adjusting brightness, changing colors, and exploring other available features.
Remember to keep the app open and connected to the internet while using your smart light bulb. This will ensure a seamless connection and allow you to control the bulb from anywhere, as long as you have an internet connection.
If you encounter any issues during the connection process, refer to the manufacturer’s instructions or support resources for troubleshooting tips.
In the final step, we’ll explore how to customize settings and enjoy the features of your smart light bulb.
Step 7: Customize settings and enjoy your smart light bulb features
Now that your smart light bulb is connected and ready to use, it’s time to customize its settings and explore all the exciting features it has to offer. Follow these steps to make the most out of your smart light bulb:
- Open the smart light bulb app on your device.
- Ensure that you are logged in and your smart light bulb is connected to the app.
- From the app’s main screen, you’ll have access to various settings and controls for your smart light bulb.
- Adjust brightness and color: Most smart light bulbs allow you to customize the brightness level and color temperature to create the perfect ambiance. Experiment with different settings to find the ideal lighting for any occasion.
- Create scenes and presets: Some apps allow you to create customized scenes or presets, where you can save specific lighting configurations for different activities or moods. For example, you can create a “Movie Night” scene with dimmed lights or a “Party” preset with vibrant, colorful lighting.
- Schedule automation: Take advantage of the automation features provided by the app to schedule when your smart light bulb turns on or off. This is especially useful for simulating occupancy when you’re away from home or for gradually waking up in the morning.
- Explore additional features: Depending on the brand and model of your smart light bulb, there may be additional features available. These can include music synchronization, voice control compatibility, or integrations with other smart home devices.
- Adjust settings: Take some time to explore the settings section of the app. Here, you can customize preferences such as language, notification settings, or firmware updates for your smart light bulb.
- Experiment and have fun: The best part of having a smart light bulb is the ability to create a unique lighting experience according to your preferences. Don’t be afraid to experiment with different colors, effects, and settings to find what suits your style and mood.
With these simple steps, you can unlock the full potential of your smart light bulb and enjoy a personalized and convenient lighting experience in your home. Get creative and have fun exploring the different possibilities!
If you encounter any issues or need assistance with customizing the settings, refer to the app’s user manual or support resources provided by the manufacturer.
Congratulations! You have successfully connected and set up your smart light bulb. Now, it’s time to sit back, relax, and enjoy the enhanced lighting experience that smart technology brings to your home.
Troubleshooting common connectivity issues
While connecting and setting up a smart light bulb is usually a straightforward process, you may encounter occasional connectivity issues. Here are some common problems you may encounter and some troubleshooting steps to resolve them:
- Weak Wi-Fi signal: If your smart light bulb is located far from your Wi-Fi router, the signal strength may be too weak for a stable connection. You can try moving the router closer to the bulb or using Wi-Fi range extenders to improve the signal.
- Incorrect Wi-Fi password: Double-check that you entered the correct Wi-Fi network password during the setup process. An incorrect password will prevent the bulb from connecting to your network. Reprovisioning the bulb with the correct password should resolve this issue.
- Router compatibility issues: Some routers may have compatibility issues with certain smart light bulbs. Make sure your router is running on the latest firmware, and check with the manufacturer to see if there are any known compatibility issues.
- Interference from other devices: Other electronic devices such as cordless phones, microwaves, or even neighboring Wi-Fi networks can cause interference and disrupt the connection. Try turning off or moving these devices away from your smart light bulb to see if it resolves the issue.
- Rebooting the bulb and router: Sometimes, simply rebooting both the smart light bulb and the Wi-Fi router can resolve connectivity issues. Power off the bulb and unplug the router for a few seconds, then plug them back in and try reconnecting.
- App malfunction: If the app is not functioning properly or freezing, try closing the app and reopening it. If the issue persists, try uninstalling and reinstalling the app to ensure a fresh installation.
- Device compatibility: Check if your smart light bulb and the corresponding app are compatible with your device’s operating system. Update your device’s software to the latest version if needed.
- Resetting the bulb: As a last resort, you can also try resetting the smart light bulb to factory settings. Check the manufacturer’s instructions for the specific reset process, as it can vary between different brands and models.
If you’ve tried these troubleshooting steps and are still experiencing connectivity issues, it’s recommended to reach out to the manufacturer’s customer support for further assistance. They can provide specific guidance tailored to your smart light bulb and help resolve any persistent issues.
Remember, patience and persistence are key when troubleshooting connectivity issues. With a little troubleshooting, you’ll soon be back on track to enjoy the convenience and benefits of your smart light bulb.
Read more: How To Reset A Smart Light Bulb
Conclusion
Congratulations! You have successfully learned how to connect and set up your smart light bulb. By following the simple steps outlined in this guide, you have transformed your regular light fixture into a smart, customizable lighting solution.
With your smart light bulb connected to your Wi-Fi network and controlled through the dedicated app, you now have the power to adjust brightness, change colors, create scenes, and schedule automation for your lighting needs. Whether you’re looking to create a cozy atmosphere for movie nights, wake up gently with simulated sunrise, or showcase vibrant colors for a party, the possibilities are endless.
While setting up a smart light bulb may involve a few initial steps and troubleshooting, the benefits it brings to your home and lifestyle far outweigh any challenges. From convenience and energy efficiency to the ability to customize lighting to match your mood or activity, smart lighting adds a new level of comfort and style.
Remember to regularly update the app and firmware of your smart light bulb to ensure you have access to the latest features and security enhancements. Additionally, explore any additional functionalities and integrations the app may offer, such as voice control compatibility or synchronization with other smart home devices.
If you encounter any difficulties along the way, don’t hesitate to refer to the manufacturer’s documentation or reach out to their support team for assistance. They are there to help you make the most of your smart light bulb experience.
Now it’s time to sit back, relax, and enjoy the magic of your smart light bulb. Let the possibilities of customized lighting transform your living space, creating the perfect ambiance for every occasion. Say goodbye to the limitations of traditional lighting and embrace the convenience, versatility, and beauty of smart lighting technology!
Frequently Asked Questions about How To Connect Smart Light Bulb
Was this page helpful?
At Storables.com, we guarantee accurate and reliable information. Our content, validated by Expert Board Contributors, is crafted following stringent Editorial Policies. We're committed to providing you with well-researched, expert-backed insights for all your informational needs.


0 thoughts on “How To Connect Smart Light Bulb”