Articles
How To Color A Light Bulb
Modified: November 1, 2024
Discover step-by-step articles on how to color a light bulb. Transform your space with vibrant hues using our expert guide for stunning results.
(Many of the links in this article redirect to a specific reviewed product. Your purchase of these products through affiliate links helps to generate commission for Storables.com, at no extra cost. Learn more)
Introduction
Welcome to this comprehensive guide on how to color a light bulb. If you’re looking to add a vibrant burst of color to your interior decor or create a unique lighting effect for a special occasion, coloring a light bulb is a creative and exciting option. In this article, we will walk you through the step-by-step process of coloring a light bulb, from preparing the bulb to applying the color and ensuring it is safe for use.
Coloring a light bulb not only allows you to customize the ambiance of a room but also gives you the opportunity to experiment with different shades and tones to create the desired effect. Whether you want to create a warm and cozy atmosphere with a soft yellow hue or add a pop of bold color with a vibrant red or blue, coloring a light bulb is a fun DIY project that can instantly transform the look and feel of any space.
Before we dive into the process, it’s important to note that coloring a light bulb should be done with caution and using the right materials. Always prioritize safety and follow the recommendations outlined in this guide to ensure that the colored light bulbs are safe for use and do not pose any fire hazards or other risks.
In the next sections, we will outline the materials you’ll need, guide you through each step of the process, and provide some tips and tricks to help you achieve the best results. So, let’s get started on this colorful journey of transforming ordinary light bulbs into stunning works of art!
Key Takeaways:
- Transform ordinary light bulbs into vibrant works of art by following safety guidelines and using heat-resistant paint. Experiment with colors and techniques to create personalized and unique lighting designs.
- Prioritize safety, creativity, and experimentation when coloring light bulbs. Choose colors that complement the room’s aesthetics and mood, and ensure proper drying and testing for safe and effective results.
Materials Needed
Before you begin coloring your light bulbs, make sure you have gathered all the necessary materials. Here’s a list of what you’ll need:
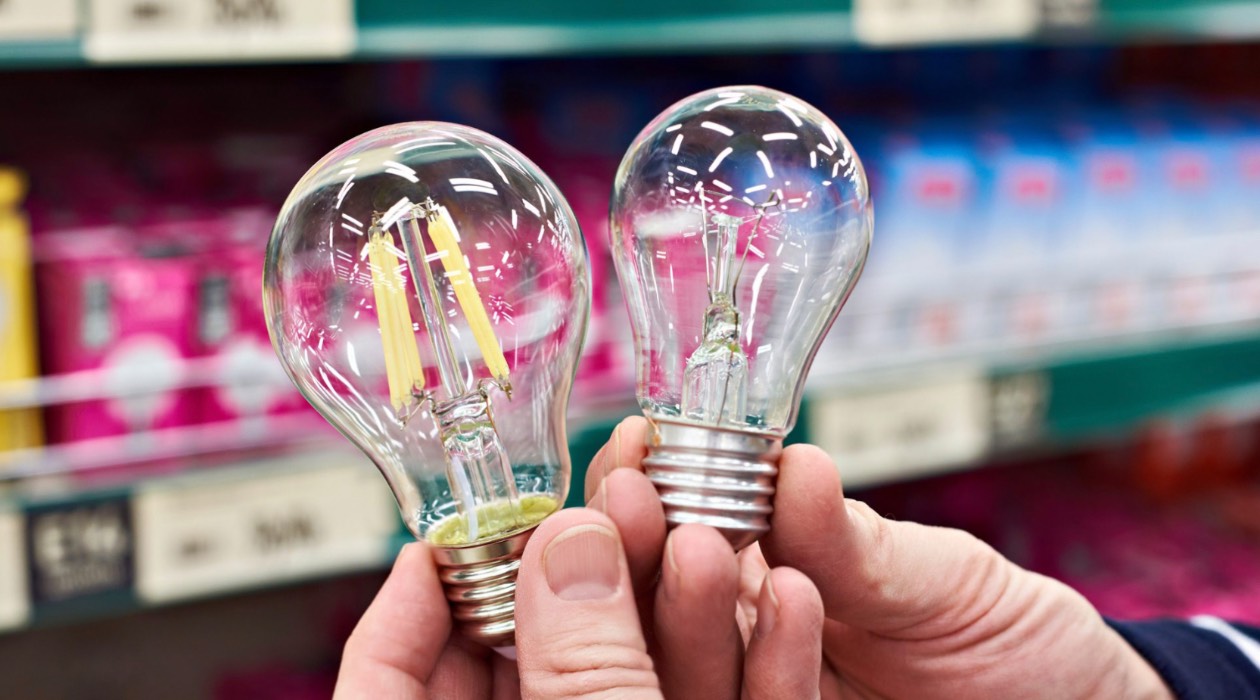
- Clean light bulbs: Ensure that your light bulbs are clean and free from any dust or debris. This will help the coloring to adhere properly to the surface.
- Latex gloves: Protect your hands from any potential staining by wearing latex gloves throughout the coloring process.
- Protective eyewear: Safeguard your eyes by wearing protective eyewear, such as goggles, to prevent any accidents or splashes.
- Heat-resistant paint: Choose a heat-resistant paint that is specifically designed for use on light bulbs. This will ensure durability and prevent the paint from melting or flaking when the bulb is switched on.
- Paintbrushes: Select small, fine-tip paintbrushes to allow for precise application of the paint. You may need different sizes depending on the design you want to create.
- Newspaper or plastic sheet: Lay down newspaper or a plastic sheet to protect the surface where you will be working. This will catch any paint drips and make the cleaning process easier.
- Masking tape: Use masking tape to create clean lines or mask off specific areas of the light bulb that you do not want to color. This will help you achieve more intricate designs.
- Cotton swabs: Keep cotton swabs handy to clean up any mistakes or smudges while painting.
- Rubbing alcohol: Use rubbing alcohol to remove any residue or oils from the surface of the light bulb before painting. This will help the paint adhere better.
- Warm soapy water: Prepare a bowl of warm soapy water to clean the brushes and remove any paint residue.
Having these materials ready will ensure a smooth and hassle-free coloring process. Once you have all the necessary supplies, you’re ready to move on to the next step of preparing the light bulb.
Step 1: Preparing the Light Bulb
In this step, we will guide you through the process of preparing the light bulb before applying the color. Follow these steps to ensure that the surface is clean and ready for painting:
- Turn off and unplug the light bulb: Before you begin, make sure the light bulb is turned off and fully cooled down. Unplug it from the socket to avoid any accidents.
- Put on latex gloves: Protect your hands by wearing latex gloves throughout the preparation process. This will prevent any oils from your hands from transferring to the bulb’s surface.
- Clean the surface: Gently clean the light bulb using a soft cloth or paper towel. This will remove any dirt, dust, or fingerprints that may interfere with the paint application. You can also use rubbing alcohol to ensure a thorough clean.
- Inspect the bulb: Carefully examine the light bulb for any cracks, chips, or other damage. It’s essential to use bulbs that are in good condition to prevent any safety hazards during the coloring process.
- Protect the base and socket: If the light bulb has a base or socket that shouldn’t be painted, cover it with masking tape. This will ensure that these areas remain untouched during the coloring process.
- Place the bulb on a protected surface: Place the light bulb on a layer of newspaper or a plastic sheet to catch any paint drips and protect the surface below.
By following these steps, you will ensure that the light bulb is clean and ready for the coloring process. Once you have prepared the bulb, you can move on to the exciting step of choosing the color you want to apply.
Step 2: Choosing the Color
Choosing the right color for your light bulb can completely transform the ambiance of a room. Whether you want to create a calming atmosphere with soft pastel hues or a vibrant and energetic space with bold primary colors, the options are endless. Here are some factors to consider when selecting the color:
- Room aesthetics: Consider the overall theme and color scheme of the room where the light bulb will be used. Choose a color that complements or contrasts with the existing decor to create a cohesive and visually appealing look.
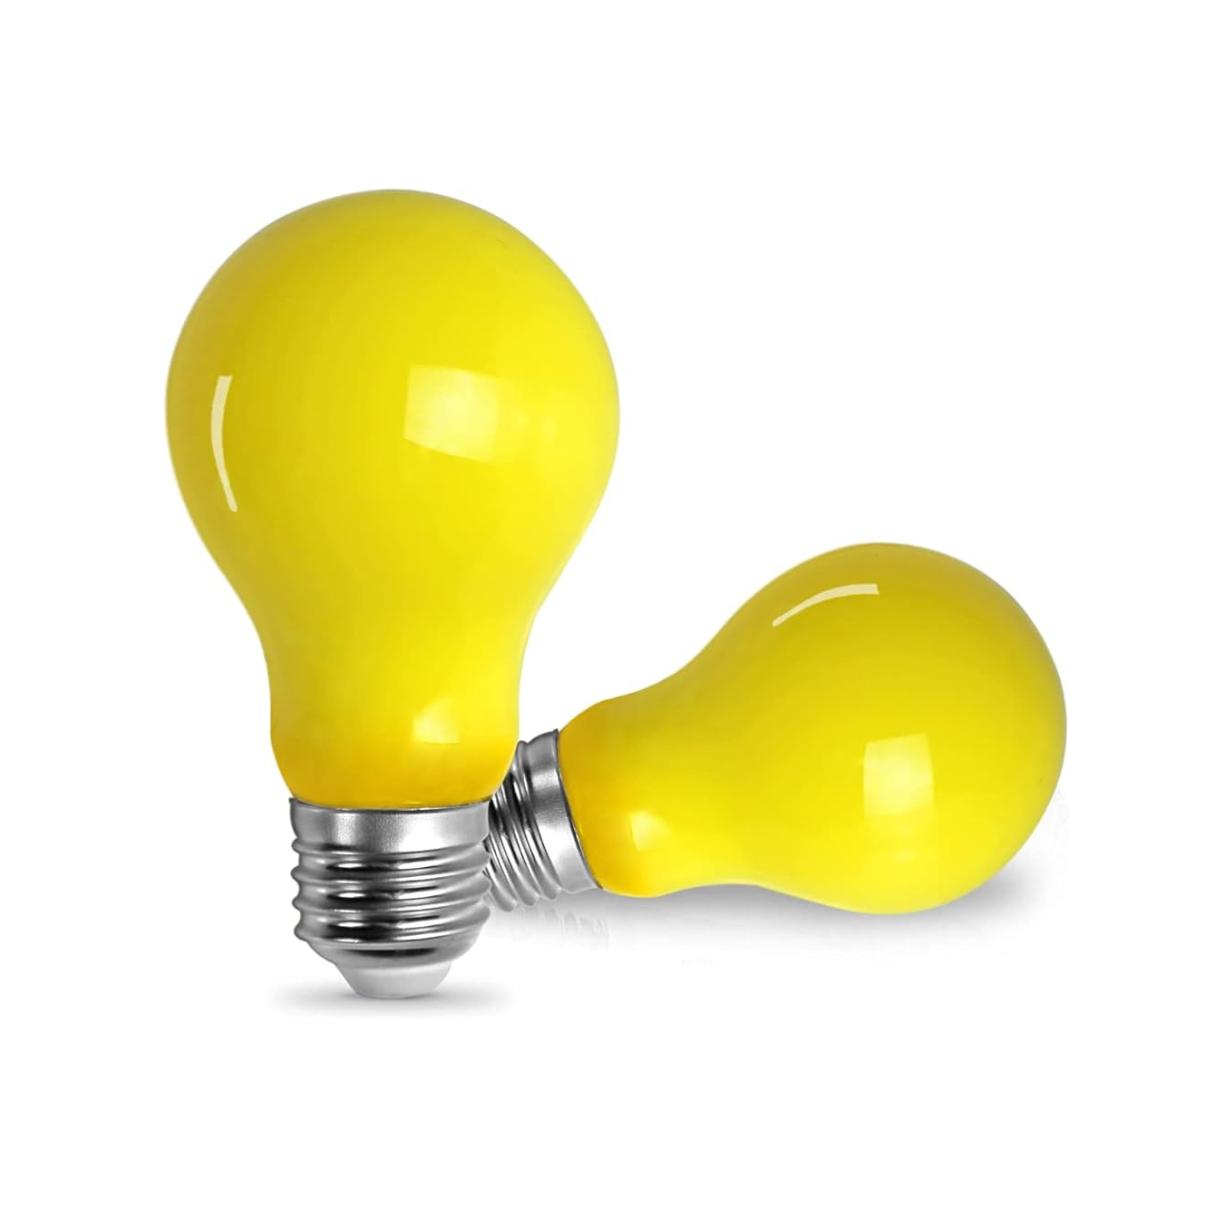
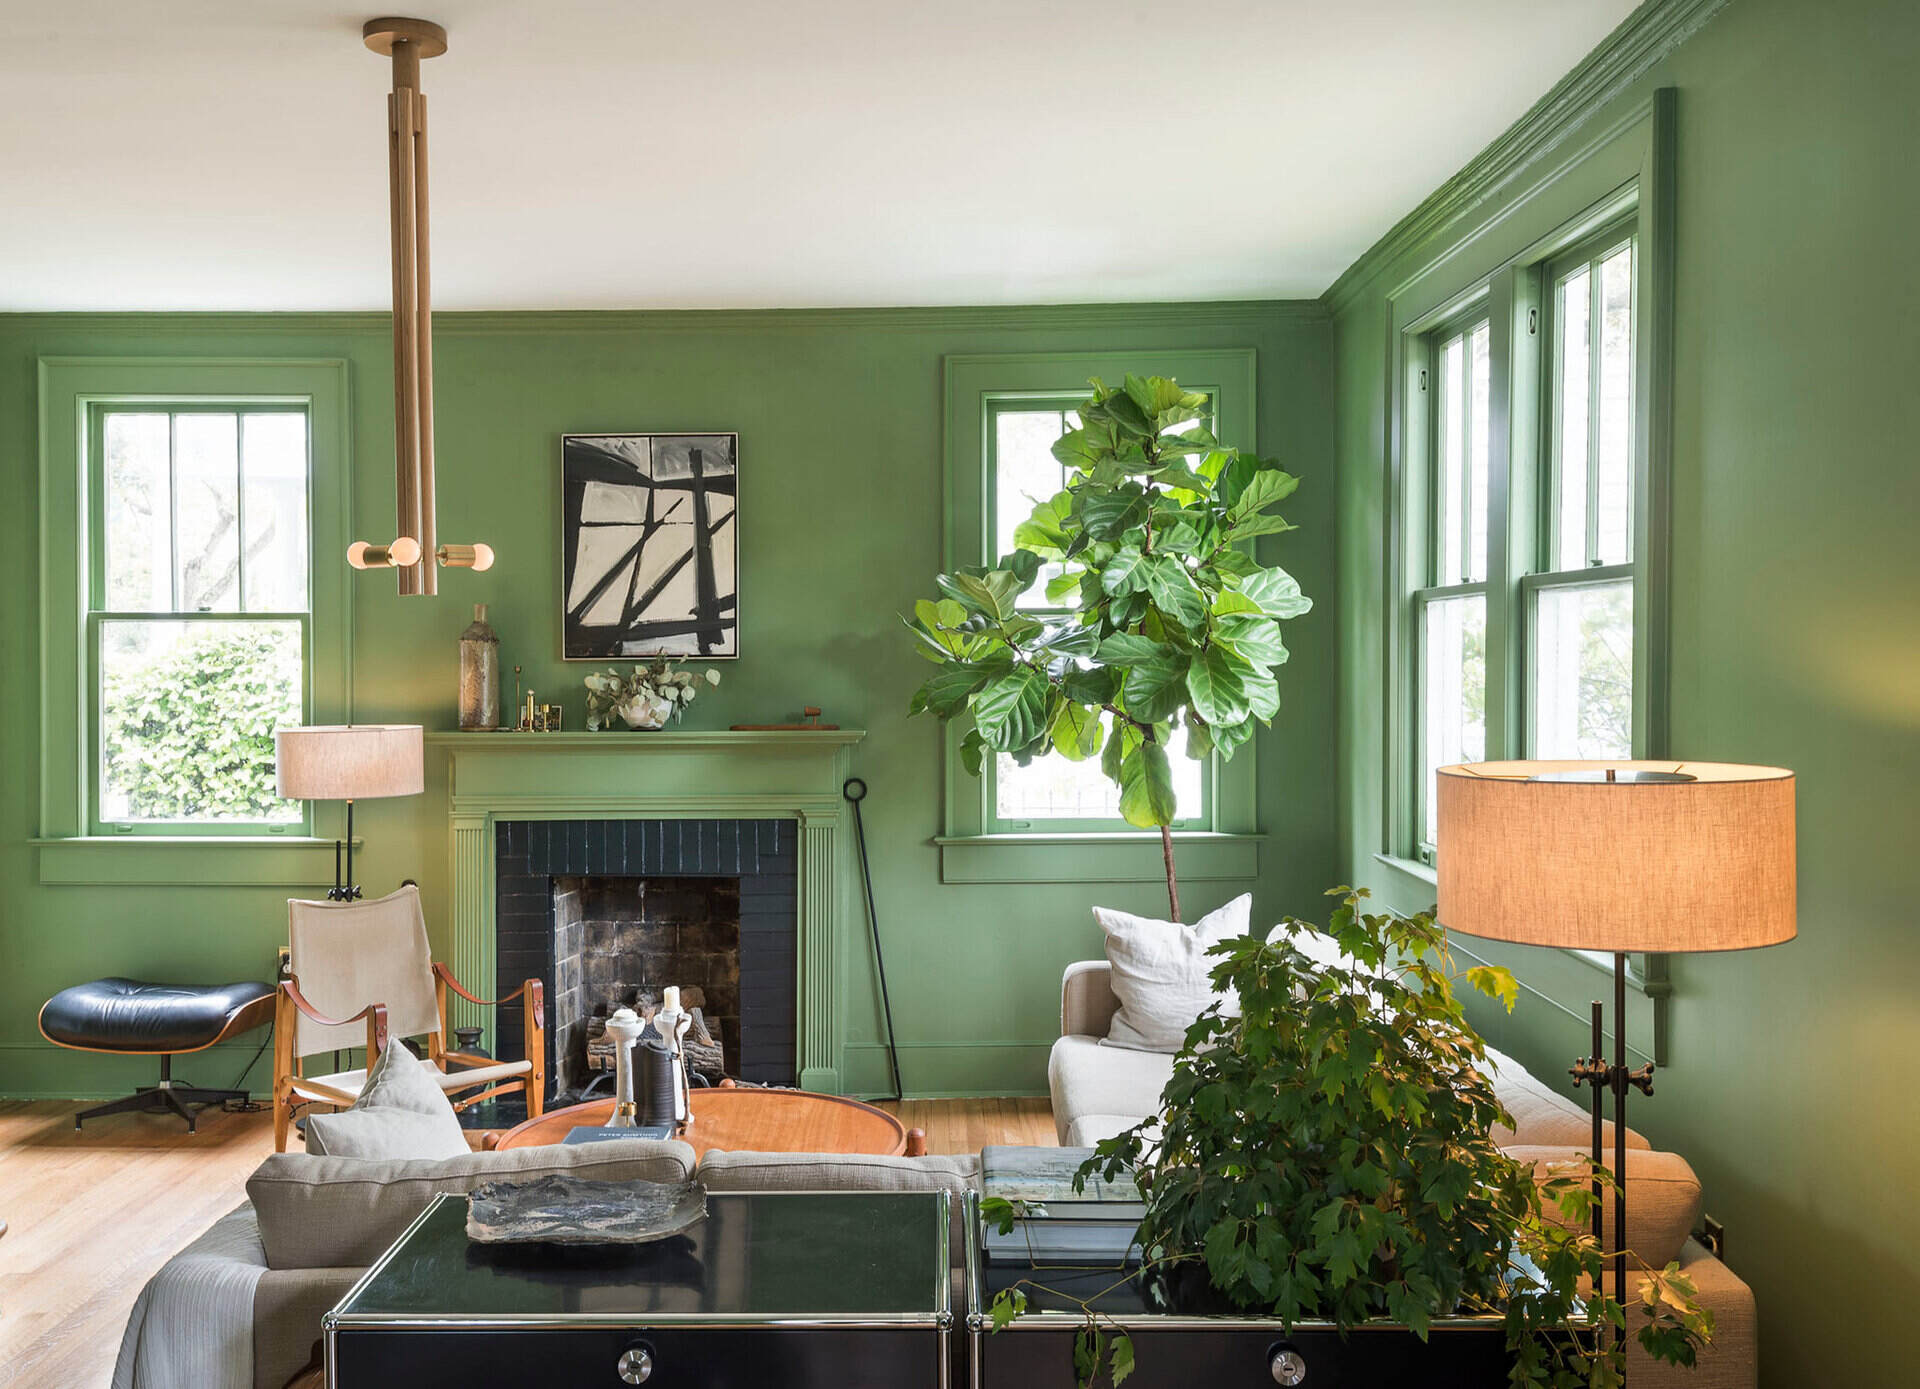
- Mood and atmosphere: Think about the mood you want to evoke in the space. Cool colors like blue and green can create a serene and peaceful environment, while warm colors like red and orange can add a cozy and intimate feel.
- Functionality: Consider the purpose of the room and how the colored lighting will impact its functionality. For example, softer and warmer lighting may be more suitable for a bedroom, while brighter and cooler lighting may work well in a workspace.
- Personal preference: Ultimately, choose a color that resonates with your personal style and preferences. Don’t be afraid to get creative and experiment with different shades and combinations to achieve the desired effect.
Keep in mind that some colors may affect the brightness of the light emitted from the bulb. Darker colors tend to absorb more light, resulting in a dimmer glow, while lighter colors allow more light to pass through.
There are various options for coloring your light bulbs. You can either use heat-resistant paints specifically designed for light bulbs or opt for colored glass or plastic bulb covers. Whichever method you choose, make sure it is safe and suitable for your light bulb type.
Now that you have an idea of the color you want to achieve, it’s time to move on to the exciting part – applying the color! Follow along to Step 3 for detailed instructions on how to color your light bulb.
When coloring a light bulb, use transparent glass paint or colored film to avoid blocking the light. Ensure the bulb is cool before applying any materials.
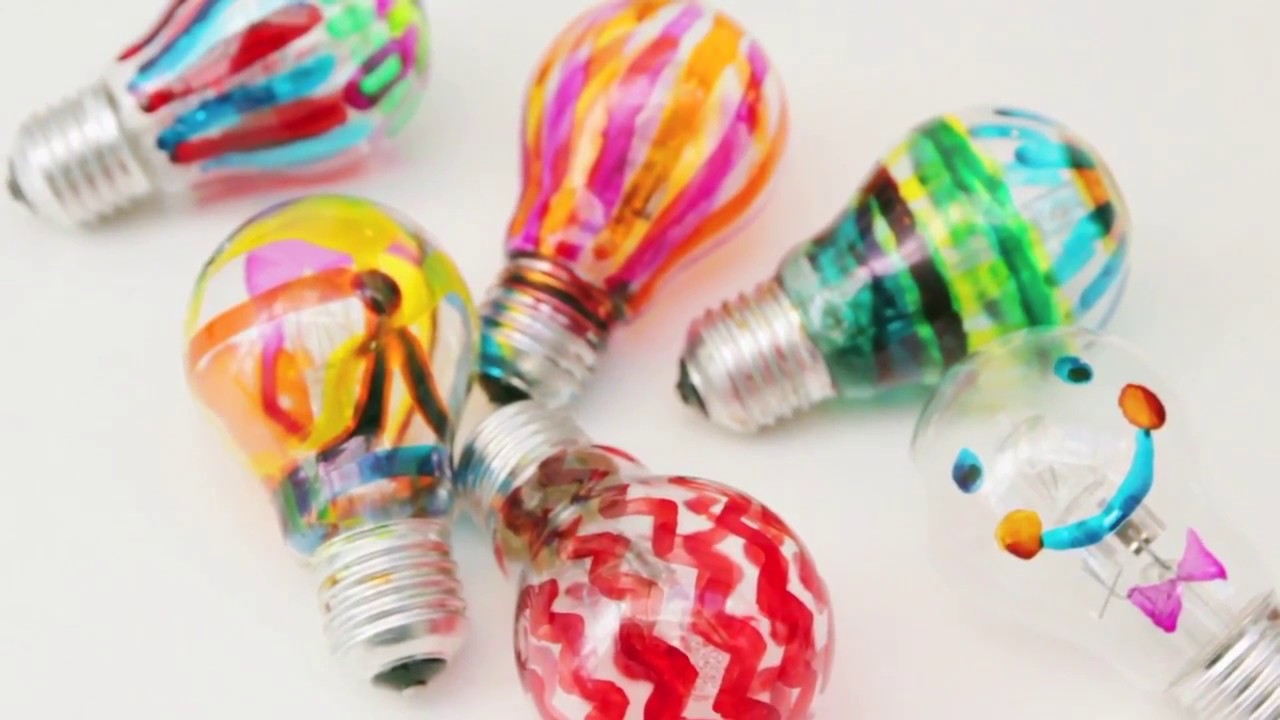
Step 3: Applying the Color
Now that you have prepared the light bulb and chosen the color you want to apply, it’s time to start adding the color to the bulb’s surface. Follow these steps for a successful application:
- Shake the paint: If you’re using a heat-resistant paint, give it a good shake to ensure it is well mixed and ready for application.
- Start painting: Dip a small, fine-tip paintbrush into the paint, and begin applying it to the surface of the light bulb. Consider your desired design and either paint the whole bulb or create specific patterns and shapes.
- Apply multiple coats: Depending on the opacity of the paint and the desired intensity of the color, you may need to apply multiple coats. Allow each coat to dry completely before applying the next one.
- Be mindful of the base and socket: If you have masked off the base and socket of the light bulb, take care to avoid painting over them. Use a smaller brush or a cotton swab to paint around these areas, ensuring a clean and professional finish.
- Create gradients or effects: For more creative options, you can blend different colors to create gradients or use techniques like splattering or sponging to achieve unique effects. Experiment and have fun with the process!
Remember to follow the manufacturer’s instructions for the paint you are using. This may include recommendations on drying time, curing, and safety precautions.
Once you’re satisfied with the color and coverage, allow the paint to dry completely before moving on to the next step. This will ensure that the color adheres properly and doesn’t smudge or flake off when the bulb is used.
Now that you have successfully applied the color, it’s time to move on to the next step of drying and testing the light bulb. Stay tuned!
Step 4: Drying and Testing
After you have applied the color to your light bulb, it’s important to allow it to dry completely before testing it. Here are the steps to ensure that the paint has dried adequately:
- Set aside the painted bulb: Place the painted light bulb in a clean and dry area where it can be left undisturbed for the drying process.
- Avoid touching the paint: Keep in mind that the paint may still be wet or tacky, so it’s important to avoid touching or disturbing it during the drying period. This will help prevent smudges or uneven drying.
- Follow the recommended drying time: Refer to the instructions provided by the paint manufacturer to determine the recommended drying time. This can vary depending on the type of paint used.
- Allow ample drying time: Give the bulb sufficient time to dry, ensuring that the paint has hardened and adhered to the surface. This can range from a few hours to overnight.
- Perform a touch test: Once you believe the paint has dried, lightly touch a small, inconspicuous area of the bulb to check if it feels dry and doesn’t transfer any color onto your finger.
After the paint has dried and you have performed the touch test, it’s time to test the light bulb to ensure it functions properly. Follow these steps:
- Insert the bulb into a compatible socket: Carefully insert the colored bulb into a socket that matches the bulb’s wattage and type.
- Switch on the light: Turn on the light to test the color and brightness. Observe the color produced by the painted bulb and make sure it matches your expectations.
- Check for any issues: Pay attention to any unusual heat or odors emitted from the bulb. If you notice any abnormalities or concerns, switch off the light immediately and consult the paint manufacturer’s instructions or a lighting professional.
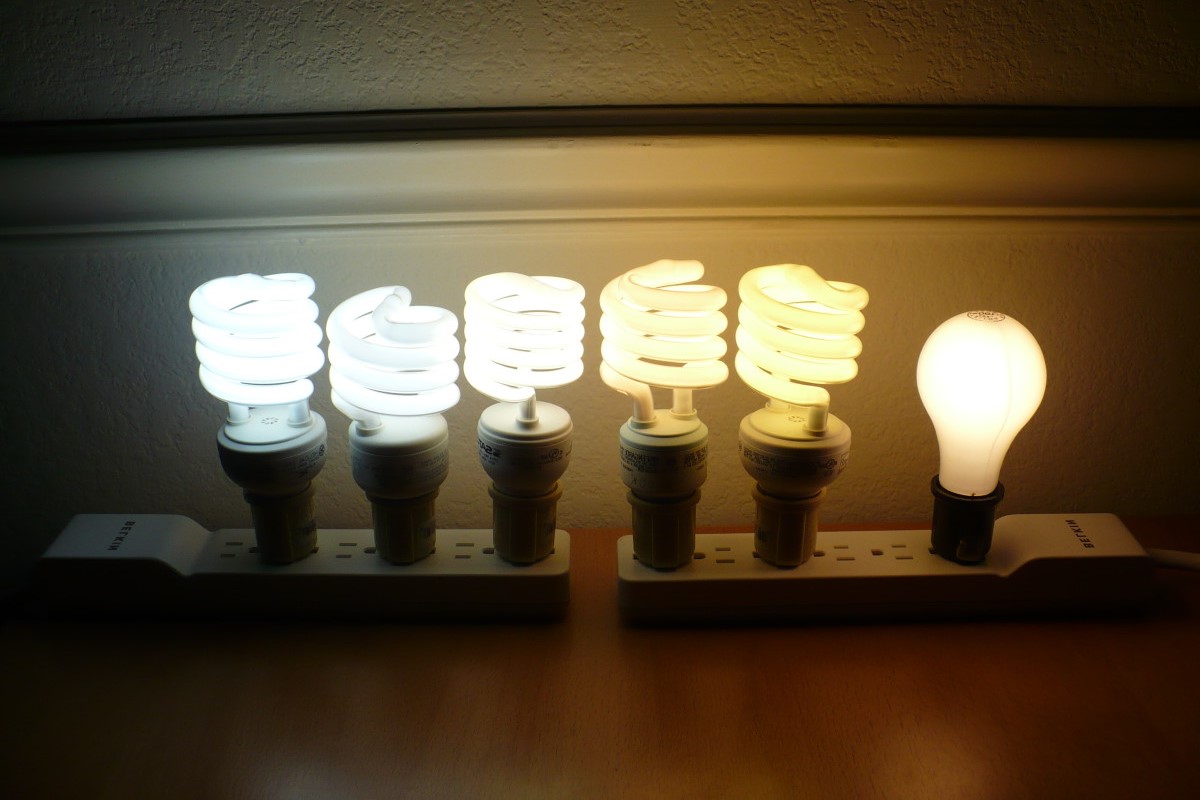
Keep in mind that colored light bulbs may emit slightly different hues and intensities compared to their natural counterparts. This is normal and part of the coloring process.
Now that you have dried and tested your colored light bulb, you can confidently add it to your desired lighting fixture and enjoy the customized ambiance it creates!
Conclusion
Congratulations! You have reached the end of this comprehensive guide on how to color a light bulb. By following the steps outlined in this article, you have learned how to transform ordinary light bulbs into vibrant and unique pieces of decor. Coloring a light bulb allows you to personalize the ambiance of a room, create a specific mood, or add a touch of flair to any space.
Throughout this guide, we emphasized the importance of safety and the use of appropriate materials. Always prioritize safety when working with light bulbs, ensuring that they are turned off, cooled down, and handled with care. Use heat-resistant paints specifically designed for light bulbs and follow the instructions provided by the paint manufacturer for best results.
Remember to take your time during the coloring process and experiment with different colors and techniques. You can create subtle or bold designs, gradients, or unique effects to suit your personal style and preferences. Let your creativity shine and have fun with the process!
Once you have successfully colored your light bulb, make sure to allow it to dry completely and perform a thorough test before incorporating it into your lighting fixtures. This will ensure that the paint has adhered properly and that the bulb functions as expected without any safety concerns. If you encounter any issues or have doubts, consult the paint manufacturer’s instructions or seek assistance from a lighting professional.
Now, it’s time for you to unleash your creativity and start coloring your light bulbs. Enjoy the process of transforming ordinary bulbs into extraordinary pieces of decorative lighting that will enhance the atmosphere of your home or any space you choose. Let your imagination guide you, and have fun creating your personalized and colorful lighting designs!
Now that you've mastered coloring light bulbs, why not brighten your home even further with the latest in smart lighting? Our guide offers practical solutions that seamlessly integrate advanced lighting technologies into your living spaces, ensuring convenience and energy efficiency. For those intrigued by broader technological enhancements, delve into our comprehensive review of the year's best home automation systems. These systems promise to simplify daily routines and elevate your home's functionality with cutting-edge innovations.
Frequently Asked Questions about How To Color A Light Bulb
Was this page helpful?
At Storables.com, we guarantee accurate and reliable information. Our content, validated by Expert Board Contributors, is crafted following stringent Editorial Policies. We're committed to providing you with well-researched, expert-backed insights for all your informational needs.


0 thoughts on “How To Color A Light Bulb”