
Articles
How To Light A Light Bulb With A Potato
Modified: December 7, 2023
Learn the fascinating technique of lighting a light bulb using a potato in this informative article. Discover the step-by-step process and amaze your friends with this unique experiment.
(Many of the links in this article redirect to a specific reviewed product. Your purchase of these products through affiliate links helps to generate commission for Storables.com, at no extra cost. Learn more)
Introduction
Welcome to this fascinating experiment on how to light a light bulb with a potato! Have you ever wondered if it is possible to harness the power of nature to generate electricity? Well, you’re about to find out. In this article, we’ll explore a simple yet intriguing experiment that demonstrates the electrochemical reactions within a potato to create enough electricity to light up a small bulb.
Before we dive into the steps of this experiment, it’s important to understand the basic principle behind it. We’ll be utilizing the concept of electrochemical cells, which convert chemical energy into electrical energy. In this case, the potato acts as the electrolyte, while metal electrodes submerged in the potato serve as the conductors. When these electrodes connect with a small light bulb, the chemical reactions within the potato generate enough electrical energy to cause the bulb to glow.
Why use a potato, you may ask? Well, potatoes are a remarkable vegetable that contains phosphoric acid electrolytes, a key ingredient to make our experiment work. This acid, combined with the internal moisture of the potato, creates an ideal environment for conducting electricity.
Now that we have a basic understanding of the experiment, let’s gather the materials we’ll need to get started.
Key Takeaways:
- Harness the power of nature by lighting a bulb with a potato! Explore electrochemical reactions and spark curiosity in science with this hands-on, educational experiment.
- Unleash the potential of everyday objects to generate electricity. From preparing the potato to observing the glowing bulb, discover the wonders of science in a simple and accessible way.
Read more: How To Store Light Bulbs
Materials Needed
Before you begin the experiment, make sure you have the following materials:
- A fresh potato
- Two metal electrodes (such as copper or zinc nails)
- A small light bulb (LED bulbs work best)
- A battery holder or alligator clips
- Wire or conductive tape
It’s important to use a fresh potato for this experiment, as older potatoes may not have enough moisture to conduct electricity effectively. Additionally, the size of the potato doesn’t matter much, as long as it’s large enough to accommodate the electrodes.
For the electrodes, you can use copper or zinc nails, as these metals are good conductors of electricity. Make sure the electrodes are clean and free from any coatings or rust that may hinder their conductivity.
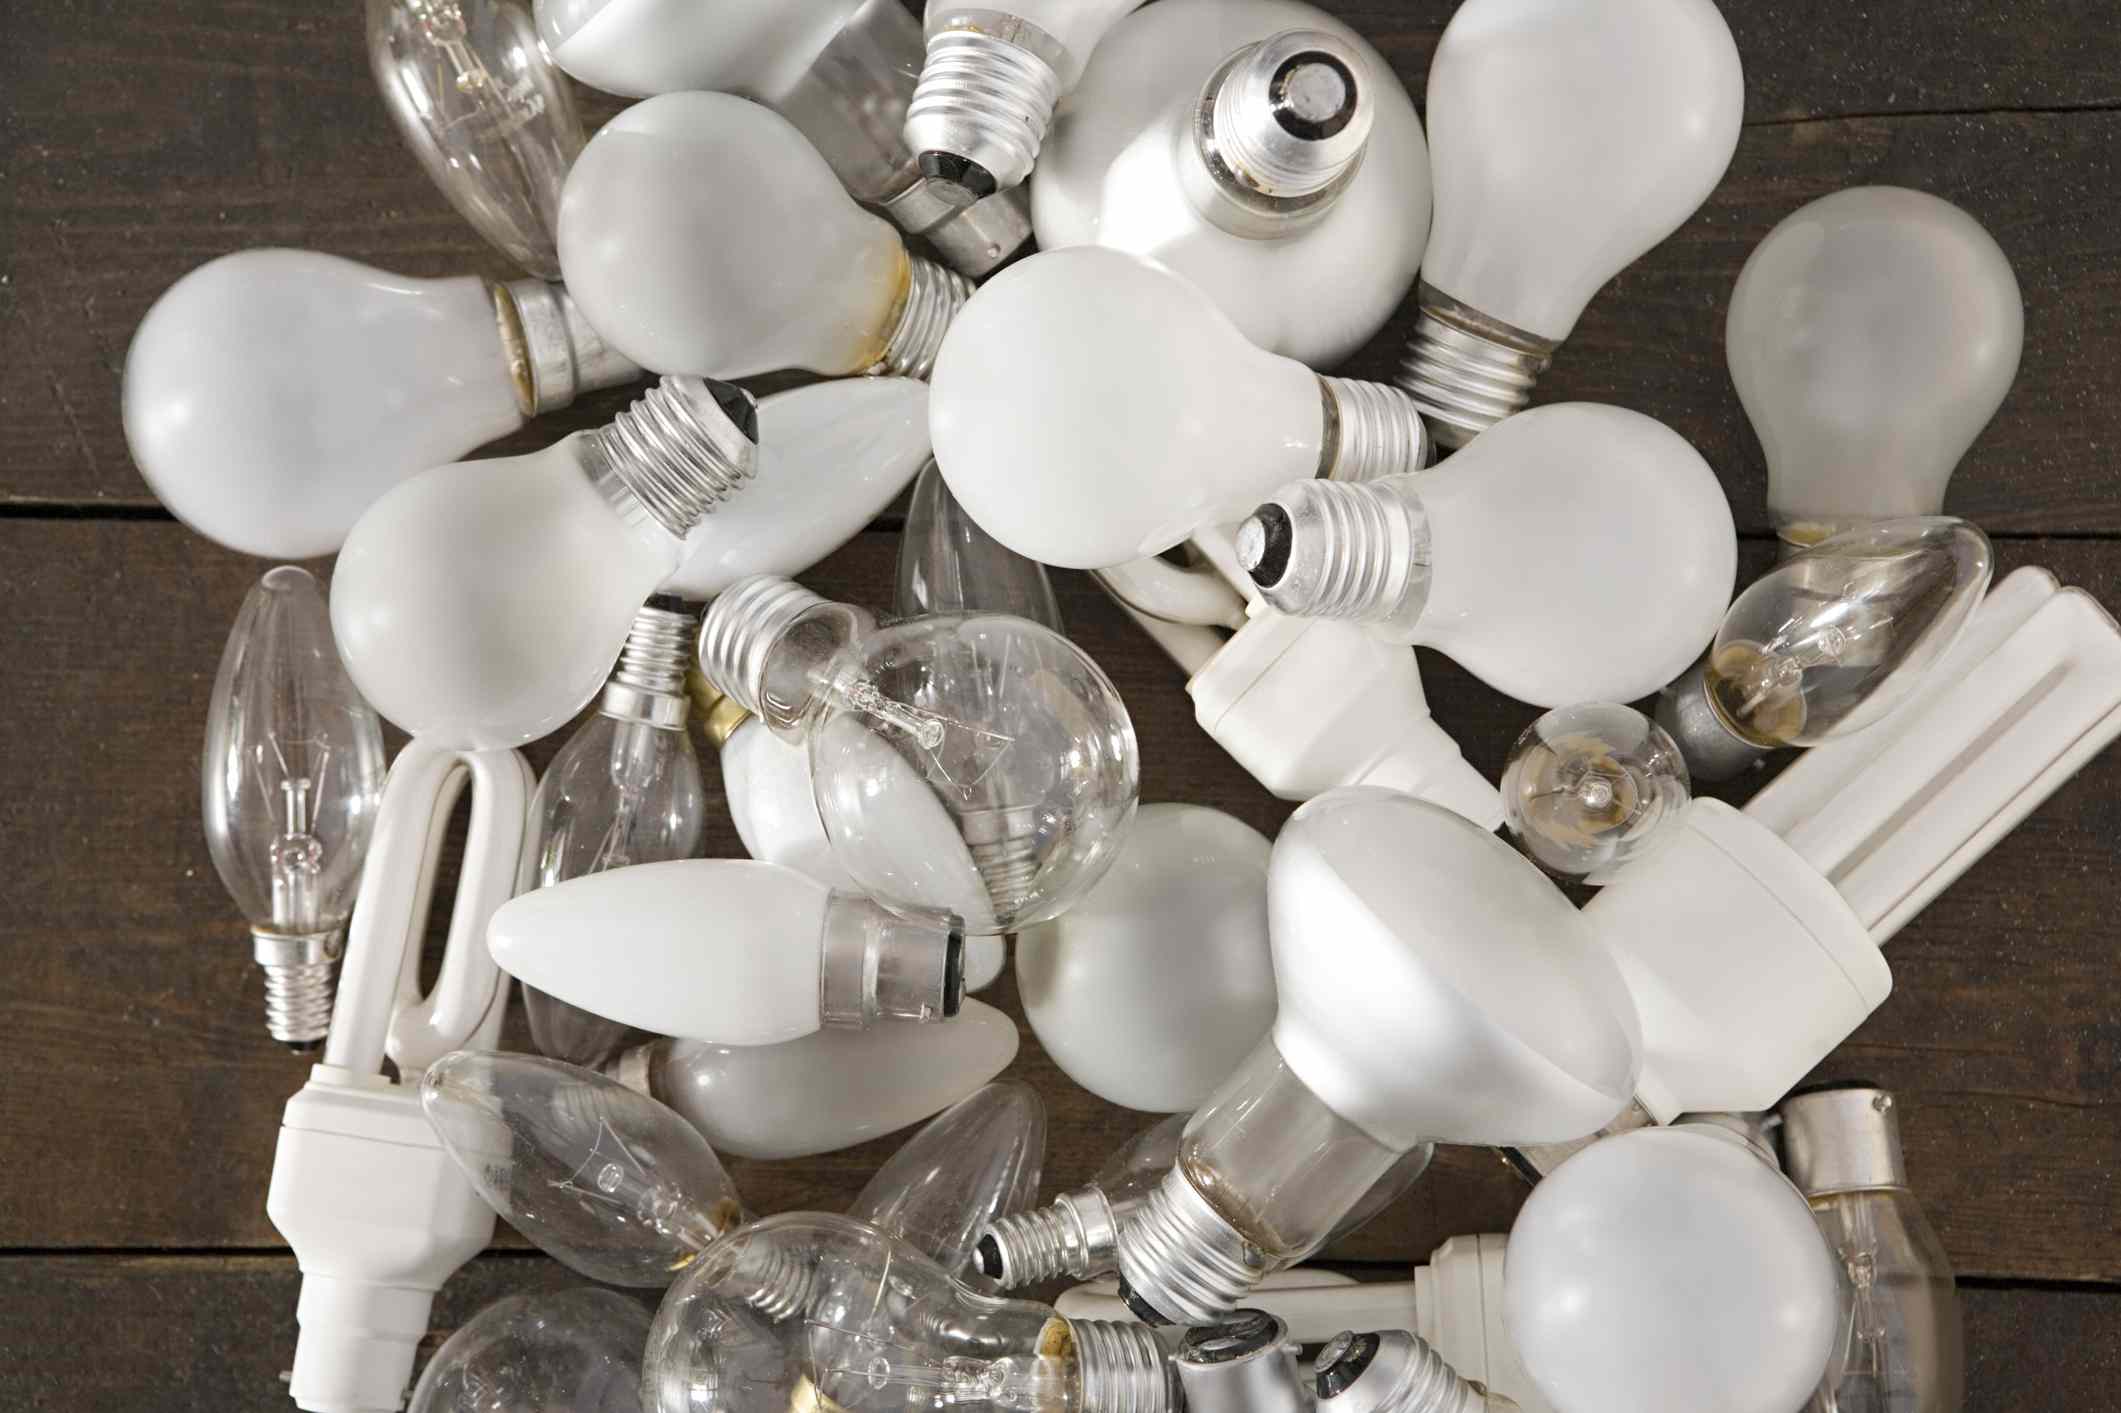
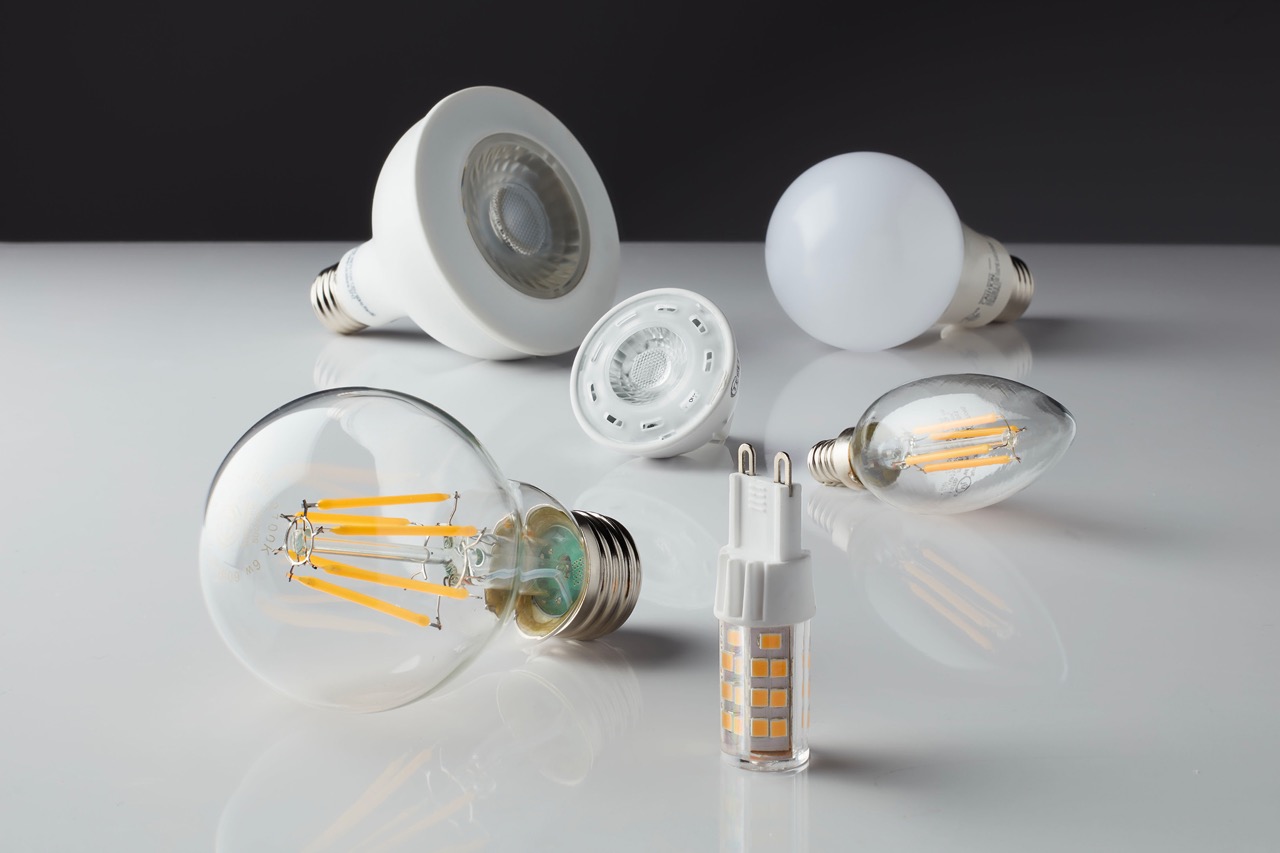
The small light bulb will act as the indicator to show that electricity is flowing through the circuit. LED bulbs are recommended since they require less power to light up and are more energy-efficient.
A battery holder or alligator clips will help you connect the electrodes to the wires of the light bulb. If you don’t have any of these, you can use wire or conductive tape to create the necessary connections.
Once you have gathered these materials, you’re ready to move on to the next step: preparing the potato for the experiment.
Step 1: Prepare the Potato
The first step in this experiment is to prepare the potato to serve as the electrolyte. Follow these simple instructions:
- Wash the potato thoroughly to remove any dirt or debris from its surface.
- Cut off a small section of the potato, approximately 1 inch in diameter, to create a flat base for stability.
- Make a small slit or hole in the center of the potato, deep enough to insert the electrodes. This will ensure a secure connection.
It’s essential to have a clean and stable potato as the foundation of your experiment. By creating a flat base, you can prevent the potato from rolling or moving during the setup process. The slit or hole in the center of the potato will be where you insert the electrodes in the following steps.
With the potato prepared, let’s move on to the next step: creating the electrodes.
Step 2: Create Electrodes
Now that the potato is ready, it’s time to create the electrodes that will conduct electricity through the potato. Follow these steps to create the electrodes:
- Take two metal nails, preferably copper or zinc, and ensure they are clean and free from any coatings or rust.
- If needed, use sandpaper or a wire brush to gently clean the surface of the nails and expose the metal.
- Bend the top end of each nail to create a hook-like shape. This will allow easier insertion into the potato.
Using metal nails as your electrodes is a simple and effective choice. Copper and zinc are particularly suitable for this experiment due to their good electrical conductivity. Ensure that the nails are clean and free from any substances that may hinder their conductivity. By bending the top end of the nails, you can create a convenient hook shape that will make it easier to insert and secure them in the potato.
Now that your electrodes are prepared, it’s time to move on to the next step: inserting the electrodes into the potato.
You can use a potato as a makeshift battery to power a small light bulb. Insert a copper and zinc electrode into the potato and connect the wires to the light bulb to create a simple potato battery.
Step 3: Insert Electrodes into the Potato
Now that you have your prepared electrodes, it’s time to insert them into the potato. Follow these steps:
- Take one of the electrodes and carefully insert it into the slit or hole you created in the potato. Ensure it goes deep enough to make good contact.
- Repeat the same process with the second electrode, inserting it a few centimeters away from the first electrode.
- Make sure that both electrodes are securely inserted and have enough distance between them. This distance will allow the electrochemical reactions to take place.
When inserting the electrodes, be careful not to damage the potato or cause the electrodes to touch each other. Good contact between the electrodes and the potato is crucial to ensure a stable electrical circuit within the potato. Once both electrodes are securely inserted into the potato, it’s time to move on to the next step: testing the circuit.
Read more: What Is A Light Bulb
Step 4: Test the Circuit
With the electrodes securely inserted into the potato, it’s time to test the circuit and see if we can generate enough electricity to light up the bulb. Follow these steps to test the circuit:
- Take the wires or conductive tape and connect one wire to the exposed end of the copper electrode.
- Connect the other end of the wire to the positive terminal of the bulb holder or alligator clip.
- Connect the other wire to the exposed end of the zinc electrode.
- Finally, connect the other end of the wire to the negative terminal of the bulb holder or alligator clip.
By connecting the wires or conductive tape to the electrodes, we are creating a closed circuit. The positive terminal of the bulb holder or alligator clip is connected to the copper electrode, while the negative terminal is connected to the zinc electrode. This setup allows the flow of electricity generated by the potato’s electrochemical reactions.
Once you have made all the necessary connections, it’s time to move on to the exciting part: observing the light bulb glow.
Step 5: Observe the Light Bulb Glow
Now that the circuit is set up, it’s time to observe the magic of potato power as we witness the light bulb glowing. Follow these steps:
- Make sure the room is dimly lit or turn off the lights altogether to better observe the glow of the bulb.
- Ensure all the connections are secure and there are no loose wires or clips.
- Once everything is in place, flip the switch or turn on the power source connected to the bulb holder or alligator clips.
- Observe the bulb closely and you should see it light up, powered solely by the electrochemical reactions taking place within the potato!
It’s truly amazing to see how the chemical reactions within the potato generate enough electricity to light up the bulb. Take a moment to appreciate the natural power of electrolytes and the wonders of science at work.
Remember to document your findings, take pictures, or perhaps even record a video to share your potato-powered light bulb experiment with others.
With the light bulb glowing, it’s time to conclude our experiment and reflect on what we’ve learned.
Conclusion
Through this experiment on how to light a light bulb with a potato, we have uncovered the incredible power of electrochemical reactions and explored the concept of using a common vegetable as an electrolyte. This experiment serves as a great educational tool to demonstrate the principles of electricity generation in a simple and accessible way.
By preparing the potato, creating electrodes, and inserting them into the potato, we were able to establish a circuit that converted the chemical energy within the potato into electrical energy. Through the electrochemical reactions occurring within the potato, this energy was harnessed, resulting in a small light bulb glowing.
This experiment not only provides a hands-on experience for understanding the basics of electrochemistry, but it also sparks curiosity and encourages further exploration into the fascinating world of science and technology. It highlights how even the simplest of materials can contribute to generating electric power.
Remember, this experiment is just the beginning. Feel free to explore variations such as using different types of fruits or vegetables or experimenting with various electrode materials. You can even try connecting multiple potatoes in series to increase the voltage and brightness of the bulb.
So, the next time you have a potato lying around, don’t discard it. Instead, use it as an opportunity to delve into the world of science and amaze yourself with the power of nature.
Get creative, have fun, and unleash the potential of everyday objects to generate electricity!
Frequently Asked Questions about How To Light A Light Bulb With A Potato
Was this page helpful?
At Storables.com, we guarantee accurate and reliable information. Our content, validated by Expert Board Contributors, is crafted following stringent Editorial Policies. We're committed to providing you with well-researched, expert-backed insights for all your informational needs.


0 thoughts on “How To Light A Light Bulb With A Potato”