
Articles
How To Change A Light Bulb
Modified: August 28, 2024
Learn how to change a light bulb with our informative articles. Find step-by-step instructions and useful tips for a hassle-free experience.
(Many of the links in this article redirect to a specific reviewed product. Your purchase of these products through affiliate links helps to generate commission for Storables.com, at no extra cost. Learn more)
Introduction
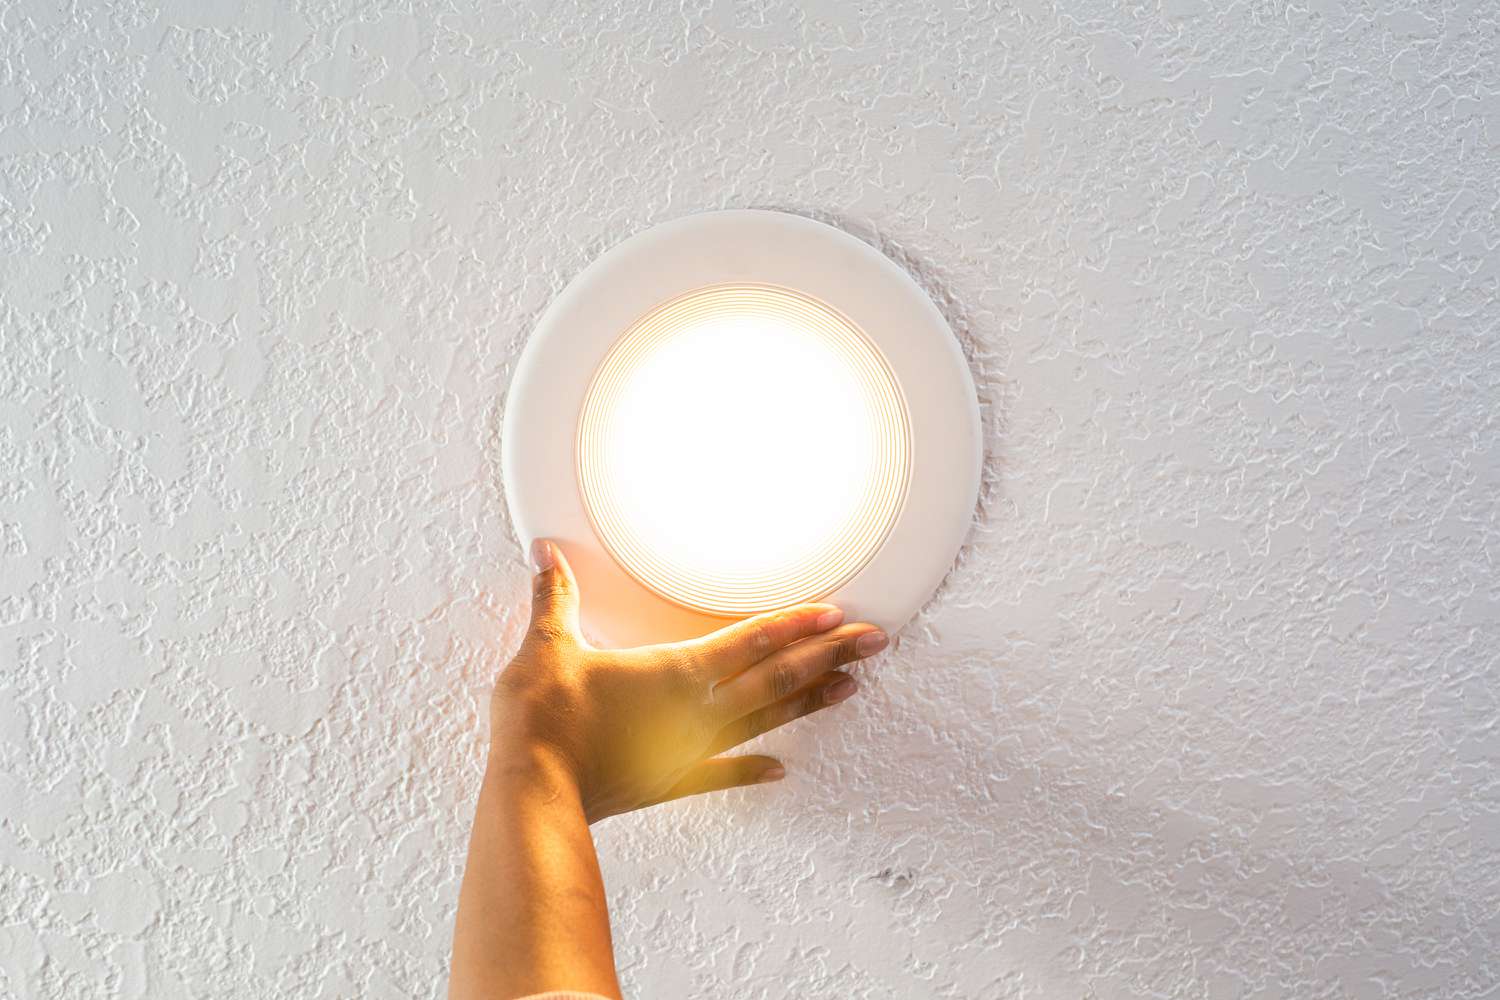
Changing a light bulb may seem like a simple and mundane task, but it’s an essential skill to have as a homeowner or tenant. Whether a bulb has burned out or you want to upgrade to a more energy-efficient option, knowing how to safely and effectively change a light bulb is essential. In this article, we will guide you through the step-by-step process of changing a light bulb, from gathering the necessary tools to testing the new bulb.
Before we begin, it’s important to emphasize the importance of safety when dealing with electrical fixtures. Always ensure that the power supply is turned off and take necessary precautions to avoid accidents. Safety should be your utmost priority when working with electricity.
Now, let’s dive into the details of changing a light bulb and empower you with the knowledge needed to tackle this simple yet important task.
Key Takeaways:
- Safety is paramount when changing a light bulb. Always turn off the power supply, use insulated tools, and avoid touching metal contacts to prevent accidents and ensure a safe experience.
- Selecting the right replacement bulb is crucial. Consider factors such as bulb type, wattage, lumens, base type, color temperature, and energy efficiency to ensure optimal functionality and safety.
Read more: How To Change A Brake Light Bulb
Safety Precautions
Before you start changing a light bulb, it’s crucial to take necessary safety precautions to prevent accidents and injuries. Remember, working with electricity can be hazardous if not done with caution. Here are some important safety measures to keep in mind:
- Turn off the power supply: Before attempting to change a light bulb, make sure to switch off the power supply at the circuit breaker or by flipping the switch off. This ensures that there is no electric current flowing to the fixture, reducing the risk of electrocution. Double-check that the light switch is off before proceeding.
- Allow the bulb to cool down: If you’re replacing a bulb that has been recently turned on, give it some time to cool down. Touching a hot bulb can cause burns or even breakage. Wait until the bulb has completely cooled down before attempting to remove it.
- Use a sturdy ladder or step stool: If the light fixture is mounted on a high ceiling or out of reach, use a sturdy ladder or step stool to access it. Ensure that the ladder or step stool is stable and placed on a level surface. Avoid standing on chairs or other unstable objects as they can lead to falls and injuries.
- Use insulated gloves or tools: To further protect yourself from electric shocks, consider wearing insulated gloves while handling the light bulb or use insulated tools designed for electrical work. Insulated gloves provide an extra layer of protection against accidental contact with live electrical parts.
- Avoid touching the metal contacts: When handling a new light bulb or removing an old one, avoid touching the metal contacts as much as possible. Oils from your fingers can create hotspots on the bulb, reducing its lifespan. If you accidentally touch the contacts, wipe them with a clean cloth before installing the bulb.
By following these safety precautions, you can ensure a safe and accident-free experience when changing a light bulb. Remember, if you’re unsure or uncomfortable with any step of the process, it’s always wise to seek assistance from a professional electrician.
Gather the Necessary Tools and Materials
Before you start changing a light bulb, it’s important to gather all the necessary tools and materials. Having everything ready beforehand will make the process smoother and more efficient. Here’s a list of items you’ll need:
- New light bulb: Make sure you have the appropriate replacement bulb for the fixture you’re working with. Check the wattage and base type to ensure compatibility. If you’re unsure, refer to the old bulb or consult the fixture’s manual.
- Ladder or step stool: Depending on the height of the light fixture, you may need a ladder or step stool to reach it safely. Choose a stable and appropriately-sized one that allows you to comfortably access the fixture.
- Gloves: While not mandatory, wearing gloves can provide a better grip when handling the light bulb and protect your hands from burns or cuts.
- Clean cloth: Keep a clean cloth nearby to wipe the bulb, fixture, or your hands if necessary. This ensures a secure grip and removes any dirt or debris that may hinder the installation process.
- Pen and paper: It can be helpful to have a pen and paper on hand to jot down any important information, such as the type of bulb or specific instructions for future reference.
- Small flashlight: If the area around the light fixture is dimly lit, having a small flashlight can be useful for better visibility. It can help you see the bulb socket and any potential issues that may arise during the process.
By gathering these tools and materials beforehand, you’ll have everything you need to change the light bulb without interruptions. Make sure to double-check that you’ve collected all the necessary items before proceeding to the next step.
Locate the Light Bulb that Needs to be Changed
Once you have gathered all the necessary tools and materials, the next step is to locate the light bulb that needs to be changed. This may seem like a straightforward task, but it’s important to identify the correct bulb to avoid replacing the wrong one. Here’s how you can locate the specific light bulb:
- Identify the fixture: Take note of the type of fixture you’re working with, whether it’s a ceiling light, table lamp, or wall sconce. This will give you an idea of where to start looking for the bulb.
- Switch off the power: Before inspecting the light fixture, ensure that the power to the circuit is turned off. This step is crucial to avoid any accidental contact with live wires.
- Access the fixture: Depending on the type of fixture, you may need to remove a cover or shade to access the bulb. For ceiling fixtures, use a ladder or step stool to reach the fixture safely. For table lamps or wall sconces, you may need to unscrew or unclip a cover to reveal the bulb.
- Inspect the bulb: Once you have access to the bulb, examine it to determine if it is indeed the one that needs to be changed. Look for any visible signs of damage, such as a burnt-out filament or discoloration.
- Make a note of the bulb details: If you’re unsure about the type or wattage of the bulb, check the label or markings on the base of the bulb. Write down this information for reference when purchasing the replacement.
By following these steps, you can easily locate the specific light bulb that needs to be changed. Pay attention to the details, take your time, and ensure that you have identified the correct bulb before moving on to the next steps in the process.
Turn off the Power Supply
Before you begin changing a light bulb, it’s crucial to turn off the power supply to the specific fixture. This step is essential for your safety and to prevent any electrical accidents or shocks. Here’s how you can properly turn off the power supply:
- Locate the circuit breaker: The circuit breaker is typically located in the electrical panel of your home. It contains switches or breakers that control the flow of electrical power to different areas or fixtures.
- Identify the circuit: Look for the circuit that supplies electricity to the specific light fixture you’re working on. The circuits should be labeled to help you identify which one to switch off. If the circuit is not labeled, you may need to test different breakers to find the correct one.
- Switch off the breaker: Once you’ve located the correct circuit, switch off the breaker by flipping the switch to the “off” position. This will cut off the power supply to the specific fixture. To be extra cautious, you can also turn off the main power switch in the electrical panel.
- Test the fixture: After turning off the power supply, test the light switch associated with the fixture to ensure that there is no electricity flowing to the bulb. If the light remains off, you can proceed with confidence knowing that the power has been properly disconnected.
- Confirm the power outage: For added safety, use a non-contact voltage tester to verify that there is no electrical current running to the fixture. The voltage tester will indicate if any live wires are present, helping you confirm that the power supply has been indeed turned off.
Remember, electricity is dangerous, and taking these steps to turn off the power supply is critical to protect yourself from electrical hazards. Always double-check that the power is off before proceeding with any further steps in the light bulb changing process.
Read more: How To Change Oven Light Bulb
Remove the Old Light Bulb
Now that the power supply has been turned off, it’s safe to proceed with removing the old light bulb. Here’s a step-by-step guide on how to remove the bulb:
- Allow the bulb to cool: If the light fixture was recently in use, give the bulb enough time to cool down before attempting to remove it. Touching a hot bulb can result in burns or breakage. Wait for the bulb to reach a safe temperature before proceeding.
- Grip the bulb: Carefully grip the base of the bulb using a clean cloth or wearing gloves for a better grip. Make sure your hands are dry to avoid slipping.
- Turn the bulb counterclockwise: Most light bulbs are installed in a screw-in socket. To remove the bulb, gently and firmly turn it counterclockwise (left) until it starts to loosen. Keep turning until the bulb is free from the socket.
- Lower the bulb away from the socket: Once the bulb is loosened, carefully lower it away from the socket and set it aside in a safe place. Be cautious not to drop the bulb or twist it forcefully, as it can shatter and cause injuries.
- Inspect the socket: After removing the bulb, take a moment to inspect the socket for any signs of damage or debris. If you notice any issues, such as a broken socket or loose connections, it’s recommended to consult a professional electrician for further inspection and repair.
By following these steps, you can safely remove the old light bulb from the fixture. Remember to handle the bulb with care and dispose of it properly according to your local waste disposal regulations. With the old bulb removed, you can now proceed to the next step of selecting the appropriate replacement bulb.
When changing a light bulb, always make sure the power is turned off to avoid the risk of electric shock. Use a stable ladder or step stool to reach the light fixture safely.
Choose the Right Replacement Light Bulb
After removing the old light bulb, it’s time to select the right replacement bulb for your fixture. Choosing the correct bulb is crucial for optimal functionality and safety. Here are some factors to consider when selecting a replacement light bulb:
- Bulb type: Determine the type of bulb needed for your fixture. Common types include incandescent, LED, fluorescent, and halogen bulbs. Refer to the fixture’s manual or the old bulb for guidance.
- Wattage: Check the maximum wattage specified for the fixture. Using a bulb with a wattage higher than recommended can cause overheating and potential damage. Avoid using a bulb with lower wattage as it may result in insufficient brightness.
- Lumens: Consider the desired brightness level for the area where the light fixture is located. Lumens indicate the amount of light output. Higher lumens translate to brighter light. Choose a bulb with an appropriate lumen output to suit your needs and preferences.
- Base type: Note the base type of the old bulb or the fixture itself. Common base types include screw-in (Edison screw), bayonet, or pin base. Ensure that the replacement bulb has a matching base to fit securely into the socket.
- Color temperature: Color temperature determines the color appearance of the light emitted by the bulb. It is measured in Kelvin (K). Lower Kelvin values, such as warm white (2700K-3000K), provide a cozy, yellowish light, while higher Kelvin values, such as cool white (5000K-6500K), offer a brighter, bluish light. Consider the ambiance and functionality of the area when choosing the color temperature.
- Energy efficiency: Opt for energy-efficient bulbs, such as LED or CFL (compact fluorescent) bulbs, which consume less energy and have a longer lifespan compared to traditional incandescent bulbs. Energy-efficient bulbs help save on electricity bills and reduce environmental impact.
Take your time to research and select a replacement bulb that meets all these criteria. It’s also worth considering any specific requirements or preferences you may have regarding the bulb’s lifespan, brand, or special features like dimmability.
Once you have chosen the right replacement bulb, you’re one step closer to completing the light bulb replacement process. In the next step, we will guide you on how to properly install the new light bulb.
Install the New Light Bulb
Now that you have selected the right replacement light bulb, it’s time to install it in the fixture. Follow these steps to ensure a successful installation:
- Ensure the power supply is still off: Double-check that the power supply to the fixture is still turned off. Safety should always be a priority when working with electrical components.
- Hold the new bulb securely: Carefully grip the new bulb by its base, using a clean cloth or wearing gloves. Avoid touching the glass portion of the bulb, as oils from your fingers can create hotspots that can reduce the bulb’s lifespan.
- Align the bulb with the socket: Position the threaded base of the bulb in line with the socket’s threads. Ensure that the bulb is straight and properly aligned for a smooth installation.
- Turn the bulb clockwise: Begin turning the bulb clockwise (right) into the socket. Gently twist the bulb until it feels snug and secure. Be cautious not to overtighten or force the bulb, as it can cause damage to the threads or the bulb itself.
- Test the bulb: Once the new bulb is properly installed, test it by turning on the power supply. Flip the light switch associated with the fixture and ensure that the bulb lights up. If it doesn’t, double-check the power supply and the bulb’s compatibility with the fixture.
With the new bulb successfully installed and tested, you can proceed to the final step of the process: testing the new light bulb to ensure it’s functioning as expected.
Note: If you’re replacing a bulb in a fixture with multiple bulbs, it’s a good practice to replace all the bulbs at once to maintain a consistent and balanced light output.
Test the New Light Bulb
After installing the new light bulb, it’s important to test it to ensure that it is functioning properly. Follow these steps to test the new bulb:
- Turn on the power supply: Turn on the power supply to the fixture by flipping the circuit breaker or the main power switch back to the “on” position. Ensure that the power is fully restored before proceeding with the testing.
- Activate the light switch: Toggle the light switch associated with the fixture to the “on” position. This will send a signal to the fixture to activate the new bulb.
- Observe the bulb: Watch the bulb closely to see if it illuminates. Check for any flickering, dimming, or abnormal behavior. A properly functioning bulb should emit a steady and consistent light without any issues.
- Assess the brightness and color: Evaluate the brightness and color of the light emitted by the new bulb. Ensure that it matches your expectations and the desired ambiance of the room. If the light seems too dim or too bright, consider choosing a bulb with a different wattage or lumen output.
- Check for any other issues: Pay attention to any unusual sounds, smells, or signs of overheating coming from the fixture or the bulb socket. If you notice any problems, it’s advisable to turn off the power supply immediately and consult a professional electrician for further inspection.
If the new bulb passes the testing phase and functions properly without any issues, congratulations! You have successfully changed the light bulb and ensured that the fixture is back in working order.
However, if you notice any problems during the testing phase or the bulb fails to light up, make sure to check the power supply, the bulb’s compatibility with the fixture, and the tightness of the bulb in the socket. If the issue persists, it may be necessary to seek professional assistance to troubleshoot and resolve the problem.
By testing the new light bulb, you can ensure its functionality and enjoy the renewed illumination that it provides to your space.
Read more: How To Change Refrigerator Light Bulb
Turn on the Power Supply
After testing the new light bulb and ensuring its functionality, it’s time to turn on the power supply and restore electricity to the fixture. Follow these steps to safely and properly turn on the power supply:
- Confirm the bulb is securely installed: Before turning on the power, double-check that the new light bulb is securely and properly installed in the socket. Ensure that it is aligned straight and fully screwed in clockwise (right) until snug.
- Locate the circuit breaker or main power switch: Identify the circuit breaker or main power switch that controls the electricity to the specific light fixture. These are typically located in the electrical panel or breaker box of your home.
- Flip the circuit breaker or main power switch to the “on” position: Once you’ve located the correct circuit breaker or main power switch, gently flip it to the “on” position. This will restore the electrical supply to the fixture.
- Wait for the power to stabilize: Give the power a few moments to stabilize after turning it on. This allows any electrical components to reset and prepare for normal operation.
- Test the light switch: To confirm that the power supply has been successfully restored, toggle the light switch associated with the fixture to the “on” position. The new light bulb should now illuminate without any issues.
By following these steps, you can safely turn on the power supply and enjoy the renewed lighting in your space. Take a moment to appreciate the improved illumination and the cozy or functional atmosphere the new light bulb creates.
If, after turning on the power supply, you encounter any problems such as flickering, buzzing, or the bulb not lighting up, you may need to inspect the fixture or consult a professional electrician for further assistance.
Remember, when working with electricity, always prioritize your safety. If you’re unsure or uncomfortable with any step of the process, it’s best to seek professional help to avoid any potential hazards or accidents.
Conclusion
Changing a light bulb may seem like a simple task, but it’s an essential skill that every homeowner or tenant should have. Being able to safely and effectively change a light bulb not only ensures proper illumination but also promotes a comfortable and functional living space.
In this article, we have walked you through the step-by-step process of changing a light bulb. We began by emphasizing the importance of safety precautions, including turning off the power supply and using the appropriate tools and materials. We then guided you through locating and removing the old bulb, choosing the right replacement bulb, and installing it correctly in the fixture. We also discussed the importance of testing the new bulb and finally turning on the power supply to restore electricity to the fixture.
Remember, safety is paramount when working with electrical fixtures, so always take the necessary precautions to protect yourself from potential hazards. Ensure the power supply is turned off before starting any work, and be sure to gather the right tools and materials. Take your time to select the appropriate replacement bulb by considering factors such as bulb type, wattage, lumens, base type, color temperature, and energy efficiency.
By following the steps outlined in this article, you can confidently change a light bulb and enjoy the benefits of a well-lit space. However, if you encounter any difficulties or feel unsure during the process, it’s always advisable to seek assistance from a professional electrician.
Now that you have the knowledge and skills to change a light bulb, go ahead and tackle this simple yet important task, and brighten up your surroundings with ease!
Frequently Asked Questions about How To Change A Light Bulb
Was this page helpful?
At Storables.com, we guarantee accurate and reliable information. Our content, validated by Expert Board Contributors, is crafted following stringent Editorial Policies. We're committed to providing you with well-researched, expert-backed insights for all your informational needs.


0 thoughts on “How To Change A Light Bulb”