Articles
How To Cook A Turkey In An Electric Skillet
Modified: August 16, 2024
Learn how to cook a delicious turkey using an electric skillet with our expertly written articles. Master the art of turkey cooking with step-by-step instructions and helpful tips.
(Many of the links in this article redirect to a specific reviewed product. Your purchase of these products through affiliate links helps to generate commission for Storables.com, at no extra cost. Learn more)
Introduction
Thanksgiving is just around the corner, and if you want to try something different this year, why not consider cooking your turkey in an electric skillet? While the traditional oven method is tried and true, using an electric skillet can offer several advantages. It can help you save time, cook the turkey more evenly, and create deliciously crispy skin.
In this article, we will guide you through the process of cooking a turkey in an electric skillet, ensuring a perfectly cooked bird that everyone will enjoy. We’ll cover everything from preparing and seasoning the turkey to checking the temperature and carving it for serving.
So, let’s dive in and learn how to cook a turkey in an electric skillet!
Key Takeaways:
- Cook your Thanksgiving turkey in an electric skillet for a convenient, flavorful twist. Follow the steps to prepare, season, and cook the turkey to perfection, impressing your guests with juicy, crispy results.
- Embrace the alternative method of cooking a turkey in an electric skillet for a unique and delicious holiday feast. Save time, ensure even cooking, and savor the crispy, flavorful skin while impressing your family and friends with a perfectly cooked bird.
Read more: How To Cook On Electric Skillet
Getting Started
Before you begin cooking your turkey in an electric skillet, there are a few essential things you need to gather and prepare.
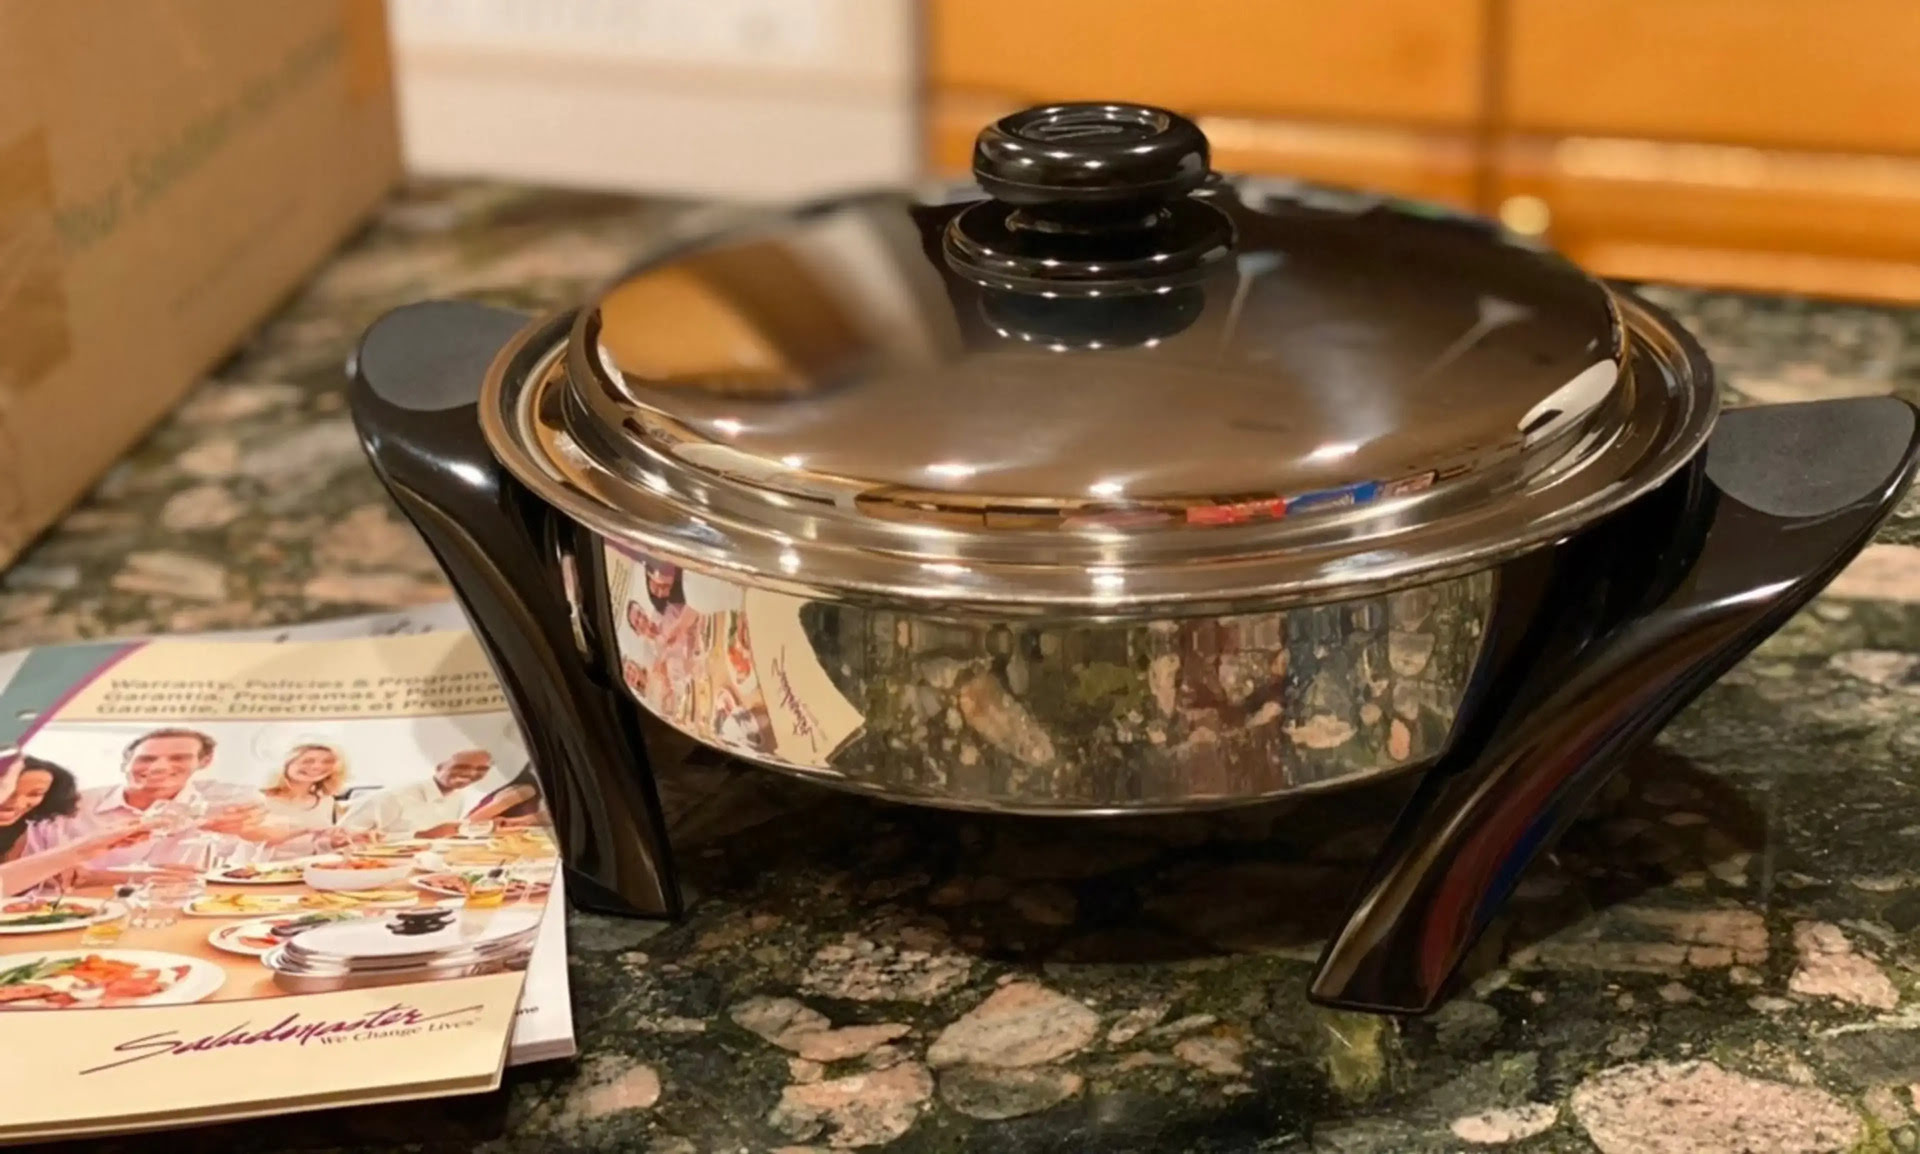
- Choose the right size of electric skillet: Ensure that your electric skillet is large enough to accommodate the size of your turkey. A skillet with a diameter of 12 inches or more should be sufficient for most standard-sized turkeys.
- Thaw the turkey: If you’re using a frozen turkey, make sure to thaw it completely before cooking. Thawing times can vary depending on the size of the turkey, so be sure to refer to the packaging or consult a thawing chart for guidance.
- Clean and prepare the skillet: Thoroughly clean your electric skillet and make sure it’s dry before use. Remove any leftover food particles or grease from previous use. You can use warm soapy water and a sponge to clean the skillet, but be careful not to submerge it in water as it contains electrical components.
- Prepare your workspace: Set up a clean and spacious workspace to work on your turkey. Make sure to have all the necessary tools and ingredients within reach.
- Ensure safety measures: Keep a fire extinguisher nearby, read and understand the manufacturer’s instructions for your specific electric skillet model, and follow all safety precautions to prevent any accidents or mishaps during the cooking process.
Once you’ve gathered all the required items and taken the necessary precautions, you’re ready to move on to the next steps of preparing and seasoning the turkey.
Preparing the Turkey
Before placing the turkey in the electric skillet, it’s essential to properly prepare it to ensure a tasty and safe meal. Here’s how to do it:
- Remove the giblets and neck: Check the cavity of the turkey and remove any giblets or the neck that may be stored inside. You can save them for making gravy or discard them if you prefer.
- Rinse the turkey: Give the turkey a good rinse under cold running water to remove any excess juices or debris that may be present.
- Pat dry: Use paper towels to pat the turkey completely dry. This step is crucial for achieving crispy skin during the cooking process.
- Truss the turkey (optional): Trussing involves tying the turkey’s legs together with kitchen twine to create a neater, more compact shape. While this step is optional, it can help the turkey cook more evenly and maintain its shape.
- Optional stuffing: If you want to stuff your turkey, now is the time to do it. Be sure to stuff it loosely and avoid packing it tightly as this can impact the cooking time and the bird’s internal temperature.
Once you’ve completed these steps, your turkey is now ready to be seasoned and placed in the electric skillet. Seasoning is a crucial step to infuse flavor into the meat and enhance its overall taste.
Seasoning the Turkey
Seasoning the turkey is an important step to add flavor and enhance the taste of your cooked bird. Here are some tips on how to season your turkey:
- Salt and pepper: Start by generously seasoning the turkey with salt and pepper, both inside and out. This helps to enhance the natural flavors of the meat.
- Herbs and spices: Get creative with your seasoning by adding a variety of herbs and spices to elevate the flavors. Common herbs and spices to consider include rosemary, thyme, sage, garlic powder, onion powder, paprika, and even a pinch of cayenne pepper for a bit of heat.
- Citrus and aromatics: For a burst of freshness, insert some citrus slices (such as lemons or oranges) and aromatic herbs (such as parsley or bay leaves) into the turkey cavity. This will infuse the meat with delightful aromas.
- Olive oil or butter: Brushing the turkey with olive oil or melted butter can help promote browning and give the skin a deliciously crispy texture.
Once you’ve seasoned the turkey to your liking, you’re ready to move on to the next step: heating the electric skillet.
Heating the Electric Skillet
Before placing the seasoned turkey in the electric skillet, it’s important to properly heat the skillet to ensure even cooking and crisp, golden skin. Here’s how to heat your electric skillet:
- Check the manufacturer’s instructions: Consult the user manual or instructions provided with your electric skillet to determine the suitable heat settings and preheating times.
- Preheat the skillet: Turn on your electric skillet and set the temperature according to the instructions. Allow the skillet to preheat for a few minutes until it reaches the desired temperature.
- Consider added flavor: For extra flavor, you can also add a small amount of oil or butter to the skillet while it’s heating. This will help prevent the turkey from sticking and add a touch of richness to the skin.
Once the electric skillet is heated and ready, you can now move on to the exciting part – cooking the turkey!
Make sure to preheat the electric skillet before adding the turkey. This will help to sear the outside and lock in the juices, resulting in a juicy and flavorful turkey.
Read more: How To Cook Pasta In Electric Skillet
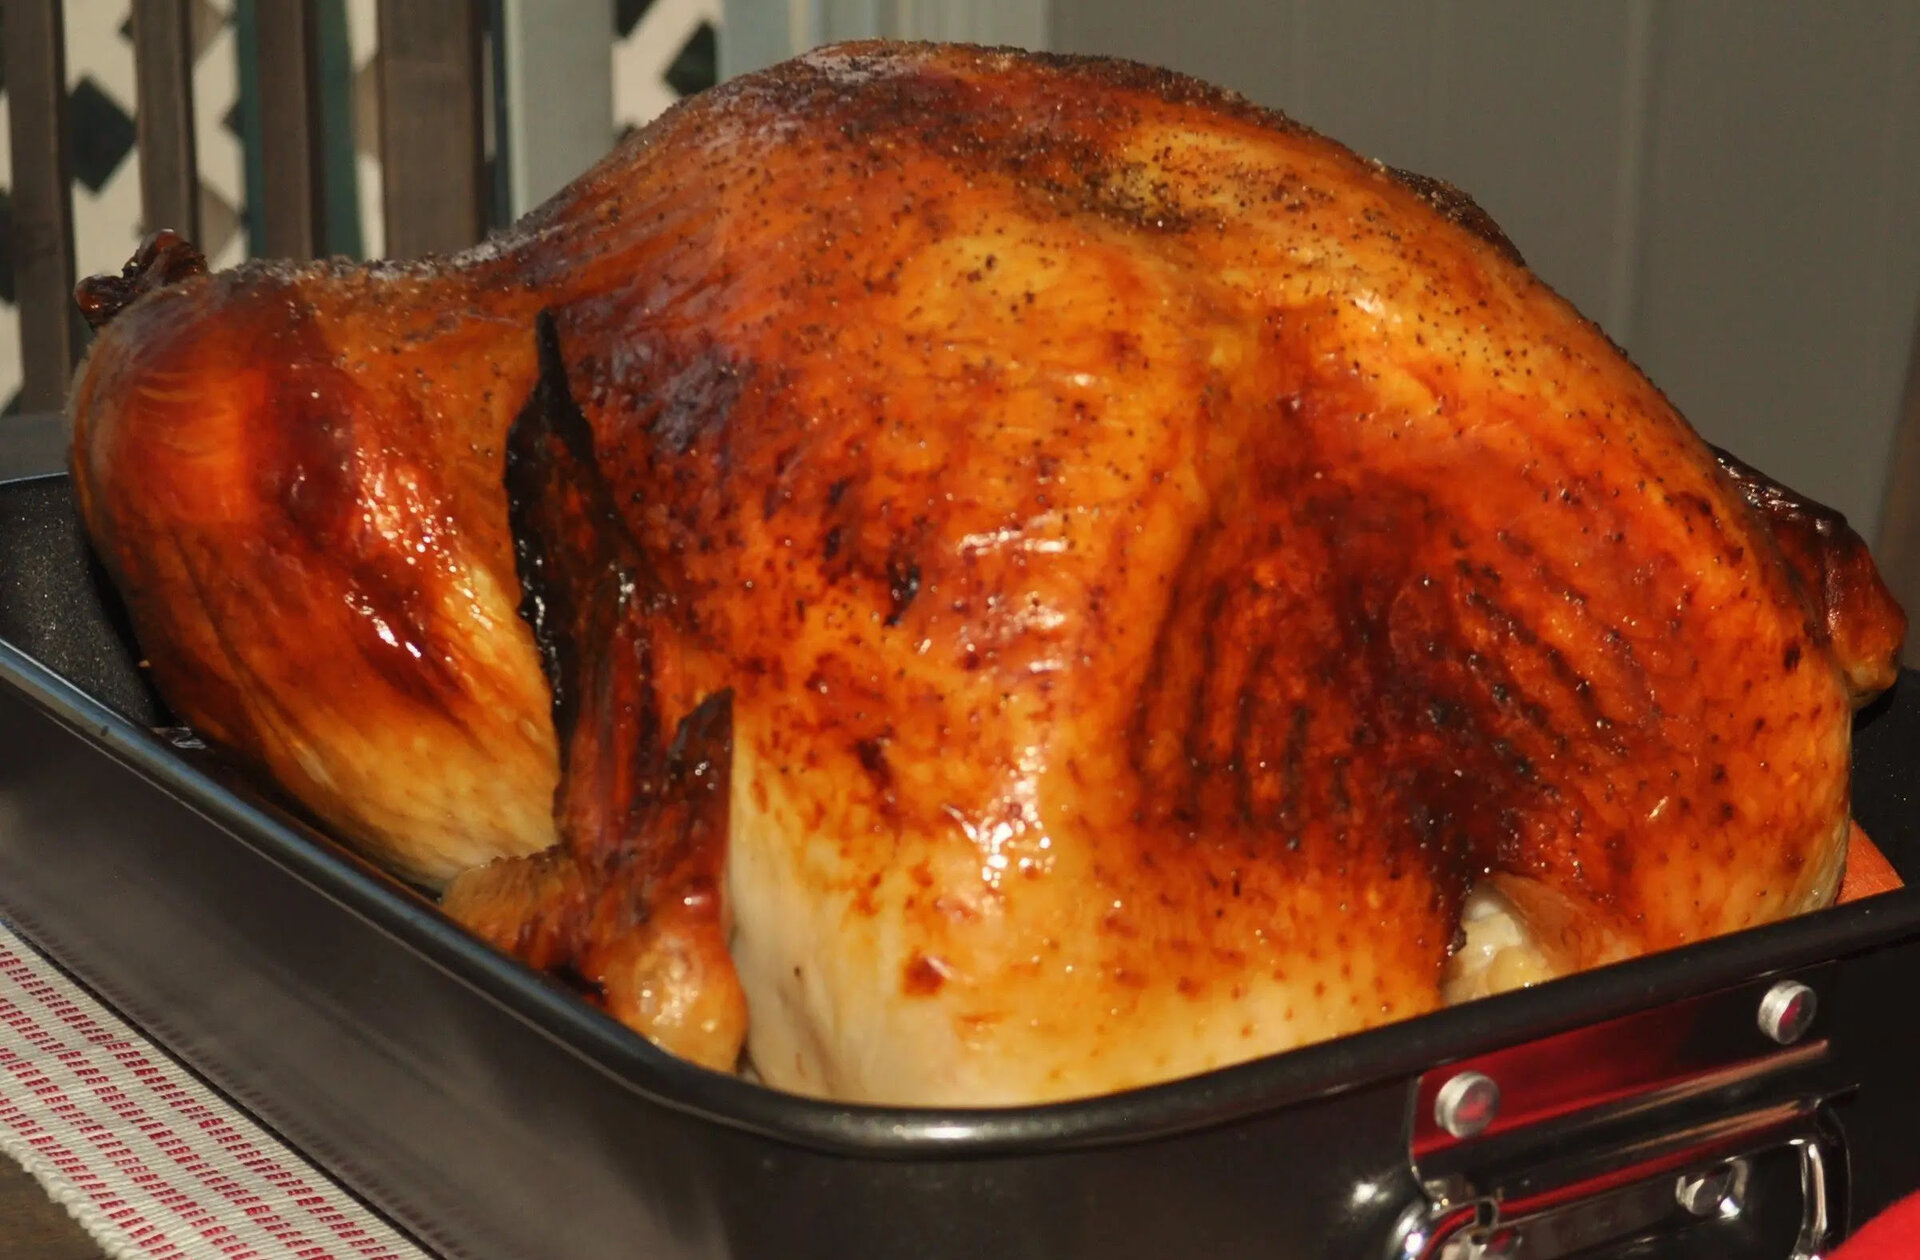
Cooking the Turkey in the Electric Skillet
Now that your electric skillet is heated and ready, it’s time to cook the turkey. Follow these steps for a perfectly cooked bird:
- Place the turkey in the skillet: Carefully place the seasoned turkey into the preheated electric skillet, breast-side up. Be cautious to avoid any hot oil or grease splatter.
- Cover the skillet: Cover the electric skillet with a lid or aluminum foil to trap the heat and moisture inside. This helps to cook the turkey evenly and keeps it juicy.
- Set the temperature and timer: Set the temperature according to the instructions and the weight of the turkey. As a general guideline, cook the turkey at around 325°F (163°C). Refer to a cooking chart for recommended cooking times based on the weight of your turkey.
- Baste if desired: If you prefer, you can baste the turkey occasionally with its cooking juices or a mixture of melted butter and herbs. Basting adds moisture and flavor to the meat.
- Rotate the turkey (optional): If your electric skillet allows for it, you can rotate the turkey halfway through the cooking process to ensure even browning.
Keep in mind that cooking times can vary depending on the size of the turkey and the specific model of the electric skillet. It’s always best to refer to the manufacturer’s instructions and use a meat thermometer to ensure the turkey reaches the appropriate internal temperature.
Speaking of temperature, let’s move on to the next step – checking the temperature of the turkey.
Checking the Temperature
Checking the temperature of the turkey is crucial to ensure it’s cooked safely and to perfection. Follow these steps to check the temperature:
- Use a meat thermometer: Insert a meat thermometer into the thickest part of the turkey’s thigh without touching the bone. The thigh is the meatiest part of the bird and takes the longest to cook.
- Check for doneness: The turkey is considered safe to eat when it reaches an internal temperature of 165°F (74°C) in the thigh. If the turkey has been stuffed, the stuffing should also reach the same temperature.
- Measure multiple spots: To ensure accuracy, you may want to check the temperature in a few different spots on the turkey to ensure that it’s fully cooked throughout.
If the turkey hasn’t reached the desired temperature yet, continue cooking in the electric skillet for a little longer, checking the temperature periodically. Be careful not to overcook the turkey, as it can result in dry meat.
Once the turkey reaches the appropriate temperature, it’s time to let it rest before carving and serving.
Letting the Turkey Rest
After cooking the turkey in the electric skillet, it’s important to let it rest before carving. Resting allows the juices to redistribute throughout the meat, resulting in a more tender and flavorful turkey. Here’s how to let the turkey rest:
- Remove the turkey from the skillet: Carefully remove the turkey from the electric skillet using oven mitts or heat-resistant gloves. Transfer it to a large cutting board or a serving platter.
- Tent with foil: Loosely tent the turkey with aluminum foil to keep it warm during the resting period. The foil helps to retain heat and prevent the turkey from cooling down too quickly.
- Let it rest: Allow the turkey to rest for about 20 to 30 minutes. This resting period allows the juices to redistribute throughout the meat, making it more succulent and easier to carve.
While the turkey is resting, it’s a good time to prepare any side dishes or gravy that you’ll be serving alongside the turkey. Once the resting period is over, the turkey is ready to be carved and served.
Carving and Serving the Turkey
Carving the turkey is the final step before you can enjoy your deliciously cooked bird. Follow these steps to carve and serve the turkey:
- Remove the stuffing (if applicable): If you stuffed the turkey, scoop out the stuffing and transfer it to a serving dish.
- Start with the legs: Begin by removing the legs and thighs from the turkey. Use a sharp carving knife or kitchen shears to separate them from the body.
- Slice the breast meat: Locate the breastbone and make a horizontal cut along one side of it. From there, slice the breast meat into thin, even slices.
- Separate the wings: Cut through the joint where the wings meet the body. This will give you separate wing portions to serve alongside the sliced turkey.
- Arrange on a platter: Arrange the sliced turkey, legs, thighs, and wings on a large serving platter. Garnish with herbs, citrus slices, or other decorative touches if desired.
With the turkey beautifully carved and displayed, it’s time to bring it to the table and serve it alongside your favorite Thanksgiving side dishes and sauces. Enjoy the fruits of your labor and savor the delicious flavors!
Remember, leftovers can be stored in airtight containers in the refrigerator for a few days. Use them to make sandwiches, soups, or other creative dishes in the days following your feast.
Now that you know how to cook a turkey in an electric skillet, you have an alternative method to impress your guests at any time of the year. It’s a convenient and flavorful way to prepare a classic dish with a twist. Happy cooking and happy feasting!
Read more: What Is An Electric Skillet
Conclusion
Cooking a turkey in an electric skillet offers a convenient and delicious alternative to the traditional oven-roasting method. The electric skillet helps save time, ensures even cooking, and can result in crispy, flavorful skin. By following the steps outlined in this article, you can confidently prepare a perfectly cooked turkey that will impress your family and friends.
Remember to gather the necessary tools and ingredients, properly prepare and season the turkey, preheat the electric skillet, and carefully cook the turkey to the ideal internal temperature. Give the turkey a proper resting time to allow the juices to redistribute, and then carve and serve it with confidence.
While the traditional oven method is still a popular choice for cooking turkeys, using an electric skillet can offer a unique and flavorful twist that will elevate your Thanksgiving or holiday meal. It’s also a great option for those who have limited oven space or prefer a more hands-on cooking experience.
So, next time you want to try something different with your turkey, consider reaching for your electric skillet. With the right preparation, seasoning, and cooking techniques, you can enjoy a succulent and flavorful turkey that will leave everyone wanting seconds.
Now that you have the knowledge and tips to cook a turkey in an electric skillet, it’s time to roll up your sleeves, gather your ingredients, and embark on a culinary adventure. Enjoy the process, get creative with your seasonings, and delight in the satisfaction of serving a perfectly cooked turkey!
Frequently Asked Questions about How To Cook A Turkey In An Electric Skillet
Was this page helpful?
At Storables.com, we guarantee accurate and reliable information. Our content, validated by Expert Board Contributors, is crafted following stringent Editorial Policies. We're committed to providing you with well-researched, expert-backed insights for all your informational needs.


0 thoughts on “How To Cook A Turkey In An Electric Skillet”