Articles
How To Cook On A Grill
Modified: October 28, 2024
Learn how to cook delicious meals on your grill with these informative articles. Master the art of grilling and impress your friends and family with your culinary skills.
(Many of the links in this article redirect to a specific reviewed product. Your purchase of these products through affiliate links helps to generate commission for Storables.com, at no extra cost. Learn more)
Introduction
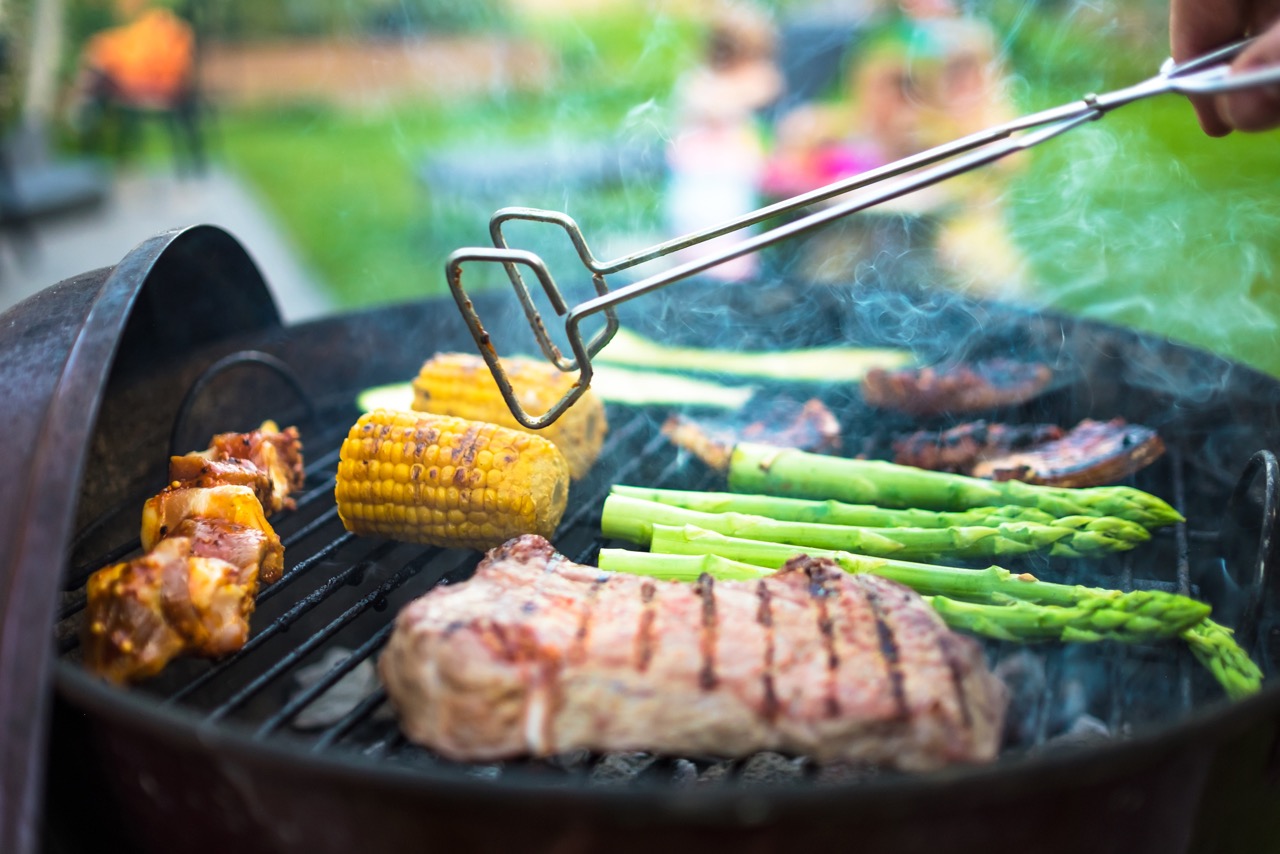
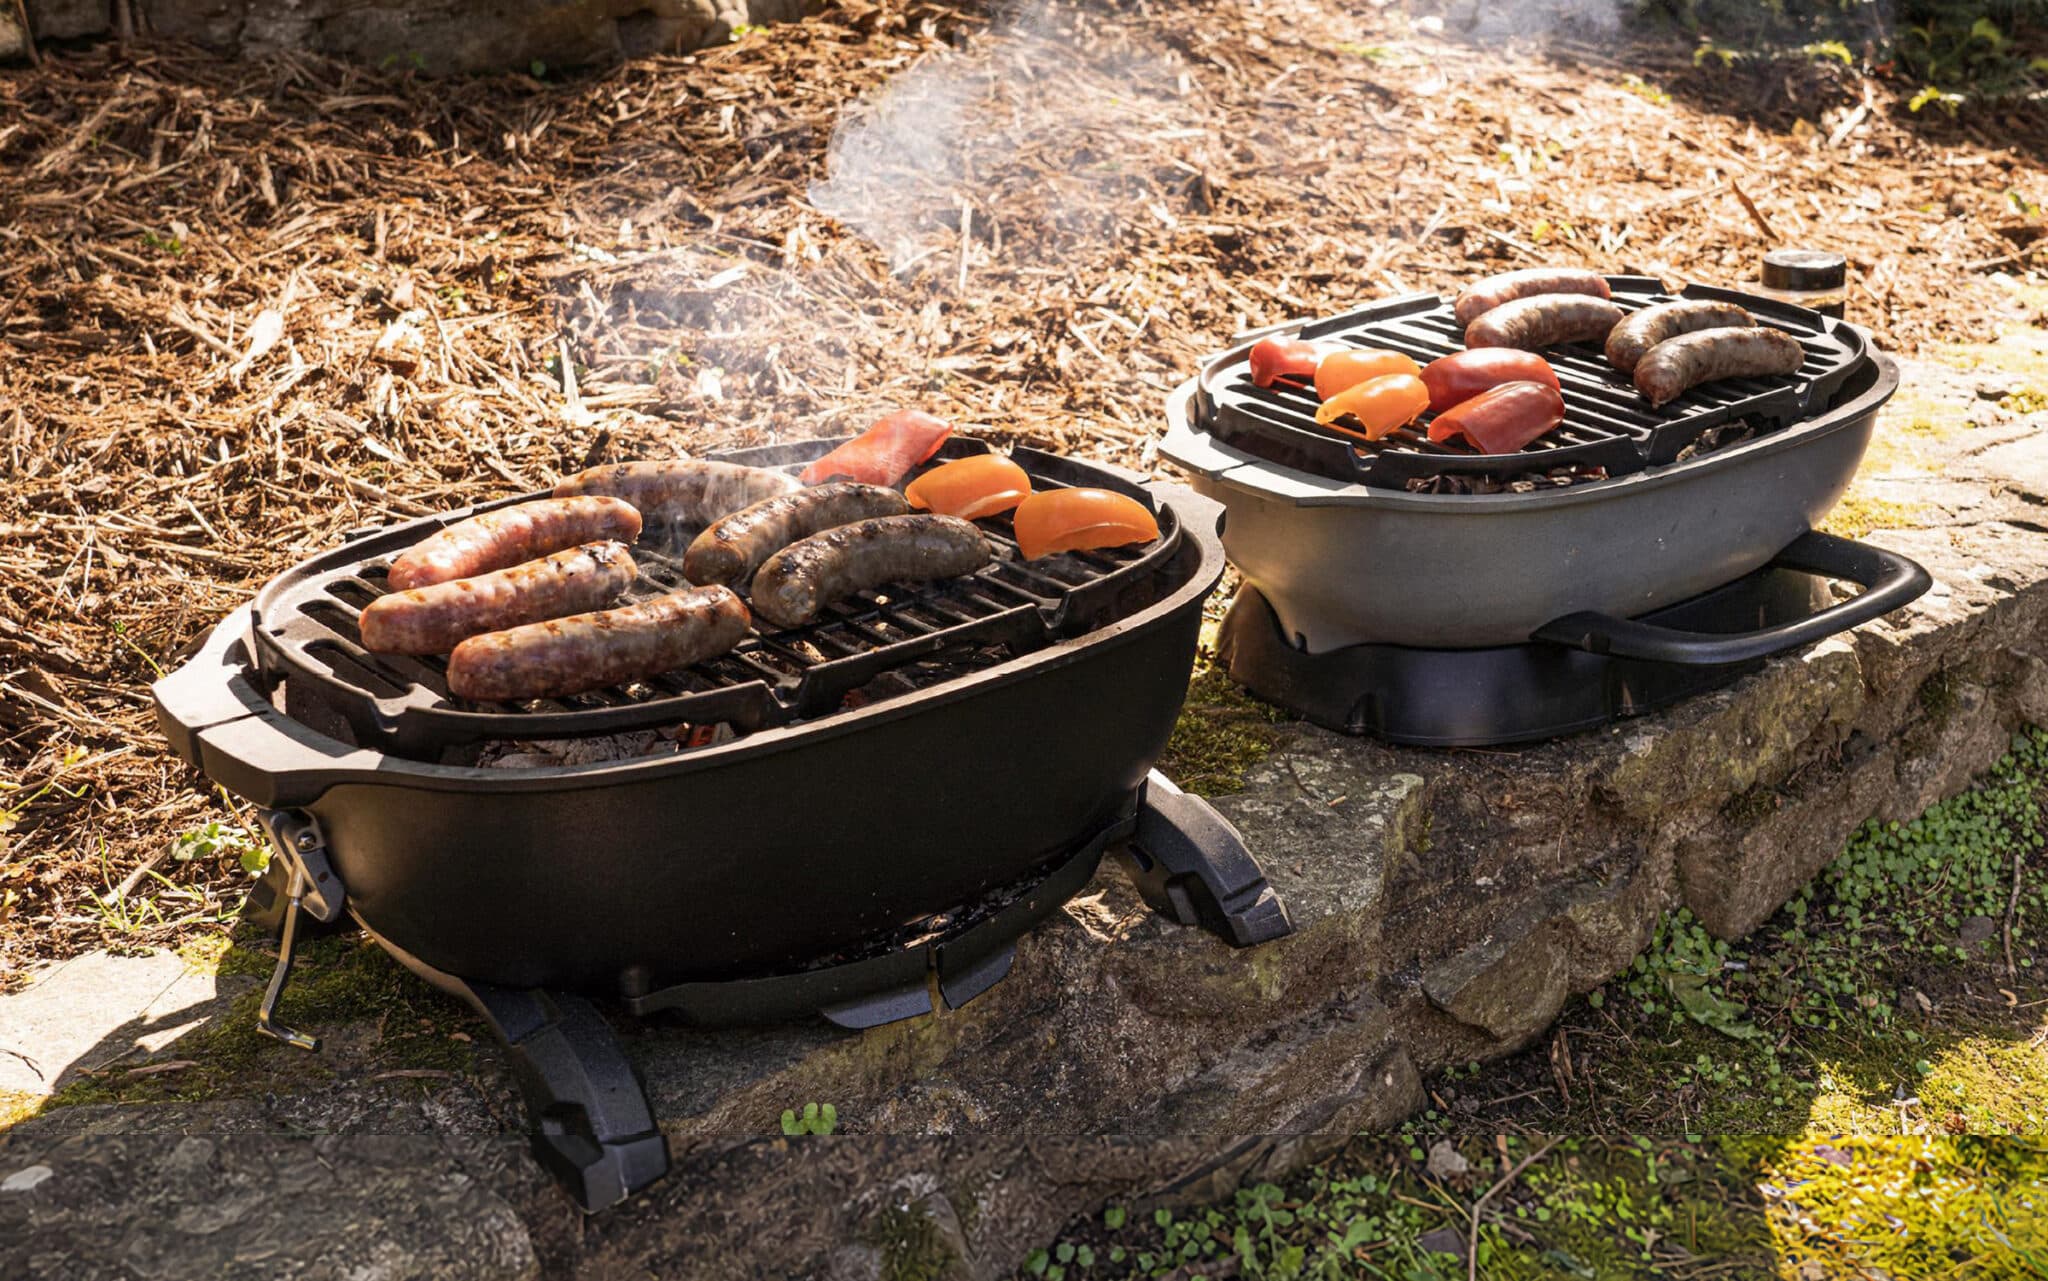
Grilling is not just a cooking method; it’s a way of life. There’s nothing quite like the sizzle of food hitting a hot grill, the aroma of smoke filling the air, and the anticipation of a delicious meal. Whether you’re a seasoned grill master or a beginner just starting to explore the world of outdoor cooking, this article is here to guide you on how to cook on a grill.
Grilling adds a unique flavor and char to food that cannot be replicated by any other cooking method. From juicy burgers and tender steaks to succulent seafood and vibrant vegetables, the possibilities are endless when it comes to grilling. It’s a versatile way of cooking that allows you to unleash your creativity and experiment with different flavors and techniques.
But before you dive into the world of grilling, it’s important to know how to prepare and handle the grill properly. This ensures not only the safety of yourself and those around you but also the optimal performance of the grill. In the next section, we’ll explore the key steps to preparing the grill for a successful grilling experience.
Key Takeaways:
- Master the art of grilling by following steps from preparing the grill to choosing the right ingredients, seasoning, and employing various cooking techniques. Elevate your outdoor cooking experience and impress your friends and family with mouthwatering dishes.
- Prioritize safe handling and serving practices to ensure the health and well-being of yourself and your guests. From cleanliness to proper storage, follow guidelines to enjoy grilled food with peace of mind.
Read more: How To Grill Chicken In Air Fryer
Step 1: Preparing the Grill
Before you start grilling, it’s essential to properly prepare the grill. This involves cleaning, oiling, and preheating the grates to ensure optimal cooking conditions. Follow these steps to get your grill ready:
- Start by cleaning the grill grates. Use a grill brush to remove any leftover food particles and debris. This will prevent any unwanted flavors from contaminating your food and ensure even cooking.
- Next, oil the grates to prevent sticking. Dip a folded paper towel into a high-heat oil like vegetable or canola oil, and use tongs to rub it onto the grates. This creates a non-stick surface for your food.
- Check the propane or charcoal levels. If you’re using a gas grill, ensure the propane tank is filled, or if you’re using charcoal, make sure you have enough briquettes. You don’t want to run out of fuel in the middle of cooking.
- If you’re using a charcoal grill, arrange the briquettes in a pyramid shape at the bottom of the grill. Light the briquettes using a charcoal chimney or lighter fluid, and let them burn until they turn gray and ashy. This process usually takes around 15-20 minutes.
- If you’re using a gas grill, preheat it by turning the burners to the desired temperature. Close the lid and let the grill heat up for at least 10-15 minutes. This ensures that the grates are hot and ready for cooking.
Once you’ve completed these steps, your grill will be clean, oiled, and properly preheated, setting the foundation for a successful grilling session. In the next step, we’ll discuss how to choose the right ingredients for grilling.
Step 2: Choosing the Right Ingredients
When it comes to grilling, the quality and selection of ingredients play a crucial role in the final outcome of your dish. Here are some tips on how to choose the right ingredients for grilling:
- Opt for fresh and high-quality ingredients. Look for meats and seafood with vibrant colors, firm texture, and a pleasant smell. Fresh vegetables should be crisp and vibrant, without any signs of wilting or browning.
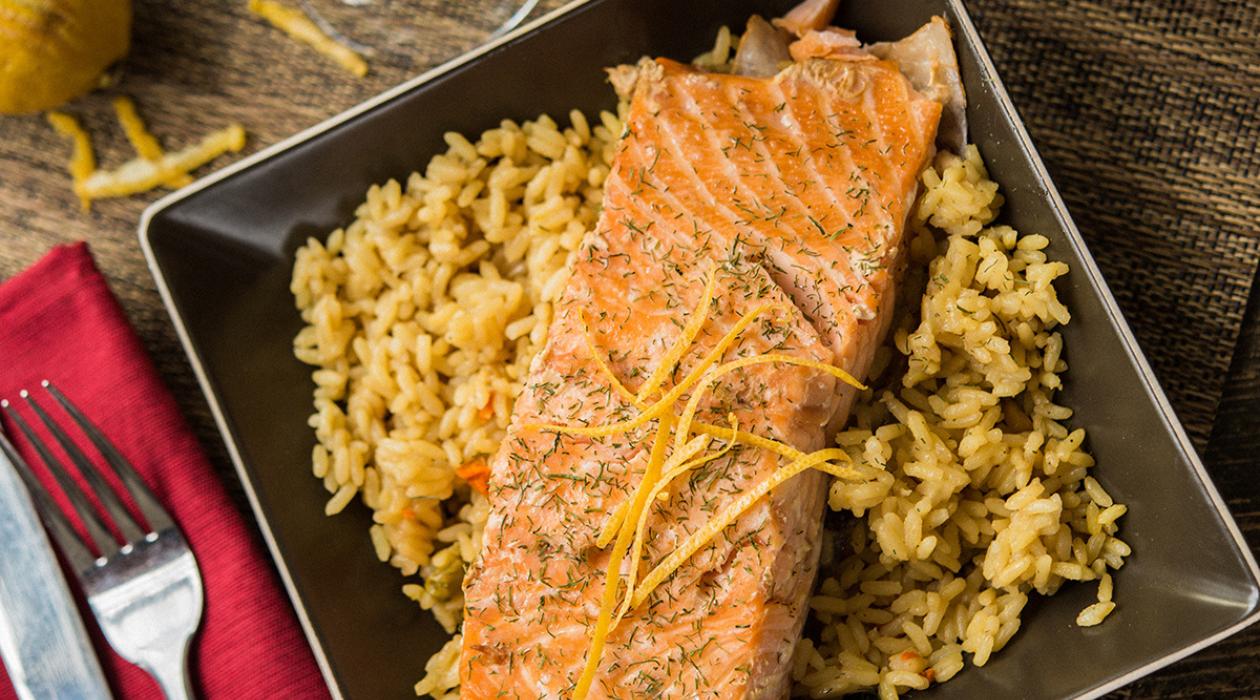
- Consider the type of protein you want to grill. Different cuts of meat and types of seafood have varying levels of tenderness and fat content. For example, lean cuts like chicken breasts or fish fillets may need to be marinated or cooked with added moisture to prevent drying out. On the other hand, fattier cuts like ribeye steaks or salmon can handle higher heat and longer cooking times.
- Choose vegetables that are suitable for grilling. While most vegetables can be grilled, some work better than others. Bell peppers, zucchini, eggplant, mushrooms, and corn on the cob are great options that hold up well on the grill and develop delicious charred flavors.
- Consider adding variety to your grilling menu. Experiment with different cuts of meat, seafood, and even fruits. Grilled pineapple or peaches can add a delightful sweetness to your meal. Be adventurous and try new ingredients to create unique and flavorful dishes.
- For the best results, season your ingredients well. Use a combination of spices, herbs, and marinades to enhance the flavors of your grilled food. Remember to adjust the seasoning based on the type of protein or vegetable you’re grilling.
By selecting fresh, high-quality ingredients and using proper seasoning, you’ll ensure that your grilled dishes are both flavorful and enjoyable. In the next step, we’ll dive into the process of preparing the food for grilling.
Step 3: Preparing the Food
Properly preparing your food before grilling is essential to ensure even cooking and delicious results. Follow these steps to prepare your food for the grill:
- Trim excess fat and remove any skin or bones from meat or poultry. This allows for more even cooking and prevents flare-ups on the grill.
- For larger cuts of meat, such as roasts or whole chickens, consider using a marinade or dry rub. This will help add flavor, tenderize the meat, and create a delicious crust on the surface.
- Slice vegetables and fruits into even-sized pieces to ensure even cooking. Depending on your preference, you can leave them larger for a more substantial bite or cut them into smaller pieces for faster and more uniform grilling.
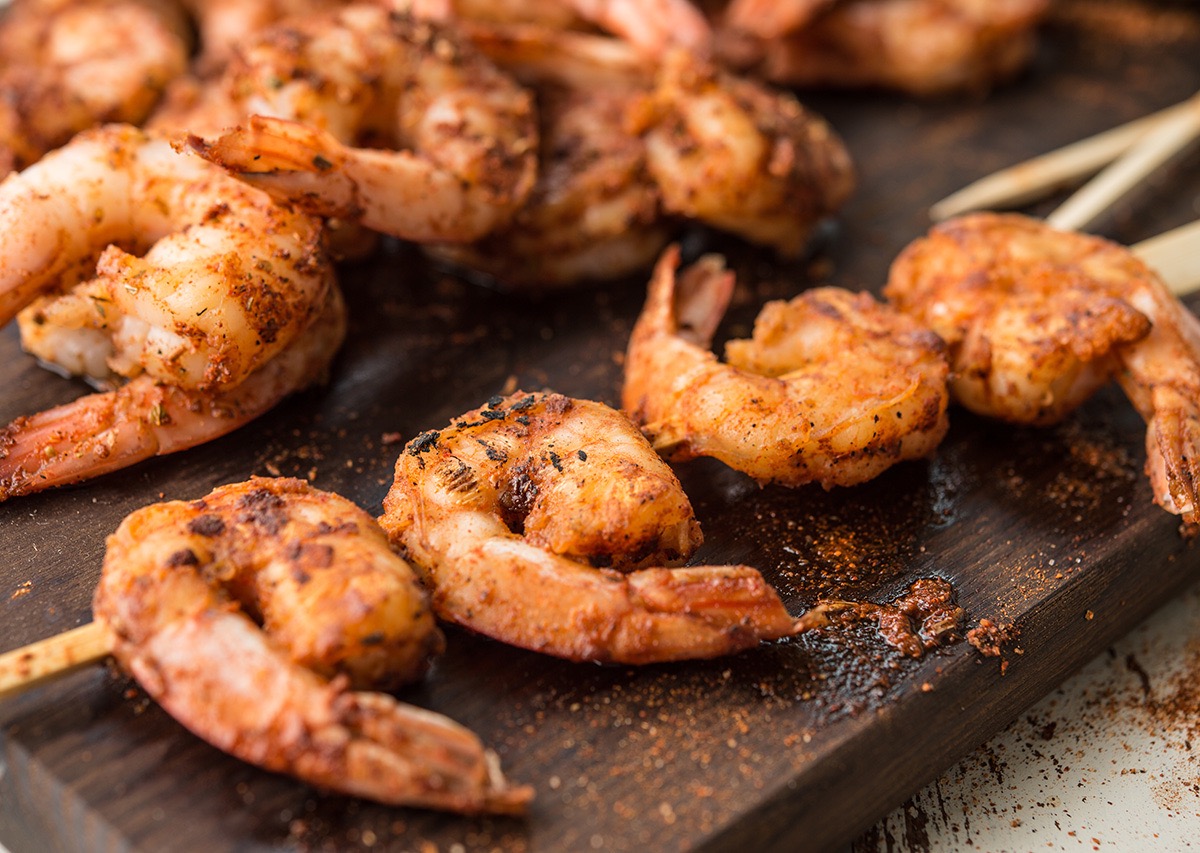
- Thread smaller pieces of meat, seafood, or vegetables onto skewers for convenient grilling, or use a grilling basket or tray for delicate or smaller ingredients. This will prevent them from falling through the grates and make flipping easier.
- If you want to add a smoky flavor to your food, consider soaking wood chips or using wood chunks or pellets. These can be added to the grill either directly or wrapped in foil. Experiment with different types of wood, such as mesquite, hickory, or fruitwood, to add a unique taste to your grilled dishes.
By properly preparing your food, you’ll ensure that it cooks evenly, retains its natural flavors, and develops a delicious charred exterior. Now that your food is ready, it’s time to move on to the next step: seasoning and marinating.
Step 4: Seasoning and Marinating
Seasoning and marinating your food is an essential step in grilling as it adds flavor, tenderizes the proteins, and enhances the overall taste of the dish. Here’s how you can season and marinate your ingredients:
- Start by generously seasoning your proteins and vegetables with salt and pepper. This simple seasoning brings out the natural flavors of the ingredients. Don’t be afraid to season liberally, as some of the seasoning will fall off during the cooking process.
- Experiment with different seasonings and spices to elevate the taste of your grilled dishes. Some popular choices include garlic powder, paprika, cumin, chili powder, and herbs like rosemary, thyme, or oregano. Mix and match spices to create your own unique flavor profiles.
- If you have more time, consider marinating your proteins. A marinade is a mixture of oil, acid (such as citrus juice or vinegar), and seasonings that infuses flavor and tenderizes the meat or seafood. Allow the ingredients to marinate in the fridge for at least 30 minutes to a few hours, depending on the thickness and type of protein.
- When marinating, place the protein and marinade in a zip-top bag or a shallow dish, making sure the marinade covers the ingredients completely. Flip or stir occasionally to ensure even distribution of flavors. Remember that acidic marinades should not be left on delicate proteins for too long, as they can break down the texture.
- Vegetables can also benefit from being marinated. Toss them in a mixture of oil, vinegar, herbs, and seasonings for added flavor. Let them sit for at least 15-30 minutes to allow the flavors to penetrate.
By seasoning and marinating your food, you’ll enhance the taste and tenderness of your grilled dishes. The next step will cover the crucial aspect of lighting the grill.
Read more: What To Make On The Grill
Step 5: Lighting the Grill
Lighting the grill is an important step that sets the stage for successful grilling. There are different methods to light both charcoal and gas grills. Here’s how you can effectively light your grill:
For Charcoal Grills:
- Arrange the charcoal briquettes in a pyramid shape at the bottom of the grill.
- Using either a charcoal chimney or lighter fluid, ignite the charcoal. If using a chimney, place crumpled newspaper underneath and light it. The flames will gradually ignite the charcoal.
- Let the briquettes burn until they turn gray and ashy, which typically takes around 15-20 minutes. Avoid cooking over flames or partially lit charcoal, as it can lead to uneven cooking and an acrid taste.
- Spread the hot coals evenly across the bottom of the grill using long-handled tongs or a grill rake. This creates a consistent heat source for cooking.
For Gas Grills:
- Open the lid of the gas grill.
- Turn on the gas supply by opening the propane tank valve or adjusting the natural gas line.
- Turn the burner knobs to the desired temperature. Most gas grills have multiple burners, allowing you to have different heat zones for versatile cooking.
- Press the ignition button or use a long lighter to ignite the burners. Keep the lid open during ignition.
- Close the lid and preheat the grill for at least 10-15 minutes to ensure the grates are hot and ready for cooking.
By following these steps, you’ll have a properly lit grill that is ready for cooking. The next step will delve into various cooking techniques you can use on the grill.
When grilling, preheat the grill for at least 10-15 minutes to ensure it reaches the desired temperature for cooking. This will help to sear the food and lock in the flavors.
Step 6: Cooking Techniques
Grilling offers a wide range of cooking techniques that can be applied to different types of ingredients. Understanding these techniques will allow you to achieve the desired results and showcase your grilling skills. Here are some common cooking techniques for the grill:
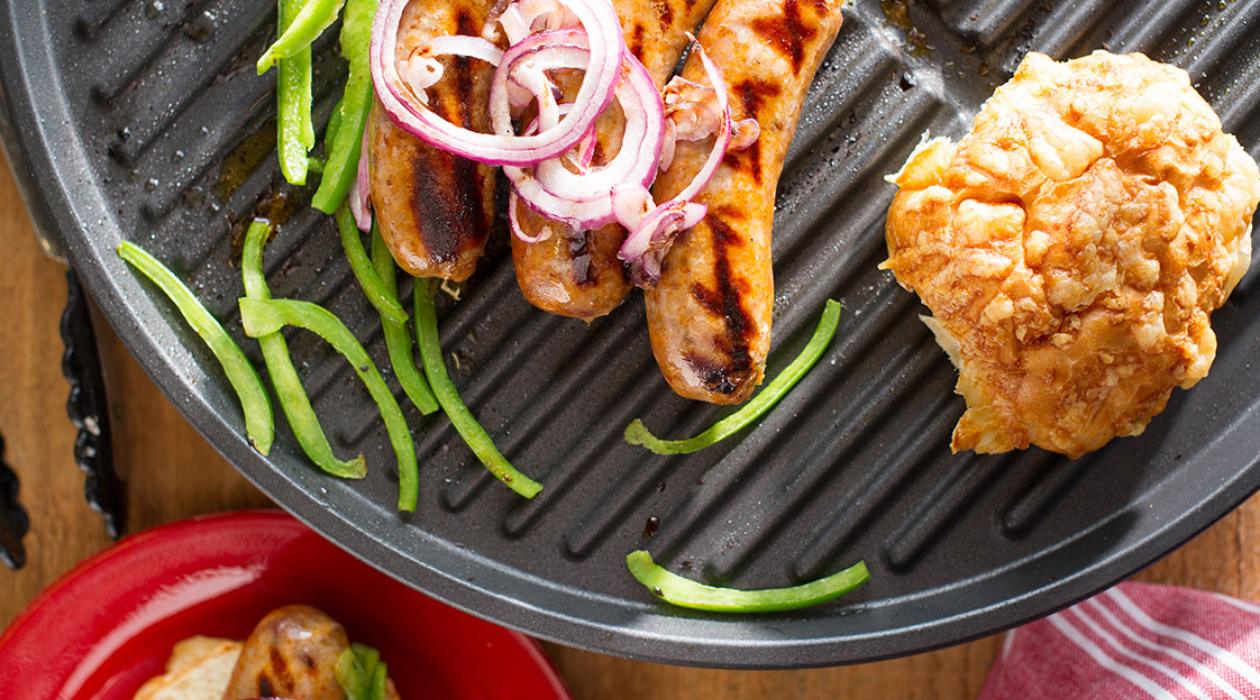
- Direct Grilling: Place the food directly over the heat source. This technique is ideal for small, thin cuts of meat or vegetables that cook quickly. It results in the caramelization of the food’s exterior while maintaining a juicy interior.
- Indirect Grilling: This technique involves placing the food next to the heat source, rather than directly over it. It is best suited for larger cuts of meat or delicate foods that require longer cooking times. Indirect grilling allows for slower, more even cooking without excessive charring.
- Grilling with a Lid: Using the grill’s lid creates an oven-like environment, allowing for even heat distribution and better heat retention. It’s ideal for roasting or baking dishes on the grill, such as whole chickens or pizzas.
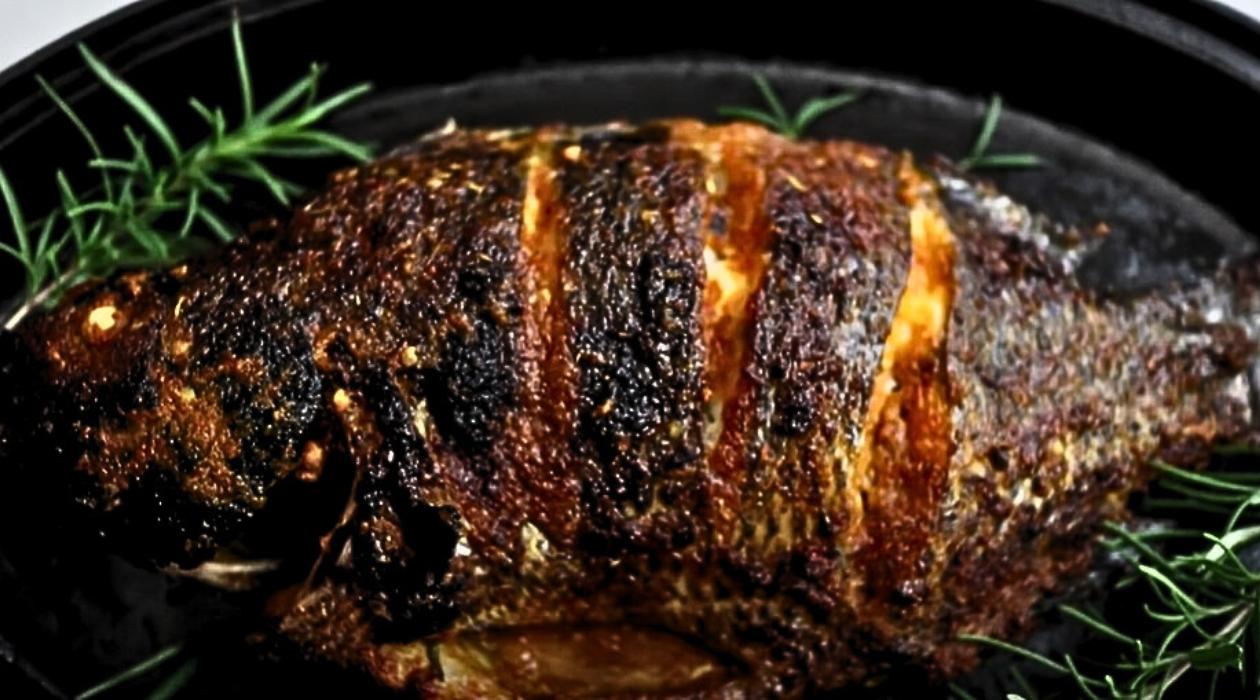
- Smoking: Smoking involves adding wood chips or chunks to create smoke, infusing the food with a smoky flavor. This technique is commonly used for meats like ribs, briskets, or salmon. It requires lower temperatures and longer cooking times to allow the smoke to penetrate the food.
- Basting and Glazing: Basting involves brushing the food with a sauce, marinade, or melted butter during cooking to enhance the flavor and moisture. Glazing refers to applying a thick sauce or glaze towards the end of cooking, allowing it to caramelize and form a delicious crust.
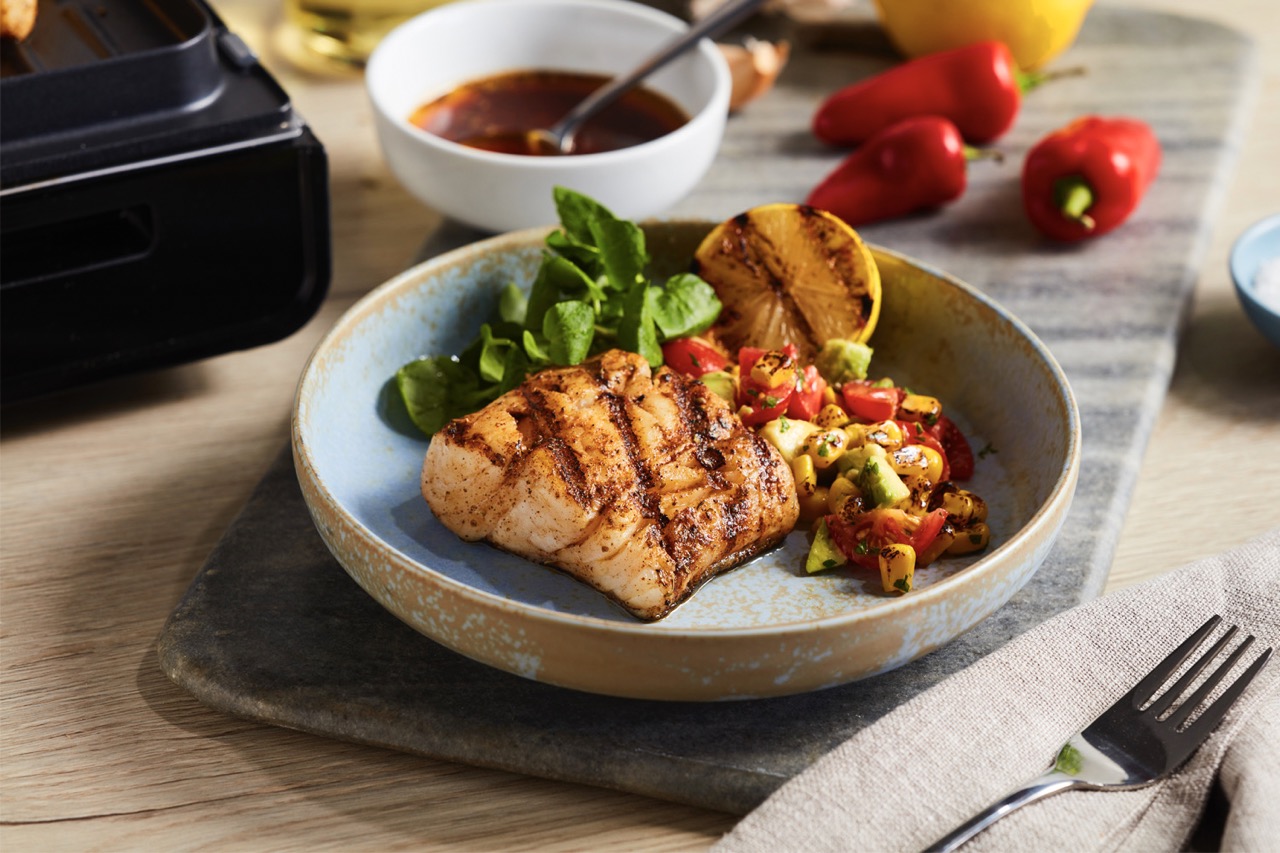
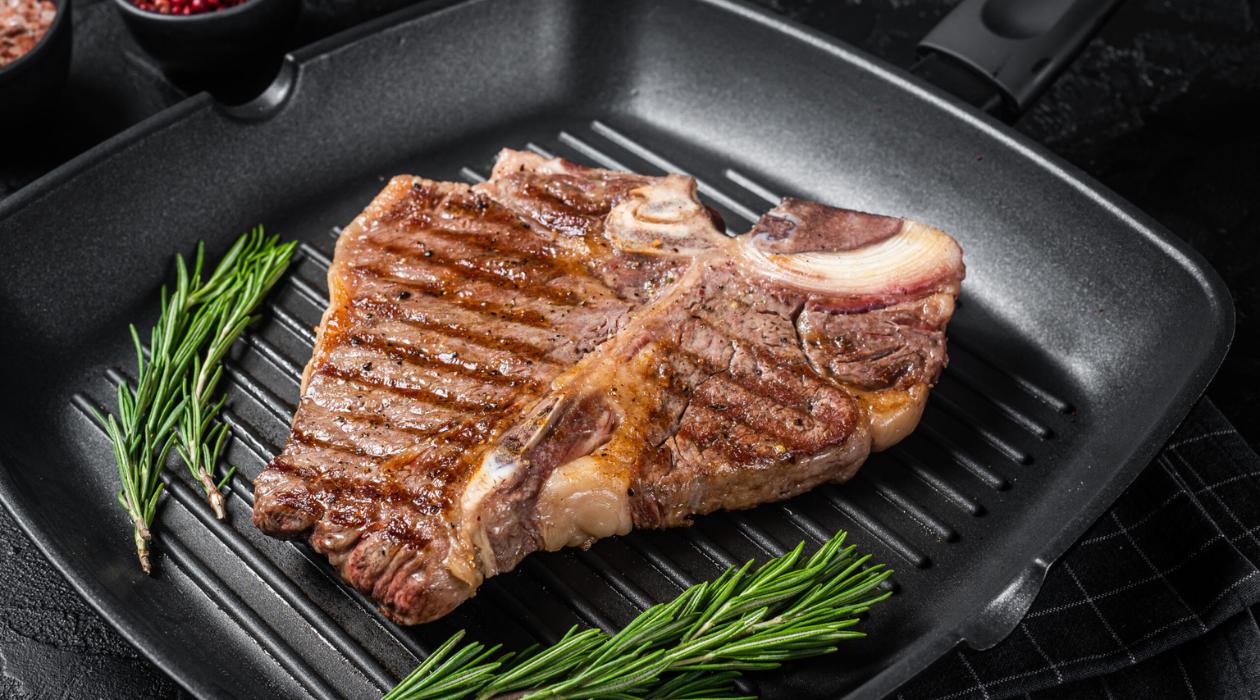
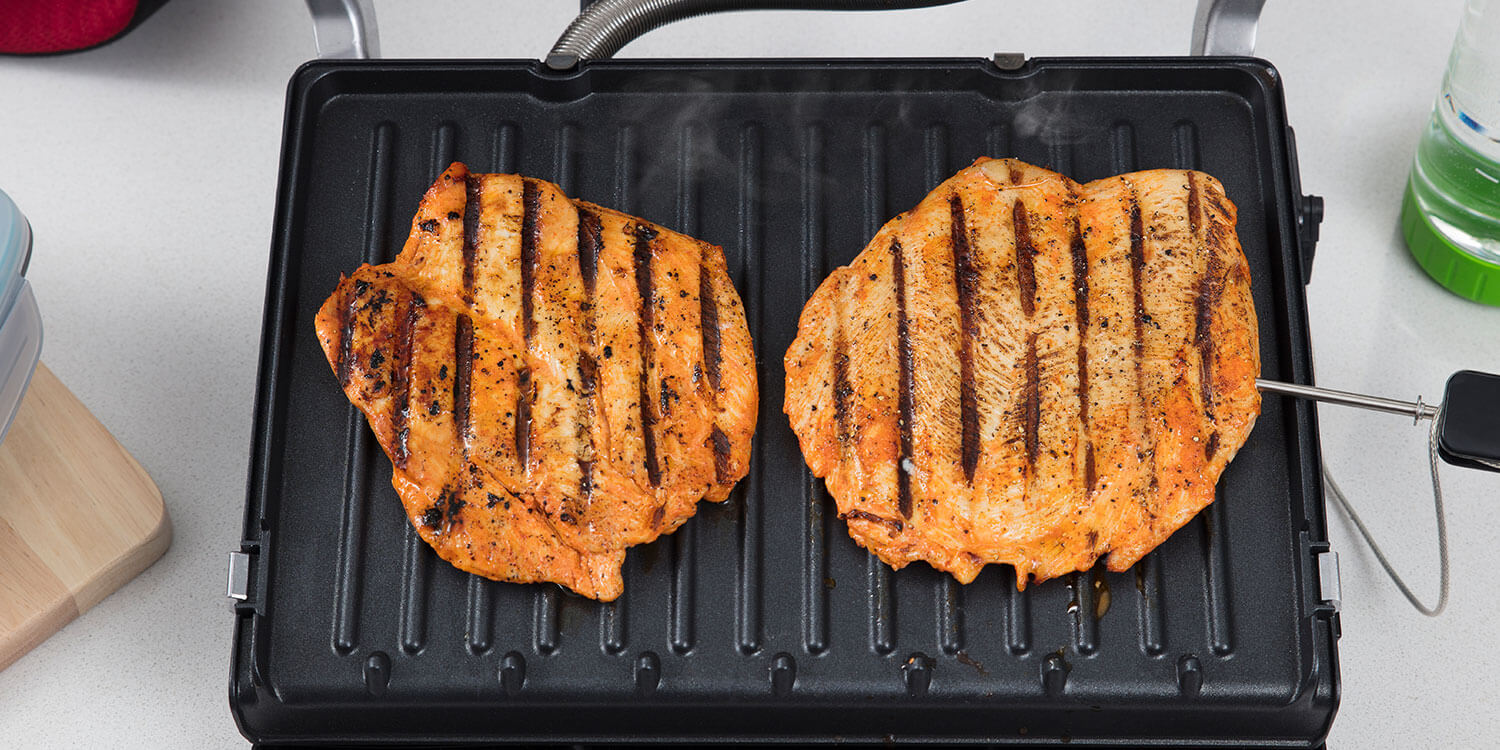
- Grill Marks: Achieving those beautiful grill marks on your food not only adds visual appeal but also enhances the flavor. To achieve grill marks, place the food diagonally over the grates and resist the temptation to frequently flip or move it. Once you have beautiful grill marks on one side, rotate the food 90 degrees to create a crosshatch pattern.
By utilizing these cooking techniques, you’ll be able to create a variety of delicious and well-cooked dishes on the grill. Next, let’s move on to discussing temperature and time guidelines for grilling.
Step 7: Temperature and Time Guidelines
Grilling requires careful attention to temperature and time to ensure that your food is cooked to perfection. Understanding the proper temperature ranges and cooking times for different ingredients is essential. Here are some general guidelines:
- Internal Temperature: Invest in a digital meat thermometer to accurately measure the internal temperature of your meats. This ensures that they are cooked to the desired level of doneness without over or undercooking. Refer to a temperature guide for specific recommendations for different meats and seafood.
- High Heat vs. Low Heat: High heat grilling is ideal for thinner cuts of meat or vegetables that cook quickly. It creates a sear on the exterior while maintaining a tender interior. Low heat grilling is suitable for larger cuts of meat or delicate foods that require longer cooking times to ensure they are cooked evenly.
- Cooking Times: Cooking times will vary depending on the thickness and type of ingredient being grilled. It’s important to account for indirect heat, resting time, and carryover cooking. Follow recipes and temperature guidelines to ensure proper cooking times.
- Resting Time: After removing the food from the grill, allow it to rest on a clean cutting board or plate. Resting allows the juices to redistribute within the meat, resulting in more flavorful and juicy results. The general rule is to let meat rest for about 5-10 minutes before slicing or serving.
Remember that grilling is not an exact science, and factors such as grill temperature, weather conditions, and personal preferences can affect cooking times. Use these guidelines as a starting point and adjust as needed based on your experience and desired outcome.
Now that you know the temperature and time guidelines, it’s time to learn about flipping and turning the food in the next step.
Step 8: Flipping and Turning the Food
Knowing when and how to flip and turn your food on the grill is crucial to achieving even cooking and preventing it from sticking or falling apart. Here are some tips for flipping and turning your food:
- Patience is Key: Avoid the temptation to constantly flip or move the food. Give it enough time to develop a nice sear and char on one side before flipping.
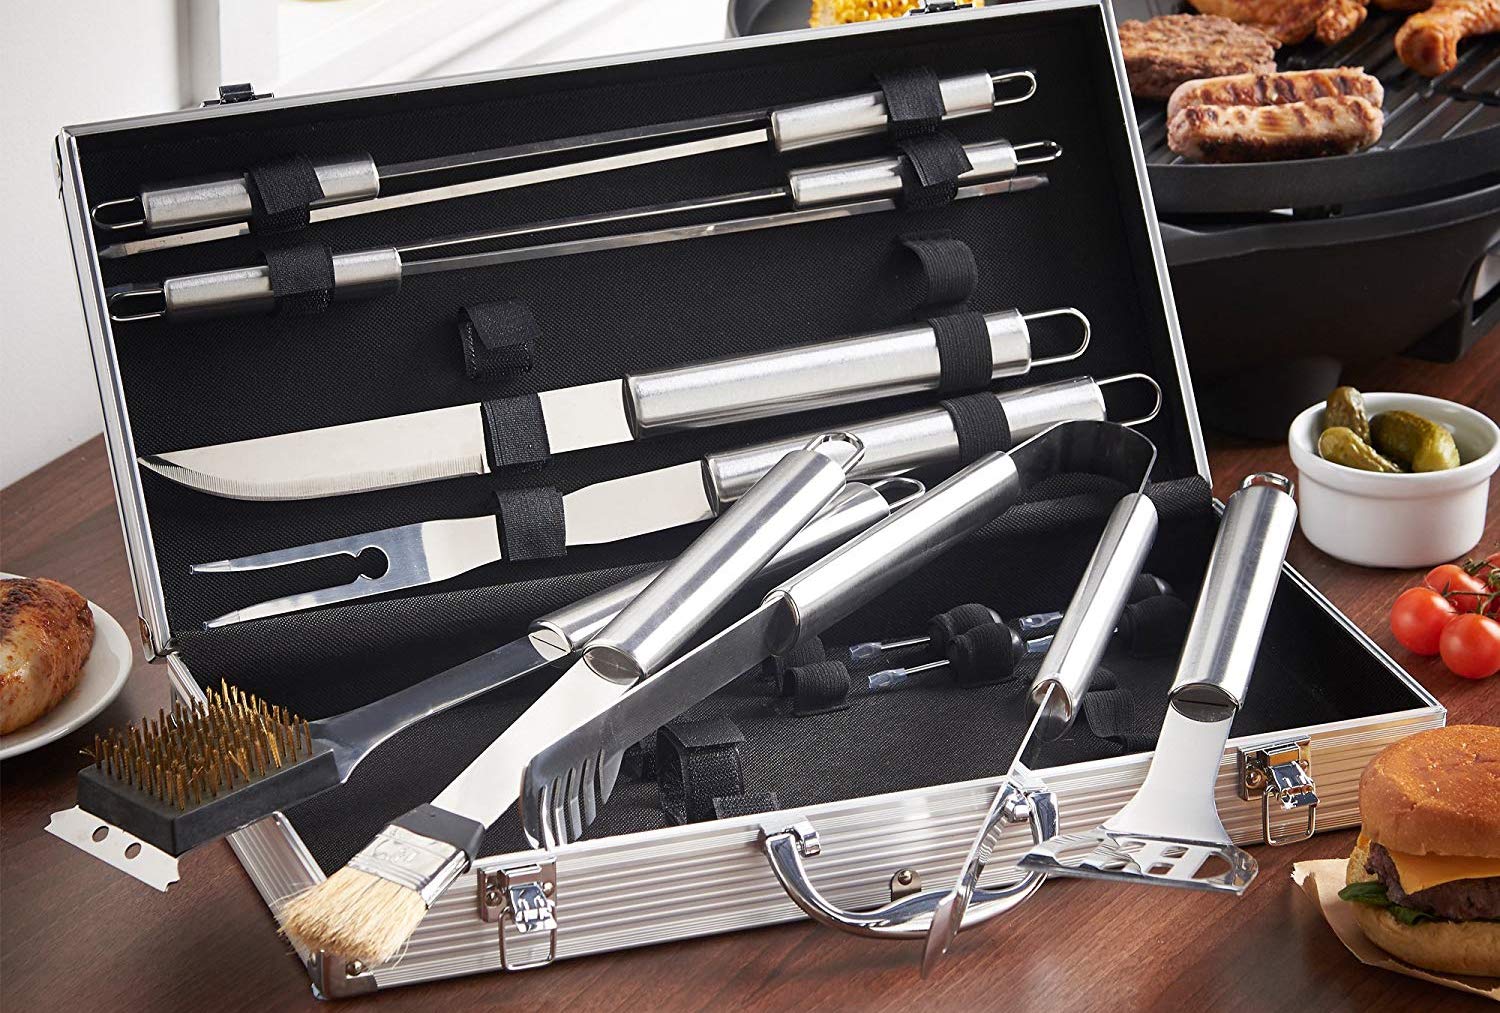
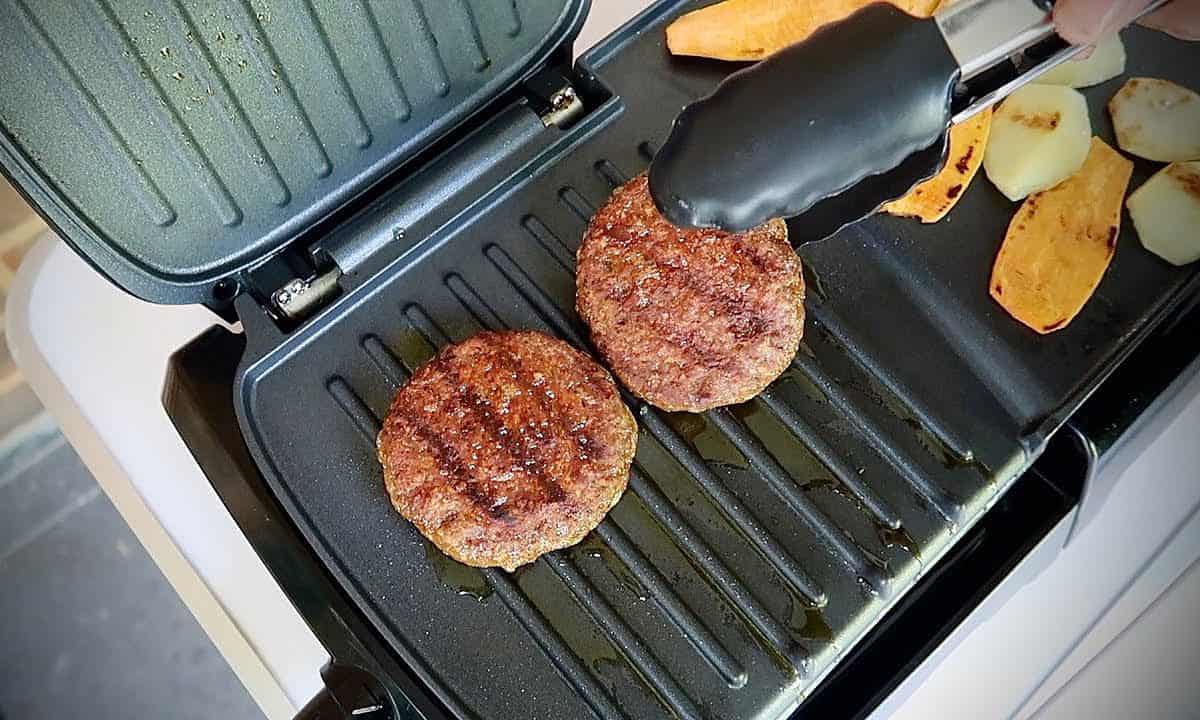
- Use the Right Tools: Invest in a good pair of long-handled tongs or a spatula to easily and safely handle the food on the grill. Avoid using forks, as they can pierce the meat and cause the juices to escape.
- Minimize Sticking: Make sure the grill grates are clean and properly oiled before cooking. This helps prevent sticking. When flipping, gently lift and turn the food, ensuring it releases easily from the grates.
- Flipping Techniques: Use a quick, smooth motion to flip the food. Aim to flip it only once to retain juices and prevent it from drying out. If you’re grilling delicate or small ingredients, consider using a grilling basket or tray to make flipping easier.
- Timing for Different Ingredients: Thicker cuts of meat generally require less frequent flipping, while thinner cuts or delicate foods may need more frequent turning. Keep an eye on the doneness and adjust your flipping frequency accordingly.
By applying these flipping and turning techniques, you’ll be able to achieve beautiful grill marks and even cooking on your food. Now, let’s move on to learning how to check for doneness in the next step.
Step 9: Checking for Doneness
Checking for doneness is a crucial step in grilling to ensure that your food is cooked to the desired level. Here are some methods to check for doneness:
- Visual Observation: Use your eyes to assess the visual cues of doneness. For meats, look for a browned and caramelized exterior. Juices should run clear or slightly pink, depending on the level of doneness you prefer. Vegetables should be tender and have a slight char.
- Touch Test: Develop a sense of touch to gauge the doneness of your food. Press the center of the meat or vegetable with your finger or the back of a spoon. The texture should spring back slightly for medium-rare, or feel firmer for well-done. Bear in mind that this method is most effective with experience.
- Internal Temperature: Use a digital meat thermometer to measure the internal temperature of your food. Different meats and seafood have specific internal temperature guidelines for desired doneness. Insert the thermometer into the thickest part of the meat or the center of the fish fillet to get an accurate reading.
- Resting: After removing the food from the grill, let it rest for a few minutes to allow the juices to redistribute. This helps to further cook the food and enhances the flavor. During this time, the internal temperature will also continue to rise slightly.
Remember that cooking times and doneness can vary depending on the type and thickness of the ingredient. It’s always better to slightly undercook and let the residual heat carry over for a few minutes, rather than overcooking and drying out the food.
Now that you know how to check for doneness, let’s move on to the final step: safe handling and serving.
Step 10: Safe Handling and Serving
Safe handling and serving of grilled food are essential to ensure the health and well-being of yourself and your guests. Follow these guidelines to ensure safe handling and serving:
- Keep Clean: Wash your hands thoroughly with soap and water before and after handling raw meat, seafood, or vegetables. Use separate utensils and cutting boards for raw and cooked foods to avoid cross-contamination.
- Use Clean Plates: When transferring cooked food from the grill, use clean plates and utensils to prevent bacteria from raw ingredients from contaminating the cooked food.
- Serve Immediately: Serve the grilled food immediately after cooking to ensure it is hot and retains its optimal texture and flavor.
- Proper Storage: If you have leftovers, refrigerate them within two hours in airtight containers. Leftovers can be enjoyed within a few days, but ensure they are reheated to the proper temperature before consuming.
- Safe Temperature: Cook meats and seafood to their recommended internal temperatures to ensure they are safe to eat. Consult a food temperature guide for specific temperatures.
- Grill Safety: Always follow safety guidelines when operating your grill. Keep it in a well-ventilated area away from flammable objects, and never leave it unattended when lit. Practice caution to prevent accidents and injuries.
By adhering to these safe handling and serving practices, you can enjoy your grilled food with peace of mind, knowing that it has been prepared and served in a hygienic and safe manner.
To conclude, grilling is a delightful cooking method that allows you to create flavorful and satisfying dishes. By following the steps outlined in this article, from preparing the grill to safe handling and serving, you can master the art of cooking on a grill and elevate your outdoor cooking experience. So, fire up the grill and enjoy the delicious flavors that grilling has to offer!
Conclusion
Grilling is not just a cooking method; it’s a culinary adventure that allows you to unleash your creativity and indulge in delicious flavors. By following the steps outlined in this article, you can become a master of the grill and impress your friends and family with mouthwatering dishes.
From preparing the grill to choosing the right ingredients, seasoning and marinating, lighting the grill, and employing various cooking techniques, each step is crucial in ensuring that your food is cooked to perfection and bursting with flavor. Remember to handle and serve your food safely, and always prioritize cleanliness to avoid any potential health risks.
Grilling offers a multitude of possibilities, whether you’re cooking up juicy steaks, succulent seafood, or vibrant vegetables. With the right techniques and a sense of adventure, you can elevate your grilling game and create memorable experiences for yourself and your loved ones.
So, gather your ingredients, fire up the grill, and embark on a culinary journey that will satisfy all your senses. Explore different flavors, experiment with seasonings, and embrace the joy of outdoor cooking. Whether it’s a casual weeknight dinner or a weekend gathering, grilling is sure to bring people together and create lasting memories.
Now it’s time to put these tips into action and become a true grill master. So get ready to savor the smoky aromas, embrace the sizzle of the grill, and enjoy the delicious results. Happy grilling!
Frequently Asked Questions about How To Cook On A Grill
Was this page helpful?
At Storables.com, we guarantee accurate and reliable information. Our content, validated by Expert Board Contributors, is crafted following stringent Editorial Policies. We're committed to providing you with well-researched, expert-backed insights for all your informational needs.
0 thoughts on “How To Cook On A Grill”