Articles
How To Make Grilled Cheese On Stove Top
Modified: December 7, 2023
Learn how to make perfectly grilled cheese on the stove top with this step-by-step guide. Read articles for expert tips and mouthwatering recipes!
(Many of the links in this article redirect to a specific reviewed product. Your purchase of these products through affiliate links helps to generate commission for Storables.com, at no extra cost. Learn more)
Introduction
Grilled cheese sandwiches are a classic comfort food that is loved by people of all ages. The combination of crispy, buttery bread and gooey melted cheese is simply irresistible. While many people may opt to make grilled cheese in a sandwich press or an electric grill, there is a certain charm and satisfaction in making it on a stovetop.
In this article, we will guide you on how to make a delicious grilled cheese sandwich using a stovetop. We will provide you with a step-by-step process, as well as some helpful tips and variations to elevate your grilled cheese game. So, let’s get started!
Key Takeaways:
- Elevate your grilled cheese game by mastering the stovetop method. Experiment with cheese blends, optional fillings, and bread types to create a personalized, irresistible masterpiece.
- Embrace the art of grilled cheese making with creative variations and tips. From spicy additions to unique spreads, explore endless possibilities to craft your signature gooey delight.
Read more: How To Make Grilled Cheese With A Toaster
Essential Ingredients
Before diving into the process of making a grilled cheese sandwich on the stovetop, let’s go over the essential ingredients you will need:
- Bread: Choose a bread that is sturdy enough to hold the fillings and can withstand the heat of the stove. Sourdough, white, whole wheat, or multigrain bread all work well.
- Cheese: The star ingredient of a grilled cheese sandwich is, of course, the cheese. Opt for cheese varieties that melt easily, such as cheddar, Swiss, mozzarella, American, or provolone. Feel free to mix and match for added flavor.
- Butter: Butter is the key to achieving that crispy and golden crust on the bread. Use unsalted butter for better control of the flavor.
- Optional Fillings: While a classic grilled cheese sandwich is made with just bread and cheese, you can add some extra flavor and texture with optional fillings like sliced tomatoes, caramelized onions, cooked bacon, avocado, or spinach.
Now that you have your ingredients ready, let’s move on to the steps involved in making a scrumptious grilled cheese on the stovetop.
Step 1: Choose your bread and cheese
The first step in making a delicious grilled cheese on the stovetop is to choose the right bread and cheese. Here are a few things to consider:
- Bread Selection: Opt for a bread that is sturdy enough to hold the fillings and won’t become too soggy when cooked. Some popular choices for grilled cheese sandwiches include sourdough, white, whole wheat, or multigrain bread. Feel free to experiment with different types of bread to find your favorite.
- Cheese Selection: The choice of cheese can make or break a grilled cheese sandwich. Choose a cheese that melts easily and has a rich flavor. Popular options for grilled cheese include cheddar, Swiss, mozzarella, American, or provolone. You can also mix and match different cheeses for a more complex flavor profile.
- Combining Cheeses: If you want to take your grilled cheese to the next level, try combining different cheeses to create a unique and flavorful blend. For example, mix cheddar with Gruyere for a tangy and nutty combination, or combine mozzarella with fontina for a gooey and creamy texture.
Remember, the choice of bread and cheese will greatly impact the overall taste and texture of your grilled cheese sandwich. Feel free to experiment and find your perfect combination.
Step 2: Prepare the bread
Now that you have chosen your bread and cheese, it’s time to prepare the bread for grilling. Follow these steps:
- Slice the bread: Take your chosen bread and slice it into desired thickness. Aim for slices that are about 1/2 to 3/4 inch thick. This thickness allows the bread to hold up well during grilling while still achieving a nice crispy texture.
- Butter the bread: Take a slice of bread and spread a thin layer of butter on one side. This will help create that golden, buttery crust on the outside of the sandwich. If you prefer a healthier option, you can use mayonnaise or olive oil instead of butter.
- Optional: Add condiments: If you want to add extra flavor to your grilled cheese sandwich, you can spread condiments like mustard, pesto, or garlic aioli on the unbuttered side of the bread. These additions will give your sandwich an extra kick of flavor.
Repeat these steps for all the bread slices that you will be using. Now that your bread is prepped and ready, it’s time to move on to the next step: assembling the sandwich.
Step 3: Assemble the sandwich
Now that you have your prepared bread slices, it’s time to assemble the sandwich with your chosen cheese and optional fillings. Follow these steps:
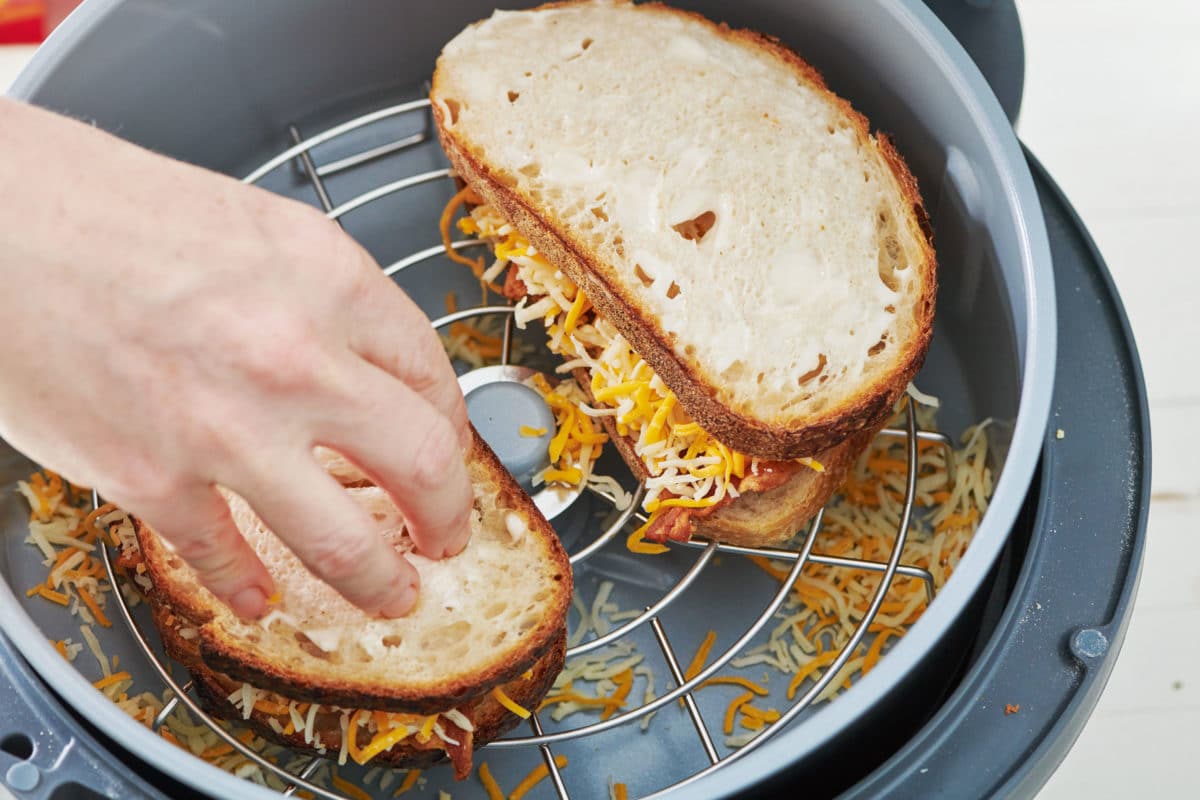
- Place the cheese on one bread slice: Take one slice of bread with the buttered side down and place your desired amount of cheese on top. Make sure to spread the cheese evenly, covering the entire surface of the bread. If you’re using any additional fillings, such as sliced tomatoes or caramelized onions, add them on top of the cheese.
- Top with another bread slice: Take another slice of bread and place it on top of the filling, with the buttered side facing up. The buttered sides of the bread should be facing outward, as they will come in contact with the heated pan.
Repeat these steps for any additional sandwiches you’re making. Now that your sandwich is assembled, it’s time to move on to the next step: heating the pan.
Read more: How To Grill Chicken On Stove Top
Step 4: Heat the pan
With your grilled cheese sandwich assembled, it’s time to heat the pan for cooking. Follow these steps:
- Select a suitable pan: Choose a non-stick skillet or a cast-iron pan for grilling your sandwich. Make sure the pan is large enough to accommodate the sandwich without overcrowding.
- Heat the pan over medium heat: Place the pan on the stovetop and turn the heat to medium. Allow the pan to heat up for a couple of minutes before moving on to the next step.
- Optional: Add butter to the pan: For extra buttery flavor, you can add a small pat of butter to the hot pan. Swirl it around to coat the bottom of the pan evenly. This will give your sandwich an even crispier crust.
Once the pan is heated and optionally buttered, it’s time to move on to the next step: cooking the sandwich.
Use a non-stick skillet and spread butter on the outside of the bread for a crispy texture. Cook over medium heat and flip when the bottom is golden brown.
Step 5: Cook the sandwich
Now that the pan is heated, it’s time to cook your grilled cheese sandwich to perfection. Follow these steps:
- Place the sandwich in the pan: Carefully place the assembled sandwich into the hot pan. Allow it to cook for 2-3 minutes, or until the bottom slice of bread becomes golden brown and crispy.
- Press down gently: If you want a flatter and more compact sandwich, you can press down gently on the sandwich using a spatula or a sandwich press. This will help melt the cheese evenly and create a more compact sandwich.
- Flip the sandwich: Once the bottom side is golden brown, use a spatula to carefully flip the sandwich. Be cautious while flipping to avoid any hot ingredients from falling out. Cook the other side for an additional 2-3 minutes, or until the bread is golden and crispy.
Keep a close eye on the sandwich while cooking to prevent it from burning. The timing may vary depending on the heat of your stovetop, so adjust accordingly. Once both sides are golden brown and the cheese is melted, it’s time to move on to the next step: removing the sandwich from heat and serving.
Step 6: Flip and cook the other side
After cooking one side of the grilled cheese sandwich, it’s time to flip it and cook the other side to achieve that perfect golden crust. Follow these steps:
- Using a spatula, carefully lift the sandwich from the pan.
- Flip the sandwich over gently to ensure that the fillings stay intact.
- Place the sandwich back into the pan, ensuring that the cooked side is facing up.
- Cook the sandwich for another 2-3 minutes, or until the bread becomes crispy and golden brown.
During this step, it’s important to maintain a moderate heat to prevent burning while ensuring that the cheese inside is fully melted. You can press down gently on the sandwich with a spatula to encourage even cooking and to create a more compact sandwich.
Once the other side is cooked to your desired crispiness, it’s time to move on to the final step: removing the sandwich from heat and serving.
Step 7: Remove from heat and serve
Now that your grilled cheese sandwich is cooked to perfection, it’s time to remove it from the heat and get ready to enjoy your delicious masterpiece. Follow these final steps:
- Turn off the heat: Carefully remove the pan from the stovetop and turn off the heat source. Place it on a heat-resistant surface.
- Let it cool slightly: Allow the sandwich to cool for a minute or two to avoid burning your mouth when you bite into it. This will also help the cheese settle and prevent it from oozing out excessively.
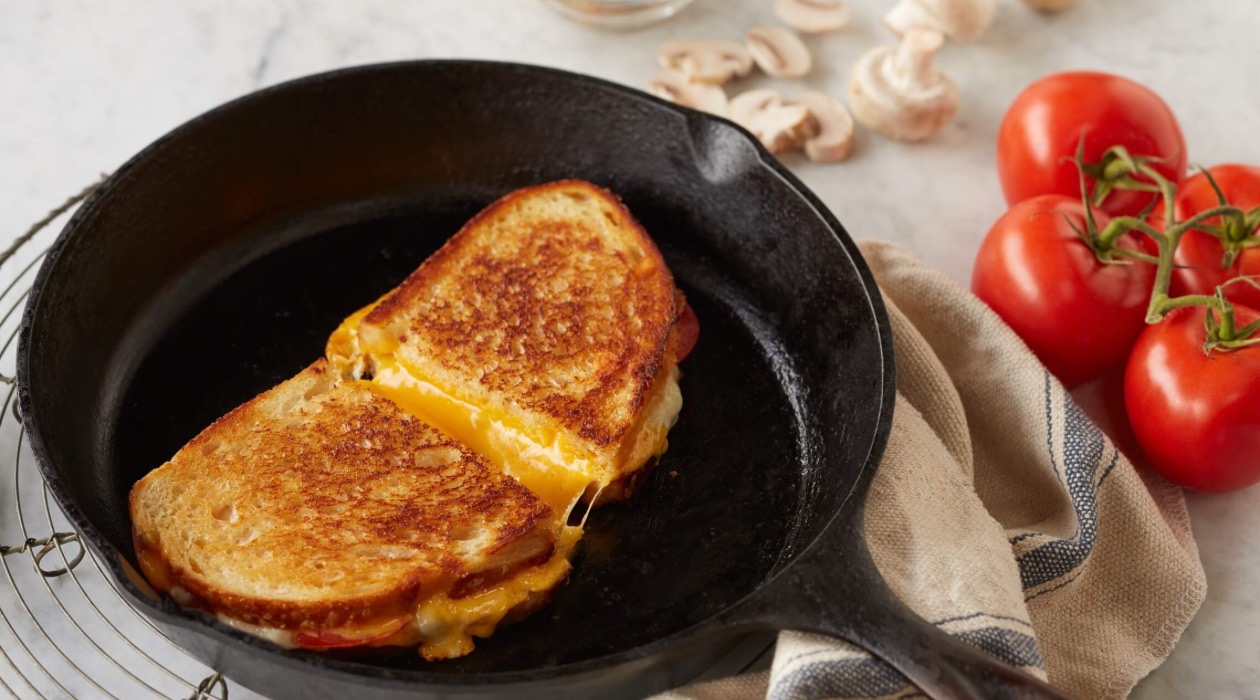
- Cut and serve: Transfer the grilled cheese sandwich to a cutting board. Use a sharp knife to cut it in half diagonally or into smaller bite-sized pieces if desired. Serve it warm and crispy.
Grilled cheese sandwiches are best enjoyed immediately while they are still warm and the cheese is gooey and melted. Serve them as is or pair them with a bowl of tomato soup for a classic combination.
With these simple steps, you can easily make a scrumptious grilled cheese sandwich on the stovetop. Now, it’s time to get creative and experiment with different cheese and filling combinations to elevate your grilled cheese game.
Enjoy your homemade grilled cheese sandwich!
Read more: How To Make A Stove Top Distiller
Variations and Additional Tips
While the classic grilled cheese sandwich is delicious on its own, there are endless variations and additional tips to explore. Here are some ideas to take your grilled cheese to the next level:
- 1. Add some spice: Sprinkle some red pepper flakes or add a slice of jalapeno to give your sandwich a spicy kick.
- 2. Experiment with different cheeses: Mix and match different cheese varieties to create unique flavor combinations. Try brie and apple, gouda and caramelized onions, or feta and sun-dried tomatoes.
- 3. Enhance with herbs and seasonings: Add a sprinkle of herbs like basil, thyme, or oregano to add freshness and aroma to your grilled cheese. You can also season the buttered side of the bread with garlic powder or smoked paprika for extra flavor.
- 4. Explore sweet and savory combinations: Pair your cheese with ingredients like sliced pear and honey for a sweet and savory twist. Or try adding crispy bacon or sliced ham for a heartier option.
- 5. Use different breads: Experiment with different types of bread, such as rye, ciabatta, or even croissants, to add variety to your grilled cheese experience.
Now, here are a few additional tips to help you achieve grilled cheese perfection:
- 1. Adjust the heat: If your bread is browning too quickly or the cheese is not melting enough, adjust the heat accordingly. Lower the heat for slower cooking or increase it slightly for a quicker melt.
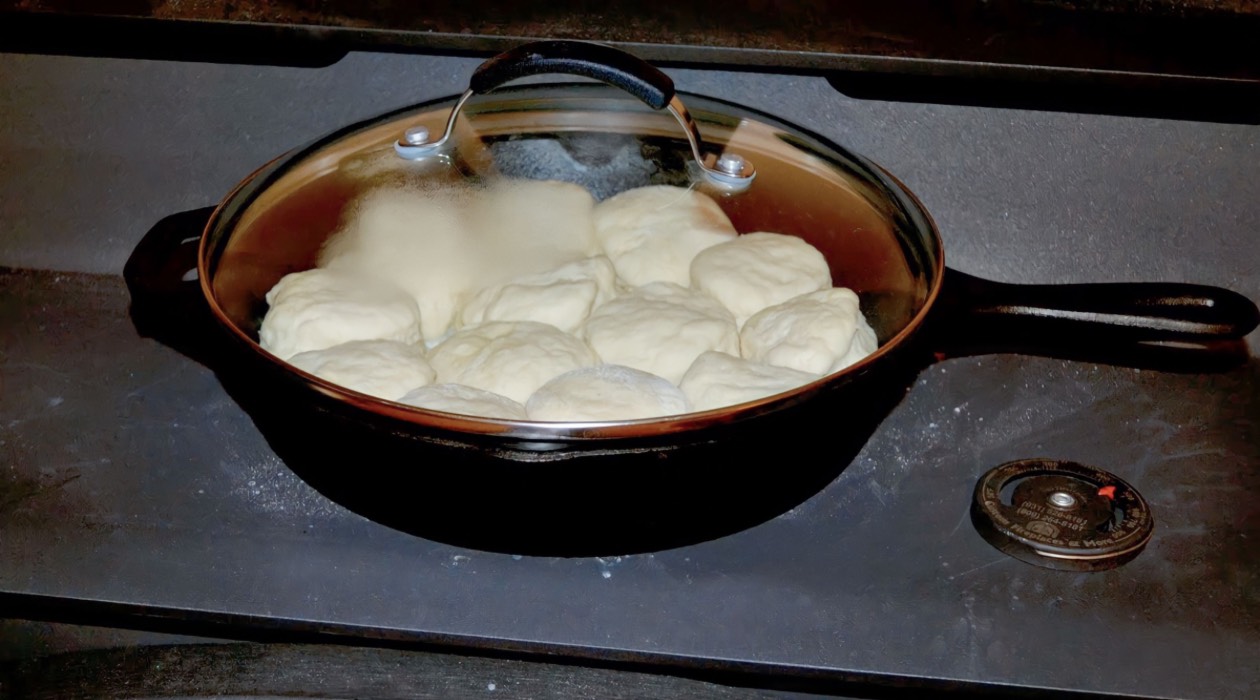
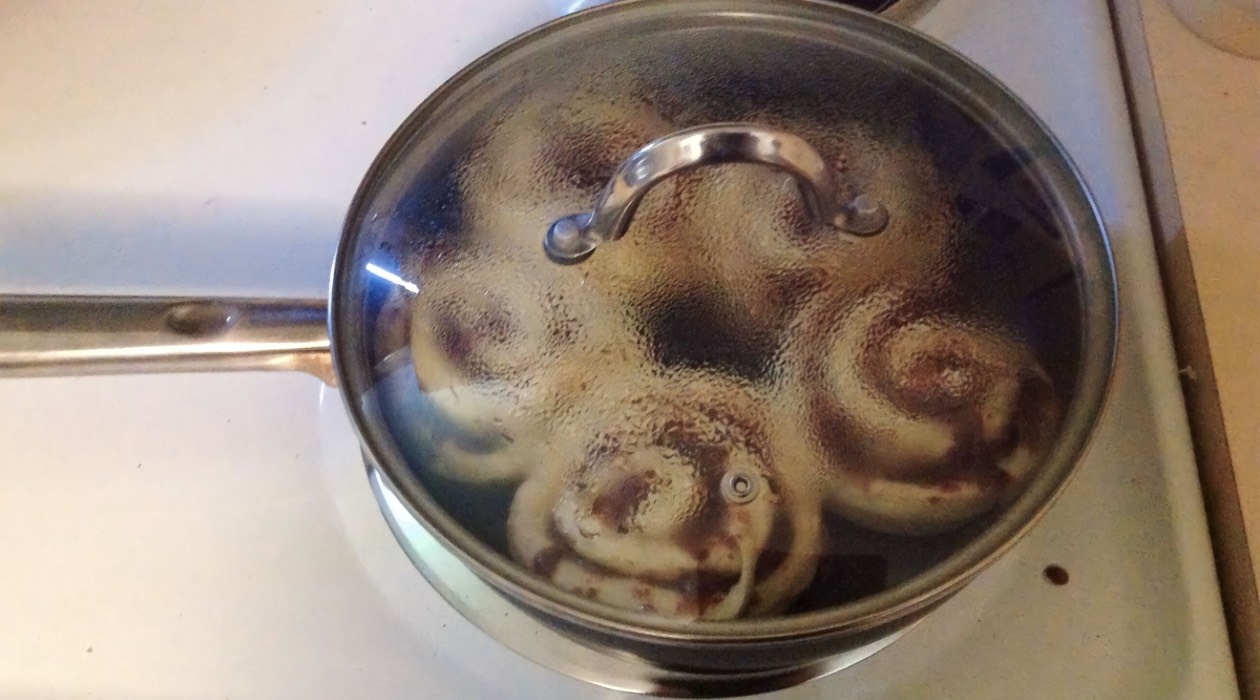
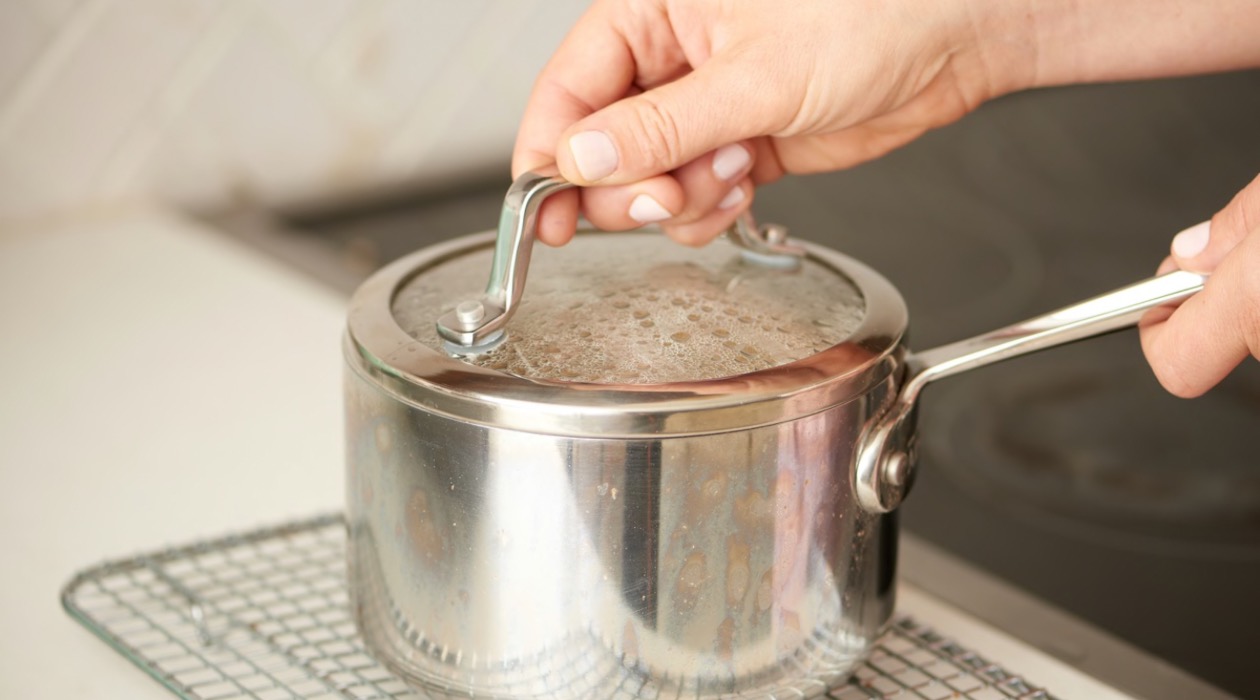
- 2. Use a lid: Placing a lid on the pan while cooking can help melt the cheese faster by trapping the heat. This can result in a quicker and more evenly melted sandwich.
- 3. Get creative with spreads: Instead of using butter on the bread, experiment with different spreads like mayo, Dijon mustard, or pesto to add unique flavors to your grilled cheese.
- 4. Cut into strips for dipping: Cut your grilled cheese into strips to create delicious dippable pieces. They are perfect for dunking into ketchup, marinara sauce, or even a creamy tomato soup.
- 5. Don’t overcrowd the pan: Avoid overcrowding the pan with too many sandwiches at once. This can result in uneven cooking and a longer cooking time. Cook one or two sandwiches at a time for the best results.
Remember, making grilled cheese is an art, and there are no strict rules. Feel free to experiment with different ingredients, cooking techniques, and flavors to create your own signature grilled cheese masterpiece. Enjoy the process and savor every bite!
Conclusion
Grilled cheese sandwiches are a timeless classic that never fails to satisfy. With just a few simple steps, you can create a delicious and comforting meal on your stovetop. From choosing the perfect bread and cheese to assembling the sandwich and cooking it to golden perfection, making a grilled cheese on the stovetop is an enjoyable process that yields irresistible results.
Remember to get creative and experiment with different cheese combinations, fillings, and bread types to personalize your grilled cheese experience. Whether you prefer a classic cheddar and white bread combination or you want to venture into more adventurous flavor territory, the possibilities are endless.
By following the steps outlined in this article and incorporating the variations and additional tips, you can elevate your grilled cheese sandwich to new heights. Impress your family and friends with your culinary skills and indulge in the gooey, melty, and crispy goodness of a homemade grilled cheese.
So, next time you’re craving a comforting and satisfying meal, grab your favorite bread and cheese, fire up the stovetop, and create a delicious grilled cheese sandwich that will leave you wanting more. Enjoy every bite and savor the simple pleasure that a perfectly made grilled cheese can bring.
Frequently Asked Questions about How To Make Grilled Cheese On Stove Top
Was this page helpful?
At Storables.com, we guarantee accurate and reliable information. Our content, validated by Expert Board Contributors, is crafted following stringent Editorial Policies. We're committed to providing you with well-researched, expert-backed insights for all your informational needs.


0 thoughts on “How To Make Grilled Cheese On Stove Top”