Articles
How To Grill On The Stove Top
Modified: August 26, 2024
Discover expert tips and techniques for grilling on your stove top with our informative articles. Elevate your cooking game with our comprehensive guide.
(Many of the links in this article redirect to a specific reviewed product. Your purchase of these products through affiliate links helps to generate commission for Storables.com, at no extra cost. Learn more)
Introduction
Grilling is a popular cooking method that many people associate with warm weather and outdoor barbecues. But what if you don’t have access to a backyard or a traditional outdoor grill? Don’t worry, because you can still enjoy the delicious flavors and char marks of grilled food by using a stove top grill!
A stove top grill is a versatile kitchen tool that enables you to grill indoors, whether it’s raining outside or you simply don’t have an outdoor space. It offers a convenient and practical way to enjoy grilled dishes all year round.
Whether you’re a grilling enthusiast or a novice cook, this article will guide you through the process of grilling on a stove top. From choosing the right equipment to mastering grilling techniques, you’ll learn everything you need to know to create mouthwatering grilled meals in the comfort of your own kitchen.
So, let’s dive in and discover the secrets to achieving perfectly grilled food on your stove top grill!
Key Takeaways:
- Enjoy the convenience of indoor grilling with a stove top grill, perfect for year-round use. Master the art of preheating, flipping, and monitoring heat to achieve delicious, charred flavors in the comfort of your kitchen.
- Prioritize safety and proper maintenance to ensure a smooth and enjoyable grilling experience. From choosing the right equipment to cleaning after each use, savor the flavors of perfectly grilled food with peace of mind.
Read more: How To Use A Grill Pan On Stove Top
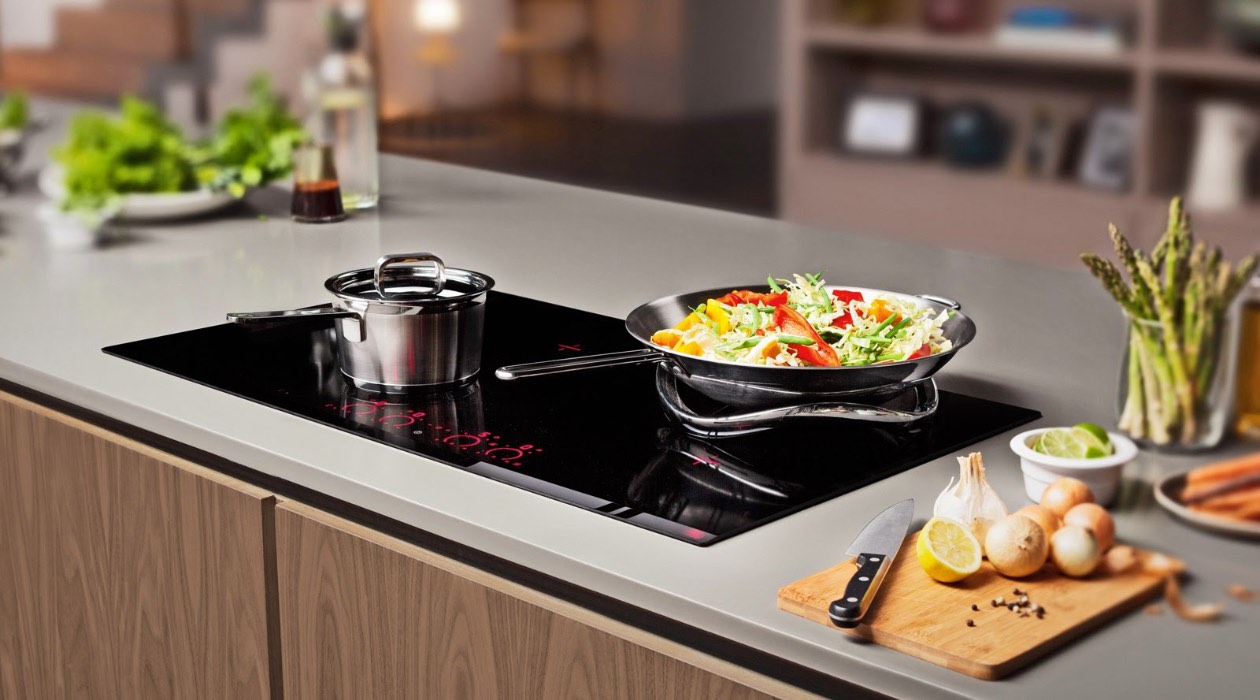
Choosing the Right Equipment
When it comes to grilling on the stove top, having the right equipment is essential for achieving optimal results. Here’s what you need to consider when choosing a stove top grill:
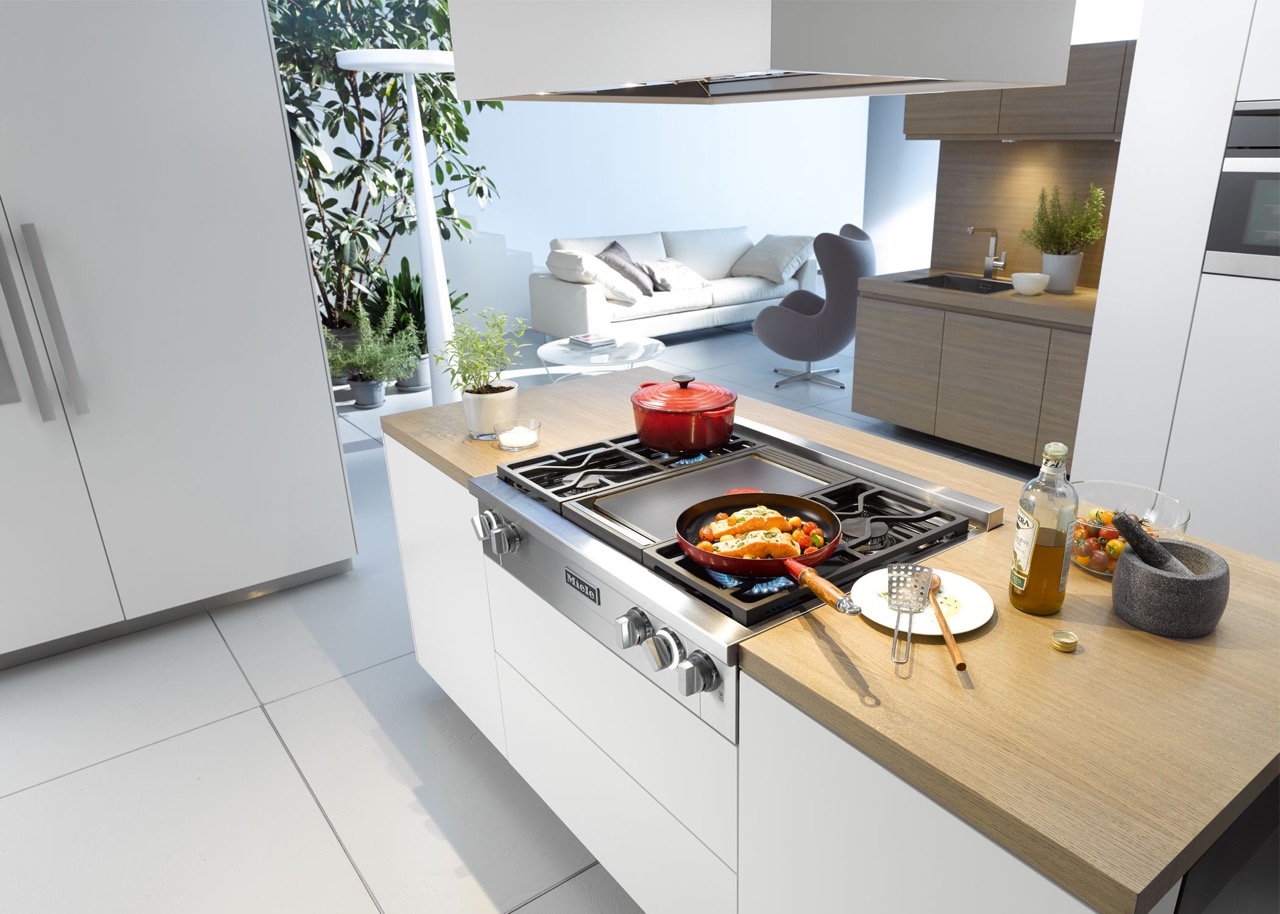
- Type of Stove Top Grill: There are various types of stove top grills available, including cast iron, non-stick, and electric. Each type has its own advantages and considerations. Cast iron grills provide excellent heat retention and even cooking, while non-stick grills are easier to clean. Electric grills are a good option if you don’t have a gas stove.
- Size and Capacity: Consider the size and capacity of the grill to ensure it fits comfortably on your stove top and can accommodate the amount of food you plan to grill. Take into account the number of burners on your stove and the space available.
- Grilling Surface: Look for a stove top grill with a quality grilling surface. It should have good heat conduction and retention properties to create those desirable grill marks. A ridged or grooved surface allows excess grease to drain away, leaving you with healthier and more flavorful food.
- Handles and Drip Trays: Ensure that the grill comes with heat-resistant handles for easy handling and maneuvering. A drip tray or grease catcher is also a convenient feature to help collect excess fats and juices.
- Compatibility: Check if the stove top grill is compatible with your stove type. Some grills are designed specifically for gas stoves, while others work well with electric or induction stoves. Make sure to choose a grill that is suitable for your kitchen setup.
Consider these factors when choosing a stove top grill to ensure it meets your specific needs and preferences. By selecting the right equipment, you’ll set yourself up for successful and enjoyable indoor grilling experiences.
Preparing the Stove Top Grill
Before you start grilling on your stove top grill, it’s important to properly prepare the grill to ensure optimal cooking results. Follow these steps to get your grill ready:
- Clean the Grill: Begin by cleaning the stove top grill thoroughly. Remove any dust, debris, or residue from previous uses. Use a soft brush or sponge with mild dish soap to clean the grill. Rinse it well and dry it completely.
- Season the Grill: If you’re using a cast iron stove top grill, it’s essential to season it before grilling. Seasoning helps to create a non-stick surface and enhances the flavor of the food. Rub a thin layer of vegetable oil or other high-smoke-point oil onto the grilling surface. Heat the grill on low to medium heat for about 20-30 minutes to allow the oil to penetrate and create a protective layer.
- Positioning and Stability: Place the grill on the stove top and ensure it is securely positioned. Make sure there is enough clearance between the grill and any flammable materials, such as curtains or cabinets. Ensure the grill is stable and won’t wobble during cooking.
- Preheating: Preheating the grill is crucial for achieving even heat distribution and creating those beautiful grill marks. Turn on the stove burners that correspond to the grill’s position. Set the heat to medium-high and allow the grill to preheat for about 10-15 minutes. This will ensure that the grill is hot enough to sear the food properly.
By following these steps, you’ll ensure that your stove top grill is clean, seasoned (if applicable), and properly preheated. This will set the stage for successful grilling and help you achieve delicious, restaurant-quality results on your stove top.
Preheating the Grill
Preheating the stove top grill is a crucial step in achieving optimal cooking results. By properly preheating the grill, you ensure even heat distribution and create a hot surface for those desired grill marks. Here’s how to preheat your stove top grill:
- Turn on the Burners: Turn on the burners that correspond to the grill’s position on your stove top. If your grill covers two burners, make sure to turn on both burners.
- Adjust the Heat: Set the heat to medium-high. This will provide enough heat to sear the food and create those delicious grill marks. Adjust the heat as needed during the grilling process to prevent burning or undercooking.
- Allow for Preheating Time: Give the grill enough time to preheat. Typically, preheating for about 10-15 minutes is sufficient. This allows the grill surface to reach the desired temperature and ensures even cooking throughout.
During the preheating process, you may notice some smoke or a slight burning smell. This is normal, especially if you’re using a new grill or one that hasn’t been used for a while. The smoke and smell are a result of any remaining oils or residues burning off. Make sure the kitchen is well-ventilated during this process.
By preheating your stove top grill, you create the ideal cooking environment and set yourself up for successful grilling. The hot surface will sear the food, lock in the flavors, and create that satisfying charred exterior.
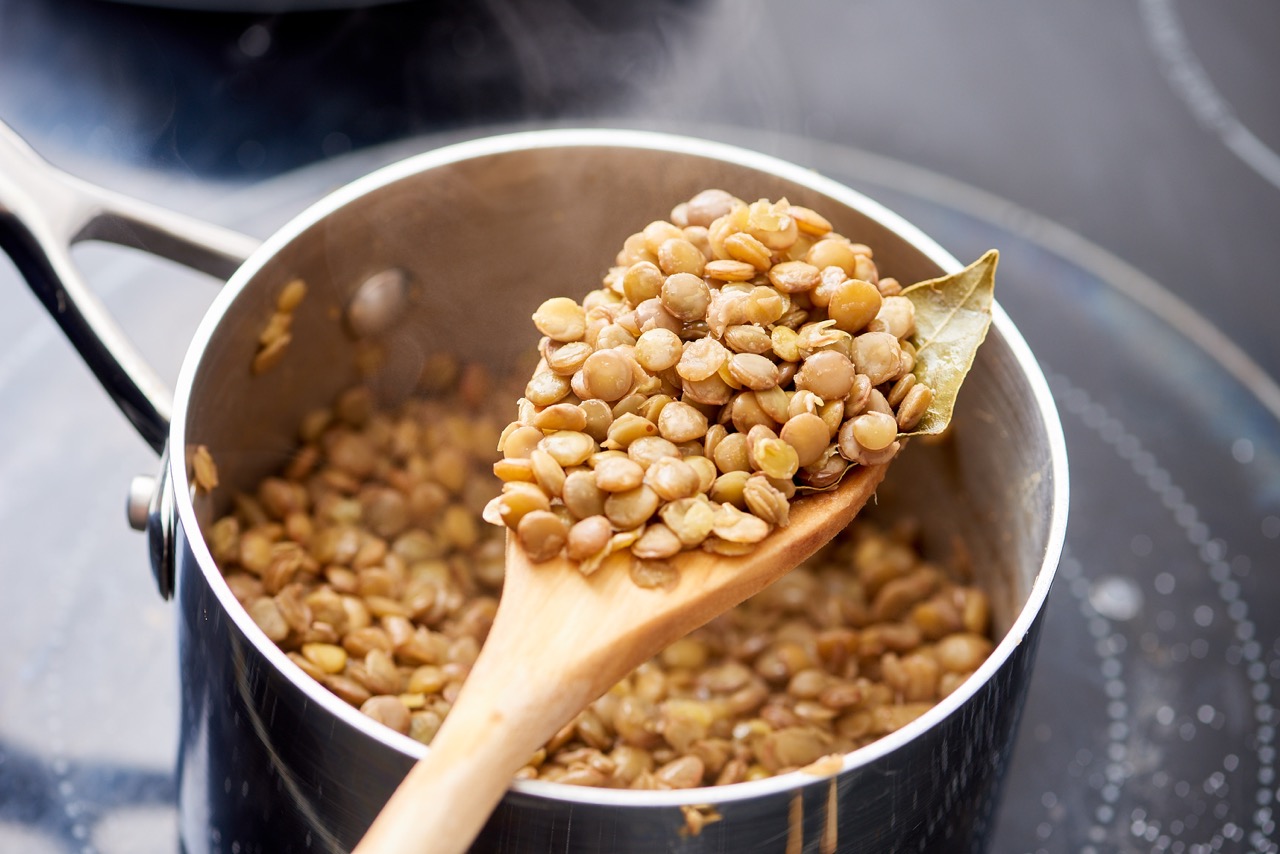
Preparing the Food
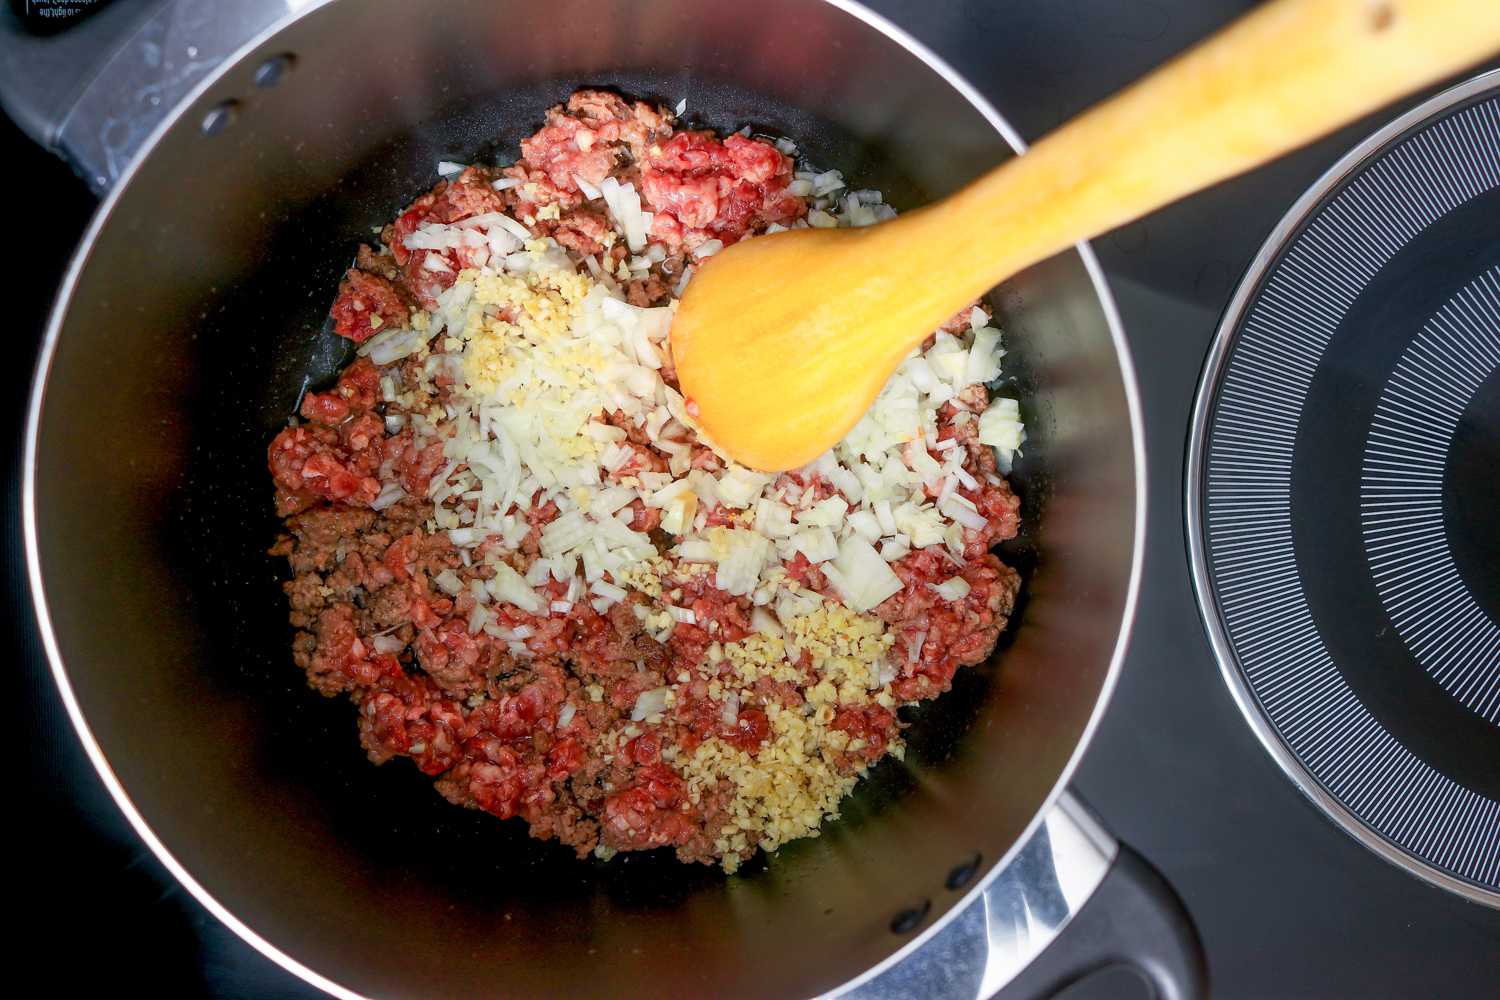
Once your stove top grill is properly preheated, it’s time to prepare the food for grilling. Here are some steps to follow for a successful grilling experience:
- Season the Food: Season your food with your preferred spices, marinades, or rubs. This will enhance the flavor of the food and add a delicious element to your grilled dishes. Allow the seasoning to penetrate the food by letting it sit for a few minutes before grilling.
- Pat Dry: Before placing the food on the grill, pat it dry with a paper towel. Excess moisture can interfere with the grilling process and result in steaming rather than grilling. Dry food will sear better and develop those desirable grill marks.
- Cut and Arrange: Cut your food into manageable pieces if necessary, ensuring they will fit comfortably on the grill. Arrange the food on the preheated grill, leaving space between each piece to allow for even cooking.
- Oil the Grill: Lightly brush or spray the grill surface with oil to prevent the food from sticking. Use a high-smoke-point oil such as vegetable oil or canola oil. Be careful not to over-oil as it may cause flare-ups or excess smoke.
It’s important to note that different types of food require different grilling techniques and cooking times. Thicker cuts of meat may need to be seared on high heat and finished at a lower temperature, while delicate vegetables may cook quickly on medium heat. Refer to specific recipes or grilling guides for recommended cooking times and temperatures for different types of food.
By properly preparing the food before grilling, you’ll enhance its flavor, ensure even cooking, and set the stage for a delicious and satisfying meal.
Read also: 9 Best Stove Top Grill for 2024
Grilling Techniques
Grilling on a stove top requires some specific techniques to achieve the best results. Here are some key grilling techniques to keep in mind:
- Direct Heat vs. Indirect Heat: Depending on the type of food you’re grilling, you may need to adjust the heat settings. Direct heat is ideal for small, thin cuts of meat, vegetables, and seafood. It involves placing the food directly over the heat source. On the other hand, indirect heat is suitable for larger cuts of meat that require longer cooking times. It involves cooking the food to the side of the heat source to ensure even cooking without burning.
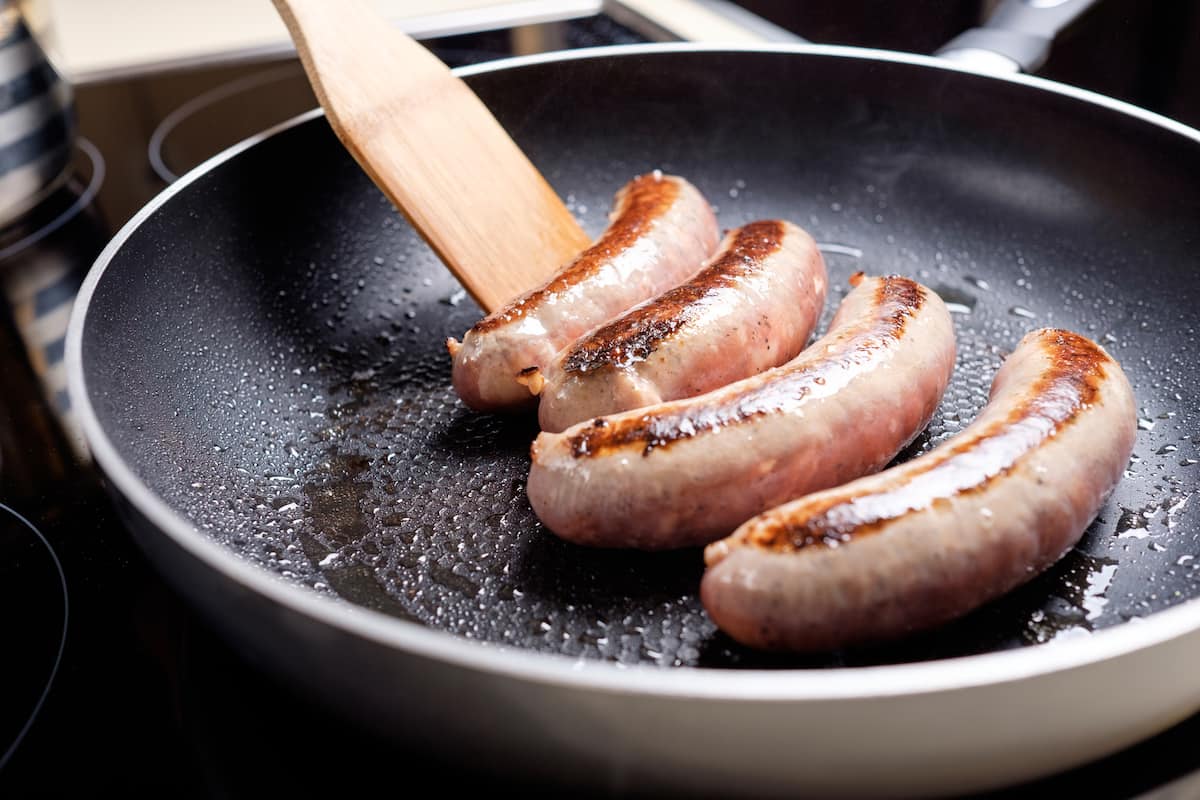
- Searing: To achieve those beautiful grill marks and enhance the flavor of the food, searing is crucial. Searing involves placing the food on the hot grill surface and leaving it undisturbed for a few minutes to develop a flavorful crust. Flip the food only once to prevent sticking and ensure even cooking on both sides.
- Basting and Glazing: Basting your food with marinades, sauces, or melted butter during the grilling process can add an extra layer of flavor and moisture. Apply the basting mixture with a brush or spoon, making sure to do so in the last few minutes of grilling to prevent excessive charring.
- Grill Marks: Achieving those coveted grill marks is not only visually appealing but also adds a delicious charred flavor. To create grill marks, place the food on a 45-degree angle to the grill grates. After a few minutes, rotate the food 90 degrees to create a crisscross pattern. This technique will give your food that professional-looking touch.
- Timing and Monitoring: Keep a close eye on the food while grilling and monitor its cooking progress. Use a meat thermometer to ensure that meat and poultry are cooked to the desired doneness. Timing will vary depending on the type and thickness of the food, so it’s important to refer to cooking charts or recipes for guidance.
By mastering these grilling techniques, you’ll be able to achieve flavorful, well-cooked food with those sought-after grill marks. Experiment with different foods, flavors, and techniques to discover your own signature grilled creations!
Preheat the grill pan on medium-high heat for at least 5 minutes before adding the food. This will ensure that the food gets those beautiful grill marks and cooks evenly.
Monitoring and Adjusting Heat
Properly monitoring and adjusting the heat of your stove top grill is crucial for achieving optimal cooking results. Here are some tips to help you maintain control over the heat during the grilling process:
- Keep an Eye on the Flames: If you’re using a gas stove top grill, pay attention to the flames. They should be consistent and even. Uneven or excessive flames can result in uneven cooking or burning of the food. Adjust the heat dial or knob accordingly to achieve the desired flame intensity.
- Control the Burner Settings: Depending on the stove top grill you’re using, you may have control over the burner settings. If you notice that the food is cooking too quickly or burning, reduce the heat by lowering the burner settings. Alternatively, if the food is cooking too slowly, increase the heat by raising the burner settings.
- Rotate the Food: While grilling, it’s important to rotate the food to ensure even cooking. Some areas of the grill may be hotter than others due to the placement of the burners. By rotating the food, you’ll expose different sections to the heat, helping them cook more evenly.
- Use Heat Zones: If your stove top grill covers multiple burners, you can create heat zones by adjusting the burner settings. This allows you to have a higher heat zone for searing and a lower heat zone for finishing or keeping the food warm. Move the food between the different heat zones as needed during the grilling process.
- Keep the Grill Lid Open: Unlike outdoor grilling, it’s generally recommended to keep the grill lid open when grilling on a stove top grill. Opening the lid allows you to monitor the food closely and make any necessary adjustments to the heat. However, if you’re cooking thicker cuts of meat that require longer cooking times, you can use the lid to trap heat and retain moisture.
By actively monitoring and adjusting the heat during the grilling process, you’ll have better control over cooking times and ensure that your food is cooked to perfection. With practice, you’ll become more adept at maintaining the ideal heat levels for different types of food.
Flipping and Turning the Food
Knowing when and how to flip and turn your food is key to achieving even cooking and making sure that each side of the food is properly grilled. Here are some tips for flipping and turning food on a stove top grill:
- Timing: Each type of food has different cooking times and requirements for flipping. Generally, you should only flip the food once during the grilling process. It’s important to let the food cook undisturbed on one side to develop a nice sear and grill marks before flipping.
- Use Tongs or Spatula: When flipping the food, use long-handled tongs or a spatula to carefully turn it over. Avoid using a fork, as it can pierce the food and let the delicious juices escape.
- Ensure Proper Searing: When you flip the food, check to see if it has developed a sufficient crust or sear on the first side. The grill marks should be well-defined, and the food should release easily from the grill surface. If it sticks or tears, allow it to cook a little longer before attempting to flip.
- Maintain Heat: After flipping the food, it’s important to maintain the heat level. Adjust the burner settings if necessary and continue grilling the other side until it reaches the desired level of doneness.
- Consider Different Techniques: Depending on the type of food you’re grilling, there may be different techniques for achieving the best results. For example, thicker cuts of meat may require a “flip and finish” method, where you sear one side first, then flip and finish cooking on a lower heat. Research specific recipes or grilling techniques for the food you’re preparing.
Remember, practice makes perfect when it comes to flipping and turning food on a stove top grill. With time, you’ll develop a feel for when to flip and how to achieve that perfect sear on each side. Enjoy the process and savor the delicious results of your well-flipped and perfectly grilled food!
Maintaining Safety While Grilling
When grilling on a stove top, it’s important to prioritize safety to prevent accidents and ensure a smooth and enjoyable cooking experience. Here are some essential safety tips to keep in mind:
- Proper Ventilation: Ensure that your kitchen is well-ventilated while grilling. Open windows or turn on the exhaust fan to help remove any smoke or fumes produced during the grilling process.
- Keep Flammable Materials Clear: Ensure there is adequate clearance between the stove top grill and any flammable objects or materials in your kitchen. This includes curtains, paper towels, plastic utensils, or nearby cabinets. This prevents the risk of accidental fires.
- Use Oven Mitts or Heat-Resistant Gloves: When handling the grill or the food during and after grilling, use oven mitts or heat-resistant gloves to protect your hands from burns and prevent accidents.
- Avoid Overcrowding: Avoid overcrowding the stove top grill with too much food at once. This can lead to uneven cooking and may cause fats or oils to drip onto the burners, resulting in flare-ups. Grill in batches if necessary to maintain safety and even cooking.
- Watch for Grease and Fat Build-up: During the grilling process, keep an eye on any grease or fat that may accumulate on the grill surface. Excessive grease can cause flare-ups and increase the risk of fire. Use a spatula or tongs to remove any excess grease and periodically clean the drip tray if your stove top grill has one.
- Never Leave the Grill Unattended: It’s vital to always stay near the grill while cooking. Never leave it unattended, even for a short period. This ensures that you can quickly respond to any potential issues or emergencies that may arise.
- Turn Off the Burners: Once you’ve finished grilling, remember to turn off the burners and allow the stove top grill to cool down before cleaning or moving it. This helps prevent accidental burns or fires.
By following these safety precautions, you’ll minimize the risk of accidents while grilling on your stove top. Prioritizing safety ensures a pleasant cooking experience, allowing you to focus on creating delicious grilled dishes with peace of mind.
Read more: How To Scrub Stove Top
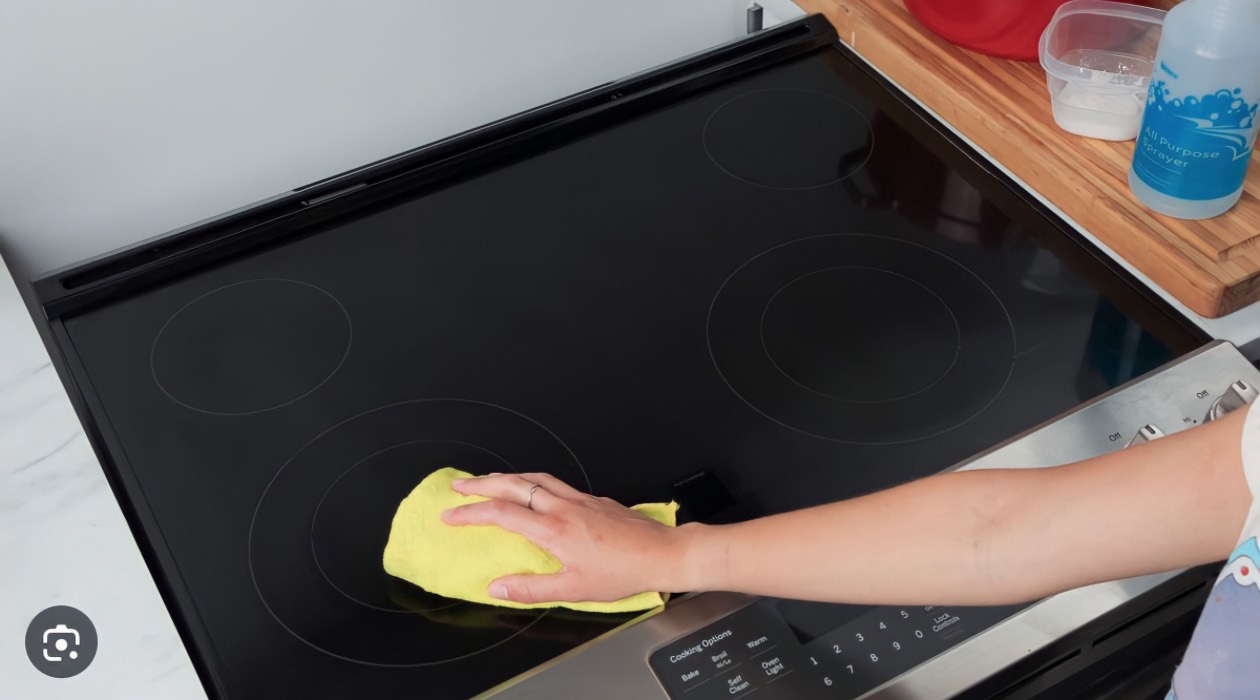
Cleaning and Maintaining the Stove Top Grill
Proper cleaning and maintenance of your stove top grill are important not only for hygiene but also to ensure the longevity of the grill. Here are some essential tips for cleaning and maintaining your stove top grill:
- Clean After Every Use: It’s best to clean your stove top grill after each use to prevent the buildup of grease, food particles, and stubborn stains. Allow the grill to cool down completely before cleaning.
- Remove Excess Food and Grease: Use a spatula or scraper to remove any leftover food particles and excess grease from the grill surface. Wipe it down with a paper towel or clean cloth.
- Soak in Warm, Soapy Water: Fill a sink or basin with warm water and add mild dish soap. Submerge the grill grates and any removable parts in the soapy water. Let them soak for a few minutes to loosen any stubborn residue.
- Scrub and Rinse: Use a soft-bristled brush or sponge to scrub the grill grates and other parts. Pay close attention to any stubborn stains or buildup. Rinse the parts thoroughly to remove all traces of soap.
- Dry Completely: After cleaning, ensure that all components of the stove top grill are completely dry before reassembling or storing. Excess moisture can lead to rust or corrosion.
- Clean Drip Trays or Grease Catchers: If your stove top grill has a drip tray or grease catcher, make sure to clean it regularly. Remove the tray, empty the grease, and wash it with warm, soapy water. Rinse and dry it thoroughly before reinserting it into the grill.
- Inspect for Wear and Tear: Regularly inspect your stove top grill for any signs of wear and tear. Check for loose or damaged parts, rust, or any other issues that may affect its performance. Address any necessary repairs or replacements promptly.
- Store Properly: When not in use, store your stove top grill in a clean, dry area. Avoid stacking heavy objects on top of it to prevent any damage.
By following these cleaning and maintenance practices, you’ll ensure that your stove top grill remains in excellent condition and ready for your next grilling adventure. Regular cleaning also helps maintain the flavor of your food and prevent any cross-contamination.
Conclusion
Grilling on a stove top can be a convenient and enjoyable way to savor the flavors of grilled food, even if you don’t have access to an outdoor grill. By following the tips and techniques outlined in this article, you can achieve delicious and satisfying results right in your own kitchen.
Choosing the right equipment, preparing the stove top grill, and preheating it properly are crucial steps to set the stage for successful grilling. By understanding grilling techniques, monitoring and adjusting heat, flipping and turning food, and maintaining safety, you can achieve flavorful and perfectly cooked meals every time.
Remember to clean and maintain your stove top grill to ensure its longevity and optimal performance. Regular cleaning will help prevent the buildup of grease and food particles, keeping your grill ready for the next grilling session.
So, whether it’s a juicy steak, perfectly grilled vegetables, or succulent seafood, you can enjoy the flavors and charred goodness of grilled food all year round. Get creative, experiment with different marinades and seasonings, and make the most of your stove top grill to create memorable meals for yourself, your family, and your friends.
Now that you have the knowledge and techniques, it’s time to fire up the stove top grill and start grilling to your heart’s content. Happy grilling!
Frequently Asked Questions about How To Grill On The Stove Top
Was this page helpful?
At Storables.com, we guarantee accurate and reliable information. Our content, validated by Expert Board Contributors, is crafted following stringent Editorial Policies. We're committed to providing you with well-researched, expert-backed insights for all your informational needs.


0 thoughts on “How To Grill On The Stove Top”