Articles
How To Cover Skylight From Inside
Modified: May 6, 2024
Learn how to cover your skylight from the inside with our informative articles. Protect your home from excessive sunlight and heat with our helpful tips and advice.
(Many of the links in this article redirect to a specific reviewed product. Your purchase of these products through affiliate links helps to generate commission for Storables.com, at no extra cost. Learn more)
Introduction
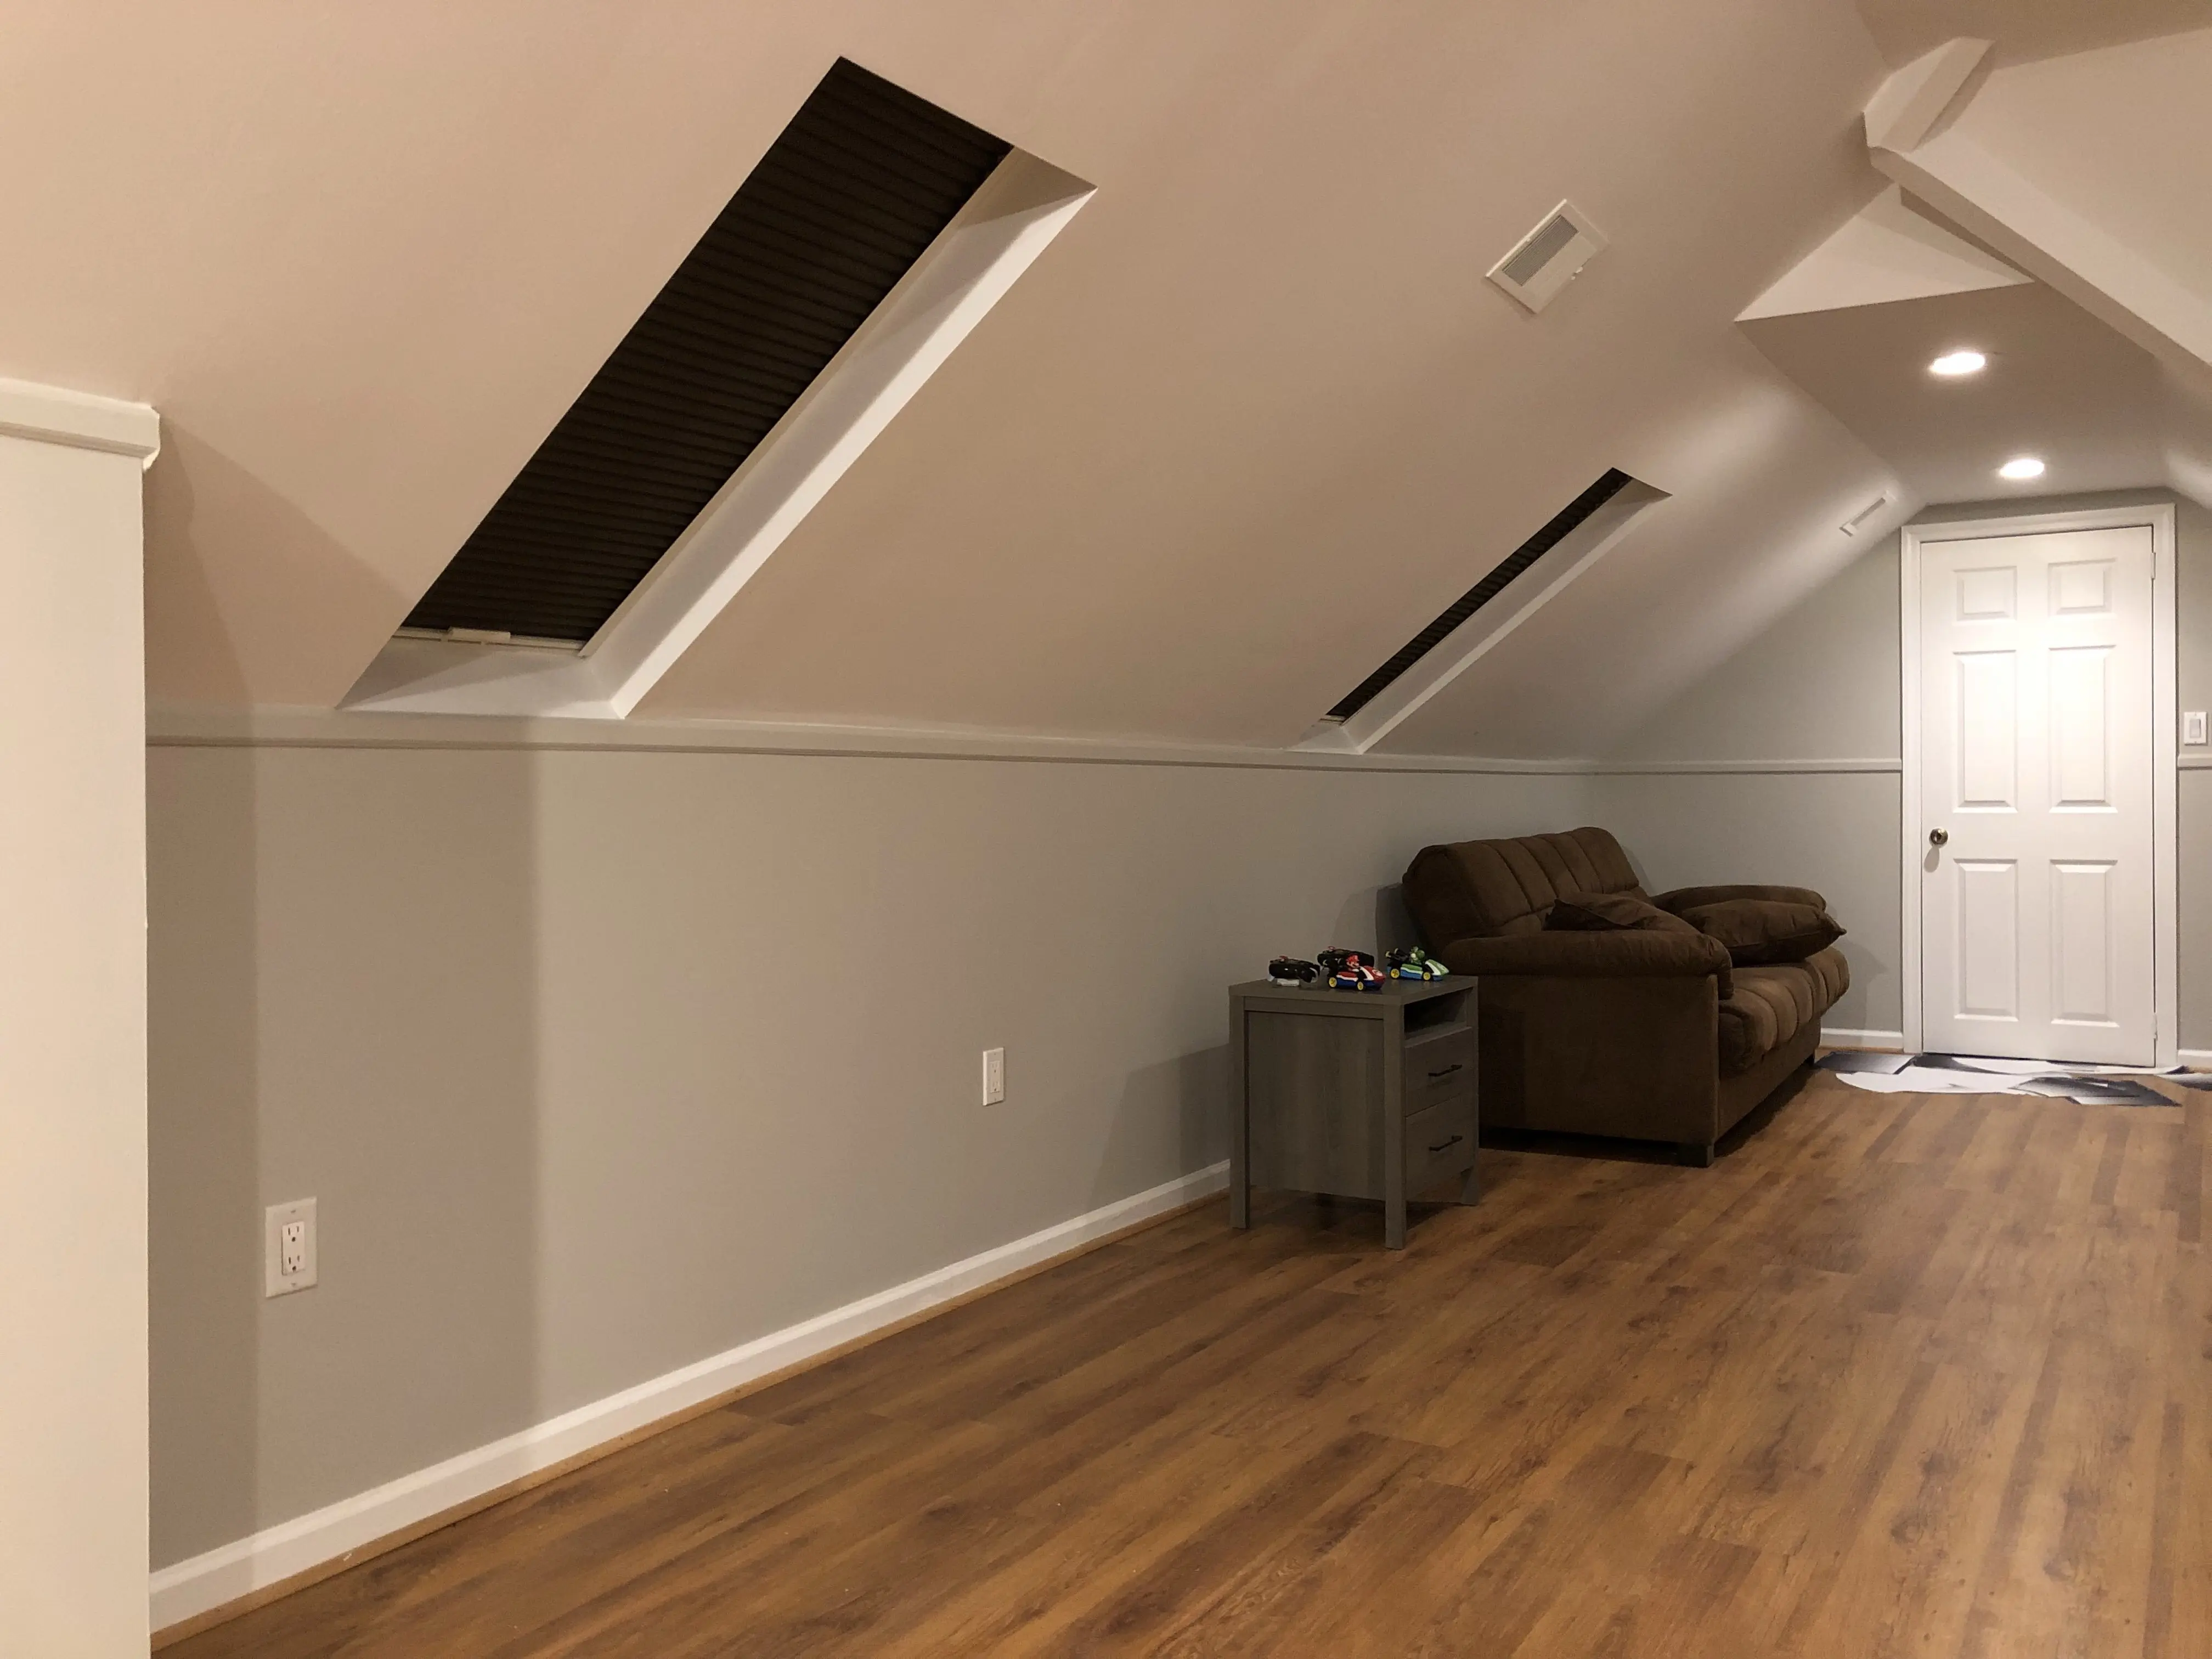
Skylights are a wonderful addition to any home, bringing in natural light and creating a sense of spaciousness. However, there may be situations where you need to cover the skylight from the inside. This could be due to reasons such as excessive heat, glare, privacy concerns, or simply having the option to control the amount of light entering the space.
In this article, we will explore different methods of covering skylights from the interior of your home. Whether you prefer a temporary solution or a more permanent fix, there are various options to choose from to suit your needs and preferences.
Before we delve into the specific methods, it’s essential to assess the need for covering your skylight. Understanding why you want to cover it will help you make an informed decision on the best approach.
Next, we will discuss different methods that you can use to cover your skylight from the inside. Each option has its advantages and considerations, so let’s dive in and explore the possibilities.
Key Takeaways:
- Skylights can be covered from the inside using methods such as window film, roller shades, curtains, plywood covers, or customized options, each offering unique benefits and considerations to suit specific needs and preferences.
- Factors such as functionality, aesthetics, installation ease, maintenance, energy efficiency, budget, and long-term plans should be carefully considered when choosing a method to cover skylights from the inside, ensuring the selected option aligns with individual needs and style preferences.
Read more: What Are The Ties Inside A Duvet Cover For
Assessing the Need to Cover Skylight
Before you decide on the method to cover your skylight, it’s essential to assess why you want to cover it in the first place. Understanding your specific needs will help you determine the most suitable covering option. Here are a few common reasons for covering skylights:
- Excessive heat: Skylights can sometimes allow excessive heat from the sun to enter a room, making it uncomfortable. If you find that the room becomes too hot when the sun is shining directly on the skylight, you may need to consider covering it to reduce heat gain.
- Glare: Natural light is a beautiful feature of skylights, but it can also cause glare, especially during certain times of the day. If the glare affects your ability to perform tasks or watch television, covering the skylight can help mitigate this issue.
- Privacy: In some cases, skylights may provide unwanted visibility into your home, compromising your privacy. If you want to maintain a level of privacy while still enjoying natural light, covering the skylight can provide the necessary seclusion.
- Light control: Having the ability to control the amount of light entering a room is essential in some situations. For example, if you work night shifts and need to sleep during the day, covering the skylight can help create a dark and conducive environment for rest.
- Energy efficiency: Skylights can contribute to air leakage and heat loss in colder climates. If you notice a significant increase in your energy bills or feel drafts around the skylight, covering it can help improve energy efficiency.
By evaluating your specific needs, you will be better prepared to choose the most appropriate method of covering your skylight from the inside. Consider the factors that are relevant to your situation, such as climate, orientation of the skylight, and your personal preferences regarding light and privacy.
Now that we have assessed the reasons for covering skylights, it’s time to explore the different methods you can use to achieve this. Let’s dive into the options and find the best solution for you.
Different Methods of Covering Skylight from Inside
When it comes to covering skylights from the inside, there are several options to choose from based on your needs and preferences. Each method has its own advantages and considerations. Let’s explore some of the most common methods:
- Using Window Film: Window film is a cost-effective and straightforward option for covering skylights. It comes in various types, such as tinted film or reflective film, which can help reduce heat and glare. Window film is easy to install and can be a great choice if you want to maintain a clear view of the outside while still controlling light and heat.
- Installing Roller Shades or Blinds: Roller shades or blinds are another popular option for covering skylights. They provide a versatile and customizable solution to control light, heat, and privacy. You can choose from a wide range of fabrics and designs to match your interior decor. Motorized options are also available for easy operation, especially for hard-to-reach skylights.
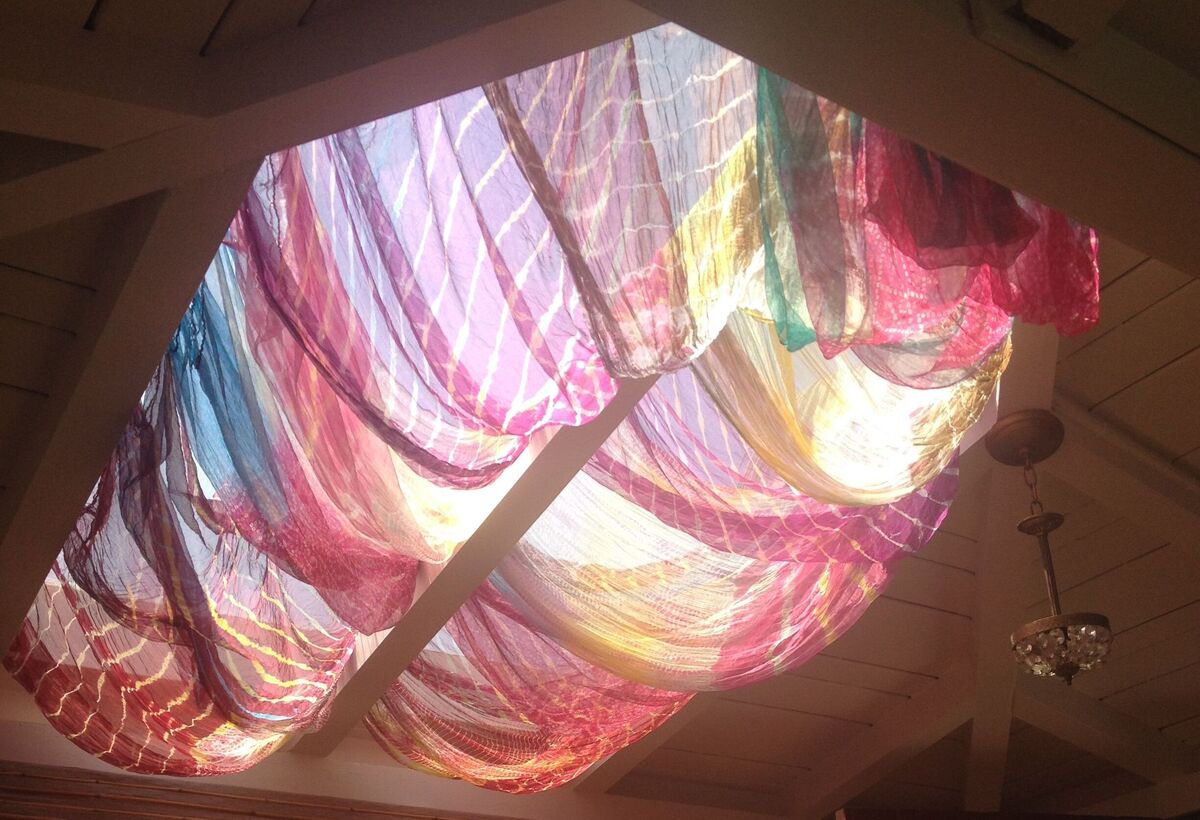
- Utilizing Curtains or Drapes: If you prefer a more traditional and elegant look, curtains or drapes can be a great choice for covering skylights. They offer a soft and stylish solution while providing control over light and privacy. You can opt for blackout curtains for complete light blockage or sheer curtains for a softer diffusion of light. Ensure that the curtain rods or tracks are securely installed to support the weight of the drapes.
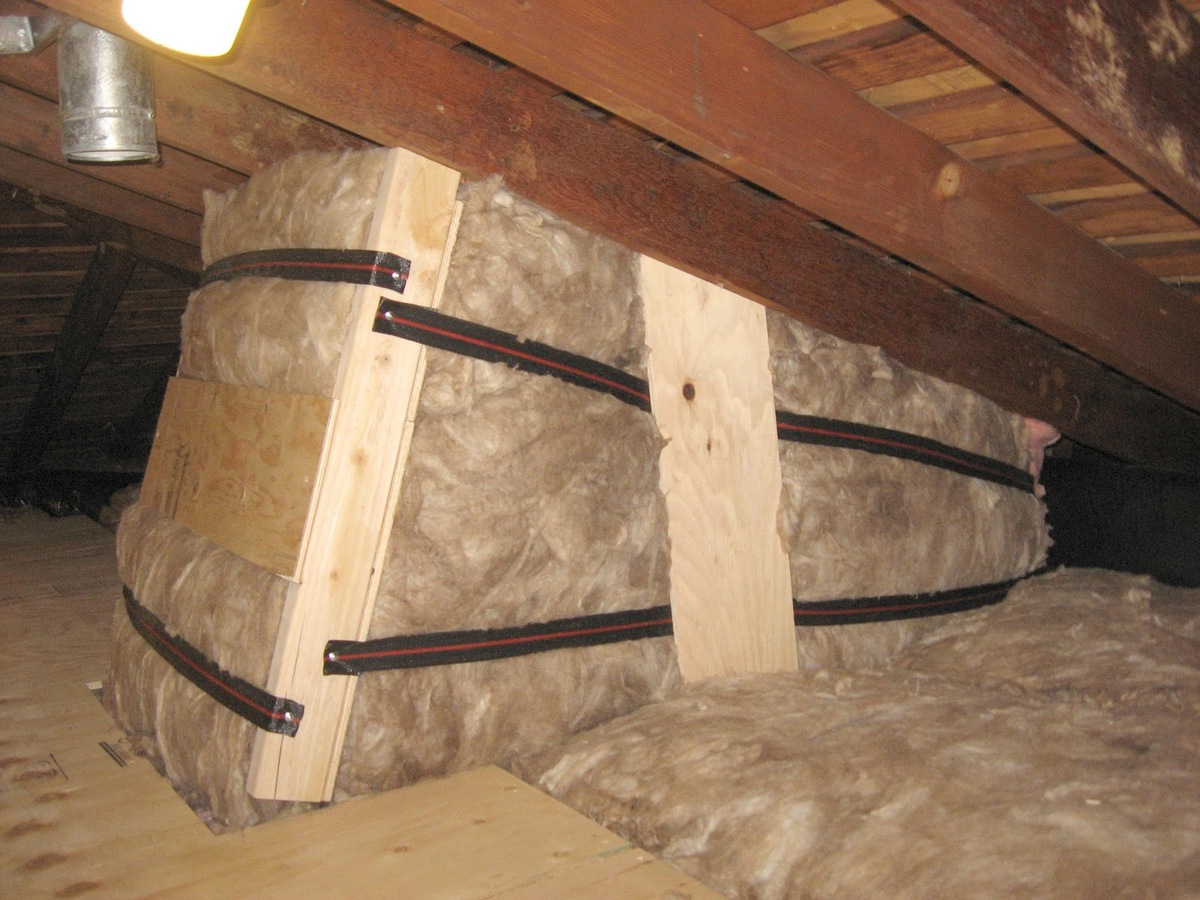
- Applying Temporary Plywood Cover: If you need a temporary solution for covering your skylight, using plywood can be a quick and effective option. Cut a piece of plywood to fit the dimensions of the skylight and attach it securely with screws or brackets. This method is particularly useful for reducing heat and preventing light leakage, but keep in mind that it will block the view entirely.
- Creating a Customized Skylight Cover: For a more personalized and unique approach, you can consider creating a customized skylight cover. This could involve using fabric, stained glass, or any other material that suits your style and requirements. Keep in mind that creating a custom cover may require professional assistance or specialized skills, so make sure to plan accordingly.
Each of these methods offers a different level of light control, privacy, and aesthetic appeal. Consider the specific requirements of your skylight and the room where it is located. Take into account factors such as ease of installation, maintenance, and the overall look and functionality you desire.
Now that you are familiar with the different methods available, it’s important to evaluate certain factors before choosing the most suitable method to cover your skylight. We will discuss these factors in the next section.
Option 1: Using Window Film
Window film is a practical and cost-effective option for covering skylights from the inside. It offers various benefits, including heat reduction, glare reduction, and UV protection, all while allowing natural light to filter through. Let’s take a closer look at the advantages and considerations of using window film to cover your skylight:
Advantages:
- Heat reduction: Window film is available in different types, such as reflective film or tinted film, that can significantly reduce heat gain from the sun. By applying window film to your skylight, you can create a more comfortable indoor environment, especially during the hot summer months.
- Glare reduction: If excessive glare from your skylight is causing discomfort or hindering your ability to work or relax, window film can help minimize the glare without completely blocking the natural light. It allows you to enjoy the benefits of soft, diffused light while reducing the intensity of direct sunlight.
- UV protection: Window film also provides protection against harmful UV rays. UV radiation can fade and damage furniture, flooring, and artwork over time. With window film, you can safeguard your belongings from the harmful effects of UV rays without compromising the amount of natural light entering the room.
- Easy installation and removal: Installing window film is a relatively straightforward process. It usually comes with simple instructions and can be applied using a few basic tools. Additionally, if you decide to change or remove the window film in the future, it can be easily peeled off without leaving behind any residue or damage to the skylight.
Considerations:
- Level of privacy: While window films can offer privacy by reducing visibility from the outside, it’s important to note that the level of privacy will vary depending on the type and darkness of the film. If privacy is a significant concern for you, consider choosing a more opaque or reflective film.
- Effectiveness may vary: The effectiveness of window film in heat reduction and glare reduction can vary depending on the quality of the film and the specific conditions of your skylight. Be sure to choose a reputable brand or consult with a professional to ensure you select the right window film for your needs.
- Maintenance: Window film generally requires minimal maintenance. However, it’s essential to follow the manufacturer’s instructions for cleaning and care to ensure its longevity. Avoid using abrasive cleaners or tools that could damage the film.
Window film is a versatile option that allows you to control heat, glare, and UV rays while still enjoying natural light in your space. It is a practical choice for those who want a subtle and non-intrusive covering solution for their skylight.
In the next sections, we will explore additional methods for covering skylights from the inside, including installing roller shades or blinds, utilizing curtains or drapes, applying temporary plywood covers, and creating personalized skylight covers. Each option offers unique advantages and considerations, so stay tuned to find the best method for your needs.
Option 2: Installing Roller Shades or Blinds
Installing roller shades or blinds is a popular and versatile method for covering skylights from the inside. Roller shades and blinds offer a range of benefits, including light control, privacy, and the ability to enhance the aesthetic appeal of your space. Let’s explore the advantages and considerations of using roller shades or blinds to cover your skylight:
Advantages:
- Light control: Roller shades and blinds provide excellent control over the amount of light entering your room through the skylight. You can easily adjust the position of the shades or blinds to allow more or less light as desired. This feature is especially useful when you want to reduce glare or create a darker environment for activities such as watching movies or sleeping during the day.
- Privacy: Roller shades and blinds offer a high level of privacy, allowing you to enjoy the natural light provided by the skylight while protecting your privacy from outside view. With the ability to adjust the position of the shades or tilt the blinds, you can maintain privacy without completely blocking the light.
- Aesthetic appeal: Roller shades and blinds come in a wide variety of colors, fabrics, and designs, allowing you to enhance the overall aesthetic of your space. Whether you prefer a minimalist look, a bold pattern, or a soft fabric, there are numerous options available to suit your style and complement your interior decor.
- Motorized options: For hard-to-reach skylights or added convenience, motorized roller shades or blinds are available. With motorization, you can easily control the position and movement of the shades or blinds with the touch of a button. This feature eliminates the need for manual operation and ensures smooth and effortless use.
Considerations:
- Installation: Installing roller shades or blinds on skylights can be more complex than on regular windows due to the unique shape and positioning. It is recommended to hire a professional for precise measurements and installation, especially if your skylight is located in a high or hard-to-access area.
- Operating mechanism: Roller shades typically operate using a spring mechanism or a chain system, while blinds use cord or wand controls. Consider the pros and cons of each operating mechanism and choose the one that suits your preferences and ease of use. Ensure that the chosen mechanism can accommodate the specific requirements of your skylight.
- Cleaning and maintenance: Roller shades and blinds may require regular cleaning to remove dust and maintain their appearance. Before purchasing, check the manufacturer’s instructions for proper cleaning methods and ensure they are practical for your needs and lifestyle.
Installing roller shades or blinds on your skylight offers a versatile and customizable solution for light control and privacy. With various designs and motorization options available, you can find the perfect roller shades or blinds to complement your space and meet your specific requirements.
In the following sections, we will explore additional methods for covering skylights from the inside, including utilizing curtains or drapes, applying temporary plywood covers, and creating personalized skylight covers. Each option has its own advantages and considerations, so continue reading to find the best solution for your skylight covering needs.
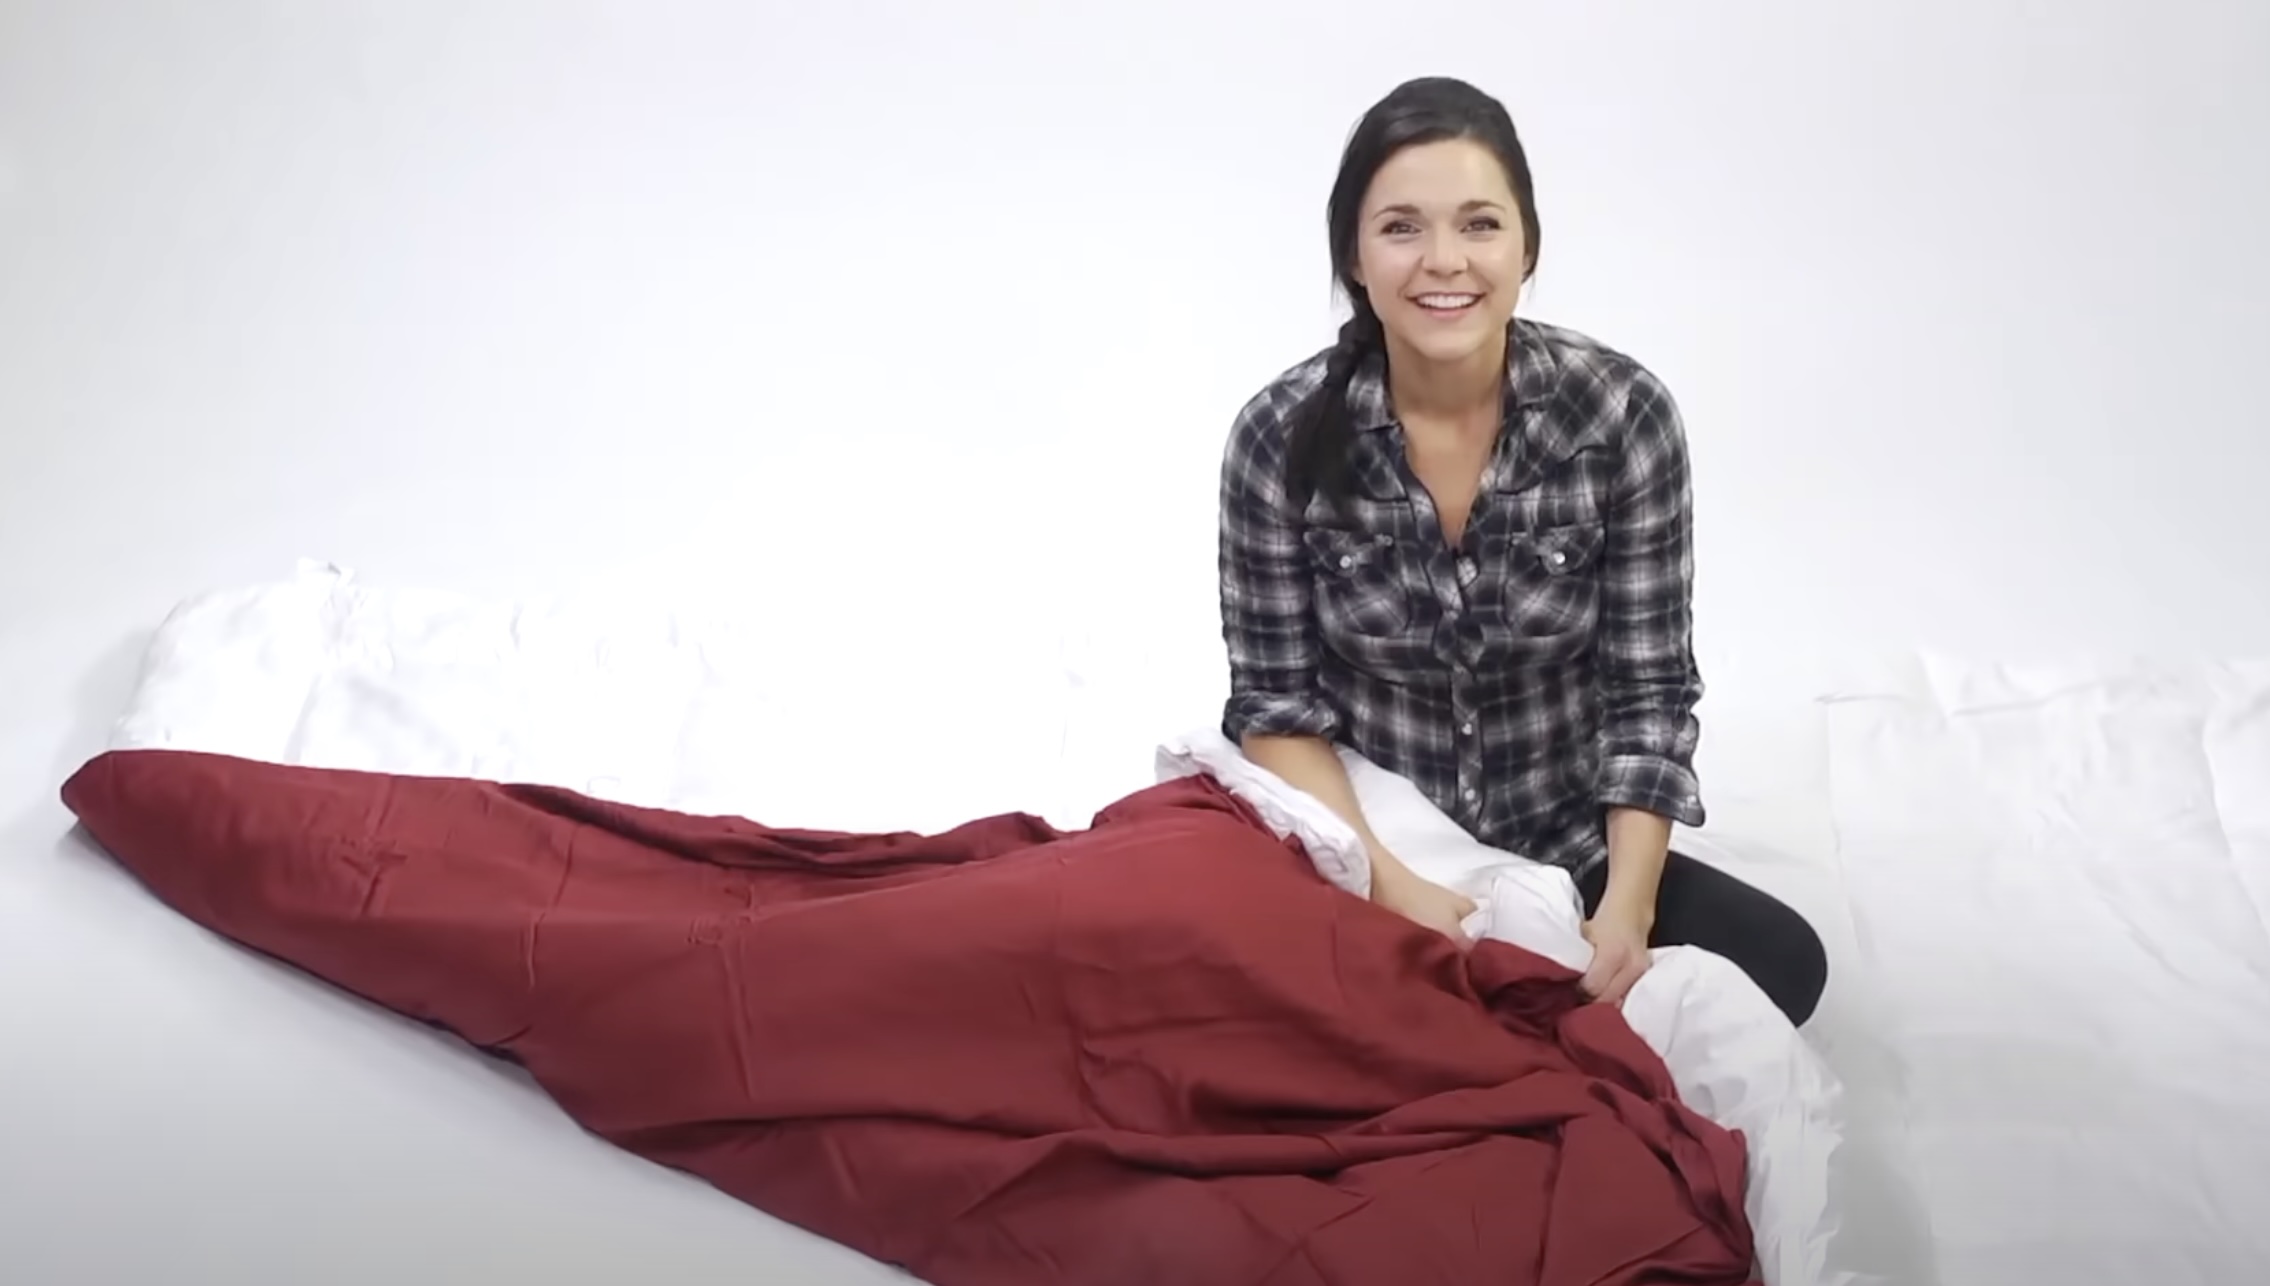
Consider using blackout curtains or shades to cover the skylight from inside. These can effectively block out light and provide insulation. Be sure to measure the skylight accurately before purchasing to ensure a proper fit.
Read also: 14 Unbelievable Skylight Cover For 2025
Option 3: Utilizing Curtains or Drapes
Utilizing curtains or drapes is a classic and elegant option for covering skylights from the inside. Curtains and drapes not only provide control over light and privacy but also add a touch of style and sophistication to your space. Let’s explore the advantages and considerations of using curtains or drapes to cover your skylight:
Advantages:
- Light control: Curtains and drapes offer excellent control over the amount of light entering your room through the skylight. You can open them fully to allow maximum natural light or close them partially or completely to control the level of brightness and glare. By choosing the right fabric and lining, you can achieve the desired level of light diffusion and create a comfortable atmosphere.
- Privacy: Curtains and drapes provide a high level of privacy, allowing you to enjoy the natural light provided by the skylight while protecting your privacy from outside view. When closed, they create a barrier that obscures the view into your space, providing you with added seclusion.
- Aesthetically pleasing: Curtains and drapes are available in a wide range of fabrics, patterns, and colors, allowing you to enhance the visual appeal of your room and reflect your personal style. Whether you prefer a sheer and light fabric for a soft and airy look or a heavy and luxurious fabric for a more dramatic effect, there are countless options to choose from.
- Sound absorption: Depending on the type and thickness of the fabric you choose, curtains and drapes can help absorb sound and reduce echo in your space. This feature can be particularly beneficial if your skylight is located in a room where noise control is important, such as a home office or a bedroom.
Considerations:
- Installation: Installing curtains or drapes for skylights may require some additional planning and consideration due to the unique shape and positioning. It’s important to ensure that the curtain rods or tracks are securely installed to support the weight of the fabric, especially if your skylight is large. Consider hiring a professional to ensure proper installation and functionality.
- Fabric selection: Take into account the fabric’s suitability for your skylight. Consider the amount of light you want to filter, the level of privacy desired, and the overall aesthetic you wish to achieve. Sheer and lightweight fabrics allow more light diffusion, while thicker and more opaque fabrics provide greater privacy and light control.
- Cleaning and maintenance: Curtains and drapes may require regular cleaning to keep them looking fresh and vibrant. Check the manufacturer’s instructions for proper cleaning methods and ensure that they are practical and easy to maintain for your specific needs.
Utilizing curtains or drapes to cover your skylight adds elegance, versatility, and the ability to control light and privacy. By selecting the right fabric and considering the installation and maintenance requirements, you can create a beautiful and functional solution for covering your skylight from the inside.
In the subsequent sections, we will explore additional methods for covering skylights from the inside, including applying temporary plywood covers and creating personalized skylight covers. Each option has its own unique advantages and considerations, so keep reading to find the best solution for your skylight covering needs.
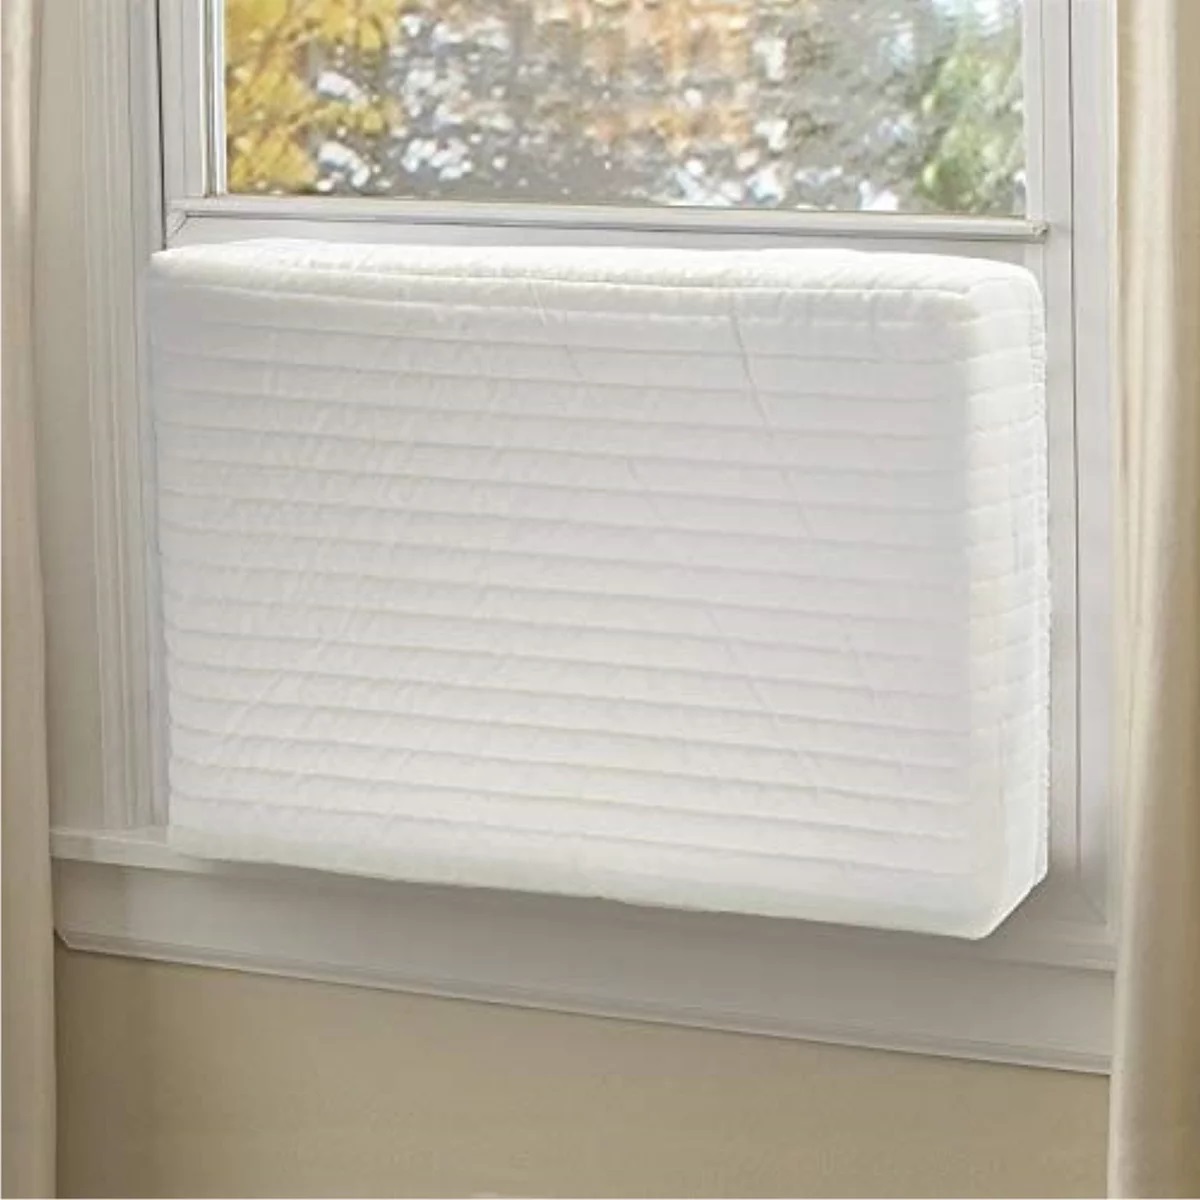
Option 4: Applying Temporary Plywood Cover
Applying a temporary plywood cover is a simple and effective method for covering skylights from the inside. This option is especially useful when you need a temporary solution or want to completely block out light. Let’s explore the advantages and considerations of using a temporary plywood cover for your skylight:
Advantages:
- Light blocking: A temporary plywood cover can completely block out light from your skylight, providing you with the ability to create complete darkness in the room whenever desired. This is advantageous in certain situations, such as when you need to sleep during the day, create a dark space for home theater, or reduce energy usage by blocking out heat from the sun.
- Cost-effective: Plywood is an affordable material, making it a budget-friendly option for covering your skylight temporarily. It is readily available at most hardware stores and can be cut to the precise dimensions of your skylight. This allows you to create a custom-sized cover without breaking the bank.
- Minimizes heat gain: A plywood cover can reduce heat gain from the sun, helping to keep your room cooler during hot weather. By blocking the direct sunlight, you can lower the temperature and improve comfort without the need for more expensive or permanent solutions.
- Easy installation and removal: Applying a temporary plywood cover is a relatively straightforward process. Simply measure the dimensions of your skylight, cut the plywood to fit, and secure it in place using screws or brackets. When you no longer need the cover, it can be easily removed without causing any damage to the skylight or surrounding area.
Considerations:
- Aesthetics: Keep in mind that a temporary plywood cover might not provide the most aesthetically pleasing appearance compared to other options. It is a practical solution rather than a decorative one. However, if the cover will be installed in an area that is not highly visible or if functionality is your primary concern, aesthetics may not be a significant factor for you.
- Complete light blockage: While blocking light is advantageous in certain situations, it’s important to consider if you still want the option to have natural light enter the room through the skylight. If light control is a priority, there may be other covering options, such as roller shades or blinds, that could better suit your needs.
- Temporary nature: Plywood covers are intended for temporary use and may not provide long-term durability. Over time, exposure to sunlight and changes in temperature and humidity may cause the plywood to warp or deteriorate. If you’re looking for a more permanent solution, it is recommended to consider other covering methods.
Applying a temporary plywood cover is a practical and cost-effective option for covering your skylight from the inside. Whether you need to block out light completely or reduce heat gain, this method offers a simple and effective solution that can be easily installed and removed as needed.
In the next section, we will explore the option of creating a personalized skylight cover, which allows you to add a unique touch to your skylight while still achieving your desired functionality.
Option 5: Creating a Customized Skylight Cover
Creating a customized skylight cover is a unique and personalized approach to covering your skylight from the inside. This option allows you to add a creative touch to your space while still serving the purpose of controlling light and adding privacy. Let’s explore the advantages and considerations of creating a customized skylight cover:
Advantages:
- Personalized design: By creating a customized skylight cover, you have the freedom to design a cover that reflects your personal style and complements your interior decor. You can choose from a range of materials, colors, and patterns to create a unique and eye-catching cover that adds a distinctive touch to your space.
- Enhanced aesthetics: A customized skylight cover can become a focal point in your room, acting as a decorative element that adds visual interest to the space. Whether you opt for a stained glass design, a fabric cover with intricate patterns, or a custom artwork, the cover can elevate the overall aesthetic appeal of the room.
- Control over light and privacy: Just like other covering options, a customized skylight cover allows you to control the amount of light entering the room and provides privacy. Choose materials and designs that offer the desired level of light diffusion and privacy while still allowing the beauty of natural light to filter through.
- Statement piece: A customized skylight cover can be a statement piece that adds character and personality to your space. It can become a conversation starter and showcase your creativity and individuality, making your room truly unique.
Considerations:
- Complexity of creation: Creating a customized skylight cover may require professional assistance or specialized skills, depending on the complexity of your design. For stained glass or intricate patterns, you may need to consult with a professional artist or craftsman to ensure the desired result. Evaluate your abilities and resources before embarking on this option.
- Investment of time and cost: Designing and creating a customized skylight cover can be a time-consuming and costly process. Consider the time, effort, and budget required to bring your vision to life. It’s important to plan accordingly and ensure the investment is justified for the value it will bring to your space.
- Maintenance and longevity: Depending on the materials used, customized skylight covers may require specific maintenance to preserve their beauty and functionality. Consider the durability and longevity of the materials chosen, and whether they can withstand exposure to UV rays, temperature changes, and dust or dirt accumulation.
Creating a customized skylight cover allows you to infuse your space with a personal touch and showcase your creativity. By carefully considering the design, materials, and maintenance requirements, you can create a one-of-a-kind cover that not only serves its purpose but also becomes a focal point that enhances the beauty of your room.
Now that we have explored different options for covering skylights from the inside, it’s important to consider various factors before making a decision. We will discuss these factors in the next section to help you choose the most suitable covering method for your skylight.
Factors to Consider Before Choosing a Covering Method
Before selecting a specific method for covering your skylight from the inside, it’s important to consider various factors that will influence your decision. These factors will help you choose the most suitable covering method that aligns with your needs, preferences, and the specific characteristics of your skylight. Here are some key factors to consider:
- Functionality: Consider the primary function you want the cover to serve. Do you need to control light and glare? Are privacy and insulation important factors? Identifying the main purpose will help you select the appropriate covering method that addresses your specific requirements.
- Aesthetics: Assess the impact the covering method will have on the overall aesthetic of your space. Consider your interior style and determine whether you want the cover to blend in seamlessly with the existing decor or stand out as a focal point. Evaluate the visual appeal of each option and choose accordingly.
- Installation: Evaluate the ease of installation and whether you need professional assistance. Certain covering methods, such as roller shades or blinds, may require precise measuring and installation, while others, like temporary plywood covers, can be relatively simple to install. Assess your comfort level with DIY installation or factor in the cost of professional help.
- Maintenance: Consider the maintenance requirements of each covering method. Some options, such as window film or roller shades, may require periodic cleaning or adjustments, while others, like plywood covers, may need less maintenance. Think about your preference and availability for ongoing care and maintenance.
- Energy efficiency: Assess the impact of the covering method on energy efficiency. Some options, like window film or roller shades with insulating properties, can help reduce heat gain or loss, potentially improving energy efficiency in your space. Evaluate the thermal properties of each option to make an informed decision.
- Budget: Consider your budgetary constraints. Each covering method comes with its own cost associated with materials, installation, and maintenance. Determine your budget range and select an option that aligns with your financial resources while still meeting your desired functionality and aesthetics.
- Long-term plans: Reflect on your long-term plans for the space. Are you looking for a temporary solution or a more permanent covering? If you anticipate changes in the future, such as relocation or renovation, a temporary or easily removable option may be more suitable. Alternatively, if you envision the skylight as a long-term feature, you may want to invest in a more durable and permanent covering method.
By carefully considering these factors, you can make an informed decision on the covering method that best suits your needs and aligns with your preferences for your skylight. Take the time to evaluate each factor and weigh the pros and cons of different options to ensure your choice enhances both the functionality and aesthetics of your space.
With these considerations in mind, you are now equipped to select the ideal covering method for your skylight. Implement your chosen method and enjoy the benefits of a covered skylight that provides the perfect balance of light, privacy, and style in your home.
Valid HTML
Read more: How To Cover Brick Walls Inside House
Conclusion
Covering a skylight from the inside can offer numerous benefits, including controlling light, reducing glare, enhancing privacy, and improving energy efficiency. In this comprehensive guide, we explored various methods for covering skylights, each with its own advantages and considerations.
We began by assessing the need to cover skylights, considering factors such as excessive heat, glare, privacy concerns, light control, and energy efficiency. Understanding the reasons behind covering a skylight helped us make informed decisions about the most suitable covering method.
We then delved into the different methods available. Using window film provides an affordable and easily customizable solution, while installing roller shades or blinds offers excellent light control and privacy options. Utilizing curtains or drapes elevates the aesthetics of the space while providing versatility, and applying a temporary plywood cover offers a cost-effective way to completely block out light. Lastly, creating a customized skylight cover allows for a unique, personalized touch that adds both functionality and artistic value to the space.
Before finalizing the covering method, we highlighted several factors to consider, such as functionality, aesthetics, installation ease, maintenance requirements, energy efficiency, budget, and long-term plans. Evaluating these factors helps ensure that the chosen method aligns with individual needs and preferences for both the immediate and future goals of the space.
Ultimately, the decision on how to cover a skylight from the inside depends on the specific requirements, style preferences, and practical considerations of each individual. Whether you opt for an easily removable and cost-effective option or prefer a customized, statement-making cover, the choice should enhance the functionality and appearance of your skylight while meeting your desired goals.
By following the guidance provided in this article, you can confidently select the most suitable method for covering your skylight from the inside. Enjoy the benefits of light control, privacy, and style as you transform your space into a comfortable and visually appealing environment.
Valid HTML
Excited about finding the perfect way to shade your skylight? If you're curious about even more specialized options, our detailed guide on skylight blinds offers a sneak peek into the most stylish and functional designs set to trend in 2024. From sleek, modern aesthetics to energy-efficient features, these blinds provide not only privacy but also control over lighting, contributing significantly to your interior's comfort and ambiance. Don't miss out on selecting the ideal set-up that complements your home's unique flair!
Frequently Asked Questions about How To Cover Skylight From Inside
Was this page helpful?
At Storables.com, we guarantee accurate and reliable information. Our content, validated by Expert Board Contributors, is crafted following stringent Editorial Policies. We're committed to providing you with well-researched, expert-backed insights for all your informational needs.


0 thoughts on “How To Cover Skylight From Inside”