Articles
How To Make Skylight
Modified: October 20, 2024
Learn how to make skylights with our helpful articles. Get step-by-step instructions and expert tips to bring natural light into your home.
(Many of the links in this article redirect to a specific reviewed product. Your purchase of these products through affiliate links helps to generate commission for Storables.com, at no extra cost. Learn more)
Introduction
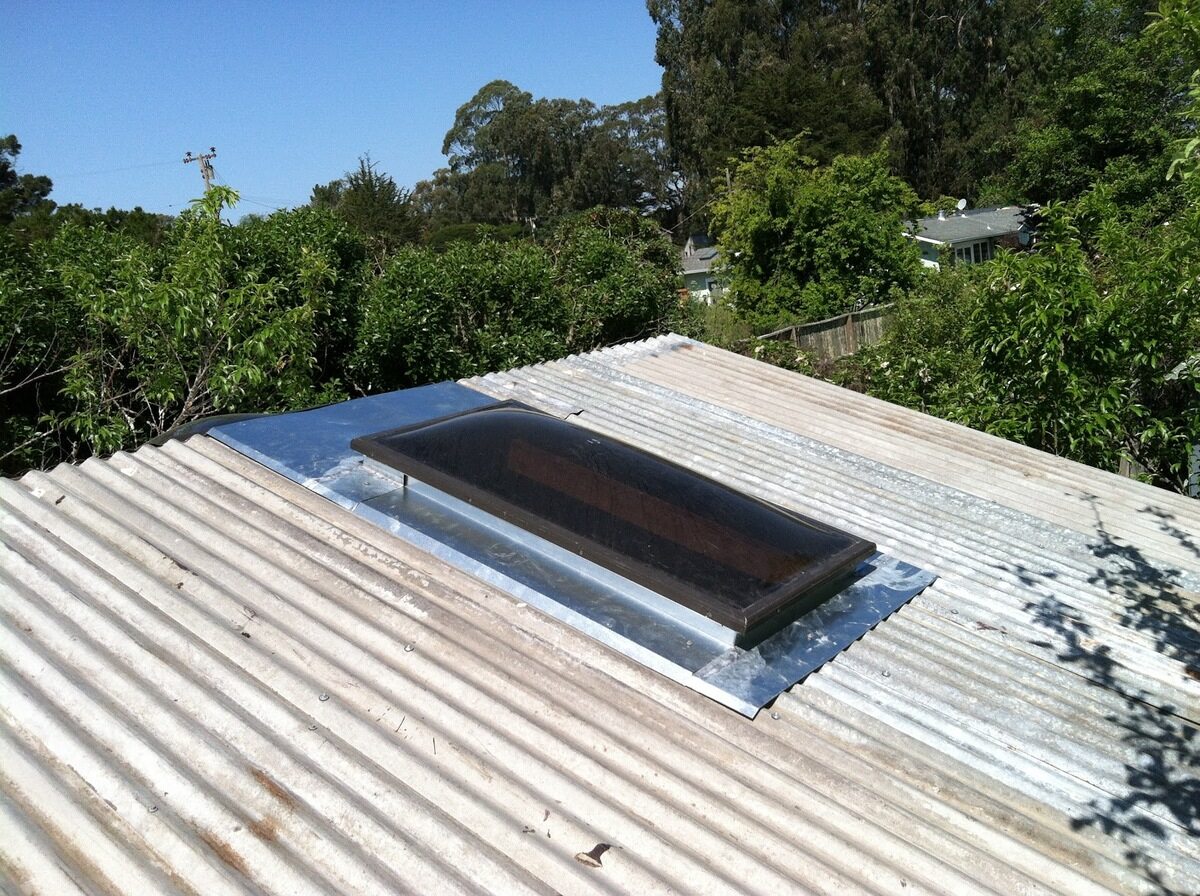
Skylights are a wonderful addition to any home, providing natural light, increased ventilation, and a sense of spaciousness. They can transform a dark and dull room into a bright and inviting space. Whether you want to enjoy the starry night sky, bask in the warmth of the sun, or simply create a more open and airy atmosphere, installing a skylight can be a great solution.
In this guide, we will provide step-by-step instructions on how to make a skylight and give your home a breath of fresh air. From choosing the location to sealing and weatherproofing, we will cover everything you need to know to successfully complete this project.
But first, let’s talk about the materials you’ll need to get started.
Key Takeaways:
- Transform your home with natural light, ventilation, and spaciousness by following our step-by-step guide to making a skylight. Enjoy the benefits of a bright and inviting atmosphere in your living space.
- Prioritize safety, precision, and quality materials when installing a skylight. From determining the location to testing functionality, each step contributes to a successful and transformative home improvement project.
Read more: How To Make A Skylight Shade
Materials Needed
Before you begin making a skylight, you’ll need to gather the necessary materials. Here’s a list of what you’ll need:
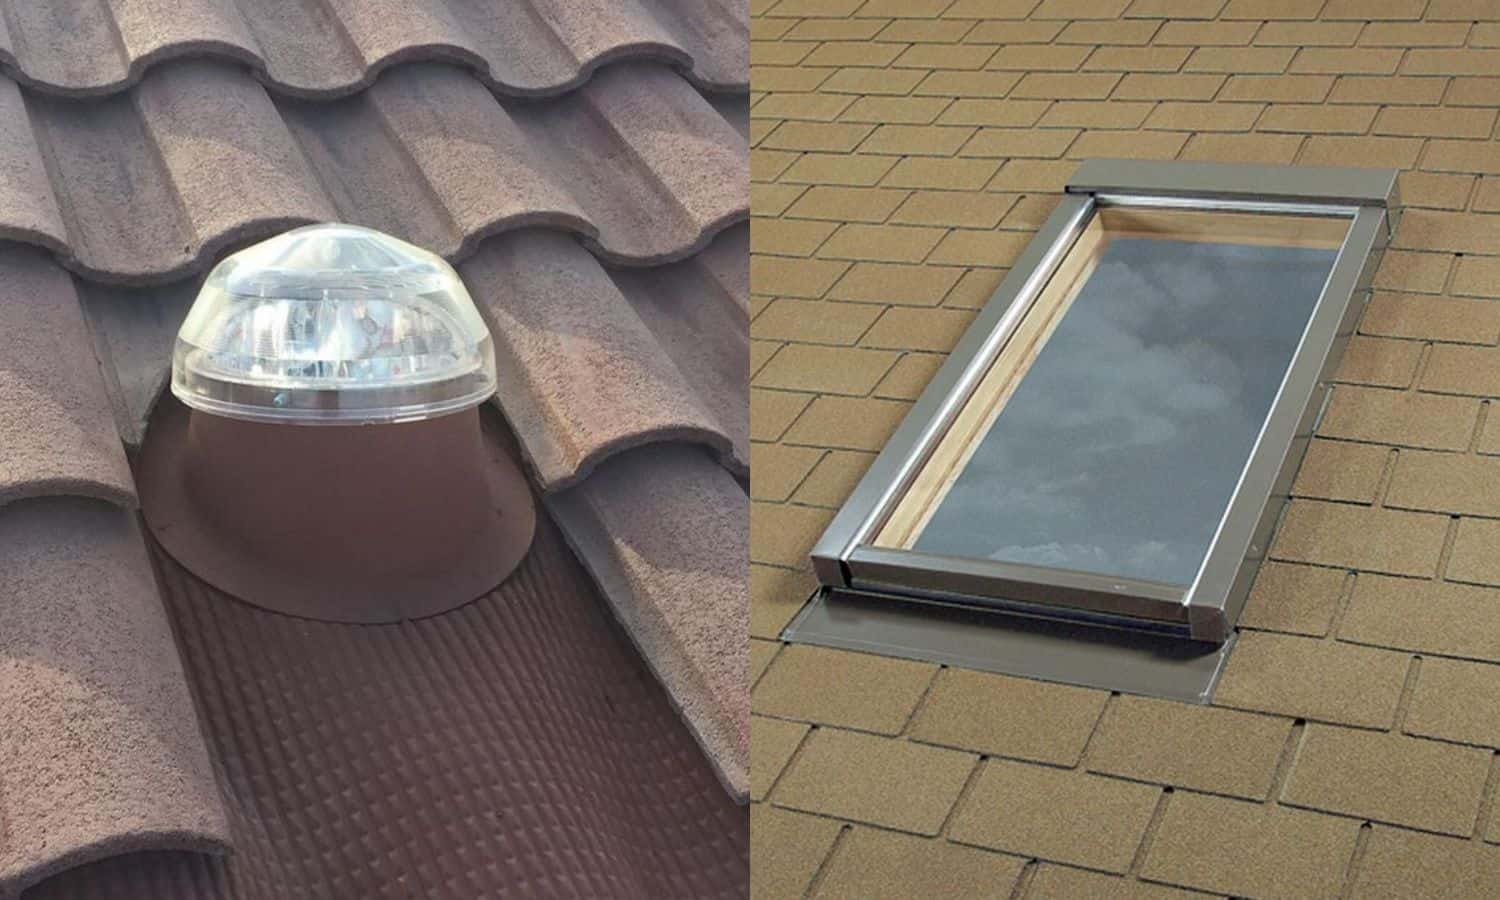
- Skylight Kit: Purchase a skylight kit that includes the frame, pane, flashing, and any necessary hardware. Make sure to choose a kit that matches the size and style you desire.
- Tape Measure: You’ll need a tape measure to accurately measure the dimensions of the skylight opening.
- Pencil: Use a pencil to mark the measurements on the roof and other surfaces.
- Saw: Depending on the type of roofing material, you may need a circular saw, reciprocating saw, or a specialized cutting tool to create the skylight opening.
- Safety Equipment: Safety should always be a priority. Wear safety goggles, gloves, and a dust mask to protect yourself during the installation process.
- Roofing Materials: You may need additional roofing materials such as shingles or flashing to properly seal and weatherproof the skylight.
- Screwdriver: A screwdriver will be needed to secure the skylight frame and pane in place.
- Caulk: Use a high-quality caulk or sealant to fill gaps and create a watertight seal around the skylight.
- Paint or Trim: If desired, you may need paint or trim to finish the skylight and blend it seamlessly with the surrounding roof and ceiling.
Make sure to gather all the necessary materials before you begin the installation process. This will ensure a smoother and more efficient workflow.
Step 1: Determine the Skylight Location
The first step in making a skylight is to determine the location where you want to install it. Consider the layout and design of your home, as well as the purpose of the skylight.
Here are a few factors to consider when choosing the skylight location:
- Natural Light: Choose a location where the skylight will bring in the most natural light. Take into account the position of the sun throughout the day and the orientation of the room.
- Room Function: Consider the purpose of the room. For example, if it’s a kitchen, you may want the skylight above the cooking area. If it’s a bathroom, consider placing the skylight above the shower or bathtub.
- Obstructions: Take note of any obstructions such as trees, neighboring buildings, or roof vents that may hinder the skylight’s functionality.
- Roof Structure: Check the roof structure to ensure it can support the weight of the skylight. Consult with a professional if necessary.
- Interior Layout: Consider how the skylight will fit into the interior layout of the room. Will it provide an open and airy atmosphere?
Once you have determined the ideal location for your skylight, proceed to the next step: measuring and marking the opening.
Step 2: Measure and Mark the Opening
After determining the skylight location, the next step is to measure and mark the opening on the roof. This is a critical step to ensure that the skylight fits properly and aligns with the layout of your home.
Here’s how to measure and mark the skylight opening:
- Measure the skylight kit: Take measurements of the skylight kit you purchased, including the outer dimensions of the frame. This will help you determine the size of the opening you need to create.
- Access the roof: Safely access the roof using a ladder or other appropriate means. Make sure to take proper safety precautions.
- Mark the center point: Determine the center point of the skylight opening and mark it on the roof using a pencil or chalk.
- Mark the outline: Using the measurements of the skylight kit, mark the outline of the opening on the roof. This will serve as a guide for cutting the roof later on.
- Check for obstructions: Double-check for any obstructions such as roof vents, pipes, or electrical wiring that may interfere with the skylight opening. Adjust the location if necessary.
- Extend the marks: Extend the marks beyond the outline to account for the flashing and additional space needed for installation. This will ensure a proper fit.
Take your time to accurately measure and mark the skylight opening. Precision is key to a successful installation. Once you have marked the opening, you can proceed to the next step: cutting an opening in the roof.
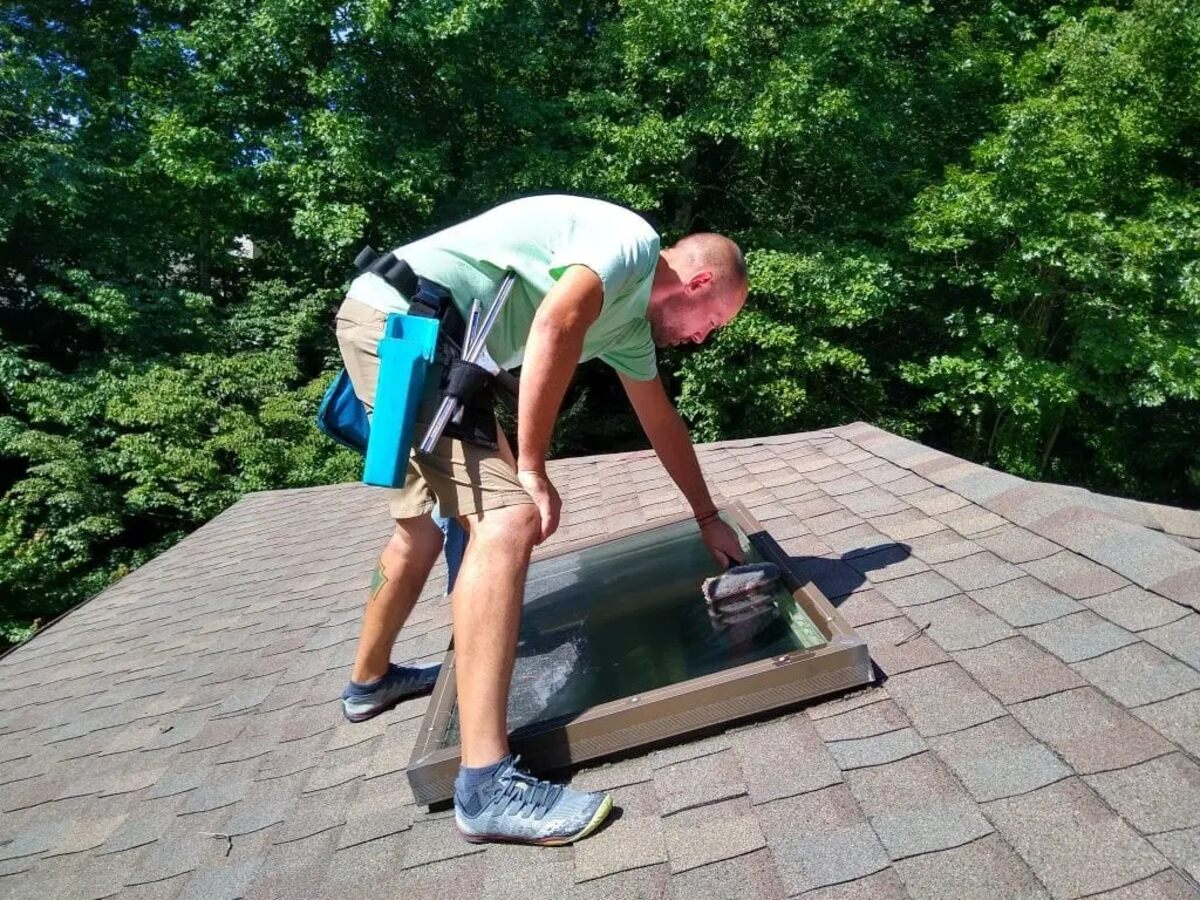
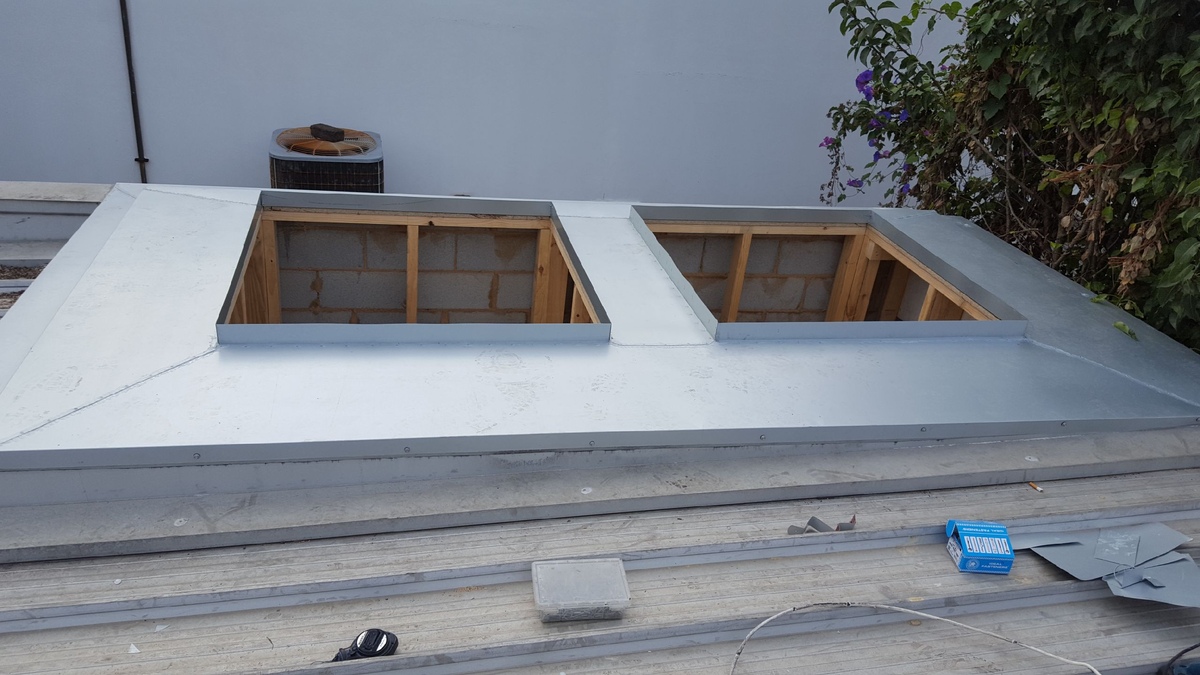
Step 3: Cut an Opening in the Roof
Now that you have measured and marked the skylight opening on the roof, it’s time to cut the actual opening. This step requires caution and attention to detail to ensure a clean and precise cut.
Follow these steps to cut an opening in the roof:
- Gather the necessary tools: Depending on the type of roofing material, you may need a circular saw, reciprocating saw, or a specialized cutting tool. Make sure you have the appropriate tool for your roof.
- Put on safety gear: Before you begin cutting, put on safety goggles, gloves, and a dust mask to protect yourself from debris and potential injuries.
- Follow the marked outline: Carefully follow the marked outline of the skylight opening with your saw or cutting tool. Take your time to ensure a smooth and accurate cut. Be mindful of any obstructions or structural elements on the roof.
- Remove the cut section: Once you have completed the cut, remove the section of the roof that you have cut out. Set it aside safely.
- Clean the area: Thoroughly clean the area around the opening to remove any debris or loose material. This will create a clean surface for installing the skylight.
Be sure to proceed with caution and follow all safety guidelines when cutting an opening in the roof. If you’re unsure or uncomfortable with this step, it’s always best to consult a professional for assistance.
Once you have successfully cut the opening, it’s time to move on to the next step: installing the skylight frame.
Read more: How To Open A Skylight
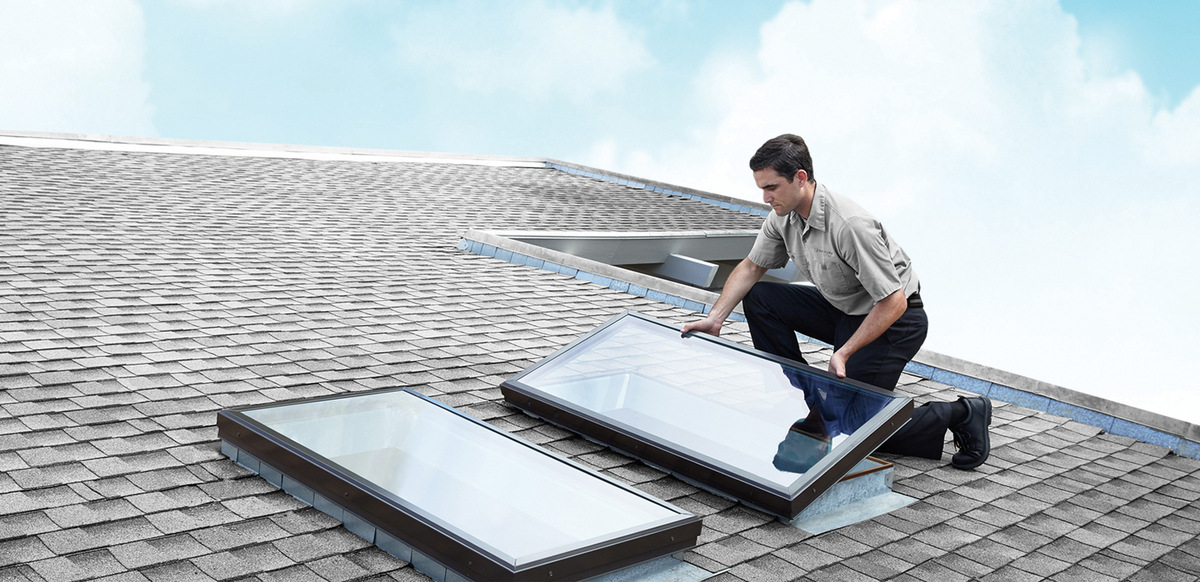
Step 4: Install the Skylight Frame
With the skylight opening cut in the roof, it’s time to move on to installing the skylight frame. The frame provides the structure and support for the skylight, ensuring its stability and proper functioning.
Follow these steps to install the skylight frame:
- Prepare the frame: Start by assembling the skylight frame according to the manufacturer’s instructions. Ensure that all the necessary components are included and securely fastened.
- Position the frame: Carefully position the skylight frame on the roof, aligning it with the opening. Ensure that it is centered and level with the roofline.
- Secure the frame: Once the frame is properly aligned, secure it in place using the provided screws or fasteners. Follow the specific instructions for your skylight kit to ensure a secure installation.
- Check for stability: After securing the frame, check for any signs of instability or movement. The frame should be firm and level, providing a solid foundation for the skylight pane.
- Verify proper fit: Double-check that the frame fits snugly in the opening and that there are no gaps or misalignments. Make any necessary adjustments to ensure a proper fit.
Installing the skylight frame is a crucial step in the process, as it sets the foundation for the rest of the installation. Take your time to ensure that the frame is properly aligned and securely fastened. Once the frame is in place, you are ready to move on to the next step: installing the skylight pane.
When making a skylight, ensure proper waterproofing and insulation to prevent leaks and heat loss. Use high-quality materials and consider professional installation for best results.
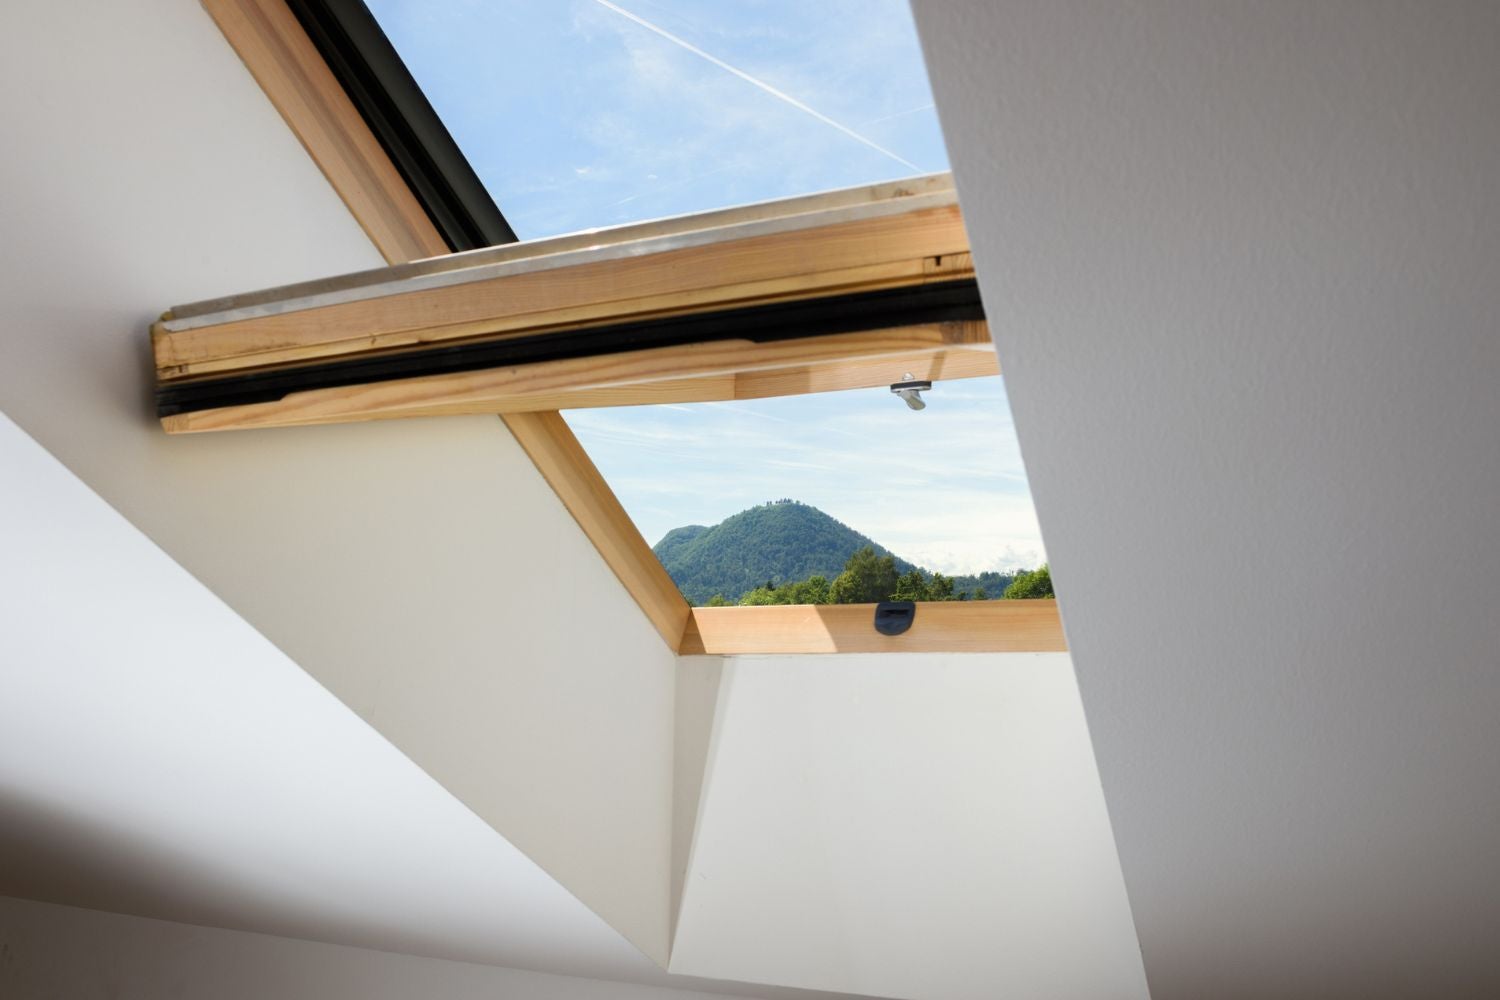
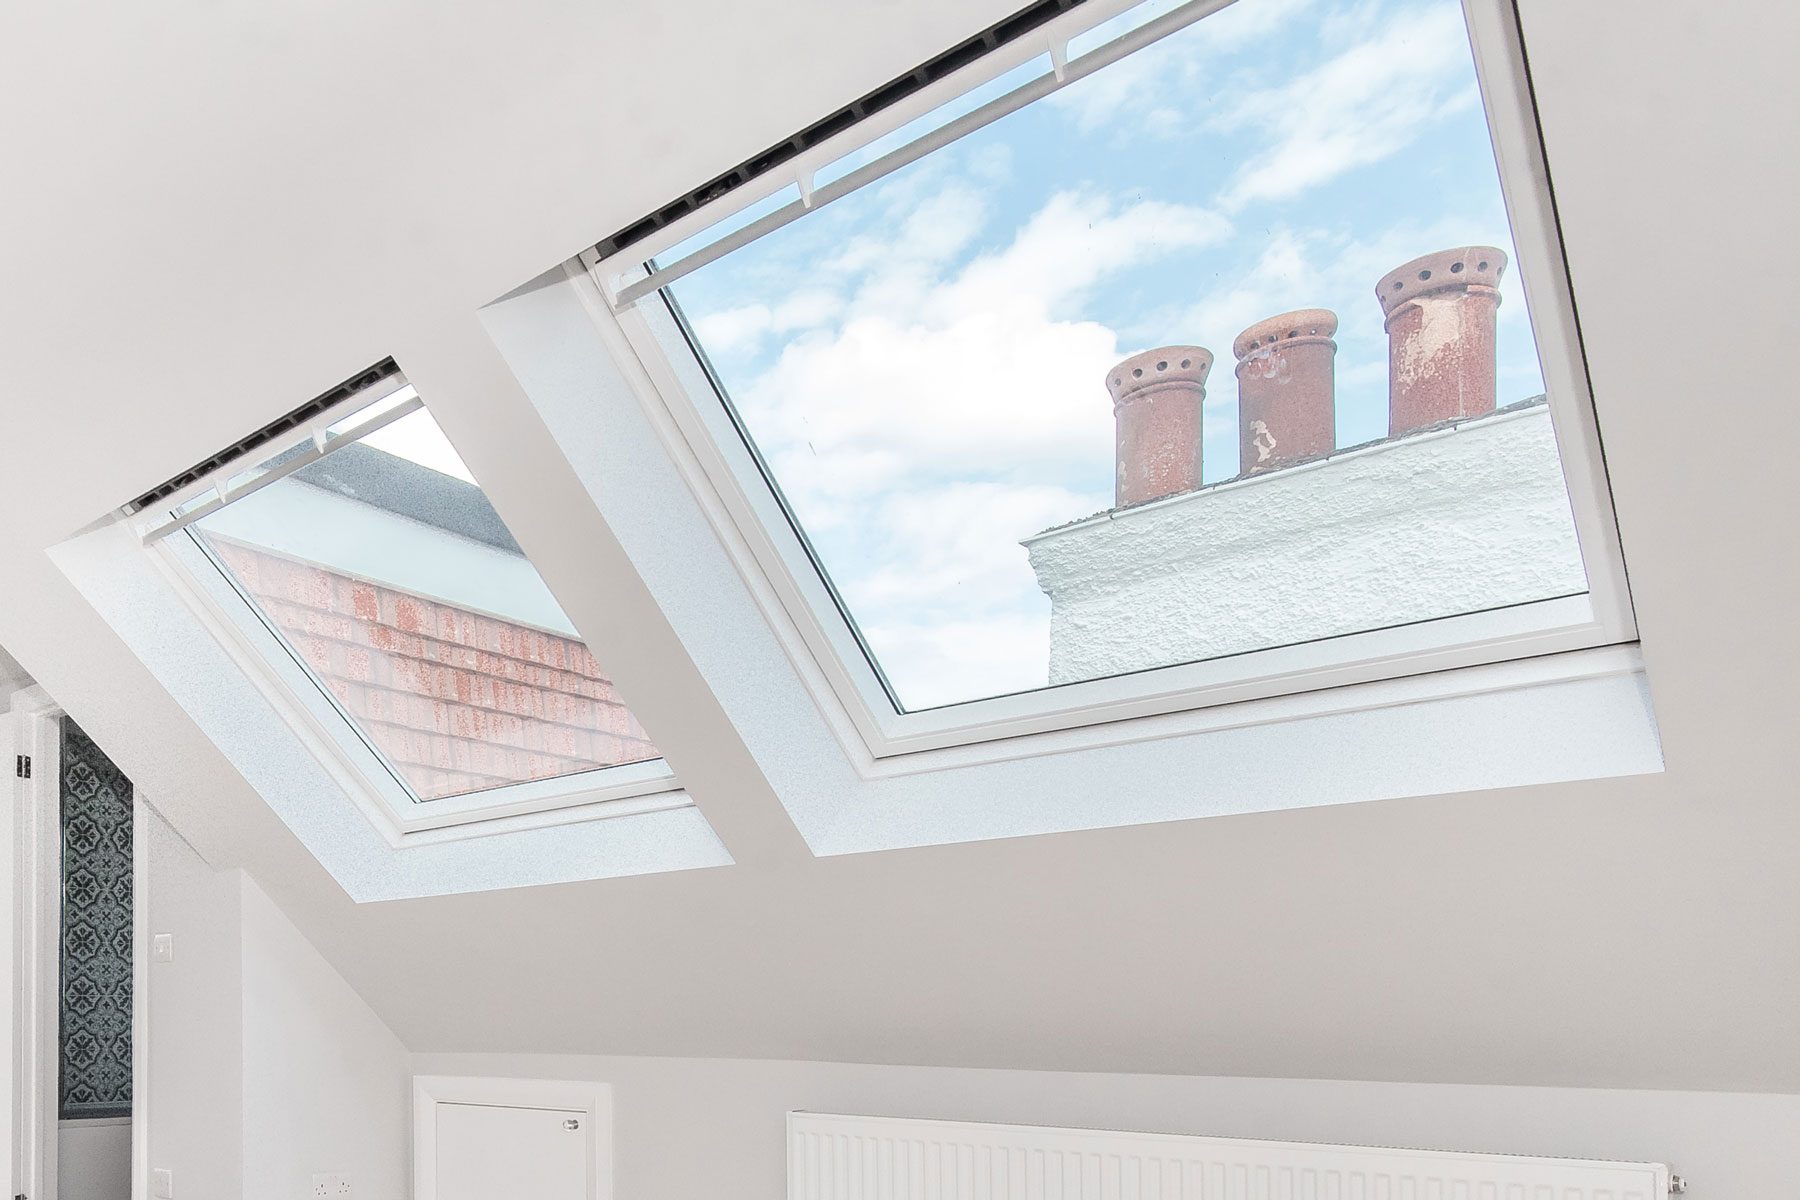
Step 5: Install the Skylight Pane
With the skylight frame securely installed, it’s time to proceed with installing the skylight pane. The skylight pane is the glass or acrylic panel that allows natural light to enter your home and provides a view of the sky above.
Follow these steps to install the skylight pane:
- Prep the pane: Ensure that the skylight pane is clean and free from any dirt or debris. Check for any cracks, damage, or imperfections that may affect its functionality.
- Apply sealant: Apply a thin, even layer of silicone sealant around the perimeter of the skylight frame. This will create a watertight seal between the frame and the pane.
- Position the pane: Carefully position the skylight pane over the frame, aligning it with the opening. Gently press it down to ensure that it adheres to the sealant and is securely in place.
- Secure the pane: Depending on the type of skylight kit, there may be specific screws or fasteners to secure the pane to the frame. Follow the manufacturer’s instructions to properly secure the pane.
- Check for proper fit and alignment: Once the pane is secured, check for any gaps or misalignments. The pane should fit snugly within the frame, with no visible openings or wobbling.
Proper installation of the skylight pane is essential to ensure its functionality and longevity. Take your time during this step to ensure a secure and watertight installation. Once the pane is in place, you can move on to the next step: sealing and weatherproofing the skylight.
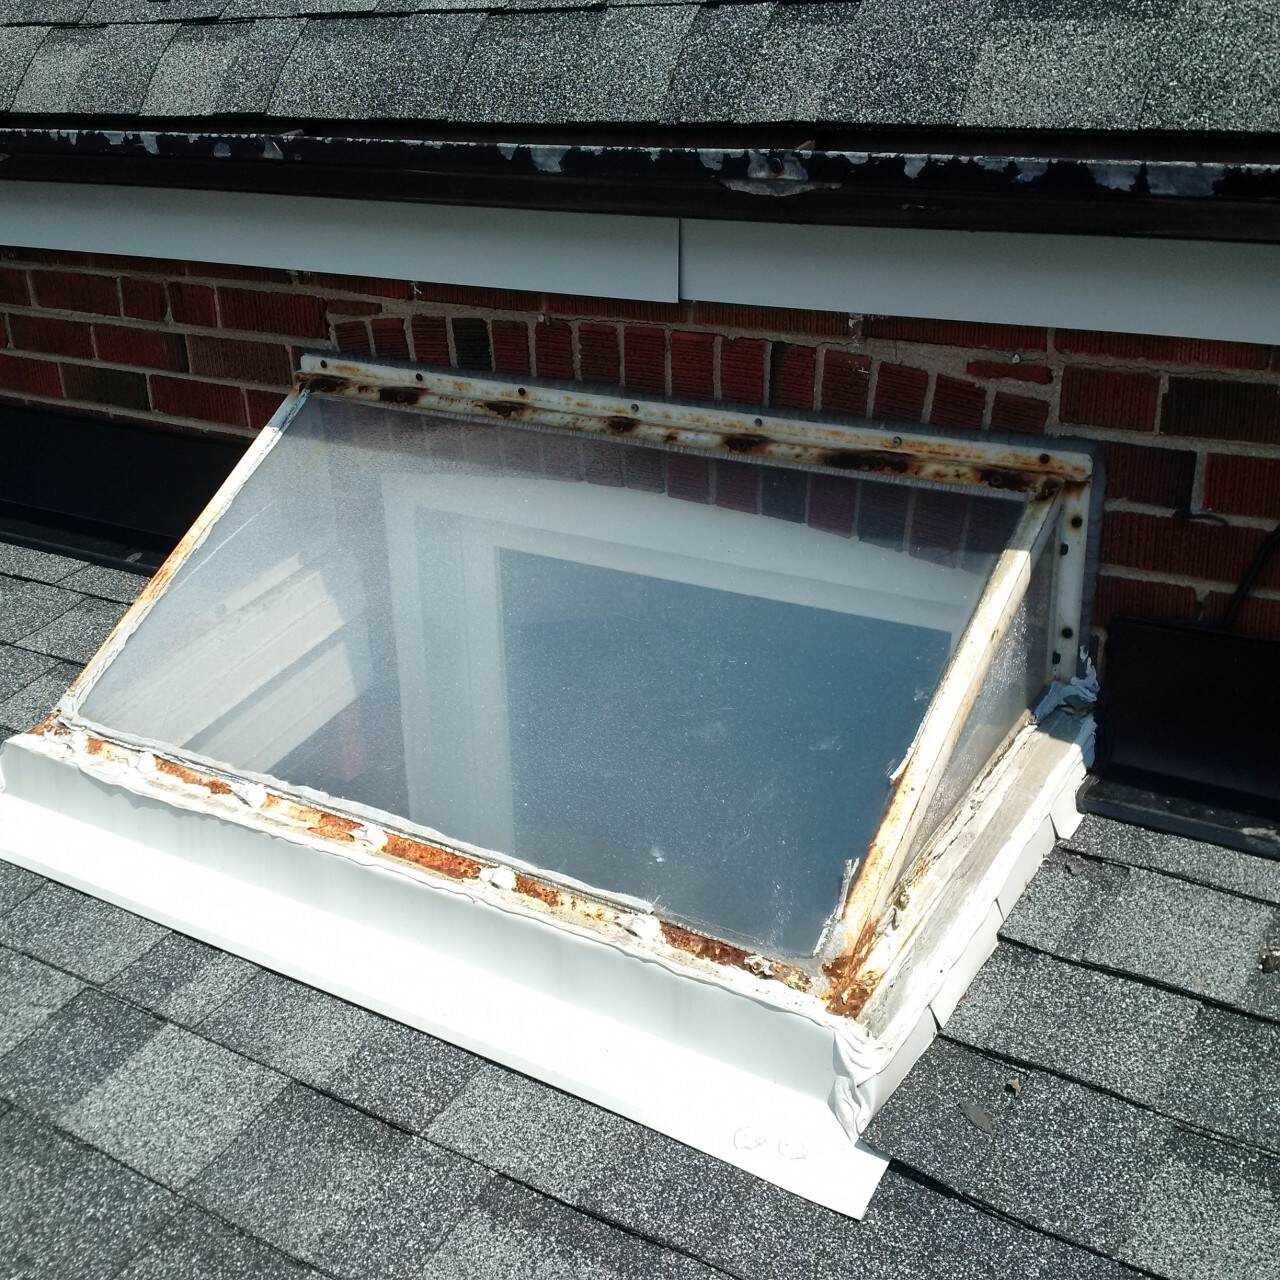
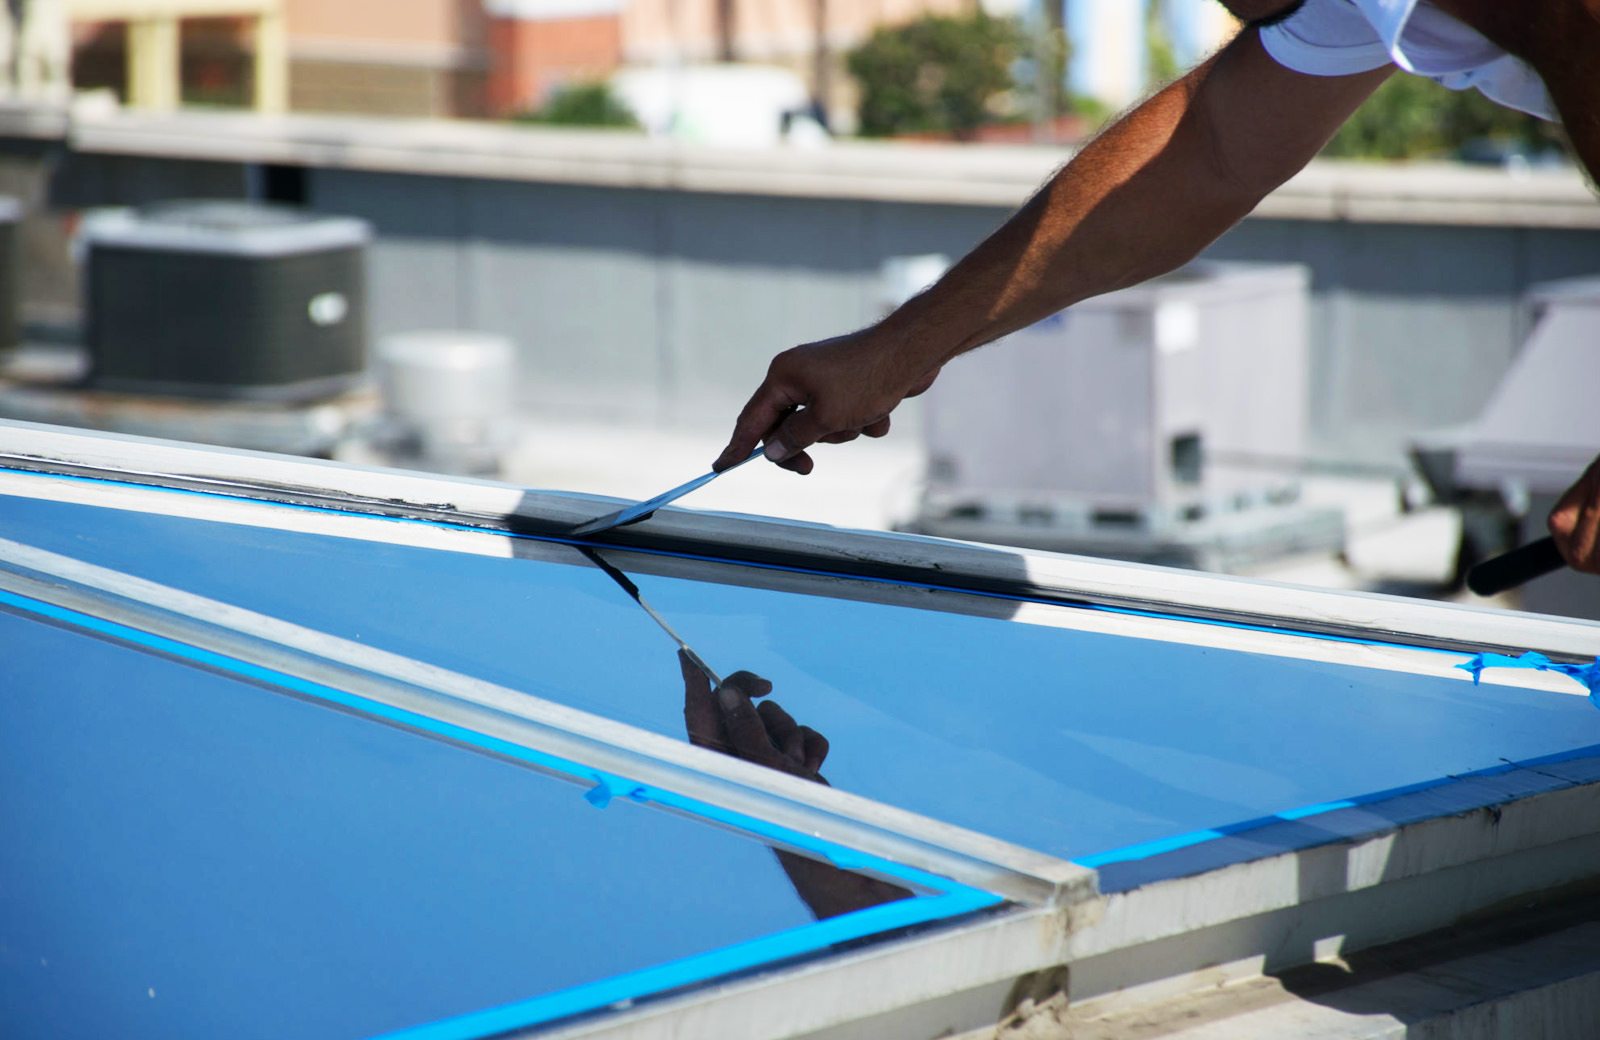
Step 6: Seal and Weatherproof the Skylight
After the skylight pane is securely installed, the next step is to seal and weatherproof the skylight. This crucial step ensures that your skylight is protected from water leakage, drafts, and other weather-related issues.
Follow these steps to effectively seal and weatherproof your skylight:
- Inspect the seal: Check the seal between the skylight frame and the roof. Ensure that there are no gaps or areas where water could penetrate. If needed, apply additional sealant to create a tight seal.
- Apply flashing: Flashing is a protective barrier that redirects water away from the skylight opening. Apply flashing around the skylight frame, overlapping it with the existing roof flashing. This will create a watertight seal.
- Seal around the edges: Use sealant or caulk to seal any gaps or openings around the edges of the skylight frame. Pay close attention to corners and joints where water could potentially seep through.
- Check for proper drainage: Ensure that there is a proper drainage system in place to divert water away from the skylight. Make sure that gutters, downspouts, and other drainage components are functioning effectively.
- Test for leaks: After sealing and weatherproofing, perform a thorough test to check for any potential leaks. Use a hose or simulate rainfall to see if any water enters the skylight area. If there are any leaks, identify the source and address it promptly.
Sealing and weatherproofing your skylight is essential to protect your home from water damage and maintain a comfortable indoor environment. Take the time to ensure a proper seal and address any potential issues to prolong the lifespan of your skylight.
Once you have successfully sealed and weatherproofed your skylight, you can move on to the next step: installing the skylight trim or finish.
Step 7: Install the Skylight Trim or Finish
After sealing and weatherproofing the skylight, it’s time to add the finishing touches by installing the skylight trim or finish. The trim or finish not only enhances the aesthetic appeal of the skylight but also provides additional protection and insulation.
Follow these steps to install the skylight trim or finish:
- Choose the appropriate trim: Select the type of trim or finish that complements your home’s interior design. This could be a simple wooden trim, a decorative molding, or another suitable material.
- Cut the trim: Measure and cut the trim to the appropriate length to fit around the skylight frame. Use a saw or other cutting tool, ensuring clean and precise cuts.
- Prep the trim: Sand or smooth any rough edges of the trim to ensure a clean and professional finish. Apply a coat of paint or finish, if desired, to match the surrounding decor.
- Secure the trim: Attach the trim or finish around the skylight frame using appropriate screws, nails, or adhesive. Make sure it is firmly secured and aligned with the frame.
- Check for gaps: Inspect the area between the trim and the skylight frame for any gaps or openings. Fill them with caulk or sealant to ensure a tight seal and to prevent air or moisture infiltration.
- Clean up: Remove any excess caulk, sealant, or debris from the installation process. Wipe down the skylight and surrounding area to leave it clean and presentable.
The installation of the skylight trim or finish adds the final touch to your skylight project. It not only enhances the visual appeal but also provides additional insulation and protection against drafts. Take your time during this step to ensure a professional and polished look.
Once the skylight trim or finish is installed, it’s time for the final step: testing for proper functionality.
Read more: How To Insulate Skylight
Step 8: Test for Proper Functionality
After completing the installation of your skylight and all the necessary finishing touches, it is crucial to test for proper functionality. This step ensures that your skylight operates smoothly and meets your expectations in terms of light, ventilation, and weather resistance.
Follow these steps to test the proper functionality of your skylight:
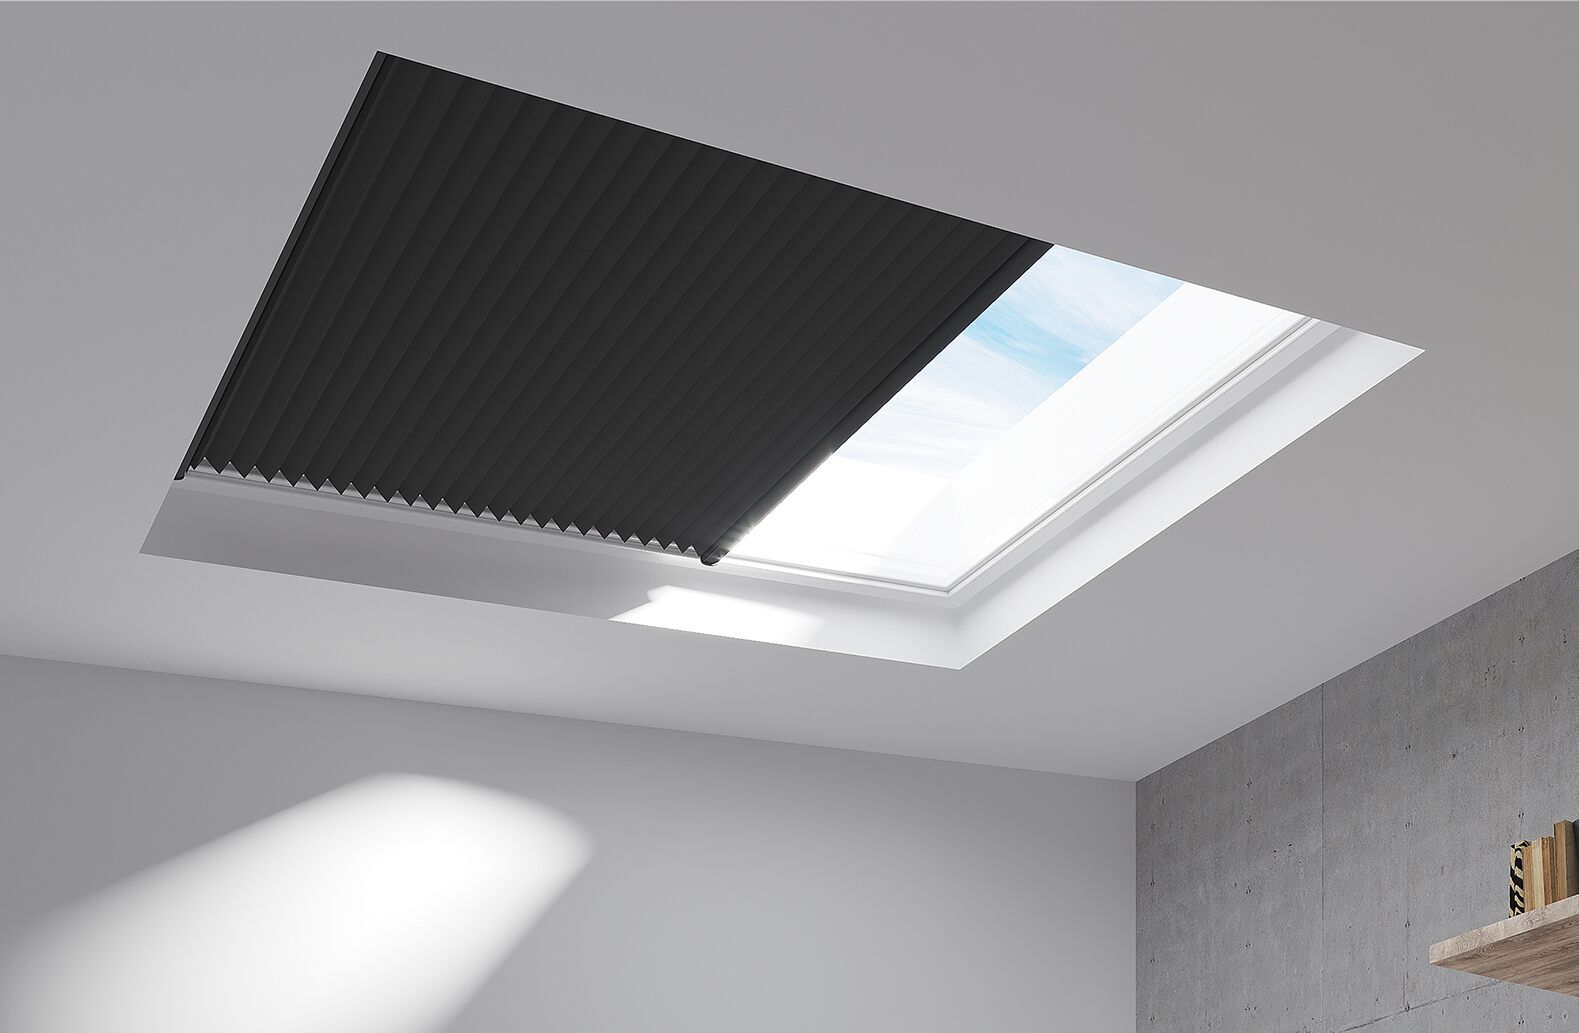
- Open and close the skylight: Test the operation of your skylight by opening and closing it. Ensure that it moves smoothly without any difficulty or resistance. If the skylight has a motorized or remote-controlled mechanism, test all the functions to confirm proper operation.
- Check for air leaks: While the skylight is closed, check for any air leaks by running your hand around the edges and corners. Detecting any drafts will allow you to identify areas that might require additional weather-stripping or sealing.
- Check for water tightness: During a light rain shower or by using a hose, test the skylight for any signs of water penetration. Examine the interior area surrounding the skylight for any water leaks or moisture accumulation.
- Assess the lighting: Observe the amount of natural light that enters the room when the skylight is fully open and closed. Ensure that it meets your desired level of illumination and that there are no obstructions hindering the light flow.
- Inspect the internal temperature: Monitor the temperature near the skylight during hot and cold weather. This will help determine if there is any noticeable heat loss or gain through the skylight. Consider adding additional insulation if needed.
By thoroughly testing your skylight for proper functionality, you can identify any potential issues or areas that may require further adjustments or improvements. This step ensures that your skylight operates efficiently and meets your expectations in terms of both performance and comfort.
Once you are satisfied with the performance of your skylight, congratulations! You have successfully completed the installation process. Enjoy the benefits of your new skylight, including the natural light, improved ventilation, and enhanced aesthetics it brings to your home.
Remember to conduct periodic maintenance checks to keep your skylight in optimal condition and extend its lifespan. Regularly inspect for any signs of wear, leaks, or loose components, and address them promptly to avoid any potential damage or further issues.
Thank you for following this step-by-step guide on how to make a skylight. We hope this information has been helpful in creating a bright and inviting atmosphere in your home.
Happy skylighting!
Conclusion
Installing a skylight can be a transformative addition to your home, bringing in natural light, improving ventilation, and creating a sense of openness and connection to the outdoors. By following the step-by-step guide provided, you can successfully make a skylight and enhance the beauty and functionality of your living space.
From determining the skylight location to testing for proper functionality, each step plays a crucial role in ensuring a successful installation. Taking the time to carefully measure, cut, seal, and finish your skylight will result in a professional and durable outcome.
It is essential to prioritize safety while working on your skylight project. Use the appropriate tools, wear protective gear, and, when in doubt, consult a professional for guidance. Safety should always be a top priority to prevent accidents or damage during the installation process.
Remember, the quality of the materials used and the precision of the installation will greatly impact the longevity and performance of your skylight. Choose a skylight kit that matches your needs, ensure proper weatherproofing, and regularly inspect and maintain your skylight to keep it in optimal condition.
Enjoy the natural light, ambiance, and energy-saving benefits that your skylight brings to your home. Take the time to admire the starry nights, enjoy the sunlight streaming in, and relish the connection to the beauty of the outdoors within the comfort of your own space.
Thank you for using this guide to learn how to make a skylight. We hope it has been informative and helpful in your skylight installation journey. May your newly enhanced living space bring you joy, inspiration, and a renewed appreciation for the wonders of natural light.
Happy skylighting!
Frequently Asked Questions about How To Make Skylight
Was this page helpful?
At Storables.com, we guarantee accurate and reliable information. Our content, validated by Expert Board Contributors, is crafted following stringent Editorial Policies. We're committed to providing you with well-researched, expert-backed insights for all your informational needs.


0 thoughts on “How To Make Skylight”