Articles
How To Tint A Skylight
Modified: January 8, 2024
Learn how to tint your skylight with our informative articles on skylight tinting techniques and tips. Discover the benefits and step-by-step process for a successful tinted skylight installation.
(Many of the links in this article redirect to a specific reviewed product. Your purchase of these products through affiliate links helps to generate commission for Storables.com, at no extra cost. Learn more)
Introduction
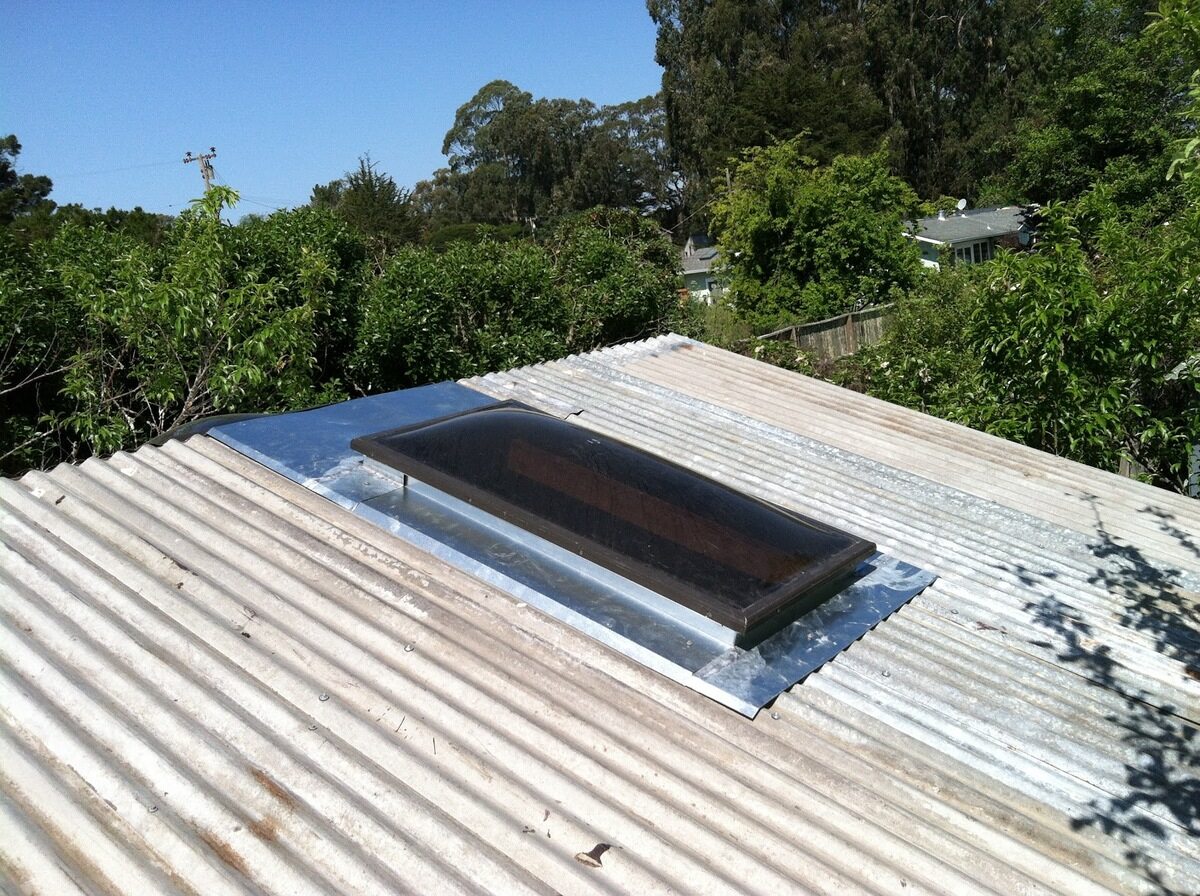
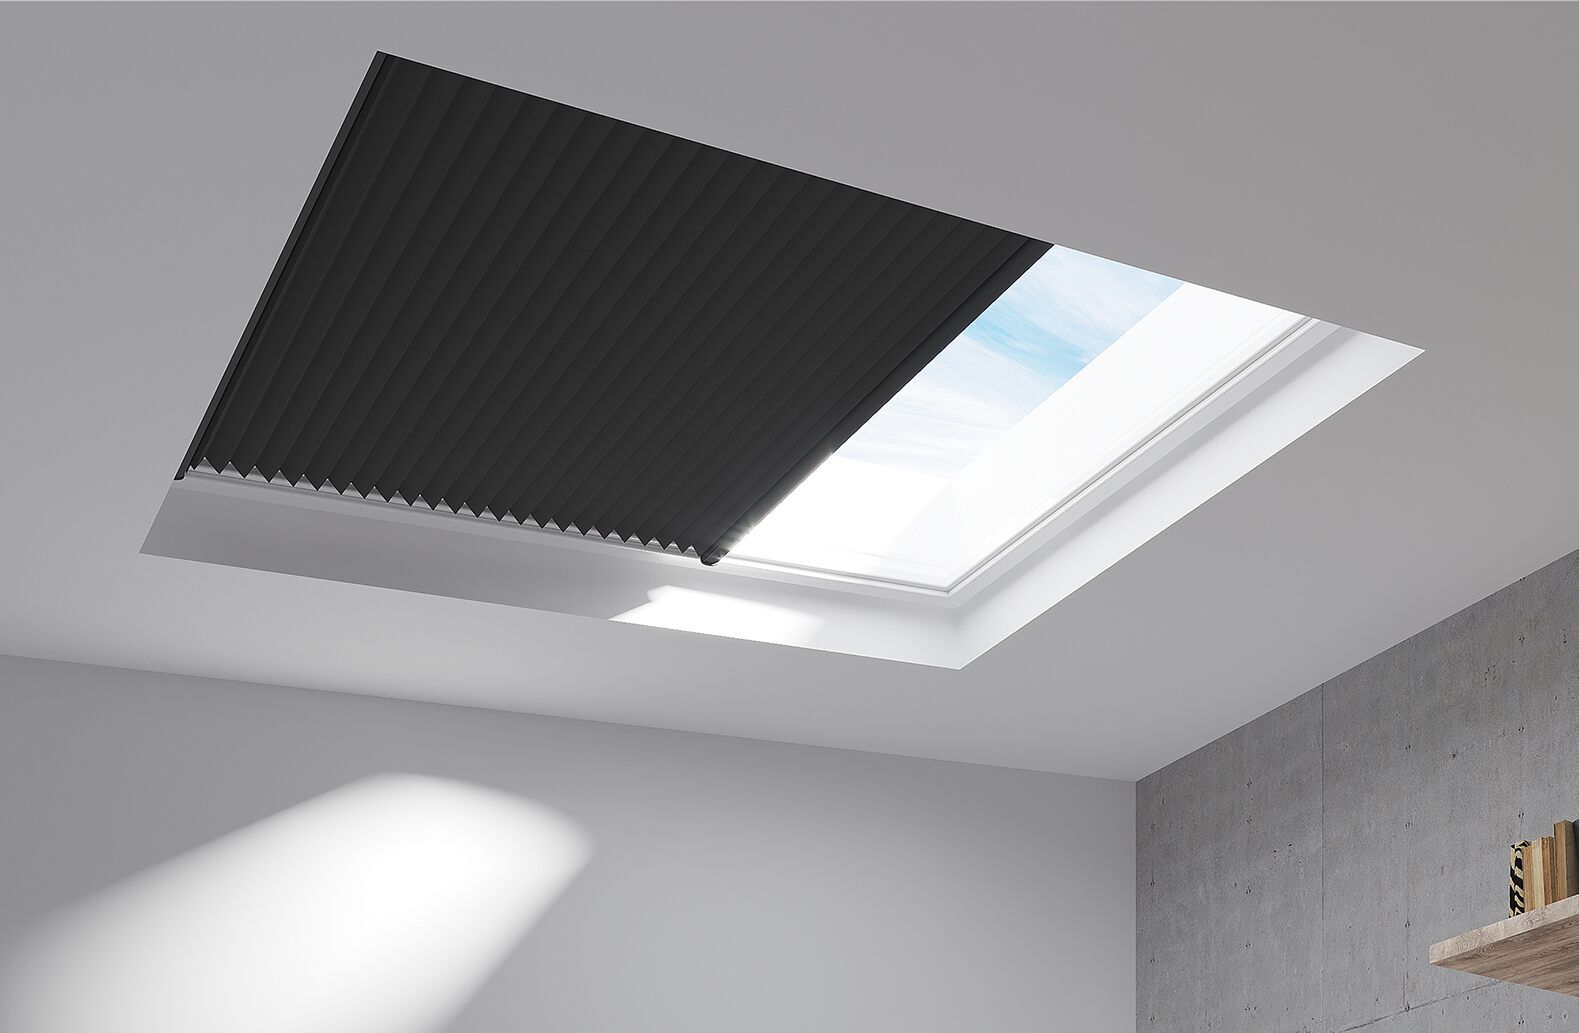
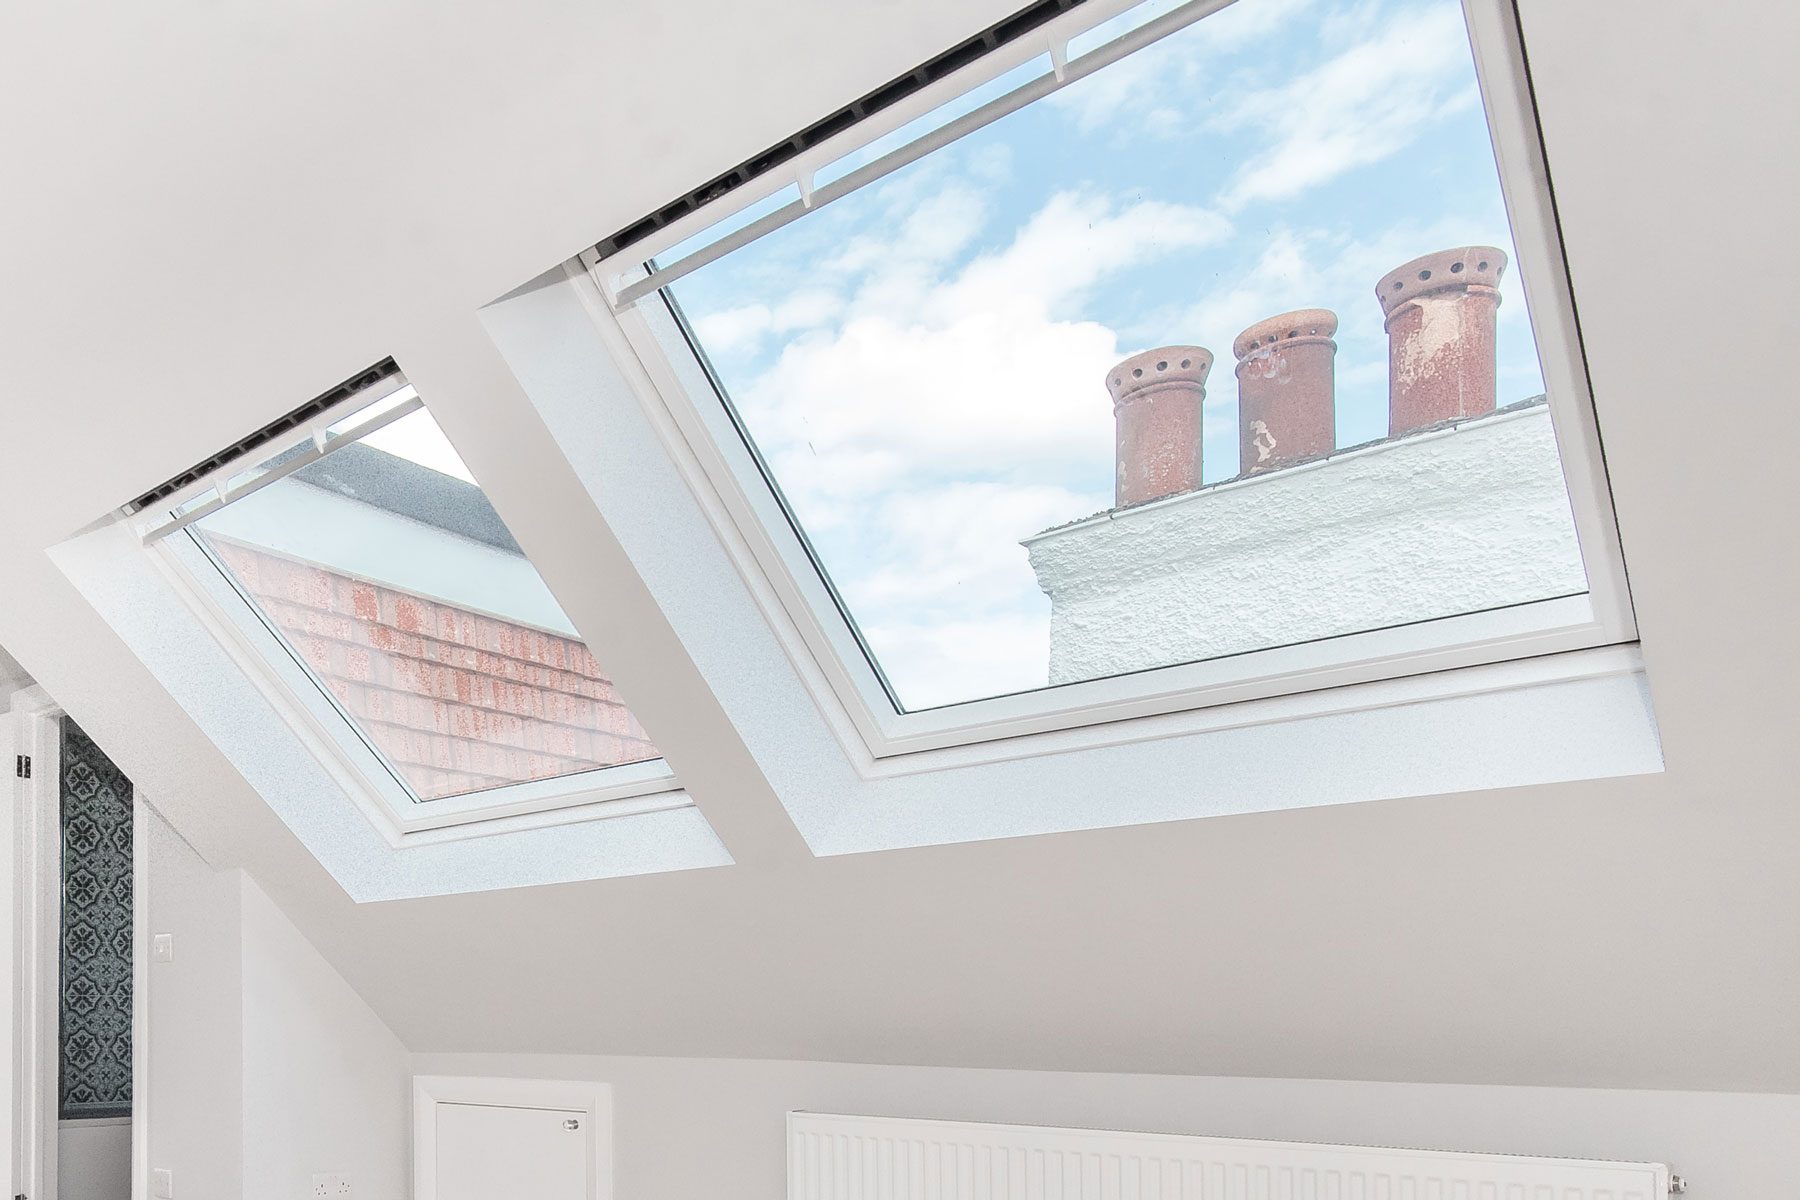
Welcome to our guide on how to tint a skylight! Skylights are a wonderful addition to any home or office, providing natural light and a connection to the outdoors. However, the intense sunlight that often shines through skylights can sometimes lead to issues like excessive heat, glare, and fading of furniture and fabrics. This is where skylight tinting comes in. Tinting your skylight can help reduce heat, glare, and UV radiation, making your space more comfortable and energy-efficient.
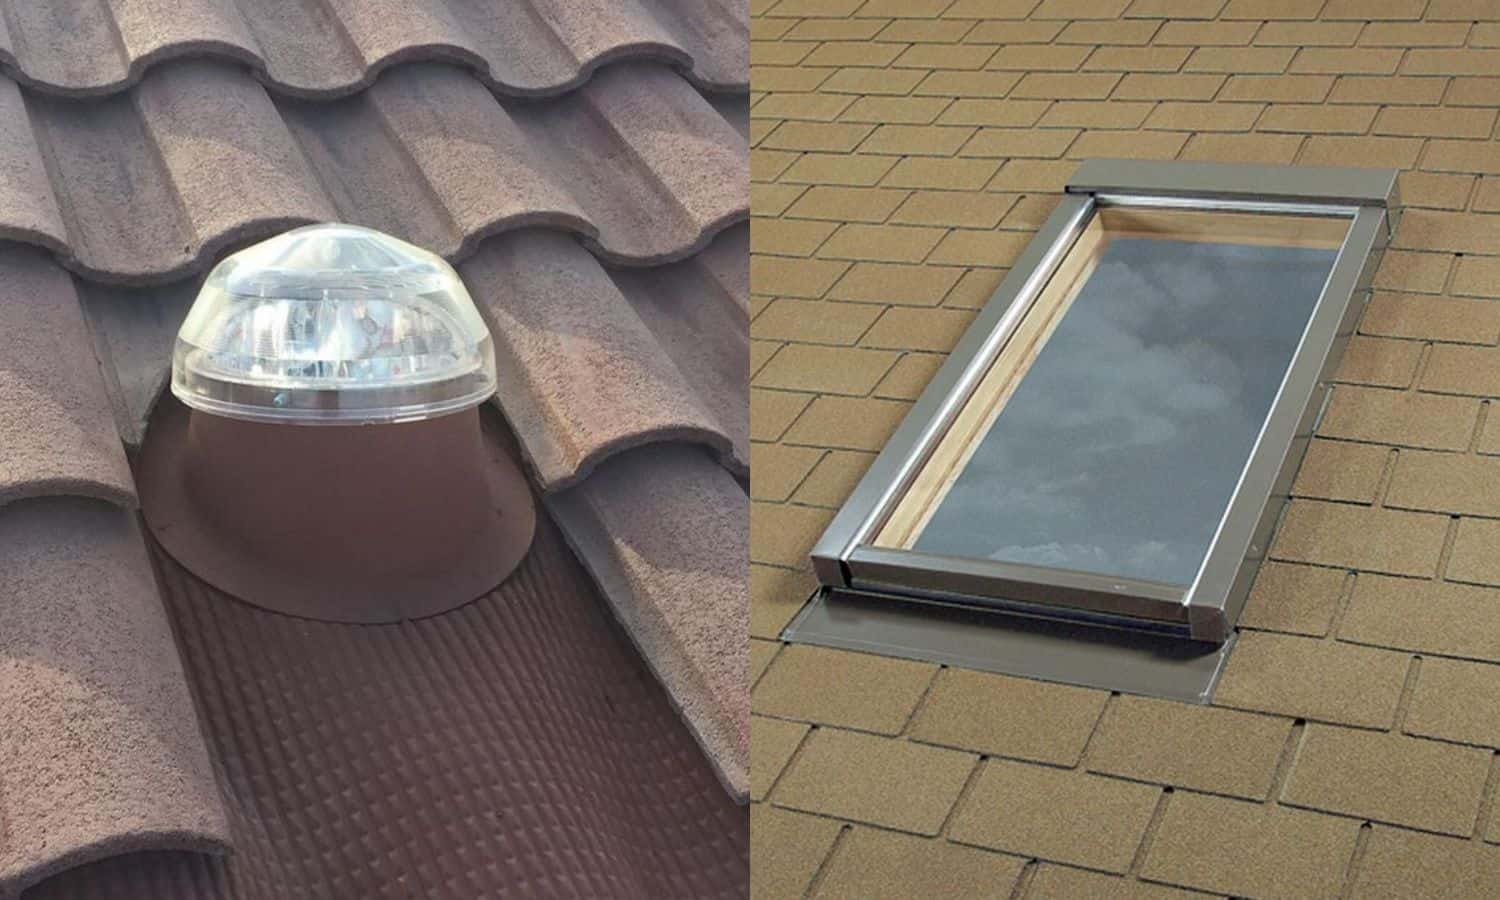
In this article, we will walk you through the process of tinting a skylight, from understanding the different types of tint to the step-by-step installation process. Whether you have a flat skylight or a domed one, we’ve got you covered. So, let’s get started!
Key Takeaways:
- Skylight tinting offers practical benefits such as reducing heat and glare, enhancing privacy, and protecting against UV radiation, while also adding a touch of style and sophistication to your space.
- Proper preparation, careful application, and attention to detail are essential for a successful skylight tinting project. By following the step-by-step instructions, you can achieve a professional finish and enjoy the benefits of a beautifully tinted skylight.
Read more: How To Make Skylight
Understanding Skylight Tinting
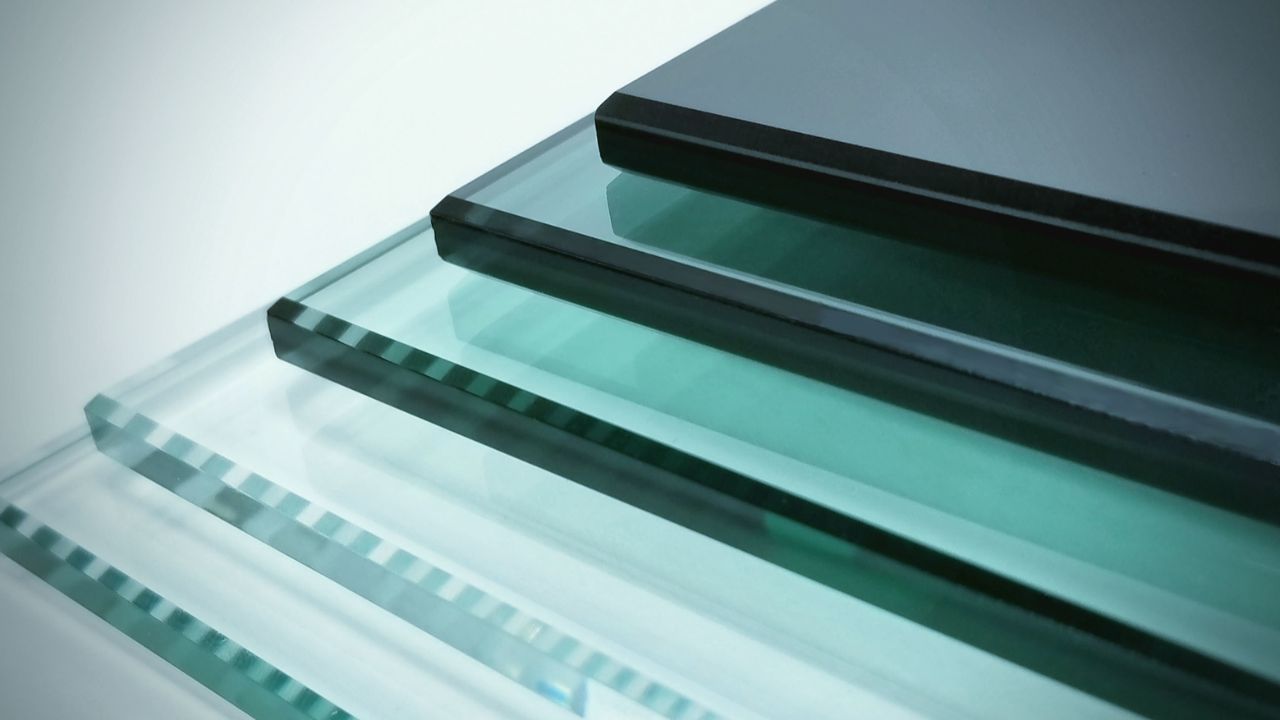
Tinting a skylight involves applying a thin film of material to the glass surface of the skylight. This film is designed to block a certain percentage of sunlight, reducing heat and glare while still allowing ample natural light to enter the space. Skylight tinting can also provide protection against harmful UV rays, which can cause damage to your skin and fade your furniture and flooring over time.
There are different types of skylight tints available on the market, each with its own advantages and disadvantages. Here are a few popular options:
- Solar Tint: Solar tint films are designed to block a significant amount of heat and UV rays while maintaining good clarity and natural light. They can be a great choice if reducing heat is your primary concern.
- Privacy Tint: Privacy tint films are designed to limit visibility from the outside. They create a one-way mirror effect, allowing you to see out while preventing others from seeing in. Privacy tint can be a great option if you have a skylight in a bathroom or a room where privacy is a priority.
- Decorative Tint: Decorative tint films come in a variety of patterns, colors, and textures. They can add visual interest and a creative touch to your skylight while still providing some level of heat and glare reduction. Decorative tint films are a popular choice for those looking to enhance the aesthetic appeal of their skylights.
When choosing a skylight tint, consider your specific needs and preferences. Think about factors such as the amount of sunlight your skylight receives, the level of privacy you desire, and the overall aesthetic you wish to achieve.
It’s also worth noting that some skylight tints have additional features such as infrared rejection, which can further reduce heat transfer into your space. Be sure to inquire about these features when selecting your tint film.
Now that we have a basic understanding of skylight tinting and the different options available, let’s move on to the next step: choosing the right tint for your skylight.
Choosing the Right Tint
When it comes to choosing the right tint for your skylight, there are a few factors to consider. Here’s a step-by-step guide to help you make an informed decision:
- Evaluate your needs: Start by assessing your specific needs and goals for tinting your skylight. Are you primarily concerned with reducing heat and glare, enhancing privacy, or adding a decorative touch? Understanding your needs will help narrow down the options.
- Consider the level of tint: Different tint films offer varying levels of tint and light transmission. Consider how much light you want to allow into the space and how dark you prefer the tint to be. Keep in mind that darker tints will reduce more heat and glare, but they may also darken the room considerably.
- Check UV protection: Look for a tint film that offers a high level of UV protection. UV rays can cause skin damage and fade your furniture and flooring over time. Ensure the tint film has UV-blocking properties to keep your space protected.
- Explore additional features: Some tint films come with additional features such as infrared rejection, which can further reduce heat transfer into the space. If heat reduction is a priority, opt for a tint film with this feature.
- Consider energy efficiency: Tinting your skylight can also contribute to energy efficiency by reducing the need for excessive cooling. Look for tint films that are designed to improve energy efficiency, as this can help save on your utility bills in the long run.
- Research product reviews: Before making a final decision, take the time to read product reviews and ratings. This will give you insight into the performance and durability of different tint films. Look for films that have positive reviews and are known for their quality.
- Consult a professional: If you are unsure about which tint film to choose or if you have specific requirements, it is always a good idea to consult with a professional. They can provide expert advice and recommend the best tint film for your skylight.
By considering these factors and doing some research, you can choose the right tint film that meets your needs and enhances the functionality of your skylight. Once you have selected the appropriate tint, it’s time to move on to the next step: preparing for tinting.
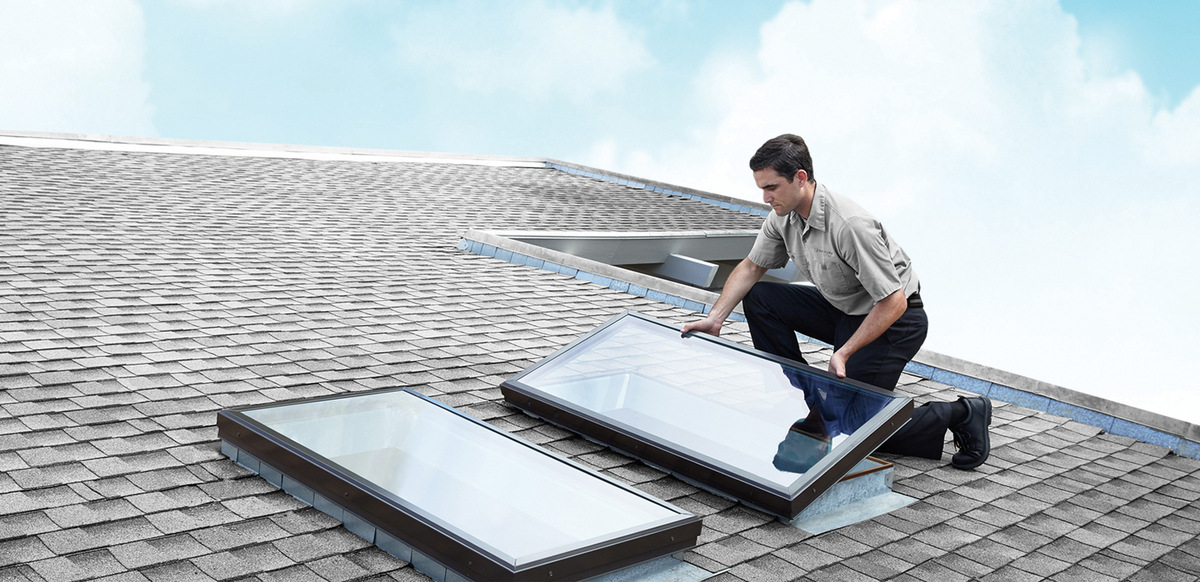
Preparing for Tinting
Before you begin tinting your skylight, it’s important to properly prepare the area to ensure a smooth and successful installation. Here are the key steps to follow when preparing for tinting:
- Gather the necessary tools: Make sure you have all the tools and materials you’ll need for the tinting process. This may include a utility knife, a squeegee, a spray bottle filled with a mixture of water and a few drops of dish soap, a lint-free cloth, and a heat gun or hairdryer.
- Clean the surrounding area: Clear the area around the skylight of any furniture, decorative items, or obstructions that may hinder the tinting process. This will ensure you have enough space to work and avoid any accidental damage or tripping hazards.
- Protect the floor and walls: Lay down drop cloths or plastic sheets to protect the floor and walls from any drips or spills during the tinting process. Tint film adhesive can be sticky and leave residue, so it’s important to take precautions to avoid any damage to your surfaces.
- Turn off the skylight: If your skylight has a motorized function, make sure it is turned off. This will prevent the skylight from opening or closing during the tinting process, which could interfere with the installation and potentially damage the film.
- Ensure proper ventilation: Tinting can produce fumes, especially when using adhesive-backed films. Make sure the room is well-ventilated by opening windows or using fans to circulate the air. This will reduce the concentration of fumes and create a more comfortable working environment.
By following these preparation steps, you’ll create a suitable environment for tinting your skylight. Once everything is in order, you can proceed to the next stage: cleaning the skylight and preparing it for the tint film application.
Cleaning the Skylight
Properly cleaning the skylight is an essential step before applying the tint film. A clean surface ensures that the tint adheres well and prevents any dirt or debris from being trapped under the film. Here’s how to clean your skylight effectively:
- Gather the necessary cleaning supplies: You’ll need a mild detergent or glass cleaner, a soft sponge or cloth, and a lint-free cloth for drying.
- Remove any dust or debris: Begin by dusting off the skylight surface using a soft brush or microfiber cloth. This will remove any loose particles that may cause scratches during the cleaning process.
- Mix a cleaning solution: Fill a spray bottle with water and add a few drops of mild detergent or glass cleaner. Shake the bottle gently to create a diluted cleaning solution.
- Spray the cleaning solution: Spray the cleaning solution onto the skylight surface, covering the entire area. Be careful not to oversaturate the skylight, as excessive moisture can affect the tint film installation.
- Gently scrub the skylight: Use a soft sponge or cloth to gently scrub the skylight in circular motions. Pay particular attention to any areas with stuck-on dirt or fingerprints. Avoid using abrasive materials or harsh chemicals that could scratch or damage the skylight surface.
- Rinse and dry: After scrubbing, rinse the skylight thoroughly with clean water to remove any residue or soap film. Then, use a lint-free cloth to dry the skylight surface completely. Drying is crucial to ensure a smooth and clean surface for proper tint film application.
Once you have cleaned the skylight, make sure to inspect it for any remaining dirt or streaks. If necessary, repeat the cleaning process until the skylight is spotless.
By taking the time to clean the skylight properly, you’ll ensure a strong bond between the tint film and the glass surface. Now that your skylight is clean and ready, it’s time for the next step: applying the tint film.
When tinting a skylight, make sure to clean the glass thoroughly before applying the tint film to ensure a smooth and even application. Any dirt or debris left on the glass can cause air bubbles or imperfections in the tint.
Read more: How To Open A Skylight
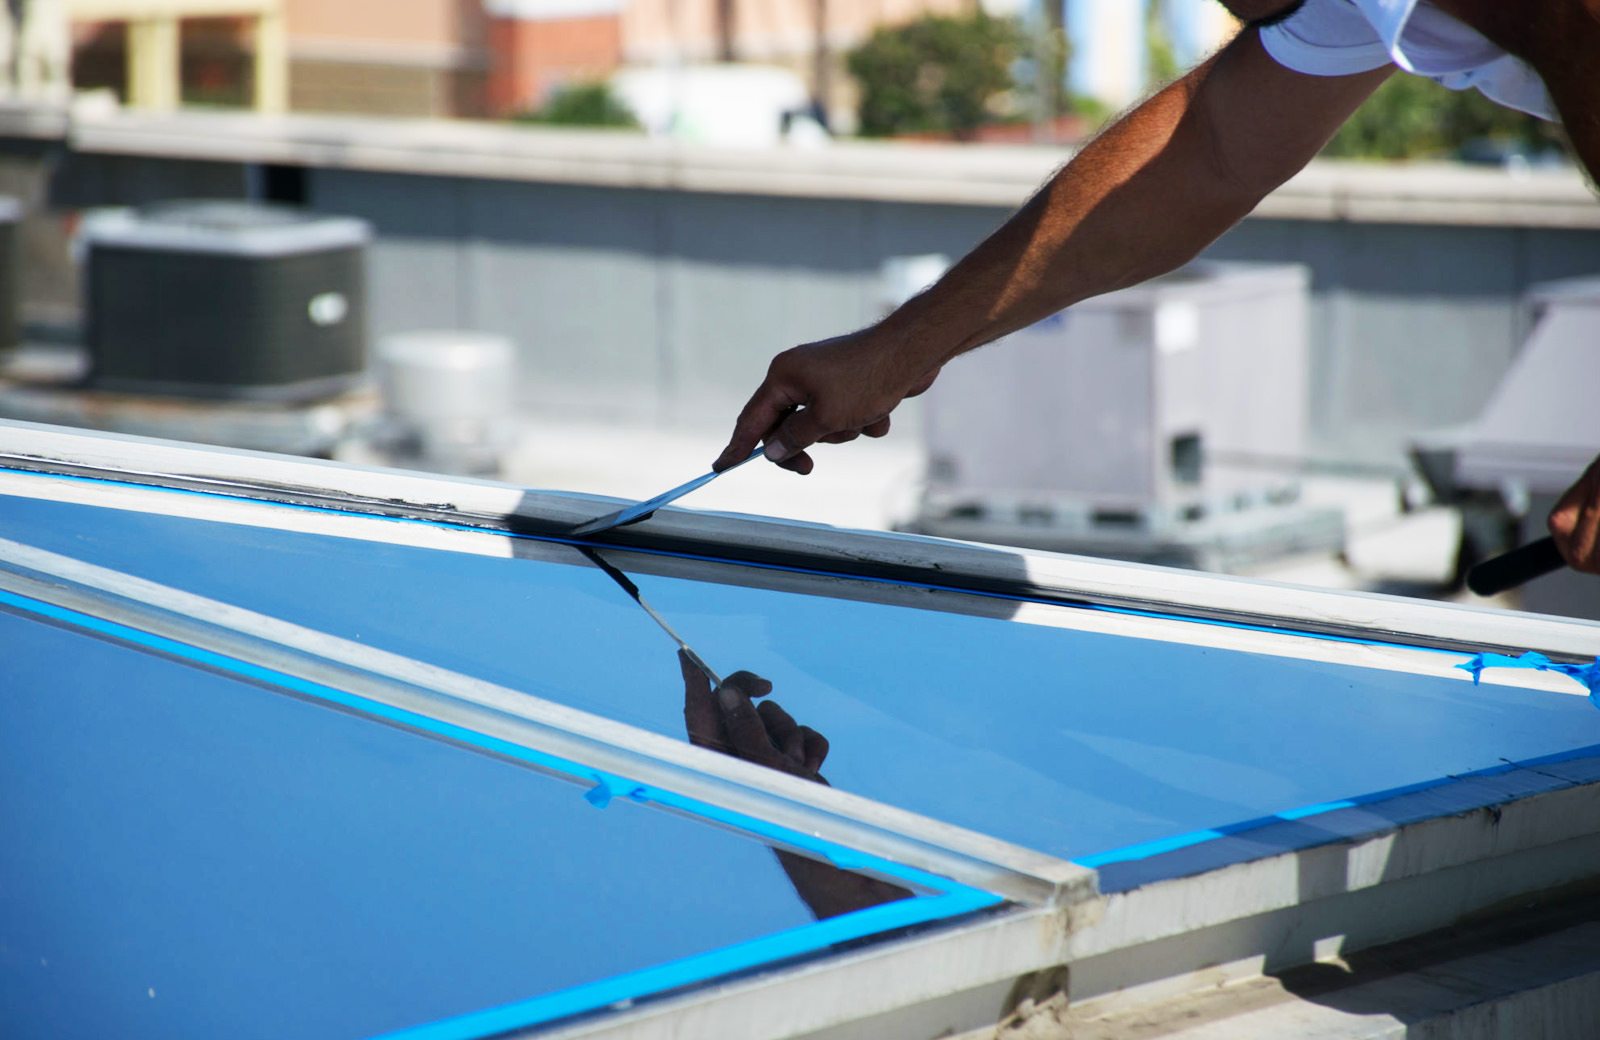
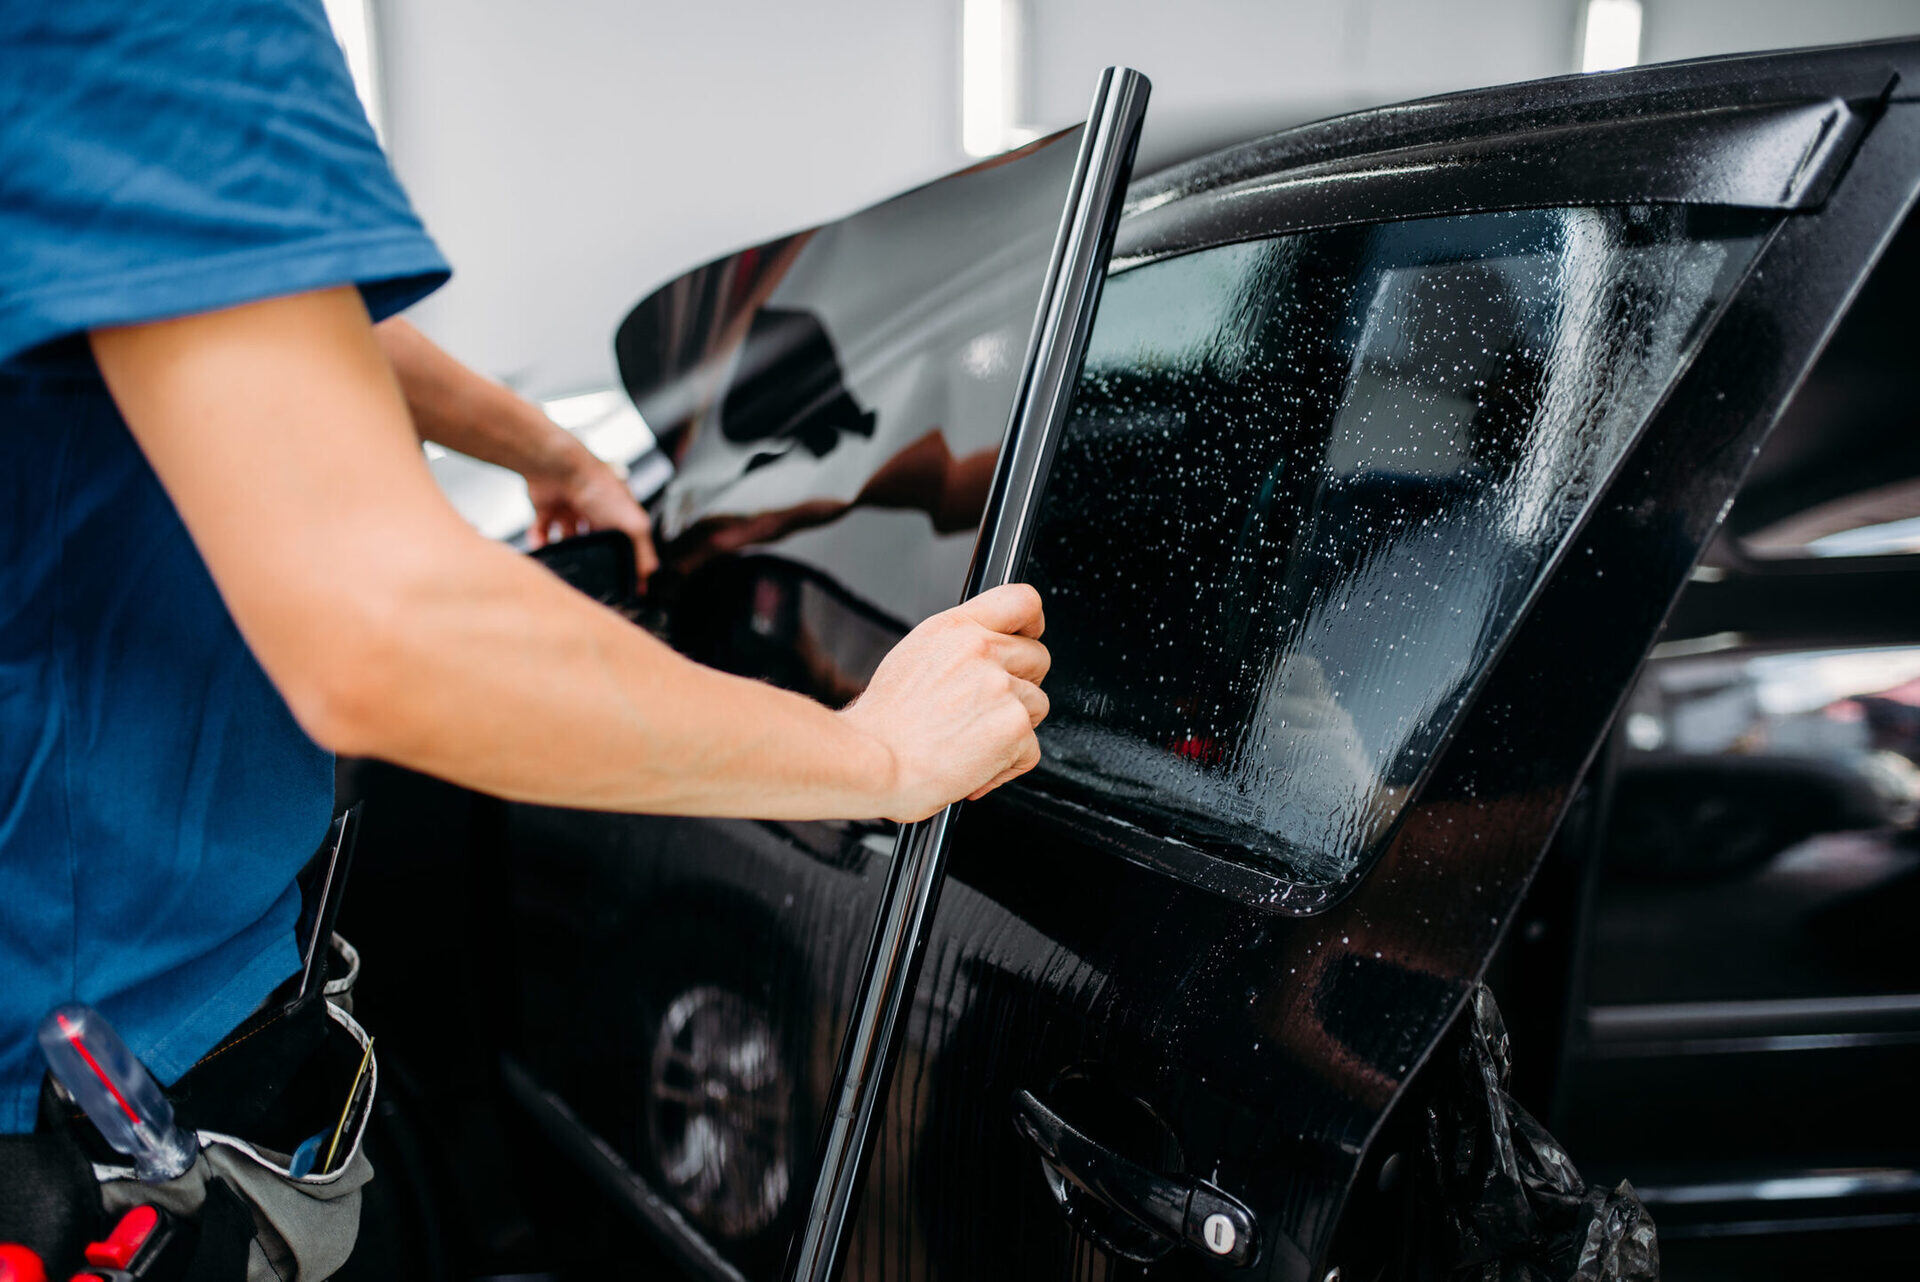
Applying the Tint Film
Now that you have prepared the skylight and cleaned the surface, it’s time to apply the tint film. Follow these step-by-step instructions to ensure a successful installation:
- Measure and cut the film: Measure the dimensions of your skylight carefully and add a few inches to each side to allow for a proper fit. Using a utility knife, cut the tint film to the appropriate size. Make sure to cut the film slightly larger than the skylight to ensure complete coverage.
- Prepare the film for application: Carefully peel off the protective backing from the adhesive side of the film. Be cautious not to touch the adhesive with your bare hands, as oils from your skin can affect the adhesion.
- Moisten the skylight: Use a spray bottle filled with a mixture of water and a few drops of dish soap to lightly mist the skylight surface. This will create a slippery surface that allows for easier positioning and adjustment of the film.
- Place the film on the skylight: Position the adhesive side of the film onto the wet skylight surface, aligning it with the edges. Be patient and take your time to avoid any creases or wrinkles. Once the film is in position, you can gently adjust it as needed.
- Squeegee out air bubbles: Starting from the center of the film, use a squeegee to push out any air bubbles towards the edges. Work in a smooth and firm motion, being careful not to apply too much pressure that could damage the film. Continue squeegeeing until all air bubbles have been removed.
- Smooth out the film: Use your hands or a lint-free cloth to gently smooth out any remaining wrinkles or imperfections in the film. Be careful not to scratch or damage the film while doing so.
- Trim the excess film: Once the film is applied and smoothed out, use a utility knife to carefully trim off the excess film along the edges of the skylight. Take your time and make precise cuts to ensure a clean and professional-looking result.
Remember, the installation process may vary slightly depending on the type of tint film you are using. Always refer to the manufacturer’s instructions for specific guidance.
With the tint film successfully applied, you’re one step closer to enjoying the benefits of a tinted skylight. However, before you can fully appreciate the results, it’s important to address any remaining air bubbles that may have formed during the application process. We’ll discuss how to remove air bubbles in the next section.
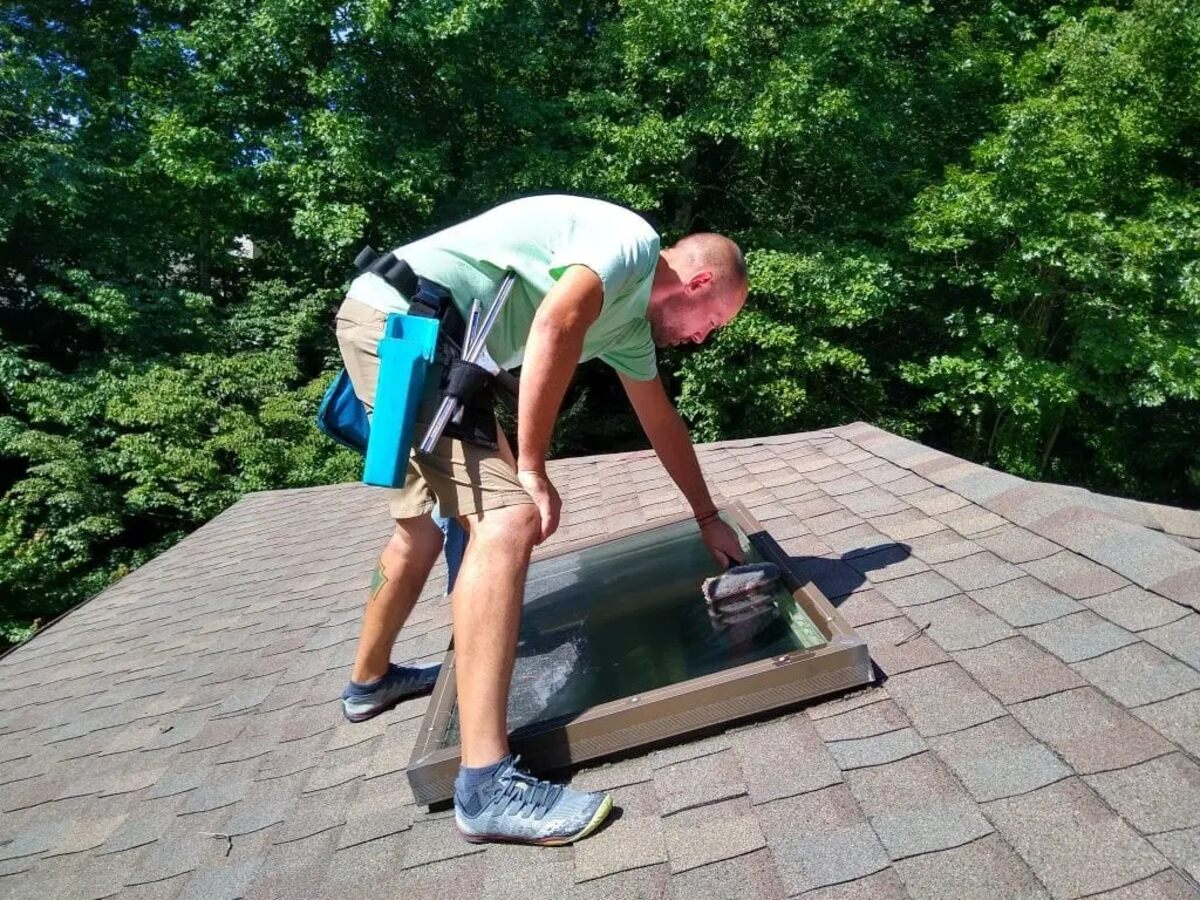
Removing Air Bubbles
After applying the tint film to your skylight, it’s common to have some air bubbles trapped underneath. While small bubbles may disappear over time as the film settles, it’s best to address them for a smooth and professional look. Follow these steps to remove air bubbles from your tinted skylight:
- Identify the air bubbles: Carefully examine the tint film and locate any visible air bubbles. They are typically visible as small pockets of air trapped between the film and the skylight surface.
- Create a pinhole: Take a small sewing needle or pin and puncture a tiny hole in the center of the air bubble. This will allow the air to escape and release the pressure that causes the bubble.
- Apply pressure: Use a squeegee or your fingers to gently apply pressure around the bubble, starting from the punctured hole and working towards the edges. Be careful not to damage or scratch the film while applying pressure.
- Smooth out the film: After releasing the air from the bubble, use a squeegee or a lint-free cloth to smooth out the film in a sweeping motion. This will ensure that the film adheres firmly to the skylight surface and minimizes any visible marks left by the air bubble.
- Repeat if necessary: If you have multiple air bubbles, repeat the process for each one individually. Take your time and focus on one bubble at a time to ensure a thorough removal.
It’s important to note that not all air bubbles can be completely removed, particularly if they are large or have been present for an extended period of time. However, by following these steps, you can significantly reduce their visibility and improve the overall appearance of your tinted skylight.
Once you have successfully removed the air bubbles, you’re almost done! There is just one final step remaining: trimming the excess film for a neat and finished look.
Trimming the Excess Film
After tinting your skylight and ensuring that the film is properly applied and free from air bubbles, it’s time to trim the excess film for a neat and finished look. Trimming the film will give your skylight a professional appearance and help prevent any edges from peeling or getting caught on objects. Follow these steps to trim the excess film:
- Gather the necessary tools: You will need a sharp utility knife or a precision cutting tool with a fresh blade. Ensure that the blade is sharp to make precise cuts.
- Inspect the edges: Carefully examine the edges of the tinted film to identify any areas where excess film is present. Look for any uneven or overlapping sections that need to be trimmed.
- Hold the blade at a slight angle: Hold the utility knife or cutting tool at a slight angle, about 45 degrees, against the skylight frame. This angle will create a beveled edge, which will help prevent the film from peeling over time.
- Start trimming: Begin trimming the excess film by gently pressing the blade against the edge of the skylight frame. Slowly and carefully cut along the edge, moving in a smooth motion. Take your time to ensure precise cuts and avoid cutting too much of the film.
- Trim in sections: If the excess film is long or extends across multiple sides of the skylight, trim in sections. Start with one side, then move to the next, following the same technique for each section.
- Trim corners: When reaching the corners of the skylight, be extra careful to make clean and precise cuts. Cut at a 45-degree angle to create a seamless and visually appealing corner.
- Double-check the edges: Once you have trimmed all the excess film, carefully inspect the edges to ensure a clean and even finish. Make any necessary touch-ups or adjustments if you spot any unevenness.
Trimming the excess film may require precision and patience, especially when working with different angles and corners. Take your time to achieve a neat and professional result.
With the excess film trimmed, your skylight tinting project is nearing completion. There’s just the final step left: adding the finishing touches and completing the clean-up process.
Final Touches and Clean-up
As you near the completion of your skylight tinting project, it’s time to add the final touches and complete the clean-up process. This will ensure that your skylight looks polished and tidy. Here are the steps to follow:
- Inspect for any imperfections: Carefully inspect the tinted skylight for any remaining imperfections, such as smudges, streaks, or debris. Use a lint-free cloth or microfiber cloth to gently wipe away any marks or residue.
- Check the seal: Examine the edges of the tint film to ensure that it is firmly adhered to the skylight surface. Press down gently on any areas that may require reinforcement to ensure a secure seal.
- Remove protective film: If the tint film came with a protective film layer on the outside, remove it according to the manufacturer’s instructions. This will reveal the finished appearance of your newly tinted skylight.
- Clean up the work area: Take the time to clean up any remaining tools, materials, or debris from the tinting process. Properly dispose of any discarded film pieces or packaging materials.
- Restore the room: Move back any furniture, decor, or other items that you had temporarily moved during the tinting process. Rearrange them in their original positions, taking care not to scratch or damage the newly tinted skylight.
- Enjoy your newly tinted skylight: Finally, take a moment to appreciate and enjoy the benefits of your newly tinted skylight. Notice the reduced heat, glare, and UV radiation as you bask in the enhanced comfort and energy efficiency it provides.
By paying attention to these final touches and completing the clean-up process, you ensure a polished and professional finish to your skylight tinting project. Now, all that’s left to do is sit back and enjoy the pleasant ambiance of your space.
Congratulations on successfully tinting your skylight! You have now acquired the knowledge and skills to enhance the comfort and functionality of your living or working environment. Should you have any further tinting projects or questions in the future, you can refer back to this guide for guidance and inspiration.
Remember, skylight tinting not only provides practical benefits but also adds a touch of style and sophistication to your space. So, go ahead and embrace the beauty of natural light while enjoying the added comfort and protection of a tinted skylight.
Thank you for choosing this guide on how to tint a skylight. Happy tinting!
Read more: How To Insulate Skylight
Conclusion
Congratulations! You’ve reached the end of this comprehensive guide on how to tint a skylight. We hope that this article has provided you with valuable insights and useful instructions to successfully tint your skylight and enjoy its benefits.
By understanding the process of skylight tinting and choosing the right tint film for your specific needs, you can effectively reduce heat and glare, enhance privacy, protect against UV radiation, and improve the energy efficiency of your space.
Throughout the guide, we covered topics such as understanding skylight tinting, choosing the right tint, preparing for tinting, cleaning the skylight, applying the tint film, removing air bubbles, trimming the excess film, and adding final touches and clean-up. These step-by-step instructions have provided you with the necessary knowledge to undertake the tinting project with confidence.
It’s important to remember that skylight tinting requires attention to detail, patience, and precision. Take your time throughout the process to ensure a high-quality installation and a professional finish. If at any point you feel unsure or overwhelmed, it’s always wise to consult with a professional tinting service or seek expert advice.
Now that you have successfully tinted your skylight, take a moment to appreciate the improved comfort, energy efficiency, and aesthetic appeal it brings to your space. Enjoy the filtered natural light, reduced glare, and protection against harmful UV rays.
We hope that this guide has been informative, helpful, and inspiring. Whether you’re tinting a skylight in your home, office, or any other space, we wish you the best of luck in your tinting endeavors. Embrace the benefits of a beautifully tinted skylight and create a more comfortable and visually appealing environment.
Thank you for choosing this guide, and happy tinting!
Frequently Asked Questions about How To Tint A Skylight
Was this page helpful?
At Storables.com, we guarantee accurate and reliable information. Our content, validated by Expert Board Contributors, is crafted following stringent Editorial Policies. We're committed to providing you with well-researched, expert-backed insights for all your informational needs.


0 thoughts on “How To Tint A Skylight”