Home>Articles>How To Fix A Leaking Skylight On A Mobile Home
Articles
How To Fix A Leaking Skylight On A Mobile Home
Modified: February 23, 2024
Learn the step-by-step process to fix a leaking skylight on your mobile home with our comprehensive articles on skylight repair for mobile homes.
(Many of the links in this article redirect to a specific reviewed product. Your purchase of these products through affiliate links helps to generate commission for Storables.com, at no extra cost. Learn more)
Introduction
A leaking skylight can be a frustrating problem for mobile homeowners. Not only does it cause water damage to the interior of the home, but it also compromises the structural integrity of the skylight itself. If left untreated, a leaking skylight can lead to more extensive and costly repairs down the line. However, with a few simple steps and some basic tools, you can fix a leaking skylight on your mobile home and prevent further damage.
In this article, we will explore the common causes of skylight leaks, the tools and materials needed for the repair, and a step-by-step guide on how to fix a leaking skylight. Whether it’s a small leak or a more significant issue, understanding the root cause of the problem and taking the necessary steps to address it is crucial in maintaining the integrity of your mobile home.
So, let’s dive in and learn how to fix a leaking skylight on a mobile home!
Key Takeaways:
- Proper maintenance, prompt repairs, and addressing underlying roofing issues are crucial in fixing leaking skylights on mobile homes. Understanding the common causes and following a step-by-step repair process can prevent further damage.
- While DIY solutions are viable for small leaks, seeking professional help for complex or persistent skylight leaks ensures expertise, safety, efficiency, and potential warranties for long-lasting and effective repairs.
Common Causes of Skylight Leaks
Understanding the common causes of skylight leaks is essential in effectively identifying and resolving the issue. Here are a few key factors that can contribute to skylight leaks:
- Improper installation: One of the primary causes of skylight leaks is improper installation. If the skylight was not installed correctly or if the flashing around the skylight is damaged or missing, water can easily seep through the gaps.
- Aging or deteriorating sealant: Over time, the sealant around the skylight can deteriorate due to exposure to harsh weather conditions and UV rays. Cracked or peeling sealant can allow water to penetrate the skylight and cause leaks.
- Poor maintenance: Neglecting regular maintenance of the skylight can also lead to leaks. Leaves, debris, and dirt can accumulate around the skylight, causing clogs and blockages in the drainage system.
- Roofing issues: Skylight leaks can sometimes be an indication of larger roofing problems. Damaged or missing shingles, damaged underlayment, or improper flashing installation can allow water to infiltrate the skylight area.
- Extreme weather conditions: Severe storms, heavy rainfall, or snow accumulation can put added stress on the skylight and its surrounding components, leading to leaks.
Identifying the cause of the skylight leak is essential to determine the best course of action for repair. By addressing the underlying issue, you can effectively fix the leak and prevent further damage to your mobile home.
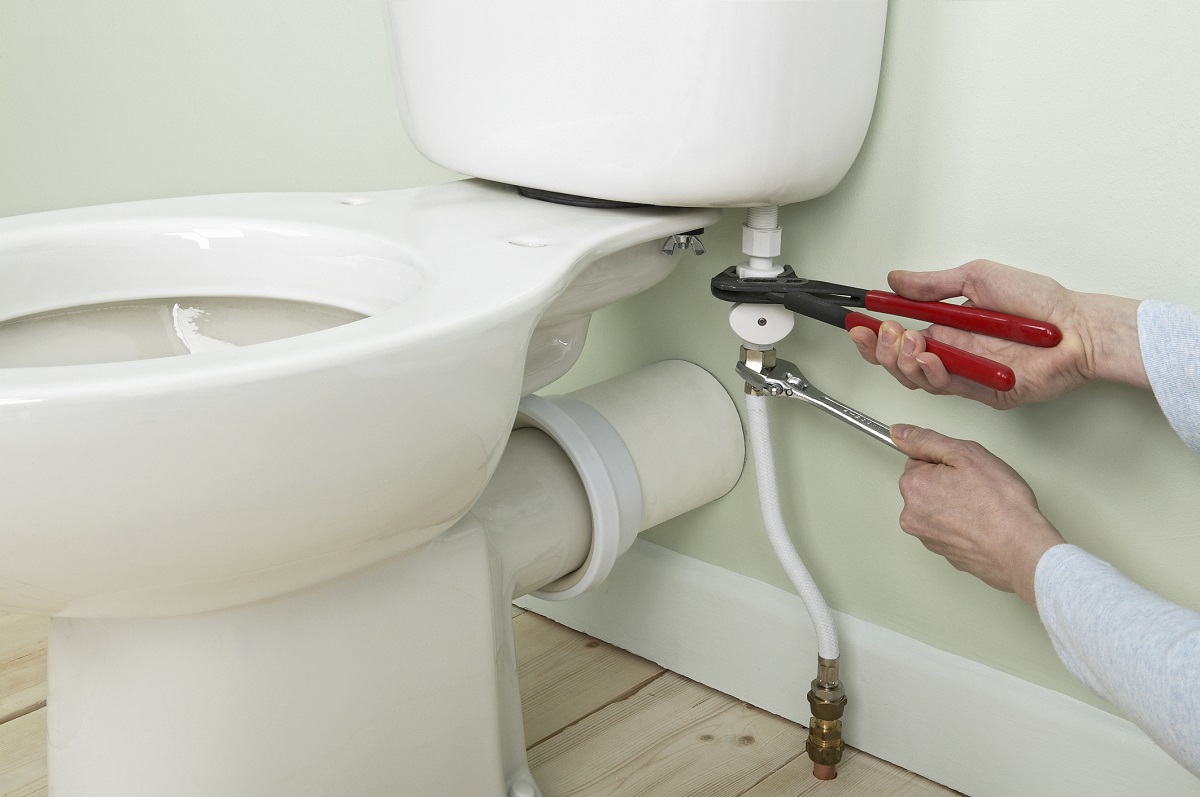
Tools and Materials Needed
Before you begin fixing a leaking skylight on your mobile home, gather the necessary tools and materials. Having everything prepared will save you time and ensure a smoother repair process. Here’s a list of what you’ll need:
Tools:
- Safety goggles
- Work gloves
- Ladder or scaffold (if necessary)
- Caulking gun
- Putty knife
- Wire brush
- Screwdriver
- Utility knife
- Rubber mallet
- Measuring tape
Materials:
- Silicone caulk (compatible with your skylight and roofing material)
- Roofing cement
- Flashing tape
- Roofing nails
- Replacement shingles (if necessary)
- Sealant primer (if recommended by the manufacturer)
- Roofing sealant
- Plastic sheeting or tarp
Ensure that you have all the necessary tools and materials on hand before starting the repair process. This will help you work efficiently and complete the task without any interruptions.
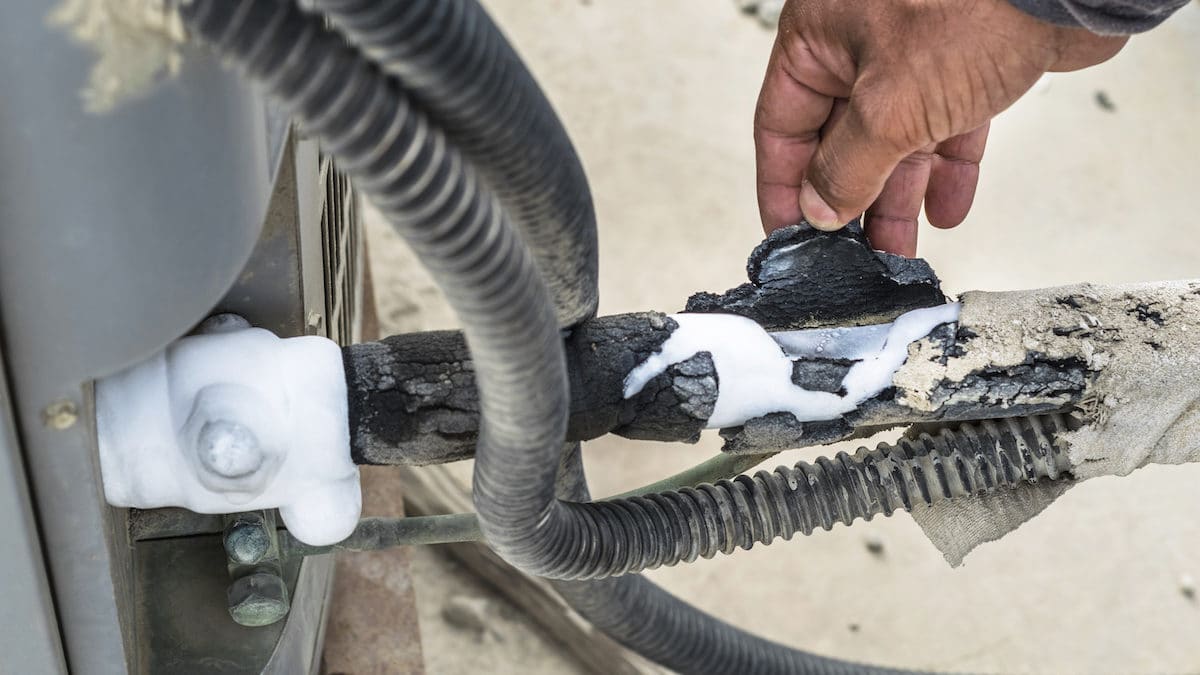
Read more: How Do You Fix A Leaking Air Conditioner
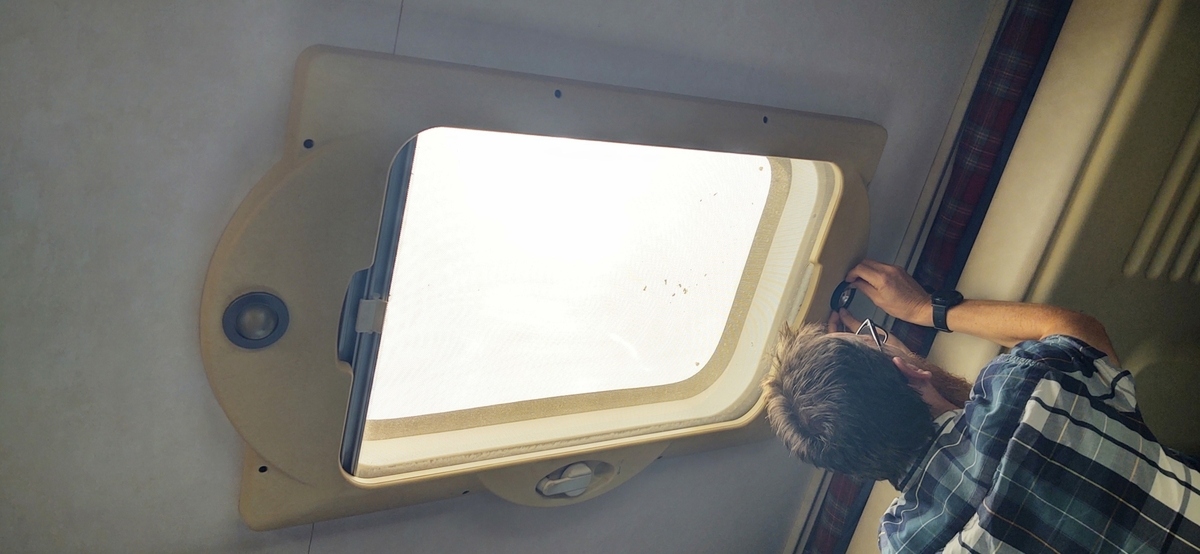
Step 1: Locate the Source of the Leak
The first step in fixing a leaking skylight is to locate the source of the problem. This step is crucial as it allows you to address the root cause of the leak effectively. Follow these steps to identify where the water is entering:
- Inspect the interior: Start by examining the area around the skylight from the inside of your mobile home. Look for any signs of water stains, discoloration, or dampness on the ceiling or walls near the skylight. These visible indications will give you an idea of where the leak is originating.
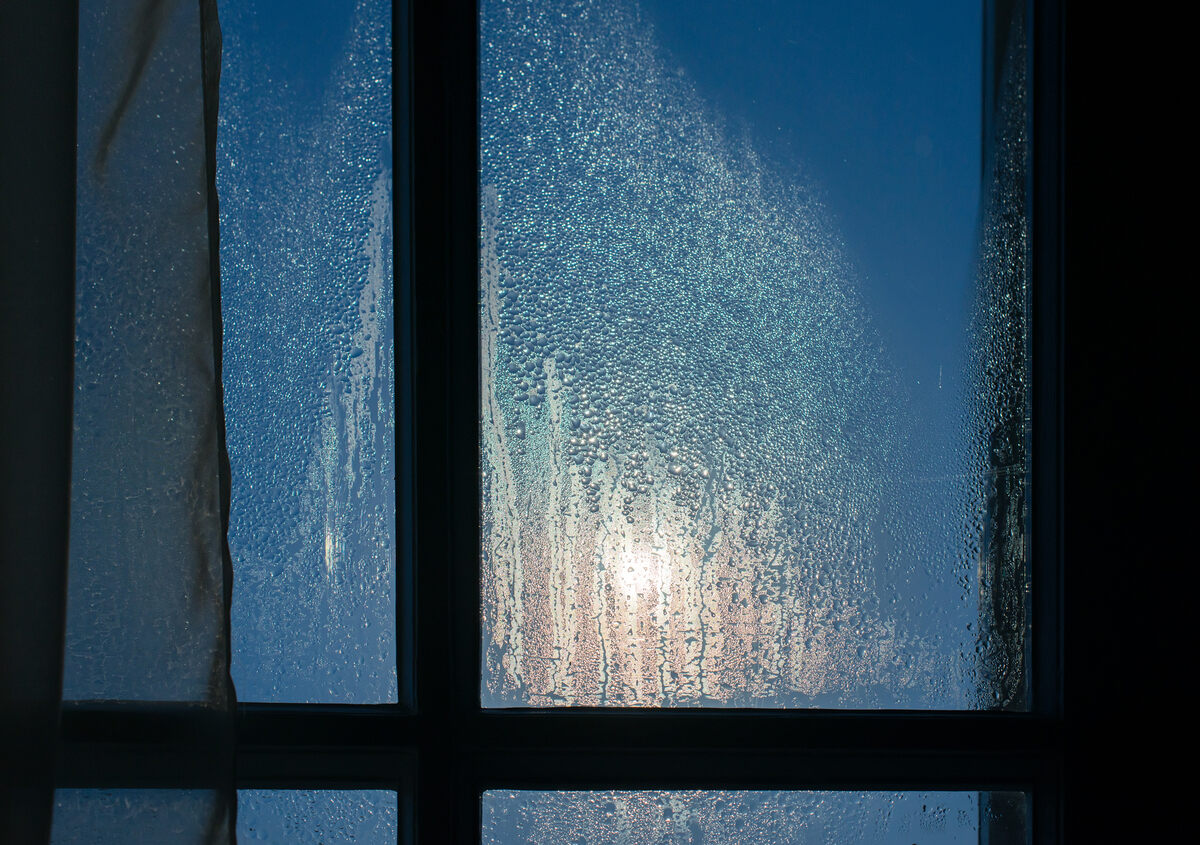
- Check for condensation: Sometimes, what appears to be a skylight leak is actually condensation buildup. Check for excessive moisture or droplets on the skylight itself, as well as on the surrounding walls and ceiling. If condensation is the issue, improving ventilation in the area may help resolve it.
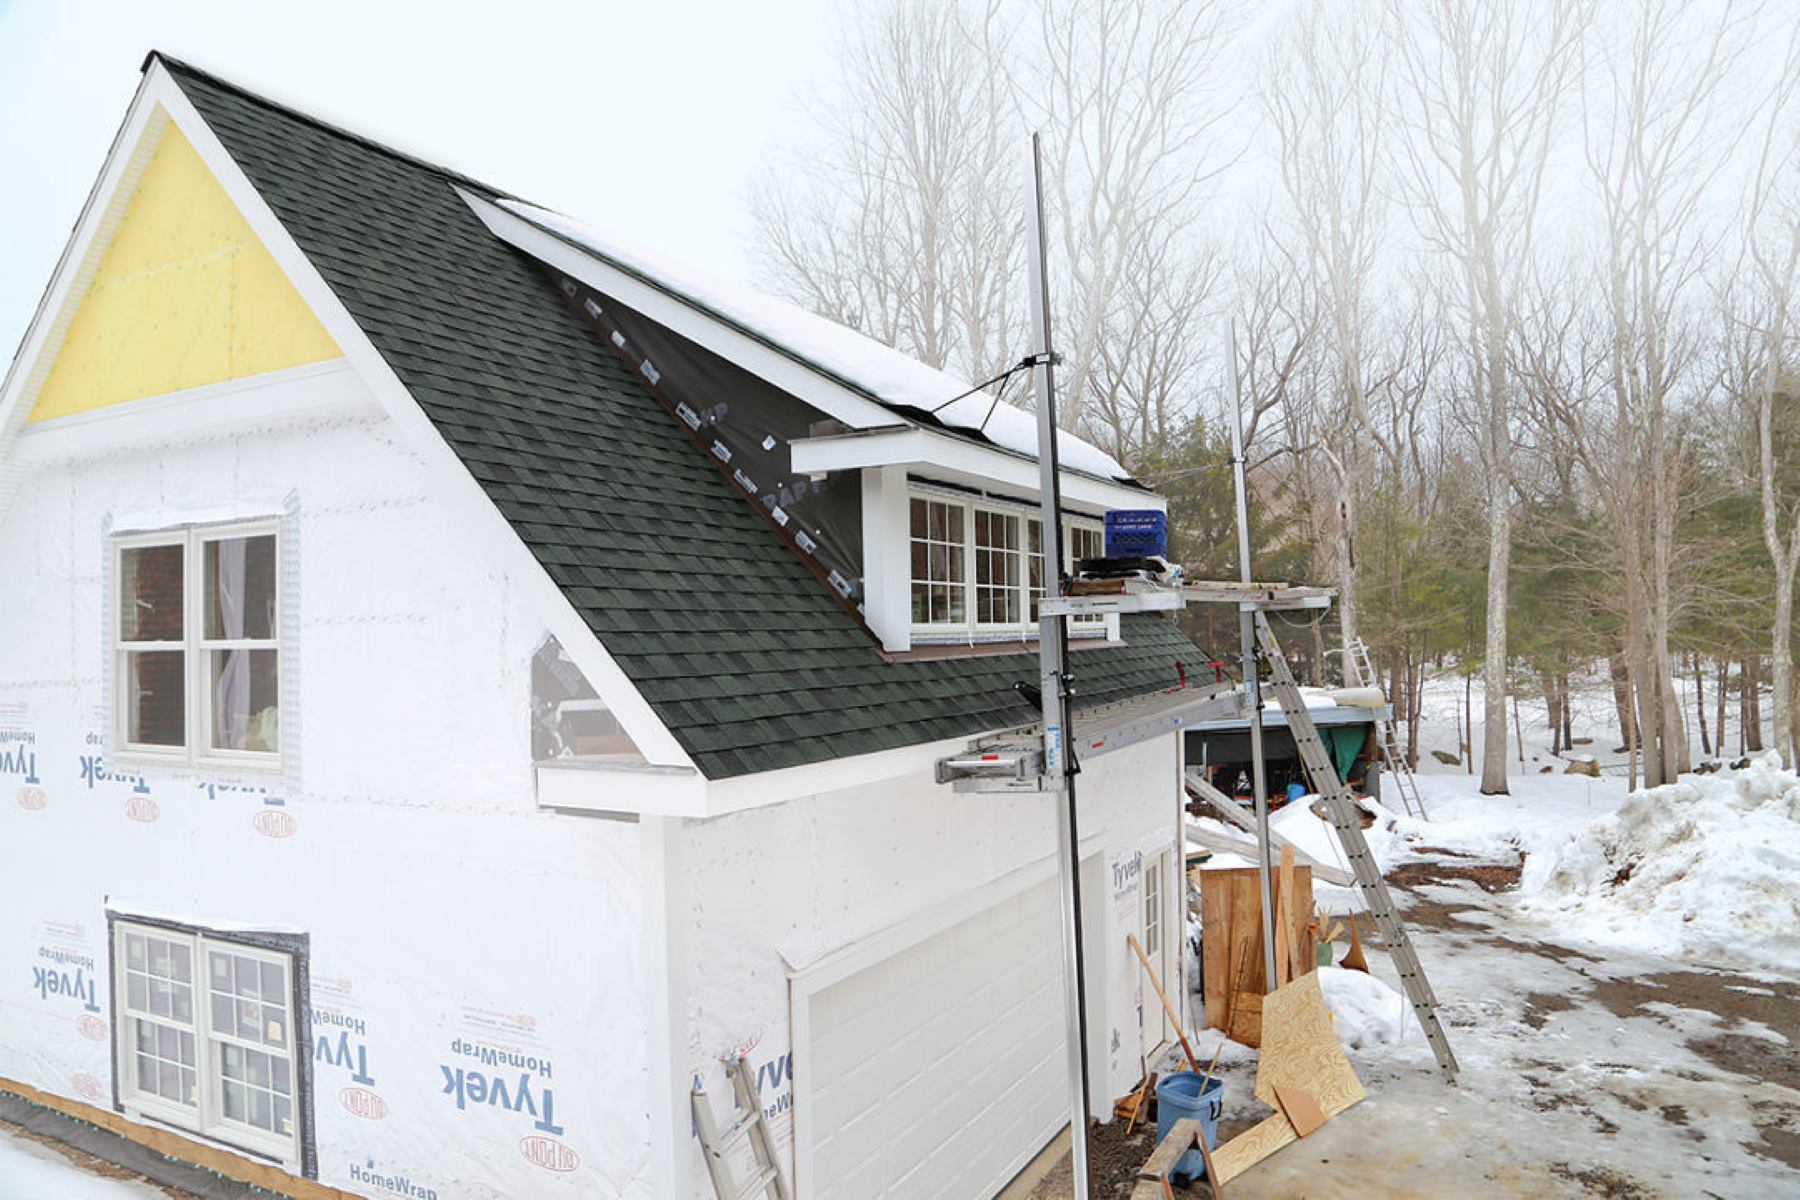
- Inspect the exterior: Once you have examined the interior, it’s time to head outside and inspect the skylight from the roof. Use a ladder or scaffold, following proper safety precautions, to access the skylight. Look for any visible cracks, gaps, or damaged flashing around the skylight.
- Check the surrounding roofing: While you’re on the roof, inspect the area around the skylight for any damaged shingles, missing flashing, or other roofing issues that could be contributing to the leak.
By thoroughly examining both the interior and exterior of the skylight, you can narrow down the source of the leak. This information will help you determine the most appropriate repair method and ensure a successful fix.
Step 2: Clean the Skylight and Surrounding Area
Before proceeding with the actual repair, it’s important to clean the skylight and its surrounding area. Removing dirt, debris, and old sealant will ensure proper adhesion and improve the effectiveness of the repair. Follow these steps to clean the skylight:
- Put on safety gear: Wear safety goggles and work gloves to protect your eyes and hands during the cleaning process.
- Remove debris: Use a brush or broom to sweep away any leaves, twigs, or other debris accumulated on the skylight and its surrounding area. Pay attention to the corners and edges.
- Scrape off old sealant: Carefully use a putty knife or utility knife to scrape off any old or damaged sealant around the skylight. Be gentle to avoid damaging the skylight or the roof.
- Clean with a mild detergent: Create a solution of warm water and mild detergent. Dip a sponge or cloth into the solution and gently scrub the skylight surface and the surrounding area. Rinse with clean water to remove any soap residue.
- Dry thoroughly: Use a clean towel or cloth to dry the skylight and its surrounding area completely. Ensure all moisture is removed before proceeding with the repair.
A clean and dry surface is essential for the proper application of sealant and other repair materials. By taking the time to clean the skylight and its surroundings, you’ll ensure a strong bond and increase the chances of a successful repair.
Step 3: Apply Silicone Caulk to Repair Small Leaks
If the skylight leak is small and localized, you can often fix it by applying silicone caulk. Follow these steps to effectively repair small leaks:
- Choose the right caulk: Select a high-quality silicone caulk that is compatible with both your skylight material and roofing material. Read the manufacturer’s instructions to ensure it is suitable for the repair.
- Prepare the caulk gun: Load the silicone caulk cartridge into the caulk gun and cut the nozzle at a 45-degree angle. Insert a long nail or wire into the nozzle to break the seal.
- Apply the caulk: Starting at one corner of the skylight, slowly squeeze the caulk gun trigger to apply a steady bead of silicone caulk along the edge of the skylight. Work your way around the skylight, ensuring a continuous and even seal.
- Smooth the caulk: Use a putty knife or your finger to smooth the caulk and remove any excess. This will create a neat and durable seal.
- Allow the caulk to cure: Follow the manufacturer’s instructions for the recommended curing time. Typically, silicone caulk takes between 24 to 48 hours to fully cure.
It’s important to note that applying silicone caulk is most effective for small leaks and cracks. If the skylight leak is extensive or if you’re unsure about the severity of the problem, it’s best to consult a professional for further assistance.
By following these steps, you can repair small leaks in your skylight and prevent further water damage to your mobile home.
Check the skylight seal for any cracks or damage. Clean the area around the skylight and apply a new layer of sealant to prevent further leaks.
Step 4: Replace Damaged or Cracked Sealant
If the skylight leak is due to damaged or cracked sealant, it’s essential to replace it to ensure a watertight seal. Follow these steps to replace the sealant around your skylight:
- Remove the old sealant: Use a putty knife or utility knife to carefully scrape away the old and damaged sealant from the skylight and the surrounding area. Be gentle to avoid damaging the skylight or the roof.
- Clean the surface: Clean the area thoroughly with a mild detergent and warm water to remove any residue from the old sealant. Dry the surface completely before applying the new sealant.
- Cut the nozzle of the sealant tube: Cut the nozzle of the sealant tube at a 45-degree angle to create a small opening. Insert the tube into a caulk gun for easy application.
- Apply the new sealant: Starting at one corner of the skylight, squeeze the caulk gun trigger to apply a steady bead of sealant along the edge of the skylight. Ensure a continuous and even layer of sealant that completely seals the gap.
- Smooth the sealant: Use a putty knife or your finger to smooth the sealant and remove any excess. This will create a neat and effective seal.
- Allow the sealant to cure: Follow the manufacturer’s instructions for the recommended curing time. Typically, sealants take anywhere from 24 to 48 hours to fully cure.
Replacing damaged or cracked sealant is crucial in preventing water intrusion and maintaining the integrity of your skylight. Properly applied sealant will provide a long-lasting and waterproof seal, ensuring your skylight remains leak-free.
If you’re unsure about replacing the sealant yourself or if the skylight leak persists after replacement, it’s advisable to seek the assistance of a professional to assess the issue further.
Read more: How To Fix A Leaking Washer
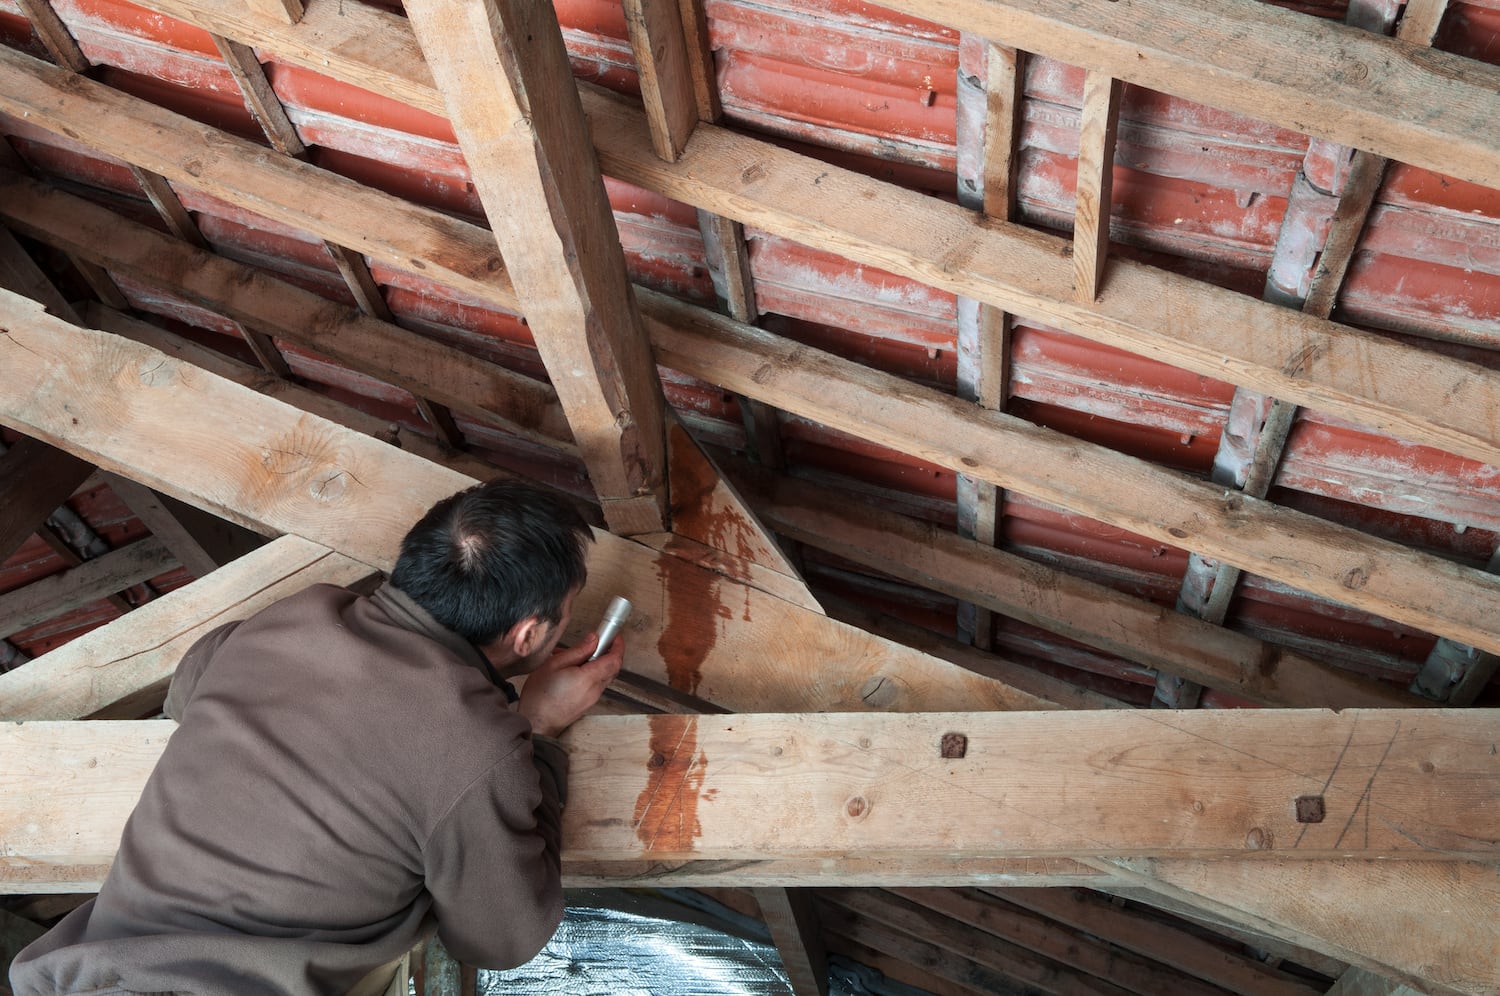
Step 5: Check for Roofing Issues
If you’ve addressed the skylight itself but are still experiencing leaks, it’s important to check for any roofing issues that may be contributing to the problem. Follow these steps to identify and address potential roofing issues:
- Inspect the roof: Take a close look at your roof for any signs of damage, such as missing or damaged shingles, cracked or deteriorating roofing material, or areas where the roof may be sagging. Pay particular attention to the area surrounding the skylight.
- Check flashing: Examine the flashing around the skylight. Ensure that it is properly installed and in good condition. Damaged or improperly installed flashing can allow water to seep in, leading to leaks.
- Look for clogs: Check for any debris or clogs in your gutters and downspouts. If they’re clogged, water can back up and potentially find its way under the roofing material, including the skylight area.
- Address roof issues: If you notice any roofing problems during your inspection, it’s essential to address them promptly. Replace damaged shingles, repair flashing, or consider calling a professional roofer for further assessment and repairs.
Proper maintenance and care of your roof are crucial in preventing skylight leaks and other water-related issues. By promptly addressing any roofing issues, you can prevent further damage to your mobile home and ensure a leak-free skylight.
If you’re uncertain about the condition of your roof or if you’re not comfortable performing roof repairs yourself, it’s best to consult a professional roofing contractor for a thorough inspection and necessary repairs.
Step 6: Consider Professional Help
If you’ve followed the previous steps and are still experiencing persistent skylight leaks, it may be time to consider seeking professional help. Here are a few reasons why consulting a professional may be beneficial:
- Expertise and experience: Professional roofers and skylight specialists have the knowledge and experience to accurately diagnose and repair skylight leaks. They can identify underlying issues that may be causing the leaks and provide effective solutions.
- Safety: Working on a roof can be dangerous, especially if you’re not accustomed to it. Professionals have the necessary safety equipment and training to carry out repairs on high and sloped surfaces safely.
- Efficiency: Professional roofers have the proper tools, materials, and techniques to efficiently fix skylight leaks. They can work quickly and effectively, saving you time and potential frustration.
- Warranty and guarantee: Many reputable roofing companies offer warranties or guarantees for their work. By hiring professionals, you can have peace of mind knowing that they stand behind their services and will rectify any issues if they occur after the repair.
While attempting DIY solutions is a viable option for simple skylight leaks, more complex or persistent leaks may require the expertise of professionals to ensure a long-lasting and effective repair. Consider reaching out to a reputable roofing contractor or skylight specialist in your area for a thorough assessment and professional repair.
Remember, prevention is key to avoiding skylight leaks in the future. Regular maintenance, prompt repairs, and proper installation of skylights and flashing can help prevent water intrusion and protect your mobile home from potential damage.
By following these steps and considering professional help when necessary, you can fix skylight leaks and maintain the integrity of your mobile home for years to come.
Conclusion
Fixing a leaking skylight on a mobile home is a task that requires careful attention and proper steps to ensure a successful repair. By understanding the common causes of skylight leaks, gathering the necessary tools and materials, and following a step-by-step process, you can effectively address the issue and prevent further damage to your home.
Throughout this article, we’ve discussed the common causes of skylight leaks, ranging from improper installation and aging sealants to poor maintenance and roofing issues. We’ve also outlined the tools and materials necessary for the repair, including safety gear, caulk guns, and replacement sealants.
The step-by-step process we’ve provided covers everything you need to know, from locating the source of the leak and cleaning the skylight to applying silicone caulk for small leaks and replacing damaged sealants. We’ve also emphasized the importance of checking for roofing issues and considering professional help for complex or persistent leaks.
Remember, proper maintenance and regular inspections of your skylight and roof are crucial in preventing leaks. By addressing leaks promptly and ensuring proper installation and maintenance, you can protect your mobile home from water damage and maintain its structural integrity.
If you’re unsure or uncomfortable performing skylight repairs yourself, it’s always a wise decision to seek professional assistance. Professional roofers and skylight specialists have the expertise, experience, and safety measures necessary to effectively resolve skylight leaks and ensure long-lasting results.
Ultimately, by taking the necessary steps to fix a leaking skylight on your mobile home, you can enjoy a dry and comfortable living space while safeguarding your investment.
So, don’t let skylight leaks dampen your spirits—take action and repair them today!
Frequently Asked Questions about How To Fix A Leaking Skylight On A Mobile Home
Was this page helpful?
At Storables.com, we guarantee accurate and reliable information. Our content, validated by Expert Board Contributors, is crafted following stringent Editorial Policies. We're committed to providing you with well-researched, expert-backed insights for all your informational needs.


0 thoughts on “How To Fix A Leaking Skylight On A Mobile Home”